Articles
How To Install Wood Burning Fireplace
Modified: January 18, 2024
Learn how to install a wood burning fireplace with this comprehensive guide. Read articles for step-by-step instructions and expert tips.
(Many of the links in this article redirect to a specific reviewed product. Your purchase of these products through affiliate links helps to generate commission for Storables.com, at no extra cost. Learn more)
Introduction
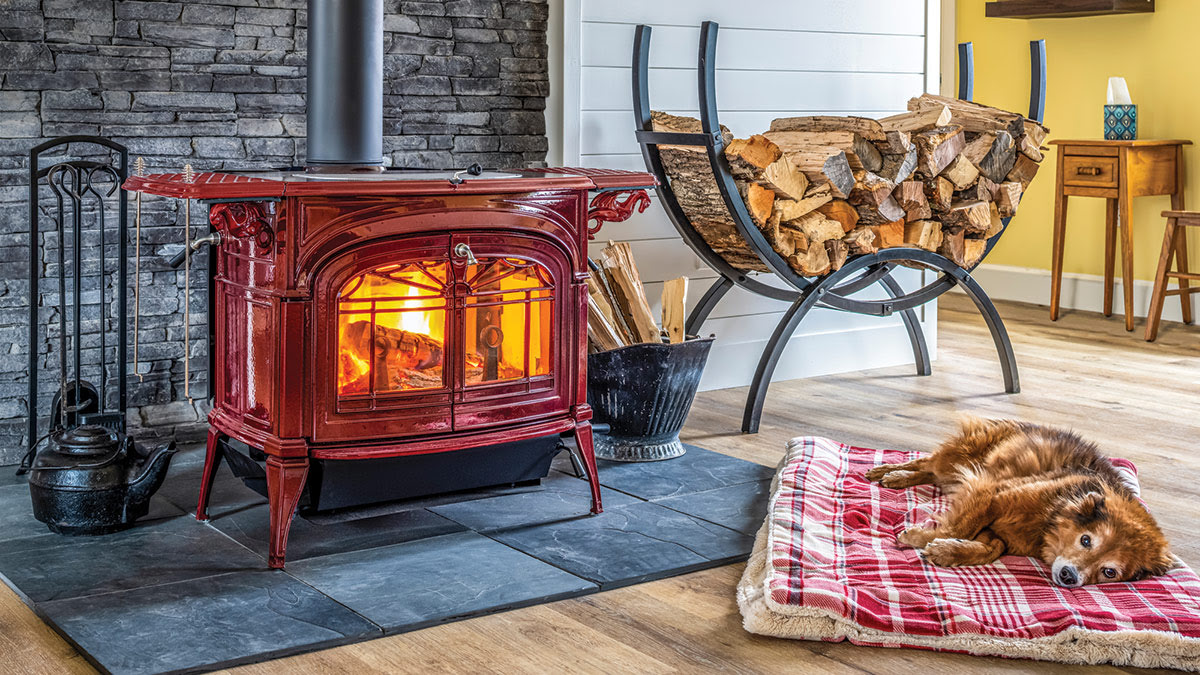
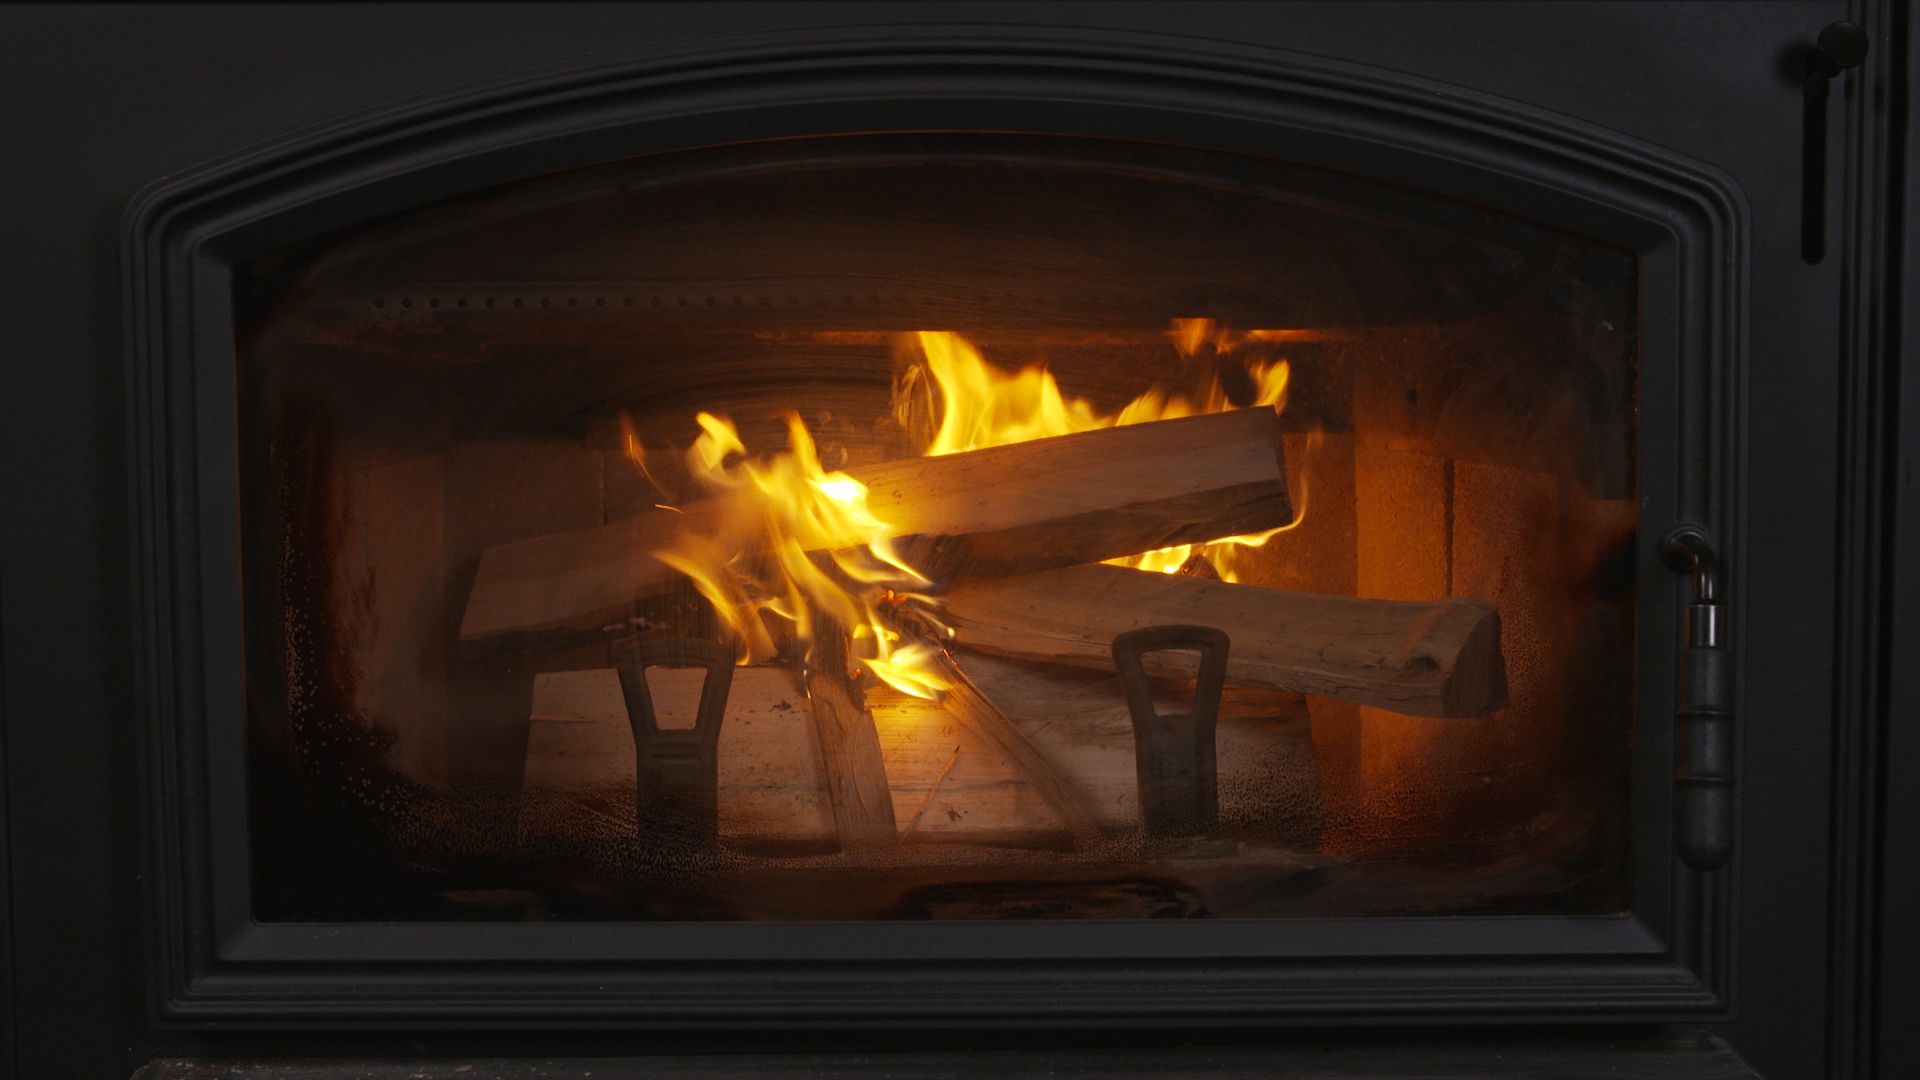
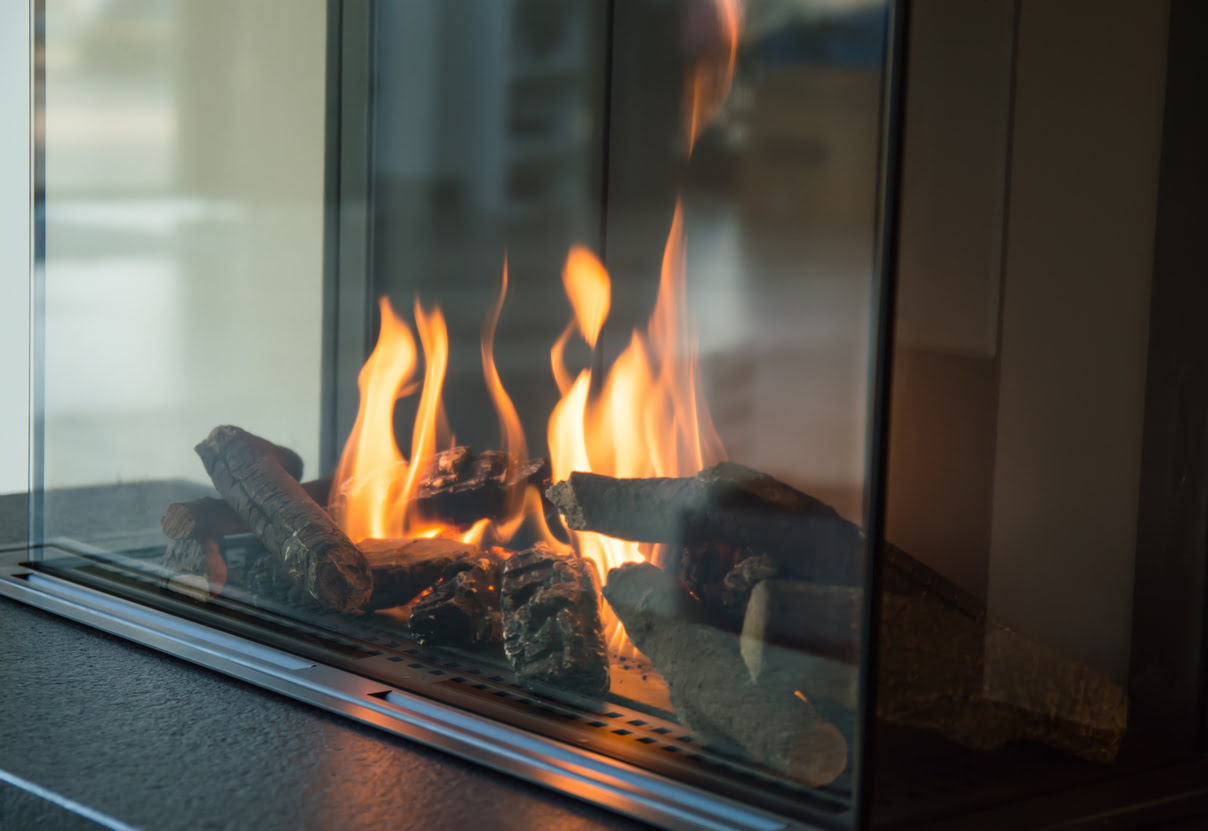
Installing a wood burning fireplace in your home can provide a cozy and inviting atmosphere, as well as a reliable source of heat during the colder months. Whether you’re looking to upgrade an existing fireplace or create a new one, the installation process can be a rewarding DIY project. This article will guide you through the steps to successfully install a wood burning fireplace.
Before you begin, it’s important to note that this article is a general guide and may not cover all the specific requirements of your individual fireplace installation. It’s always a good idea to consult the manufacturer’s instructions and local building codes for your area.
To tackle this project, you’ll need a few essential materials and tools. Let’s take a look at what you’ll need to gather before getting started.
Key Takeaways:
- Installing a wood burning fireplace requires careful planning, proper materials, and adherence to safety guidelines. From choosing the right location to testing the installation, each step is crucial for a cozy and inviting atmosphere.
- Prioritize safety and functionality when installing a wood burning fireplace. Consult professionals, adhere to local building codes, and conduct regular maintenance to ensure a warm and inviting living space.
Read more: How Much To Install Wood Burning Fireplace
Required Materials
Before you begin the installation process, make sure you have the following materials and tools on hand:
- A wood burning fireplace insert: This is the main component of the fireplace and will house the firebox.
- Chimney pipe sections: These pipes will connect the fireplace insert to the chimney and allow for proper ventilation.
- A chimney cap: This is installed on top of the chimney to prevent debris, animals, and rain from entering.
- Fireproof materials: This can include fireproof insulation, cement board, and fireproof sealant.
- Tools: You’ll need standard hand tools such as a tape measure, level, drill, saw, screws, and screwdriver.
- Safety equipment: It’s important to have safety goggles, gloves, and a dust mask to protect yourself during the installation process.
It’s crucial to ensure that all the materials you purchase are specifically designed for wood burning fireplaces. This will ensure the safety and efficiency of your installation. Additionally, it’s a good idea to purchase extra chimney pipe sections to account for any cutting or adjustments that may be needed during the installation.
Once you have gathered all the necessary materials, you’re ready to move on to the next step: choosing the location for your wood burning fireplace.
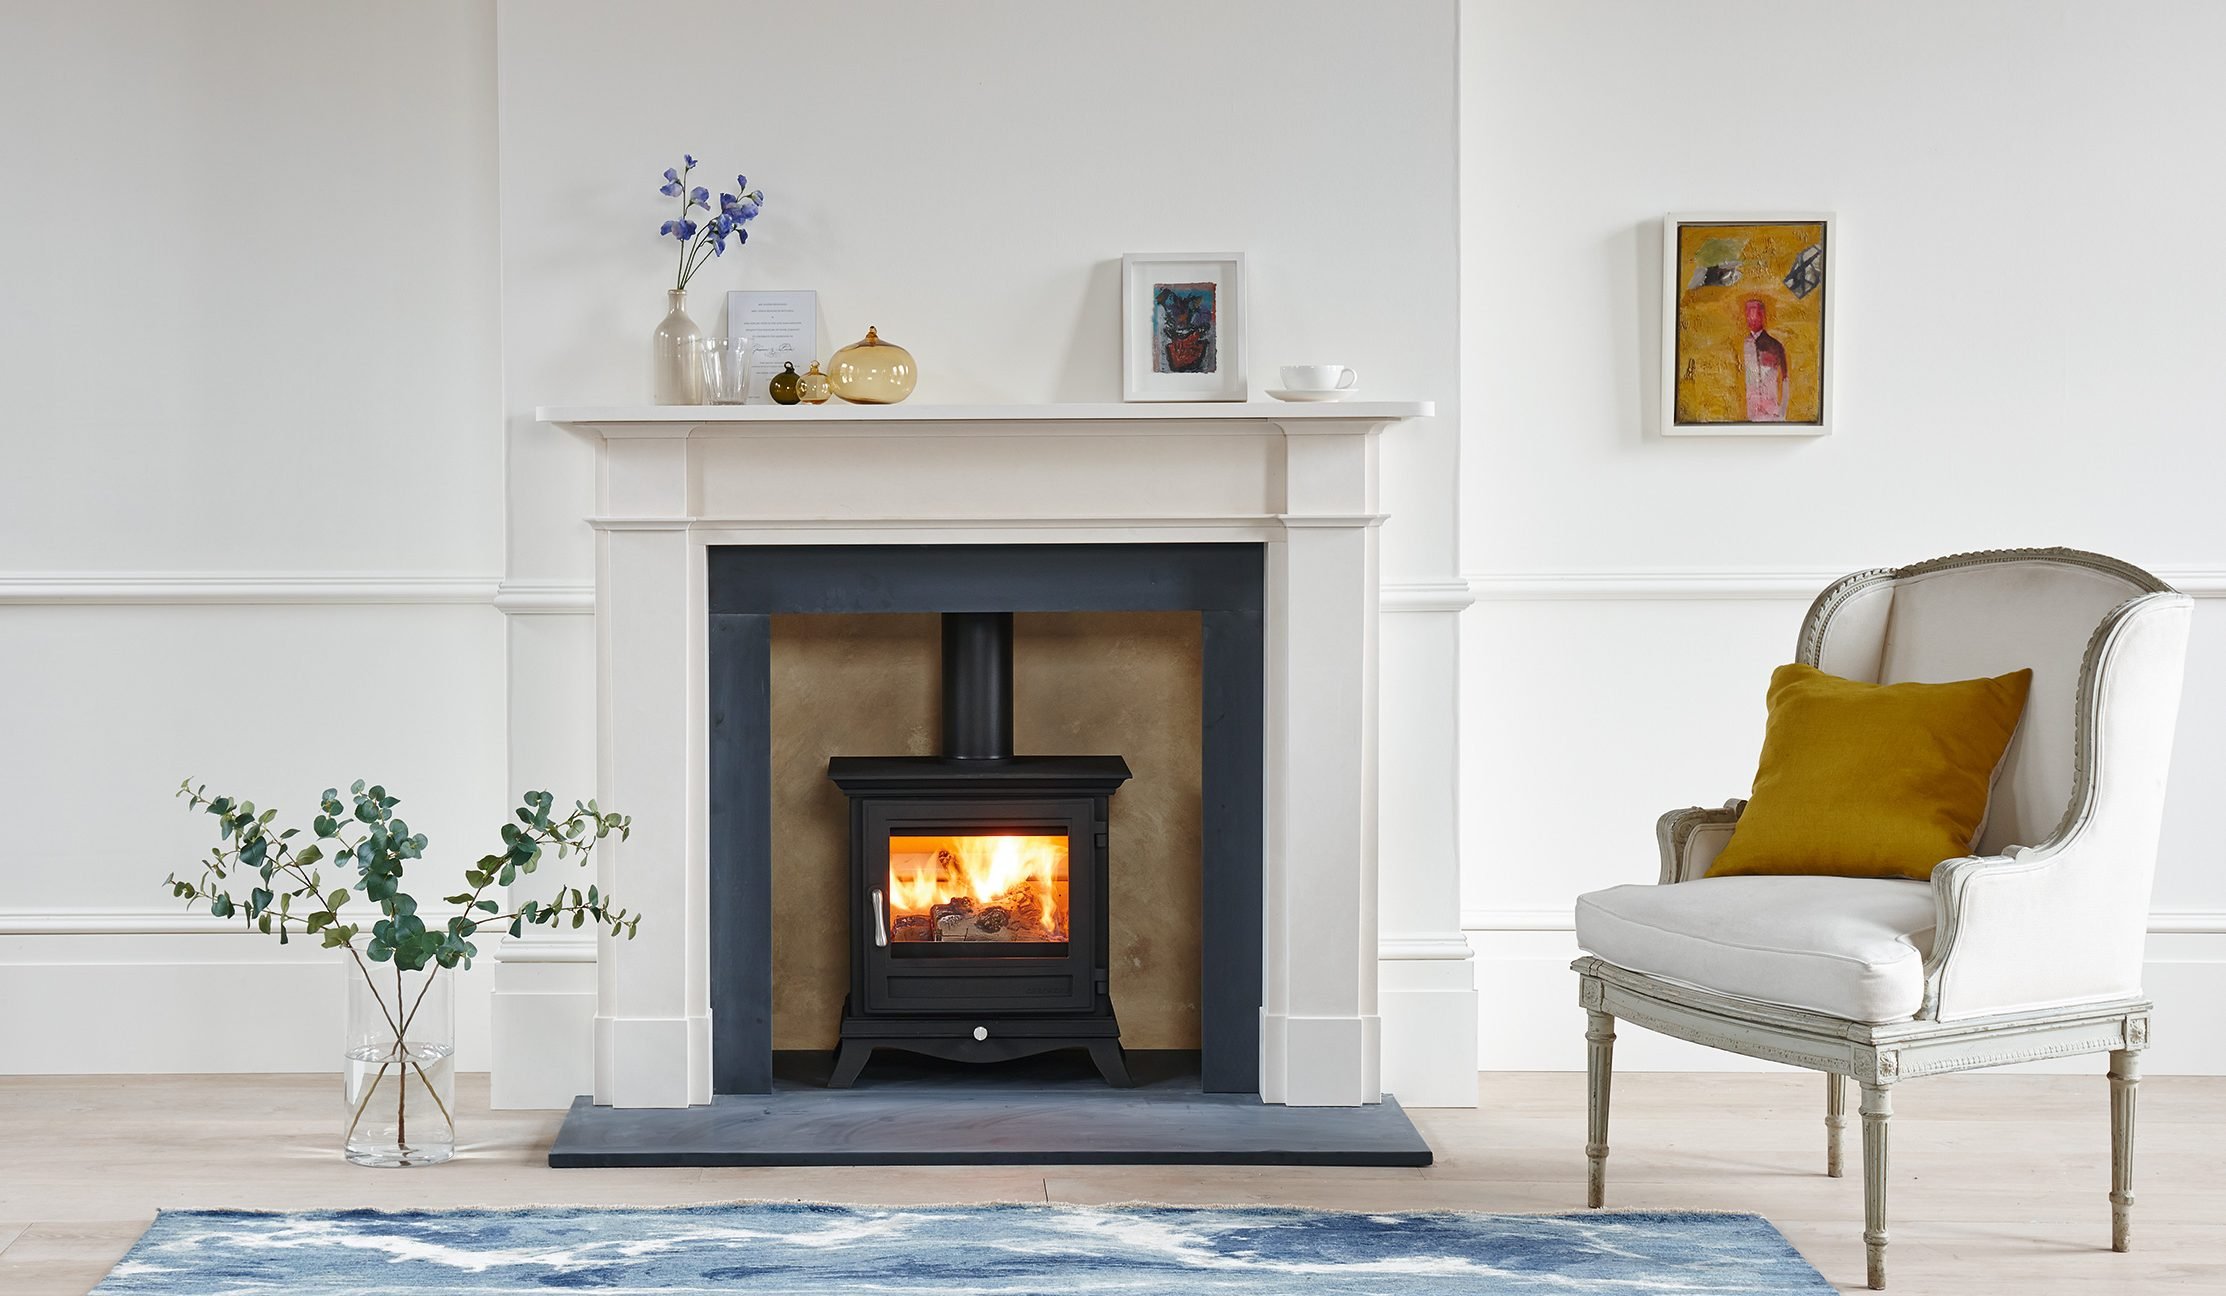
Step 1: Choose the Location
Choosing the right location for your wood burning fireplace is crucial for both safety and functionality. Here are a few factors to consider when selecting the perfect spot:
- Adequate clearance: Ensure that there is enough space around the fireplace to comply with local building codes. This usually includes a specified distance from combustible materials such as walls, furniture, and curtains.
- Accessibility: Choose a location that is easily accessible for loading firewood and cleaning the fireplace.
- Ventilation: The installation area should have proper ventilation to allow the smoke and gases to escape. If you plan to install the fireplace against an exterior wall, you may need to construct a chimney chase or use a direct vent system.
- Room placement: Consider the layout of the room and how the fireplace will complement the overall design and flow of the space.
It’s a good idea to consult with a professional or a fireplace specialist to ensure that your chosen location meets all the necessary requirements and will provide optimal performance.
Once you have determined the best location for your wood burning fireplace, it’s time to move on to the next step: preparing the installation site.
Step 2: Prepare the Installation Site
Before installing the fireplace insert, it’s crucial to prepare the installation site to ensure a safe and secure fit. Follow these steps to prepare the area:
- Clear the area: Remove any furniture, rugs, or other items from the vicinity of the installation site. This will provide ample space to work and minimize the risk of damage to your belongings.
- Protect the flooring: Place a drop cloth or tarp on the floor to protect it from dust, debris, and scratches during the installation process.
- Measure and mark the installation area: Use a tape measure to determine the dimensions of the fireplace insert and mark the area where it will be installed. This will help you ensure that the opening is the proper size and shape to accommodate the insert.
- Prepare the fireplace opening: Depending on your specific fireplace design, you may need to remove any existing components such as a damper or firebox. Follow the manufacturer’s instructions to safely remove these components and prepare the opening for the new insert.
- Check for proper electrical and gas connections: If your wood burning fireplace insert requires electrical or gas connections, make sure that the installation site is equipped to handle these requirements. If needed, consult a licensed electrician or plumber to assist with these connections.
Take your time during this preparation stage to ensure a smooth installation process. Double-check your measurements and ensure that the installation site is clean and free of any obstacles that may hinder the installation.
With the installation site prepared, you’re ready to move on to the next step: installing the fireplace insert.
Step 3: Install the Fireplace Insert
Installing the fireplace insert is a critical step in the process. Follow these steps to ensure a proper and secure installation:
- Position the fireplace insert: Carefully place the fireplace insert into the prepared opening. Make sure it is centered and level within the opening.
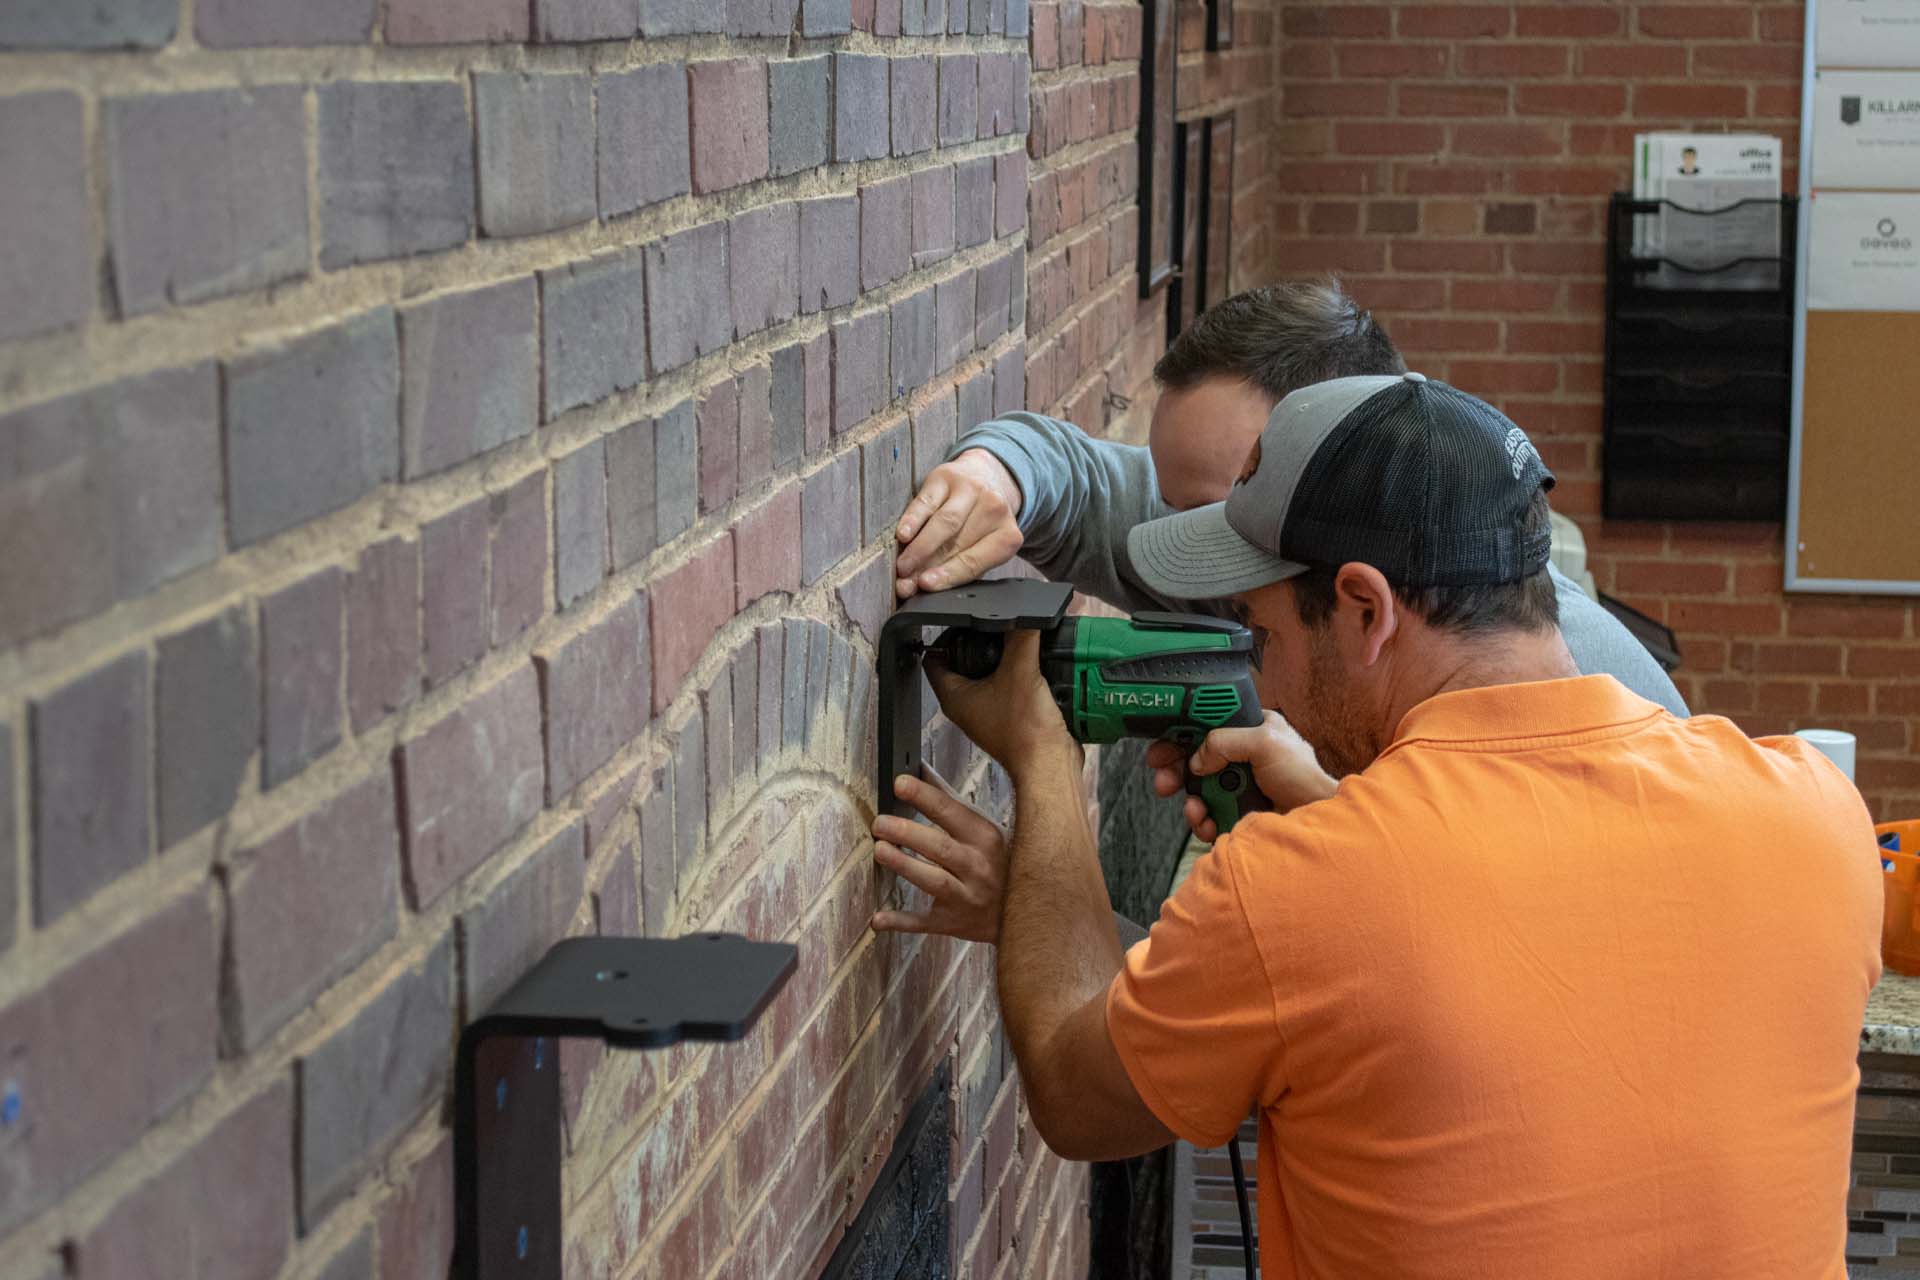
- Secure the fireplace insert: Depending on the specific design of your fireplace insert, you may need to secure it in place using screws or brackets. Follow the manufacturer’s instructions to ensure a secure installation.
- Connect the electrical and gas lines (if applicable): If your fireplace insert requires electrical or gas connections, carefully connect the appropriate lines following the manufacturer’s instructions. Again, if you are unsure or uncomfortable with this step, consult a licensed professional to assist you.
- Inspect the exhaust vents: Ensure that the exhaust vents of the fireplace insert are properly aligned and connected. This will allow for the safe removal of smoke and gases during operation.
During the installation of the fireplace insert, it’s important to take your time and carefully follow the manufacturer’s instructions. If you encounter any difficulties or are unsure about any step, seek assistance from a professional to ensure a safe and proper installation. Once the fireplace insert is securely in place, you can move on to the next step: connecting the flue pipe.
Before installing a wood burning fireplace, ensure that you have a proper chimney in place to vent the smoke and gases. It’s important to follow all local building codes and regulations for safe installation.
Read more: How To Build Wood Burning Fireplace
Step 4: Connect the Flue Pipe
Connecting the flue pipe is an essential part of the wood burning fireplace installation process. The flue pipe is responsible for directing the exhaust gases out of your home. Follow these steps to properly connect the flue pipe:
- Determine the flue pipe size: Measure the diameter of the flue collar on the fireplace insert. This will determine the size of the flue pipe you need to connect.
- Cut the flue pipe sections: Using a saw or tin snips, cut the flue pipe sections to the appropriate lengths, ensuring a snug fit between the fireplace insert and the chimney.
- Connect the flue pipe sections: Slide the flue pipe sections together, making sure to secure them with screws or clamps as necessary. Use high-temperature sealant or gasket material to create an airtight seal between the sections.
- Attach the flue pipe to the fireplace insert: Slide one end of the flue pipe onto the flue collar of the fireplace insert. Secure it in place using screws or clamps, ensuring a tight connection.
- Attach the flue pipe to the chimney: If your fireplace connects to an existing chimney, use a chimney adaptor or flashing to secure the flue pipe to the chimney. Follow the manufacturer’s instructions for the proper installation of the adaptor or flashing.
As you connect the flue pipe, ensure that the sections are aligned properly and there are no gaps or leaks. A tight and secure connection is crucial to maintain the efficiency and safety of your wood burning fireplace.
Once the flue pipe is properly connected, you can proceed to the next step: installing the chimney cap.
Step 5: Install the Chimney Cap
Installing a chimney cap is an important step in the wood burning fireplace installation process. The chimney cap serves multiple purposes, including preventing debris, animals, and rain from entering the chimney. Follow these steps to properly install the chimney cap:
- Choose the appropriate chimney cap: Select a chimney cap that is compatible with the size and structure of your chimney. Ensure that it is made from durable and weather-resistant materials.
- Clean the chimney top: Before installing the chimney cap, make sure the top of the chimney is clean and free from any debris or obstructions. This will ensure a secure and proper fit.
- Position the chimney cap: Carefully place the chimney cap on top of the chimney, ensuring that it is centered and covers the entire chimney opening. Refer to the manufacturer’s instructions for any specific placement requirements.
- Secure the chimney cap: Depending on the design of the chimney cap, you may need to use screws or other fasteners to secure it in place. Make sure the chimney cap is firmly attached and will withstand wind and weather conditions.
Installing a chimney cap not only protects your chimney from damage but also helps improve the overall safety and efficiency of your wood burning fireplace. It is an essential component that should not be overlooked during the installation process.
With the chimney cap securely in place, you can now move on to the next step: adding fireproofing measures.
Step 6: Add Fireproofing
Fireproofing is a crucial step to ensure the safety of your wood burning fireplace and surrounding areas. Adding fireproofing measures will help protect your home from the heat generated by the fireplace. Follow these steps to properly add fireproofing:
- Apply fireproof insulation: Insulate the walls surrounding the fireplace insert with fireproof insulation material. This will help prevent the heat from transferring to combustible materials and reduce the risk of fire.
- Install fire-resistant materials: Use fire-resistant cement board or other approved materials to create a barrier between the fireplace and any combustible materials such as wood or drywall. Follow the manufacturer’s instructions for proper installation.
- Seal gaps and joints: Apply fire-resistant sealant to any gaps or joints in the fireplace insert and surrounding materials. This will further prevent heat and embers from escaping and causing damage.
It’s important to carefully follow all safety guidelines and local building codes when adding fireproofing measures. This will help ensure the proper functioning and safety of your wood burning fireplace.
After implementing the necessary fireproofing measures, it’s time to move on to the final step: testing and inspecting the installation.
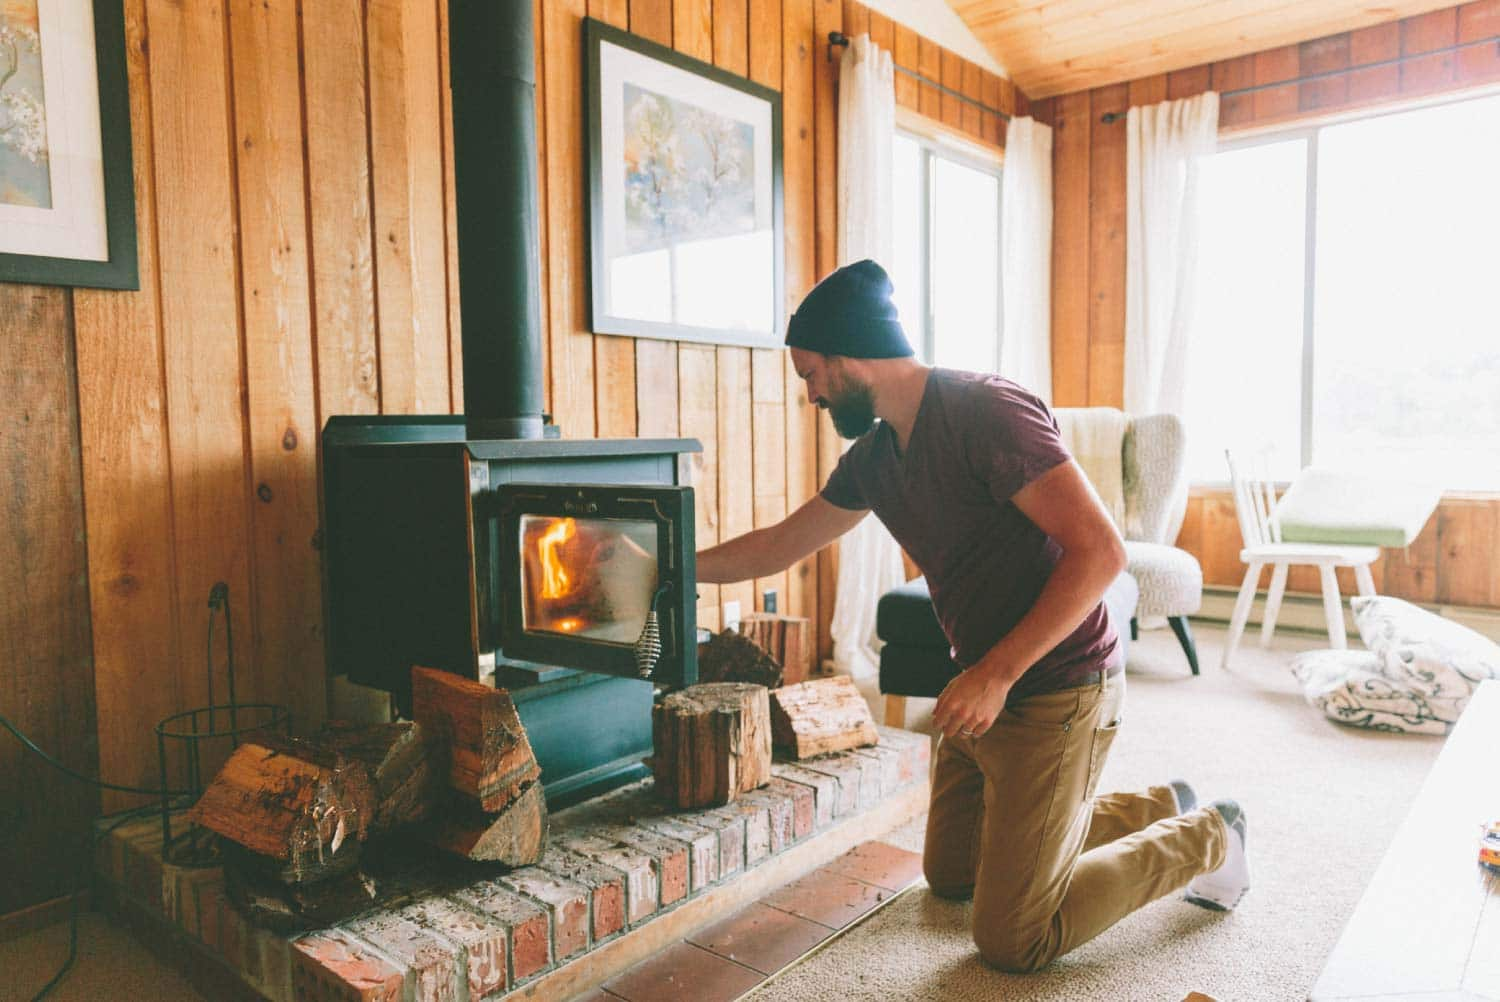
Step 7: Test and Inspect the Installation
Once you have completed the installation of your wood burning fireplace, it’s crucial to thoroughly test and inspect the setup to ensure its safety and functionality. Follow these steps to properly test and inspect the installation:
- Clear the surrounding area: Remove any flammable objects and ensure that there are no combustible materials near the fireplace.
- Ignite a small fire: Start by lighting a small fire in the fireplace to test its functionality. Observe the flames and smoke to ensure they are properly vented through the flue pipe.
- Check for proper airflow: Monitor the airflow to make sure that smoke is being drawn up and out of the chimney effectively. If you notice any backdraft or inadequate ventilation, consult a professional to address the issue.
- Inspect for leaks or damage: Check the flue pipe, chimney cap, and surrounding areas for any signs of leaks or damage. Look for any water stains, rust, or loose connections. These issues should be addressed and repaired promptly.
- Test the carbon monoxide detector: Make sure your carbon monoxide detector is functioning properly and positioned in the appropriate location near the fireplace. Test it to ensure it alerts you to any potential carbon monoxide buildup.
- Conduct regular maintenance: It’s important to schedule regular maintenance and cleaning of your wood burning fireplace. Follow the manufacturer’s instructions for maintenance tasks such as removing ashes, cleaning the chimney, and inspecting the components.
Testing and inspecting the installation of your wood burning fireplace are critical to identify any potential issues and resolve them promptly. It’s essential to prioritize safety and ensure that the fireplace functions correctly and efficiently.
Congratulations! You have successfully installed your wood burning fireplace. Now you can enjoy the warmth and ambiance it provides while following proper safety guidelines.
Remember to always comply with local building codes, follow manufacturer’s instructions, and consult professionals when in doubt. Stay safe and enjoy your cozy and inviting wood burning fireplace!
Read more: How To Prepare A Fireplace For Wood Burning
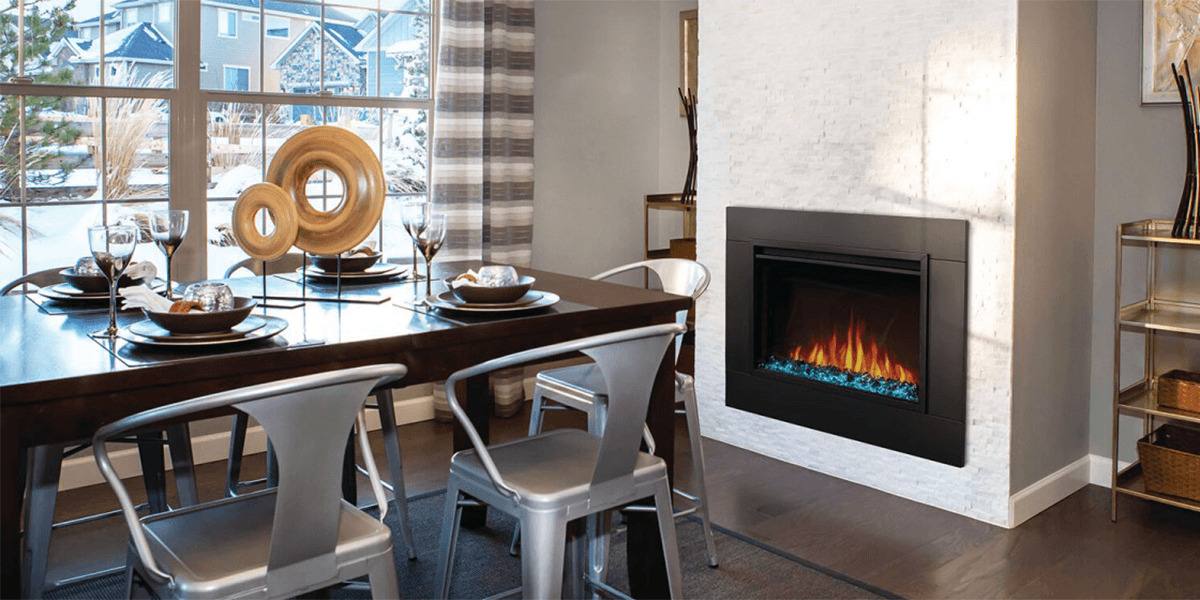
Conclusion
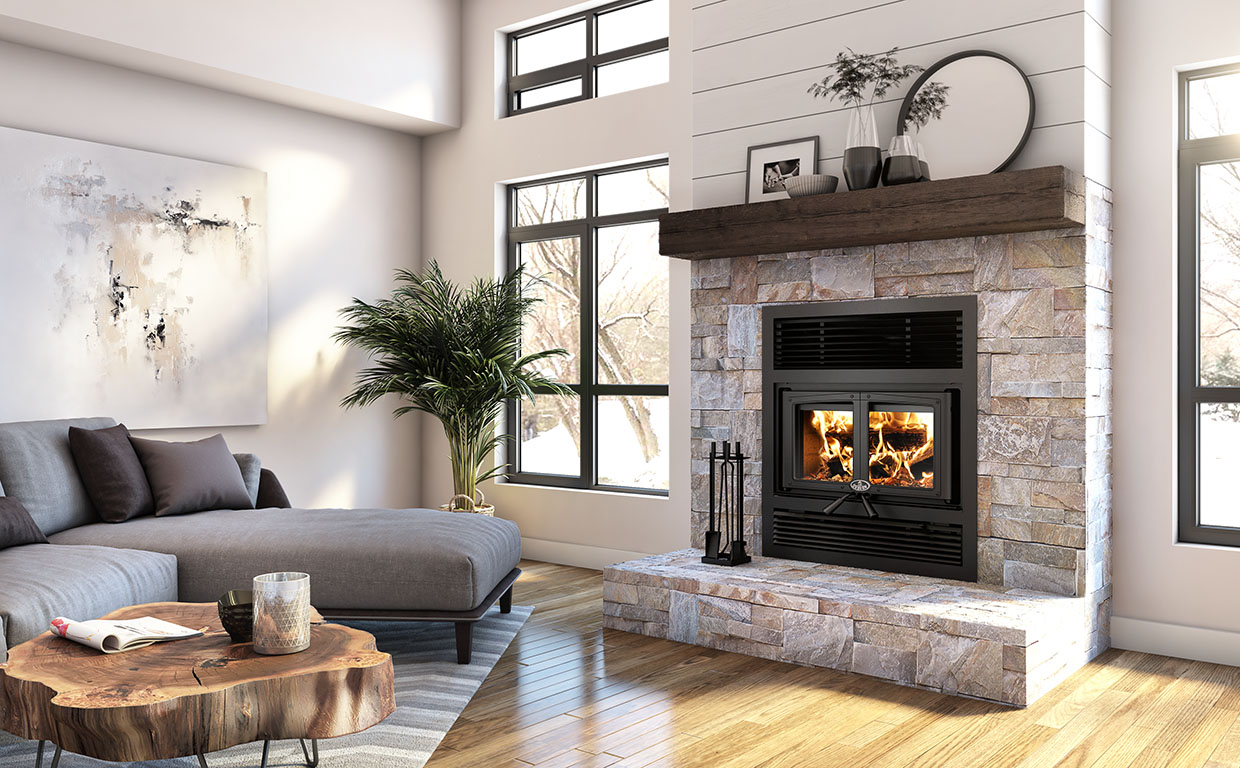
Installing a wood burning fireplace in your home can be a rewarding project that enhances both the aesthetic appeal and functionality of your living space. By following the step-by-step process outlined in this article, you can successfully install a wood burning fireplace and create a cozy and inviting atmosphere for years to come.
From choosing the right location and preparing the installation site to connecting the flue pipe and installing the chimney cap, each step plays a crucial role in ensuring the safety and efficiency of your fireplace. By carefully following the instructions and consulting professionals when needed, you can avoid potential hazards and enjoy the warmth and beauty of a wood burning fireplace with peace of mind.
Remember, safety should always be your top priority. Be sure to adhere to local building codes and manufacturer’s instructions, and consider consulting experts or professionals for guidance throughout the installation process.
Once your wood burning fireplace is installed, don’t forget to regularly test and inspect the setup, maintain proper airflow, and follow recommended maintenance tasks. By staying vigilant and addressing any issues promptly, you can ensure the continued performance and safety of your fireplace.
Now, sit back, relax, and enjoy the crackling sound and comforting glow of your very own wood burning fireplace. Create special moments with loved ones, read a book, or simply savor the cozy ambiance it provides during the colder months. Stay warm and cozy!
Frequently Asked Questions about How To Install Wood Burning Fireplace
Was this page helpful?
At Storables.com, we guarantee accurate and reliable information. Our content, validated by Expert Board Contributors, is crafted following stringent Editorial Policies. We're committed to providing you with well-researched, expert-backed insights for all your informational needs.


0 thoughts on “How To Install Wood Burning Fireplace”