Articles
How To Prepare A Fireplace For Wood Burning
Modified: February 24, 2024
Learn the step-by-step process of preparing your fireplace for wood burning with our informative articles. Ensure a safe and efficient fire every time!
(Many of the links in this article redirect to a specific reviewed product. Your purchase of these products through affiliate links helps to generate commission for Storables.com, at no extra cost. Learn more)
Introduction
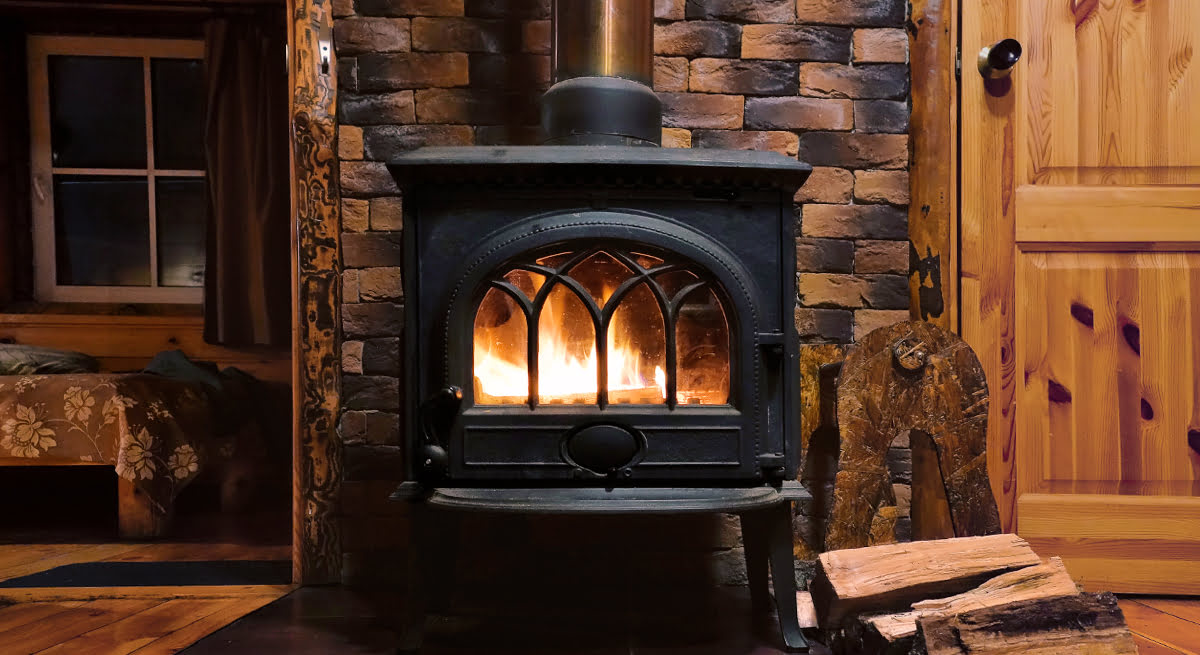
Welcome to the complete guide on how to prepare a fireplace for wood burning. There is something magical about sitting by a roaring fire on a cold winter night, the crackling sounds and the warmth it provides can create a cozy and inviting atmosphere in any home. However, before you can enjoy the benefits of a wood-burning fireplace, there are a few important steps you need to take to ensure its safety and efficiency.
In this article, we will walk you through the process of preparing your fireplace for wood burning. From clearing the area around the fireplace to building and maintaining a fire, we will cover everything you need to know to enjoy a safe and enjoyable wood-burning experience.
So, whether you’ve recently moved into a new home with a fireplace or you’re considering installing a wood-burning fireplace, this guide will provide you with the information you need to get started. Let’s dive in!
Key Takeaways:
- Prior to lighting a wood-burning fireplace, ensure the area is clear, the chimney is clean, and the firebox is prepared. Regular maintenance and adherence to safety precautions are crucial for a cozy and safe wood-burning experience.
- Selecting the right firewood, building and lighting the fire, and maintaining it are essential steps in enjoying a successful wood-burning session. Safety precautions, regular maintenance, and professional inspections are vital for a safe and efficient wood-burning fireplace.
Read more: How To Build Wood Burning Fireplace
Step 1: Clearing the Area
Before you begin preparing your fireplace for wood burning, it’s essential to clear the area around it. This step is crucial for both safety and functionality purposes. Here’s what you need to do:
- Remove any flammable items: Take a thorough look around your fireplace and remove any flammable items such as papers, fabrics, or furniture that are too close to the hearth. Keeping a clear and clutter-free area around the fireplace will reduce the risk of accidental fires.
- Clean the hearth: Use a broom or a vacuum cleaner to remove any dust, dirt, or debris from the hearth and surrounding area. It’s important to have a clean surface before you start building a fire to avoid any potential hazards.
- Inspect the chimney: Take a close look at the chimney opening to ensure there are no obstructions like bird nests or leaves. If you notice any blockages, call a professional chimney sweep to safely remove them. A clear chimney will not only improve ventilation but also prevent smoke from entering your home.
- Check for cracks or damages: Examine the fireplace and chimney for any signs of cracks or damages. Pay close attention to the mortar joints, as these can deteriorate over time. If you notice any issues, it’s best to consult a professional to repair or restore your fireplace before using it.
By clearing the area around your fireplace, you create a safe and inviting space for wood burning. This step is crucial for preventing accidents and ensuring that your fireplace operates efficiently. Once you’ve completed these tasks, you can move on to the next step: inspecting the fireplace.
Step 2: Inspecting the Fireplace
After clearing the area around your fireplace, the next step is to inspect the fireplace itself. This inspection will help ensure that your fireplace is in good condition and ready for wood burning. Here’s what you need to do:
- Check the damper: The damper is a metal or ceramic plate that controls the airflow in your fireplace. Make sure the damper is functioning properly by opening and closing it. If you notice any issues, such as difficulty in operation or damage, it’s advisable to have it repaired or replaced by a professional.
- Look for signs of creosote buildup: Creosote is a flammable substance that can accumulate inside the chimney. Check for any signs of black, sticky residue on the interior walls of the fireplace or chimney. Excessive creosote buildup can increase the risk of chimney fires, so it’s essential to remove it. Consider hiring a professional chimney sweep to perform a thorough cleaning.
- Inspect the flue: The flue is the passageway that allows smoke and gases to escape from your fireplace. Ensure that the flue is clear and free from any debris or blockages. You can use a flashlight to have a closer look up the chimney. Any obstructions should be removed to maintain proper ventilation.
- Examine the fireplace structure: Take a close look at the fireplace structure, including the bricks, mortar, and firebox. Look for any loose or damaged bricks, crumbling mortar, or signs of wear and tear. If you notice any structural issues, it’s crucial to address them before using the fireplace. Consult a professional mason or fireplace specialist for repairs or renovations.
By thoroughly inspecting your fireplace, you can identify any potential issues and address them before starting the wood-burning process. This step ensures that your fireplace operates safely and efficiently. Once you’ve completed the inspection, it’s time to move on to the next step: cleaning the chimney.
Step 3: Cleaning the Chimney
Regular chimney cleaning is essential for maintaining the safety and efficiency of your wood-burning fireplace. Over time, soot, debris, and creosote can build up inside the chimney, increasing the risk of chimney fires. Here’s how you can clean your chimney:
- Consider hiring a professional: Chimney cleaning can be a challenging and potentially dangerous task. It’s recommended to hire a professional chimney sweep who has the expertise and specialized equipment to clean your chimney thoroughly. A professional chimney sweep will ensure that your chimney is free from any blockages or buildup.
- Use a chimney cleaning solution: If you’re planning to clean the chimney yourself, you can use a chimney cleaning solution that helps break down creosote and soot. Follow the instructions on the product carefully and make sure to wear protective gear, such as gloves and goggles, to prevent any contact with the cleaning solution.
- Sweep the chimney: Using a chimney brush and rod, carefully sweep the chimney from the top downwards. Make sure to cover the fireplace opening with a sheet or tarp to prevent soot and debris from entering your home. Take your time and ensure that you remove all the buildup inside the chimney.
- Inspect the chimney cap and spark arrestor: While cleaning the chimney, take the opportunity to inspect the chimney cap and spark arrestor. Make sure they are intact and free from any damage or blockages. The chimney cap and spark arrestor play a vital role in preventing animals, debris, and sparks from entering the chimney.
Cleaning the chimney is a critical step in preparing your fireplace for wood burning. It helps ensure that your chimney functions properly and reduces the risk of chimney fires. Whether you choose to hire a professional or clean it yourself, regular chimney cleaning should be a priority for any wood-burning fireplace owner.
Once you’ve completed the chimney cleaning, it’s time to move on to the next step: gathering firewood.
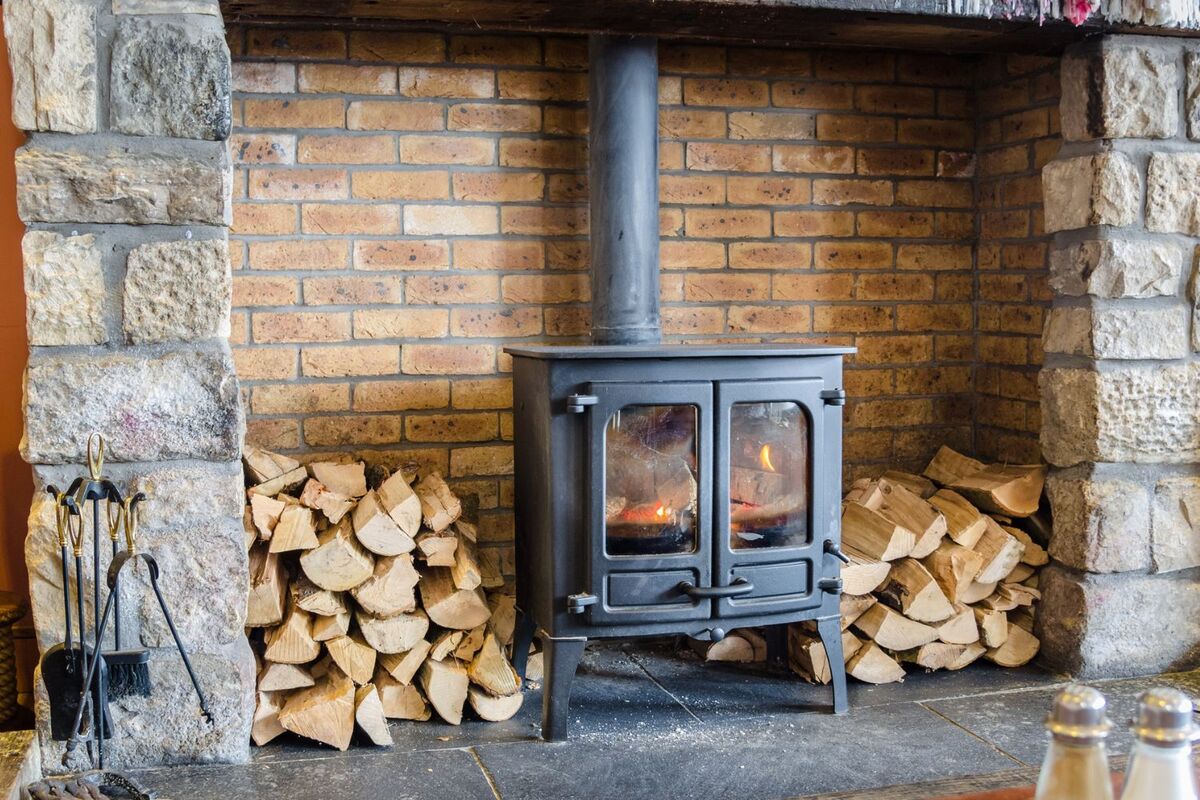
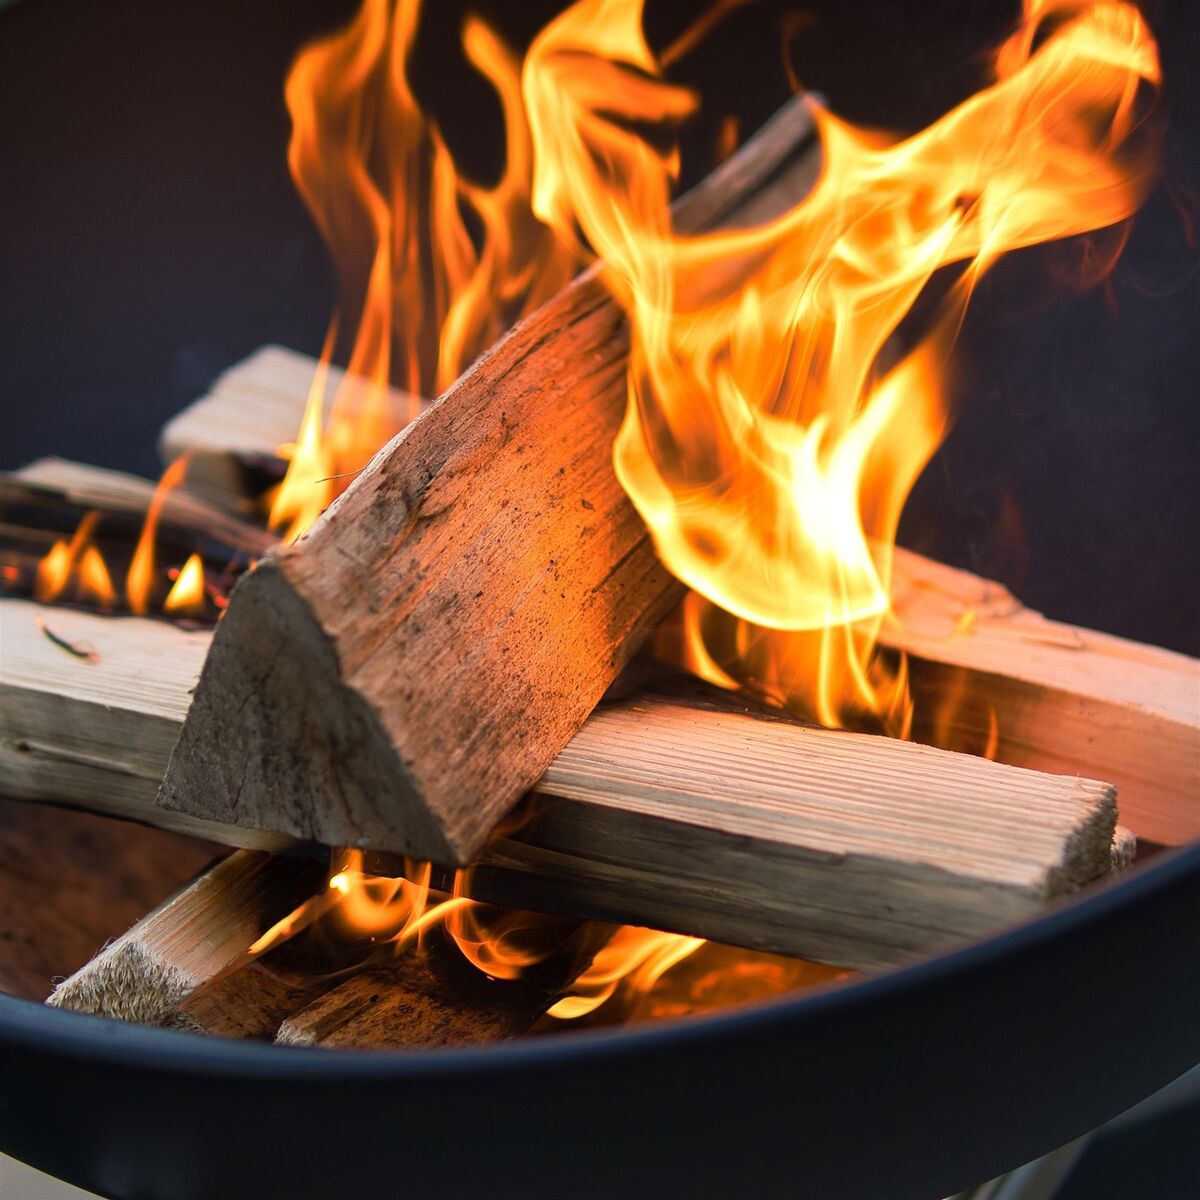
Step 4: Gathering Firewood
Gathering firewood is a crucial step in preparing your fireplace for wood burning. Choosing the right type of firewood can significantly impact the quality of your fire and the efficiency of your fireplace. Here are some important considerations when gathering firewood:
- Select the right type of wood: Choose hardwoods like oak, maple, or birch for your fireplace. Hardwoods burn longer and produce more heat compared to softwoods like pine or cedar. It’s important to use properly seasoned firewood, which has been cut, split, and dried for at least six months. Seasoned firewood burns cleaner and produces less creosote buildup.
- Properly store firewood: Store your firewood in a dry, well-ventilated area. It should be raised off the ground on a pallet or rack to prevent moisture absorption and pest infestation. Allow the firewood to continue drying in storage to achieve the optimal moisture content of around 20% for efficient burning.
- Ensure the right size of firewood: Cut firewood into suitable lengths that fit your fireplace. The standard length is around 16 inches, but adjust it according to your fireplace dimensions. Use a chainsaw or axe to split larger logs into smaller pieces for easier handling and better airflow.
- Consider the firewood’s moisture content: Wet or green firewood with high moisture content will produce more smoke and less heat. It’s important to use properly seasoned firewood with low moisture content to maximize heat output and minimize harmful emissions.
Gathering and preparing the right firewood is essential for a successful wood-burning experience. By selecting the right type of wood, storing it properly, and ensuring it is well-seasoned, you will have a consistent and efficient fire in your fireplace.
Once you have gathered and prepared the firewood, you are ready to move on to the next step: preparing the firebox.
Before starting a fire, make sure the chimney is clean and clear of any debris. Open the damper to allow for proper airflow and use dry, seasoned wood for the best results.
Read more: How To Install Wood Burning Fireplace
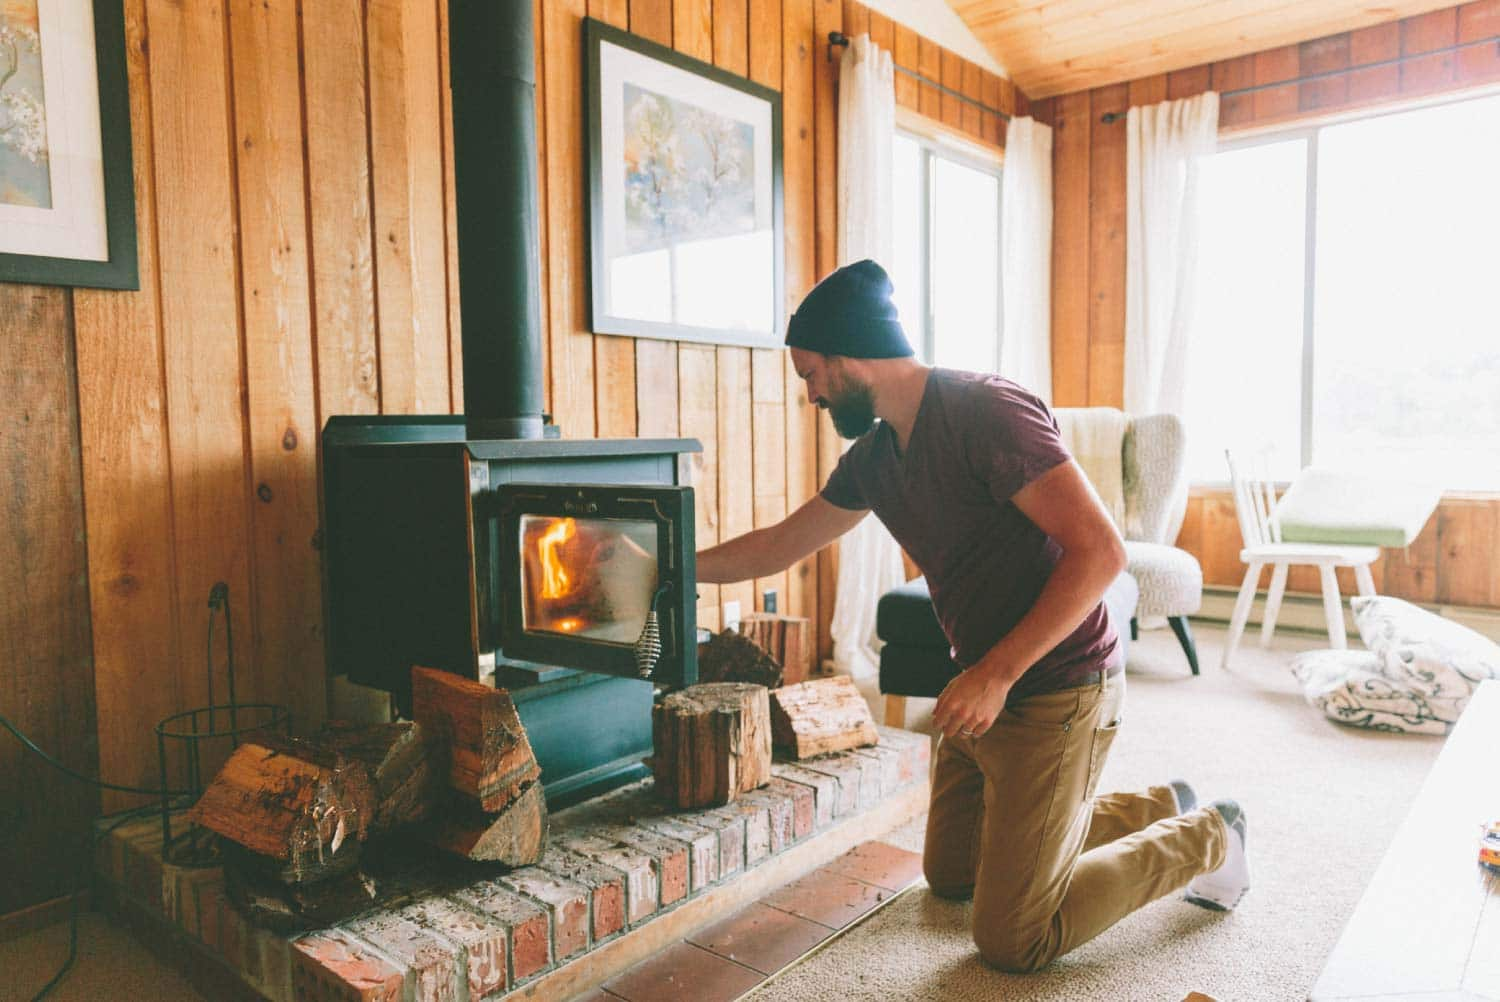
Step 5: Preparing the Firebox
Preparing the firebox is an important step in getting your fireplace ready for wood burning. The firebox is the area where the fire will be contained, and properly preparing it ensures a safe and efficient fire. Here’s how you can prepare the firebox:
- Clean out any ash: Before starting a new fire, remove any old ash that may be left in the firebox. Use a fireplace shovel and ash bucket to carefully scoop out the ash and dispose of it in a metal container. Make sure the ash has completely cooled before disposing of it.
- Arrange the firewood: Place the firewood in the firebox, ensuring that there is enough space between the logs for air circulation. It’s best to stack the logs in a crisscross pattern, allowing for better airflow and easier ignition. Start with smaller pieces of firewood at the bottom and gradually stack larger logs on top.
- Consider using kindling: Kindling is small, dry pieces of wood that help start the fire. Place a layer of kindling on top of the firewood stack in the firebox. This will provide a quick and easy ignition source to get the fire started.
- Create a tinder bundle: A tinder bundle is a collection of highly flammable materials that will catch fire easily. Place a handful of small twigs, dry leaves, or crumpled newspaper on top of the kindling to create the tinder bundle. This will help ignite the firewood quickly and efficiently.
Properly preparing the firebox ensures that the fire is well-ventilated, allowing for optimal combustion and heat output. By clearing out the ash, arranging the firewood, using kindling, and creating a tinder bundle, you set the stage for a successful fire in your fireplace.
Once you’ve prepared the firebox, it’s time to move on to the next step: building and lighting the fire.
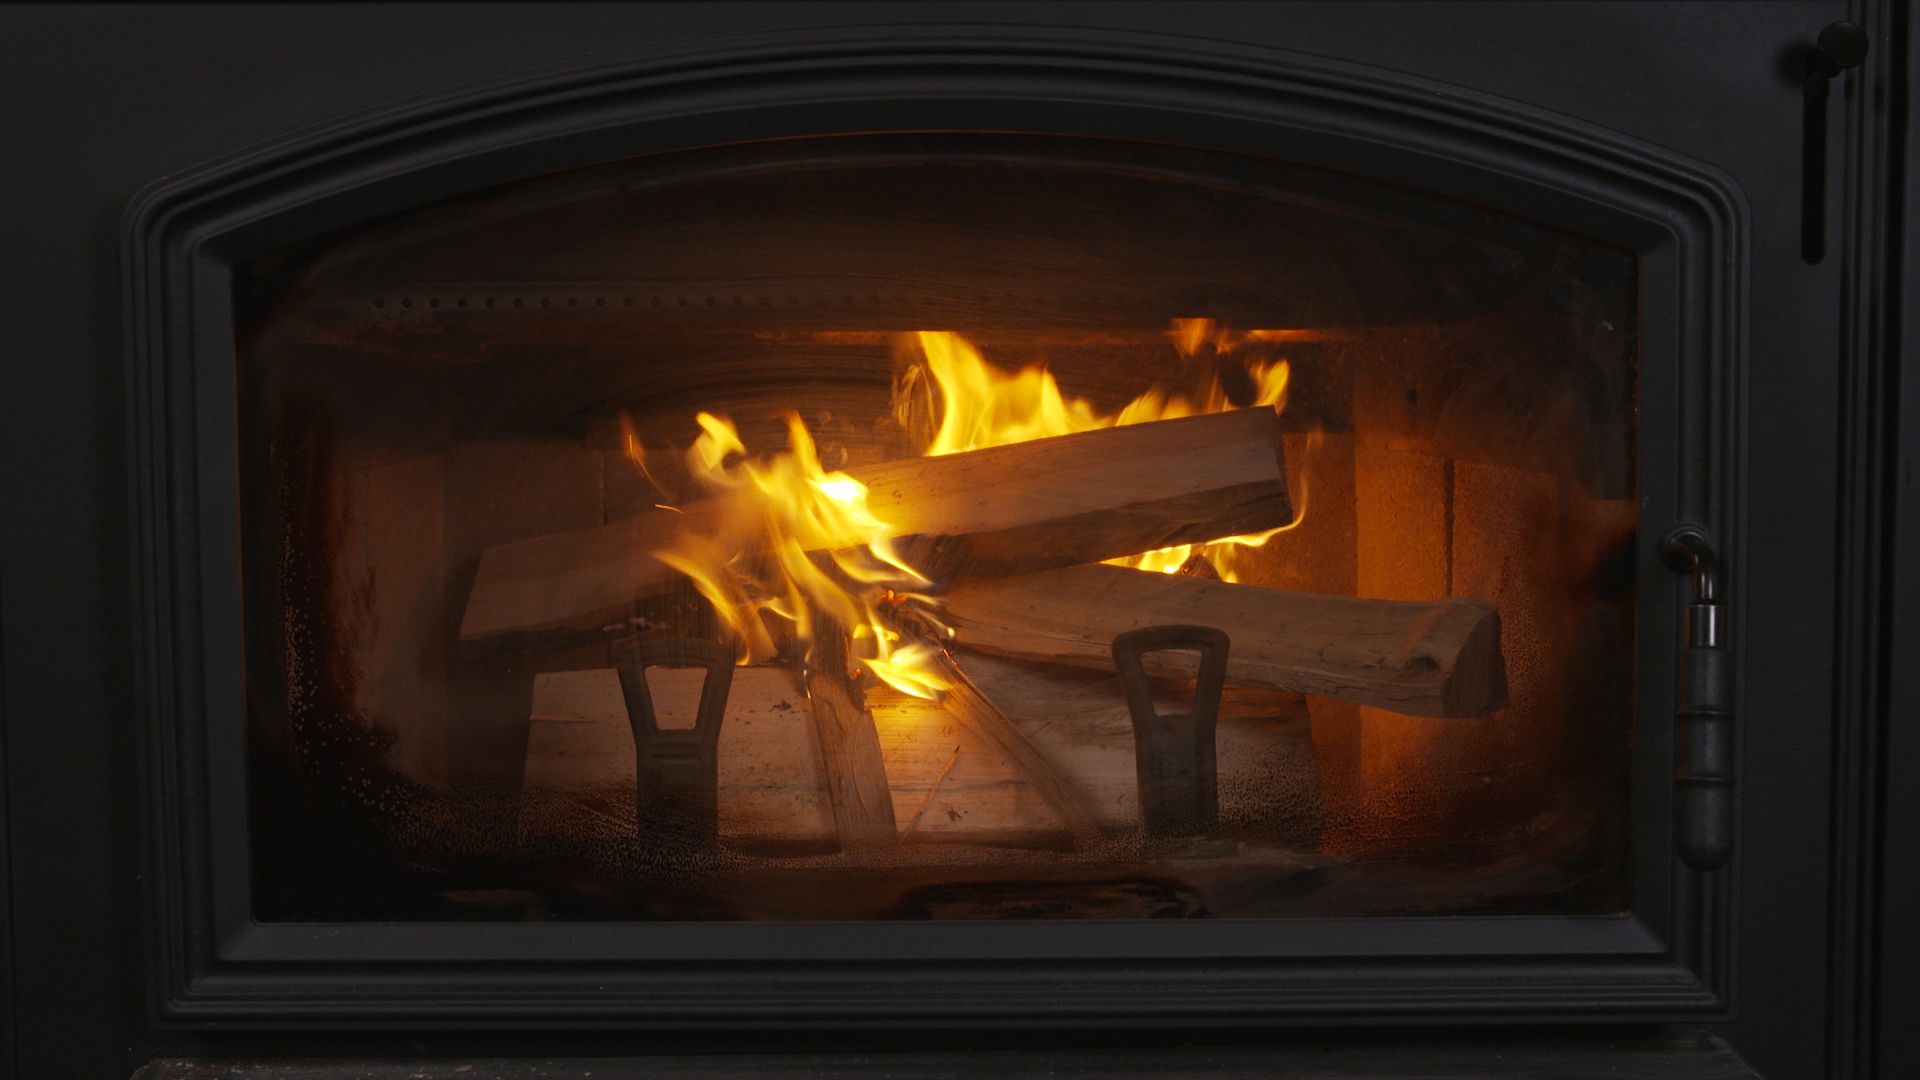
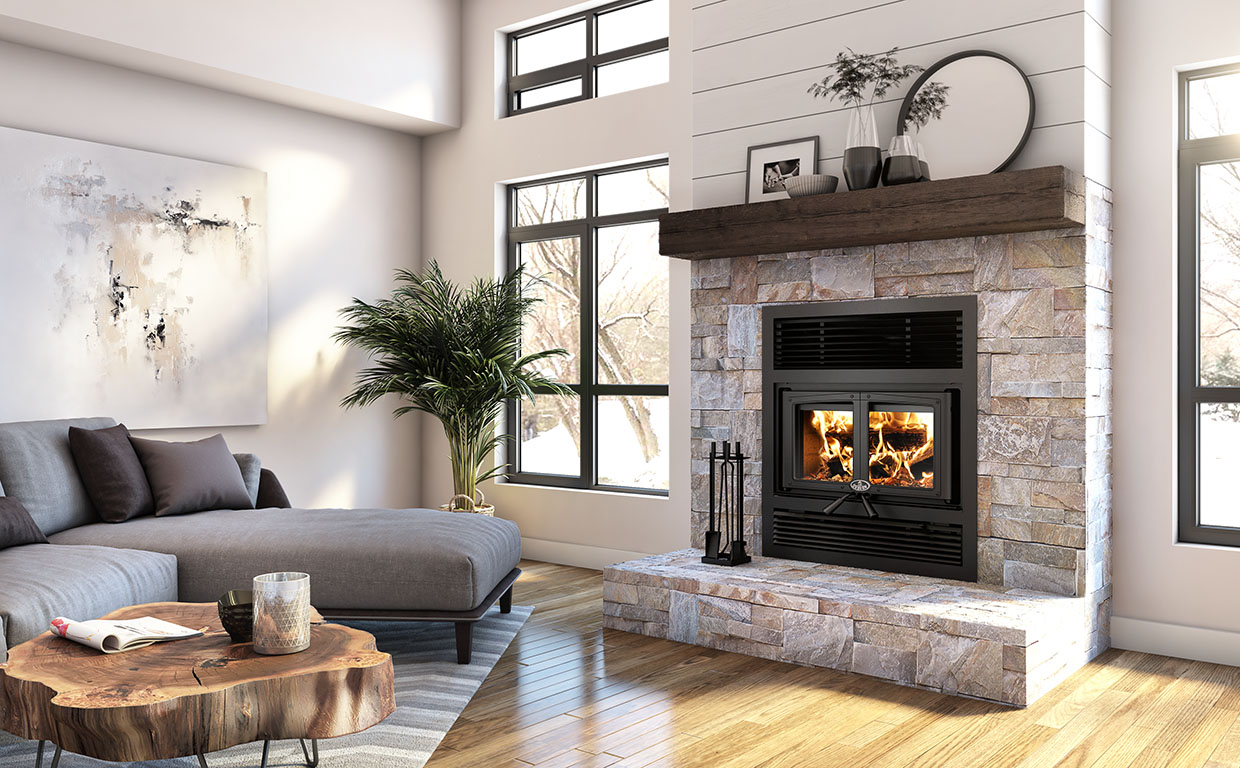
Step 6: Building and Lighting the Fire
Building and lighting the fire is where the magic happens. It’s the moment when you bring warmth and ambiance into your home. Follow these steps to effectively build and light a fire in your wood-burning fireplace:
- Open the damper: Start by ensuring that the damper is fully open. This allows for proper airflow and ventilation, which is essential for a successful fire.
- Ignite the tinder bundle: Use a long-reach lighter or matches to carefully ignite the tinder bundle in the firebox. Make sure to apply the flame to multiple points within the bundle to increase the chances of a successful ignition.
- Build the fire gradually: Once the tinder bundle is ignited, gently add more kindling and small pieces of firewood to the firebox. Be cautious not to smother the flames by adding too much wood at once. Allow the fire to grow gradually to ensure proper combustion.
- Arrange the logs: As the fire grows and the kindling and smaller pieces of wood start to burn, you can add larger logs to the firebox. Stack the logs in a way that allows air to circulate freely. This will promote better combustion and sustained heat output.
- Adjust the airflow: Pay attention to the intensity of the fire and the amount of smoke being produced. If necessary, adjust the damper or open a nearby window to increase the airflow. This will help improve combustion and reduce the chances of smoke entering your home.
Building and lighting the fire requires patience and attention to detail. By following these steps and taking the time to build the fire gradually, you can create a beautiful and long-lasting fire in your wood-burning fireplace.
Once the fire is burning steadily, it’s time to move on to the next step: maintaining the fire.
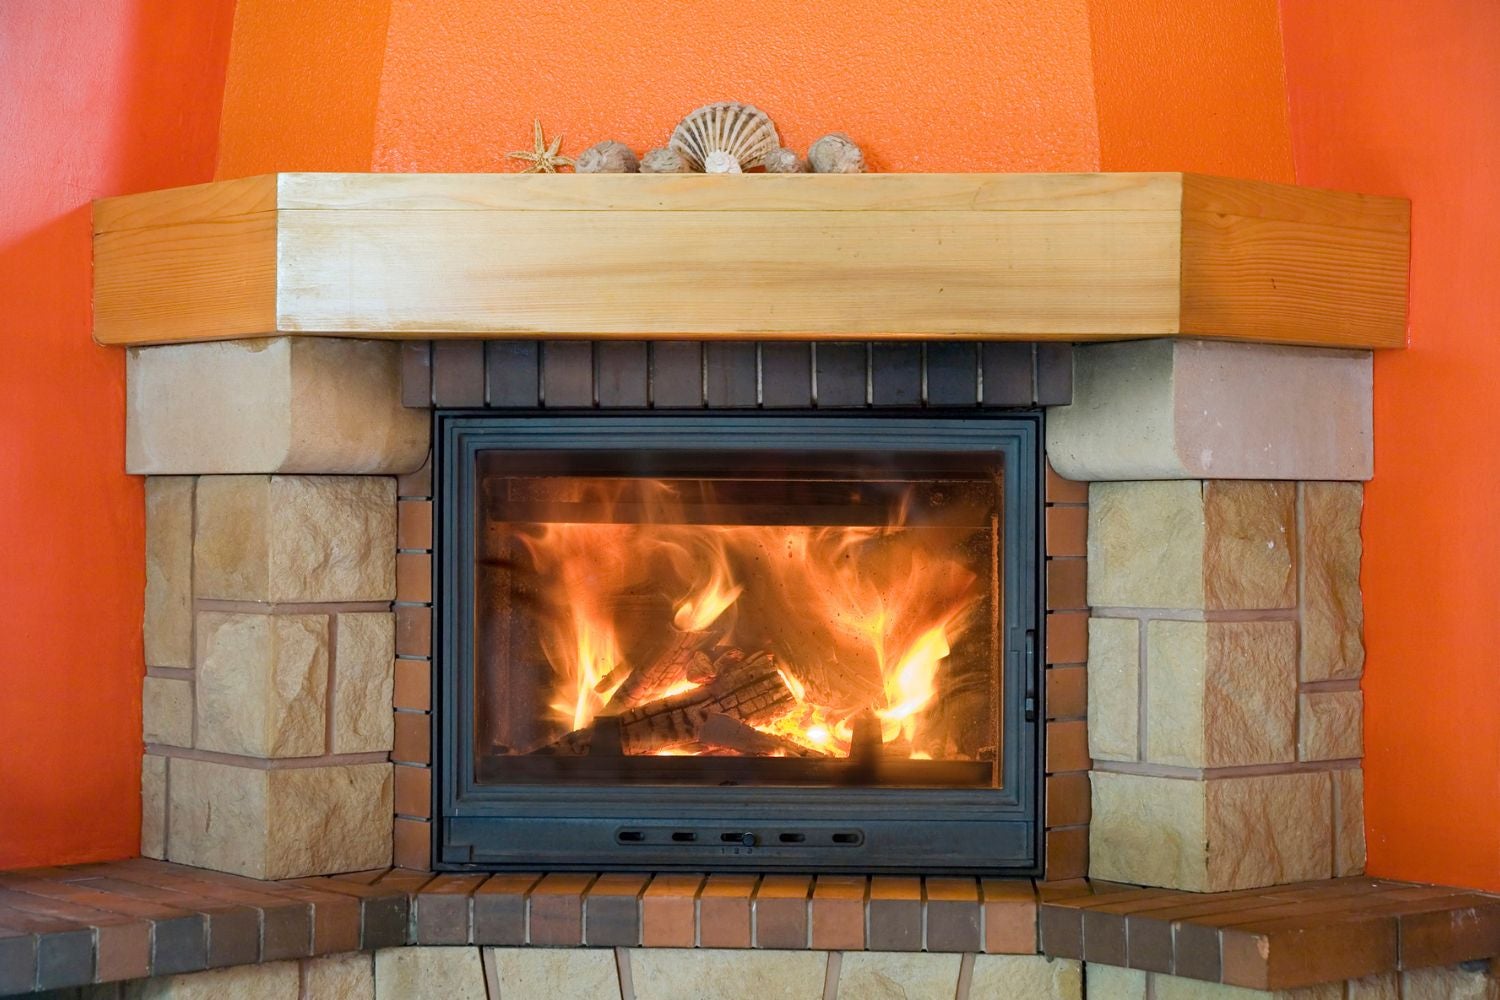
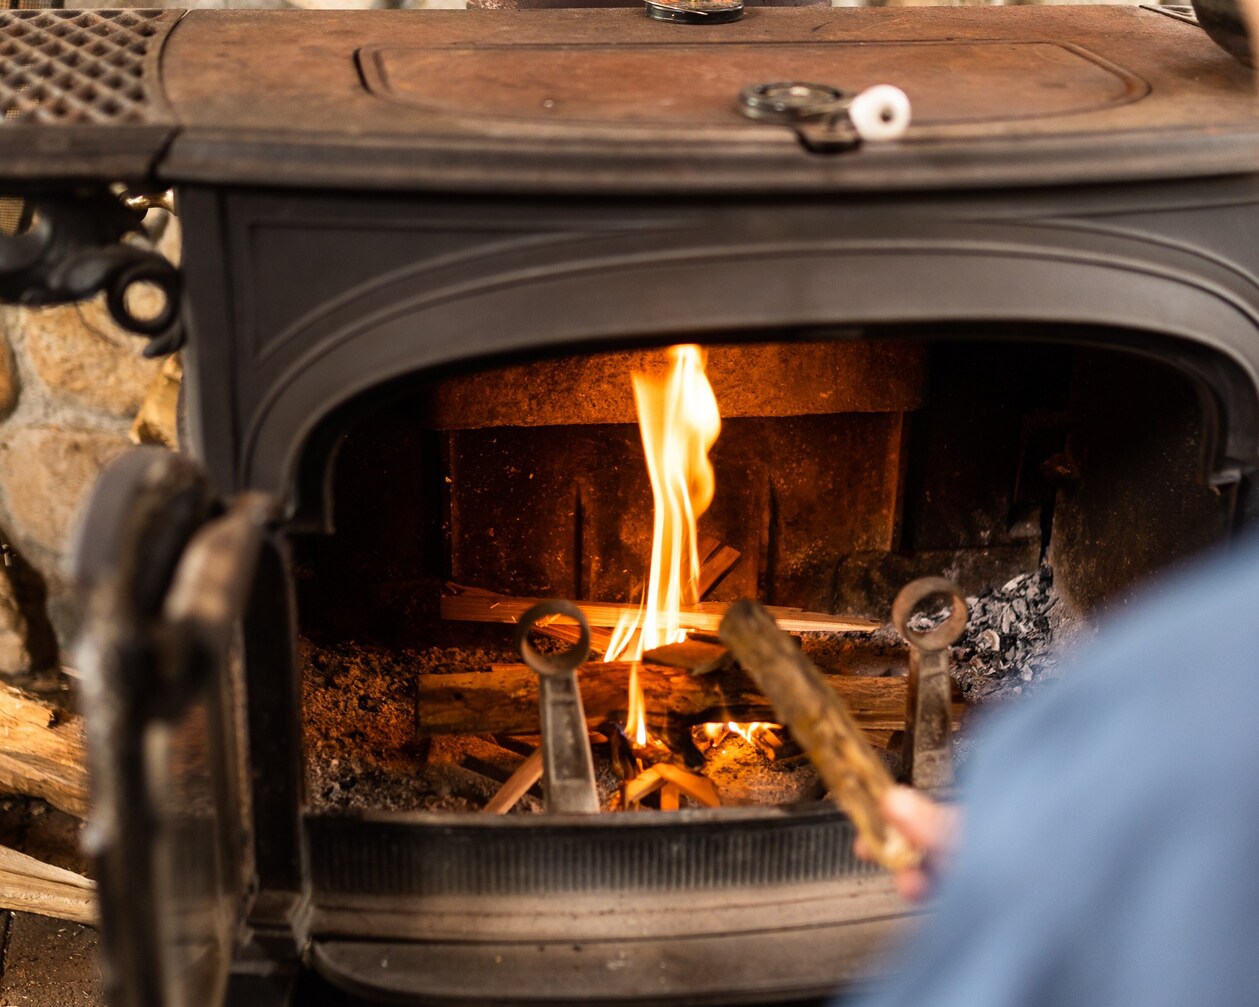
Step 7: Maintaining the Fire
Maintaining the fire is essential to ensure a steady heat source and a safe wood-burning experience. Follow these steps to effectively maintain the fire in your wood-burning fireplace:
- Add firewood as needed: Monitor the fire and add more firewood as needed. Ensure that there is always enough space between the logs for proper air circulation. Avoid overcrowding the firebox, as it can lead to incomplete combustion and excessive smoke.
- Use the 2/3 rule: To maintain a consistent fire, follow the 2/3 rule. As the fire burns down, add more firewood when it has reduced to approximately 2/3 of its initial size. This will help maintain a steady heat output throughout your wood-burning session.
- Rake and adjust the logs: Use a fireplace rake or poker to gently rake and adjust the logs as needed. This will help distribute the burning wood evenly and promote a more efficient burn. Avoid stirring the fire excessively, as it can disrupt the airflow and result in increased smoke production.
- Remove ash buildup: Regularly remove ash buildup from the firebox. Use a fireplace shovel and ash bucket to safely scoop out the ash. Leave a thin layer of ash on the firebox floor, as it acts as insulation and helps maintain a consistent heat output.
- Keep a fire extinguisher nearby: As a safety precaution, always have a fire extinguisher nearby. Accidents can happen, and it’s important to be prepared. Make sure that all household members know the location of the fire extinguisher and understand how to use it.
Maintaining the fire ensures that it continues to burn safely and efficiently. By adding firewood as needed, using the 2/3 rule, adjusting the logs, removing ash buildup, and keeping a fire extinguisher nearby, you can enjoy a cozy and comforting wood-burning experience.
Once you’re ready to finish your wood-burning session, follow the next step: safety precautions.
Step 8: Safety Precautions
Ensuring the safety of yourself, your home, and your loved ones should always be a priority when using a wood-burning fireplace. Follow these important safety precautions to minimize the risk of accidents:
- Install smoke and carbon monoxide detectors: Make sure your home is equipped with working smoke detectors and carbon monoxide detectors. Test them regularly to ensure they are functioning properly.
- Never leave the fire unattended: Never leave a fire unattended in your wood-burning fireplace. Always extinguish the fire properly before leaving the room or going to bed.
- Use a fireplace screen: Install a sturdy fireplace screen to prevent embers or logs from accidentally rolling out of the firebox and causing damage or injuries. The screen should be made of metal or tempered glass and securely fastened.
- Keep flammable objects at a safe distance: Maintain a safe distance between the fireplace and any flammable objects such as furniture, curtains, or decorations. Be particularly mindful of children and pets, ensuring they are kept away from the fireplace when it’s in use.
- Dispose of ashes properly: Allow the ashes to cool completely before disposing of them in a metal container. Place the container outside on a non-combustible surface away from any flammable materials. Never dispose of ashes in a regular trash bin or plastic bag.
- Regularly inspect and maintain your fireplace: Schedule regular inspections and maintenance by a professional chimney sweep or fireplace specialist. They can identify any potential issues and ensure that your fireplace is functioning properly.
- Educate yourself and your family: Make sure everyone in your household understands the proper usage and safety guidelines for using a wood-burning fireplace. Teach children about the potential dangers and what to do in case of an emergency.
- Have a fire extinguisher on hand: Keep a fire extinguisher nearby and ensure that everyone knows how to use it. In the event of a small fire or ember escape, having a fire extinguisher readily available can help prevent further damage.
By following these safety precautions, you can enjoy the warmth and beauty of a wood-burning fireplace with peace of mind. Remember, safety should always be a priority when using any type of heating appliance in your home.
With these steps, you are now well-equipped to prepare your fireplace for wood burning. By clearing the area, inspecting the fireplace, cleaning the chimney, gathering firewood, preparing the firebox, building and lighting the fire, maintaining the fire, and practicing safety precautions, you can create a cozy and enjoyable wood-burning experience for yourself and your loved ones.
Stay warm and safe!
Read more: How To Use A Wood Burning Fireplace
Conclusion
Congratulations! You have now learned how to prepare a fireplace for wood burning. By following these steps, you can safely and efficiently enjoy the warmth and ambiance of a wood-burning fire in your home.
The process begins with clearing the area around the fireplace and inspecting the fireplace itself to ensure it is in proper working condition. Cleaning the chimney is essential for maintaining good airflow and preventing chimney fires. Gathering the right type of firewood, properly storing it, and ensuring it is well-seasoned will contribute to a successful wood-burning experience.
Preparing the firebox and building the fire with kindling and a suitable arrangement of firewood will help you create a strong and long-lasting fire. Regularly maintaining the fire by adding more firewood as needed, adjusting the logs, and removing ash buildup ensures a consistent heat source.
Of utmost importance is prioritizing safety precautions when using a wood-burning fireplace. Installing smoke and carbon monoxide detectors, using a fireplace screen, keeping flammable objects at a safe distance, and properly disposing of ashes are all crucial steps in ensuring the safety of your home and loved ones.
Remember, regular maintenance and professional inspections are key to keeping your fireplace operating safely and efficiently. By practicing these steps and following safety guidelines, you can enjoy the cozy and comforting atmosphere created by a wood-burning fire.
Now, gather your firewood, light your fire, and create memories around the warmth of your wood-burning fireplace. Stay safe, stay warm, and enjoy the beauty of this timeless tradition!
Frequently Asked Questions about How To Prepare A Fireplace For Wood Burning
Was this page helpful?
At Storables.com, we guarantee accurate and reliable information. Our content, validated by Expert Board Contributors, is crafted following stringent Editorial Policies. We're committed to providing you with well-researched, expert-backed insights for all your informational needs.

0 thoughts on “How To Prepare A Fireplace For Wood Burning”