Home>Articles>How To Convert A Wood Burning Fireplace To Gas

Articles
How To Convert A Wood Burning Fireplace To Gas
Modified: February 26, 2024
Looking to convert your wood burning fireplace to gas? Read our informative articles on how to safely and effectively transition to a gas fireplace.
(Many of the links in this article redirect to a specific reviewed product. Your purchase of these products through affiliate links helps to generate commission for Storables.com, at no extra cost. Learn more)
Introduction
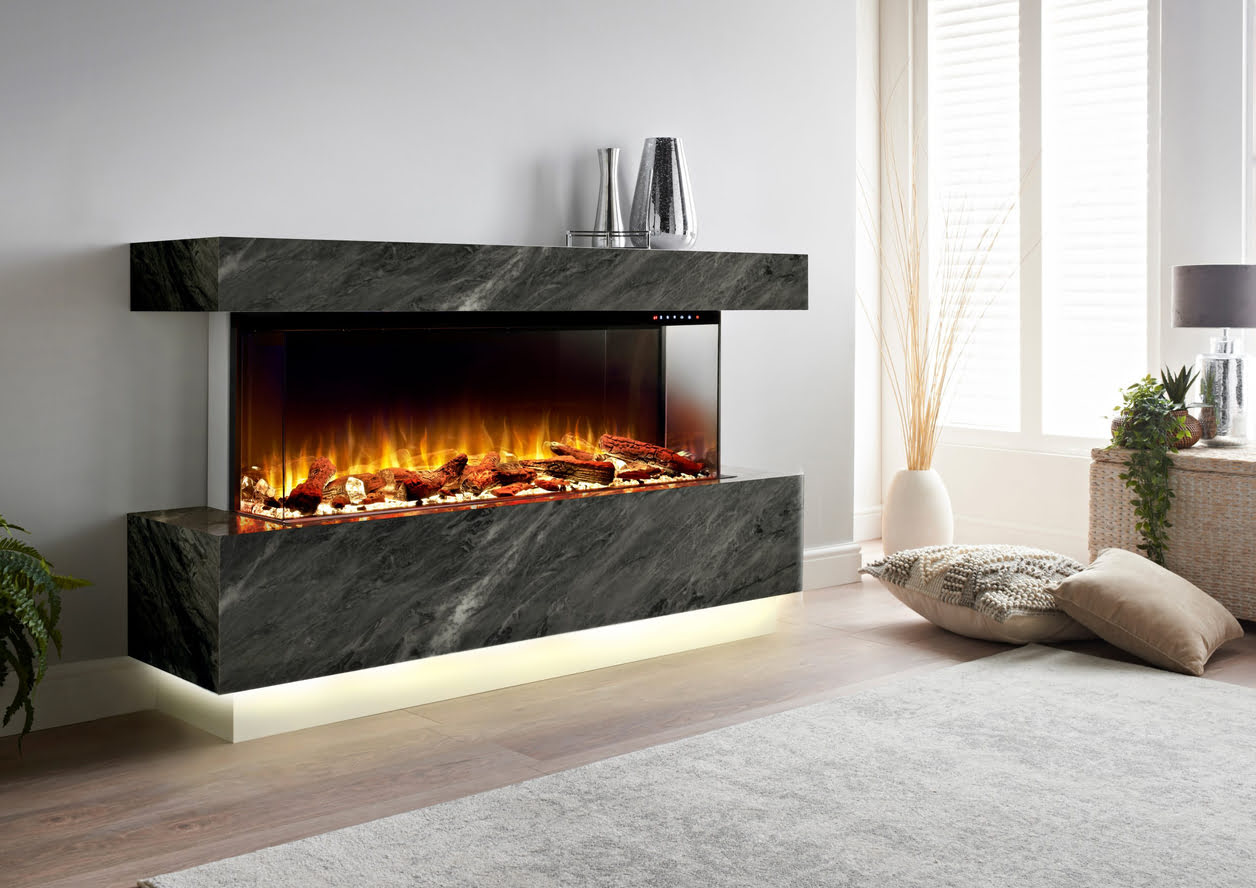
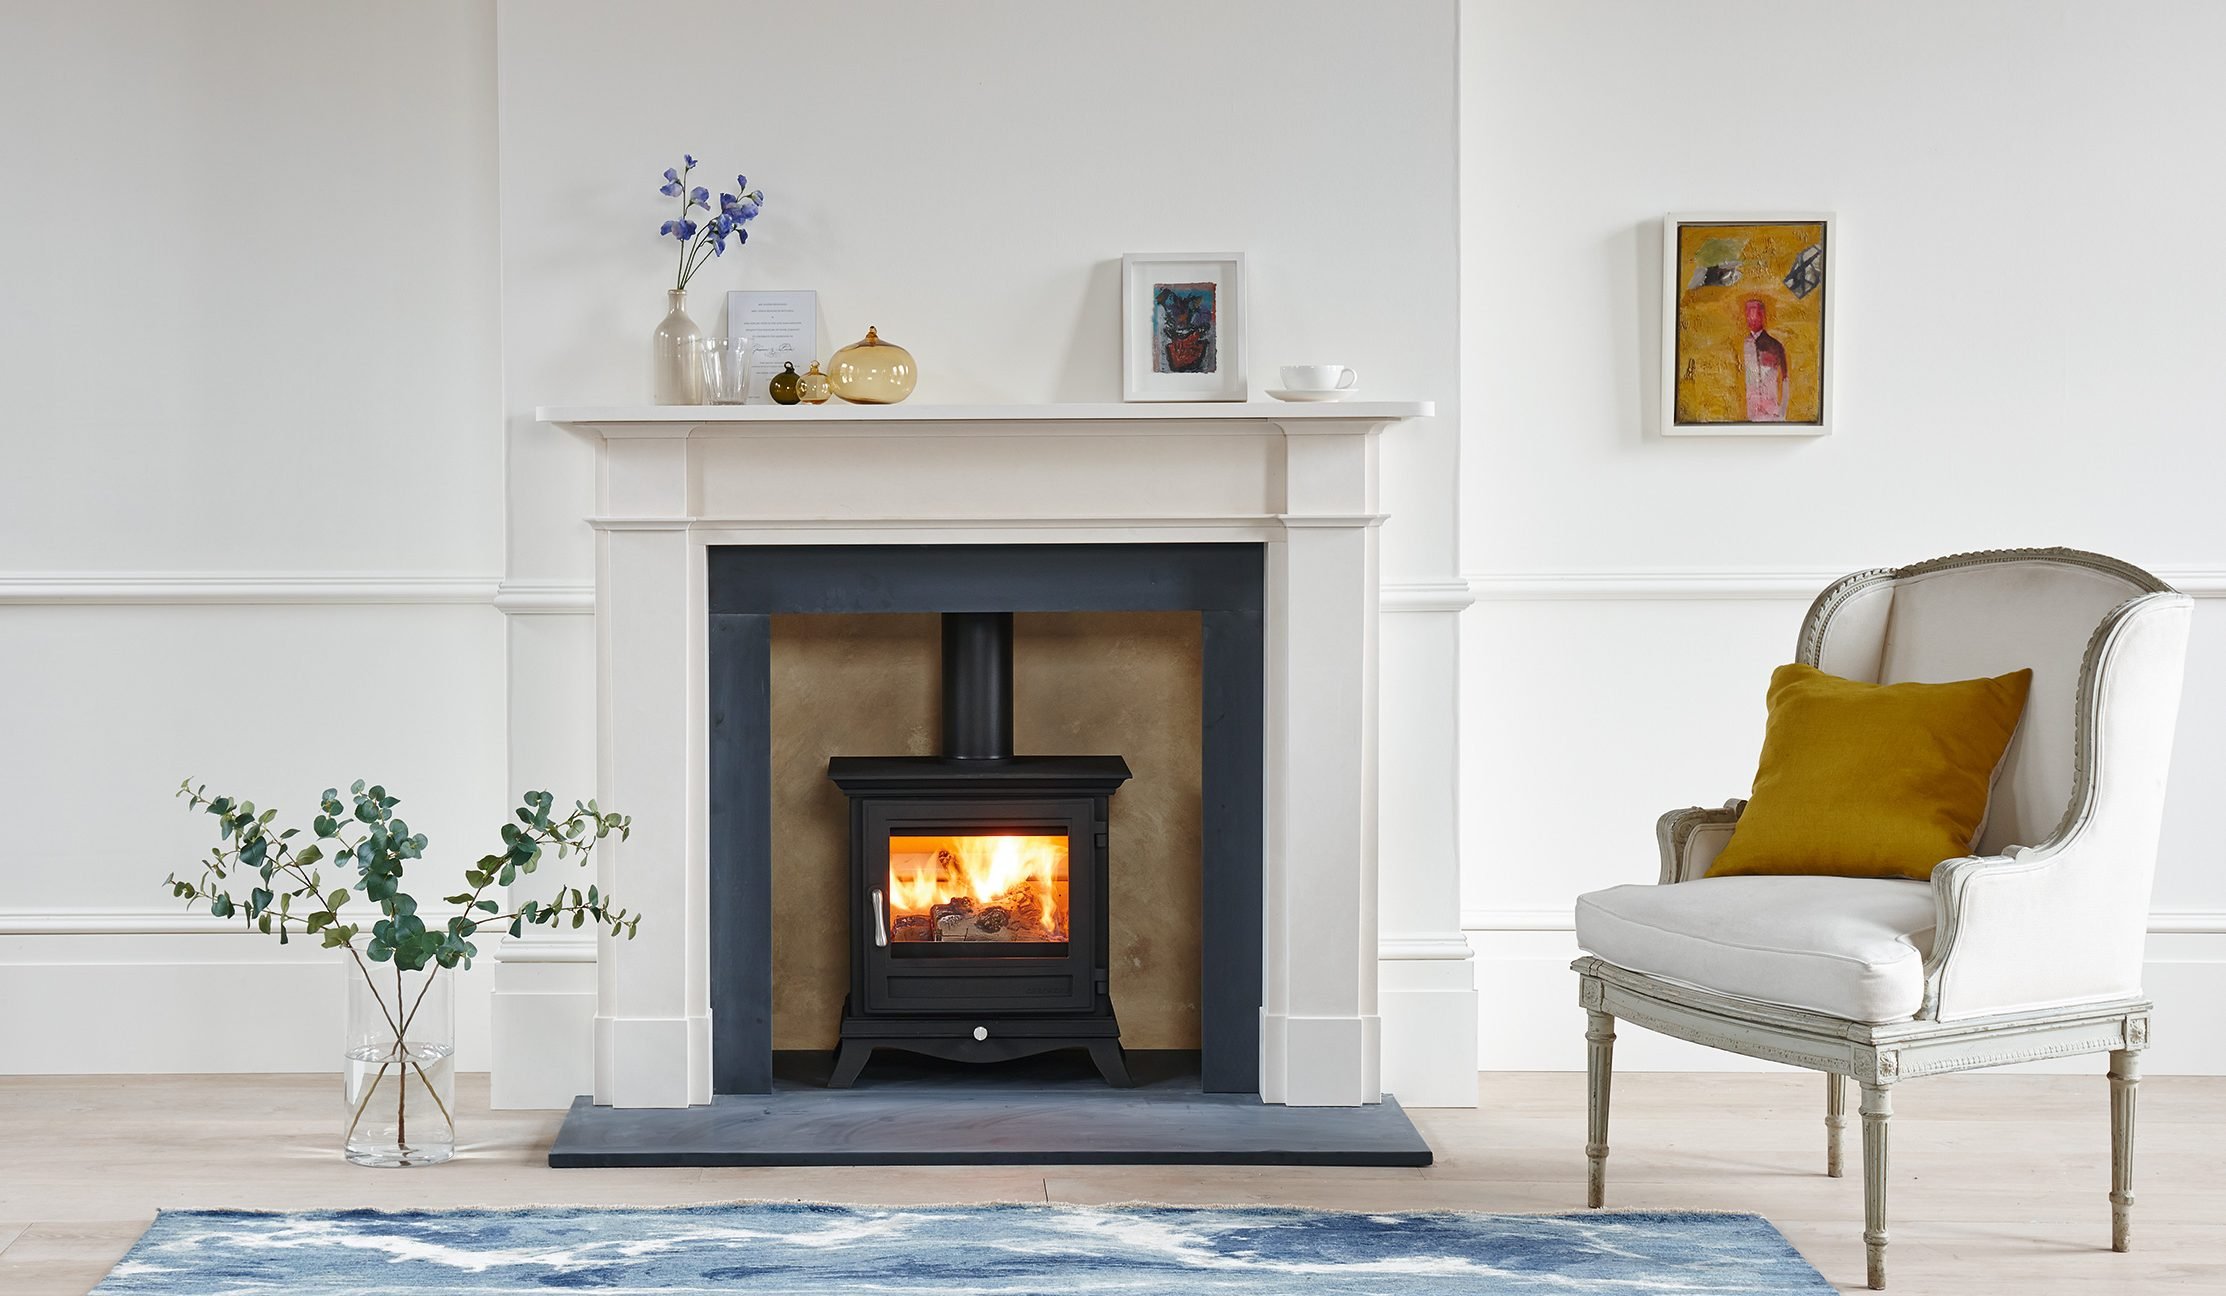
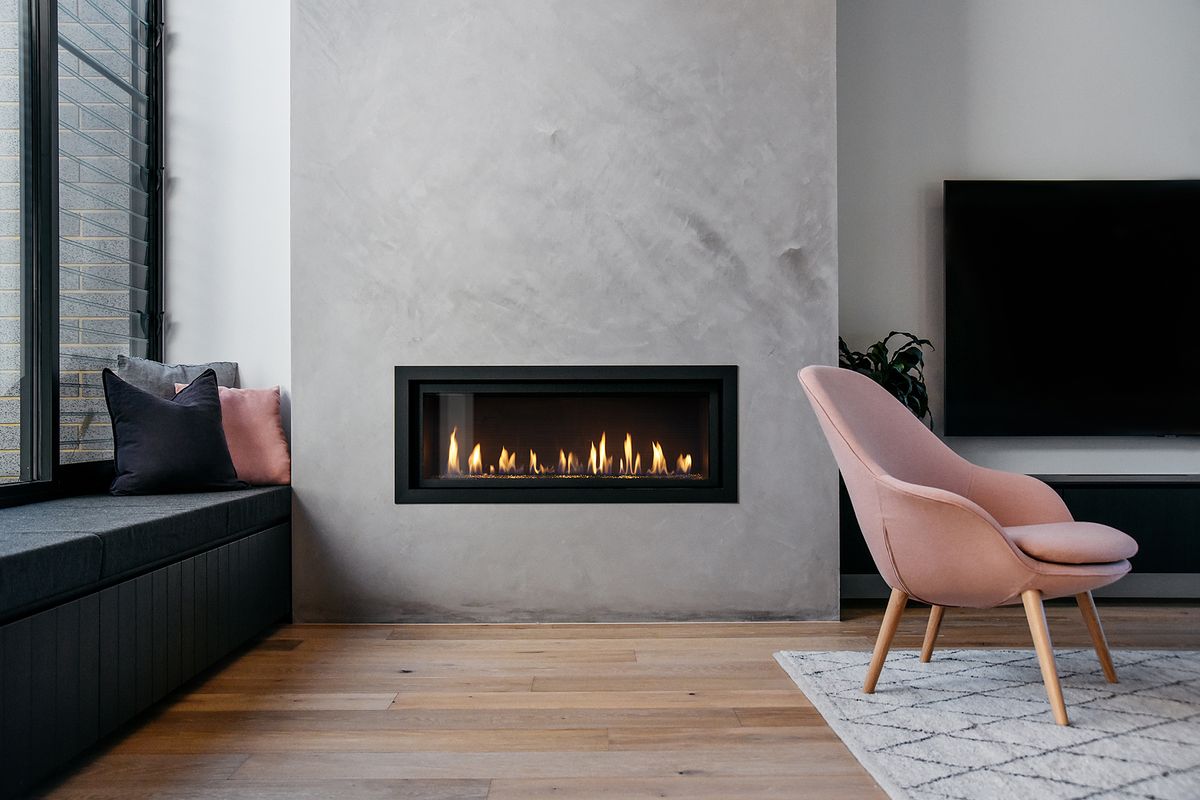
Converting a wood-burning fireplace to gas is a popular choice among homeowners seeking the convenience and efficiency of a gas fireplace. Not only does it eliminate the need for chopping wood and cleaning ashes, but it also provides a consistent and controllable heat source. Whether you’re tired of the mess and hassle of wood-burning or simply looking to upgrade, converting your fireplace to gas is a viable and practical option.
However, before embarking on this conversion journey, there are several crucial considerations to keep in mind. From choosing the right gas logs to understanding the necessary materials, hiring professionals for the installation, and ensuring proper ventilation and safety, it’s important to be well-informed and prepared.
This comprehensive guide will walk you through the necessary steps and considerations for converting a wood-burning fireplace to gas, ensuring that you make the right decisions at every stage and enjoy the benefits of a gas fireplace.
Key Takeaways:
- Converting a wood-burning fireplace to gas involves careful considerations such as local regulations, existing fireplace condition, budget, and energy efficiency. Professional help and proper installation are crucial for a successful and safe conversion.
- Choosing the right gas logs, installing the gas line and connections, and ensuring proper ventilation are essential steps in the conversion process. Testing and adjusting the gas fireplace, along with regular maintenance, are key to enjoying a safe and efficient gas fireplace in your home.
Considerations before Converting
Converting a wood-burning fireplace to gas involves more than just swapping out the fuel source. Before you make the switch, it’s important to consider the following factors:
- Local regulations: Check with your local authorities or building codes to ensure that converting your fireplace to gas is allowed in your area. Some regions may have specific requirements or restrictions that need to be followed.
- Existing fireplace condition: Assess the condition of your current wood-burning fireplace. Is it structurally sound and in good shape? Any signs of cracks, leaks, or damage should be addressed before the conversion.
- Gas availability: Determine whether natural gas or propane is more readily available in your area. This will help you choose the most suitable option for your fireplace conversion.
- Budget considerations: Converting a fireplace to gas can range in cost depending on various factors. Consider your budget and factor in costs for materials, labor, and any additional modifications or upgrades that may be required.
- Efficiency and energy savings: Gas fireplaces tend to be more efficient than wood-burning counterparts. Evaluate the long-term energy savings and efficiency gains that come with a gas fireplace to ensure it aligns with your goals.
By carefully considering these factors, you can make informed decisions and ensure a successful conversion process.
Choosing the Right Gas Logs
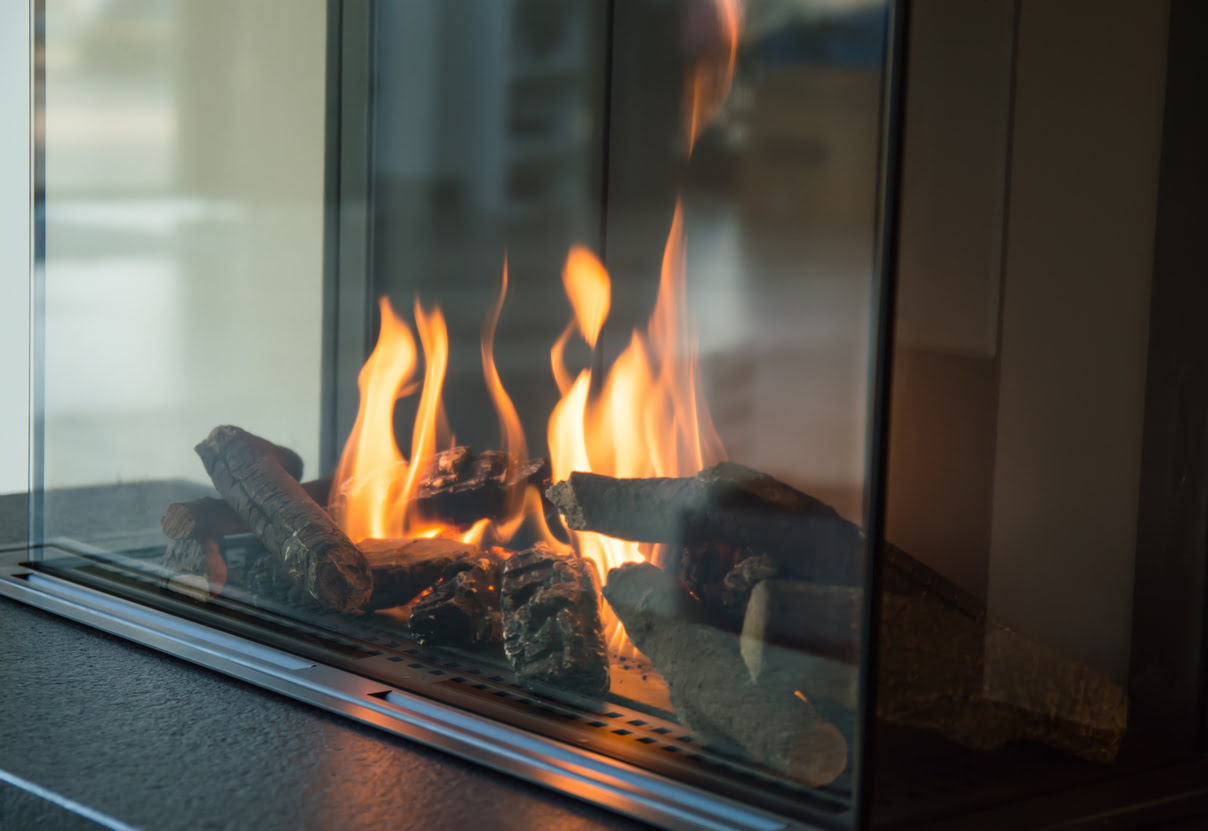
When converting your wood-burning fireplace to gas, one of the most important decisions you’ll make is choosing the right gas logs. Gas logs are designed to mimic the appearance and ambiance of real wood logs, while providing the convenience and efficiency of a gas fireplace. Here are some factors to consider when selecting gas logs:
- Material: Gas logs are typically made from ceramic fiber or refractory cement. Ceramic fiber logs offer a more natural and realistic appearance, while refractory cement logs are known for their durability and heat resistance.
- Style: Gas logs come in various styles, including oak, birch, pine, and more. Choose a style that complements your aesthetic preferences and matches the overall decor of your home.
- Size: Consider the size of your fireplace when selecting gas logs. Measure the dimensions of your fireplace to ensure that the logs will fit properly and provide a proportionate and balanced appearance.
- Venting options: Depending on your specific fireplace and ventilation setup, you may need vented or ventless gas logs. Vented logs require a functioning chimney or flue system to expel the combustion gases, while ventless logs can be installed in fireplaces without a chimney, as they are designed to burn the gas cleanly and efficiently.
- Control options: Gas logs can be controlled manually, using a key valve or remote control, or they can be equipped with thermostatic control for automatic temperature regulation. Consider your preferences and convenience when selecting the control options for your gas logs.
It’s recommended to consult with a professional before finalizing your choice of gas logs to ensure that they are compatible with your fireplace and meet safety regulations. They can also provide guidance on proper installation and usage.
Materials Needed for Conversion
Converting a wood-burning fireplace to gas requires specific materials to ensure a safe and efficient conversion. Here are the essential materials you’ll need:
- Gas logs and burner: Choose gas logs and an accompanying burner that are compatible with your fireplace and meet safety regulations. This includes selecting the appropriate size, style, and ventilation options.
- Gas line and connections: Install a gas line from the nearest gas source to your fireplace. This will require pipes, fittings, valves, and connectors to ensure a secure and leak-proof connection.
- Ventilation system: In some cases, you may need to add or modify the ventilation system for your gas fireplace. This can include installing a chimney liner or adding vents to ensure proper airflow and the safe removal of combustion gases.
- Firebox modifications: Depending on the type of gas logs you choose, you may need to make modifications to the firebox. This can involve adding a gas valve or removing obstructions to accommodate the gas logs and burner.
- Tools and equipment: Gather the necessary tools and equipment for the conversion process, which may include a wrench, pipe cutter, gas leak detector, and various hand tools. It’s important to have the right tools to ensure a smooth and safe installation.
- Professional help: Although not a physical material, it’s highly recommended to seek professional help for the conversion process. A professional technician can assess your fireplace, ensure proper installation, and handle any necessary permits or inspections.
Remember, the specific materials required may vary depending on your fireplace and the gas logs you choose. Consulting with a professional is crucial to determine the exact materials needed for a successful conversion.
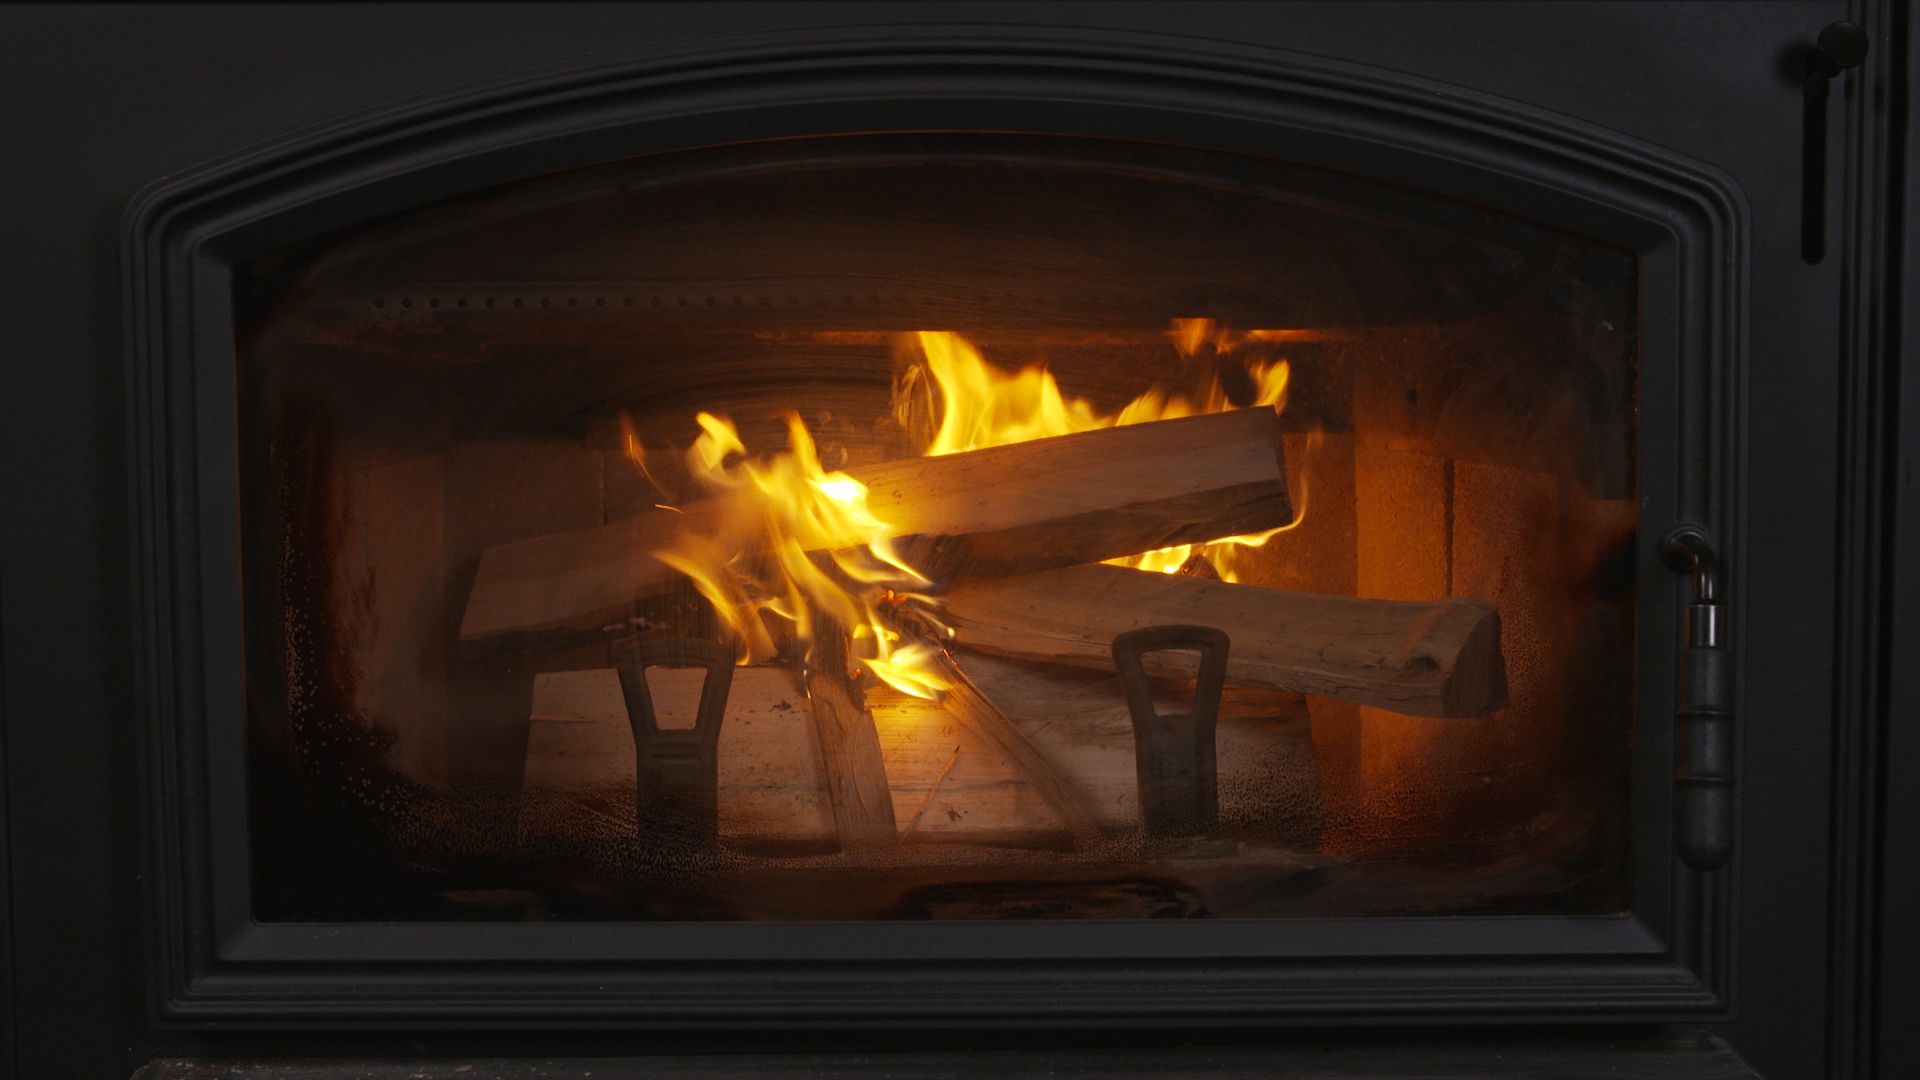
Step 1: Checking the Fireplace Condition
Before beginning the conversion process, it is essential to thoroughly inspect the condition of your wood-burning fireplace. This step is crucial to ensure the safety and functionality of the converted gas fireplace. Here’s what you need to do:
- Inspect the Chimney: Start by examining the chimney for any signs of damage or blockages. Look for cracks, loose bricks, or crumbling mortar. Clear any debris or obstructions that might hinder the proper function of the chimney.
- Check the Firebox: Evaluate the condition of the firebox, including the walls, hearth, and damper. Look for any cracks, deterioration, or signs of significant wear and tear. Address any issues before proceeding with the conversion.
- Inspect the Flue: Your wood-burning fireplace should have a flue that allows smoke and gases to exit. Ensure that the flue is in good condition and opens and closes properly. If there are any issues, consider having it repaired or replaced by a professional.
- Check for Leaks: Conduct a thorough examination to detect any leaks in the chimney or fireplace structure. Use a flashlight to inspect the joints, seams, and connections. If you suspect any leaks, it is crucial to have them repaired before converting to gas.
- Assess Ventilation: Proper ventilation is vital for a gas fireplace. Check if your fireplace has adequate ventilation, including an external air vent or a fresh air intake. Without proper ventilation, the conversion process may not be feasible or safe.
If you notice any significant issues during the inspection, it’s recommended to consult with a professional chimney sweep or fireplace technician. They will be able to advise you on any necessary repairs or modifications before proceeding with the conversion process.
Step 2: Hiring a Professional for Inspection and Installation
When converting your wood-burning fireplace to gas, it’s crucial to hire a professional for the inspection and installation process. Working with an experienced technician ensures that the conversion is done safely and in compliance with local codes. Here’s why professional expertise is essential:
- Knowledge and Experience: Professionals have in-depth knowledge of fireplace systems and gas conversions. They are familiar with the necessary safety precautions and local regulations, ensuring that the installation is done correctly.
- Permitting and Inspections: Converting to gas may require specific permits or inspections. Professionals are well-versed in the process and can handle the necessary paperwork, ensuring that you comply with all legal requirements.
- Safety Assurance: Gas systems pose potential risks if not installed properly. Professionals have the expertise to ensure that all connections are secure and that the fireplace operates safely, minimizing the risk of gas leaks or other hazards.
- Proper Sizing and Ventilation: Professionals will assess your fireplace and recommend the appropriate size of gas logs and burner. They can also determine if any modifications to the ventilation system are needed to ensure proper airflow and the safe expelling of combustion gases.
- Warranty and Post-Installation Support: Working with professionals often comes with warranties on the installation work and ongoing support. If any issues arise after the conversion, you can rely on their expertise and assistance.
When hiring a professional, be sure to choose a reputable company with experience in fireplace installations and gas conversions. Ask for recommendations, read reviews, and get multiple quotes to find the best fit for your needs.
Remember, attempting to convert a fireplace to gas without the necessary experience can be dangerous and may result in costly mistakes. Invest in the expertise of a professional to ensure a smooth and successful conversion process.
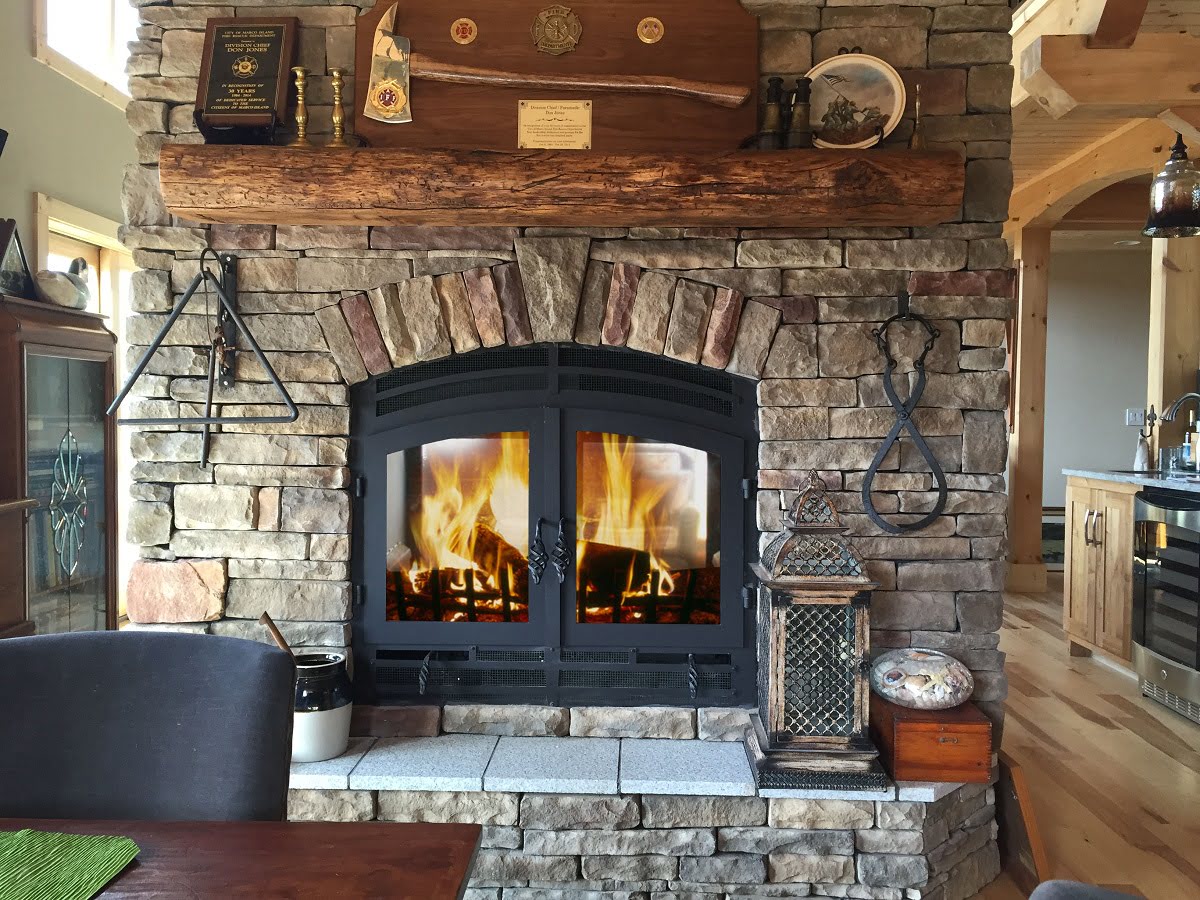
When converting a wood burning fireplace to gas, it’s important to hire a professional to ensure the proper installation of the gas line and venting system for safety and efficiency.
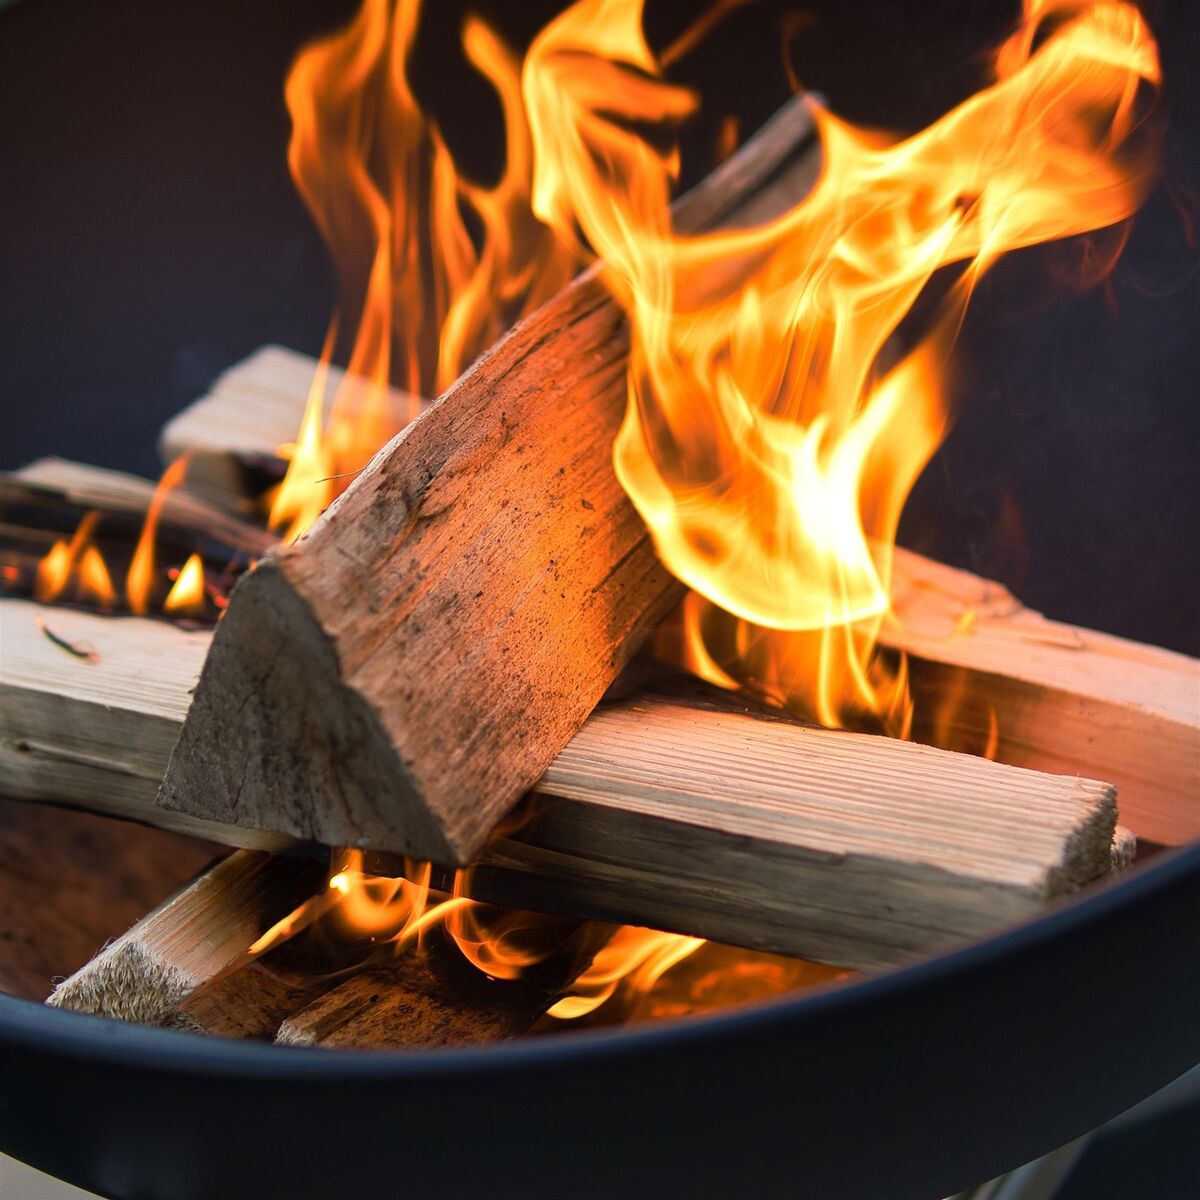
Step 3: Removing the Existing Wood-Burning Setup
Before you can install the gas logs and burner, it is necessary to remove the existing wood-burning setup from your fireplace. Here’s how you can do it:
- Clean out the Fireplace: Start by removing any ashes, debris, or wood from the fireplace. Use a fireplace shovel and ash vacuum to thoroughly clean and clear the area.
- Disconnect the Wood-Burning Components: Disconnect any gas lines, if applicable, and remove the grates, log holders, and any other wood-burning components from the fireplace. Set them aside for disposal or future use, depending on their condition.
- Remove the Damper or Flue Stopper: If you have a damper or flue stopper, remove it carefully. These are usually located at the top of the chimney and can be detached by loosening screws or releasing the spring mechanism.
- Close off the Chimney: Once the damper or flue stopper is removed, close off the chimney by installing a chimney cap or sealant. This prevents drafts and outdoor elements from entering the house through the chimney when it’s not in use.
- Patch or Repair Damaged Areas: Take this opportunity to inspect the fireplace for any damaged or deteriorated areas. Patch or repair any cracks, holes, or damages using fireplace sealant or refractory mortar. Ensure that the repaired areas are solid and secure.
It’s important to handle the removal process with caution and wear appropriate protective gear, such as gloves and safety goggles. If you’re unsure or uncomfortable with the removal process, consulting a professional is recommended.
By removing the existing wood-burning components, you’re creating a clean slate for the gas fireplace installation, ensuring a smooth transition and optimal performance. With the wood-burning setup removed, you’re ready to move on to the next steps of converting your fireplace to gas.
Step 4: Installing Gas Line and Connections
Installing a gas line and connections is a critical step in converting your wood-burning fireplace to gas. This process involves bringing a gas supply to the fireplace and making secure connections to ensure safe and efficient operation. Here’s how you can install the gas line and connections:
- Turn off the Gas Supply: Before starting any work, ensure that the main gas supply to your home is turned off. This ensures your safety and prevents any gas leaks during the installation process.
- Decide on the Type of Gas: Choose between natural gas or propane, depending on availability in your area and your fireplace’s requirements. Natural gas is a pipeline gas, while propane is stored in tanks. Make sure to choose the appropriate gas type for your specific setup.
- Plan the Gas Line Route: Determine the path that the gas line will take from the gas source to the fireplace. The line should be run through safe and accessible areas, avoiding any obstacles or hazards. It’s crucial to follow local building codes and regulations for gas line installation.
- Size and Install the Gas Line: Consult with a professional or a licensed plumber to determine the appropriate size of the gas line based on the distance, BTU requirements of the gas logs, and the gas pressure available. The gas line should be installed by a qualified technician to ensure proper connections and adherence to safety standards.
- Connect the Gas Line to the Fireplace: With the gas line in place, securely connect it to the gas valve or gas log burner in the fireplace. Use the appropriate fittings, valves, and connectors for a leak-proof connection. Apply a gas-rated sealant or pipe compound to ensure a tight seal.
- Pressure Test: After the gas line is connected, perform a pressure test to check for any leaks. Use a gas leak detector or a solution of soapy water to identify any leaks in the connections. If a leak is detected, it must be addressed before continuing with the conversion process.
It’s crucial to hire a licensed professional for the gas line installation, as they have the expertise and experience to ensure proper sizing, connections, and code compliance. Working with a professional technician helps to guarantee the safe and efficient operation of your gas fireplace.
Once the gas line and connections are installed and tested, you’re ready to move forward with the remaining steps of converting your fireplace to gas.
Step 5: Adding Ventilation and Chimney Liner
Proper ventilation is crucial for the safe and efficient operation of a gas fireplace. In this step, we’ll focus on adding ventilation and installing a chimney liner if necessary. Here’s what you need to do:
- Check Existing Ventilation: Assess the existing ventilation system in your fireplace. Depending on the type of gas logs and burner you’ve chosen, your fireplace may require either vented or ventless operation.
- Vented Operation: If your fireplace requires venting, you’ll need to install a chimney liner. A chimney liner is a metal or ceramic pipe that is inserted into the existing chimney to guide the combustion gases safely out of the house. Measure the dimensions of your chimney to determine the appropriate size and material for the liner.
- Ventless Operation: If your fireplace is designed for ventless operation, ensure that you have adequate room ventilation. Check if your home meets the minimum cubic feet of volume requirements for ventless gas fireplace installation. If not, consult with a professional to discuss alternative options.
- Install Chimney Liner: If a chimney liner is required, carefully install it according to the manufacturer’s instructions. Ensure that the liner is properly sealed and anchored to prevent any leaks or movement during operation.
- Seal Gaps and Cracks: Inspect the area around the chimney liner for any gaps or cracks. Use an appropriate sealant, such as fireplace sealant or refractory mortar, to seal any openings and ensure a tight and secure connection.
- Test the Ventilation System: Once the chimney liner is installed and any gaps are sealed, test the ventilation system. Light the gas fireplace and observe if the combustion gases are effectively vented and do not enter the living space. If there are any issues, consult with a professional to address them promptly.
Adding ventilation and installing a chimney liner, if necessary, is a critical step to ensure the safe and proper functioning of your gas fireplace. It’s important to follow manufacturer guidelines and, if needed, consult with a professional to guarantee a successful installation.
With the ventilation system in place, you’re one step closer to enjoying the benefits of your converted gas fireplace.
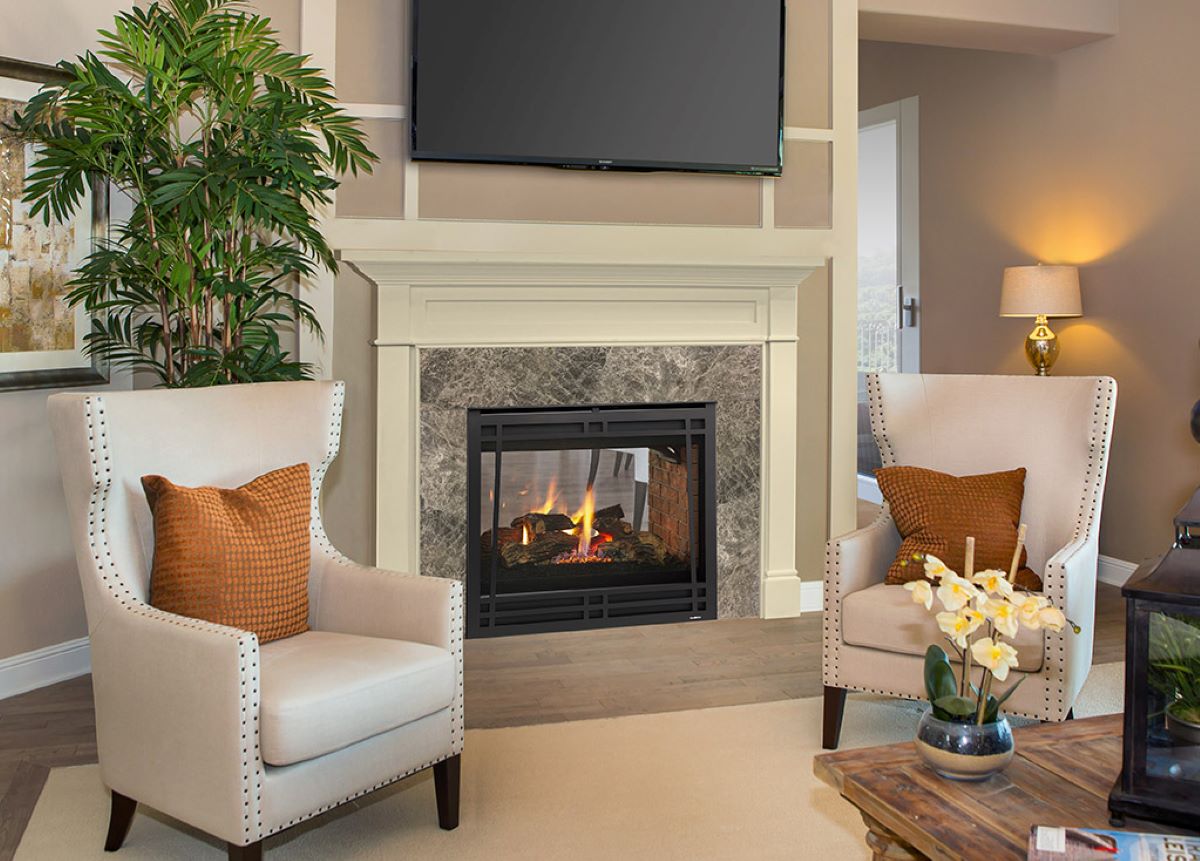
Step 6: Installing Gas Logs and Burner
Now that you’ve completed the necessary preparations and installations, it’s time to bring your gas fireplace to life by installing the gas logs and burner. Follow these steps for a successful installation:
- Read the Manufacturer’s Instructions: Carefully review the manufacturer’s instructions that accompany your gas logs and burner. Each product may have specific installation requirements and guidelines that need to be followed.
- Position the Gas Logs: Arrange the gas logs in the desired configuration inside the firebox. The logs should be placed in a way that ensures proper gas flow and a realistic flame pattern. Refer to the manufacturer’s instructions for the recommended log placement.
- Attach the Burner: Connect the burner to the gas supply line in the fireplace. Ensure that the gas line is securely attached and properly aligned with the burner’s gas port.
- Secure the Logs and Burner: Use the provided brackets, clips, or fasteners to secure the gas logs and burner in place. This prevents any movement or dislodging during operation.
- Test for Gas Leaks: Once the logs and burner are installed, perform another gas leak test. Apply a solution of soapy water to the connections and joints and check for any bubbles that indicate a gas leak. If a leak is detected, turn off the gas supply and tighten the connections as needed.
- Inspect Ignition System: If your gas logs have an ignition system, such as a pilot light or electronic ignition, ensure that it is in proper working condition. Test the ignition switch or button to verify that the flame ignites as intended.
It’s important to follow the manufacturer’s instructions closely during the installation process to ensure a safe and efficient gas fireplace operation. If you’re unsure about any steps or have concerns, consult with a professional for guidance.
With the gas logs and burner in place, you’re almost ready to enjoy your new gas fireplace. There’s just one final step remaining.
Step 7: Testing and Adjusting the Gas Fireplace
With the gas logs and burner installed, it’s crucial to test and adjust the gas fireplace to ensure its proper functioning, safety, and efficiency. Follow these steps for a thorough testing process:
- Turn on the Gas Supply: Make sure that the gas supply to the fireplace is turned on. Double-check that the main gas valve is open and ready to supply gas to the logs and burner.
- Ignite the Fireplace: Use the designated ignition method, such as a pilot light or electronic ignition, to start the gas fireplace. Follow the manufacturer’s instructions for properly igniting the flame.
- Observe the Flame: Pay close attention to the flame pattern and color. It should be steady and blue, indicating clean combustion. If the flame is yellow, sputtering, or uneven, it may indicate improper combustion and require adjustments.
- Check for Proper Venting: Monitor the fireplace to ensure that the combustion gases are being vented properly. No unusual odors or signs of smoke should be present in the room. If you notice any issues, it may indicate a problem with the ventilation system that requires professional attention.
- Adjust for Desired Heat and Flame: If the flame intensity or heat output is not to your liking, consult the manufacturer’s instructions on how to adjust the gas flow. Most gas logs have controls, such as a knob or valve, that can be manipulated to achieve the desired flame height and heat level.
- Test Safety Features: If your gas fireplace has built-in safety features, such as an automatic shut-off function or a carbon monoxide detector, test them to ensure they are working correctly. Familiarize yourself with the operation of these safety features for your peace of mind.
- Perform Regular Maintenance: Once your gas fireplace is functioning correctly, establish a regular maintenance routine. This includes cleaning the logs, inspecting the gas lines and connections periodically, and scheduling professional inspections and maintenance as recommended by the manufacturer.
Always prioritize safety when operating a gas fireplace. If you encounter any issues or suspect a problem, such as gas leaks or improper combustion, immediately turn off the gas supply and contact a professional technician for assistance.
By carefully testing and adjusting your gas fireplace, you can ensure its optimal performance, efficiency, and longevity. Sit back, relax, and enjoy the warmth and comfort of your newly converted gas fireplace.
Conclusion
Converting a wood-burning fireplace to gas offers numerous benefits, including convenience, efficiency, and a cleaner alternative to traditional fireplaces. By following the step-by-step process outlined in this guide, you can successfully convert your fireplace and enjoy all the advantages of a gas fireplace.
Before starting the conversion, it’s important to consider local regulations, evaluate the condition of your existing fireplace, and budget for the materials and professional assistance required for the project. Choosing the right gas logs, properly installing the gas line and connections, and ensuring proper ventilation are crucial steps in the conversion process.
Hiring a professional for inspection, installation, and necessary permits ensures the safety and compliance of your gas fireplace. Professionals have the expertise and experience to handle the installation smoothly and can provide ongoing support and maintenance.
By removing the existing wood-burning components, installing the gas logs and burner, and conducting proper testing and adjustments, you can enjoy a safe and efficient gas fireplace in your home. Regular maintenance and professional inspections will help you maintain the performance and longevity of your fireplace.
Remember, safety should always be a top priority when working with gas appliances. If you encounter any issues or suspect a gas leak, immediately turn off the gas supply and contact a professional technician for assistance. Regularly inspect and maintain your gas fireplace to ensure its continued safe and efficient operation.
Converting your wood-burning fireplace to gas not only enhances your home’s comfort and convenience but also contributes to a cleaner and more sustainable environment. Embrace the warmth and beauty of a gas fireplace as you create memorable moments with loved ones.
Frequently Asked Questions about How To Convert A Wood Burning Fireplace To Gas
Was this page helpful?
At Storables.com, we guarantee accurate and reliable information. Our content, validated by Expert Board Contributors, is crafted following stringent Editorial Policies. We're committed to providing you with well-researched, expert-backed insights for all your informational needs.
0 thoughts on “How To Convert A Wood Burning Fireplace To Gas”