Articles
How To Remove A Wood Fireplace Insert
Modified: January 8, 2024
Learn how to remove a wood fireplace insert in this comprehensive guide. Read articles for step-by-step instructions and expert tips.
(Many of the links in this article redirect to a specific reviewed product. Your purchase of these products through affiliate links helps to generate commission for Storables.com, at no extra cost. Learn more)
Introduction
Welcome to this comprehensive guide on how to remove a wood fireplace insert. Over time, you may find yourself wanting to make changes to your home’s interior or upgrade your fireplace. Whether you’re renovating your living space or simply looking to replace the existing wood fireplace insert, it’s important to know the proper steps to safely and efficiently remove it.
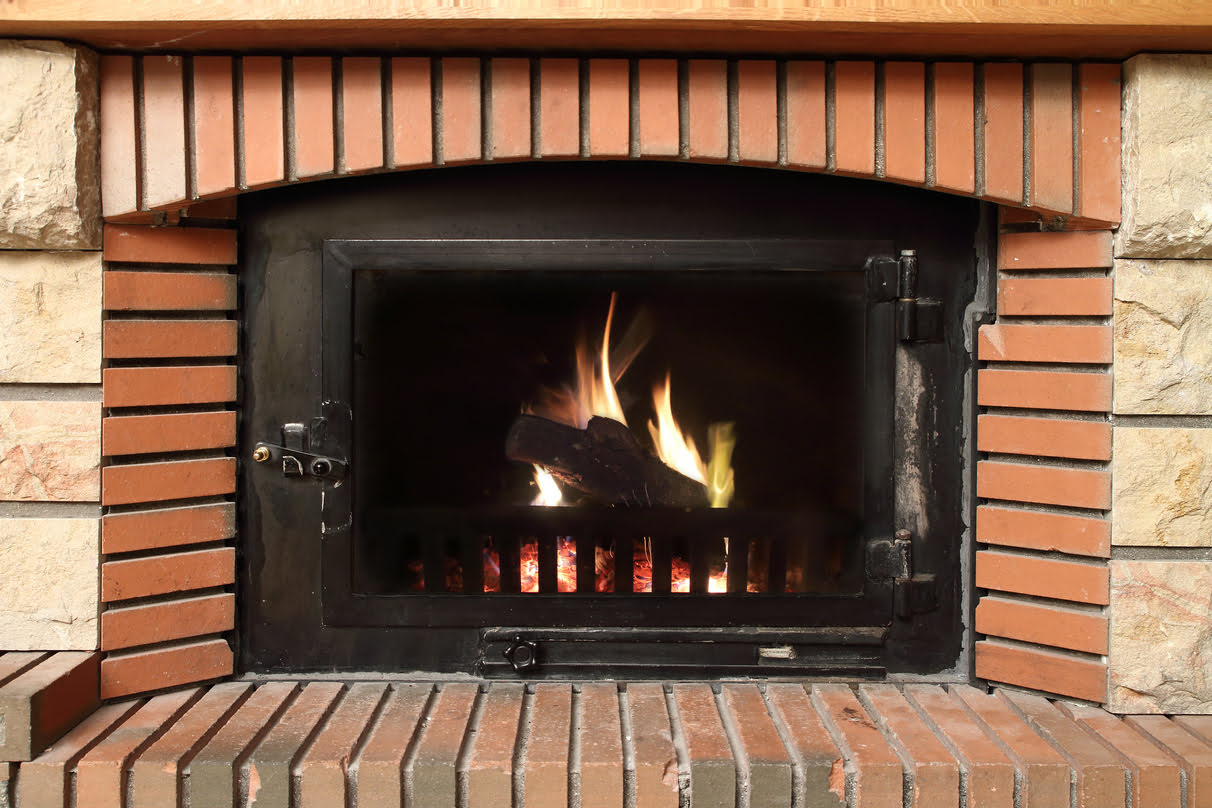
A wood fireplace insert not only adds warmth and ambiance to a room, but it can also be a beautiful focal point. However, there are instances where you might need to remove it, such as when it becomes outdated, damaged, or if you’re switching to a different type of heating system. Removing a wood fireplace insert can be a bit challenging, but with the right tools, knowledge, and careful execution, you can successfully complete the task.
In this article, we will provide you with a step-by-step guide on how to remove a wood fireplace insert effectively. We will cover everything from the tools and materials you will need to the precautions you should take to ensure a smooth removal process. So, let’s get started and transform your fireplace into a blank canvas for your next home improvement project.
Key Takeaways:
- Safely and efficiently remove a wood fireplace insert by following a step-by-step guide, gathering essential tools, disconnecting gas/electrical connections, and prioritizing safety throughout the removal process.
- Prepare the fireplace for transformation by removing surrounding mantel and trim, detaching the insert from the fireplace and hearth, cleaning and patching the fireplace area, and adhering to crucial safety precautions.
Read more: How To Install A Wood Fireplace Insert
Step 1: Gather Tools and Materials
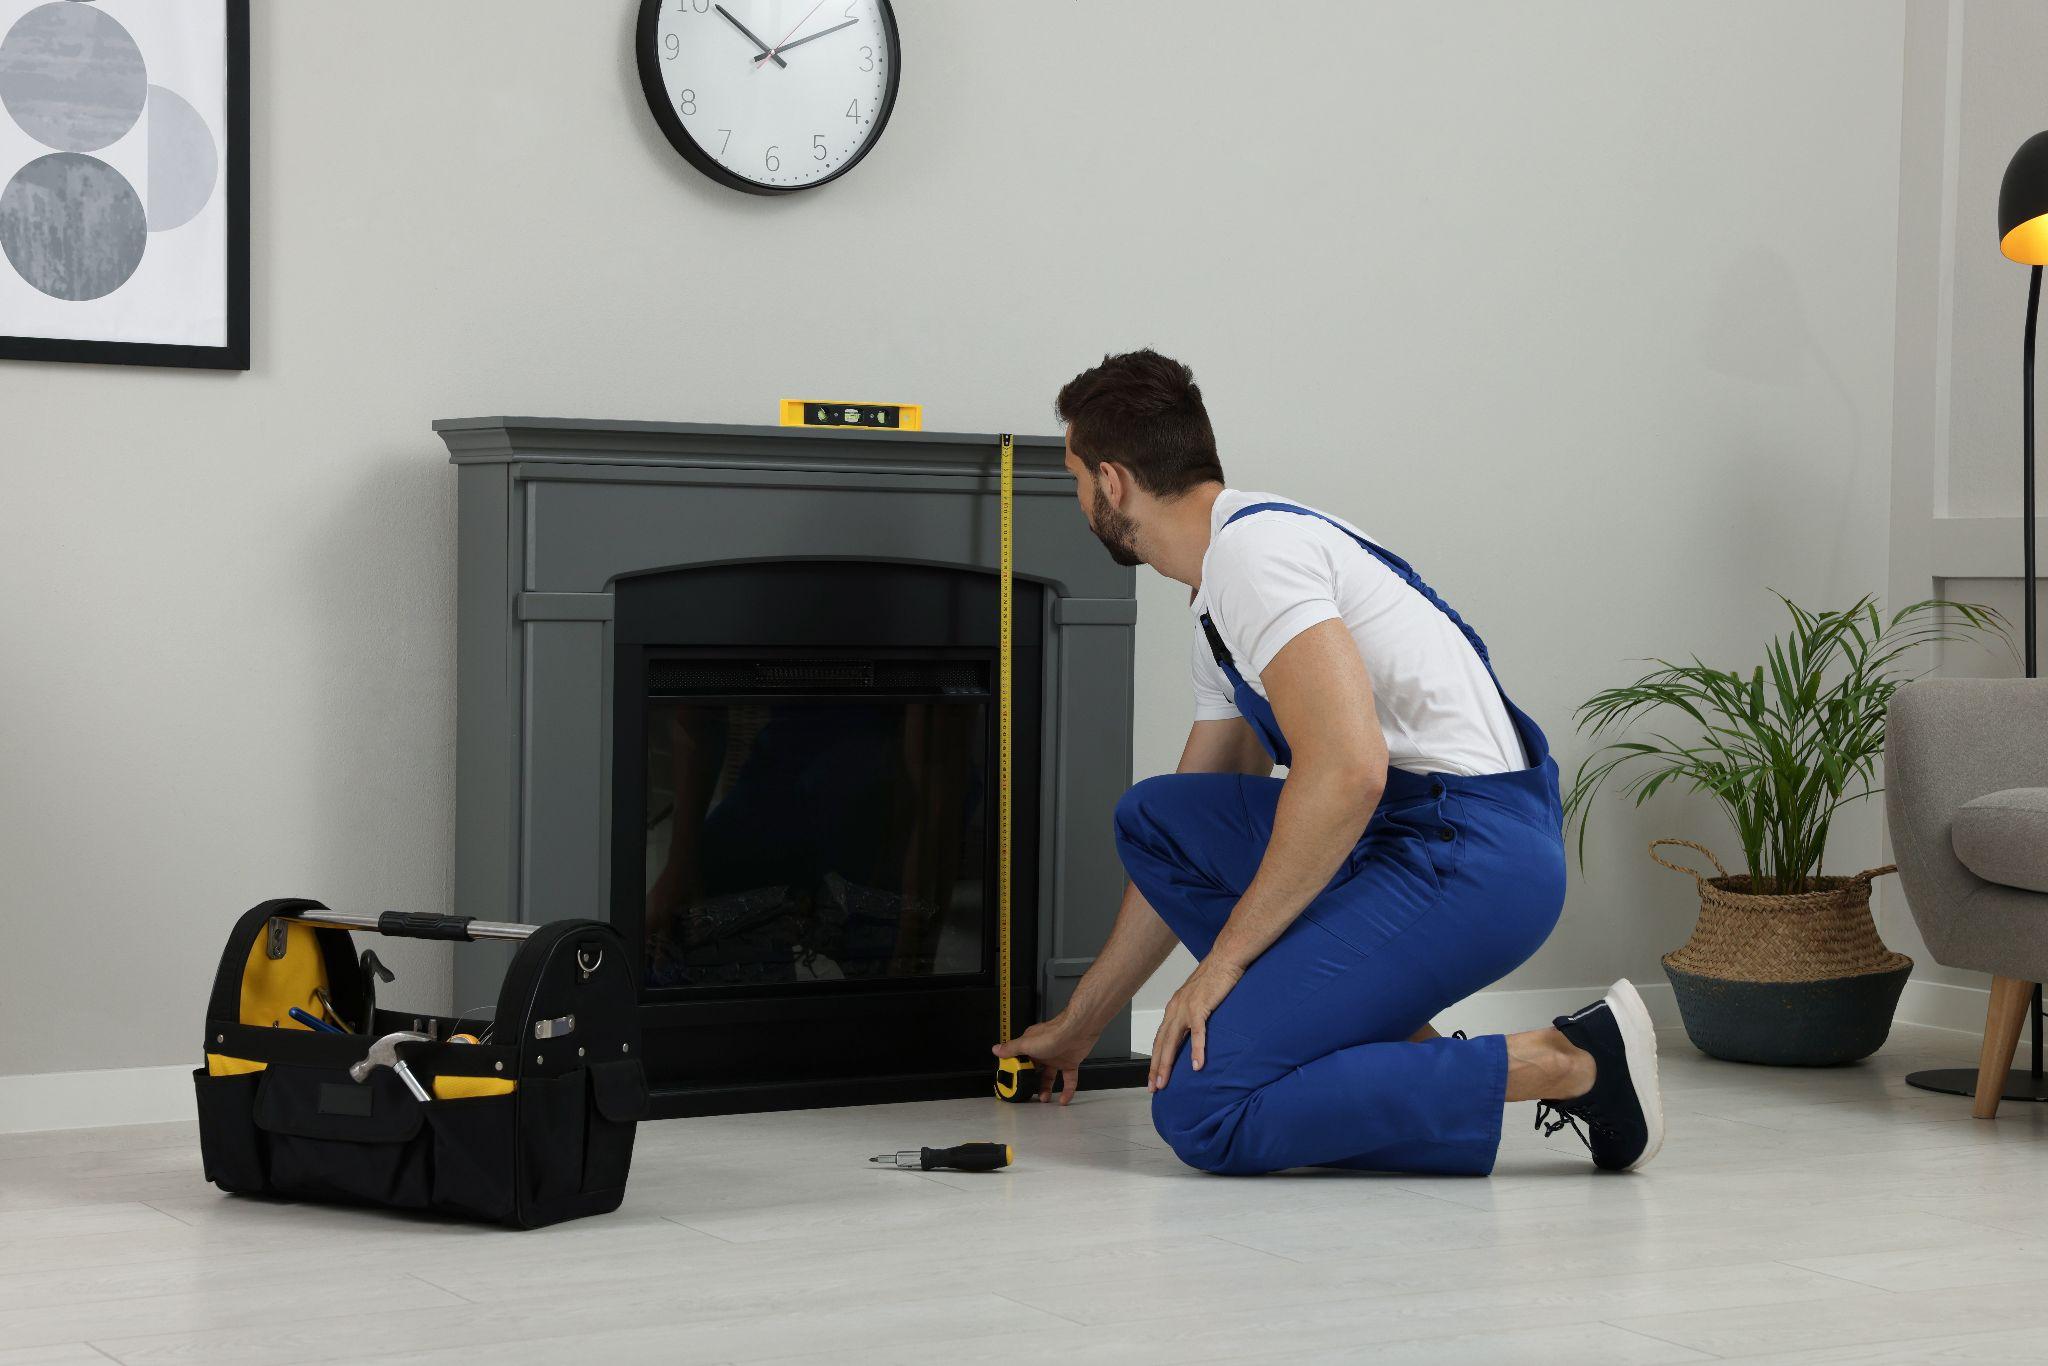
Before you begin the process of removing a wood fireplace insert, it’s crucial to gather all the necessary tools and materials. Having everything prepared in advance will make the removal process easier and more efficient. Here are the essential tools and materials you will need:
- Protective Gear: Safety should always be your top priority. Make sure to wear gloves, safety goggles, and a dust mask to protect yourself from debris and harmful particles.
- Tool Kit: Prepare a basic tool kit with screwdrivers, pliers, wrenches, and a pry bar. These tools will assist you in detaching the insert from the fireplace and removing any brackets or supports.
- Utility Knife: A utility knife will come in handy for cutting through any caulk or adhesive around the fireplace insert.
- Crowbar: A crowbar can be useful for prying off trim and mantel pieces surrounding the fireplace.
- Drill: If your fireplace insert has any screws or bolts, you may need a drill to remove them.
- Drop Cloth or Tarp: Place a drop cloth or tarp in front of the fireplace to protect your flooring from falling dust or debris.
- Trash Bags: Have a few trash bags on hand to dispose of any removed materials or debris.
Once you have gathered all the necessary tools and materials, ensure that you have a clear workspace around the fireplace. Remove any obstacles that may hinder your access to the insert. It is also a good idea to read the manufacturer’s instructions or consult a professional if you have any doubts or concerns regarding the removal process.
By taking the time to gather these tools and materials, you will be well-prepared and equipped to safely and efficiently remove the wood fireplace insert.
Step 2: Disconnecting Gas or Electrical Connections
If your wood fireplace insert is connected to a gas line or has electrical connections, it’s important to disconnect them before proceeding with the removal process. This step ensures your safety and prevents any accidents or damage. Follow these guidelines to disconnect the gas or electrical connections:
- Gas Connections:
- Before attempting to disconnect the gas line, ensure that you have turned off the gas supply to the fireplace. Locate the gas shut-off valve, typically found near the fireplace or in the basement.
- Using an adjustable wrench, gently loosen and disconnect the gas line from the fireplace. Be cautious and avoid using excessive force to prevent any damage to the gas line or fittings.
- Once the gas line is disconnected, use a plug or cap to seal the gas line temporarily. This will prevent any gas leaks or odors.
- Electrical Connections:
- If your wood fireplace insert has electrical connections, locate the main power source or breaker box and turn off the circuit that supplies power to the fireplace.
- Carefully unplug any electrical cords connected to the insert. Inspect the cords for any signs of damage, and replace them if necessary.
- Secure the exposed electrical wires with wire connectors or electrical tape to prevent any accidental contact or short circuits.
After disconnecting the gas or electrical connections, double-check that the gas line is securely capped and the power is completely turned off. Safety should always be your utmost priority when working with gas or electricity. If you are not comfortable handling these connections, it is highly recommended to seek assistance from a qualified professional.
By following these steps, you have successfully disconnected the gas or electrical connections of your wood fireplace insert, ensuring a safe environment for the removal process.
Step 3: Removing Surrounding Mantel and Trim
Once the gas or electrical connections are safely disconnected, the next step in removing a wood fireplace insert is to remove the surrounding mantel and trim. This step will allow you better access to the insert and make its removal easier. Follow these steps to remove the mantel and trim:
- Clear the Area: Remove any decor or items from the mantel and clear the area around the fireplace to create a workspace.
- Inspect the Trim: Carefully examine the trim and mantel to assess how they are attached to the wall. Look for screws, nails, or adhesive that may be securing them.
- Remove the Trim: Using a crowbar or pry bar, gently pry the trim away from the wall. Start at one end and work your way along, gradually applying pressure. Be cautious not to damage the wall or surrounding surfaces.
- Detach the Mantel: If your fireplace has a mantel, it may be attached with screws or brackets. Locate and remove these attachments using a screwdriver or appropriate tools.
- Set Aside the Trim and Mantel: Carefully set aside the removed trim and mantel, making sure to store them in a safe place if you plan to reuse or reinstall them later.
Removing the surrounding mantel and trim will not only make the removal process easier but will also give you a better view of the fireplace insert and any additional supports or attachments. Remember to handle the trim and mantel pieces with care to avoid any unnecessary damage or unwanted accidents.
With the mantel and trim removed, you are now ready to proceed with the next step, which involves detaching the wood fireplace insert from the fireplace itself.
Step 4: Detaching Insert from the Fireplace
Now that the surrounding mantel and trim are removed, it’s time to detach the wood fireplace insert from the actual fireplace structure. This step requires caution and precision to ensure a smooth removal. Follow these steps to detach the insert:
- Inspect for Attachments: Carefully examine the insert to identify any screws, bolts, or brackets that are securing it to the fireplace. Take note of their locations for easy removal.
- Loosen and Remove Attachments: Use a screwdriver, pliers, or appropriate tools to loosen and remove the screws, bolts, or brackets holding the insert in place. Take care to keep track of the removed hardware for later reassembly or disposal.
- Remove Surrounding Panels: Some inserts may have additional panels or covers around them. Remove these panels, if present, by carefully lifting or sliding them away from the insert.
- Detach the Insert: With the attachments and panels removed, you can now begin detaching the wood fireplace insert from the fireplace structure. Gently wiggle or rock the insert back and forth to loosen it from its position.
- Be Mindful of Weight: Depending on the size and type of insert, it may be heavy. Consider enlisting the help of another person to assist in safely removing and carrying the insert out of the fireplace.
It’s important to approach this step with patience, especially if the insert has been in place for a long time. If you encounter any resistance during the removal process, double-check for any remaining attachments or seek professional assistance if needed.
Once the wood fireplace insert is successfully detached, set it aside in a safe area. Now, you can move on to the next step, which involves removing any brackets or supports that may be present.
Before removing a wood fireplace insert, make sure to disconnect the gas and electrical connections. Protect the surrounding area with a drop cloth to catch any debris or soot that may fall during the removal process.
Read more: What Is A Fireplace Insert
Step 5: Removing Brackets or Supports
After detaching the wood fireplace insert from the fireplace structure, it’s time to remove any brackets or supports that were used to secure the insert in place. Removing these additional components will ensure a complete removal of the insert and prepare the fireplace for any future modifications. Follow these steps to remove any brackets or supports:
- Identify Brackets or Supports: Inspect the area around the fireplace to identify any brackets or supports that were holding the insert in place. These may be located at the back, sides, or bottom of the fireplace.
- Loosen and Remove Fasteners: Use appropriate tools, such as a screwdriver or wrench, to loosen and remove any screws, bolts, or fasteners that are securing the brackets or supports to the fireplace structure.
- Gently Remove Brackets or Supports: Once the fasteners are removed, gently pull or lift the brackets or supports away from the fireplace structure. Take care not to damage the surrounding area or other components of the fireplace during this process.
- Set Aside the Brackets or Supports: Keep the removed brackets and supports in a safe place in case you want to reuse them or replace them with new ones in the future.
Removing the brackets or supports will ensure that the fireplace is fully prepared for any modifications or new installations. It also gives you a clean slate to work with when it’s time to renovate or upgrade your fireplace area.
With the brackets or supports successfully removed, you can now proceed to the next step, which involves removing the wood fireplace insert from the hearth itself.
Step 6: Removing the Insert from the Hearth
Now that the wood fireplace insert has been detached from the fireplace structure and any brackets or supports have been removed, the next step is to remove the insert from the hearth. This step requires careful handling to prevent any damage to the hearth or surrounding area. Follow these steps to safely remove the insert from the hearth:
- Clear the Area: Ensure that the area around the hearth is clear of any debris or obstacles that may hinder the removal process.
- Assess the Insert: Take a moment to inspect the wood fireplace insert and identify any areas where it may be snugly fitted into the hearth.
- Apply Gentle Pressure: To loosen the insert from the hearth, apply a small amount of gentle pressure from the sides or top. Use caution to avoid using excessive force that could cause damage.
- Rock the Insert: Slowly and carefully rock the insert back and forth to gradually loosen it from the hearth. Take your time and continue with this motion until the insert is free.
- Enlist Assistance if Needed: Depending on the size and weight of the insert, consider enlisting the help of another person to ensure a safe and controlled removal process.
During this step, it’s important to be mindful of the size and weight of the wood fireplace insert, as well as the materials used for the hearth. Take care to avoid any sudden movements or excessive force that could cause damage or create safety hazards.
With the insert successfully removed from the hearth, you have now completed the major part of the removal process. However, it’s essential to continue with the next step, which involves cleaning and patching the fireplace area.
Step 7: Cleaning and Patching the Fireplace
After removing the wood fireplace insert from the hearth, it’s important to clean and patch the fireplace area to ensure a clean and finished look. This step will also prepare the space for any future modifications or installations. Follow these steps to clean and patch the fireplace:
- Clear Debris: Begin by removing any loose debris, ashes, or soot from the fireplace. Use a vacuum cleaner or a small brush and dustpan to clear out the area thoroughly.
- Clean the Surfaces: Use a damp cloth or a fireplace cleaning solution to clean the interior surfaces of the fireplace. Pay attention to any stubborn stains or residue and gently scrub them away.
- Inspect for Damages: Examine the hearth and walls surrounding the fireplace for any cracks, chipped paint, or other damages. Note these areas for patching or repairs.
- Patch the Damaged Areas: Depending on the type of damage, use appropriate materials or products to patch and repair the areas. This could include filling in cracks with heat-resistant sealant or applying a patching compound to smooth out any uneven surfaces.
- Allow for Drying or Curing Time: Follow the instructions of the materials used for patching and allow adequate time for drying or curing.
- Final Cleaning: Once the patched areas are dry, give the fireplace one final cleaning to remove any dust or residue from the patching process. Wipe down all surfaces and ensure a clean and polished look.
By cleaning and patching the fireplace, you are not only enhancing its appearance but also creating a safe and functional space for any future modifications or installations. This step also allows you to address any minor damages before they potentially worsen over time.
With the cleaning and patching complete, you have successfully prepared the fireplace area for its next transformation. However, before concluding the removal process, it’s essential to review some important safety precautions.
Step 8: Safety Precautions
As you near the end of the wood fireplace insert removal process, it’s crucial to prioritize safety. Following safety precautions will help protect you, your property, and ensure a smooth removal without any accidents or mishaps. Take note of the following safety measures:
- Turn Off Utilities: Double-check that the gas supply is completely shut off, and any electrical circuits related to the fireplace are turned off at the main breaker.
- Use Protective Gear: Wear gloves, safety goggles, and a dust mask to protect yourself from sharp edges, debris, and potentially harmful particles.
- Take Caution with Heavy Items: If the wood fireplace insert or any parts are heavy, use proper lifting techniques or enlist the help of others to prevent strains, injuries, or accidents.
- Disconnect Power Sources: Ensure that all electrical connections are disconnected, and exposed wires are secured with wire connectors or electrical tape to prevent the risk of electrical shock.
- Dispose of Materials Safely: Properly dispose of any removed materials, debris, or waste. Follow local guidelines and regulations for disposal to avoid any environmental issues or hazards.
- Consult Professionals if Needed: If you are unsure about any aspect of the removal process or encounter any difficulties, it’s best to seek the assistance of professionals who specialize in fireplace installations or removals.
By adhering to these safety precautions, you can minimize the risk of accidents, injuries, and damage during the wood fireplace insert removal process. Safety should always be a priority, even if it means taking a bit more time or seeking professional help when necessary.
With the safety measures in mind, you can now confidently conclude the wood fireplace insert removal process, knowing that you have completed the task safely and successfully.
Read more: How To Clean A Fireplace Insert
Conclusion
Congratulations! You have successfully learned how to remove a wood fireplace insert. By following the step-by-step guide and implementing the necessary safety precautions, you can confidently tackle this home improvement task. Removing a wood fireplace insert allows you to make changes to your living space, upgrade your fireplace, or switch to a different heating system.
Throughout this process, you gathered the necessary tools and materials, disconnected any gas or electrical connections, removed the surrounding mantel and trim, detached the insert from the fireplace structure, and removed any brackets or supports. You also learned how to safely remove the insert from the hearth, clean and patch the fireplace area, and take crucial safety precautions.
As you embark on any home improvement project, it’s important to prioritize safety and take the necessary precautions. Always consult the manufacturer’s instructions or seek professional guidance if you have any doubts or concerns about the removal process.
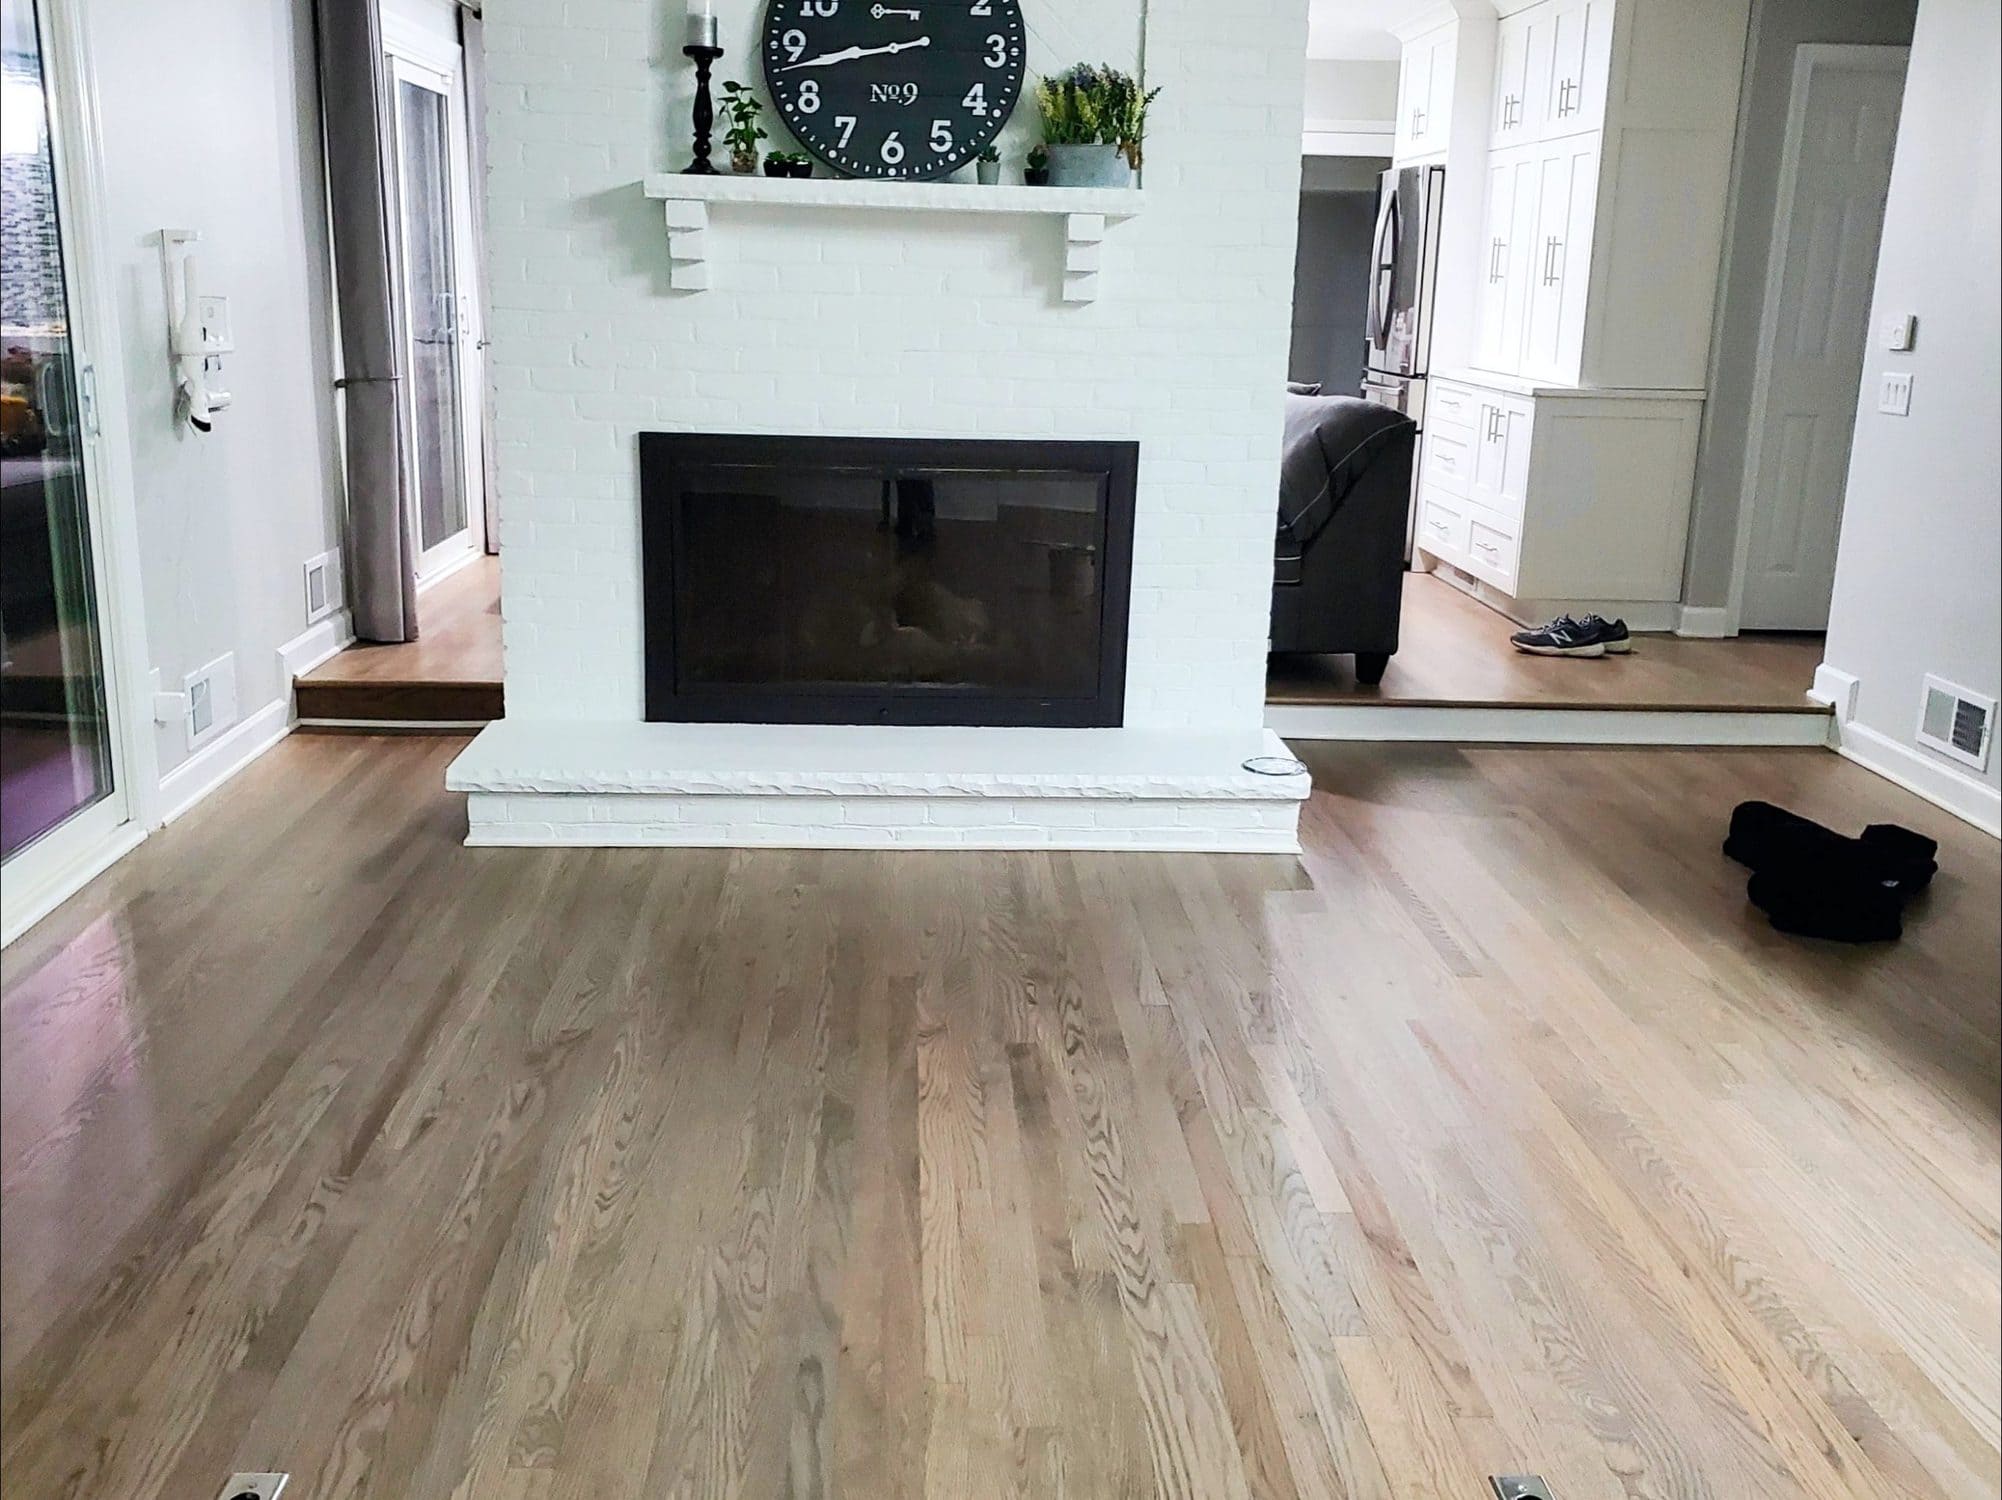
With the wood fireplace insert successfully removed, take the opportunity to transform the fireplace area into a blank canvas for your next project. Whether you decide to install a different type of fireplace, renovate the space, or simply leave it open, the choice is yours.
Remember to take care of the removed materials and debris by following appropriate disposal guidelines. If you plan on reusing the trim or mantel in the future, store them safely until needed.
Thank you for following this comprehensive guide on how to remove a wood fireplace insert. We hope you found this information helpful and that your fireplace transformation is a success. Now, go ahead and enjoy your newly opened space or embark on your next home improvement adventure!
Frequently Asked Questions about How To Remove A Wood Fireplace Insert
Was this page helpful?
At Storables.com, we guarantee accurate and reliable information. Our content, validated by Expert Board Contributors, is crafted following stringent Editorial Policies. We're committed to providing you with well-researched, expert-backed insights for all your informational needs.


0 thoughts on “How To Remove A Wood Fireplace Insert”