
Articles
How To Store A Lawn Mower
Modified: December 7, 2023
Learn how to properly store your lawn mower during the off-season with these helpful articles.
(Many of the links in this article redirect to a specific reviewed product. Your purchase of these products through affiliate links helps to generate commission for Storables.com, at no extra cost. Learn more)
Introduction
Welcome to this comprehensive guide on how to properly store a lawn mower. As the seasons change and the mowing season comes to an end, it’s essential to store your lawn mower correctly to ensure its longevity and performance in the future. By following the steps outlined in this article, you can protect your investment and ensure that your lawn mower is ready to go when the grass starts growing again.
Properly storing your lawn mower not only helps to prevent damage and rust but also makes the maintenance process easier when you’re ready to use it again. Whether you have a gas-powered or electric lawn mower, the steps below will help you store it safely and efficiently, so you can enjoy a hassle-free start to your mowing season.
Before we dive into the storage process, it’s important to note that the steps mentioned here are general guidelines. Be sure to consult your lawn mower’s manufacturer’s manual for any specific recommendations or steps that may vary.
Now, let’s get started with preparing your lawn mower for storage.
Key Takeaways:
- Properly storing your lawn mower is essential for its longevity and performance. From cleaning and lubricating to fuel draining and blade maintenance, each step ensures a hassle-free start to the next mowing season.
- Following the manufacturer’s guidelines and taking extra precautions, such as storing in a dry area and raising off the ground, can make a significant difference in maintaining the integrity of your mower. Remember to consult your mower’s manual for specific instructions.
Read more: How To Store Lawn Mower
Preparing the Lawn Mower for Storage
Before storing your lawn mower, there are a few important steps you need to take to ensure its readiness for the next mowing season. These steps will help prevent any potential issues and keep your lawn mower in top shape during its time in storage.
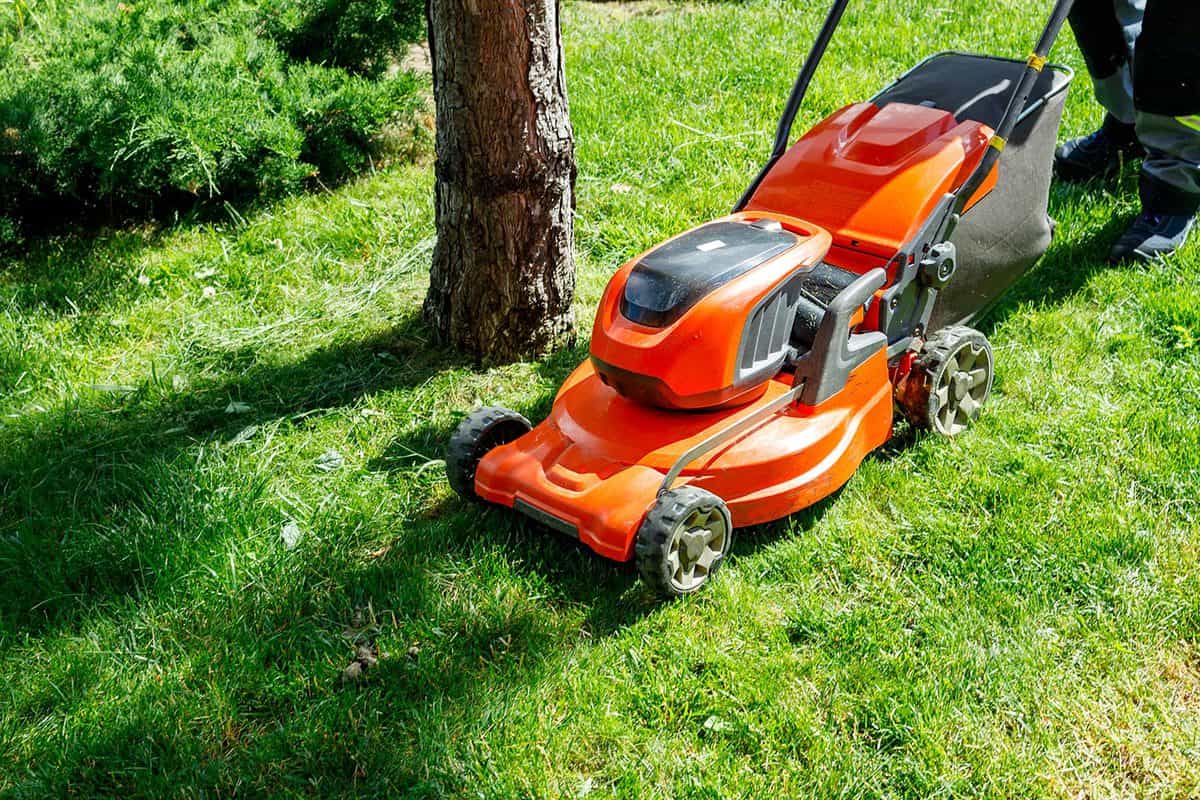
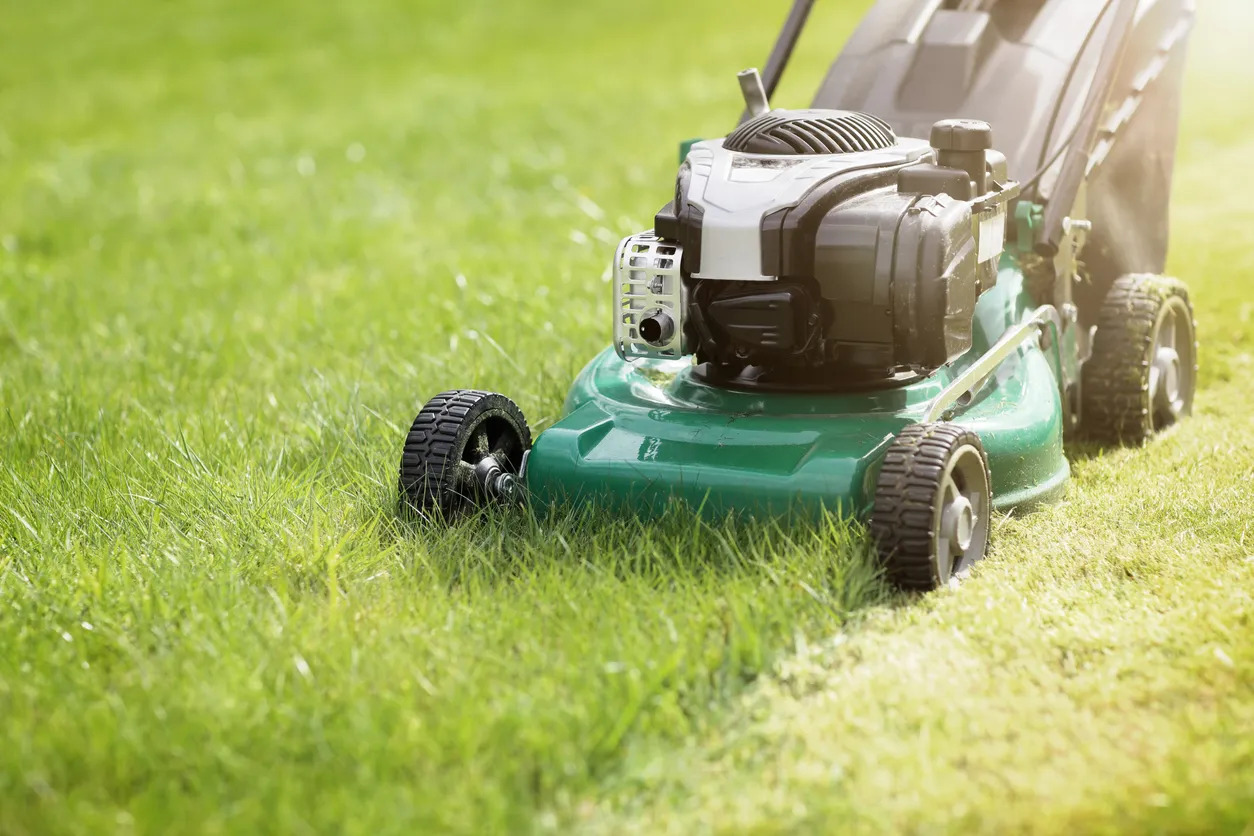
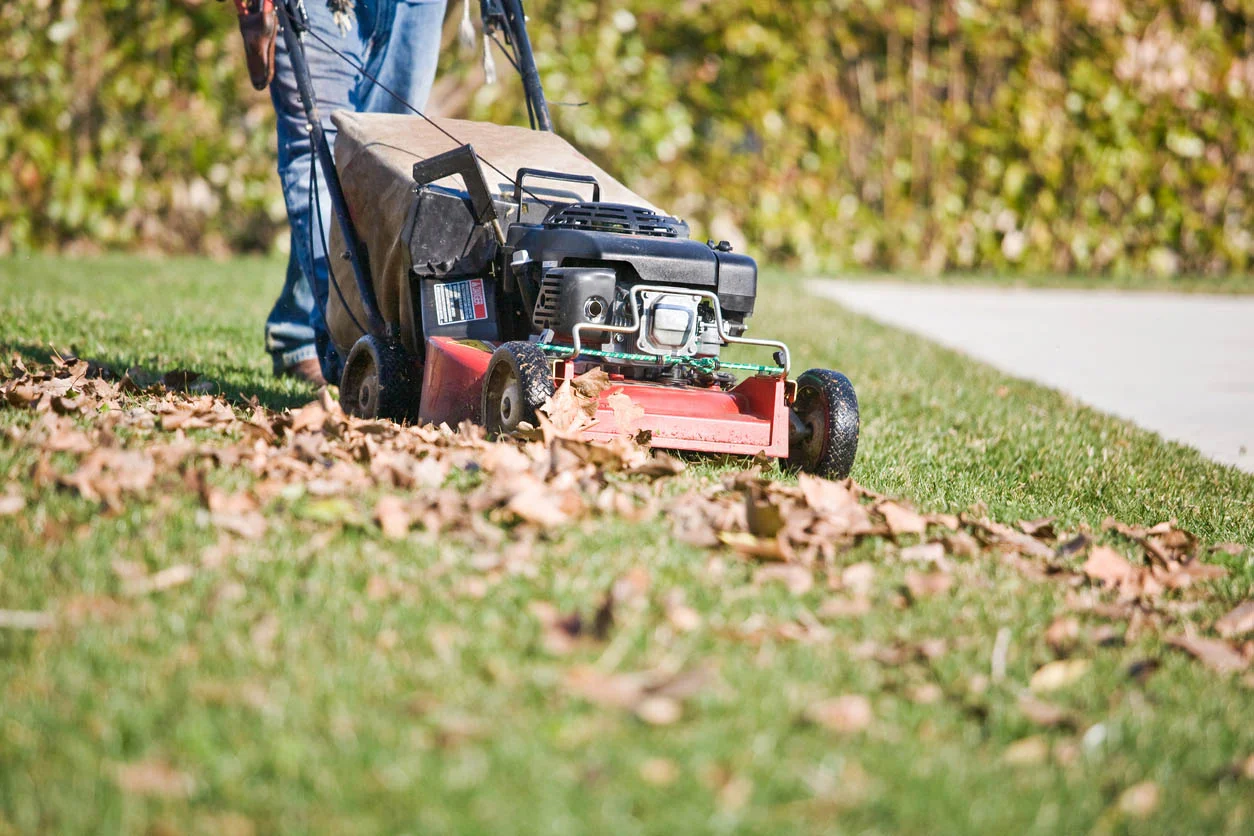
The first step in preparing your lawn mower for storage is to give it a thorough cleaning. Over time, grass clippings, dirt, and debris can accumulate on the mower, which can lead to deterioration and corrosion. Use a soft brush or cloth to remove any loose debris from the surface of the mower, including the deck, wheels, and handles.
Next, inspect the mower for any signs of damage or wear. Check the spark plug wire, air filter, and fuel lines for any cracks or damage. Replace any worn or damaged parts before storing the mower to prevent further issues down the line.
Additionally, if you have a gas-powered lawn mower, it’s essential to drain the fuel to prevent it from becoming stale or gumming up the engine. Gasoline can deteriorate over time and cause starting problems when you try to use the mower again. To drain the fuel, run the mower until the fuel tank is empty or use a siphon to remove the gas.
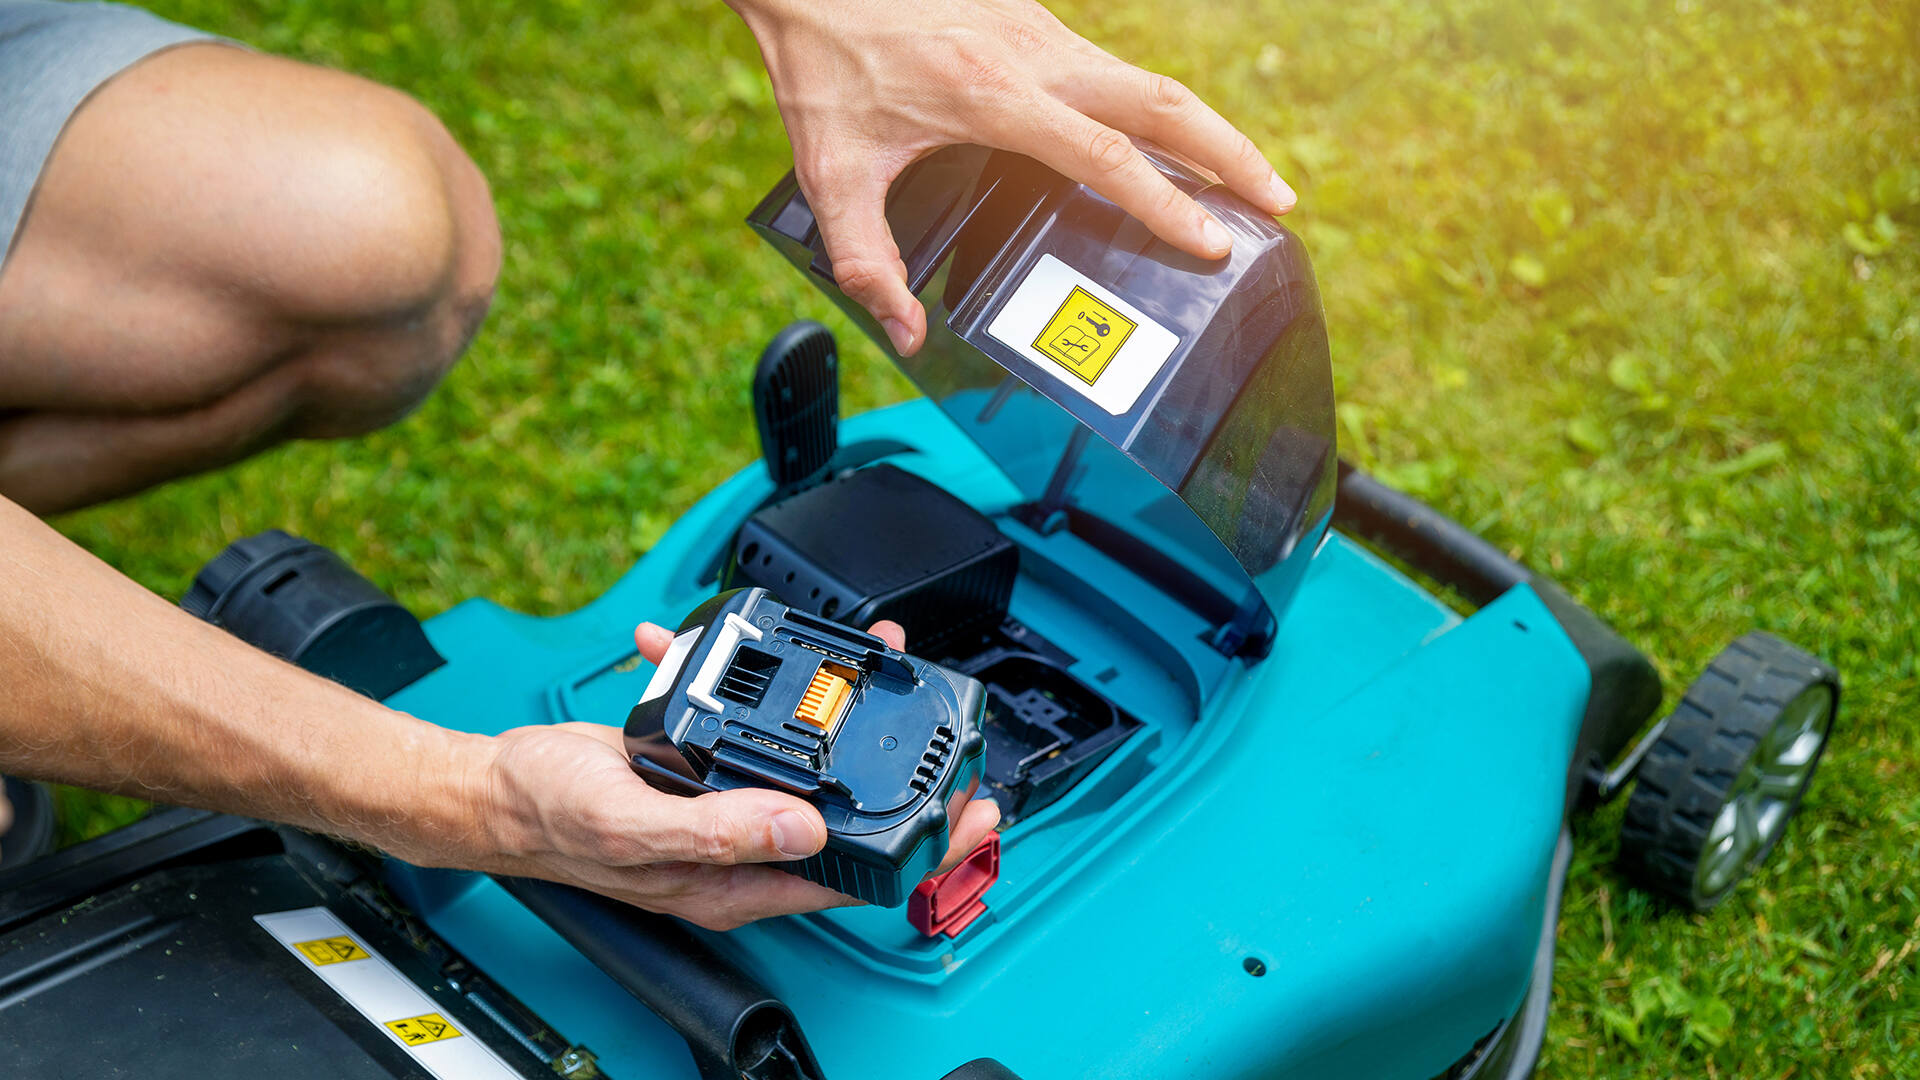
If you have an electric lawn mower, you don’t need to worry about draining fuel. However, it’s still a good idea to disconnect the battery and remove it for storage. This will help prolong the life of the battery and prevent any potential damage.
Once you’ve completed these initial steps, it’s time to move on to the next stage: cleaning the lawn mower. This step is crucial for preventing rust and corrosion and ensuring the longevity of your equipment.
In the next section, we’ll discuss in detail how to effectively clean your lawn mower before storing it.
Cleaning the Lawn Mower
Properly cleaning your lawn mower before storing it is essential for preventing rust and maintaining its performance. Here are the steps to effectively clean your lawn mower:
- Start by removing any debris or clumps of grass from the underside of the mower deck. Use a scraper or a brush to gently remove any built-up grass and dirt. This step is crucial as accumulation of debris can lead to corrosion and hinder the mower’s performance.
- Next, use a hose or a pressure washer to rinse off the exterior of the lawn mower. Ensure that you cover all areas, including the wheels, handles, and undercarriage. This will help remove any remaining dirt or debris that may still be clinging to the mower.
- For stubborn stains or hardened residue, mix a mild detergent or dish soap with water and scrub the affected areas using a sponge or a soft brush. Be careful not to use abrasive cleaners or harsh chemicals as they can damage the paint or plastic components of the mower.
- After cleaning, rinse off the soap residue with clean water and allow the mower to air dry. Make sure to dry all the nooks and crannies, including the engine compartment and the blade housing, to prevent any moisture from causing rust.
- Once the mower is dry, inspect the blade for any signs of damage or dullness. A sharp and intact blade is crucial for achieving a clean and even cut. If the blade is damaged or dull, it’s recommended to have it sharpened or replaced before storing the mower.
By following these cleaning steps, you can ensure that your lawn mower is free from debris, rust, and potential performance issues. Now that your mower is clean, it’s time to move on to the next step: draining the fuel.
Draining the Fuel
Draining the fuel from your lawn mower is an important step in its storage process, especially for gas-powered models. Stale fuel can cause starting issues and damage the engine if left sitting for an extended period of time. Here’s how you can properly drain the fuel from your lawn mower:
- Before starting, make sure the mower is on a level surface and turned off completely. Allow the engine to cool down if it has been recently used.
- Locate the fuel tank on your lawn mower. Most mowers have a fuel tank cap located on top or near the engine.
- If there is any remaining fuel in the tank, either run the mower until it runs out of fuel or carefully siphon the gas out using a siphoning tool or a hand pump. Be sure to place a container to collect the drained fuel safely.
- Once the fuel tank is empty, try to start the mower to ensure there is no residual fuel in the carburetor or fuel lines. This will help prevent any start-up issues when you use the mower again.
- If you’re using a siphoning tool, make sure to follow the manufacturer’s instructions to safely remove the fuel. Avoid inhaling or spilling any fuel during the process to prevent accidents.
It’s important to note that some manufacturers may recommend adding a fuel stabilizer to the tank before draining the fuel. Fuel stabilizers can help prevent the fuel from deteriorating and causing starting problems when you use the mower again. Check your mower’s manufacturer’s manual for any specific recommendations.
If you have an electric lawn mower, you don’t need to worry about draining the fuel. Simply disconnect the battery and move on to the next step in the storage process.
Now that the fuel is drained, we’ll move on to another crucial step: changing the oil.
Changing the Oil
Changing the oil in your lawn mower is an important maintenance task before storing it for an extended period. Fresh oil helps to lubricate the engine and keeps it protected during storage. Here’s a step-by-step guide on how to change the oil in your lawn mower:
- Make sure the mower is on a level surface and turned off completely. Allow the engine to cool down if it has been recently used.
- Locate the oil drain plug on the underside of the engine. Consult your lawn mower’s manual if you’re unsure about its location.
- Place a drain pan or an old container underneath the oil drain plug to collect the old oil.
- Remove the oil drain plug and let the old oil drain completely into the pan. Tilt the mower if necessary to ensure all the oil is drained out.
- Once the oil has completely drained, replace the drain plug and tighten it securely.
- Locate the oil-fill tube or cap on the top of the engine and remove it.
- Using a funnel, pour the recommended type and amount of new oil into the oil-fill tube. Refer to your lawn mower’s manual for the correct oil specifications.
- After adding the oil, replace the oil-fill cap firmly and wipe away any spills or excess oil with a clean cloth.
Remember to properly dispose of the old oil by taking it to a local recycling or disposal facility. Do not pour it down the drain or in the trash as it can harm the environment.
Changing the oil in your lawn mower before storing it ensures that the engine will be well-lubricated and protected during the dormant period. With the oil changed, it’s time to move on to the next step: removing and cleaning the blade.
After using the lawn mower, make sure to clean the underside to remove any grass clippings and debris. Store the mower in a dry, well-ventilated area to prevent rust and corrosion.
Read more: How To Store A Lawn Mower Outside
Removing and Cleaning the Blade
Removing and cleaning the blade of your lawn mower is an essential step in its storage process. Over time, grass clippings, dirt, and debris can accumulate on the blade, which can affect its performance and lead to rust. Here’s how you can remove and clean the blade:
- Make sure the mower is turned off completely and the spark plug wire is disconnected. This will ensure safety while working on the blade.
- Locate the blade bolt or nut that secures the blade to the mower deck.
- Using a wrench or socket, carefully loosen and remove the blade bolt or nut. Be cautious as the blade may be sharp.
- Once the blade is removed, inspect it for any signs of damage or wear. Look for cracks, chips, or excessive dullness. If the blade is damaged, it’s recommended to have it sharpened or replaced before storing the mower.
- To clean the blade, use a stiff brush or a cloth to remove any grass clippings or debris. Pay attention to both sides of the blade and ensure that it’s free from any buildup.
- If the blade is particularly dirty or covered in hardened residue, you can soak it in a bucket of warm, soapy water for a few minutes. This will help loosen the debris and make it easier to clean.
- After cleaning, rinse the blade thoroughly with clean water and dry it completely to prevent any moisture-induced rust.
- Once the blade is clean and dry, you can reattach it to the mower following the reverse process of removing it. Ensure the blade is properly aligned and securely fastened with the blade bolt or nut.
By removing and cleaning the blade, you ensure that it is in optimal condition for the next mowing season. A clean and sharp blade will provide a clean and even cut for your lawn. Now that the blade is taken care of, it’s time to move on to the next step: lubricating moving parts.
Lubricating Moving Parts
Lubricating the moving parts of your lawn mower is an important step in its storage process. It helps prevent rust and corrosion, ensuring that the mower will start up smoothly when you’re ready to use it again. Here’s how you can effectively lubricate the moving parts of your lawn mower:
- Before you begin, make sure the lawn mower is turned off and the spark plug wire is disconnected for safety.
- Inspect the moving parts of the mower, including the wheels, cables, and any other areas that require lubrication.
- Using a suitable lubricant, such as a silicone spray or a penetrating oil, apply a small amount to the pivot points and moving parts. Focus on areas that tend to rust or become stiff during storage.
- Work the lubricant into the moving parts by manually operating them. For example, move the wheels back and forth or engage the throttle and move the cables.
- Once you have applied the lubricant and worked it into the moving parts, wipe away any excess with a clean cloth. This will prevent any buildup or attract dust and debris.
- Pay close attention to any areas that may have joints, hinges, or connections. These areas often require lubrication to ensure smooth movement.
Regularly lubricating the moving parts of your lawn mower not only helps to prevent rust but also ensures that the mower operates smoothly and efficiently. By following these steps, you can keep your mower in good condition during its time in storage.
Now that you have lubricated the moving parts, it’s time to move on to the next step: storing the lawn mower.
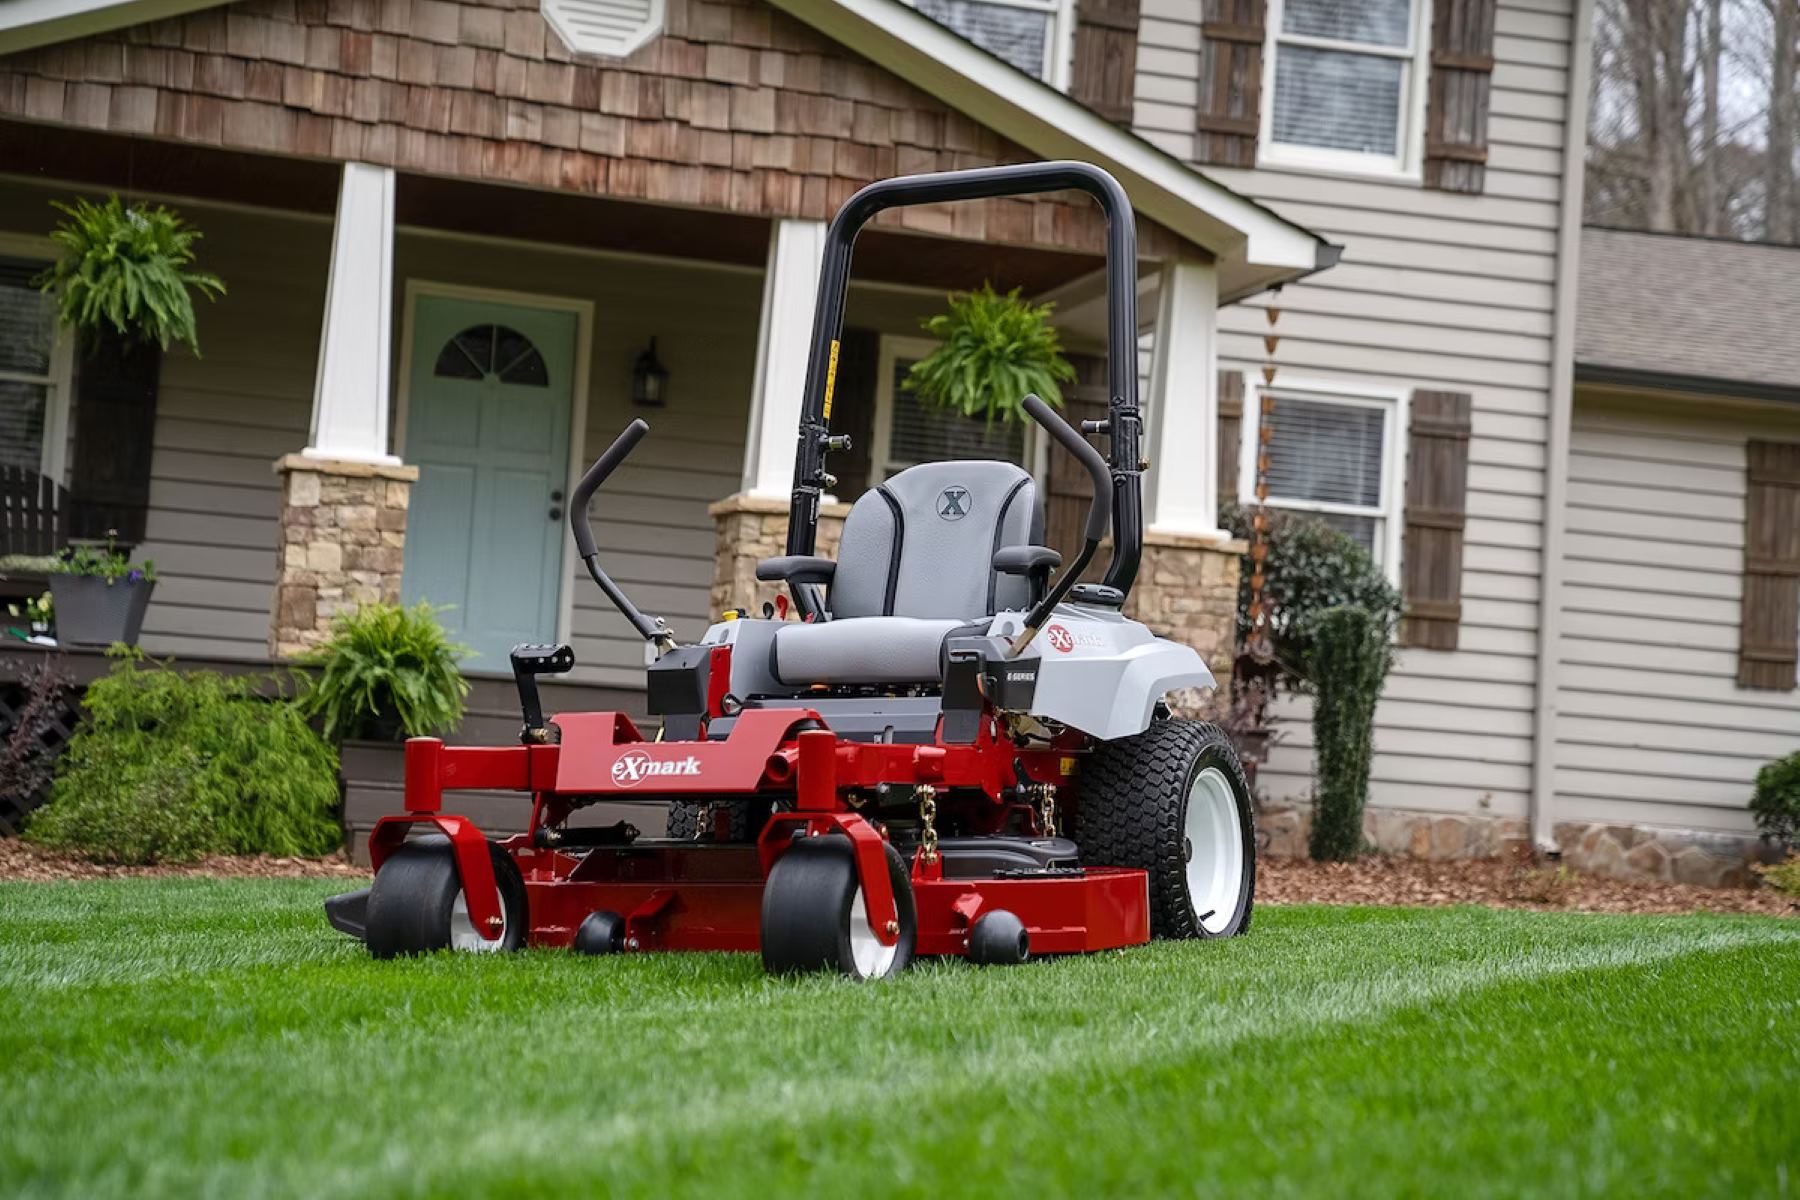
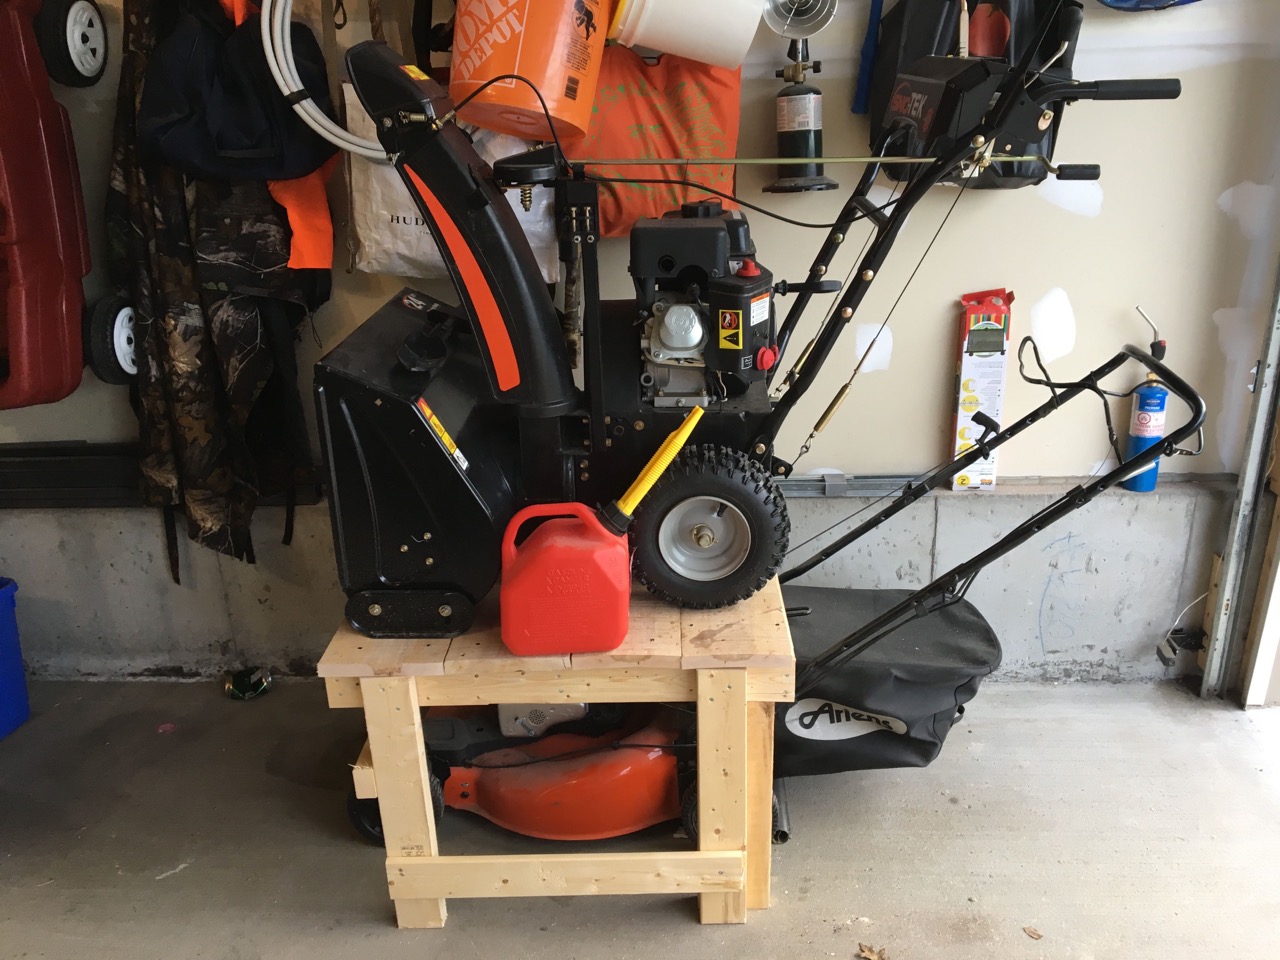
Storing the Lawn Mower
Properly storing your lawn mower is essential for keeping it in good condition during the off-season and ensuring its longevity. Here are some steps to follow when storing your lawn mower:
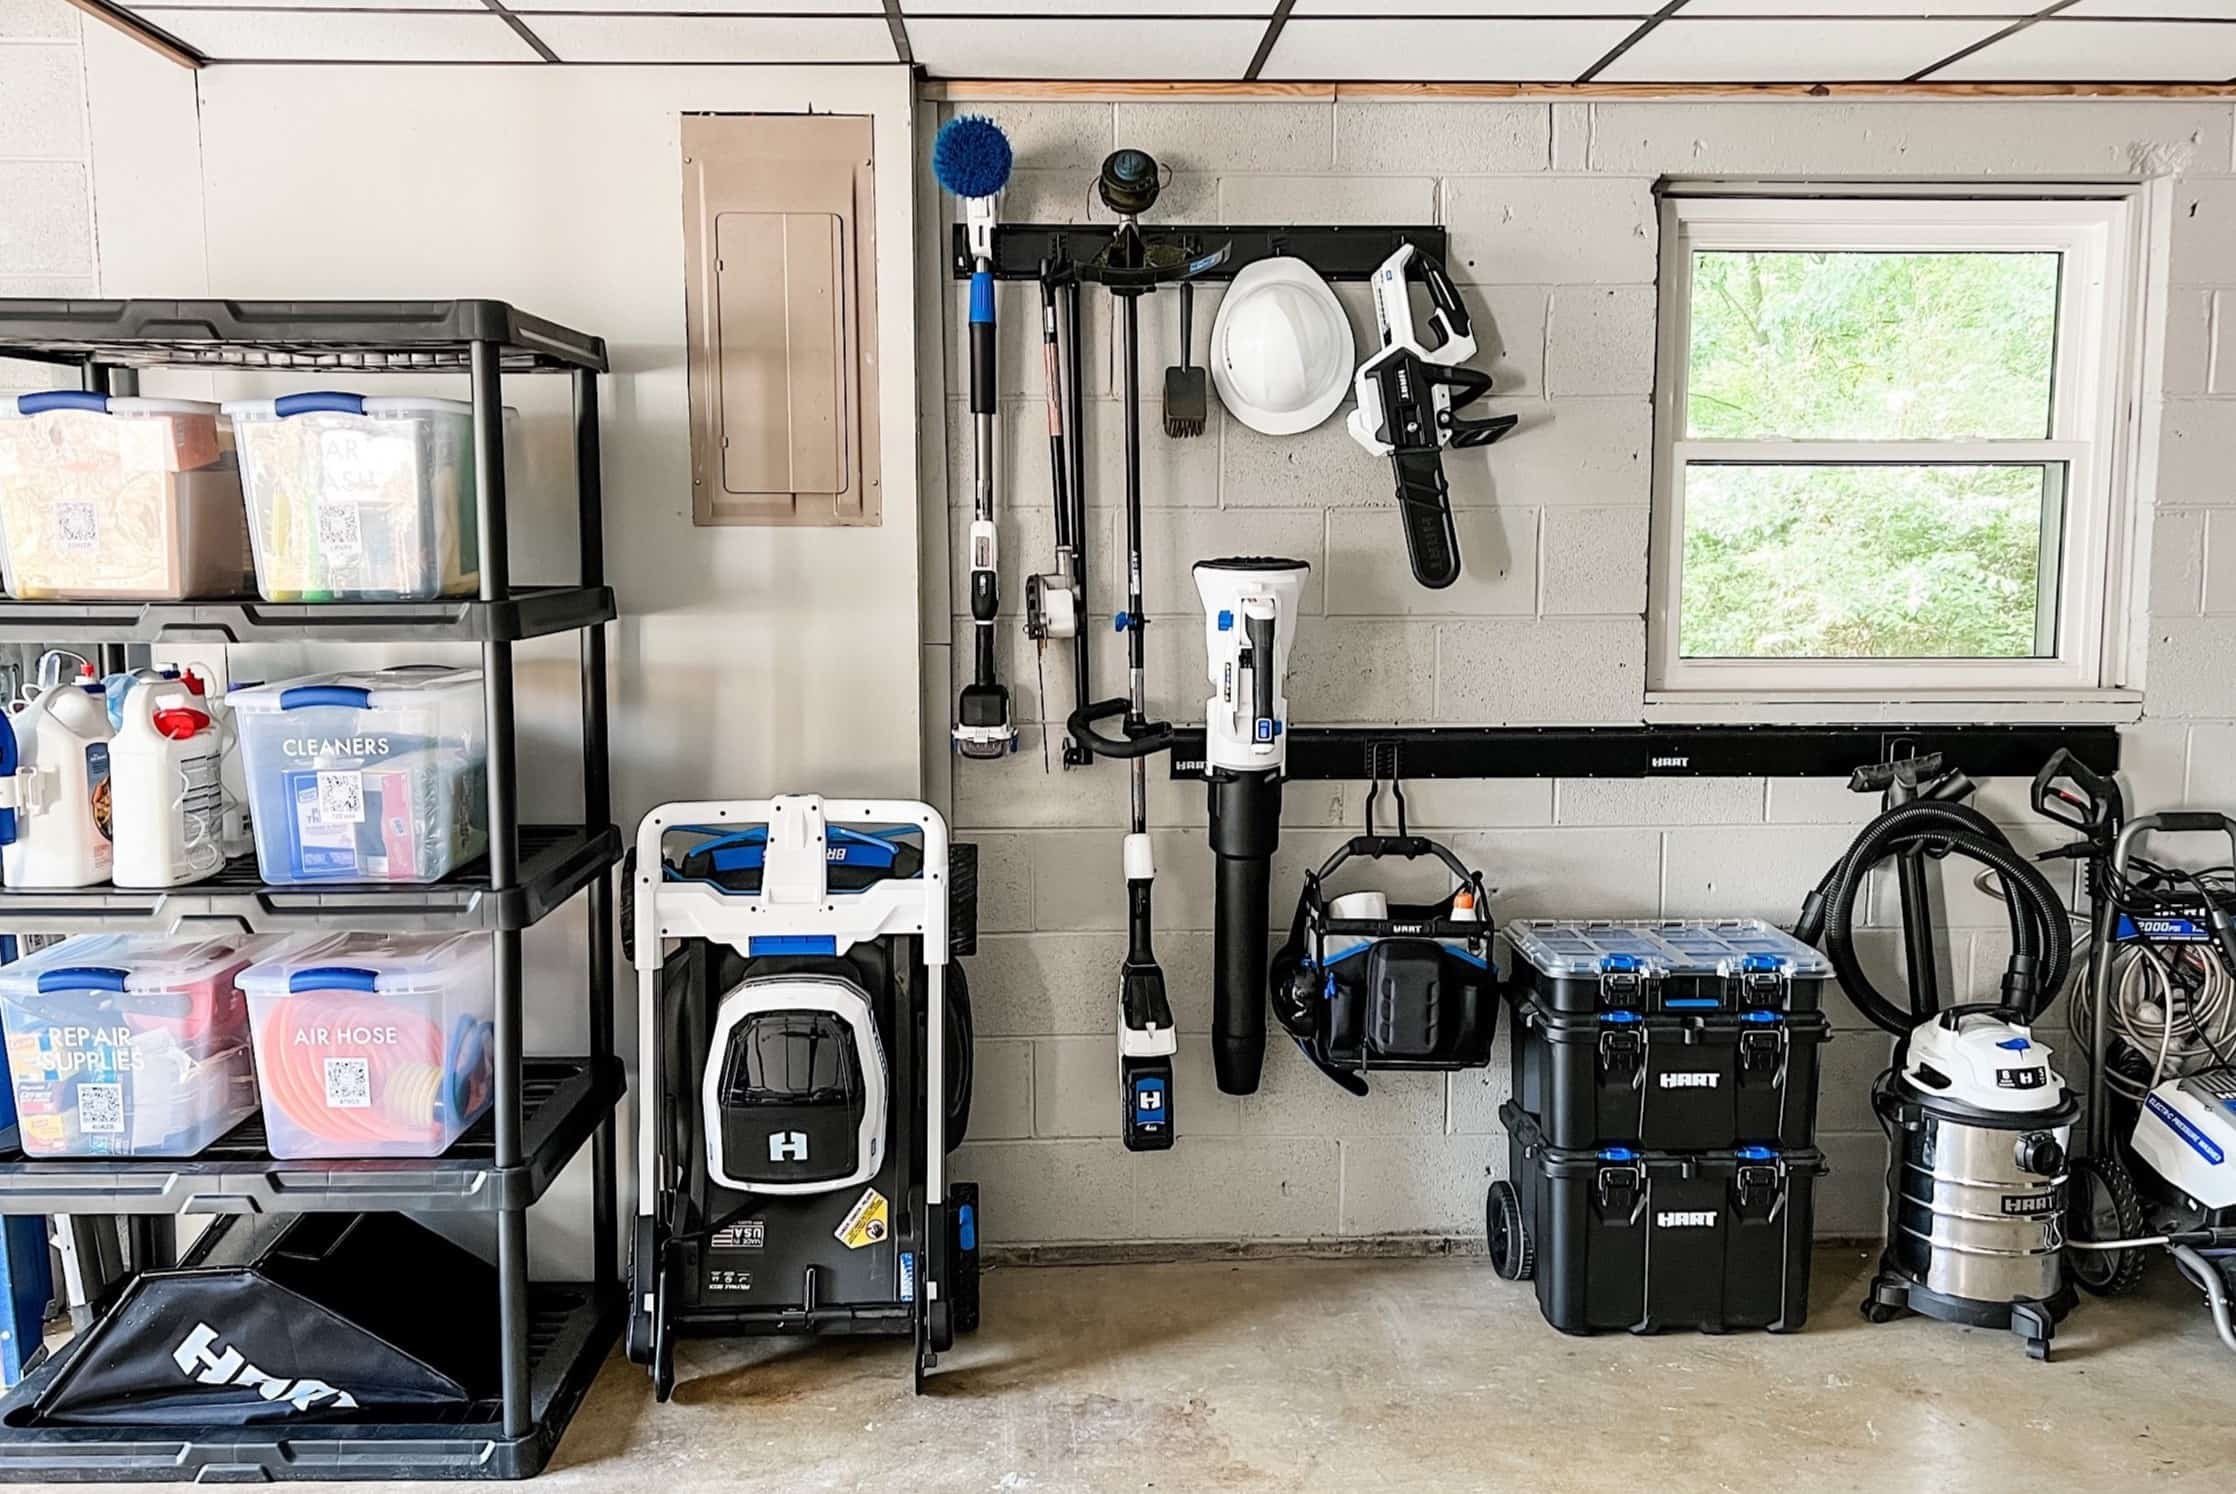
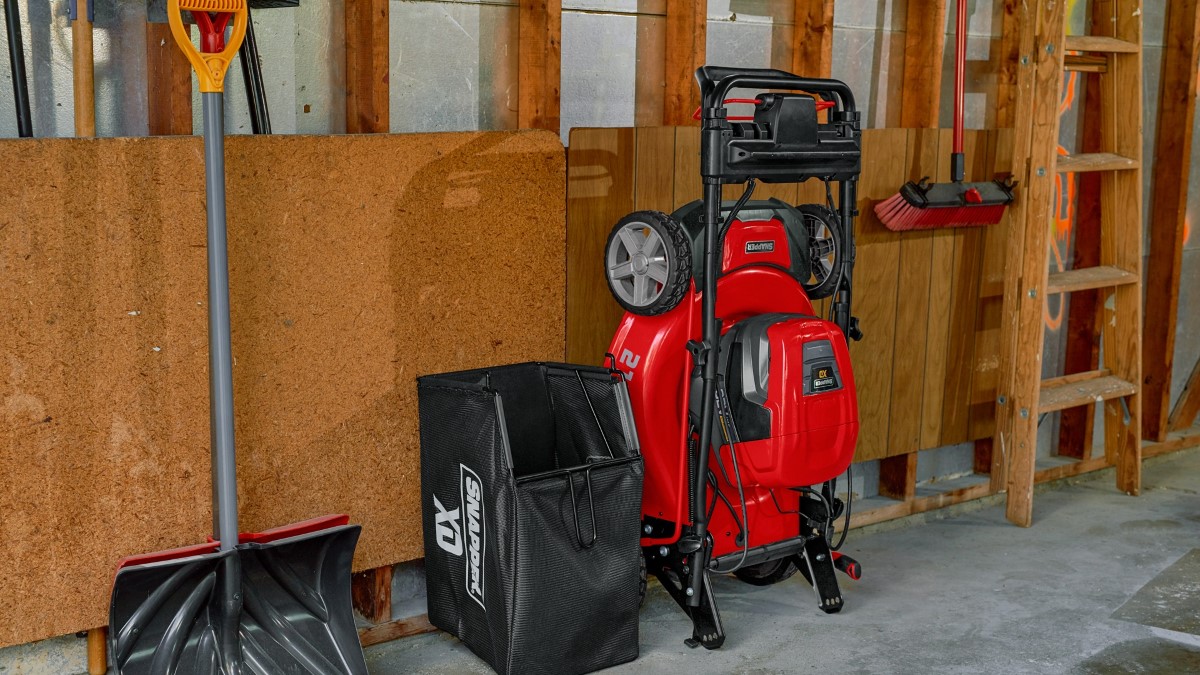
- Choose a clean and dry storage location for your lawn mower. Ideally, it should be a cool and well-ventilated area, away from direct sunlight and moisture. A garage, shed, or covered patio can be suitable options.
- Prior to storing the mower, protect it from dust and debris by covering it with a lawn mower cover or a tarp. This will help keep the mower clean and prevent any potential damage.
- If you have a gas-powered lawn mower, it’s important to stabilize the fuel left in the tank for long-term storage. Add a fuel stabilizer according to the manufacturer’s instructions and run the mower for a few minutes to ensure the stabilized fuel flows through the carburetor.
- For electric mowers, disconnect and remove the battery if applicable. Store it separately in a cool, dry place. This will help prolong the battery’s lifespan and prevent any potential damage.
- Ensure that the mower’s controls and handles are in the disengaged position and properly secured. This will prevent any accidental engagement or damage during storage.
- Consider raising the mower off the ground by placing it on blocks or using a mower lift. This will prevent flat spots from developing on the tires and keep them in good condition.
- Store the lawn mower in an upright position, if possible. This will help prevent any fuel or oil leaks and ensure that the mower is ready to go when you use it again.
By following these steps, you can ensure that your lawn mower is safely and properly stored during the off-season. When the time comes to use it again, you’ll have a well-maintained mower ready to tackle your yard.
Now that you know how to store your lawn mower, let’s move on to some final tips to consider for lawn mower storage.
Final Tips for Lawn Mower Storage
As you prepare to store your lawn mower, here are some additional tips to keep in mind to ensure its optimal condition:
- Check the tires and inflate them to the recommended pressure. This will help prevent flat spots and ensure that the mower is stable during storage.
- Inspect the spark plug and replace it if necessary. A clean and properly functioning spark plug is essential for easy starting when you use the mower again.
- Consider removing the air filter and inspecting it. If it is dirty or clogged, clean or replace it before storing the mower. A clean air filter promotes better air circulation and prevents engine damage.
- If your mower has a bagging attachment or any other removable accessories, remove and store them separately. This will prevent any damage or deformation during storage.
- Keep the storage area well-ventilated to prevent the accumulation of moisture. This will help prevent rust and the growth of mold or mildew on the mower.
- Regularly inspect the storage area to ensure that there are no signs of rodents or pests. They can cause damage to the mower’s wiring or components. Consider using pest deterrents or traps to keep them away.
- Label any containers or cans with leftover fuel or oil to avoid confusion or accidental use in the future. Store these substances in a safe and well-ventilated area away from any heat sources.
- Finally, make a note in your calendar or set a reminder for a maintenance check before the next mowing season. This will help ensure that your mower is ready to go when you need it and prevents any surprises.
By following these final tips, you can be confident that your lawn mower will be stored properly and be in good condition when you’re ready to use it again. Take the extra time and care now to protect your investment and make the most of your mowing season.
With the completion of these storage tips, you now have all the information you need to effectively store your lawn mower. Remember to consult your mower’s manufacturer’s manual for any specific instructions or recommendations. Happy mowing and happy storage!
Read more: How To Store A Lawn Mower In Garage
Conclusion
Properly storing your lawn mower is crucial for its longevity, performance, and overall condition. By following the steps outlined in this comprehensive guide, you can ensure that your lawn mower remains in optimal shape during the off-season and is ready for use when the mowing season returns.
From preparing the lawn mower for storage to cleaning and lubricating its components, each step plays a vital role in keeping your mower in top condition. Taking the time to clean the mower, drain the fuel, change the oil, remove and clean the blade, and lubricate the moving parts will help prevent rust, corrosion, and performance issues.
Additionally, store your lawn mower in a dry and protected area, cover it to prevent dust and debris accumulation, and consider raising it off the ground to preserve the tires. These extra precautions can make a significant difference in maintaining the integrity of your mower.
Remember to follow the specific guidelines outlined in your lawn mower’s manufacturer’s manual to ensure you’re following the recommended procedures for your particular model.
By implementing proper storage techniques and performing necessary maintenance tasks, you can prolong the life of your lawn mower and ensure that it continues to provide you with a well-manicured lawn.
So, as you bid farewell to the mowing season, make sure to give your lawn mower the attention it deserves. It will reward you with reliable performance and ensure a hassle-free start to your next mowing season.
Frequently Asked Questions about How To Store A Lawn Mower
Was this page helpful?
At Storables.com, we guarantee accurate and reliable information. Our content, validated by Expert Board Contributors, is crafted following stringent Editorial Policies. We're committed to providing you with well-researched, expert-backed insights for all your informational needs.


0 thoughts on “How To Store A Lawn Mower”