Articles
How To Stop A Speed Queen Washer
Modified: August 27, 2024
Learn the best techniques and articles on how to stop a Speed Queen washer from malfunctioning. Discover step-by-step instructions and expert advice to fix common issues quickly.
(Many of the links in this article redirect to a specific reviewed product. Your purchase of these products through affiliate links helps to generate commission for Storables.com, at no extra cost. Learn more)
Overview of Speed Queen Washers
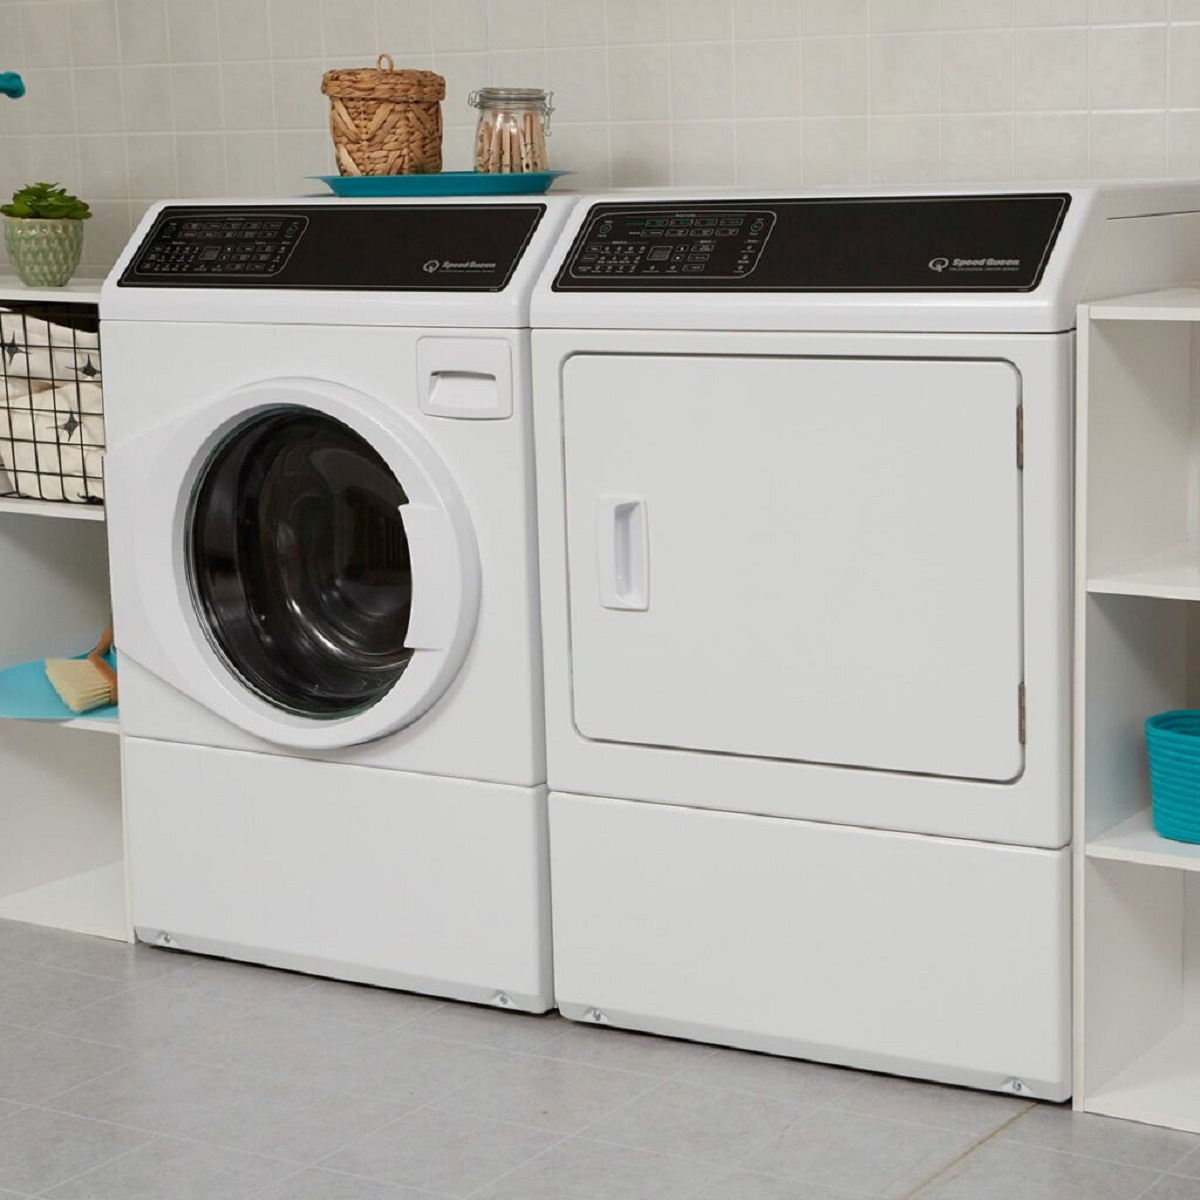
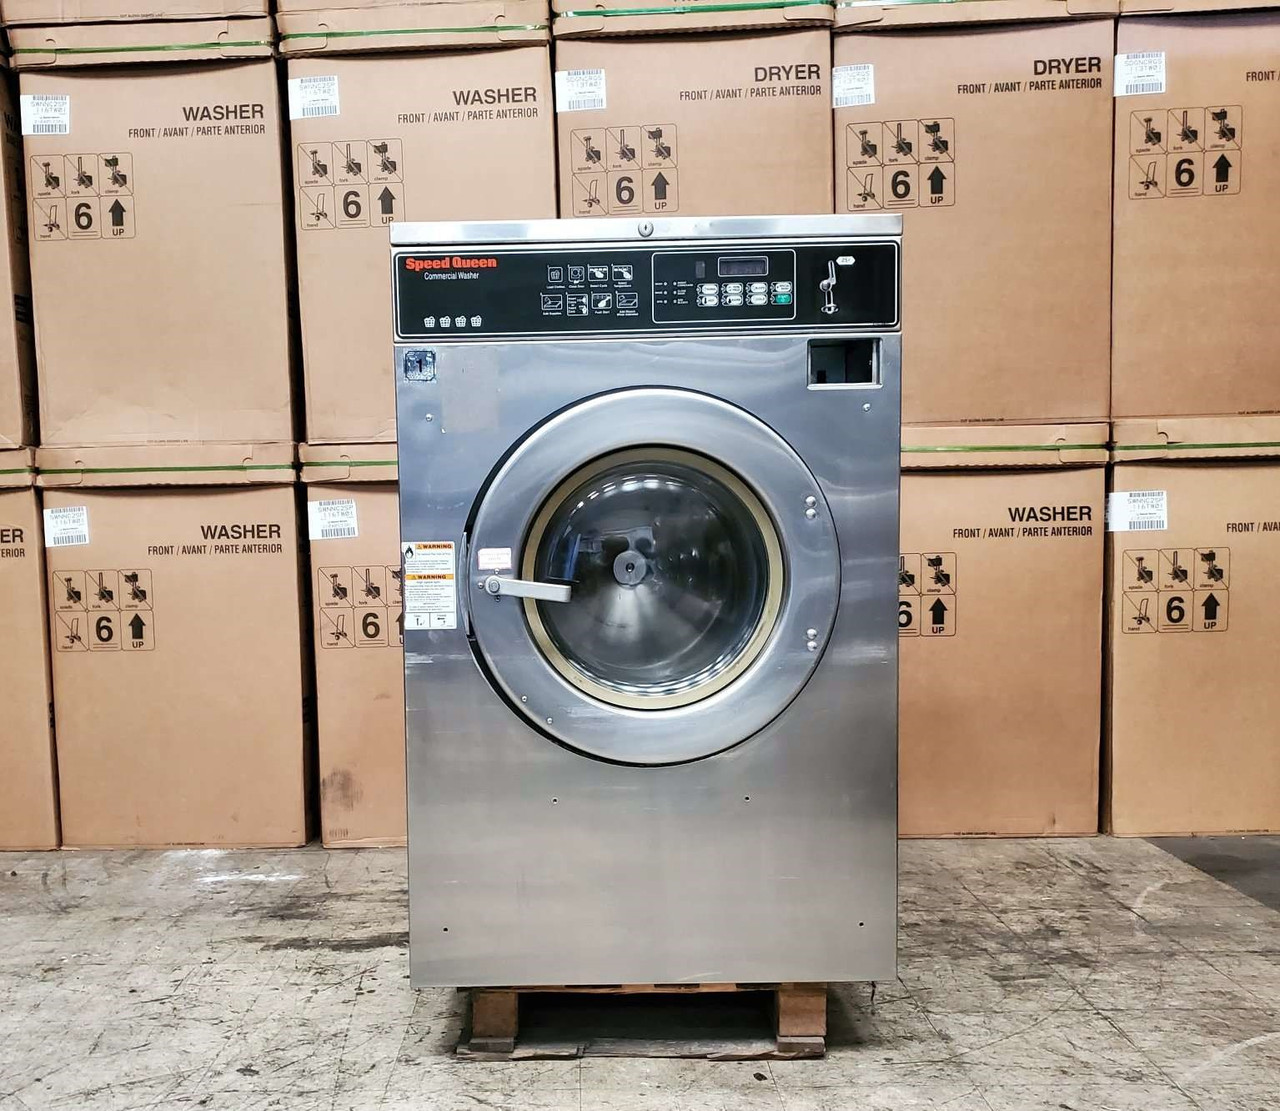
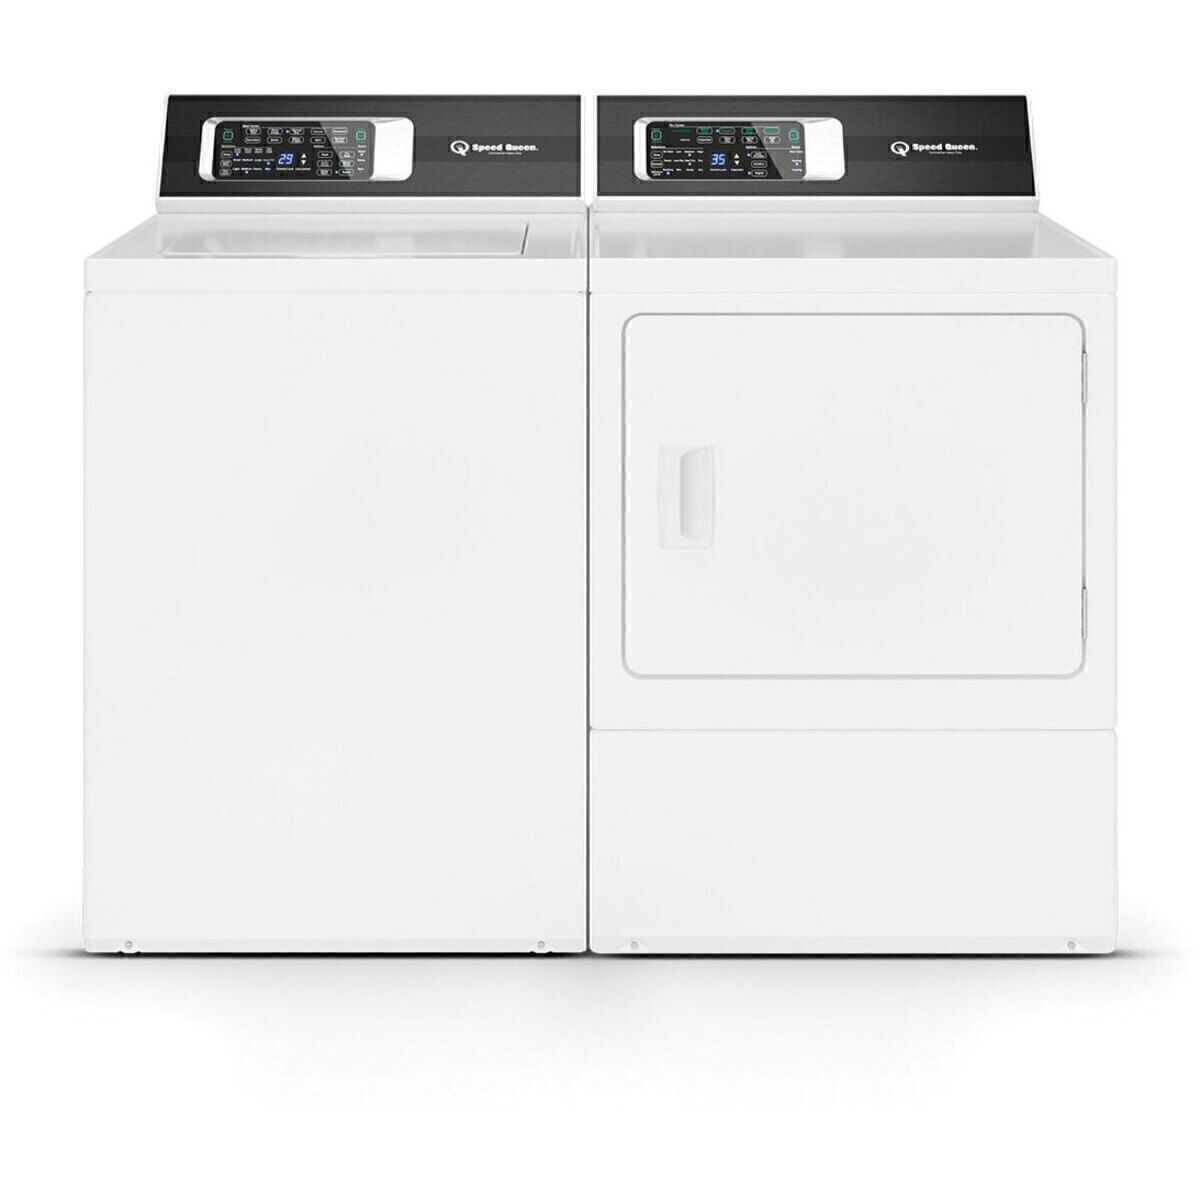
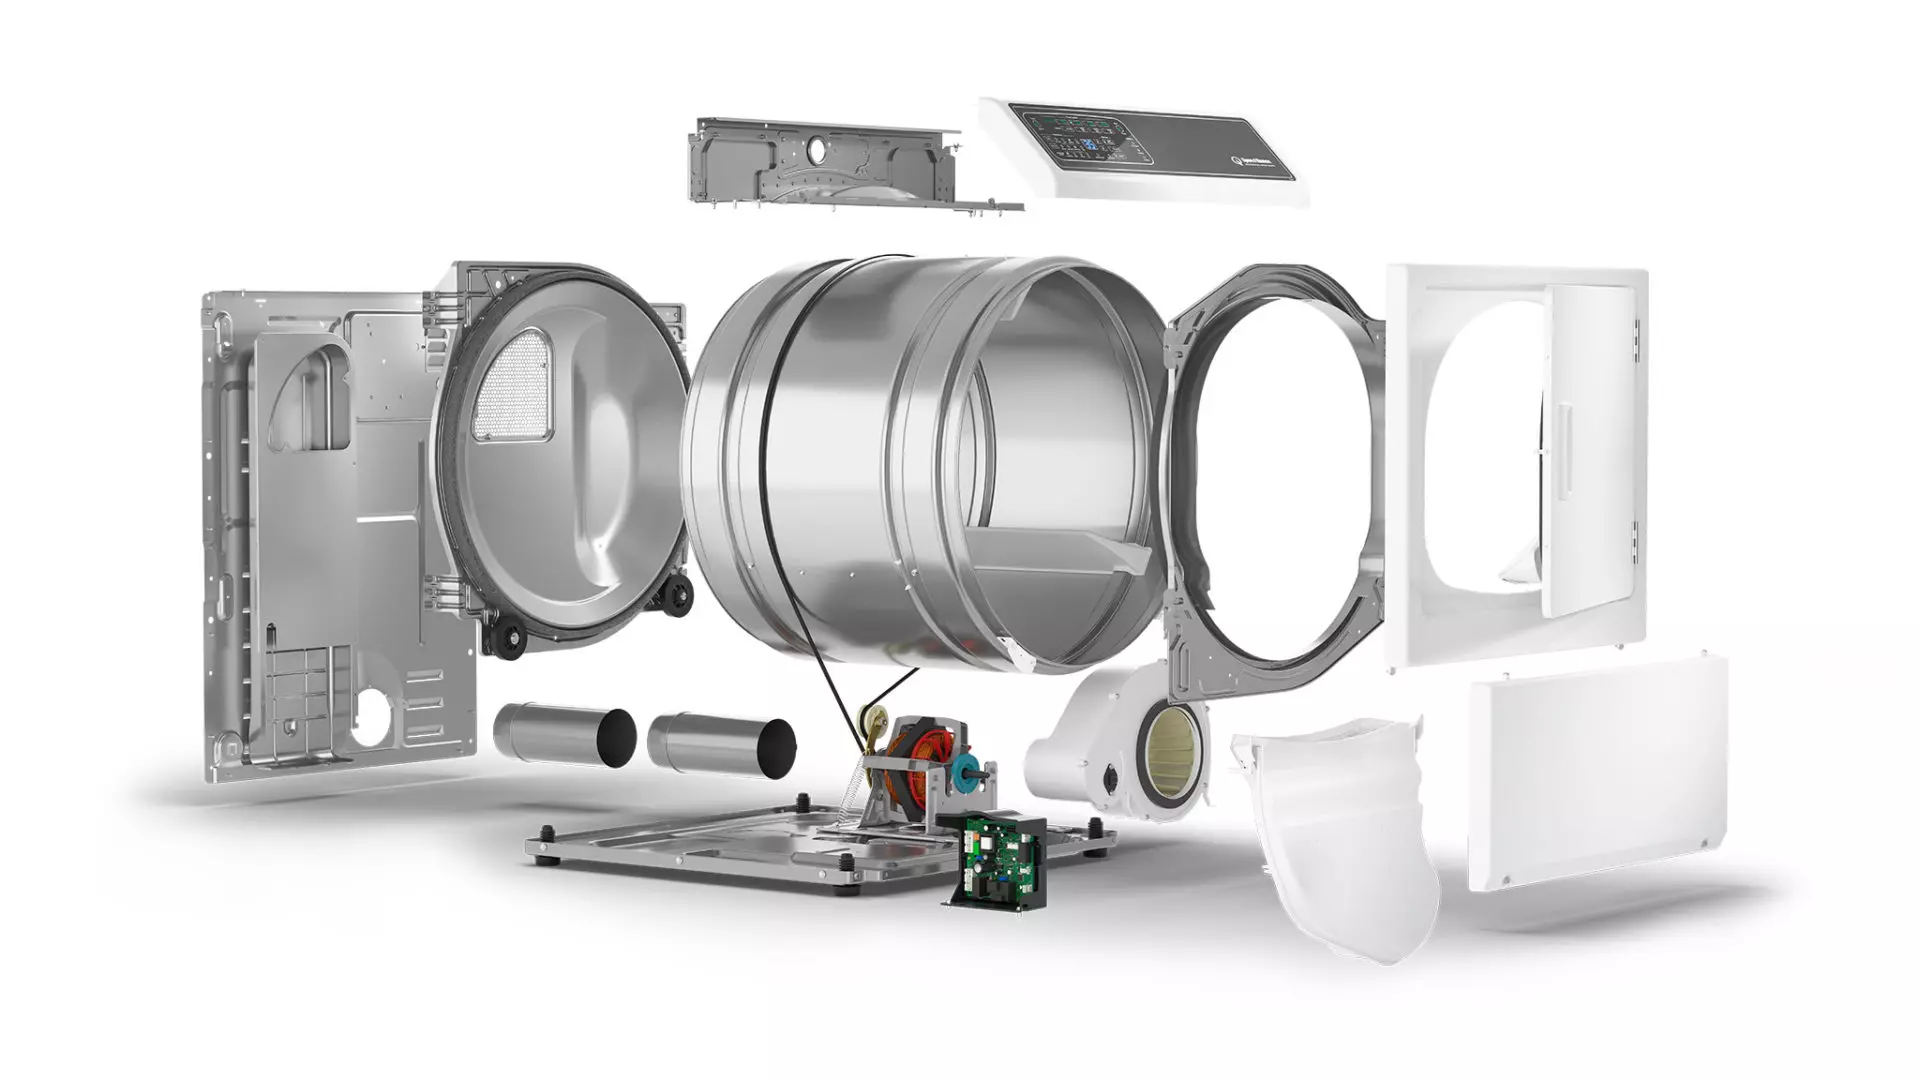
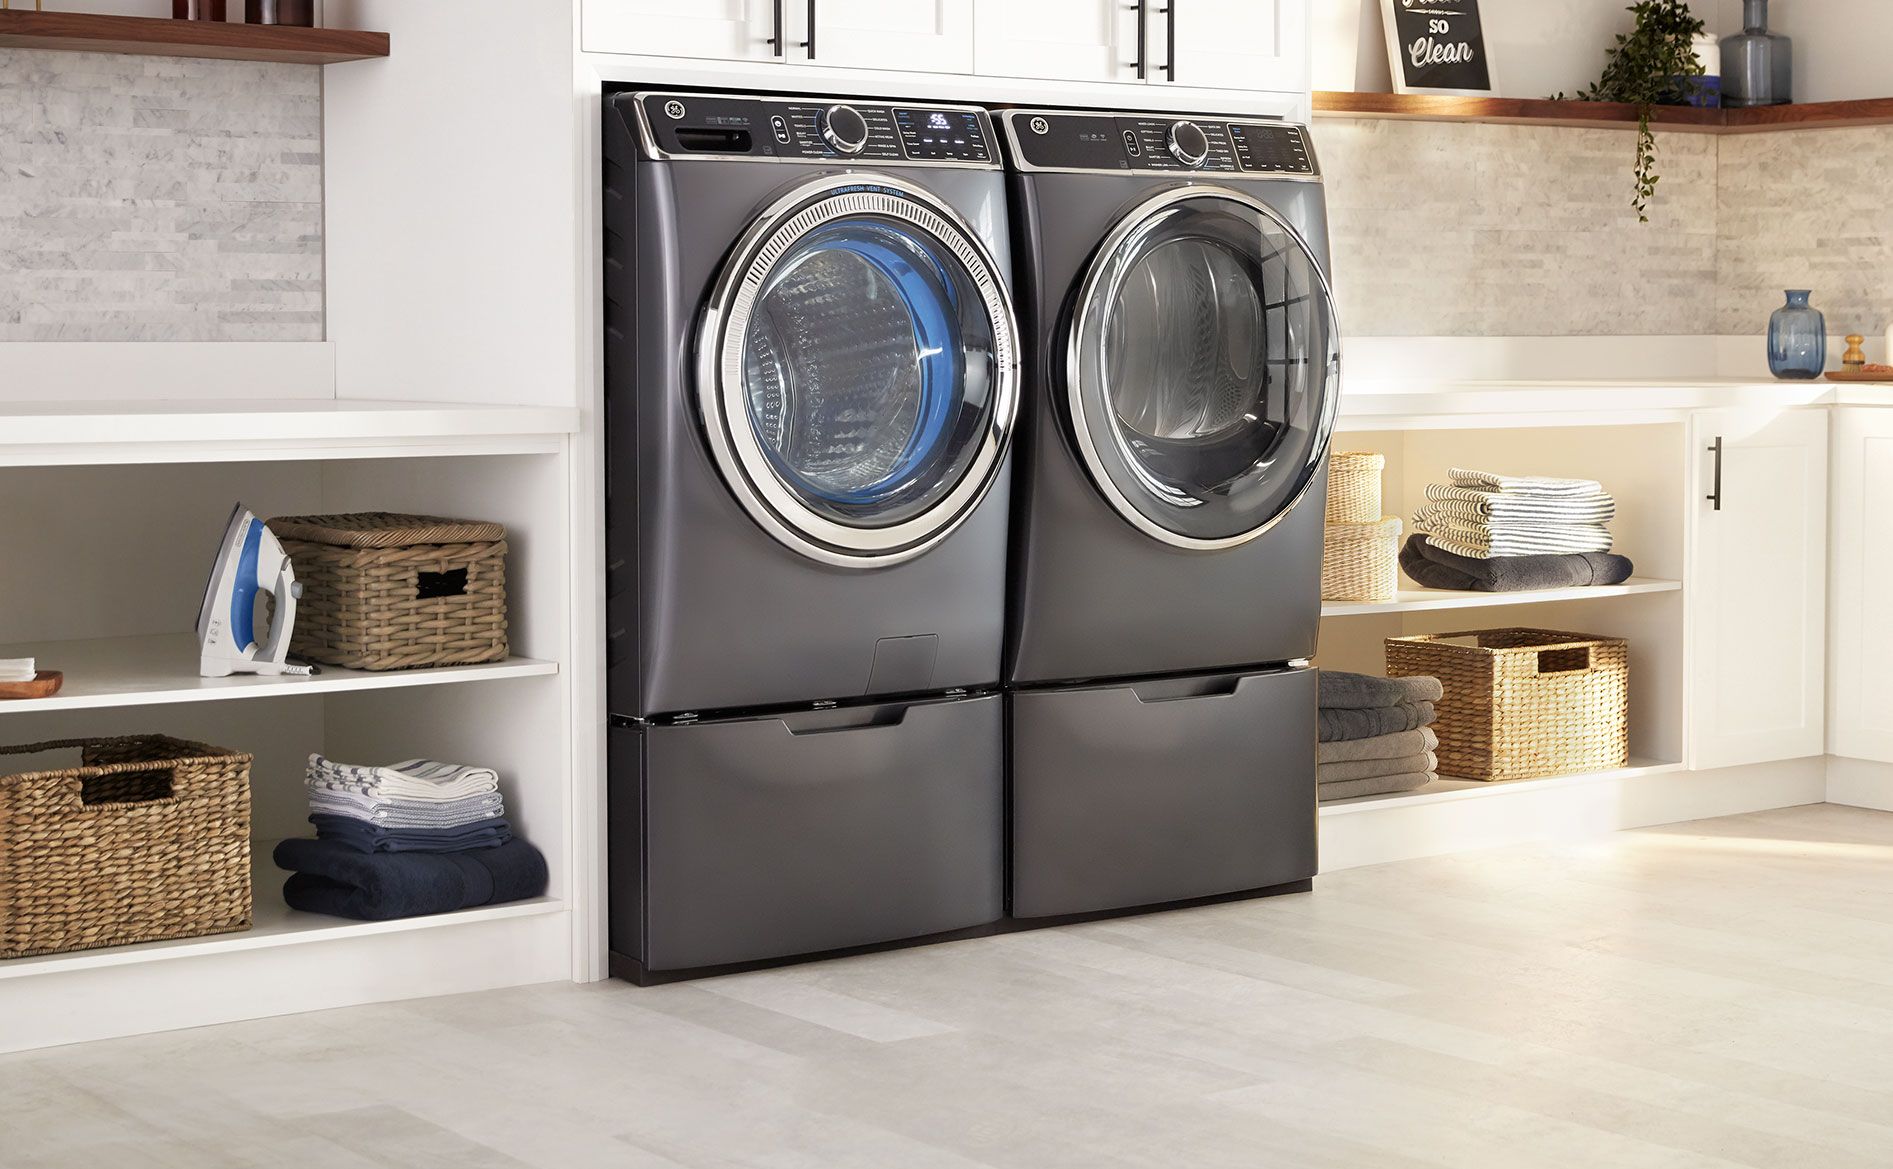
Speed Queen is a renowned brand in the world of washers, known for its durability and reliability. Speed Queen washers are designed to handle large loads efficiently, making them a popular choice for households and laundromats alike. They offer a range of features and options to cater to different needs, ensuring thorough cleaning and care for your clothes.
Speed Queen washers are known for their robust construction and powerful performance, allowing them to withstand heavy usage and deliver consistent results. They are designed with a focus on user convenience and ease of operation, making laundry tasks more manageable.
One of the key advantages of Speed Queen washers is their innovative technology, which ensures thorough and efficient cleaning. They employ advanced agitators and wash systems that deliver powerful cleaning action, removing even the toughest stains. Additionally, Speed Queen washers incorporate various wash cycles and options to cater to different fabric types and soil levels, allowing you to customize your laundry experience.
Aside from their impressive performance, Speed Queen washers are also built to last. With durable materials and components, these washers are designed to withstand the test of time. This longevity is further supported by Speed Queen’s commitment to quality and rigorous testing, ensuring that their washers meet the highest standards of reliability and durability.
Overall, Speed Queen washers offer a reliable and efficient laundry solution for both residential and commercial use. They combine powerful performance, durability, and user-friendly features to deliver an exceptional laundry experience.
Key Takeaways:
- Proper loading and balancing of your Speed Queen washer is crucial to prevent excessive vibration and ensure optimal performance. Follow recommended guidelines and distribute the load evenly to maintain balance during the wash and spin cycles.
- Troubleshooting start-up problems and addressing water leaks promptly will help ensure that your Speed Queen washer operates smoothly and efficiently. Regular maintenance and attention to common issues are essential for a reliable laundry experience.
Read more: How To Reset Speed Queen Commercial Washer
Common Issues with Speed Queen Washers
Like any home appliance, Speed Queen washers can experience common issues that may disrupt their normal operation. These issues can vary in nature and severity but can usually be resolved with a few simple steps. Here are some of the most commonly encountered problems:
- Excessive Vibration: One common problem with washers is excessive vibration during the spin cycle. This can be caused by an unbalanced load, worn or damaged components, or improper installation. Excessive vibration can lead to noise disturbance and potentially damage the washer if left unaddressed.
- Loud Noises: Another common issue with Speed Queen washers is unusual noises during operation. These noises can range from loud banging and clunking sounds to high-pitched squeaks or grinding sounds. These noises can be indicative of a problem with the motor, drum, or other internal components of the washer.
- Not Starting or Turning On: Some users may encounter issues with their Speed Queen washer not starting or turning on. This can be due to various reasons, such as a power connection problem, a faulty control panel, or a malfunctioning power switch. It’s essential to troubleshoot and identify the root cause of this issue.
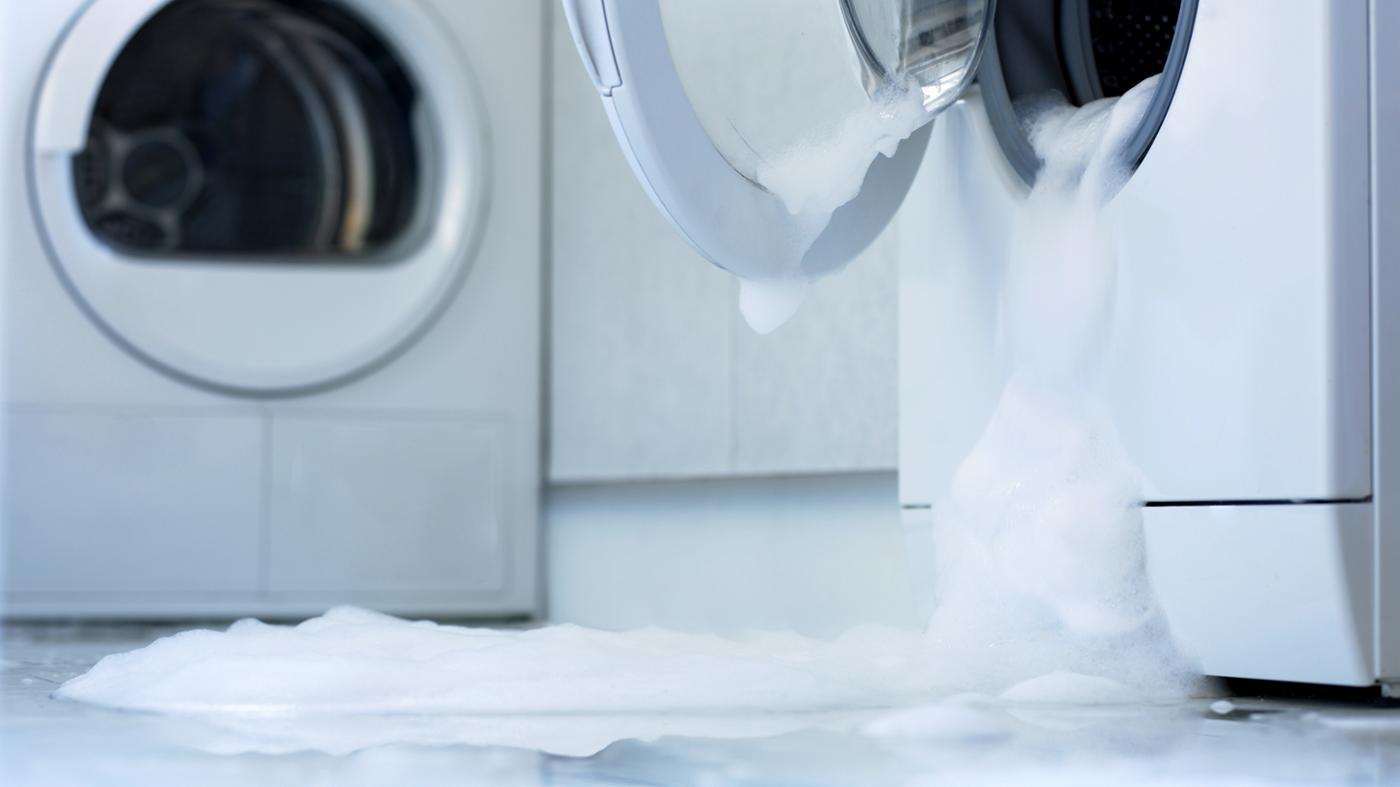
- Water Leaks: Leakage is another commonly reported issue with washers. Leaks can occur from various parts of the washer, including the hoses, valves, and seals. Identifying the source of the leak and taking appropriate measures is crucial to prevent further damage and water wastage.
- Unresponsive Controls: Some users may encounter problems with unresponsive controls on their Speed Queen washers. This can be due to a malfunctioning control panel, faulty buttons, or a software glitch. Troubleshooting steps can help resolve this issue and restore normal functionality.
Excessive Vibration
Excessive vibration during the spin cycle is a common issue that can affect the performance of Speed Queen washers. While some vibration is normal, if the vibration becomes excessive, it can lead to noise disturbance and potential damage to the washer. Fortunately, there are several steps you can take to address this problem:
- Check the load: Ensure that the washer is not overloaded. Overloading the washer can create an imbalance and lead to excessive vibration. Make sure that the clothes are evenly distributed inside the drum and not bunched up on one side.
- Balance the load: Unevenly distributed clothes can also cause vibration. If you notice that the load is unbalanced, stop the washer and redistribute the clothes evenly. This will help distribute the weight more evenly during the spin cycle and reduce vibration.
- Check the leveling: Make sure that the washer is properly leveled. If the washer is not level, it can cause it to vibrate excessively. Use a level to check if the washer is sitting evenly on the ground. Adjust the leveling feet to ensure that all four corners of the washer are in contact with the floor.
- Inspect and tighten the legs and feet: Loose legs or feet can contribute to vibration. Check if any of the legs or feet are loose and tighten them if necessary. This will provide stability and reduce vibration during the spin cycle.
- Check for damaged or worn components: A damaged or worn-out shock absorber or suspension spring can contribute to excessive vibration. Inspect these components for any signs of damage or wear. If you notice any issues, they may need to be replaced to resolve the vibration problem.
- Remove foreign objects: Occasionally, excessive vibration can be caused by foreign objects, such as coins or small items, getting caught between the drum and the tub. Check for any obstructions and remove them carefully to prevent further issues.
- Contact a professional: If the vibration persists despite your efforts, it may be best to contact a professional technician or the Speed Queen customer service team. They can provide further guidance and assistance in diagnosing and resolving the issue.
By following these steps, you can effectively address the issue of excessive vibration in your Speed Queen washer. Remember to prioritize safety and always consult the user manual or seek professional help if needed. Keeping your washer properly maintained and addressing issues promptly will ensure optimal performance and longevity of your appliance.
Loud Noises
Loud noises during the operation of your Speed Queen washer can be alarming and disruptive. These noises can range from banging and clunking sounds to high-pitched squeaks or grinding noises. If you are experiencing loud noises from your washer, here are some steps you can take to diagnose and resolve the issue:
- Check for unbalanced load: An unbalanced load can cause the washer to create loud banging or thumping noises. Stop the washer and redistribute the clothes inside the drum, ensuring they are evenly spread. Restart the machine and see if the noise subsides.
- Inspect the drum bearings: Worn or damaged drum bearings can lead to grinding or squeaking noises. To check for this issue, manually spin the drum with your hand. If you hear a grinding or scraping sound, it is likely that the drum bearings need to be replaced. Contact a professional technician to handle this repair.
- Check for foreign objects: Sometimes, objects like coins, buttons, or small items can get trapped in the drum or between the drum and the tub, causing loud noises during operation. Always check for any obstructions and remove them carefully to prevent further damage to the washer.
- Inspect the motor and drive belt: A malfunctioning motor or a loose/damaged drive belt can result in loud noises. Turn off the washer and inspect the motor and drive belt for any visible signs of damage or misalignment. Tighten or replace the belt if necessary. If the motor is making unusual sounds, it may need to be repaired or replaced by a professional technician.
- Check the suspension springs: Faulty or worn-out suspension springs can lead to loud clunking or banging noises during the spin cycle. Inspect the springs for any signs of damage or stretching. If you notice any issues, they may need to be replaced to eliminate the noise problem.
- Ensure proper installation: If the washer is not properly installed or leveled, it can create excessive vibrations that result in loud noises. Check that the washer is sitting level on the floor and that all four legs are properly adjusted. Use a level to ensure proper alignment.
- Seek professional help: If the loud noises persist or if you are unable to identify the source of the noise, it is recommended to contact a professional technician or the Speed Queen customer service team for assistance. They will have the expertise to diagnose and resolve the issue effectively.
By following these steps, you can troubleshoot and address the issue of loud noises in your Speed Queen washer. Regular maintenance and prompt attention to any unusual sounds will help to keep your washer running smoothly and quietly, ensuring a more pleasant and efficient laundry experience.
Not Starting or Turning On
Having your Speed Queen washer not starting or turning on can be frustrating, especially when you have a pile of laundry waiting to be washed. If you are experiencing this issue, here are some steps you can take to troubleshoot and resolve the problem:
- Check the power connection: Ensure that the washer is properly plugged into a working power outlet. Check the power cord for any visible damage or loose connections. If necessary, plug the washer into a different outlet to eliminate the possibility of a faulty power source.
- Check the power button: Make sure the power button or switch on the washer is in the “On” position. Sometimes, the button may not be fully pressed or there may be a delay in response. Press the power button firmly and hold it for a few seconds to see if the washer starts.
- Inspect the control panel: Examine the control panel for any error codes or error indicators. If there is an error code displayed, consult the user manual or the manufacturer”s website for guidance on the specific error and how to resolve it. Resetting the control panel by unplugging the washer for a few minutes and then plugging it back in may also help.
- Check the circuit breaker: Ensure that the circuit breaker or fuse connected to the washer is not tripped or blown. If it is, reset the circuit breaker or replace the fuse and try turning on the washer again. If the circuit breaker continues to trip, there may be an electrical issue that requires professional attention.
- Inspect the door/lid switch: Some Speed Queen washers have safety mechanisms that prevent the washer from starting if the door or lid is not properly closed. Check if the door or lid is securely closed and latched. If there is any obstruction preventing the door from closing properly, remove it and try starting the washer again.
- Check for a blocked drain hose: If the washer doesn’t start or turn on, it could be due to a blocked or kinked drain hose. Inspect the drain hose for any clogs or obstructions. Clear any debris or straighten any kinks in the hose to ensure proper drainage and allow the washer to start.
- Contact a professional: If none of the above steps resolve the issue and your Speed Queen washer still does not start or turn on, it is recommended to contact a professional technician or the Speed Queen customer service team. They will be able to diagnose the problem more accurately and provide the necessary repairs or guidance.
By following these steps, you can troubleshoot the issue of your Speed Queen washer not starting or turning on. Remember to prioritize safety and consult the user manual or seek professional help when needed. Resolving this issue promptly will help you get your laundry routine back on track.
Read also: 9 Unbelievable Speed Queen Washer For 2025
Water Leaks
Water leaks from your Speed Queen washer can be a cause for concern as they not only waste water but can also lead to potential damage to your flooring and surrounding areas. If you notice water leaking from your washer, here are some steps you can take to address the issue:
- Check the hoses: Inspect the inlet and drain hoses connected to your washer for any signs of damage or detachment. Ensure that the hose connections are secure and tight. If you notice any cracks, leaks, or loose connections, replace the damaged hoses or tighten the connections.
- Inspect the water supply valves: Check the water supply valves connected to the washer for any leaks. Make sure the valves are fully open and not partially turned off. If you notice any leaks or drips from the valves, tighten them or replace them if necessary.
- Examine the door/lid gasket: If your washer has a door or lid gasket, inspect it for any signs of wear, damage, or debris. The gasket should create a tight seal to prevent water from leaking out. Clean the gasket and ensure it is properly aligned and intact. If it is worn out or damaged, it may need to be replaced.
- Check the dispenser drawer: If your washer has a detergent or fabric softener dispenser drawer, make sure it is clean and not clogged. A clogged dispenser can cause water to leak and overflow. Remove any residue or blockages from the drawer and ensure that it closes properly to prevent water leakage.
- Inspect the tub-to-pump hose: The tub-to-pump hose is responsible for draining water from the washer. Check this hose for any leaks or blockages. If you notice any issues, such as cracks or loose connections, repair or replace the hose accordingly.
- Check the drain pump filter: A clogged or dirty drain pump filter can result in water leaks. Locate the drain pump filter, usually located at the front or bottom of the washer, and clean it. Remove any debris or lint buildup that may be causing the clog and preventing proper drainage.
- Seek professional help: If you have followed these steps and the water leak issue persists, it is recommended to contact a professional technician or the Speed Queen customer service team for assistance. They can help identify the source of the leak and provide the necessary repairs or guidance to resolve the issue.
Addressing water leaks from your Speed Queen washer promptly will help prevent further damage and water wastage. Regular maintenance, such as checking and cleaning hoses, gaskets, and filters, will help maintain the integrity of your washer and ensure its proper functioning.
Unresponsive Controls
Having unresponsive controls on your Speed Queen washer can be frustrating, as it can prevent you from operating the machine and completing your laundry tasks. If you are experiencing this issue, here are some steps you can take to troubleshoot and resolve the problem:
- Check the power connection: Ensure that the washer is properly plugged into a working power outlet. Confirm that there is power to the washer by testing the outlet with another appliance. If there is no power, check the circuit breaker or fuse connected to the washer and reset or replace as needed.
- Inspect the control panel: Look for any visible damage or wear on the control panel. Sometimes, dust or debris can accumulate on the buttons, causing them to become unresponsive. Clean the control panel gently with a soft cloth or cotton swab and make sure all buttons and knobs move freely.
- Restart the washer: Try turning off the power to the washer and unplugging it from the power outlet. Wait for a few minutes and then plug it back in. This can reset the control panel and resolve any temporary glitches or software issues.
- Refer to the user manual: Consult the user manual or the manufacturer’s website for troubleshooting tips specific to your Speed Queen washer model. Look for information about resetting the controls or resolving common control panel issues.
- Check for error codes: Look for any error codes displayed on the control panel. These codes can provide valuable information about the specific problem. Refer to the user manual or the manufacturer’s website for guidance on understanding and resolving the displayed error codes.
- Perform a hard reset: If the controls are still unresponsive, try performing a hard reset. This involves disconnecting the power to the washer for an extended period, typically 30 minutes to an hour. This can help clear any temporary glitches and restore functionality to the controls.
- Contact a professional: If none of the above steps resolve the issue and your Speed Queen washer’s controls remain unresponsive, it is recommended to contact a professional technician or the Speed Queen customer service team. They have the expertise to diagnose and repair the issue, whether it’s a hardware malfunction or a more complex technical problem.
By following these steps, you can troubleshoot and address the issue of unresponsive controls on your Speed Queen washer. Remember to consult the user manual or seek professional help when necessary. Resolving this issue promptly will ensure that you can efficiently operate your washer and complete your laundry tasks without any hassle.
Steps to Stop a Speed Queen Washer
Stopping a Speed Queen washer in the middle of a cycle may be necessary for various reasons, such as adding or removing an item, adjusting the settings, or addressing an issue. Here are the steps to stop a Speed Queen washer:
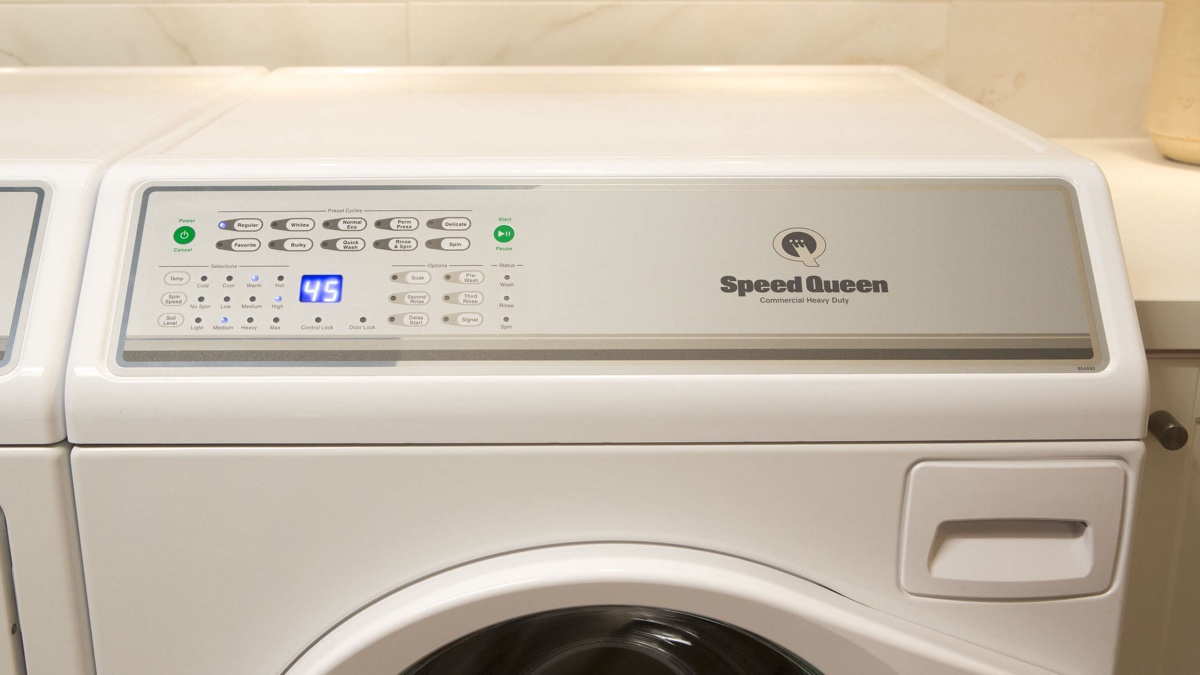
- Press the “Pause” button: If your Speed Queen washer has a “Pause” button, press this button to temporarily pause the cycle. The washer will stop spinning and pulsing, but the door will remain locked.
- Wait for the drum to stop: After pressing the “Pause” button, wait for a few moments until the drum comes to a complete stop. This ensures that no components are moving before you proceed further.
- Open the door: Once the drum has stopped, you can now safely open the door. Depending on the model, you may need to wait for the door lock indicator to turn off before you can unlock and open the door.
- Make any necessary adjustments: If you need to add or remove items from the washer or adjust the settings, now is the time to do so. Take care not to overload the washer or tamper with any delicate components.
- Close the door and restart the cycle: After making the desired adjustments, close the door firmly. Ensure that it is latched securely. Press the appropriate buttons to select the desired cycle, settings, temperature, and any other preferences. Finally, press the “Start” button to resume the cycle.
By following these steps, you can stop your Speed Queen washer safely and effectively, allowing you to make any necessary adjustments or address any issues without damaging the machine. Remember to refer to the user manual for specific instructions related to your model, as the button placement and functions may vary.
To stop a Speed Queen washer, simply open the lid or door and the machine will automatically pause. If it doesn’t stop, unplug it from the power source.
Step 1: Checking the Power Connection
When your Speed Queen washer is not starting or turning on, the first step in troubleshooting is to check the power connection. Follow these steps to ensure that your washer is properly connected to a power source:
- Examine the power cord: Start by inspecting the power cord of your Speed Queen washer. Look for any visible signs of damage, such as frayed wires or exposed insulation. If you find any issues with the power cord, it may need to be replaced to ensure safe and reliable operation of the washer.
- Check the power outlet: Ensure that the power outlet your washer is plugged into is functioning properly. You can test the outlet by plugging in another electronic device and verifying that it powers on. If the outlet is not working, check the circuit breaker associated with it and reset it if necessary.
- Ensure a secure connection: Verify that the power cord is securely plugged into the power outlet and the back of the washer. Sometimes, the connection may come loose due to movement or other factors. Push the plug firmly into the outlet and the washer to ensure a tight and reliable connection.
- Try a different outlet: If you suspect that the current outlet is not providing power to the washer, try plugging it into a different outlet. This will help determine if the issue is with the outlet itself or the washer. Be sure to use a functioning outlet that matches the voltage requirements of the washer.
- Check the power switch or button: Double-check that the power switch or button on the washer is in the proper position. Sometimes, the switch may accidentally be turned off or in a neutral position, preventing the washer from starting. Flip the switch or press the button firmly to ensure it is in the “On” position.
- Consult the user manual: If you have followed these steps and your Speed Queen washer is still not starting or turning on, refer to the user manual for further guidance. The manual may contain specific troubleshooting information for power-related issues or offer additional suggestions to resolve the problem.
- Seek professional assistance: If you have checked the power connection and followed the troubleshooting steps provided in the user manual but your washer still fails to start, it is recommended to contact a professional technician or the Speed Queen customer service team for expert assistance. They will be able to diagnose and resolve the issue effectively.
By carefully checking the power connection of your Speed Queen washer and following these steps, you can ensure that the power supply is not the root cause of the issue. Taking the time to troubleshoot and resolve any power-related problems will help you get your washer up and running again, allowing you to tackle your laundry with ease.
Read more: Who Makes Speed Queen Washer And Dryers
Step 2: Ensuring Proper Loading and Balancing
Proper loading and balancing of your Speed Queen washer is essential to prevent excessive vibration and ensure optimal performance. Follow these steps to ensure that your washer is loaded and balanced correctly:
- Sort your laundry: Before loading your washer, sort your laundry based on color, fabric type, and wash cycle requirements. This will prevent color bleeding and ensure that delicate items are treated with care.
- Refer to the user manual: Consult the user manual for your Speed Queen washer to understand the recommended load capacity. Overloading the washer can lead to poor cleaning results, increased wear and tear on the machine, and unbalanced loads.
- Distribute the load evenly: Evenly distribute your laundry around the agitator or drum inside the washer. Avoid placing all the heavy items on one side, as this can lead to unbalanced loads and excessive vibration during the spin cycle.
- Balance the load: An unbalanced load can cause the washer to vibrate excessively, which can be noisy and potentially damage the machine. If you notice that the load is unbalanced, stop the washer and redistribute the laundry evenly. Make sure the weight of the items is balanced around the drum or agitator.
- Remove any foreign objects: Check the pockets of your clothing for any small items, such as coins, keys, or buttons. These objects can not only cause damage to your washer but also contribute to unbalanced loads. Remove any foreign objects before loading the washer.
- Use the correct wash cycle: Select the appropriate wash cycle for your laundry. Different fabrics require different wash cycles to ensure optimal cleaning. Using the correct cycle will help prevent excessive movement and imbalance during the wash and spin cycles.
- Close the washer lid or door properly: Ensure that the lid or door of your washer is securely closed before starting the cycle. Some Speed Queen washer models have safety mechanisms that prevent the machine from starting if the lid or door is not properly closed or latched.
- Monitor during the wash cycle: Keep an eye on your washer during the wash cycle to ensure that it continues to operate smoothly. If you notice excessive vibration or banging noises, pause the cycle, readjust the load if necessary, and resume. This will help maintain proper balance and prevent any potential damage to the washer.
- Address any issues promptly: If you continue to experience excessive vibration or unbalanced loads despite following these steps, it may indicate a problem with the washer’s suspension system or other components. In such cases, it is recommended to contact a professional technician or the Speed Queen customer service team for further assistance.
By taking the time to load and balance your Speed Queen washer correctly, you can ensure optimal performance, reduce excessive vibration, and protect your machine from potential damage. Properly balanced loads will allow your washer to clean your laundry effectively and provide the best laundry experience possible.
Step 3: Resolving Excessive Vibration Issues
Excessive vibration during the operation of your Speed Queen washer can be disruptive, noisy, and potentially damaging to the machine. Follow these steps to address and resolve excessive vibration issues:
- Check the load: Ensure that you have properly loaded the washer following the recommended guidelines. Overloading the washer can lead to excessive vibration. Adjust the load if necessary by redistributing the laundry more evenly around the drum.
- Verify proper installation: Ensure that your Speed Queen washer is installed on a level surface. Use a leveling tool to confirm that all four corners of the washer are making even contact with the floor. Adjust the leveling feet if needed to eliminate any wobbling or rocking.
- Inspect and tighten the legs and feet: Loose legs or feet can contribute to excessive vibration. Check if any of the legs or feet are loose and tighten them if necessary. This will provide stability and help reduce vibration during the spin cycle.
- Check the leveling bubble: Some Speed Queen washers have a leveling bubble indicator on the control panel. If the bubble is not centered between the lines, adjust the leveling feet until the washer is properly leveled. This will help minimize excessive vibration during operation.
- Ensure the washer is not overloaded: Overloading the washer with excessive laundry can result in unbalanced loads and increased vibration. Follow the recommended load capacity for your specific Speed Queen washer model.
- Avoid mixing different fabric types: Separating heavy items from lightweight items, such as towels and delicates, can help prevent excessive vibration. Group similar items together in each load to maintain balance during the spin cycle.
- Inspect for damaged or worn components: Check for any visibly damaged or worn-out parts, such as shock absorbers or springs. If you notice any issues, they may need to be replaced to resolve the vibration problem. Contact a professional technician or the Speed Queen customer service team for guidance.
- Consider using vibration isolation pads: Vibration isolation pads can help absorb and dampen the vibrations produced by your washer. These pads go under the legs of the washer to help minimize vibration transfer to the floor and reduce noise. They are especially useful for washers located on upper floors or in laundry rooms near living spaces.
- Consult a professional technician: If you have followed these steps and the excessive vibration issue persists, it may indicate a more significant problem with your Speed Queen washer. In such cases, it is advisable to seek assistance from a professional technician who can accurately diagnose and resolve the issue.
By following these steps, you can effectively address and resolve the problem of excessive vibration in your Speed Queen washer. Ensuring proper load distribution, installation, and maintenance will help reduce noise, prevent damage, and provide a smoother laundry experience.
Step 4: Addressing Loud Noises
Loud noises during the operation of your Speed Queen washer can be annoying and indicate a potential problem. Here are some steps to address and resolve loud noises:
- Check for an unbalanced load: An unbalanced load can cause loud banging or thumping noises. Stop the washer, redistribute the clothes evenly inside the drum, and ensure they are not bunched up on one side. Restart the machine and see if the noise subsides.
- Inspect the drum bearings: Worn or damaged drum bearings can result in grinding or squeaking noises. Manually spin the drum with your hand. If you hear a grinding or scraping sound, it’s likely that the drum bearings need to be replaced. Contact a professional technician to handle this repair.
- Check for obstructions: Objects like coins, buttons, or small items can get trapped in the drum or between the drum and the tub, causing loud noises during operation. Check for any obstructions and remove them carefully to prevent further noise and potential damage.
- Inspect the motor and drive belt: A malfunctioning motor or a loose or damaged drive belt can also contribute to loud noises. Turn off the washer and inspect the motor and drive belt for any visible signs of damage or misalignment. Tighten or replace the belt if necessary. If the motor is making unusual sounds, it may require professional repair or replacement.
- Check the suspension springs: Faulty or worn-out suspension springs can cause loud clunking or banging noises during the spin cycle. Inspect the springs for any signs of damage or stretching. If you notice any issues, they may need to be replaced to eliminate the noise problem.
- Confirm proper installation: Ensure that your Speed Queen washer is properly installed on a level surface. Use a leveling tool to check if all four corners of the washer are making even contact with the floor. Adjust the leveling feet if needed to eliminate wobbling or rocking, which can contribute to noise.
- Monitor the washer during the cycle: Keep an ear out for any unusual or persistent loud noises while the washer is running. If you notice excessive and consistent noise, pause the cycle, inspect the machine, and readjust the load if necessary. This will help maintain proper balance and prevent further noise.
- Contact a professional technician: If none of these steps resolve the loud noise issue, it is advisable to contact a professional technician or the Speed Queen customer service team. They can diagnose the problem accurately and provide the necessary repairs or guidance to resolve the noise issue effectively.
By following these steps, you can address and resolve loud noises in your Speed Queen washer. Regular maintenance and prompt attention to unusual sounds will help keep your washer functioning smoothly and quietly, providing a more pleasant and efficient laundry experience.
Step 5: Troubleshooting Start-Up Problems
Experiencing start-up problems with your Speed Queen washer can be frustrating, but there are several troubleshooting steps you can take to identify and resolve the issue. Follow these steps to troubleshoot start-up problems:
- Check the power connection: Ensure that the power cord is securely plugged into a functioning power outlet. Verify that there is power by testing the outlet with another device. If there is no power, check the circuit breaker associated with the outlet and reset it if necessary.
- Inspect the power switch or button: Make sure the power switch or button on the washer is in the “On” position. Sometimes, the switch may accidentally be turned off or in the neutral position, preventing the washer from starting. Flip the switch or press the button firmly to ensure it is in the correct position.
- Refer to the user manual: Consult the user manual for your Speed Queen washer to understand the specific start-up procedures and any troubleshooting tips provided by the manufacturer. Pay attention to specific indicators and error codes that may be displayed on the control panel.
- Check for error codes: If your washer displays an error code, refer to the user manual or the manufacturer’s website for guidance on understanding and troubleshooting the specific error code. This information can help diagnose the problem and suggest potential solutions.
- Perform a hard reset: Sometimes, a hard reset can resolve start-up issues. To do this, turn off the power to the washer and unplug it from the power outlet. Wait for a few minutes, and then plug it back in. This can help clear any temporary glitches and restore normal functionality.
- Check the door/lid switch: Some Speed Queen washers have a safety mechanism that prevents the machine from starting if the door or lid is not securely closed. Make sure the door is closed properly and latched. If there is an issue with the door/lid switch, it may need to be repaired or replaced.
- Inspect the control panel: Examine the control panel for any visible damage or wear. Clean the control panel with a soft cloth or cotton swab to remove any dirt or debris that may be affecting the buttons. If necessary, consult the user manual or contact Speed Queen customer service for guidance on cleaning or repairing the control panel.
- Seek professional assistance: If you have followed these steps and the start-up problem persists, it is recommended to contact a professional technician or the Speed Queen customer service team. They have the expertise to diagnose and resolve more complex technical issues with your washer.
By following these troubleshooting steps, you can identify and resolve start-up problems with your Speed Queen washer. Remember to consult the user manual and prioritize safety when performing any electrical or mechanical checks. Resolving start-up problems promptly will help ensure that your washer operates smoothly and efficiently.
Read more: How Much Does A Speed Queen Washer Cost
Step 6: Fixing Water Leaks
Water leaks from your Speed Queen washer can be a cause for concern as they not only waste water but can also lead to potential damage to your flooring and surrounding areas. Follow these steps to identify and fix water leaks:
- Check the hoses: Inspect the inlet and drain hoses connected to your washer for any signs of damage or detachment. Ensure that the hose connections are secure and tight. If you notice any cracks, leaks, or loose connections, replace the damaged hoses or tighten the connections.
- Inspect the water supply valves: Check the water supply valves connected to the washer for any leaks. Make sure the valves are fully open and not partially turned off. If you notice any leaks or drips from the valves, tighten them or replace them if necessary.
- Examine the door/lid gasket: If your washer has a door or lid gasket, inspect it for any signs of wear, damage, or debris. The gasket should create a tight seal to prevent water from leaking out. Clean the gasket and ensure it is properly aligned and intact. If it is worn out or damaged, it may need to be replaced.
- Check the dispenser drawer: If your washer has a detergent or fabric softener dispenser drawer, make sure it is clean and not clogged. A clogged dispenser can cause water to leak and overflow. Remove any residue or blockages from the drawer and ensure it closes properly to prevent water leakage.
- Inspect the tub-to-pump hose: The tub-to-pump hose is responsible for draining water from the washer. Check this hose for any leaks or blockages. If you notice any issues, such as cracks or loose connections, repair or replace the hose accordingly.
- Check the drain pump filter: A clogged or dirty drain pump filter can result in water leaks. Locate the drain pump filter, usually located at the front or bottom of the washer, and clean it. Remove any debris or lint buildup that may be causing the clog and preventing proper drainage.
- Inspect the door/lid: Ensure that the door or lid of your Speed Queen washer is closing properly. Check for any damage, warping, or misalignment that may prevent a tight seal. Adjust or repair the door or lid as necessary to prevent water from leaking out during operation.
- Verify proper installation: Make sure your Speed Queen washer is installed on a level surface. Uneven installation can lead to water leakage. Use a leveling tool to check if all four corners of the washer are making even contact with the floor. Adjust the leveling feet if needed to eliminate any wobbling or rocking.
- Seek professional help: If you have followed these steps and the water leak issue persists, it is recommended to contact a professional technician or the Speed Queen customer service team for expert assistance. They will be able to diagnose the problem accurately and provide the necessary repairs or guidance.
By following these steps, you can address and fix water leaks from your Speed Queen washer. Regular maintenance, such as checking and cleaning hoses, gaskets, and filters, will help maintain the integrity of your washer and ensure its proper functioning.
Step 7: Resolving Unresponsive Controls
Unresponsive controls on your Speed Queen washer can be frustrating and prevent you from operating the machine effectively. Follow these steps to troubleshoot and resolve unresponsive control issues:
- Check the power connection: Ensure that the power cord is securely plugged into a functioning power outlet. Verify that there is power by testing the outlet with another device. If there is no power, check the circuit breaker associated with the outlet and reset it if necessary.
- Inspect the control panel: Ensure that the control panel is clean and free from any dirt, debris, or moisture that may be interfering with the buttons. Use a soft, dry cloth or cotton swab to clean the control panel gently.
- Perform a reset: Try resetting the control panel by turning off the power to the washer and unplugging it from the power outlet. Wait for a few minutes, then plug it back in and turn on the power. This can help clear any temporary glitches and restore normal functionality.
- Refer to the user manual: Consult the user manual for your Speed Queen washer to understand the specific control panel functions and troubleshooting tips provided by the manufacturer. Look for information on resetting the controls or resolving common control panel issues.
- Check for error codes: If an error code is displayed on the control panel, refer to the user manual or the manufacturer’s website for guidance on understanding and troubleshooting the code. Error codes can provide valuable information about the specific problem and potential solutions.
- Contact customer service: If you have followed these steps and the control panel remains unresponsive, it is advisable to contact the Speed Queen customer service team. They can provide further guidance and support in resolving the issue or refer you to a professional technician if needed.
By following these troubleshooting steps, you can identify and resolve issues with unresponsive controls on your Speed Queen washer. Remember to consult the user manual and prioritize safety in performing any electrical or mechanical checks.
Conclusion
Ensuring proper maintenance and addressing common issues with your Speed Queen washer is essential for optimal performance and longevity. By following the steps outlined in this guide, you can troubleshoot and resolve common problems such as excessive vibration, loud noises, start-up issues, water leaks, and unresponsive controls.
Remember to consult the user manual specific to your Speed Queen washer model for detailed instructions and guidelines. If problems persist or if you’re uncertain about any repair or troubleshooting steps, it is always advisable to seek professional assistance from a technician or contact the Speed Queen customer service team for expert guidance.
By maintaining and resolving issues promptly, you can continue to enjoy the reliable performance and exceptional laundry experience that Speed Queen washers are known for.
Frequently Asked Questions about How To Stop A Speed Queen Washer
Was this page helpful?
At Storables.com, we guarantee accurate and reliable information. Our content, validated by Expert Board Contributors, is crafted following stringent Editorial Policies. We're committed to providing you with well-researched, expert-backed insights for all your informational needs.

0 thoughts on “How To Stop A Speed Queen Washer”