Home>Articles>How To Stop Stacked Washer Leaking Water From Bottom
Articles
How To Stop Stacked Washer Leaking Water From Bottom
Modified: August 27, 2024
Learn how to stop your stacked washer from leaking water from the bottom with these helpful articles.
(Many of the links in this article redirect to a specific reviewed product. Your purchase of these products through affiliate links helps to generate commission for Storables.com, at no extra cost. Learn more)
Introduction
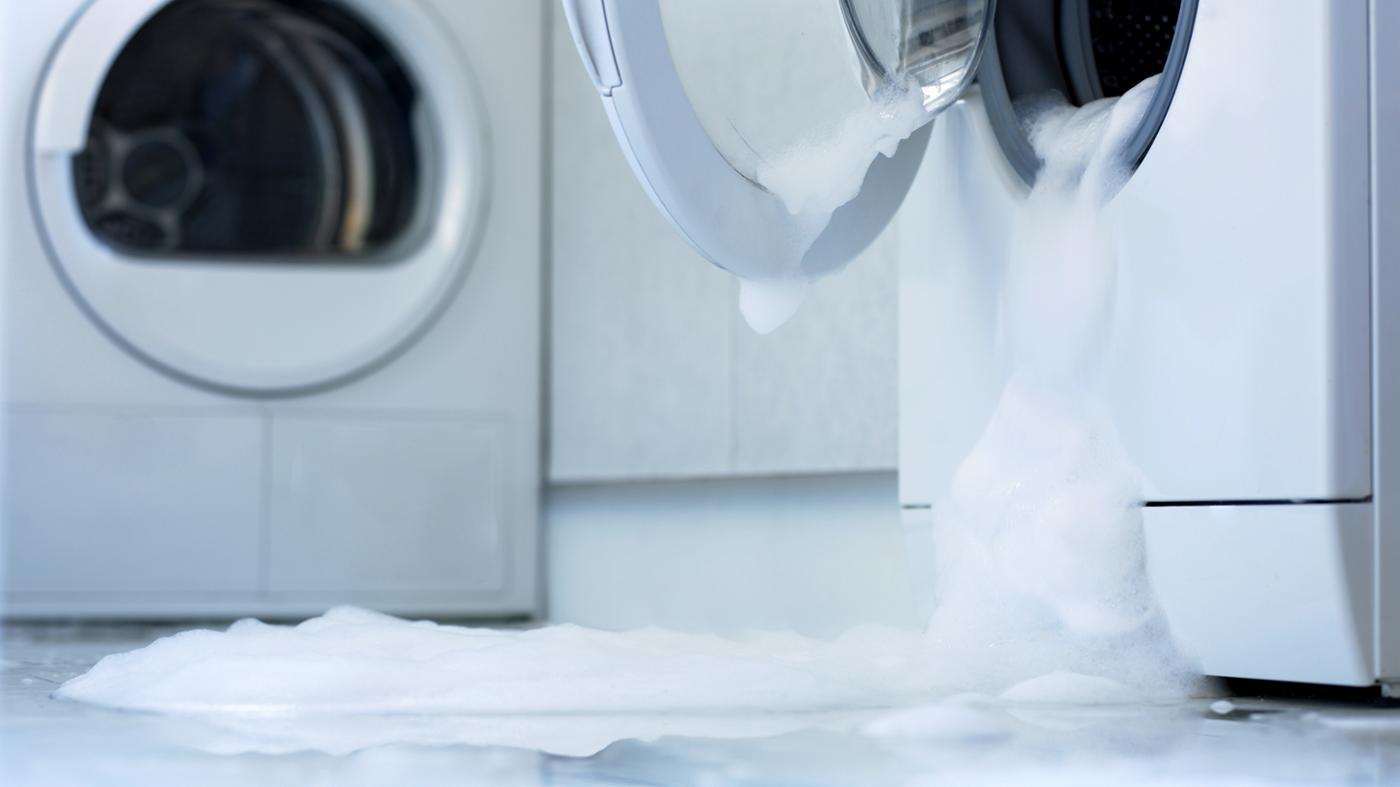
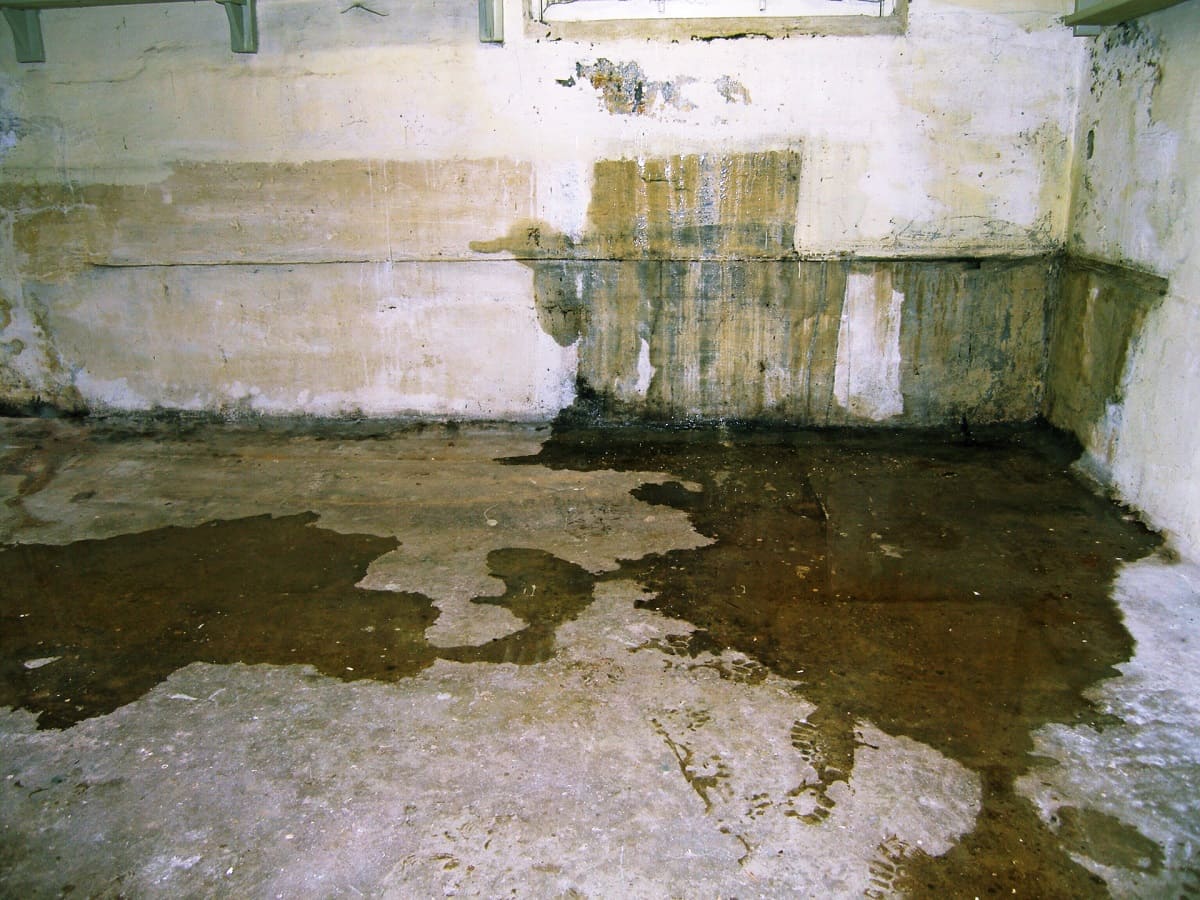
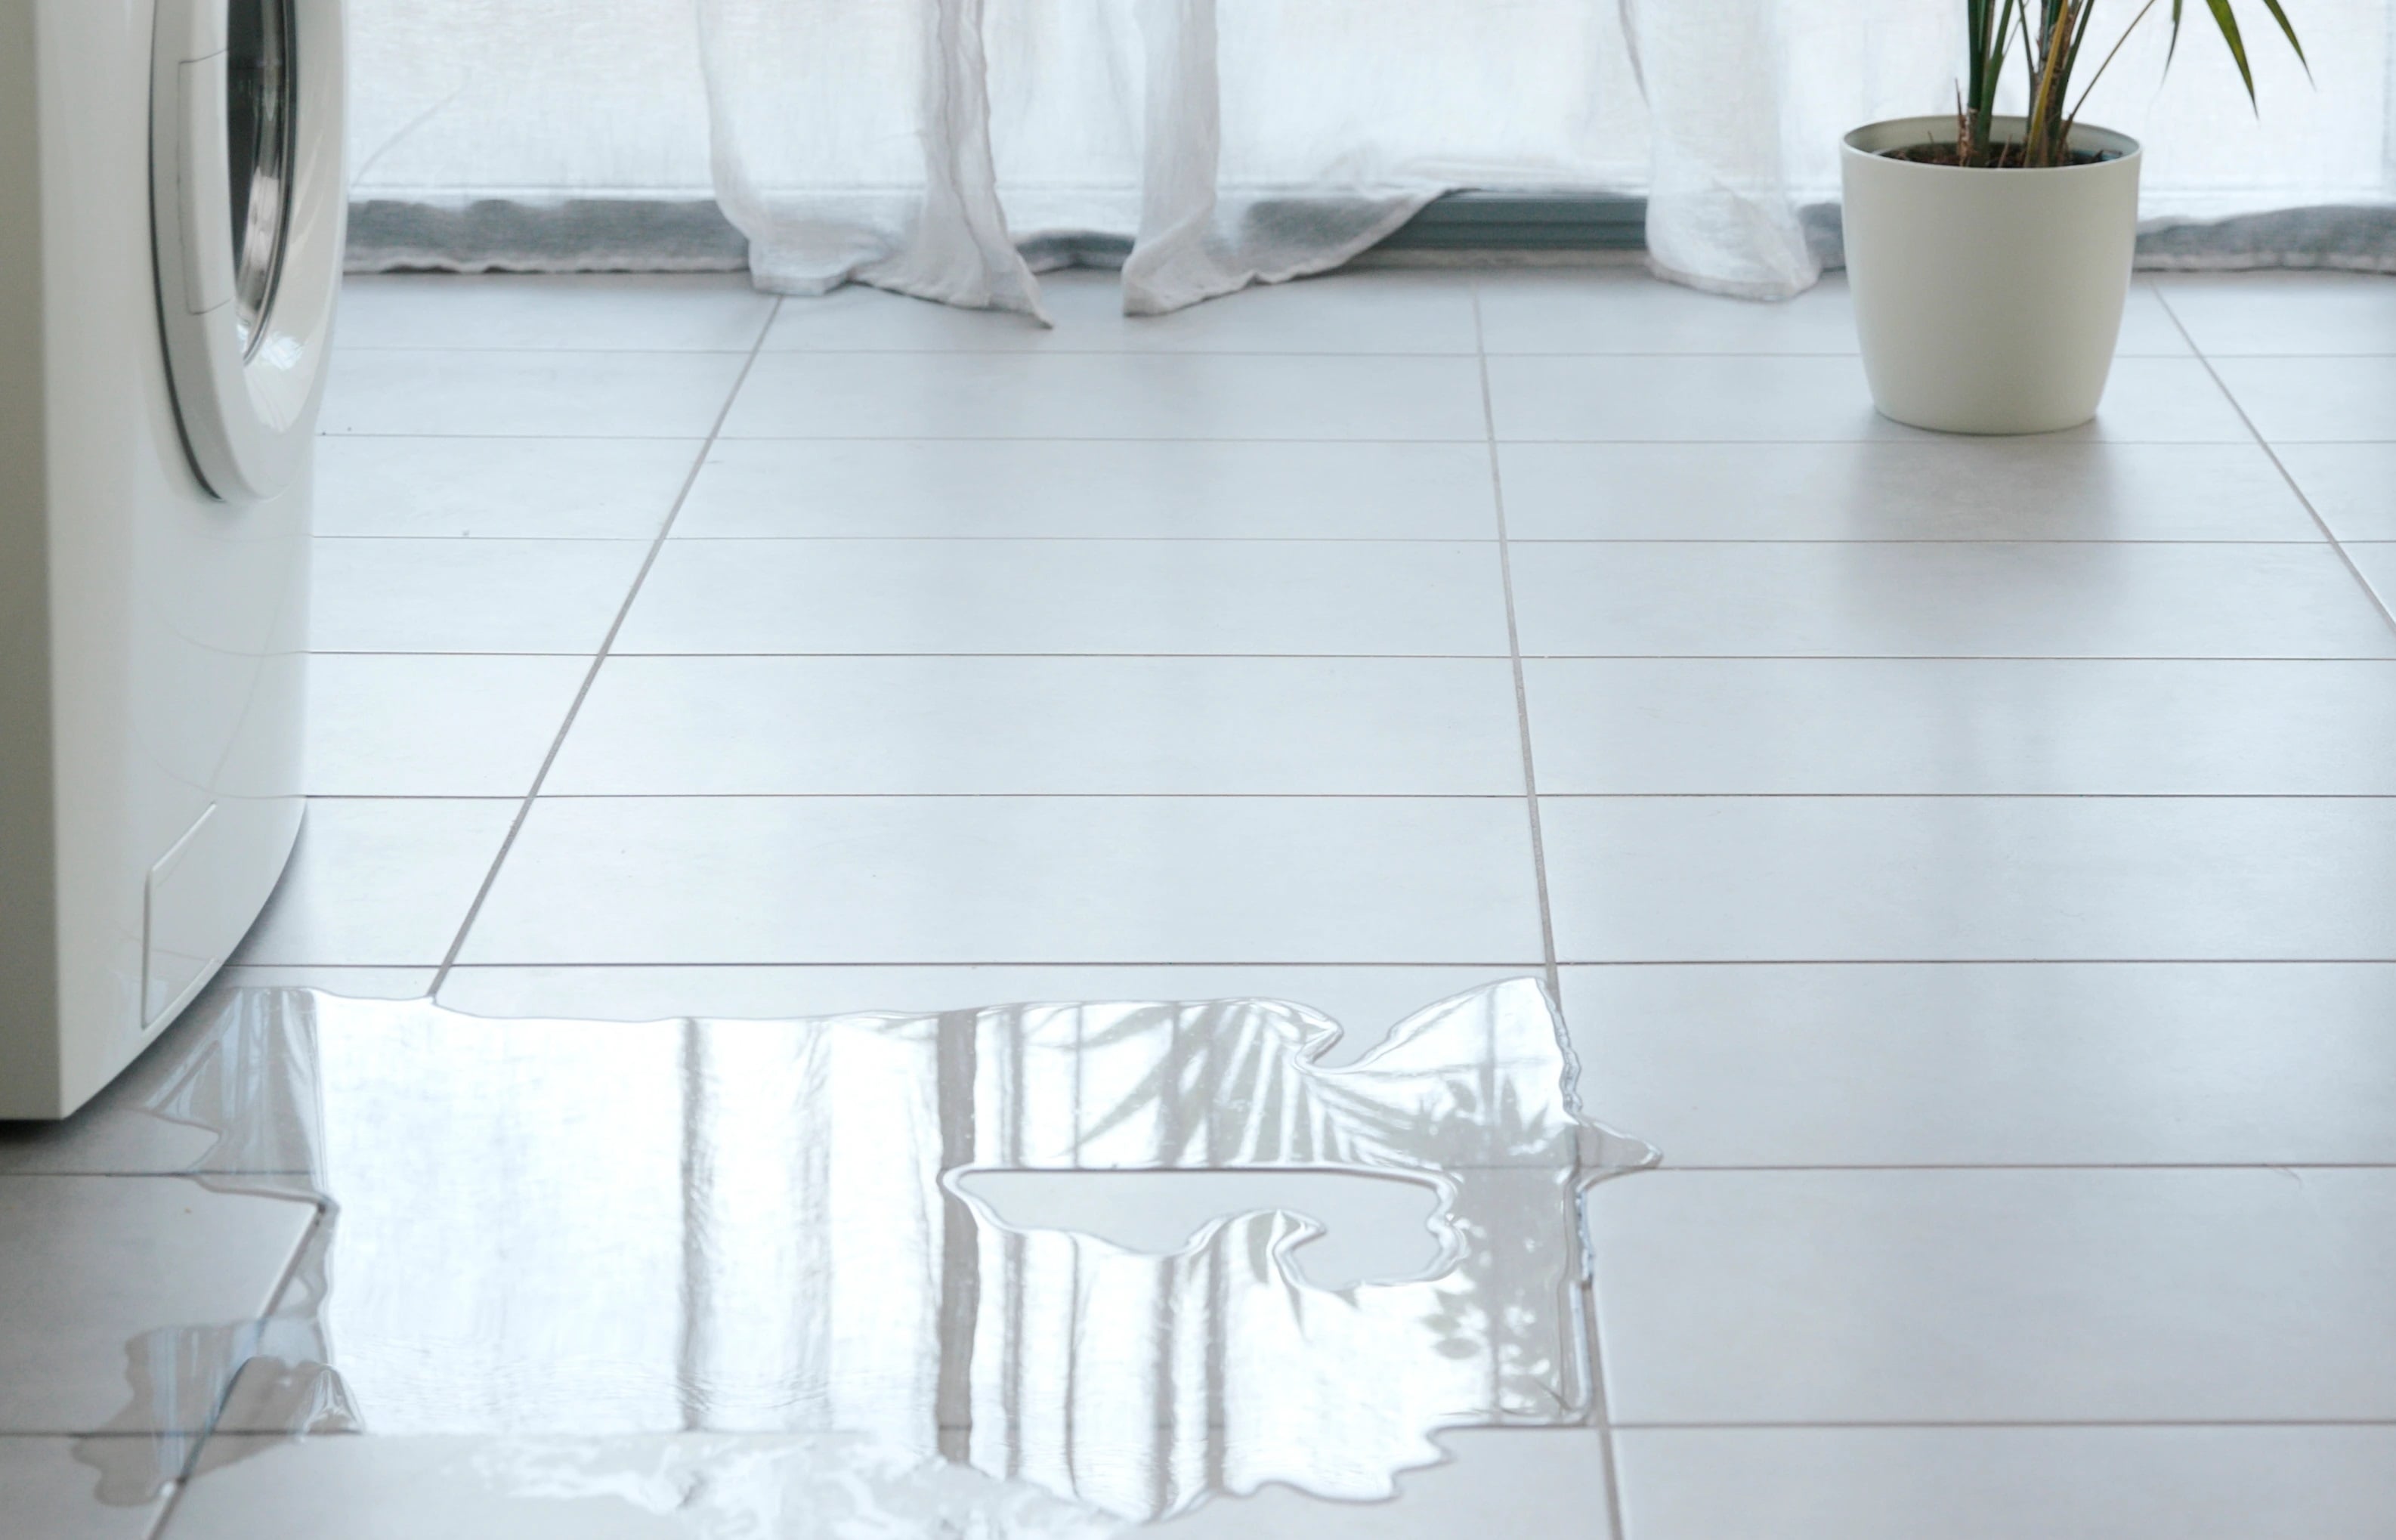
A stacked washer and dryer is a convenient and space-saving appliance found in many homes. However, a common issue that can arise with a stacked washer is water leaking from the bottom. Not only can this cause damage to your floors and surrounding area, but it can also be a sign of an underlying problem with your washer.
In this article, we will explore the common causes of water leaking from the bottom of a stacked washer and provide you with step-by-step instructions on how to stop the leakage. By following these steps, you can potentially save yourself from expensive repairs or the need to replace your washer altogether.
So, let’s dive in and learn how to address this frustrating issue and keep your stacked washer running smoothly.
Key Takeaways:
- Regular maintenance, such as inspecting hoses, cleaning drain pumps, and leveling the washer, can prevent water leakage from stacked washers, saving you from costly repairs and maintaining appliance efficiency.
- If DIY troubleshooting doesn’t resolve the issue, seeking professional help or replacing faulty parts is crucial to prevent further damage and ensure the long-term functionality of your stacked washer.
Understanding the Problem
Before we delve into the solutions, it’s important to understand why your stacked washer may be leaking water from the bottom. By understanding the problem, you can better identify the specific cause and take appropriate steps to address it.
There are several potential reasons for water leakage in a stacked washer:
- Faulty or damaged hoses
- Clogged drain pump or filter
- Worn or torn door seal
- Accumulation of detergent residue or debris in the detergent dispenser or drain holes
- Improper leveling of the washer
Now that we have a clearer understanding of the possible causes, let’s move on to the steps you can take to stop your stacked washer from leaking water from the bottom.
Common Causes of Leaking
When it comes to a stacked washer leaking water from the bottom, there are a few common culprits to consider. Identifying the cause of the leakage is crucial in determining the appropriate solution. Here are the most common causes to be aware of:
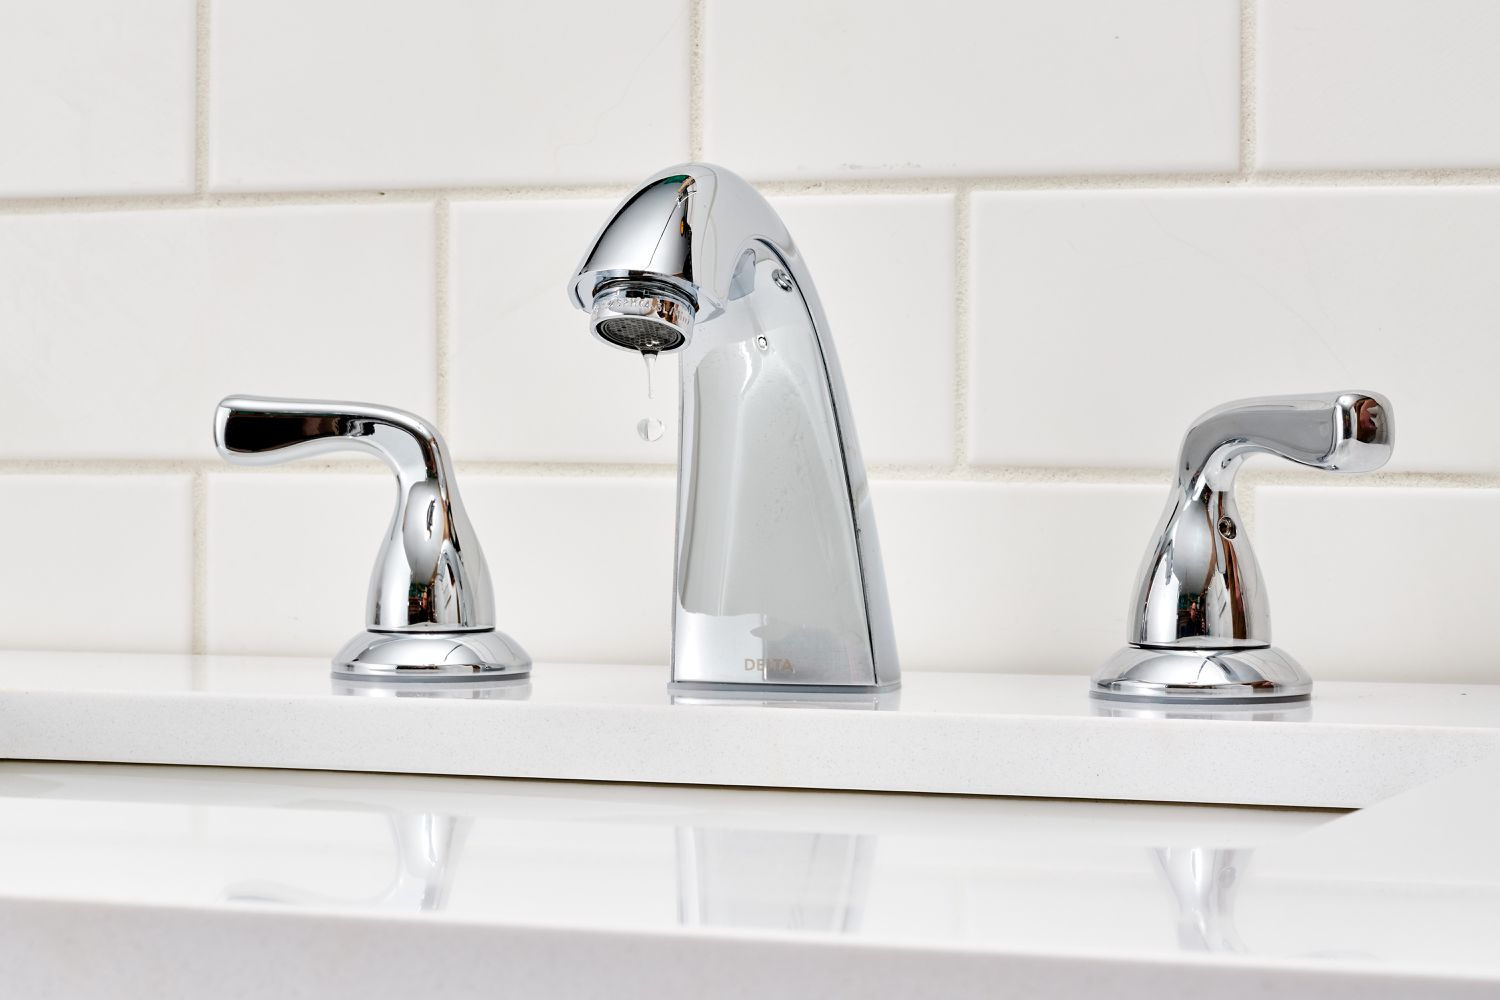
- Faulty or damaged hoses: Over time, the hoses that supply water to your washer can wear out, become loose, or develop cracks. This can result in leaks from the bottom of the machine.
- Clogged drain pump or filter: A buildup of lint, debris, or other foreign objects in the drain pump or filter can obstruct the water flow and cause it to leak from the bottom.
- Worn or torn door seal: The rubber door seal, often referred to as a gasket, can deteriorate over time or become damaged, leading to water leakage during the wash or spin cycles.
- Accumulation of detergent residue or debris: If the detergent dispenser or the drain holes of the washer are clogged with detergent residue or debris, it can cause water to pool and eventually leak from the bottom.
- Improper leveling of the washer: If your stacked washer is not properly leveled, it can cause water to collect on one side and overflow, resulting in leakage from the bottom.
By identifying the cause of the leakage, you can take appropriate measures to address the issue and prevent further damage to your washer and surrounding area. Let’s now move on to the step-by-step process to stop your stacked washer from leaking water from the bottom.
Steps to Stop Stacked Washer from Leaking
If you’ve noticed water leaking from the bottom of your stacked washer, follow these step-by-step instructions to address the issue:
- Unplug the Washer and Turn off the Water Supply: Before starting any troubleshooting, ensure the washer is unplugged and the water supply is turned off. This will prevent any potential accidents while working on the appliance.
- Inspect the Hoses for Damage or Loose Connections: Carefully examine the water inlet and drain hoses for any signs of damage like cracks, leaks, or loose connections. If you find any issues, replace or tighten the hoses as necessary.
- Check the Drain Pump and Filter: Locate the drain pump and check for any blockages or debris. Clean out the drain pump and remove any obstructions. Also, inspect and clean the filter if your washer has one.
- Examine the Door Seal for Wear or Tears: Inspect the rubber door seal for any signs of wear, tears, or damage. If you identify any issues, consider replacing the seal to prevent further leakage.
- Clean the Detergent Dispenser and Clogged Drain Holes: Remove the detergent dispenser tray and clean away any accumulated residue or debris. Additionally, check the drain holes inside the washer drum and clean them if they are clogged.
- Level the Washer Properly: Use a bubble level to ensure that your stacked washer is leveled. Adjust the leveling legs or feet as needed to prevent water from pooling on one side and causing leakage.
- Replace Faulty Parts or Seek Professional Help: If you have followed all the steps above and the leaking issue persists, it may be necessary to replace faulty parts, such as the hoses or door seal. If you are unsure or uncomfortable performing these repairs yourself, it is advisable to seek the assistance of a professional technician.
By following these steps, you can effectively address the issue of water leaking from the bottom of your stacked washer. However, if the problem persists or you are unsure about performing any repairs yourself, do not hesitate to seek professional help.
Next, we will discuss each step in more detail to provide you with a comprehensive understanding of how to stop the leakage from your stacked washer.
Step 1: Unplug the Washer and Turn off the Water Supply
The first step in stopping water leakage from the bottom of your stacked washer is to ensure the safety of both yourself and the appliance. To do this, follow these instructions:
- Unplug the Washer: Before you begin any troubleshooting or repairs, always unplug your stacked washer from the power source. This will prevent the risk of electric shock or other accidents while working on the appliance.
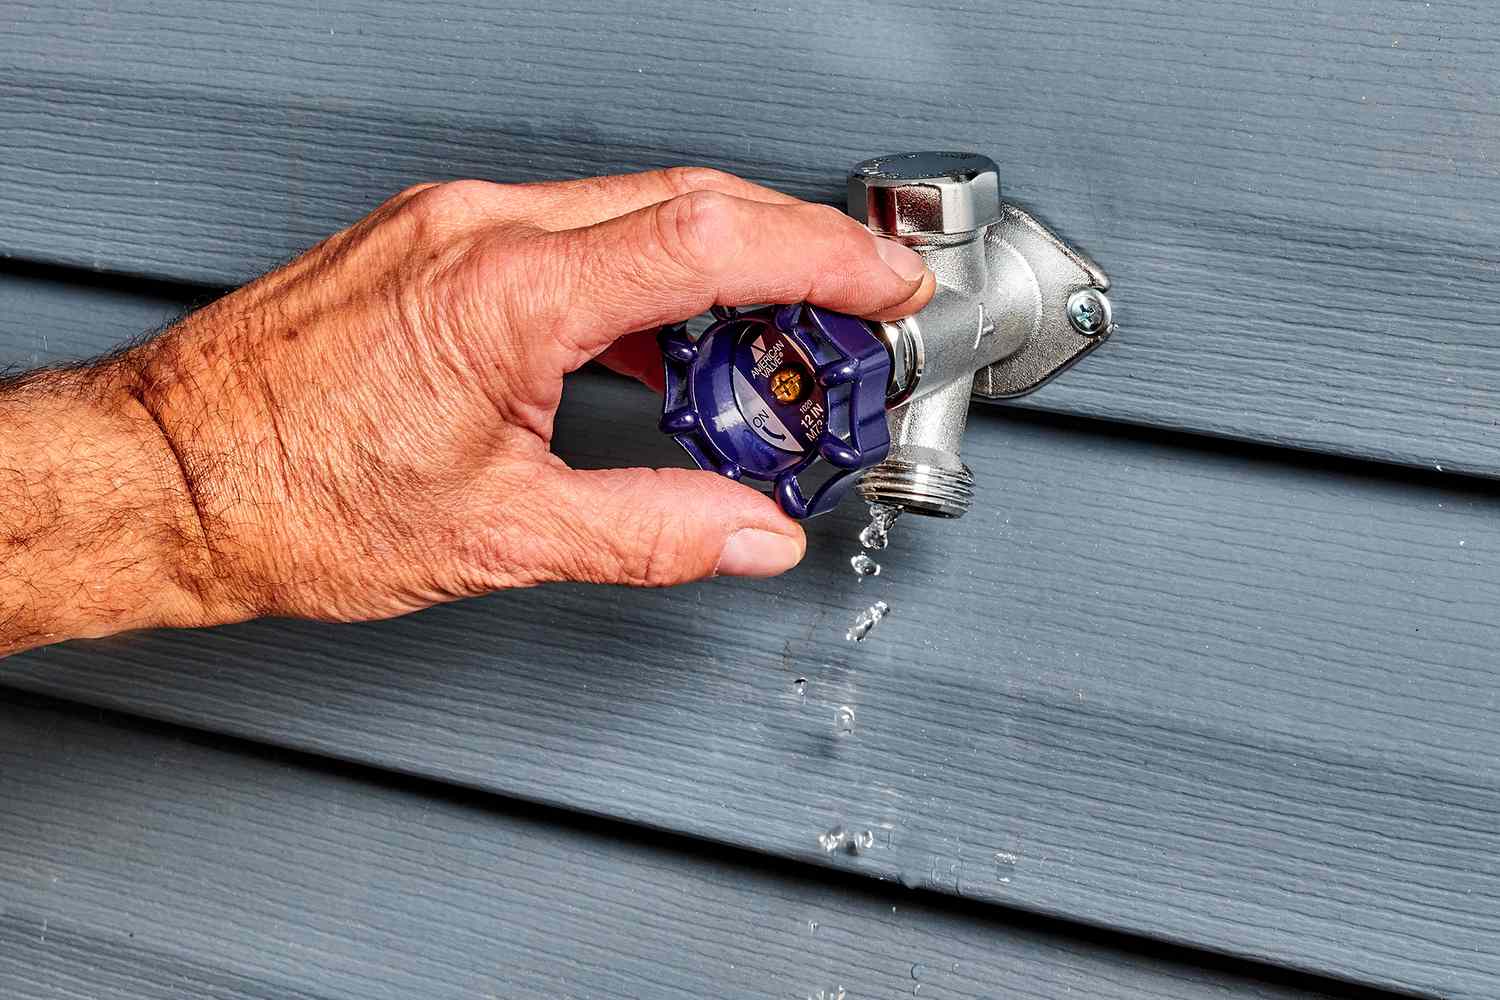
- Turn off the Water Supply: Locate the water shutoff valves behind the washer or under the sink. Rotate the valves clockwise to shut off the water supply to the washer. This will prevent any further water from entering the appliance during the troubleshooting process.
By disconnecting the power and turning off the water supply, you will ensure a safe environment in which to work on your stacked washer. These simple precautions are essential in preventing potential accidents or damage.
Once you have completed this step, you can move on to the next step of inspecting the hoses for damage or loose connections.
Read more: How To Stop Water Heater From Leaking
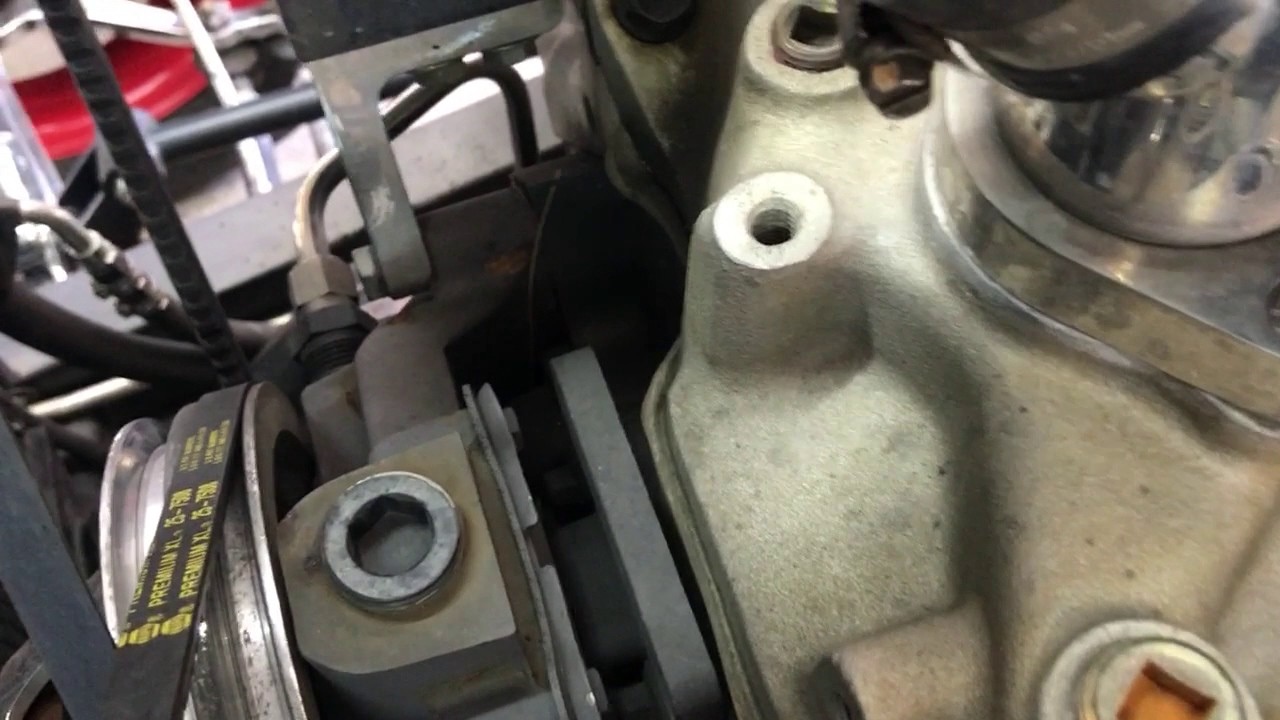
Step 2: Inspect the Hoses for Damage or Loose Connections
After unplugging the washer and turning off the water supply, the next step to address water leakage from the bottom of your stacked washer is to inspect the hoses for any damage or loose connections. Follow these instructions to complete this step:
- Visual Inspection: Carefully examine both the water inlet and drain hoses for any visible signs of damage, such as cracks, leaks, or bulges. Also, check for loose connections at both ends of the hoses.
- Tighten Loose Connections: If you find any loose connections, use a wrench to tighten them securely. Be careful not to overtighten as it may cause damage to the hoses or fittings.
- Replace Damaged Hoses: If you discover any damaged hoses, it is recommended to replace them. To do this, measure the length and diameter of the hose and purchase a replacement from a hardware or appliance store.
By inspecting the hoses, you are checking for any potential sources of water leakage. Damaged hoses or loose connections can cause water to escape from the bottom of the washer. Correcting these issues will help to prevent further leakage.
Once you have completed this step, it’s time to move on to the next one, which involves checking the drain pump and filter for any blockages or debris.
Check the door seal for tears or damage, and replace if necessary. Also, make sure the washer is level and not overloaded to prevent leaks.
Step 3: Check the Drain Pump and Filter
To address water leakage from the bottom of your stacked washer, it is important to check the drain pump and filter for any blockages or debris. Follow these instructions to complete this step:
- Locate the Drain Pump and Filter: The drain pump and filter are typically located at the bottom front or back of the washer. Consult your washer’s manual if you are unsure about the exact location.
- Clean the Drain Pump: Inspect the drain pump for any visible blockages or debris. Gently remove any obstructions using your fingers or a pair of tweezers. Be cautious not to damage the pump or any internal components.
- Clean the Filter: If your washer has a filter, remove it and rinse it under running water to remove any accumulated lint or debris. Make sure to clean it thoroughly before reinstalling it.
- Reinstall the Filter and Close the Drain Pump Access Panel: Once you have cleaned the drain pump and filter, place the filter back in its designated position and securely close the drain pump access panel.
By checking the drain pump and filter, you are ensuring that there are no blockages obstructing the water flow. A clogged drain pump or filter can lead to water buildup and subsequent leakage from the bottom of the washer. Cleaning these components regularly will help prevent this issue.
With the drain pump and filter checked and cleaned, you can now proceed to the next step, which involves examining the door seal for wear or tears.
Step 4: Examine the Door Seal for Wear or Tears
To address water leakage from the bottom of your stacked washer, it is important to examine the door seal for any signs of wear or tears. Follow these instructions to complete this step:
- Inspect the Door Seal: Carefully examine the rubber door seal, also known as the gasket, for any visible signs of wear, tears, or damage. Pay close attention to the edges, corners, and folds of the seal.
- Check for Mold or Mildew: Sometimes, mold or mildew can develop on the door seal, especially in areas with high humidity. Look for any signs of discoloration or foul odors.
- Clean the Door Seal: If you notice any mold or mildew, clean the door seal using a mixture of warm water and mild detergent. Use a soft cloth or sponge to gently scrub the affected areas. Ensure that the seal is completely dry before continuing.
- Repair or Replace Damaged Door Seal: If you find any wear, tears, or significant damage to the door seal, it may need to be repaired or replaced. Consult your washer’s manual or contact a professional technician for guidance on the appropriate steps to take.
The door seal plays a crucial role in preventing water from leaking out during the wash or spin cycles. If it is worn, torn, or damaged, it can result in water leakage from the bottom of the washer. Proper maintenance and timely repair or replacement of the door seal will help prevent this issue.
With the door seal examined, cleaned, and repaired if necessary, you can move on to the next step, which involves cleaning the detergent dispenser and clogged drain holes.
Step 5: Clean the Detergent Dispenser and Clogged Drain Holes
If you want to stop water leakage from the bottom of your stacked washer, it is important to clean the detergent dispenser and clogged drain holes. Follow these instructions to complete this step:
- Remove the Detergent Dispenser Tray: Locate the detergent dispenser on your washer and remove the tray from its slot. Refer to your washer’s manual if you are unsure about the exact location or how to remove it.
- Clean the Detergent Dispenser Tray: Rinse the detergent dispenser tray under running water to remove any built-up residue or debris. Use a brush or sponge to scrub off stubborn stains or residue. Make sure that the tray is completely dry before reinserting it.
- Check for Clogged Drain Holes: Inspect the area where the detergent dispenser tray sits for any clogged drain holes. These holes allow water and detergent to flow into the washer drum. Use a toothpick or small brush to clear any blockages in the drain holes.
- Clean the Drain Holes: Prepare a mixture of warm water and mild detergent. Dip a cloth or small brush into the mixture and gently clean the drain holes, ensuring that they are free from any remaining debris or buildup.
- Reinsert the Detergent Dispenser Tray: Once the detergent dispenser tray and drain holes are clean and dry, reinsert the tray back into its slot firmly. Make sure that it is properly seated to prevent any leaks.
Keeping the detergent dispenser and drain holes clean is essential in preventing water buildup and subsequent leakage from the bottom of the washer. Regular cleaning of these areas will help maintain the proper function of your stacked washer.
With the detergent dispenser and drain holes cleaned, you can move on to the next step, which involves ensuring that the washer is properly leveled.
Read more: How Do I Stop My Stacked Washer From Moving?
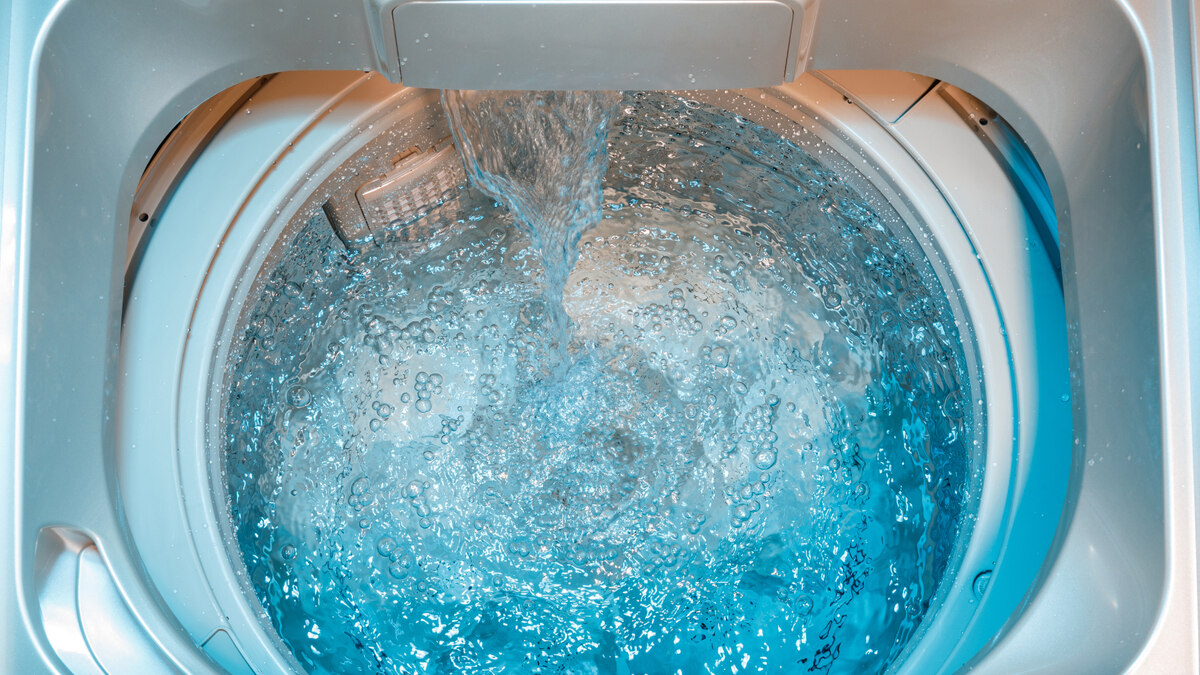
Step 6: Level the Washer Properly
To address water leakage from the bottom of your stacked washer, it is important to ensure that the appliance is properly leveled. Follow these instructions to complete this step:
- Check the Washer’s Level: Use a bubble level to determine if the washer is sitting evenly on the floor. Place the level on top of the washer and check the bubble’s position.
- Adjust the Leveling Feet or Legs: If the washer is not level, adjust the leveling feet or legs to correct the imbalance. Most washers have adjustable legs that can be raised or lowered to achieve proper leveling.
- Use a Wrench or Pliers: If the washer has leveling feet, use a wrench to raise or lower them accordingly. If it has leveling legs, you can usually adjust them by hand or with pliers.
- Check the Leveling Progress: Place the bubble level on top of the washer again to check if it is properly leveled. Continue adjusting the feet or legs until the bubble is centered.
Proper leveling is crucial to ensure that your stacked washer operates efficiently and prevents water from pooling on one side and causing leakage. It also helps to reduce unnecessary wear and noise during the wash and spin cycles.
With the washer leveled, you can move on to the final step, which involves evaluating and replacing faulty parts or seeking professional help if needed.
Step 7: Replace Faulty Parts or Seek Professional Help
If you have followed the previous steps and are still experiencing water leakage from the bottom of your stacked washer, it may be necessary to replace faulty parts or seek professional help. Here’s what you can do:
- Evaluate the Situation: Assess the severity of the leakage and determine if it requires professional intervention. If the issue persists despite your efforts, it may indicate a more complex problem that requires expert knowledge and tools.
- Identify Faulty Parts: If you suspect a specific component is causing the leakage, consult your washer’s manual or online resources to identify the faulty part. It could be a damaged hose, a malfunctioning pump, a worn-out door seal, or another issue entirely.
- Order Replacement Parts: Once you have identified the faulty part, order a replacement from a reputable appliance parts supplier. Make sure to provide the correct model and serial number to ensure compatibility.
- Consider Professional Help: If you are uncomfortable or unsure about replacing the faulty part yourself, it is best to seek the assistance of a qualified technician. They have the expertise and tools to diagnose and repair the issue effectively.
- Contact Manufacturer or Service Provider: If your appliance is still under warranty, contact the manufacturer or authorized service provider to schedule a repair. They can guide you through the process and send a certified technician to resolve the problem.
In some cases, resolving water leakage from a stacked washer may require professional intervention. They have the experience and knowledge to accurately diagnose the issue and provide effective solutions. Investing in professional help can save you time, effort, and potential further damage to your washer.
Remember, safety is essential when dealing with appliances. If you are uncertain or uncomfortable with any aspect of the troubleshooting or repair process, it is always best to seek professional assistance.
Now that you have completed all the steps, you should have successfully addressed the water leakage from the bottom of your stacked washer. By following these guidelines and maintaining regular maintenance, you can keep your washer running smoothly and prevent any future leakage issues.
Conclusion
Dealing with water leakage from the bottom of your stacked washer can be a frustrating and potentially damaging problem. However, by following the steps outlined in this article, you can effectively address the issue and prevent further damage to your appliance and surrounding area.
Understanding the common causes of water leakage, such as faulty hoses, clogged drain pumps, worn door seals, and detergent residue buildup, is crucial in identifying the specific problem and taking appropriate action.
By unplugging the washer, inspecting and repairing damaged hoses and connections, cleaning the drain pump and filter, examining and replacing worn door seals, and clearing clogged detergent dispensers and drain holes, you can greatly reduce the chances of leakage.
Additionally, ensuring that your washer is properly leveled and seeking professional help if needed are important steps in fully resolving the issue.
Regular maintenance of your stacked washer, including cleaning the detergent dispenser, checking for blockages, and inspecting the door seal, can help prevent future leakage problems.
Remember, if you are uncomfortable or unsure about any aspect of the troubleshooting or repair process, it is always best to seek professional assistance to avoid any accidents or further damage to your appliance.
By following these steps and maintaining regular maintenance, you can keep your stacked washer in optimal condition, free from water leakage, and ensure its long-term functionality and efficiency.
We hope this guide has been helpful in addressing your stacked washer’s water leakage issue, allowing you to enjoy the convenience and benefits of this space-saving appliance for years to come.
Now that you've tackled fixing a leaking stacked washer, why stop there? Your home maintenance journey can continue with our guide on how to fix a washer machine, which offers practical advice for keeping your laundry appliances in top shape. And if you're considering an upgrade or reconfiguration, learning about stacking washer dryer options could be crucial for optimal performance and space management. Both articles are packed with tips to ensure your appliances operate smoothly and efficiently.
Frequently Asked Questions about How To Stop Stacked Washer Leaking Water From Bottom
Was this page helpful?
At Storables.com, we guarantee accurate and reliable information. Our content, validated by Expert Board Contributors, is crafted following stringent Editorial Policies. We're committed to providing you with well-researched, expert-backed insights for all your informational needs.


0 thoughts on “How To Stop Stacked Washer Leaking Water From Bottom”