Home>Articles>How Do You Connect An Electrical Cord To A Speed Queen Dryer
Articles
How Do You Connect An Electrical Cord To A Speed Queen Dryer
Modified: August 26, 2024
Learn how to connect an electrical cord to a Queen Speed Dryer with this informative article. Find step-by-step instructions and tips to ensure a safe installation.
(Many of the links in this article redirect to a specific reviewed product. Your purchase of these products through affiliate links helps to generate commission for Storables.com, at no extra cost. Learn more)
Introduction
Connecting an electrical cord to a queen speed dryer is a simple but important task that requires careful attention to detail. Whether you are setting up a new dryer or replacing a damaged cord, it is crucial to follow the correct steps to ensure a safe and efficient connection. In this article, we will guide you through the process of connecting an electrical cord to a queen speed dryer, providing clear instructions and helpful tips along the way.
Before we begin, it’s important to note that working with electricity can be dangerous. If you are not familiar with electrical work or feel uncomfortable, it is strongly recommended to seek professional assistance. Safety should always be the top priority when dealing with electrical appliances.
That being said, if you feel confident in your abilities and understand the risks involved, let’s proceed with the steps to connect an electrical cord to a queen speed dryer.
Key Takeaways:
- Safely connecting an electrical cord to a queen speed dryer requires proper tools, careful preparation, and secure connections. Prioritize safety and follow the step-by-step guide for a successful installation.
- Gathering the necessary tools, identifying components, and securing connections are crucial steps in connecting an electrical cord to a queen speed dryer. Prioritize safety, follow the guide, and enjoy the convenience of your dryer.
Step 1: Gather the necessary tools and materials
Before you can start connecting the electrical cord to your queen speed dryer, you’ll need to gather a few tools and materials. Here’s a list of what you’ll need:
- A new electrical cord specifically designed for dryers
- A Screwdriver
- Wire strippers
- Wire nuts
- Electrical tape
- A multimeter (optional, but recommended for testing purposes)
It’s important to have the right electrical cord for your dryer model, as different dryers may have different power requirements. Make sure to consult the dryer’s user manual or check with the manufacturer to ensure you purchase the correct cord.
The screwdriver will be used to loosen and tighten the screws on the dryer outlet. Wire strippers are essential for removing the protective covering from the wires to expose the copper conductors. Wire nuts are used to secure the connections, while electrical tape can be used for additional insulation. A multimeter is an optional tool that can help verify the correctness of the connections.
Once you have gathered all the necessary tools and materials, you’re ready to move on to the next step: identifying the power cord and the dryer outlet.
Step 2: Identify the power cord and the dryer outlet
Before you can connect the electrical cord to your queen speed dryer, you need to identify the power cord and the dryer outlet. This step is essential to ensure that you are working with the right components and making the correct connections.
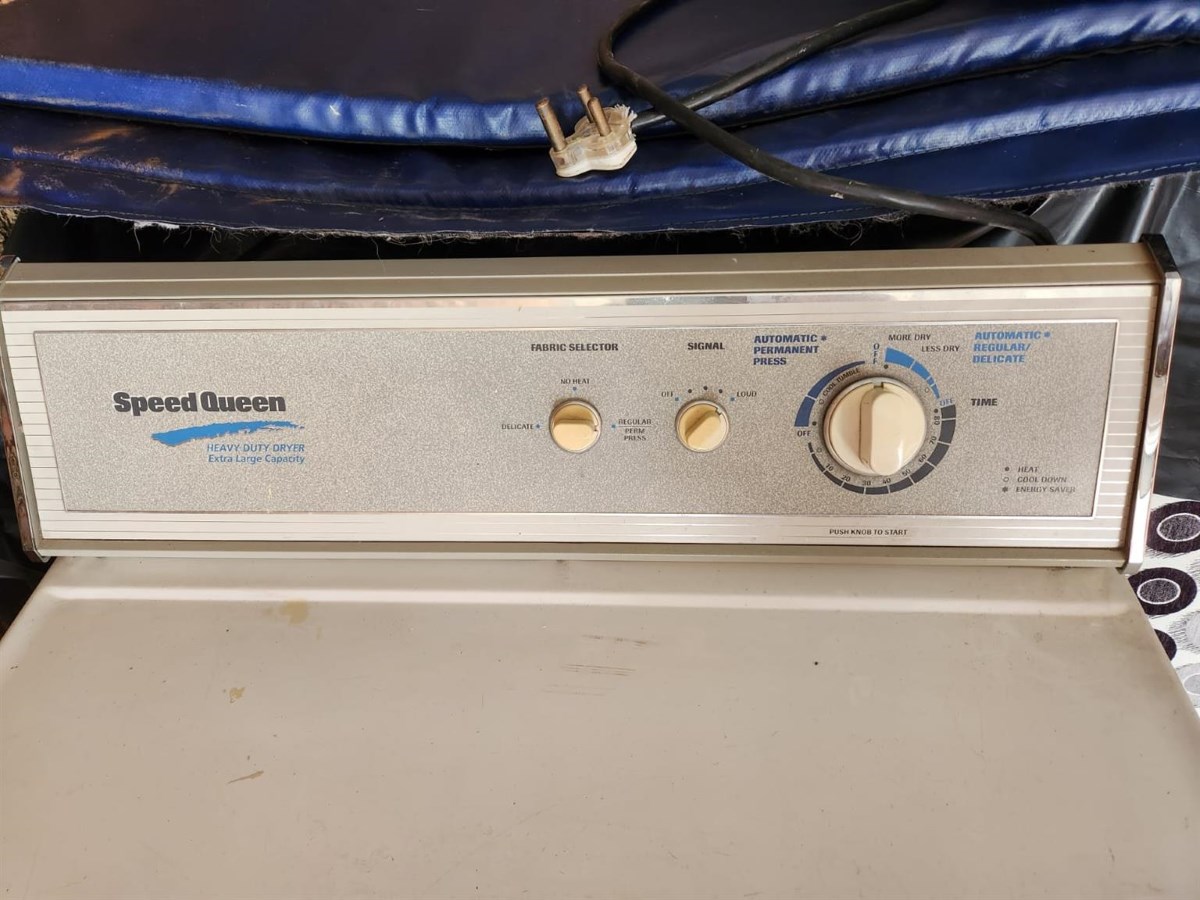
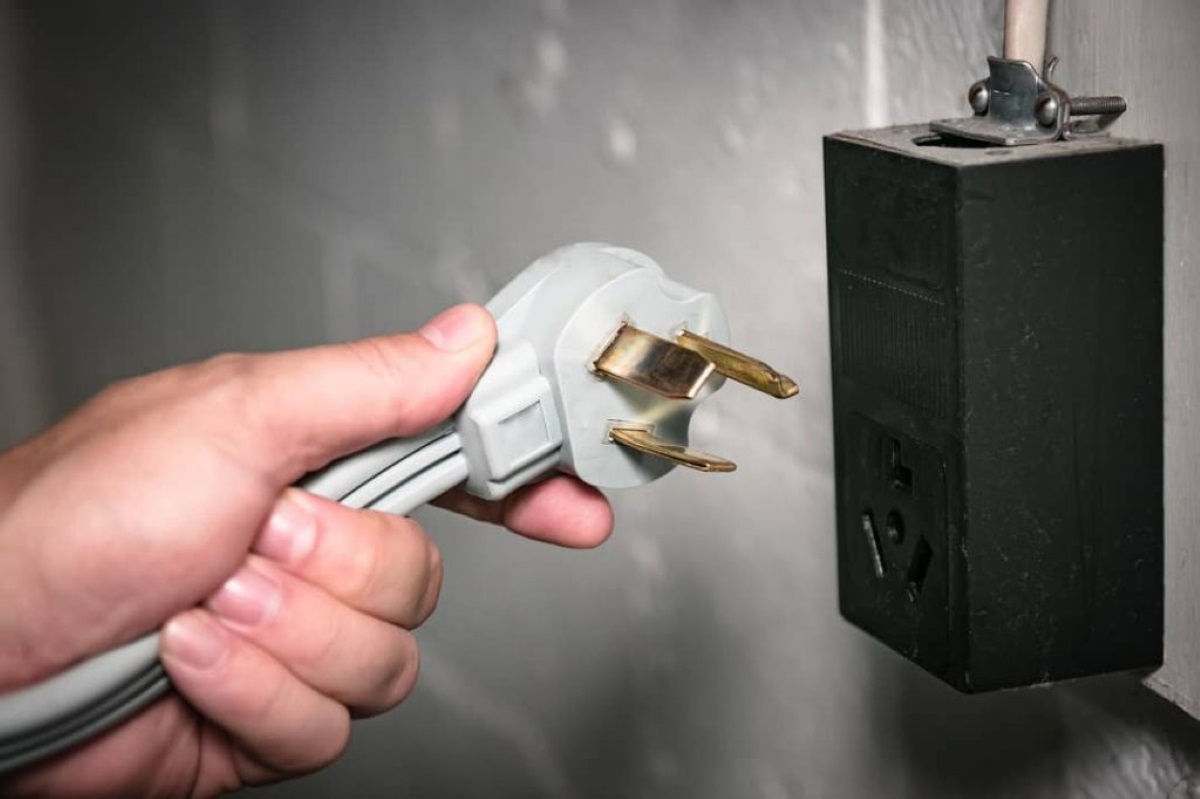
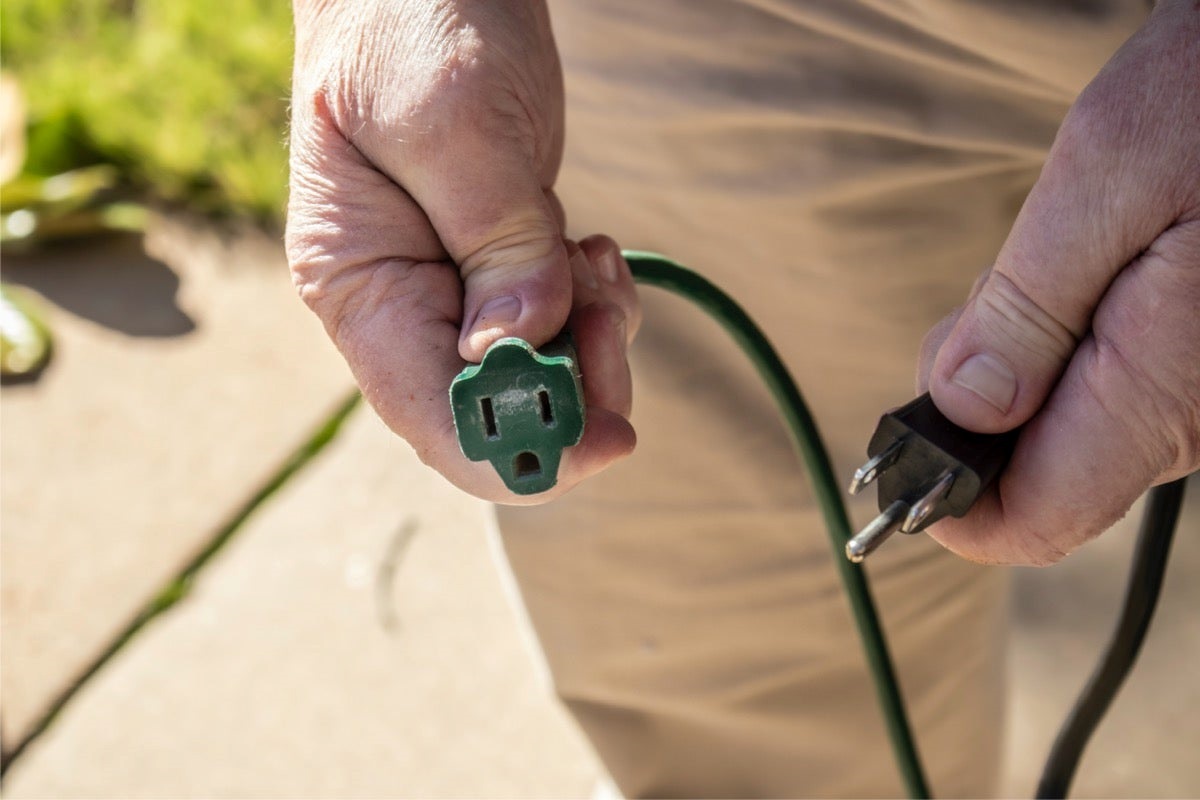
Start by locating the power cord attached to your dryer. The cord should be coming out of the back of the machine, near the bottom. It will typically have a plug at the end that goes into the outlet.
Next, find the dryer outlet on the wall behind your dryer. It usually has three or four prongs, depending on the type of outlet your dryer requires. The prongs are designed to match the corresponding slots on the power cord plug.
It’s important to match the power cord and the dryer outlet correctly. If they do not align, you may need to purchase an adapter or consult an electrician to ensure compatibility.
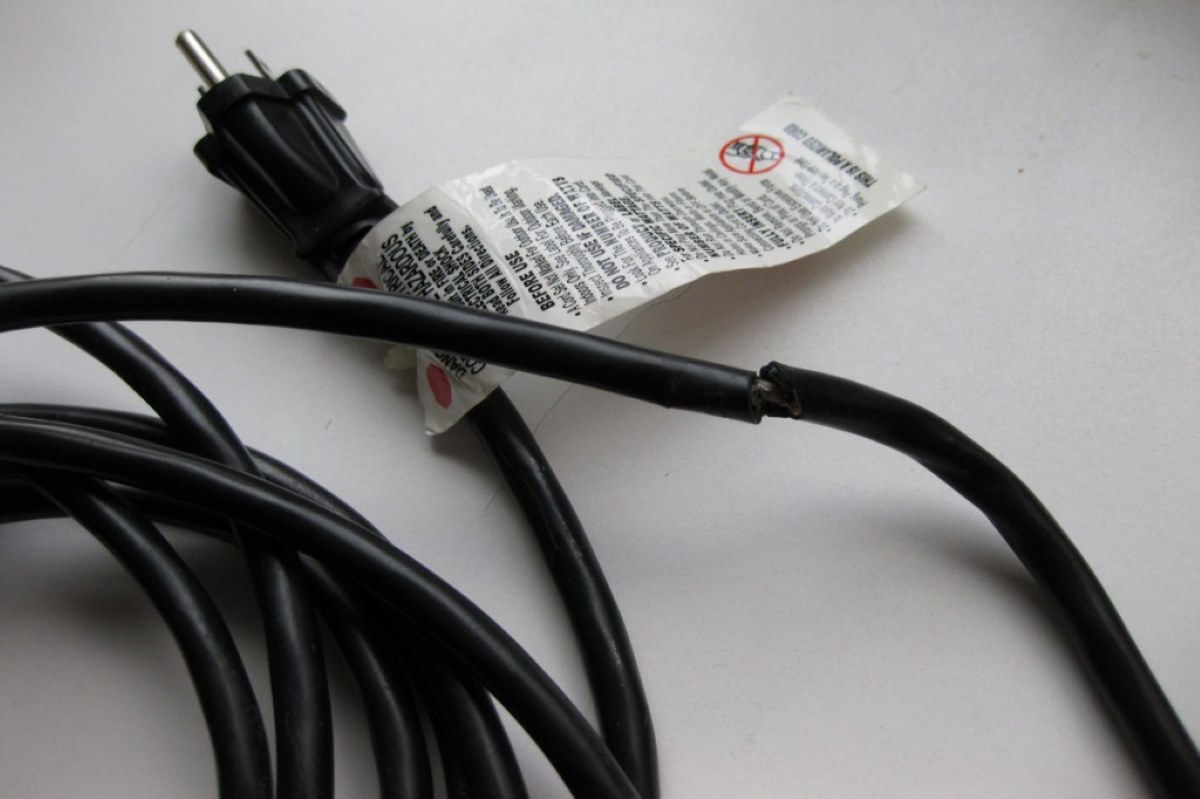
Take a close look at both the power cord and the dryer outlet to see if they are in good condition. Look for any signs of wear or damage, such as frayed wires or broken prongs. If you notice any issues, it is crucial to replace the damaged components before proceeding further.
Once you have identified the power cord and the dryer outlet and ensured their condition is good, you are ready to move on to the next step: ensuring the dryer is unplugged and turned off.
Step 3: Ensure the dryer is unplugged and turned off
Before you begin working on connecting the electrical cord to your queen speed dryer, it is crucial to ensure that the dryer is completely unplugged and turned off. This step is vital to prevent any potential electrical hazards during the installation process.
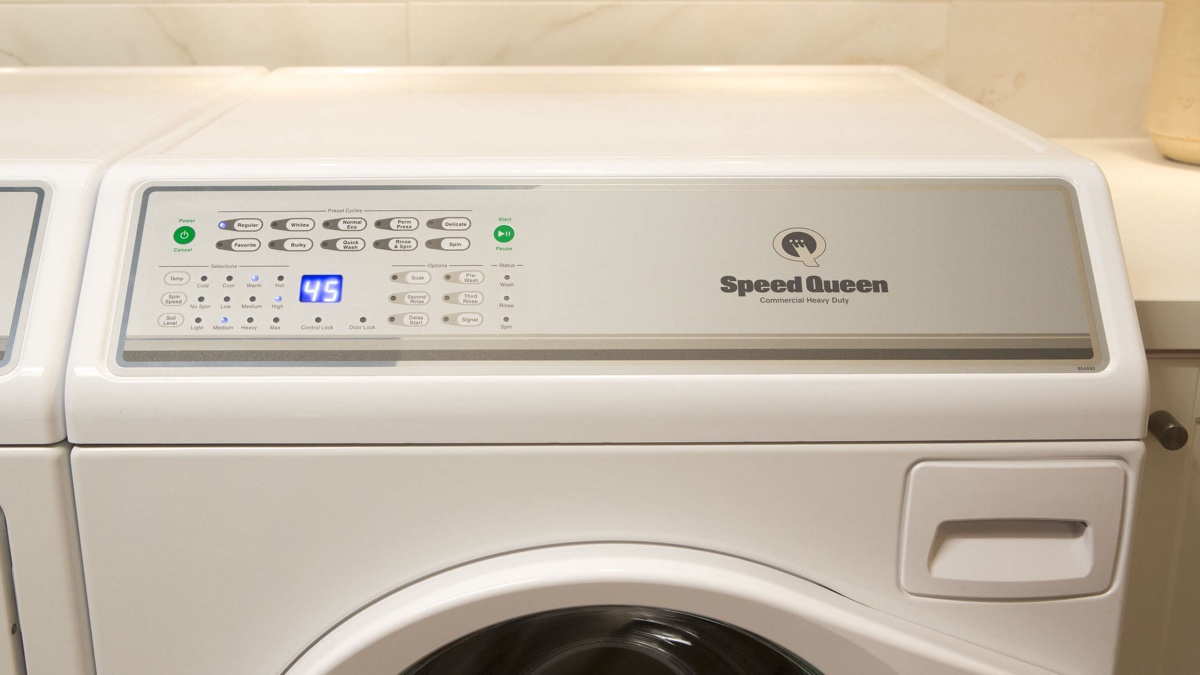
Start by double-checking that your dryer is not in use and is completely turned off. Make sure that the control panel is powered off, and all buttons and knobs are in the off position.
Next, locate the power cord plug that is connected to your dryer and unplug it from the outlet. This will disconnect the power supply to the dryer, ensuring that there is no electricity flowing through the wires during the installation process.
It is always a good practice to wait for a few minutes after unplugging the dryer to allow any residual electrical charge to dissipate. This will minimize the risk of electrical shock when handling the wires.
Remember, safety should be your top priority when working with electrical appliances. Do not rush this step and take the necessary precautions to ensure a safe working environment.
Once you have confirmed that the dryer is unplugged and turned off, you can proceed to the next step: preparing the electrical cord by stripping the wires.
Step 4: Prepare the electrical cord by stripping the wires
Preparing the electrical cord by stripping the wires is an important step in connecting it to your queen speed dryer. Properly stripping the wires ensures a clean and secure connection, allowing for efficient electrical conductivity.
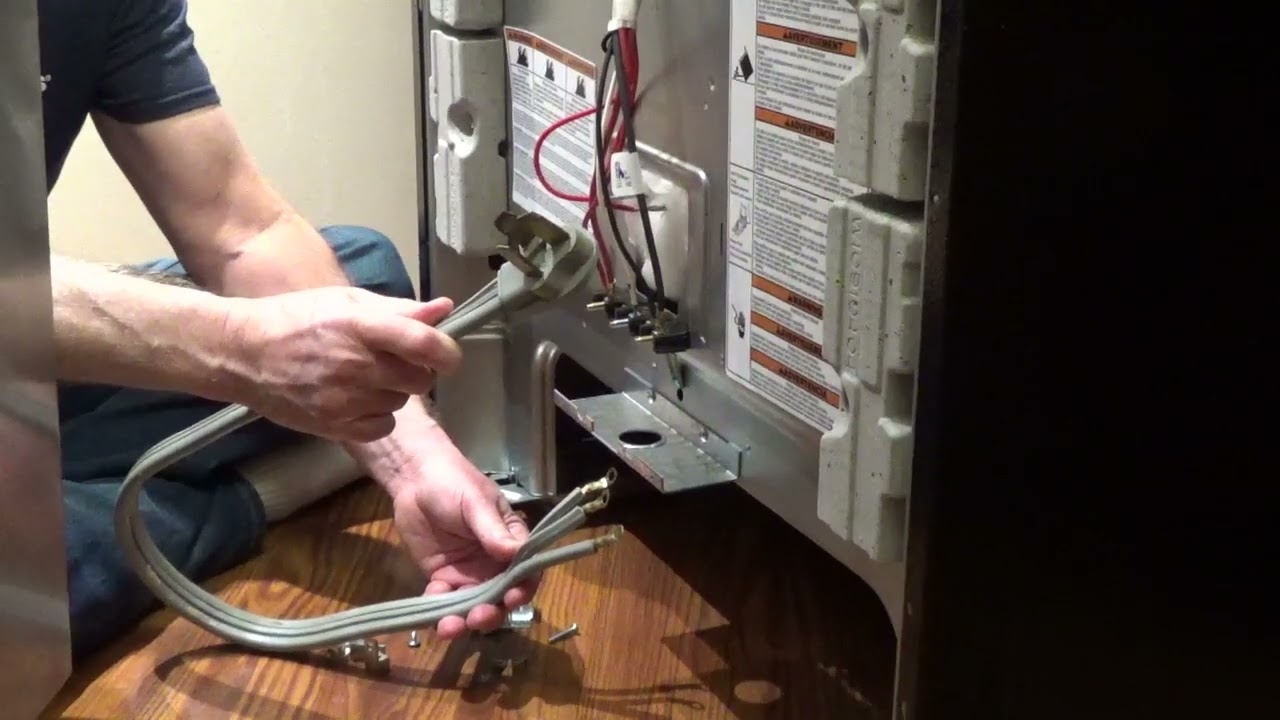
To begin the process, gather your wire strippers and locate the end of the power cord. The power cord will have a protective outer covering that needs to be removed to expose the individual wires inside.
Using the appropriate gauge on your wire strippers, carefully strip about 1 inch of the outer covering from the end of the power cord. Take caution not to cut into the wires inside while stripping. It’s always a good idea to double-check your work and make sure the wires are cleanly exposed without any cuts or nicks.
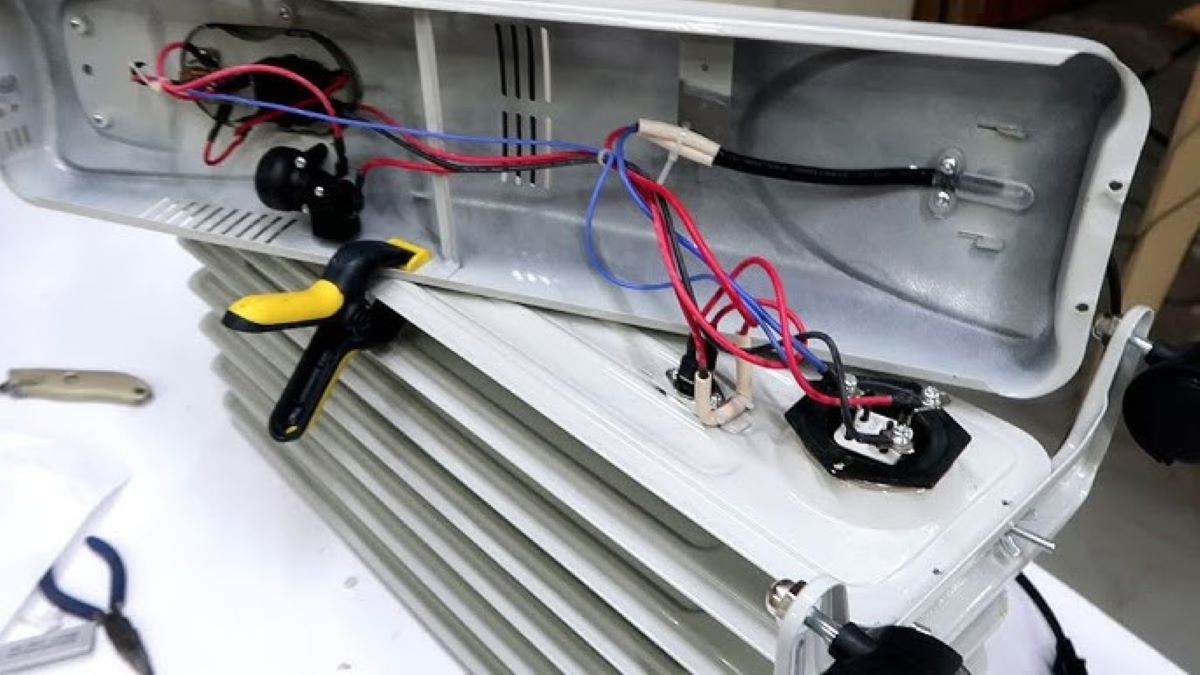
Once the outer covering is stripped, you will find individually insulated wires inside. The number of wires will depend on the type of power cord your dryer uses. Typically, there will be three or four wires: black (hot), red (hot), white (neutral), and sometimes green or bare (ground).
Using your wire strippers again, strip about 1/2 inch of insulation from the end of each individual wire. This will expose the copper conductors underneath for a proper electrical connection.
Take care to strip each wire evenly and avoid any damage to the copper conductors. You can gently twist the exposed copper strands together to keep them from fraying.
Once you have stripped and twisted the wires, you are ready to move on to the next step: connecting the wires to the dryer outlet.
When connecting an electrical cord to a Queen Speed Dryer, make sure to match the prongs on the cord with the corresponding slots on the dryer’s plug. Firmly push the cord into the plug until it is secure, and then tighten the locking screw to ensure a safe and stable connection. Always double-check that the dryer is turned off and unplugged before attempting to connect the electrical cord.
Read more: Who Makes Speed Queen Washer And Dryers
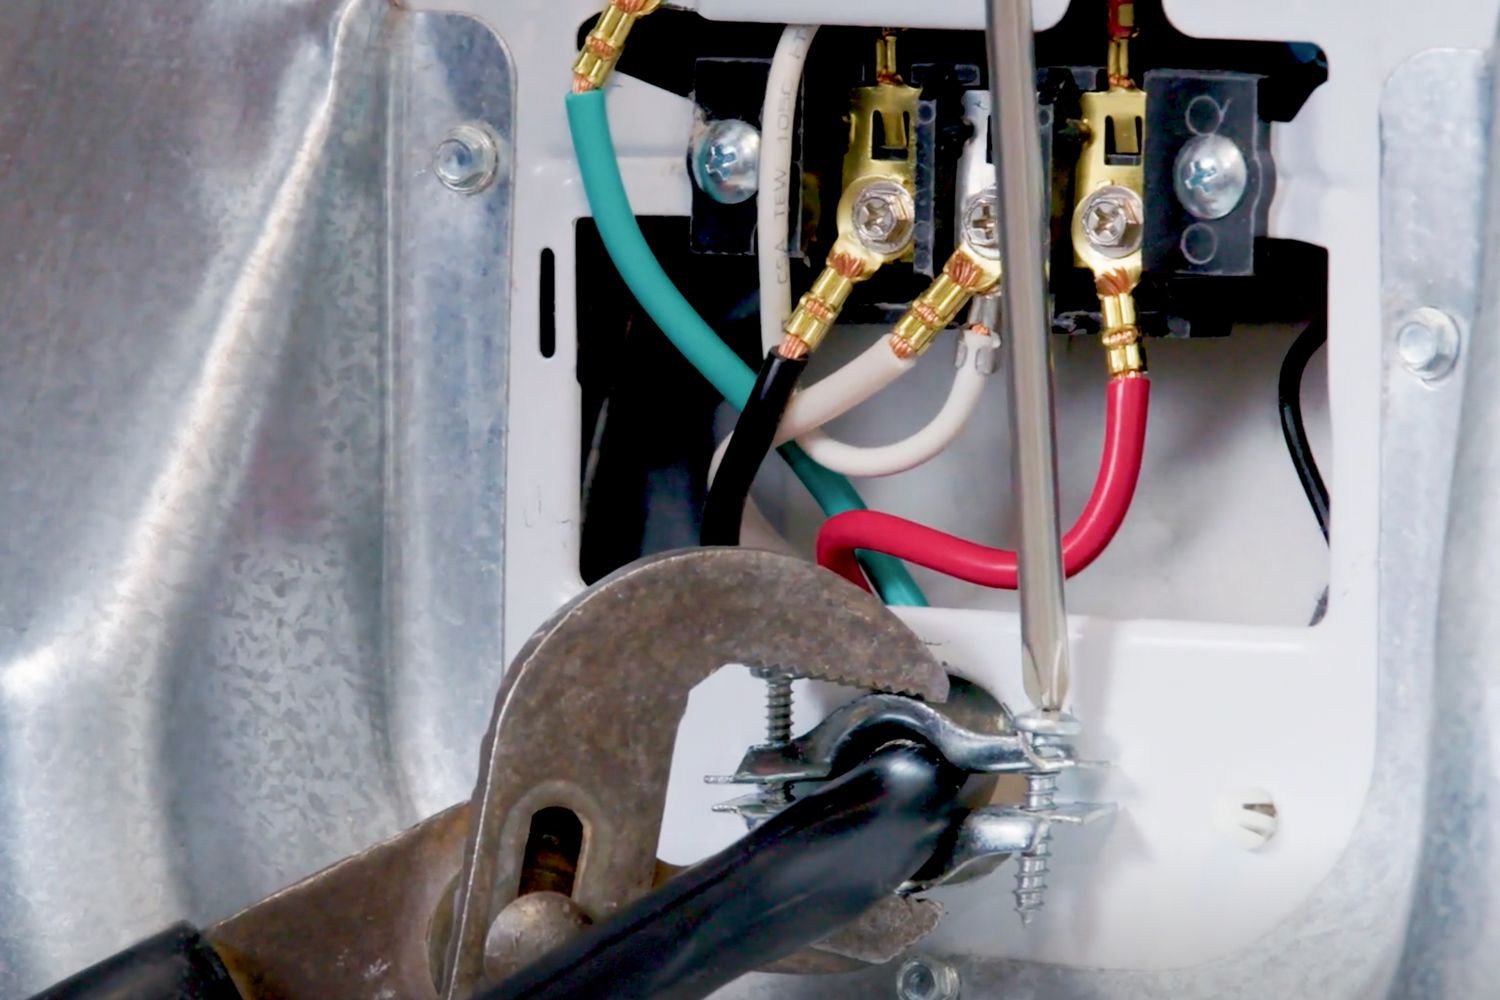
Step 5: Connect the wires to the dryer outlet
Now that you have prepared the electrical cord by stripping the wires, it’s time to connect them to the dryer outlet. Properly connecting the wires ensures a secure and reliable electrical connection between the dryer and the power source.
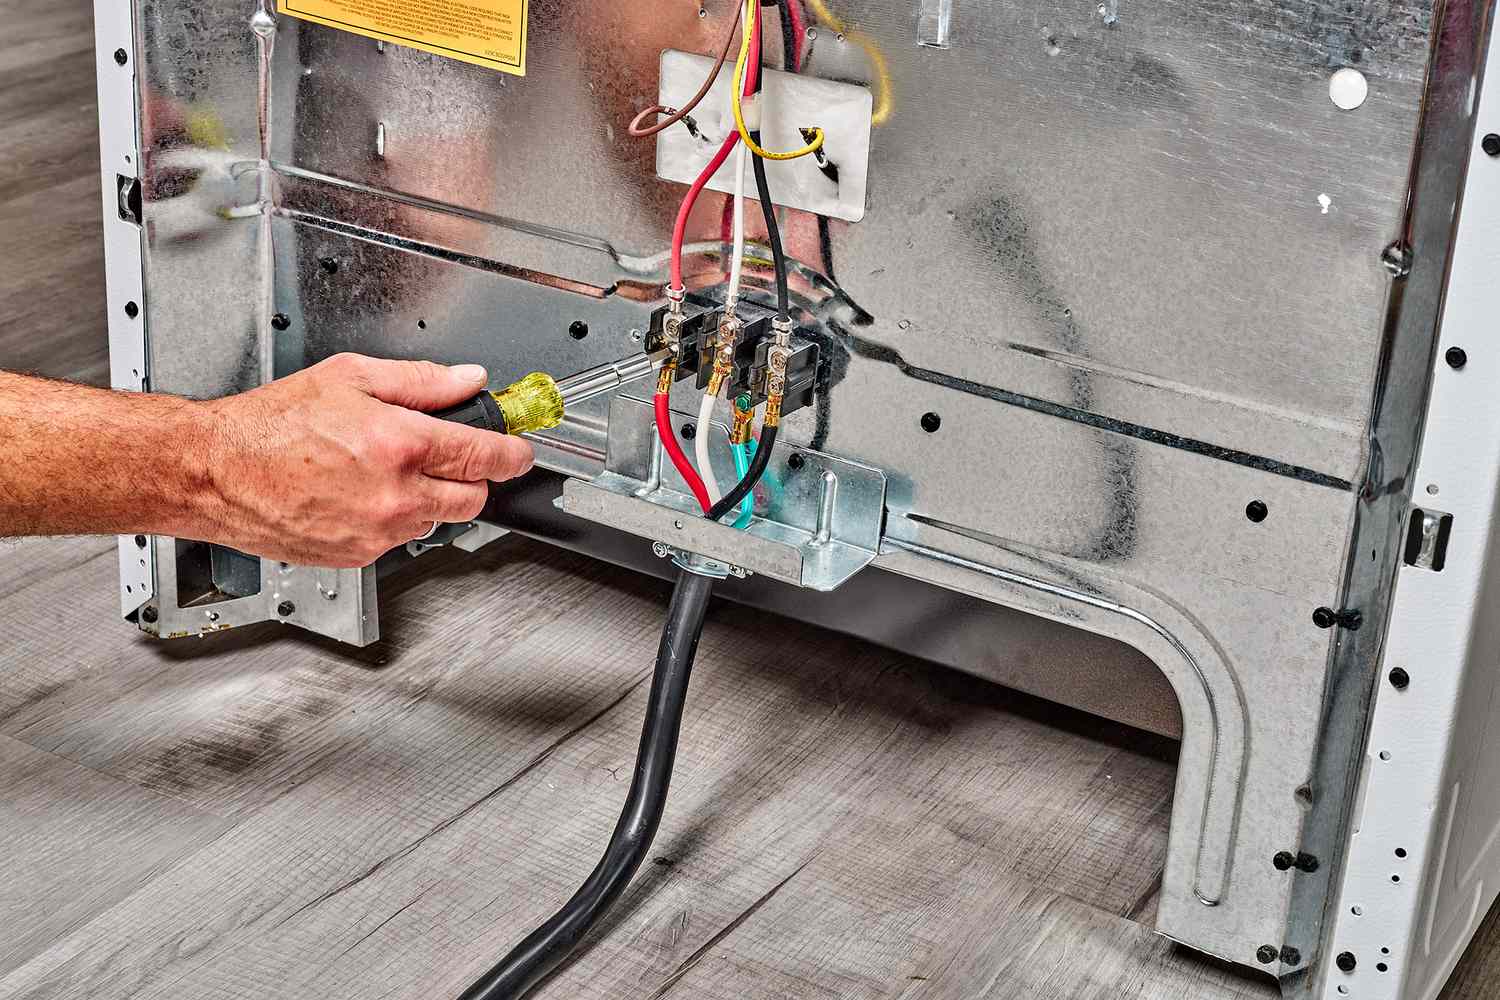
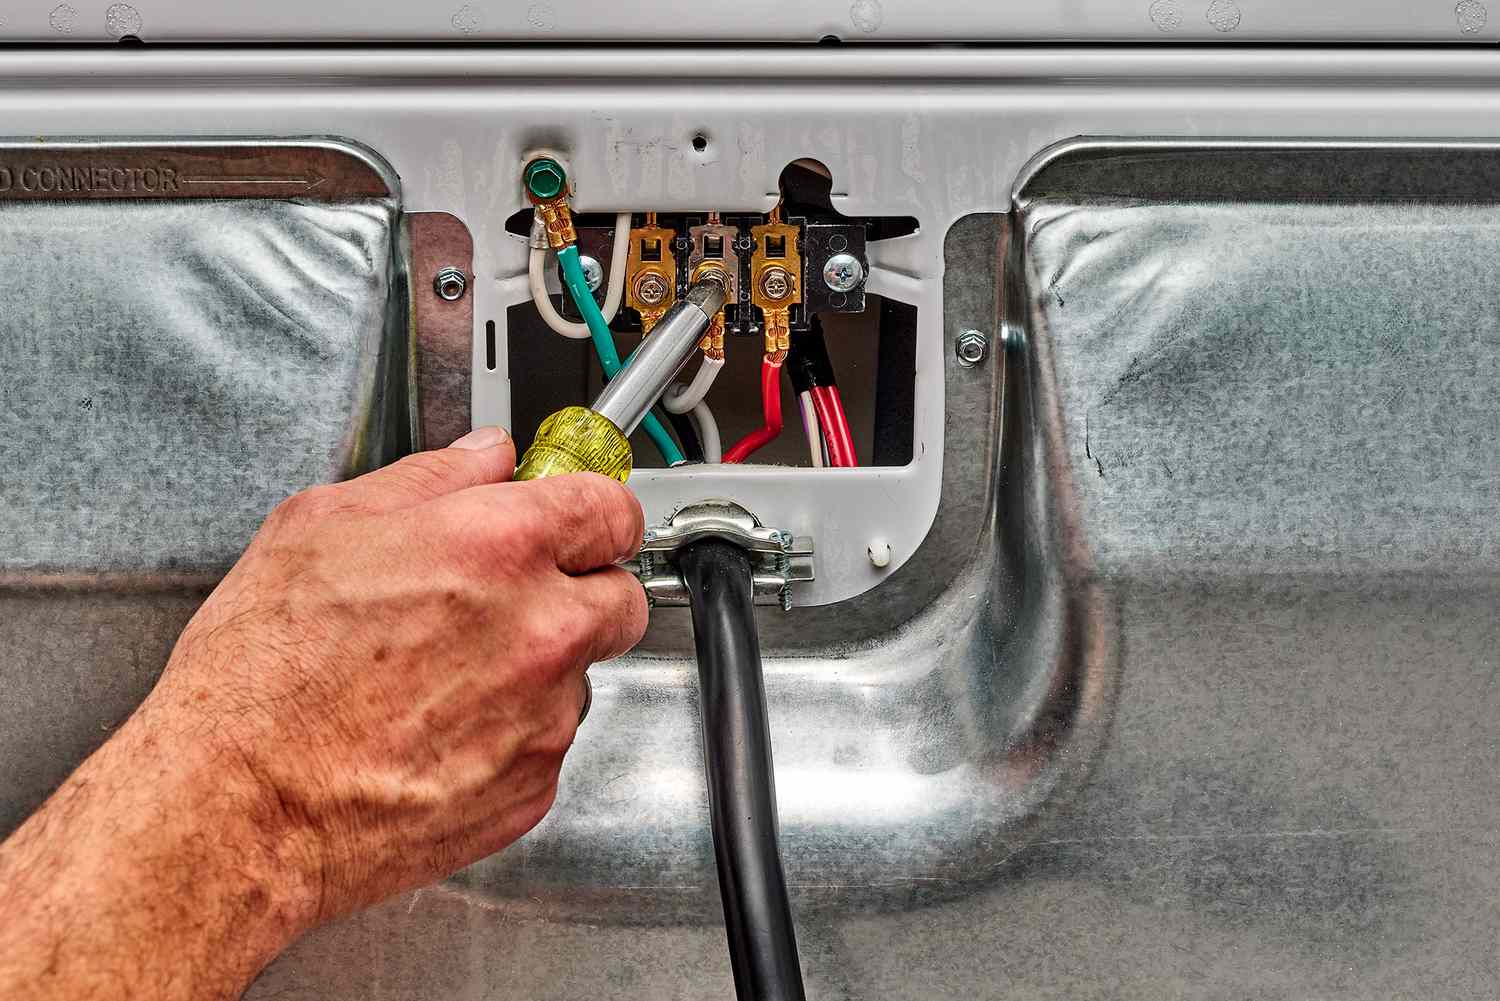
Start by identifying the matching prongs on the dryer outlet that correspond to each wire of the power cord. The color coding will help you determine the correct connections:
- Black or red wire (hot) connects to the brass or red terminal screw on the dryer outlet.
- White wire (neutral) connects to the silver terminal screw on the dryer outlet.
- Green or bare wire (ground) connects to the green terminal screw or grounding bar on the dryer outlet.
Ensure that the wires are securely inserted into the appropriate terminal screws on the dryer outlet. Use a screwdriver to tighten the screws to create a firm and stable connection. It’s crucial to ensure that the wires are firmly attached to prevent any loose connections that can lead to electrical issues or safety hazards.
Double-check your connections to ensure that each wire is correctly positioned and tightened. Make sure there are no exposed copper conductors outside the terminal screws or any signs of frayed wires.
If you have any doubts or are unsure about the wire connections, it’s always a good idea to consult the user manual of your dryer or seek professional assistance. Electrical work should be done with precision and accuracy to ensure the safety of both the equipment and the individuals involved.
With the wires securely connected to the dryer outlet, you’re almost done. The next step is to secure the connections with wire nuts.
Step 6: Secure the connections with wire nuts
After connecting the wires to the dryer outlet, it is essential to secure the connections properly. One way to do this is by using wire nuts, which provide a secure and insulated connection between the wires. Wire nuts help to prevent any accidental disconnection or exposure of the wires, ensuring a safe and reliable electrical connection.
To begin, check each wire connection to ensure they are tight and secure. If any wires feel loose, carefully tighten the terminal screws on the dryer outlet to ensure a snug fit.
Next, take a wire nut that matches the size of the wires you’re connecting. Twist the wire nut clockwise firmly onto the connected wires, ensuring that all exposed copper conductors are covered. The wire nut should be securely attached, but be careful not to overtighten and damage the wires.
After attaching the wire nut, gently tug on the wires to ensure they are firmly secured. If any wires come loose, readjust the wire nut and tighten it further until the connection is secure.
Repeat this step for each wire connection, applying a wire nut to each one. Take your time to ensure that all wire nuts are properly installed and provide a secure connection.
Once all the wire nuts are attached, inspect the connections to ensure they are tight, properly covered, and free from any exposed copper conductors.
As an additional precaution, you may choose to wrap electrical tape around the wire nuts for added insulation and protection. This step is optional but can provide an extra layer of security.
Now that the connections are securely protected with wire nuts, it’s time to move on to the final step: plug in and test the dryer.
Step 7: Plug in and test the dryer
After completing the previous steps of connecting the electrical cord to your queen speed dryer, it’s time to plug in the dryer and test the electrical connection. This step ensures that the dryer is safely and properly connected, allowing it to function efficiently.
Start by locating the dryer outlet and aligning the power cord plug with the outlet. Carefully insert the plug into the outlet and push it in until it is fully seated. Ensure that the plug is securely inserted to establish a solid electrical connection.
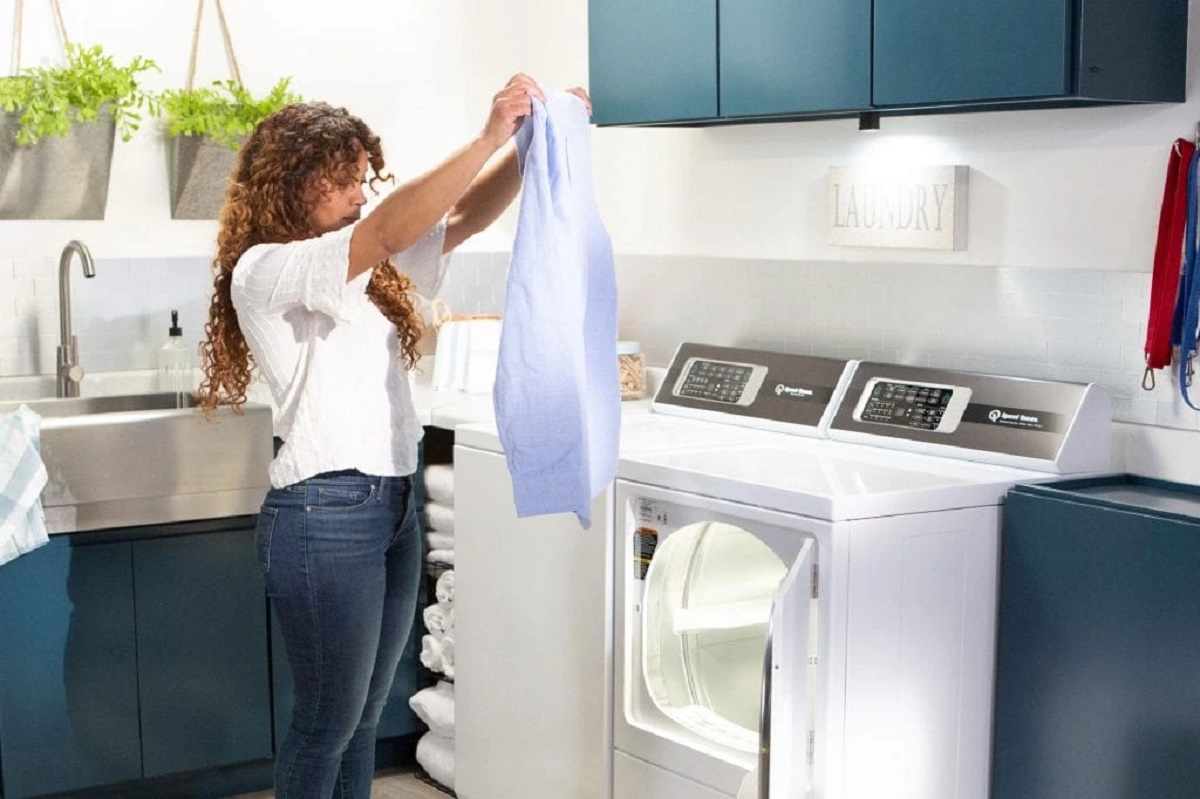
Once the dryer is plugged in, find the power switch or control panel on the dryer and turn it on. Check that the dryer’s display or indicator lights confirm that it is receiving power. You may also hear the dryer motor running.
It’s crucial to closely monitor the dryer and check for any signs of sparking, unusual sounds, or a burning smell. If you notice any of these issues, immediately unplug the dryer and consult a professional to address the problem before continuing to use the appliance.
If everything appears to be functioning properly, you can proceed by testing the dryer’s different settings and features. Check if the heating elements are working, the drum is rotating smoothly, and the controls are responding as expected. Run a short cycle to ensure that the dryer is functioning at its full capacity.
It is recommended to perform a final inspection of the cord and connections to ensure they are secure and no issues are present. Look for any signs of frayed wires, loose connections, or overheating.
Congratulations! You have successfully connected the electrical cord to your queen speed dryer. By following the steps outlined in this article, you have ensured a safe and efficient electrical connection, allowing you to use your dryer without any concerns.
If you encounter any difficulties or have any doubts during the process, it is always best to consult a licensed electrician or contact the manufacturer for assistance.
Remember, electrical work can be dangerous, so always prioritize safety and exercise caution when working with electricity.
With that, you can now enjoy the convenience and functionality of your queen speed dryer!
Conclusion
Connecting an electrical cord to a queen speed dryer may seem intimidating at first, but by following the step-by-step guide provided in this article, you can successfully complete the process with confidence. It is crucial to prioritize safety throughout the installation process, ensuring the dryer is unplugged and turned off before beginning any work.
Gathering the necessary tools and materials is the first step, as having the correct electrical cord, screwdriver, wire strippers, wire nuts, electrical tape, and potentially a multimeter will make the process smoother. Properly identifying the power cord and the dryer outlet is essential to ensure compatibility and avoid any issues during installation.
Preparing the electrical cord by stripping the wires helps establish a clean and secure connection. Taking care to expose the copper conductors without damaging the wires is crucial for a successful connection. Once the wires are properly prepared, connecting them to the dryer outlet should be done according to the appropriate color-coding and securely tightened with a screwdriver.
The next step is to secure the connections using wire nuts. Ensuring that the wire nuts are properly attached and covering all exposed copper conductors will provide a reliable and insulated connection. Optionally, using electrical tape for additional insulation is advisable.
Finally, plugging in and testing the dryer is the last crucial step. This includes verifying that the dryer displays power, checking for any irregularities or issues such as sparking or burning smells, and ensuring that all settings and features are fully operational.
Remember, safety should always be the top priority when working with electrical appliances. If you are unsure or uncomfortable with any step of the process, it is best to seek professional assistance.
By following the steps outlined in this article, you can confidently connect an electrical cord to your queen speed dryer, ensuring a safe and efficient connection. Enjoy the convenience and functionality of your dryer while appreciating the knowledge and skills you gained throughout this process.
Frequently Asked Questions about How Do You Connect An Electrical Cord To A Speed Queen Dryer
Was this page helpful?
At Storables.com, we guarantee accurate and reliable information. Our content, validated by Expert Board Contributors, is crafted following stringent Editorial Policies. We're committed to providing you with well-researched, expert-backed insights for all your informational needs.

0 thoughts on “How Do You Connect An Electrical Cord To A Speed Queen Dryer”