Articles
How To Store 8X10 Photos
Modified: January 5, 2024
Learn the best methods and tips for storing 8x10 photos with our informative articles. Preserve your memories for generations to come.
(Many of the links in this article redirect to a specific reviewed product. Your purchase of these products through affiliate links helps to generate commission for Storables.com, at no extra cost. Learn more)
Introduction
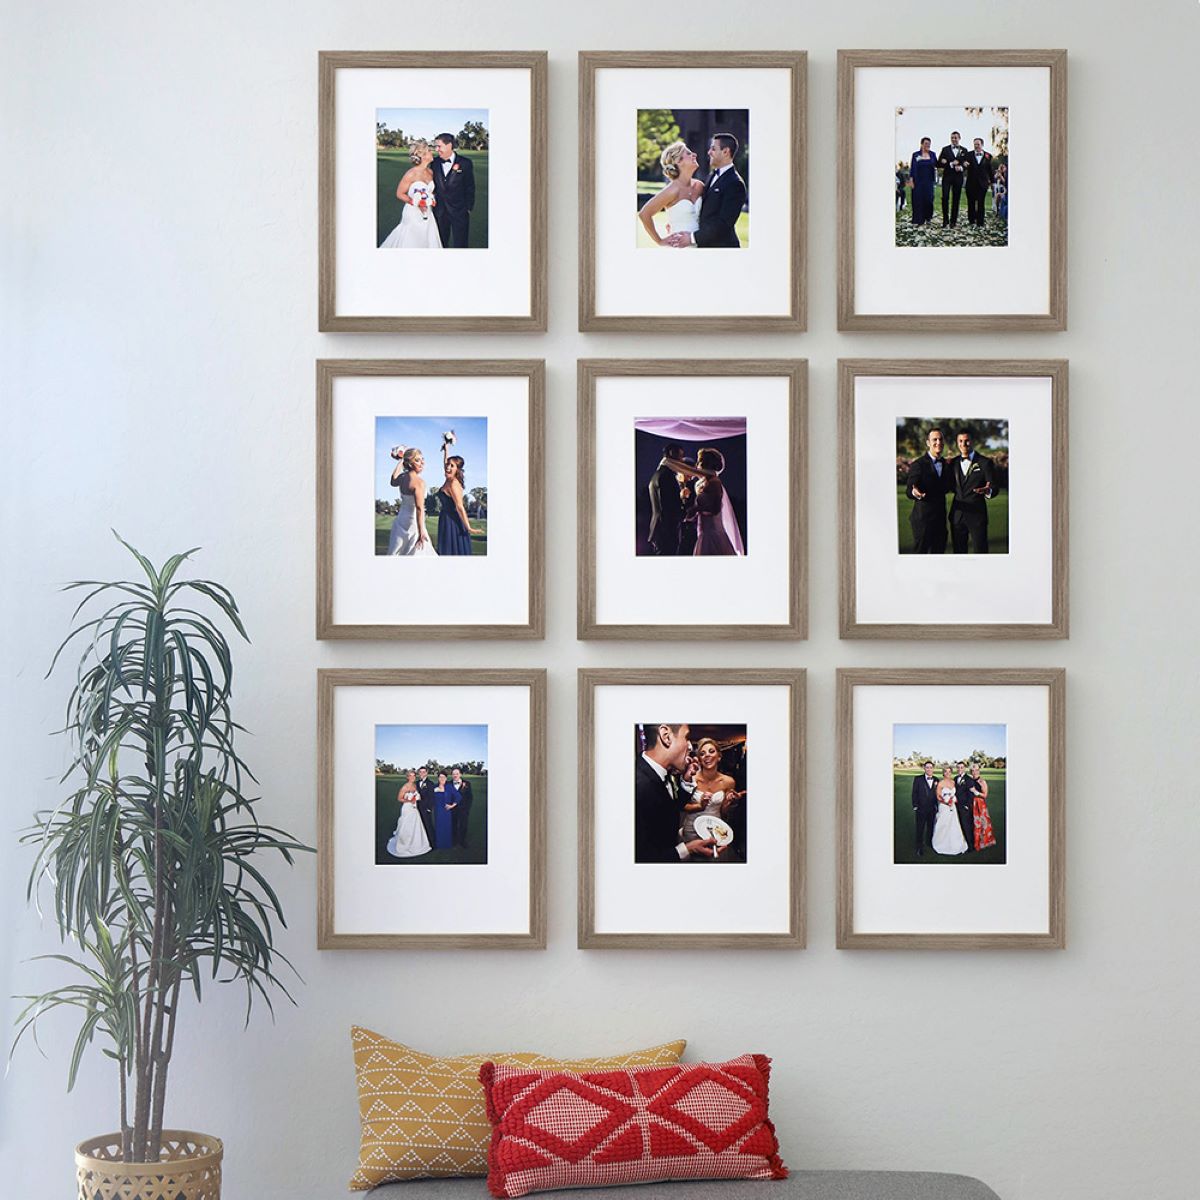
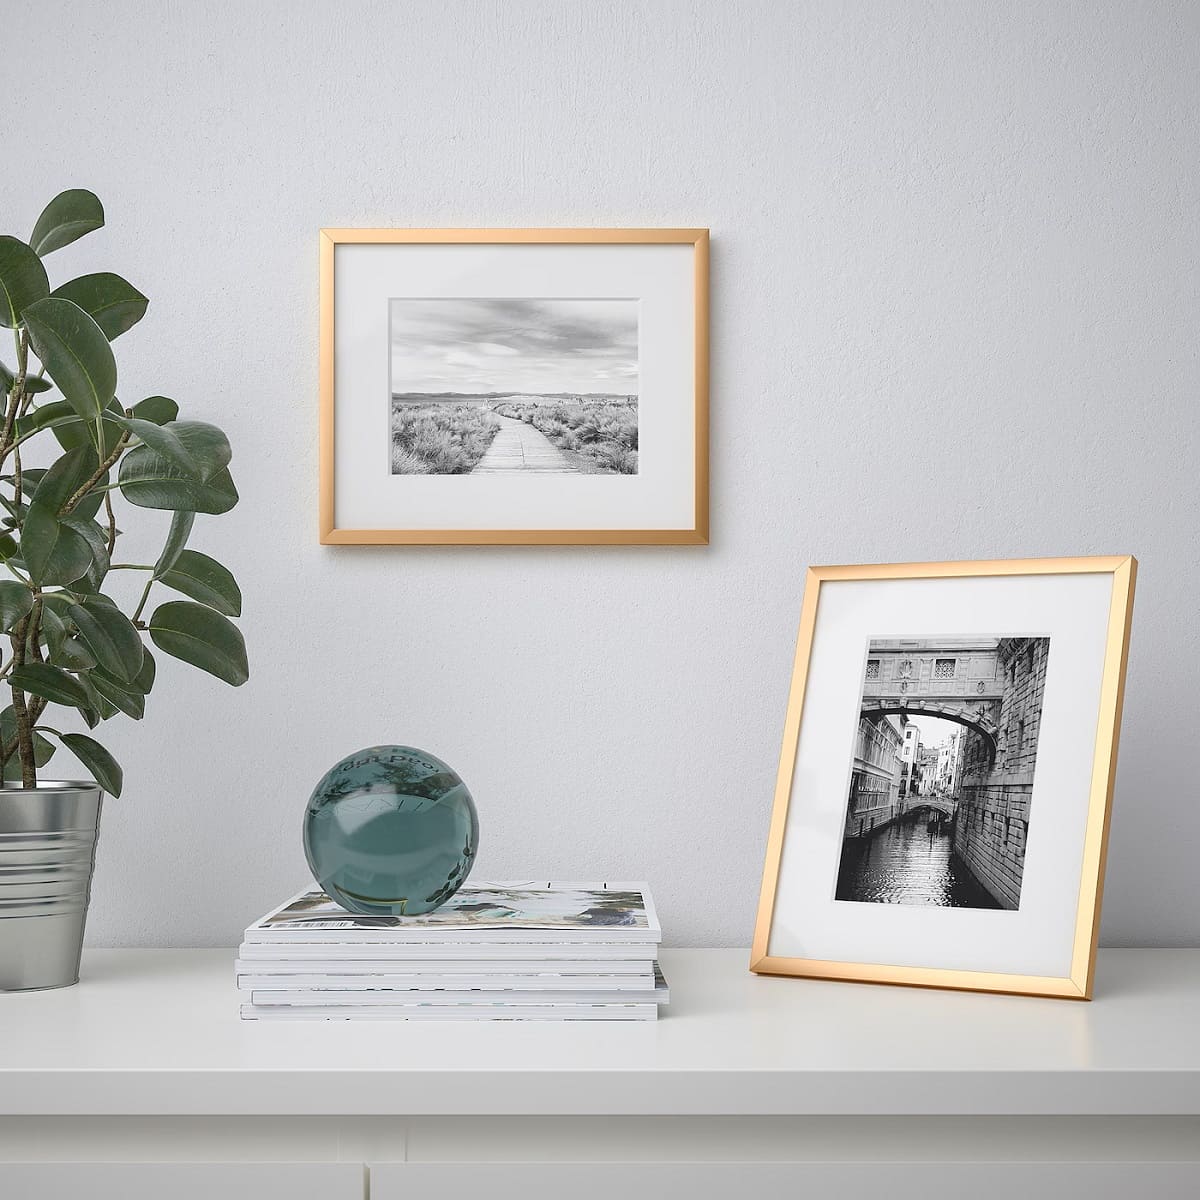
Welcome to the world of photography! Whether you’re a professional photographer or a passionate hobbyist, capturing moments and memories is a truly magical experience. While digital photography has become the norm in recent years, there’s still something special about holding a physical print of your favorite photos. 8×10 photos are a popular size, often favored for their versatility and striking visual impact.
However, to keep these precious memories in pristine condition for years to come, proper storage is essential. Improper storage can lead to damage such as fading, discoloration, creases, and even mold. In this article, we’ll guide you through the steps on how to store your 8×10 photos securely and protect them from any potential harm.
By following these steps, you’ll ensure that your cherished 8×10 photos remain safe, vibrant, and ready to be admired whenever you wish to revisit those special moments captured through your lens. So, let’s dive in and discover the secrets to effective and long-lasting photo storage.
Key Takeaways:
- Safeguard your 8×10 photos for the long haul by choosing acid-free storage materials, organizing them thoughtfully, and adding protective layers to preserve cherished memories for generations to come.
- Ensure the longevity of your 8×10 photos by storing them in a safe environment, labeling and organizing your storage system, and handling them with care to maintain their pristine condition and sentimental value.
Read more: How To Build An 8X10 Shed
Step 1: Choose the Right Storage Material
When it comes to preserving your 8×10 photos, selecting the right storage material is crucial. The primary criterion is to choose materials that are acid-free and archival quality. Acidic materials, such as regular cardboard or non-archival plastic sleeves, can cause your photos to deteriorate over time.
Opt for acid-free and lignin-free materials, such as archival photo sleeves, acid-free folders, or photo boxes. These materials have undergone rigorous testing to ensure they won’t release harmful chemicals that could damage your photos.
Additionally, consider using materials that offer protection against environmental factors, such as UV light and moisture. UV-resistant sleeves or containers will prevent your photos from fading due to prolonged exposure to sunlight. Moisture-resistant materials will safeguard your photos from humidity, preventing mold and discoloration.
Finally, choose materials that fit the size of your 8×10 photos comfortably. Avoid using oversized containers that allow the photos to shift and potentially get damaged. Snugly fitting materials will hold your photos securely and prevent them from bending or creasing.
Investing in high-quality storage materials may seem like an extra expense, but it is a small price to pay to ensure the longevity and preservation of your precious memories. By choosing the right storage materials, you’re taking the first step towards safeguarding your 8×10 photos.
Step 2: Gather Necessary Supplies
Before you begin the process of storing your 8×10 photos, it’s important to gather all the necessary supplies. Having everything prepared in advance will make the storage process more efficient and ensure that you have everything you need at your fingertips.
Here is a list of supplies you will need:
- Archival photo sleeves or acid-free folders
- Archival photo boxes or containers
- Archival-quality dividers or index cards
- Archival markers or pens for labeling
- Cotton gloves (optional but recommended)
- Microfiber cloth for cleaning
- Adhesive photo corners or archival photo tabs (if you prefer to mount your photos)
- Scissors
It’s important to note that when handling your photos, especially if they are old or delicate, wearing cotton gloves can prevent oil and dirt from transferring onto the prints. However, clean and dry hands are also suitable for handling photos, as long as you avoid touching the surface directly.
Ensure that the microfiber cloth you choose is free of lint and will not introduce scratch marks to your photos. This cloth will be useful for gently wiping away any dust or smudges before storing your prints.
By gathering all the necessary supplies, you’ll have a well-equipped storage setup that allows you to handle your 8×10 photos with care and protect them from potential damage.
Step 3: Prepare the Photos for Storage
Preparing your 8×10 photos for storage is an essential step to ensure their long-term preservation. By taking the time to properly clean and organize your prints, you are setting them up for safekeeping and easy accessibility in the future.
Here are some steps to follow when preparing your photos for storage:
- Handle with care: Before handling your photos, make sure your hands are clean and dry. If you prefer, wear cotton gloves to avoid direct contact with the prints. This will prevent oil and dirt transfer, which can harm the photos over time.
- Clean the photos: Use a soft, lint-free microfiber cloth to gently wipe away any dust or fingerprints on the surface of your photos. Avoid using any cleaning solutions or water, as they may cause damage. If you notice any stubborn stains, consult a professional photo conservator for advice.
- Remove any objects: Before storing your photos, ensure that there are no paperclips, sticky notes, or other objects attached to them. These items can leave marks, indentations, or even cause tearing if they were affixed for a long time.
- Organize by theme or chronology: Consider how you would like to organize your photos. You can choose to group them by theme, such as family events, vacations, or special occasions. Alternatively, you can arrange them chronologically, based on the date they were taken. Having an organizational system in place will make it easier to locate specific photos in the future.
- Sort and select: Take the time to sort through your collection and select the photos that hold the most value or sentimental significance. By narrowing down your collection, you can focus on preserving the ones that truly matter to you.
By following these steps, you are preparing your 8×10 photos for storage in a thoughtful and careful manner. This ensures that they remain in the best possible condition and are ready to be enjoyed for years to come.
Step 4: Select an Appropriate Storage Container
Choosing the right storage container for your 8×10 photos is crucial to keeping them safe and well-organized. The container you select should provide adequate protection from environmental factors and offer a secure and suitable space for your prints.
Here are a few considerations when selecting a storage container:
- Material: Opt for archival-quality materials that are acid-free, lignin-free, and made of stable materials. Avoid containers made from regular cardboard, as they can release harmful acids that damage your photos over time. Archival photo boxes or containers made from acid-free materials provide a reliable barrier against moisture, light, and other potential sources of damage.
- Size and Capacity: Ensure that the storage container is large enough to comfortably accommodate your 8×10 photos. It should have enough space to store your prints without bending or overcrowding them. Avoid containers that are too large, as excessive movement can damage the photos within.
- Stackability: If you have a large collection of 8×10 photos, consider using stackable storage containers. This allows for efficient use of space while still providing easy access to individual prints when needed.
- Accessibility: Look for containers with easy-to-use lids or closures that provide a secure seal. This helps to keep dust, moisture, and pests out of the container, ensuring the long-term preservation of your photos.
- Transparency: Choosing a container with a transparent lid or sides allows you to easily see the contents without the need to open it. This can save you time when searching for specific photos and reduces the risk of exposing them to potential damage from handling.
Remember, the container you choose will have a significant impact on the longevity and protection of your 8×10 photos. By selecting an appropriate storage container, you are taking a proactive step in preserving your cherished prints for years to come.
Store 8×10 photos in acid-free sleeves or archival boxes to protect them from light, moisture, and damage. Keep them in a cool, dry place to prevent deterioration.
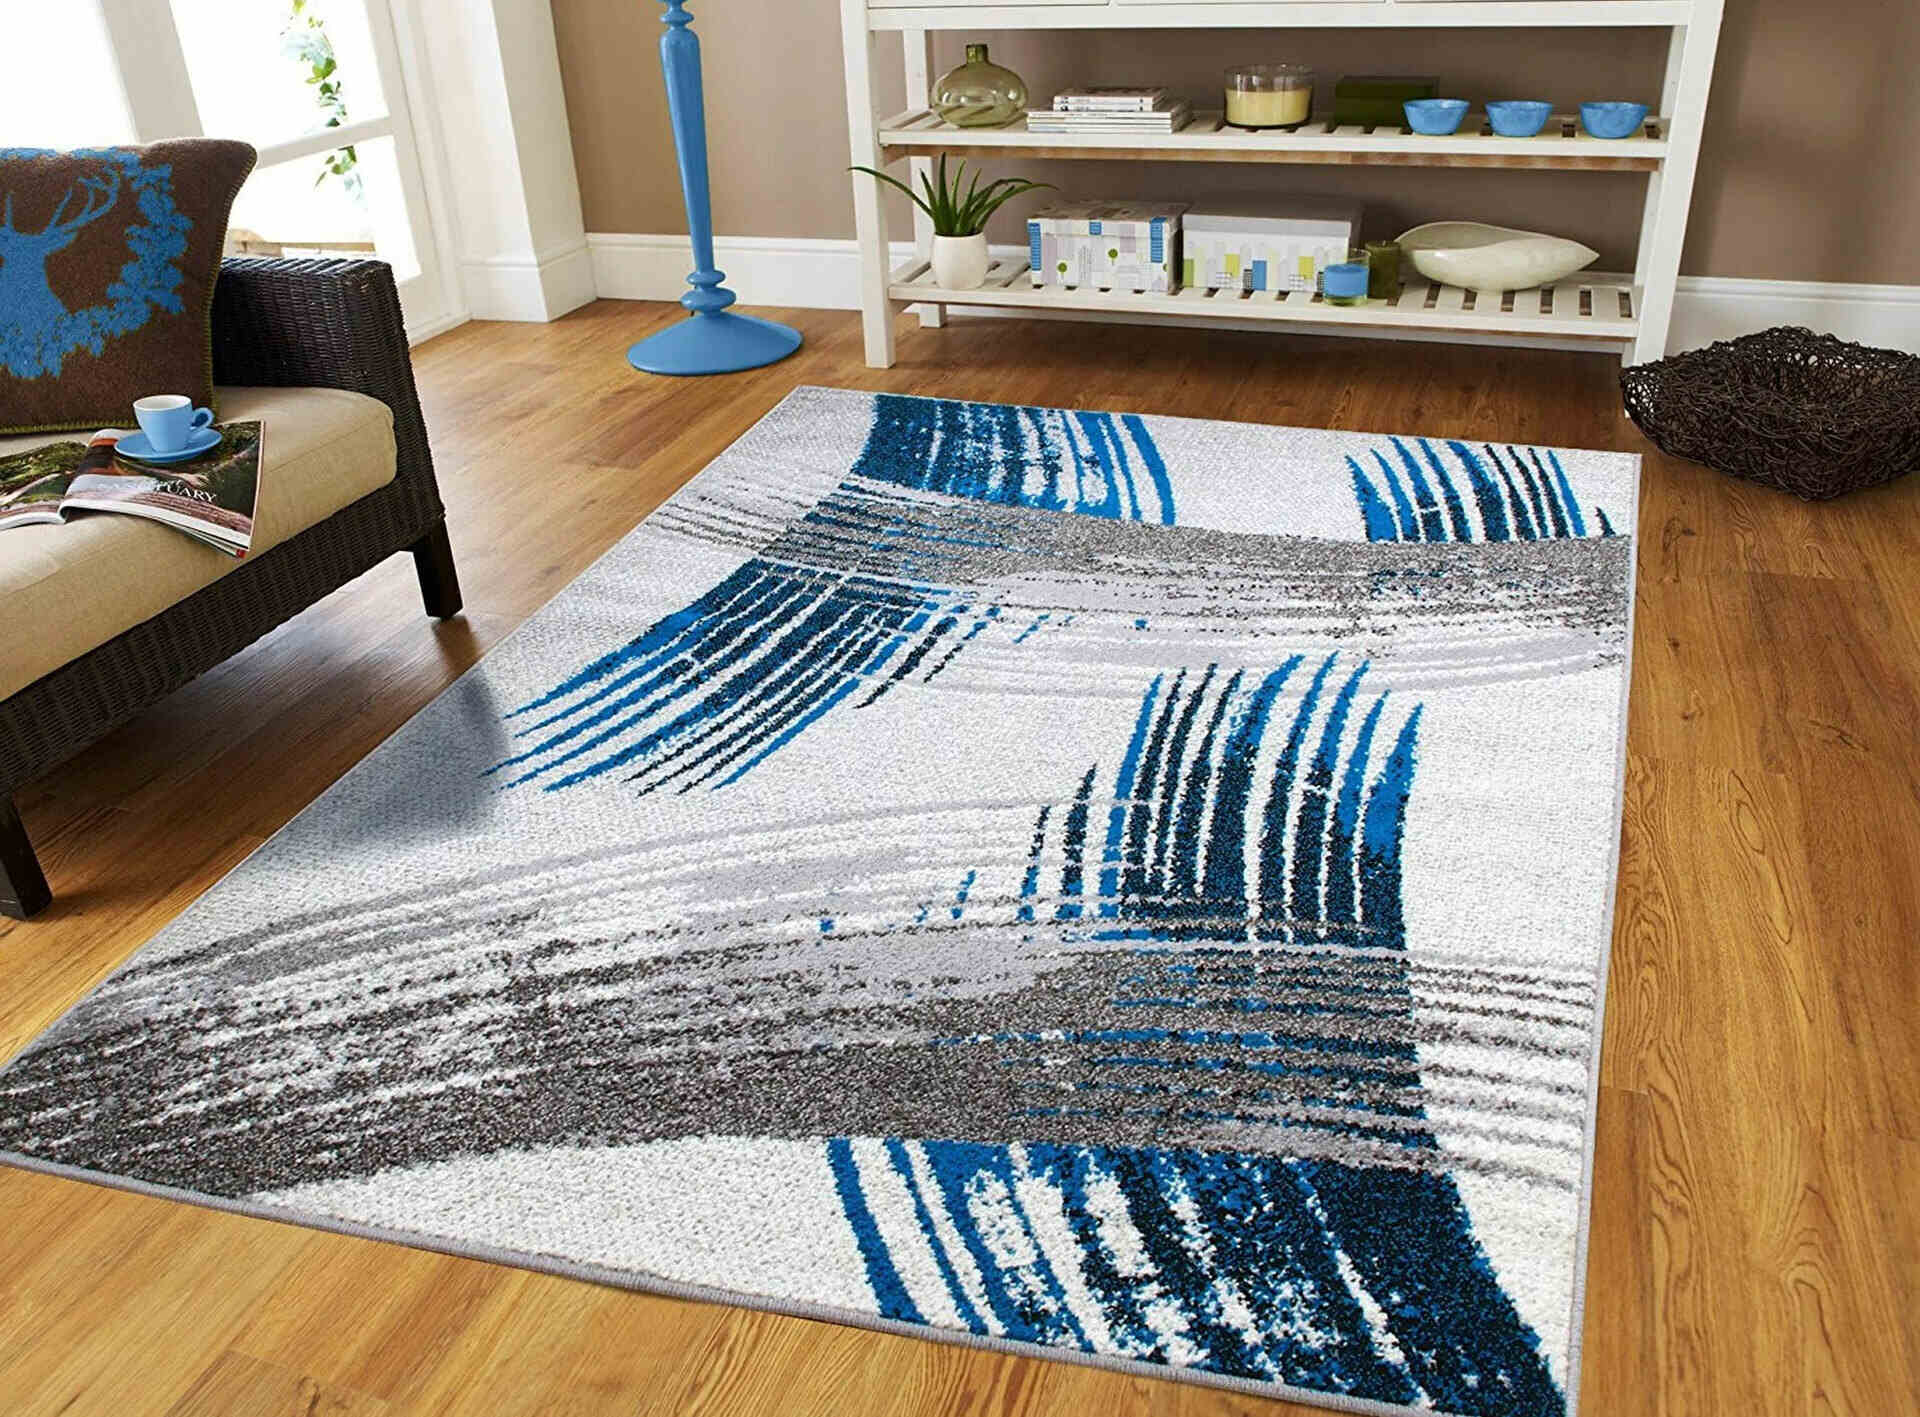
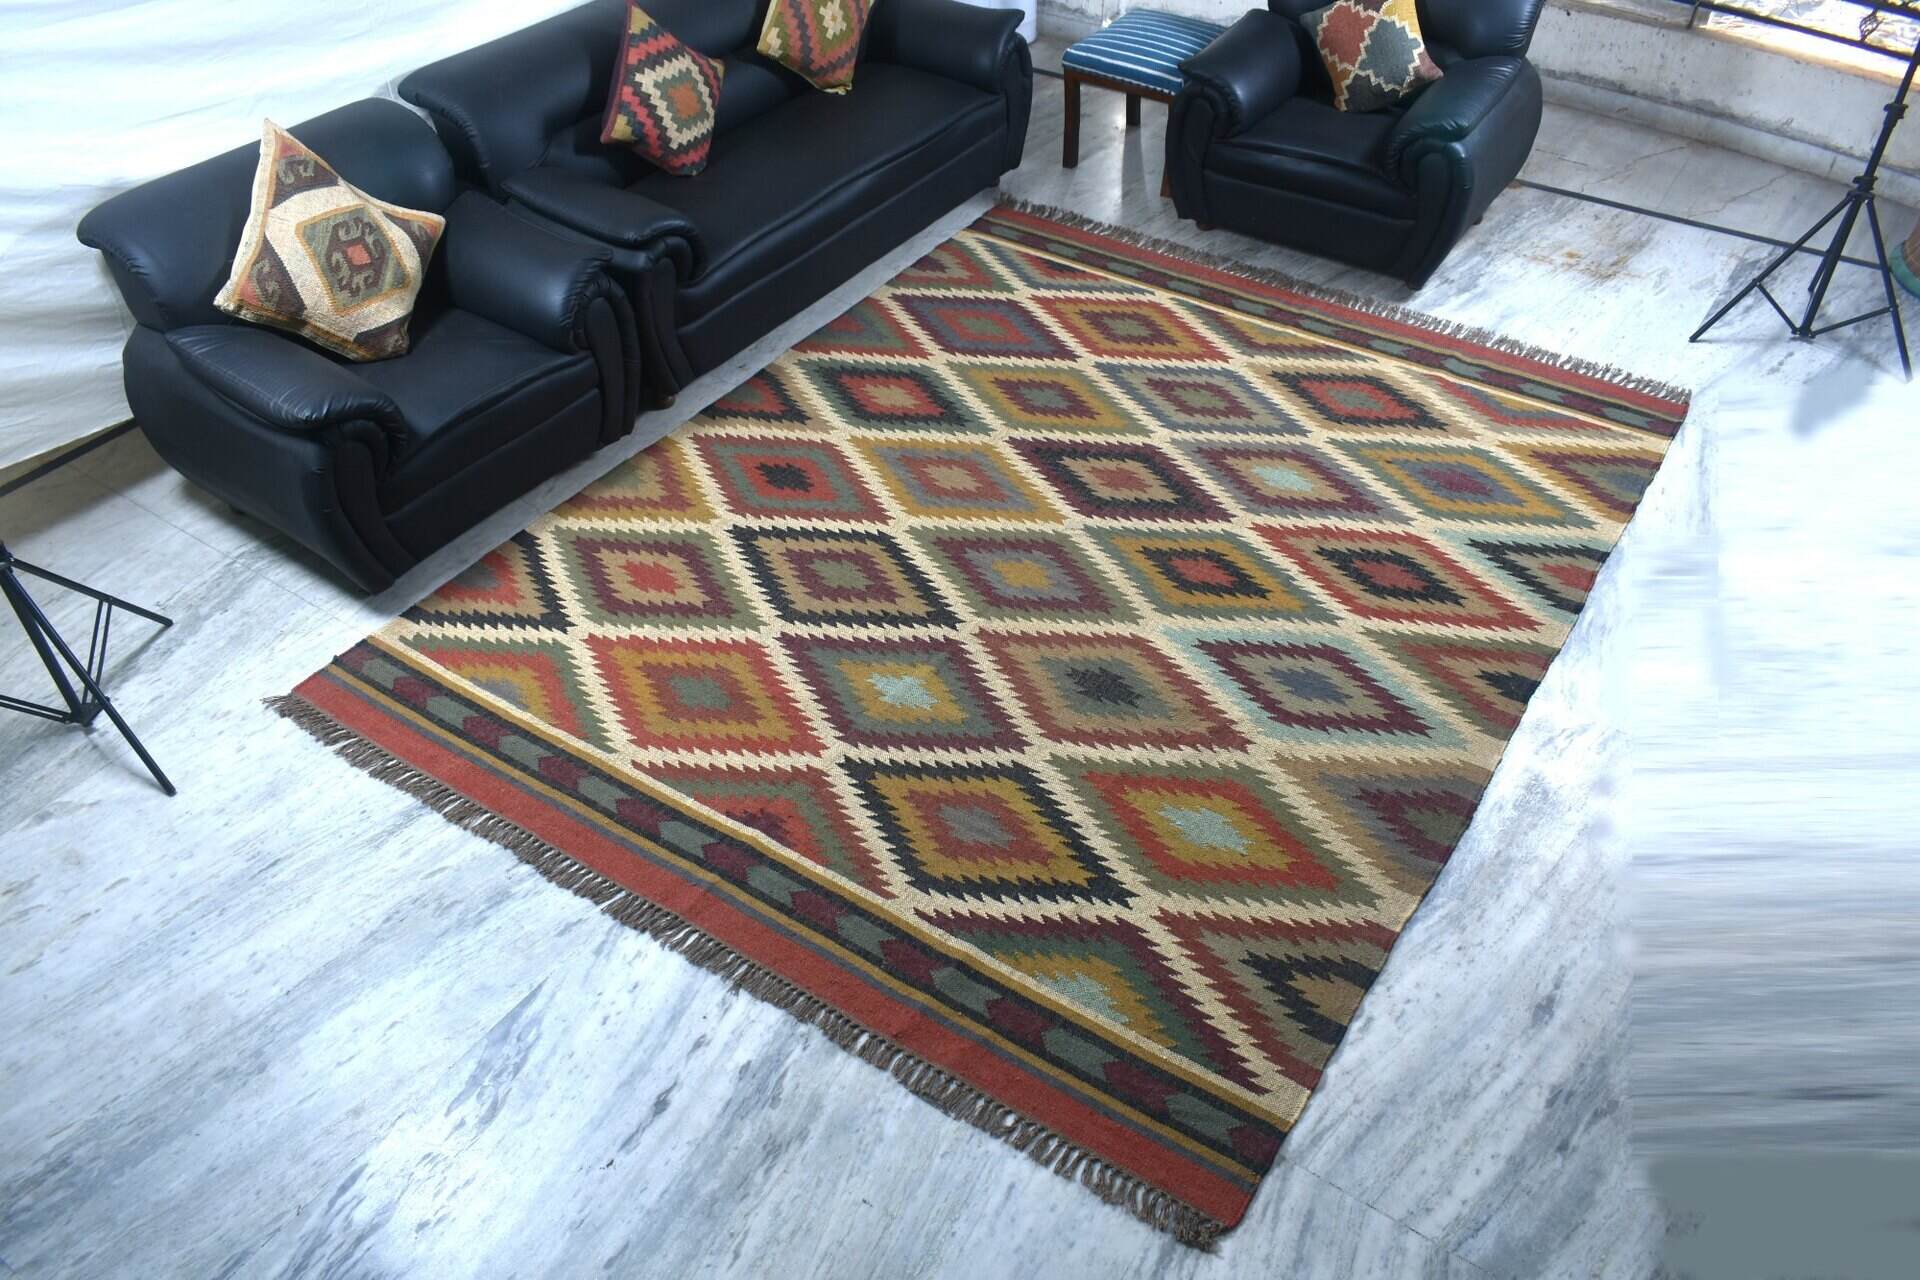
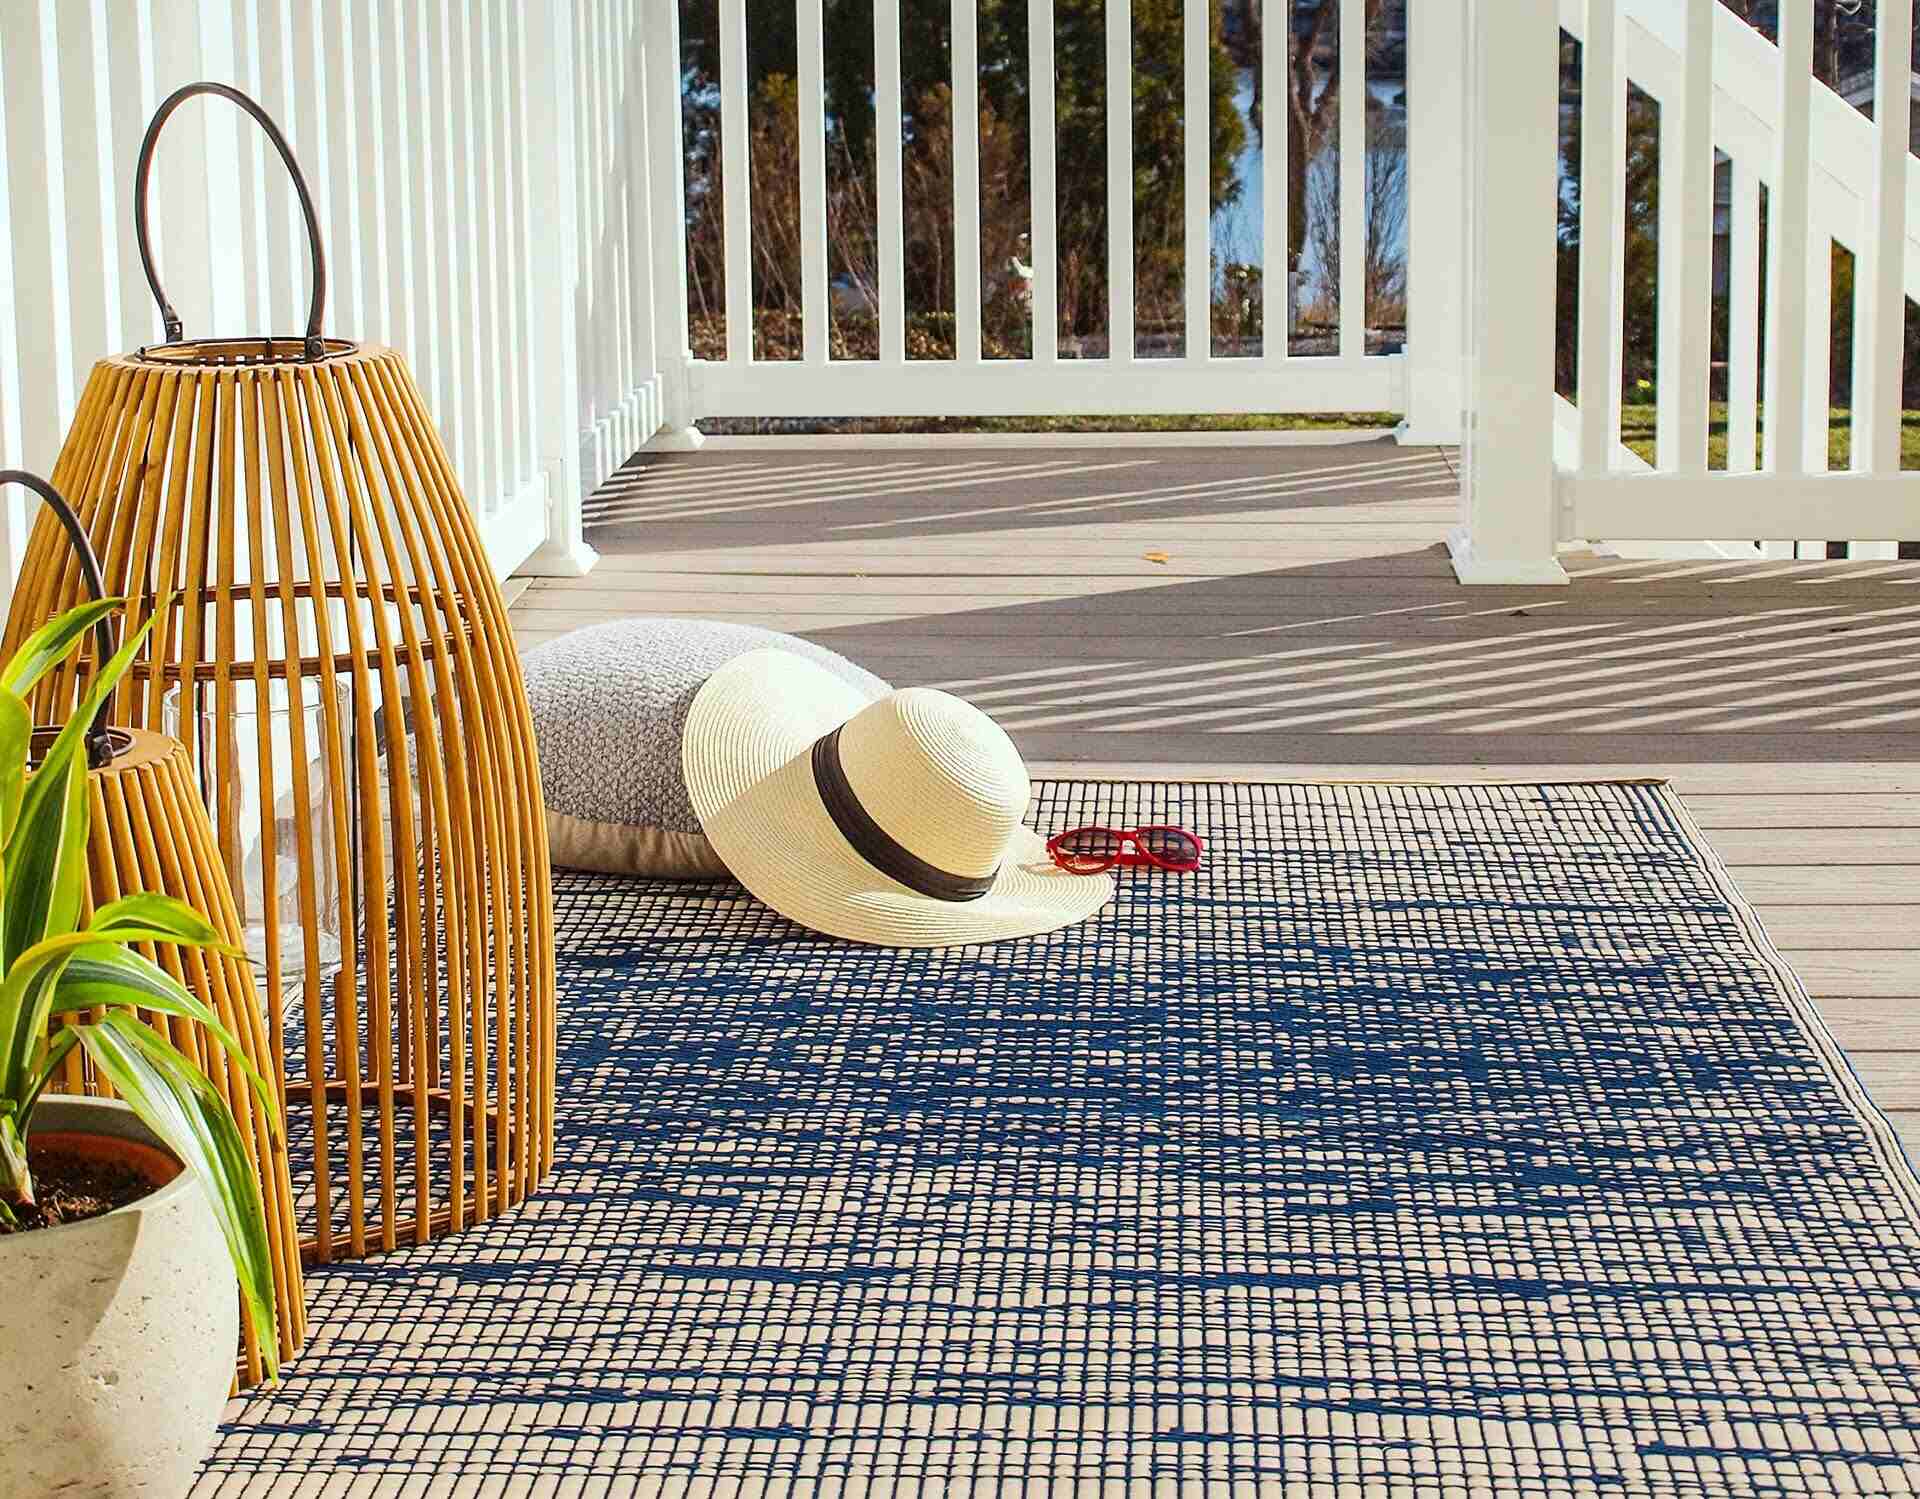
Read also: 8 Unbelievable Outdoor Rugs 8X10 for 2025
Step 5: Arrange the Photos in the Container
Now that you have selected an appropriate storage container for your 8×10 photos, it’s time to arrange them inside the container in a manner that ensures their safety and easy retrieval. Proper arrangement will prevent photos from shifting, bending, or rubbing against each other, reducing the risk of damage.
Here are some steps to follow when arranging your photos:
- Sort by category: If you have organized your photos by theme or chronology, start by grouping them accordingly. This will make it easier to locate specific photos when needed.
- Face orientation: Decide on a consistent orientation for your photos, either landscape or portrait. Aligning them in the same direction will help maintain a uniform appearance and prevent unnecessary handling of the prints.
- Use archival photo sleeves or folders: If you prefer additional protection for individual photos, consider placing them in archival photo sleeves or folders. These will prevent direct contact between the photos, reducing the risk of scratches or abrasions.
- Arrange in a flat position: Lay the photos flat inside the container, avoiding any bending or folding. This will help preserve their original shape and prevent creases. If necessary, you can insert archival dividers or index cards between stacks of photos to provide additional support.
- Avoid overcrowding: Ensure that you leave some space between the photos to prevent them from rubbing against each other. Overcrowding can lead to unwanted friction, potentially causing scratches or damage to the surface of the prints.
- Consider chronological order: If you have chosen to arrange your photos in a chronological order, place them in the container accordingly. This will help you easily navigate through your collection and reminisce about the different stages of your life and memories.
By carefully arranging your 8×10 photos inside the storage container, you are taking proactive steps to safeguard them from potential damage. This will ensure that your prints remain organized, intact, and easily accessible whenever you wish to cherish those special moments captured on film.
Step 6: Add Protective Layers
Adding protective layers to your 8×10 photos provides an extra level of defense against potential damage while in storage. These protective layers act as a barrier, shielding your prints from dust, moisture, and other harmful elements that could compromise their quality over time.
Here are some protective layers you can consider using:
- Archival tissue paper: Place a sheet of archival tissue paper between each photo to prevent them from sticking together. This tissue paper is acid-free and won’t damage your prints while keeping them separated.
- Interleaving paper: If you prefer a sturdier option, consider using archival-quality interleaving paper. These thin sheets can be inserted between photos to offer protection against scratching and friction.
- Silica gel packets: To combat moisture and prevent mold growth, place a few silica gel packets inside the storage container. These packets absorb excess moisture, maintaining a dry environment for your photos.
- Anti-UV sleeves or glassine paper: To protect your photos from harmful UV rays, consider using anti-UV sleeves or lining the storage container with acid-free glassine paper. These materials provide an additional layer of defense against fading and discoloration caused by exposure to sunlight.
When adding protective layers, it’s important to ensure that they are made of archival-quality materials. These materials have been specifically designed to preserve the longevity of your photographs without causing any harm or deterioration.
By incorporating these protective layers into your storage system, you are taking the necessary steps to safeguard your 8×10 photos from external factors that could potentially compromise their condition. These layers will help maintain the quality and integrity of your prints, preserving them for future generations to enjoy.
Step 7: Label and Organize the Storage System
Labeling and organizing your storage system is essential for easy retrieval and efficient management of your 8×10 photos. A well-organized system will save you time and frustration when you want to locate specific photos or add new ones to your collection.
Here are some steps to follow when labeling and organizing your storage system:
- Create a consistent labeling system: Decide on a labeling system that works for you and stick to it. You can use a numbering system, alphabetical order, or categorization by theme or date. Consistency is key to ensuring that you can easily locate and identify photos in the future.
- Label containers and dividers: Use archival markers or pens to label your storage containers and dividers. Clearly mark the contents of each container or section, making it easy to find specific sets of photos without unnecessary searching.
- Use archival-quality index cards or dividers: If you choose to organize your photos within the container, consider using archival-quality index cards or dividers to separate different categories or time periods. This will help maintain the organization and prevent photos from getting mixed up or disorganized.
- Create an inventory list: Keep a digital or written inventory list of the contents of each storage container or section. This will serve as a reference guide, allowing you to quickly search for specific photos without having to physically go through every container.
- Update labels regularly: As you add new photos to your collection, make sure to update the labels on your storage containers or dividers. This will ensure that your organizational system remains accurate and up-to-date.
- Maintain a master index: Consider keeping a separate master index of all your photos, either in a digital format or in a dedicated notebook. This index can include additional details such as dates, locations, and descriptions, making it easier to retrieve specific photos based on specific criteria.
By labeling and organizing your storage system, you are creating a streamlined and efficient way to manage your 8×10 photos. This not only saves you time and frustration but also ensures that your cherished memories remain well-preserved and easily accessible.
Step 8: Store the Container in a Safe Environment
After following the previous steps to properly prepare and organize your 8×10 photos, it’s crucial to store the container in a safe environment to ensure the long-term preservation of your cherished prints. The storage location should protect your photos from potential risks such as humidity, extreme temperatures, light exposure, and potential hazards.
Here are some considerations for storing your container:
- Temperature and humidity: Choose a location with stable temperature and humidity levels. Extreme fluctuations in temperature and high humidity can cause damage to your photos, leading to curling, warping, or mold growth. Aim for a controlled indoor environment with moderate temperature and humidity levels, ideally around 70 degrees Fahrenheit (21 degrees Celsius) and 50% humidity.
- Direct sunlight: Avoid storing your container in an area exposed to direct sunlight. Prolonged exposure to UV rays can cause your photos to fade and deteriorate over time. Choose a space away from windows or use curtains or blinds to block out sunlight if necessary.
- Avoid basements or attics: Basements and attics are prone to fluctuations in temperature and humidity, making them unsuitable for long-term photo storage. These areas are also more susceptible to water leaks, pests, and other potential hazards that could damage your photos.
- Elevated storage: Place the container on a shelf or elevated surface to protect it from potential water damage in case of leaks or flooding. Keep the container away from the ground or areas prone to dampness.
- Security: Choose a storage location that provides security against theft, such as a locked room or a secure storage unit. Your photos hold sentimental value, and it’s essential to ensure their protection from potential loss or damage.
Remember to periodically check the storage environment and inspect the container for any signs of damage or issues. Regular monitoring will help identify and address any potential risks before they cause harm to your 8×10 photos.
By taking these precautions and storing your container in a safe environment, you are ensuring the optimal preservation of your 8×10 photos for generations to come.
Read more: How To Build An 8×10 Shed Floor
Conclusion
Preserving and storing your 8×10 photos is an important step in safeguarding your cherished memories for years to come. By following the steps outlined in this guide, you can ensure that your photos remain in excellent condition, ready to be admired and shared with loved ones.
Choosing the right storage materials and supplies, preparing your photos for storage, selecting an appropriate storage container, arranging the photos properly, adding protective layers, labeling and organizing the storage system, and storing the container in a safe environment are all essential components of effective photo storage.
Remember to handle your photos with care, using clean hands or cotton gloves to avoid transferring oils and dirt onto the prints. Regularly maintain and inspect your storage system to address any potential issues or risks that could compromise the integrity of your photos.
By dedicating time and effort to properly store your 8×10 photos, you are preserving not only the physical prints but also the special moments, emotions, and memories they represent. These images capture a snapshot of your life, allowing you to relive beautiful moments and share them with future generations.
So, gather your supplies, prepare your photos, and find a secure and suitable storage space. Take pride in knowing that you have taken the necessary steps to protect and preserve your 8×10 photos, ensuring their longevity and enabling you to continue cherishing those treasured memories for years to come.
Frequently Asked Questions about How To Store 8X10 Photos
Was this page helpful?
At Storables.com, we guarantee accurate and reliable information. Our content, validated by Expert Board Contributors, is crafted following stringent Editorial Policies. We're committed to providing you with well-researched, expert-backed insights for all your informational needs.


0 thoughts on “How To Store 8X10 Photos”