Home>Technology>Smart Home Devices>How To Print 5X7 Photos On HP Printer

Smart Home Devices
How To Print 5X7 Photos On HP Printer
Published: January 12, 2024
Learn how to easily print 5x7 photos on your HP printer at home. Explore our guide for smart home devices to enhance your printing experience. Unlock new possibilities today!
(Many of the links in this article redirect to a specific reviewed product. Your purchase of these products through affiliate links helps to generate commission for Storables.com, at no extra cost. Learn more)
Introduction
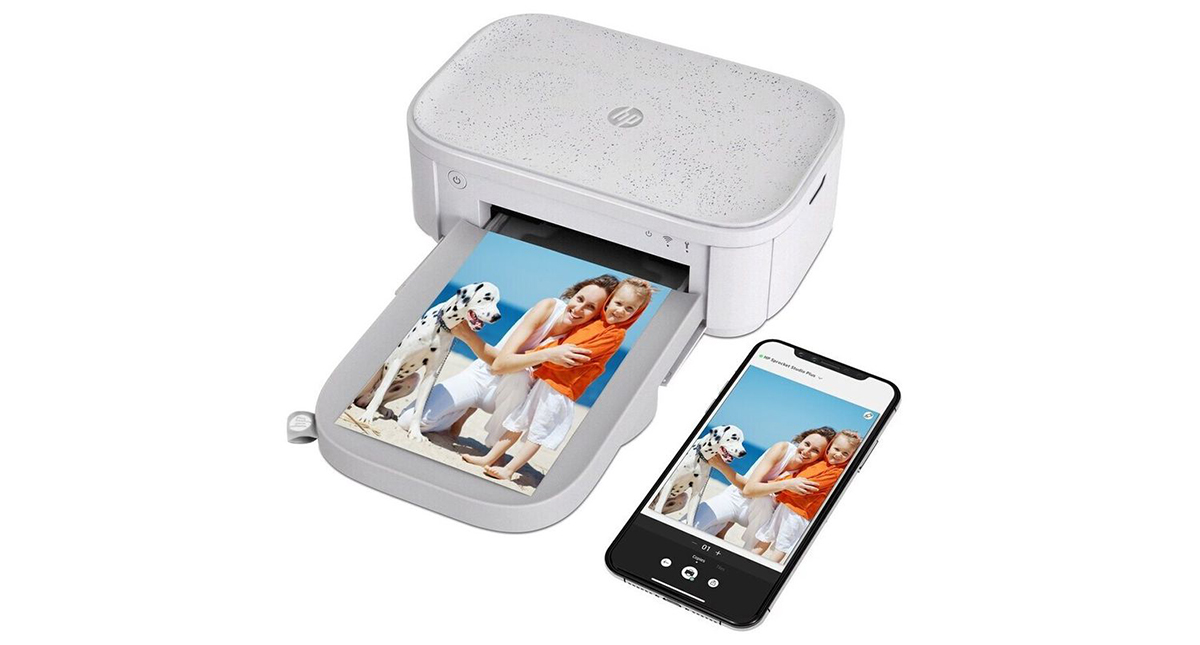
Welcome to the world of home photo printing with your HP printer! Printing photos at home is a convenient and enjoyable way to bring your memories to life. With the capability to print high-quality 5×7 photos, your HP printer allows you to create stunning prints to cherish or share with friends and family.
In this comprehensive guide, you will learn how to optimize your HP printer for 5×7 photo printing. Whether you're a photography enthusiast looking to showcase your work or a family member eager to display precious moments, mastering the art of 5×7 photo printing will empower you to bring your images to life in vibrant detail.
By following the step-by-step instructions and tips provided in this guide, you will be able to set up your HP printer for 5×7 photo printing, select the appropriate print settings, and troubleshoot any issues that may arise. You'll also discover the best practices for loading photo paper and ensuring the optimal output quality for your 5×7 prints.
With the rise of digital photography, the ability to print photos at home has become more accessible and convenient than ever. Whether you're printing landscapes, portraits, or candid snapshots, the ability to produce 5×7 prints with your HP printer opens up a world of creative possibilities. From creating personalized gifts to decorating your living space with cherished memories, 5×7 photo printing offers a versatile and impactful way to bring your images to life.
So, let's embark on this journey together and unlock the full potential of your HP printer for 5×7 photo printing. Get ready to experience the joy of holding your favorite moments in your hands as beautifully printed 5×7 photos.
Next, we will delve into the essential steps for setting up your HP printer to ensure optimal results for 5×7 photo printing. Let's get started!
Key Takeaways:
- Master the art of 5×7 photo printing with your HP printer! Follow step-by-step instructions to set up, select print options, and troubleshoot issues for vibrant, tangible memories.
- Embrace the joy of home photo printing with your HP printer. Create personalized gifts, showcase your photography, and bring cherished moments to life in stunning 5×7 prints.
Read more: How To Print 5X7 On Brother Printer
Setting up the HP Printer
Before diving into 5×7 photo printing, it’s essential to ensure that your HP printer is properly set up to deliver the best results. Here’s a step-by-step guide to setting up your HP printer for 5×7 photo printing:
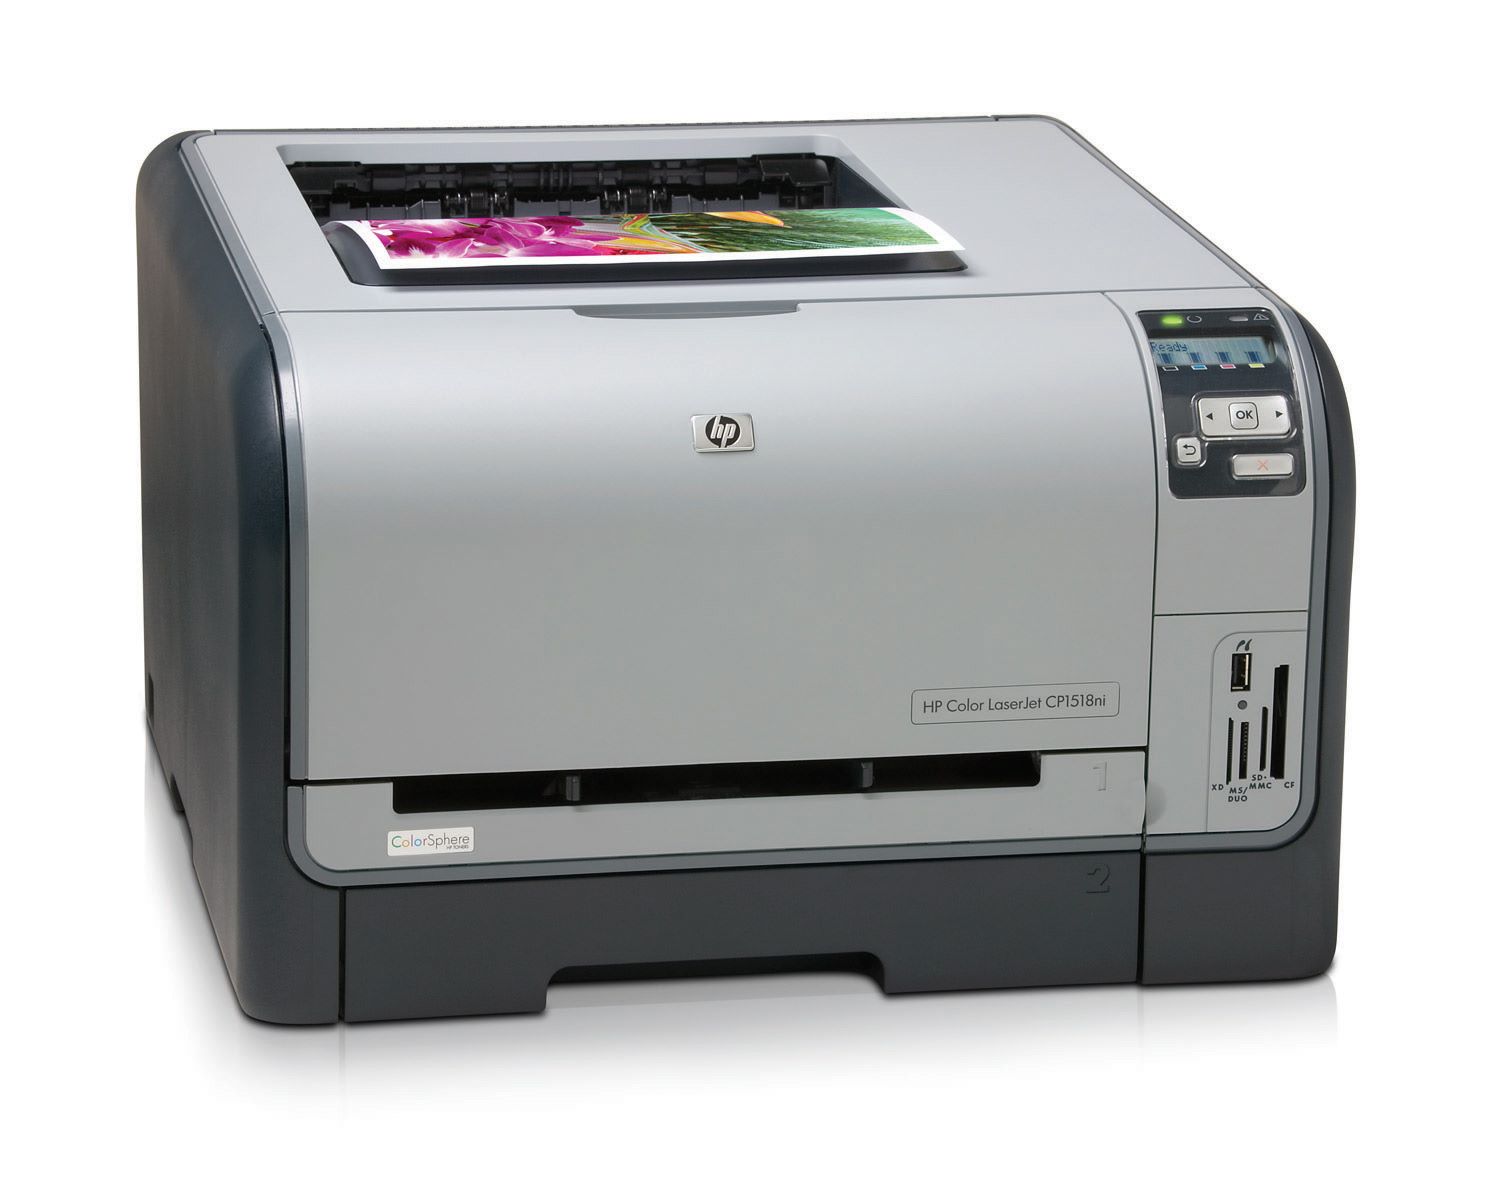
- Unboxing and Powering On: Unbox your HP printer and remove all packaging materials. Place the printer on a stable surface and plug in the power cord. Power on the printer and follow the on-screen instructions to complete the initial setup.
- Installing Ink Cartridges: Open the ink cartridge access door and install the ink cartridges provided with your printer. Ensure that the cartridges are securely inserted and follow any additional setup prompts related to ink installation.
- Loading Paper: Open the paper input tray and adjust the paper guides to accommodate the size of the photo paper you will be using for 5×7 printing. Ensure that the paper is loaded neatly and aligns with the guides to prevent any paper jams.
- Connecting to a Computer or Mobile Device: Depending on your printer model, you may need to connect your HP printer to a computer or mobile device. Follow the instructions provided with your printer to establish a connection via USB, Wi-Fi, or Bluetooth.
- Installing Printer Software: If required, install the HP printer software on your computer or mobile device. This software will enable you to access advanced print settings and optimize your printer for 5×7 photo printing.
Once your HP printer is set up and ready to go, you’re one step closer to producing stunning 5×7 prints. The next section will guide you through the process of selecting the 5×7 photo printing option on your HP printer, setting the stage for creating beautiful prints of your cherished memories.
Selecting the 5×7 Photo Printing Option
Now that your HP printer is set up and ready, it’s time to explore the steps for selecting the 5×7 photo printing option. This crucial step ensures that your printer is configured to produce high-quality 5×7 prints with the desired settings. Here’s how to select the 5×7 photo printing option on your HP printer:
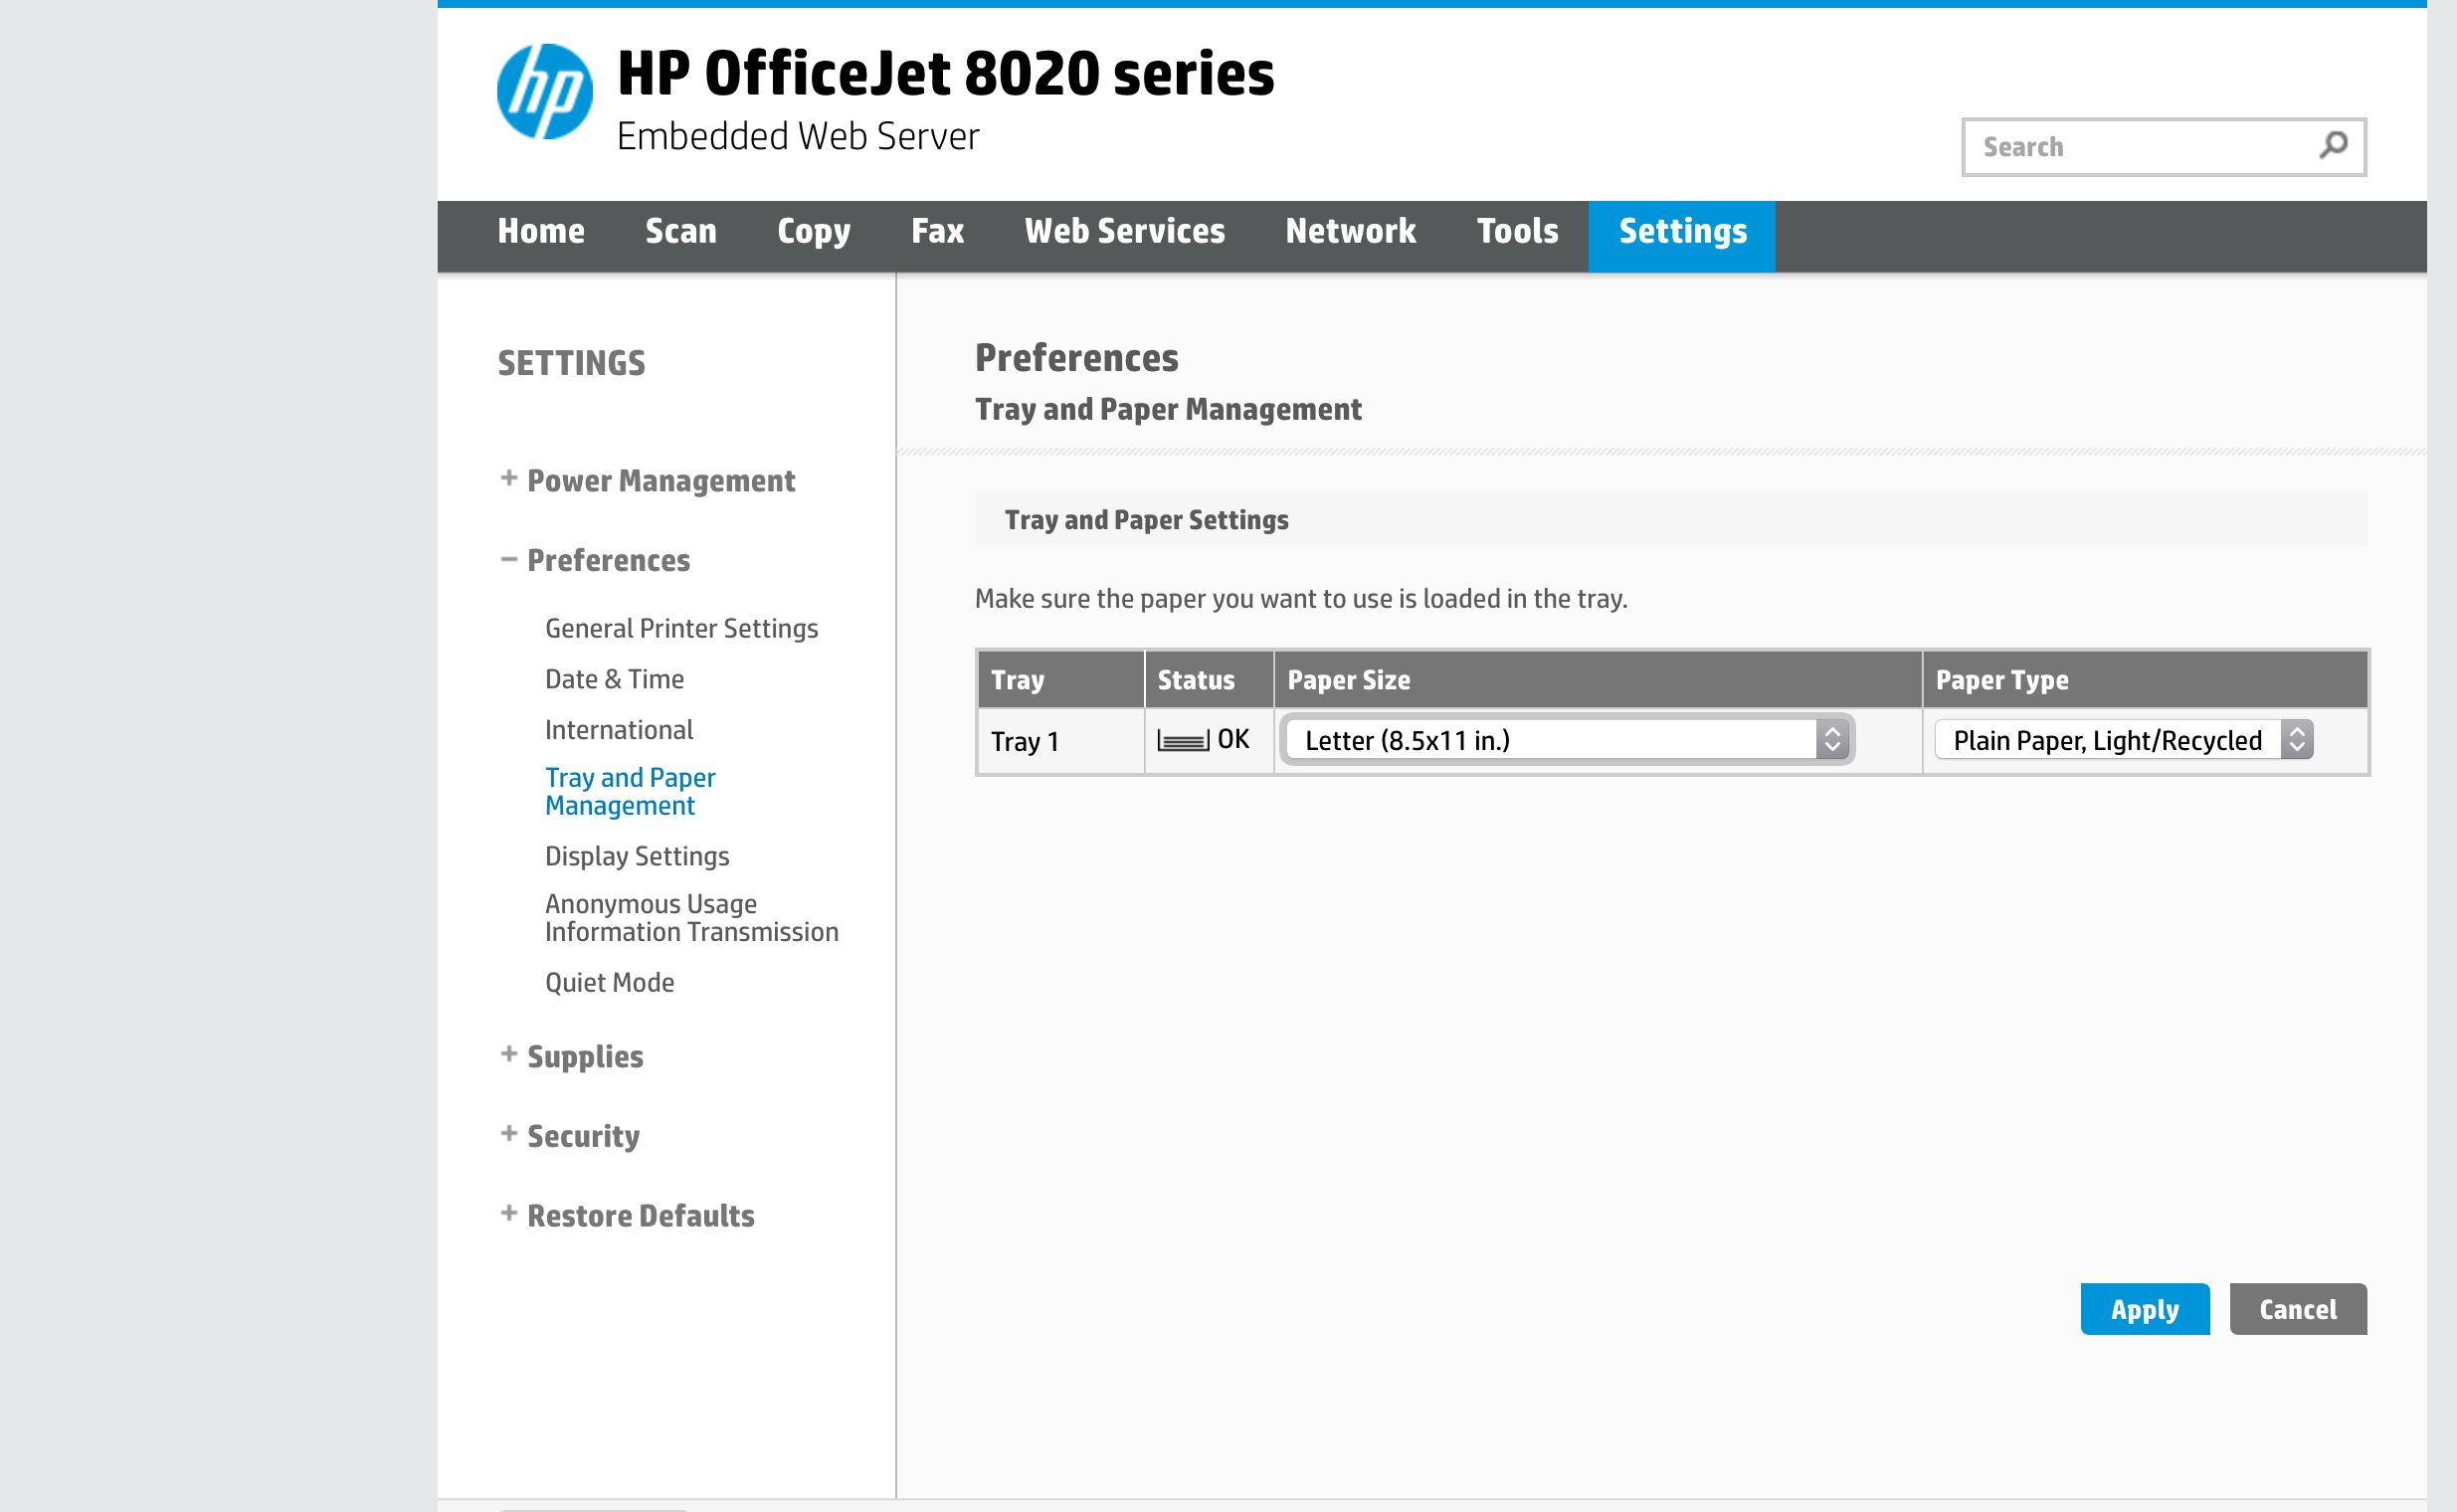
- Accessing Printer Settings: On your computer or the printer’s control panel, navigate to the printer settings or setup menu. Look for the option to adjust print settings and select the paper size for your print job.
- Selecting Paper Size: Within the print settings menu, locate the paper size options and choose “5×7” or “5 by 7 inches” as the selected paper size. This step ensures that the printer is calibrated to accommodate the dimensions of a 5×7 photo print.
- Choosing Print Quality: Depending on your printer model, you may have the option to adjust print quality settings. For optimal 5×7 photo printing, select a high-quality or photo-specific print setting to ensure vibrant colors and sharp details in your prints.
- Configuring Borderless Printing: If desired, explore the option for borderless printing. Borderless printing allows your 5×7 photos to extend to the edges of the paper, creating a seamless and professional-looking finish without any white borders.
By carefully selecting the 5×7 photo printing option and adjusting the necessary settings, you are laying the foundation for exceptional print quality and accurate reproduction of your images. The next step will guide you through the process of loading the photo paper into your HP printer, ensuring that the paper is positioned correctly for 5×7 printing.
Loading the Photo Paper
Properly loading the photo paper into your HP printer is a crucial step in the 5×7 printing process. By ensuring that the paper is positioned correctly and securely within the printer, you can avoid misfeeds, paper jams, and other issues that may compromise the print quality. Follow these steps to load the photo paper for 5×7 printing:
- Adjusting Paper Guides: Open the paper input tray of your HP printer and adjust the paper guides to accommodate the 5×7 photo paper. The guides should snugly hold the paper in place without bending or warping it.
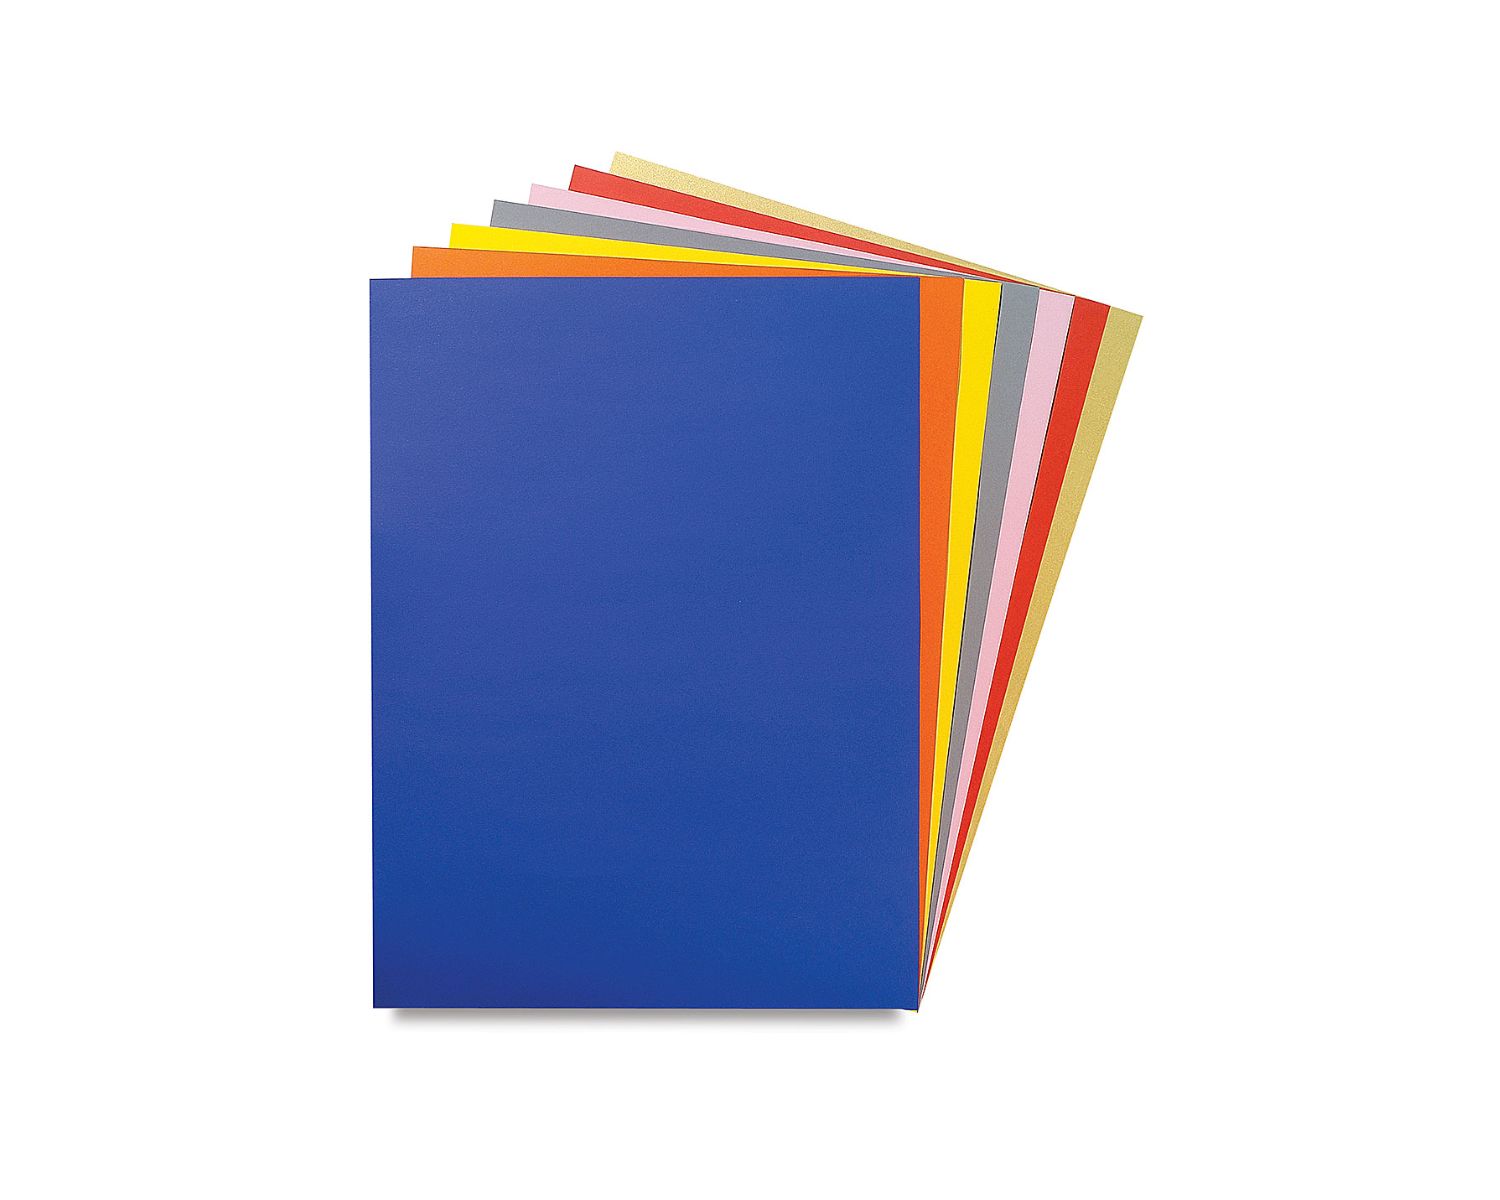
- Using the Correct Paper Type: Ensure that you are using photo paper specifically designed for inkjet printers. Select a high-quality photo paper with a glossy or matte finish, depending on your preference for the final look of the prints.
- Loading the Paper: Place a stack of 5×7 photo paper into the paper input tray, making sure that the printable side is facing down. Avoid overfilling the tray, as this can lead to paper jams and inconsistent feeding during printing.
- Aligning the Paper: Gently adjust the stack of photo paper to align it with the paper guides. Ensure that the paper is neatly stacked and does not extend beyond the designated markers for paper size.
- Confirming Paper Alignment: Before initiating the print job, double-check that the photo paper is properly aligned and that there are no obstructions within the paper input tray. This attention to detail will contribute to smooth and accurate paper feeding during printing.
By following these steps, you can ensure that the photo paper is loaded correctly and ready for 5×7 printing. The next section will guide you through the process of adjusting print settings to optimize the output quality of your 5×7 photo prints. Let’s delve into the essential print settings that will bring your images to life in stunning detail.
When printing 5×7 photos on an HP printer, make sure to select the correct paper size and type in the printer settings. Use photo paper for best results and adjust the print settings for high quality.
Adjusting Print Settings
Optimizing the print settings on your HP printer is essential to achieve the best possible results when printing 5×7 photos. By adjusting the print settings, you can fine-tune the color reproduction, paper type, and other parameters to ensure that your prints accurately reflect the beauty of your images. Here’s how to adjust the print settings for 5×7 photo printing:
- Accessing Print Preferences: On your computer, open the print dialog for the image you wish to print. Look for the “Print Preferences” or “Print Settings” option to access a range of customizable print parameters.
- Selecting Paper Type: Within the print preferences menu, locate the paper type settings. Choose the appropriate paper type that matches the photo paper you are using for your 5×7 prints. Options may include “Photo Paper,” “Glossy Paper,” or specific paper brand selections.
- Adjusting Color Settings: Explore the color settings within the print preferences and consider adjusting the color profile or saturation to achieve the desired color accuracy and vibrancy in your prints.
- Setting Print Quality: Look for the print quality settings and select the highest available print quality for optimal 5×7 photo printing. Choosing a high-quality print setting will ensure sharp details and smooth color transitions in your prints.
- Enabling Borderless Printing: If you desire borderless 5×7 prints, check for the option to enable borderless printing within the print preferences. This setting allows your photos to extend to the edges of the paper for a seamless finish.
By adjusting these print settings, you can customize the output of your 5×7 prints to match your preferences and the characteristics of your images. The next step will guide you through the process of initiating the 5×7 photo print job, bringing your carefully adjusted settings to life as stunning printed images.
Read more: What Size Is 5×7 On A Printer
Printing the 5×7 Photo
With your HP printer set up, the 5×7 photo printing option selected, the photo paper loaded, and the print settings adjusted, you are now ready to bring your images to life as stunning 5×7 prints. Follow these steps to initiate the 5×7 photo print job and witness your cherished memories transformed into tangible, vibrant images:
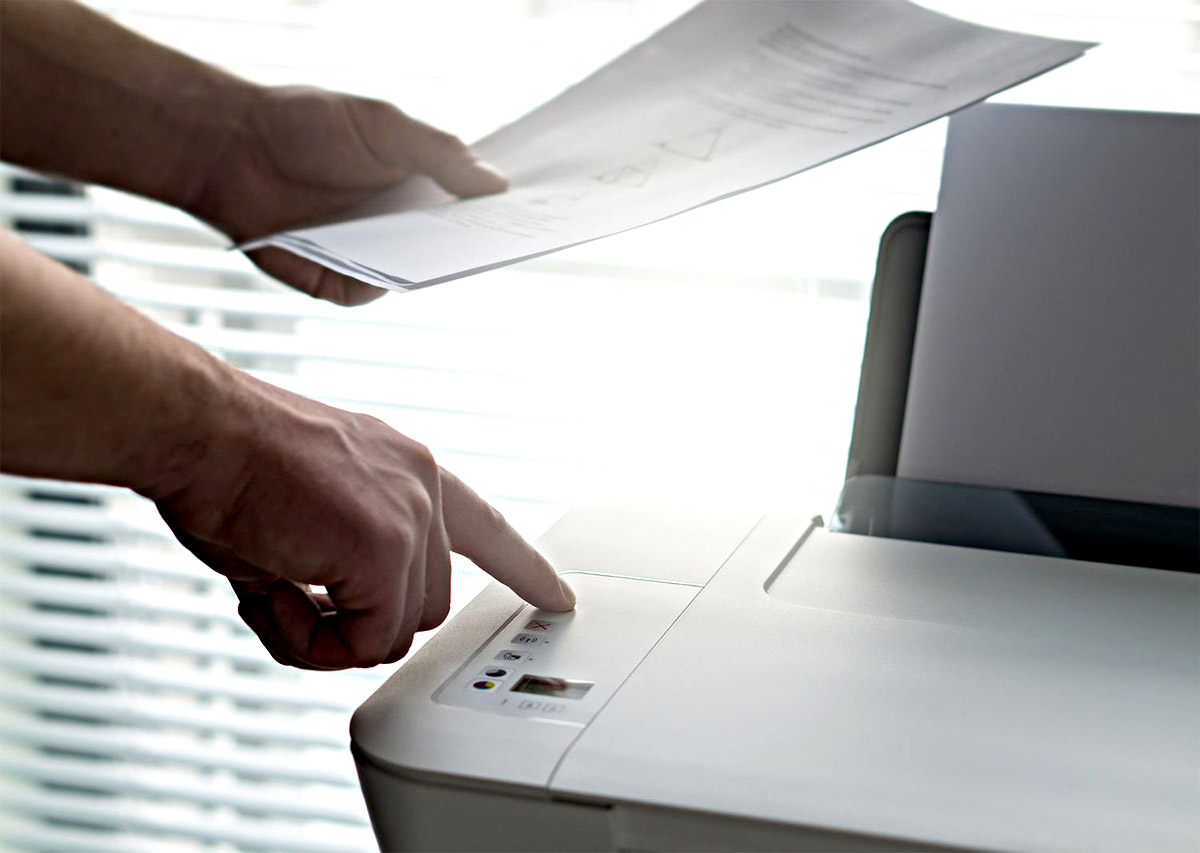
- Sending the Print Job: Ensure that your HP printer is powered on and properly connected to your computer or mobile device. Send the 5×7 photo print job from your preferred image viewing or editing software by selecting the print option and confirming the print settings.
- Monitoring the Printing Process: Once the print job is initiated, keep an eye on the printing process to ensure that the paper feeds smoothly and that the images are accurately reproduced on the photo paper. Listen for any unusual sounds and be prepared to address any issues that may arise during printing.
- Retrieving the Prints: Once the printing process is complete, carefully retrieve the 5×7 prints from the output tray of your HP printer. Handle the prints with care to avoid smudging the ink or damaging the surface of the photos.
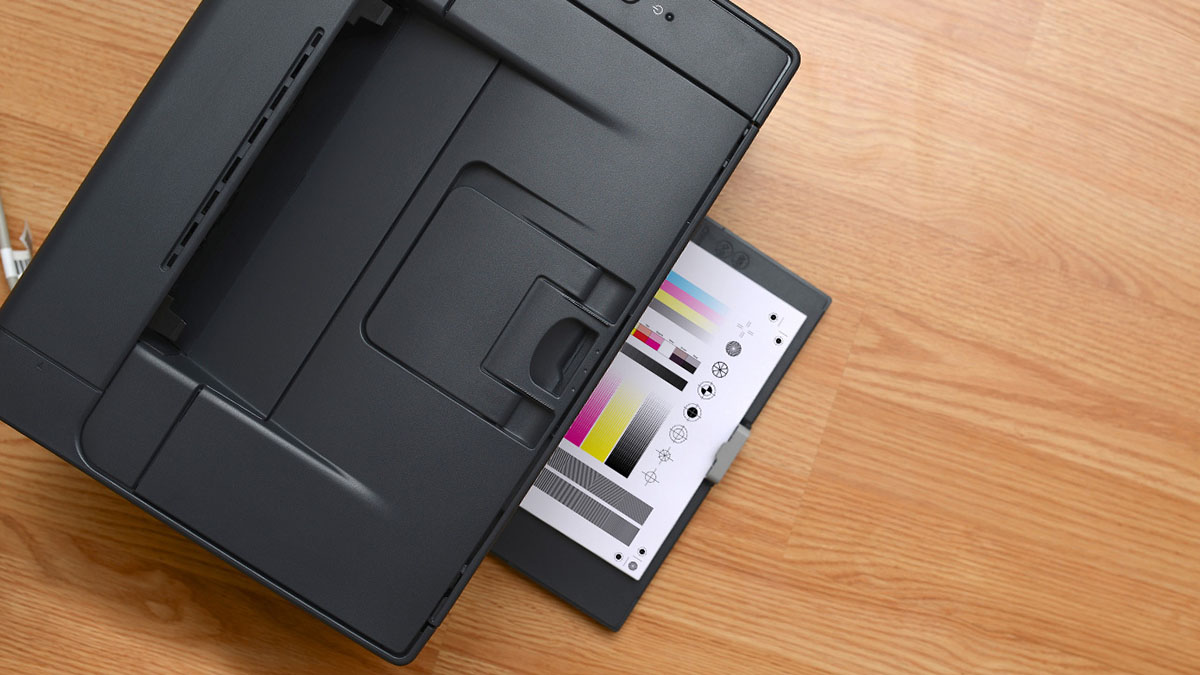
- Inspecting the Print Quality: Take a moment to inspect the print quality of your 5×7 photos. Look for accurate color reproduction, sharp details, and overall image clarity. If the prints meet your expectations, you have successfully produced high-quality 5×7 photos with your HP printer.
- Adjusting Settings if Necessary: If the print quality does not meet your expectations, consider revisiting the print settings and making adjustments to achieve the desired results. Fine-tuning the settings based on the initial print output can lead to improved print quality in subsequent print jobs.
By following these steps, you can confidently navigate the process of printing 5×7 photos with your HP printer. The ability to produce professional-quality prints at home empowers you to showcase your photography, preserve cherished memories, and share your images with others in a tangible, meaningful format.
Next, we will explore troubleshooting tips to address common issues that may arise during the 5×7 photo printing process. With the knowledge of effective troubleshooting techniques, you can overcome challenges and continue producing exceptional 5×7 prints with your HP printer.
Troubleshooting Tips
While printing 5×7 photos with your HP printer, you may encounter occasional challenges that can impact the print quality or the overall printing process. Here are some troubleshooting tips to help address common issues and ensure smooth, consistent results when printing 5×7 photos:
- Addressing Print Quality Issues: If you notice issues such as faded colors, streaks, or smudges on your 5×7 prints, consider running a print head cleaning cycle from the printer’s maintenance menu. This process can help resolve minor print quality issues caused by clogged nozzles or inconsistent ink flow.
- Preventing Paper Jams: To prevent paper jams during 5×7 printing, ensure that the photo paper is loaded neatly and that the paper guides are adjusted to securely hold the paper in place. Additionally, avoid overfilling the paper input tray to prevent feeding issues.
- Adjusting Print Settings: If the initial print output does not meet your expectations, revisit the print settings on your computer or the printer’s control panel. Consider adjusting the print quality, paper type, and color settings to achieve the desired results for your 5×7 prints.
- Updating Printer Software: Check for software updates for your HP printer to ensure that you have the latest drivers and firmware installed. Updated software can address compatibility issues and improve the overall performance of your printer during 5×7 photo printing.
- Inspecting Ink Levels: Monitor the ink levels in your printer’s cartridges and replace any low or depleted cartridges to maintain consistent print quality. Low ink levels can result in uneven color reproduction and impact the overall appearance of your 5×7 prints.
By implementing these troubleshooting tips, you can overcome common challenges and maintain the optimal performance of your HP printer for 5×7 photo printing. Addressing issues promptly and proactively adjusting print settings when necessary will contribute to a seamless and enjoyable printing experience.
With these troubleshooting tips in mind, you are well-equipped to navigate the 5×7 photo printing process with confidence and achieve exceptional results with your HP printer. As you continue to explore the possibilities of home photo printing, these troubleshooting strategies will serve as valuable tools in your journey to produce stunning 5×7 prints.
Finally, let’s summarize the key insights and takeaways from this guide as we conclude our exploration of 5×7 photo printing with your HP printer.
Conclusion
Congratulations on mastering the art of 5×7 photo printing with your HP printer! Throughout this comprehensive guide, you’ve learned the essential steps for setting up your printer, selecting the 5×7 photo printing option, loading photo paper, adjusting print settings, and troubleshooting common issues. By following these steps, you’ve unlocked the full potential of your HP printer to produce stunning 5×7 prints that vividly capture your cherished memories and creative vision.
Home photo printing offers a unique opportunity to bring your images to life in a tangible and meaningful format. Whether you’re printing landscapes, portraits, or candid snapshots, the ability to produce 5×7 prints empowers you to showcase your photography, preserve precious moments, and share your images with loved ones in a personalized and impactful way.
As you continue to explore the possibilities of 5×7 photo printing, remember to experiment with different paper types, print settings, and creative approaches to discover the full potential of your HP printer. The ability to produce professional-quality prints at home opens up a world of creative possibilities and allows you to bring your images to life with unparalleled detail and vibrancy.
By leveraging the capabilities of your HP printer and the insights gained from this guide, you can embark on a journey of creativity and self-expression through 5×7 photo printing. Whether you’re creating personalized gifts, decorating your living space, or building a portfolio of your photography, the art of 5×7 printing will continue to inspire and delight you as you bring your images to life.
As you navigate the process of 5×7 photo printing, remember to embrace the joy of holding your favorite moments in your hands as beautifully printed 5×7 photos. The ability to transform digital images into tangible prints is a testament to the power of home photo printing and the enduring impact of printed photographs in our lives.
Thank you for joining us on this journey to master 5×7 photo printing with your HP printer. We hope this guide has equipped you with the knowledge and confidence to continue producing exceptional 5×7 prints and to explore the endless creative possibilities that home photo printing has to offer.
Happy printing!
Frequently Asked Questions about How To Print 5X7 Photos On HP Printer
Was this page helpful?
At Storables.com, we guarantee accurate and reliable information. Our content, validated by Expert Board Contributors, is crafted following stringent Editorial Policies. We're committed to providing you with well-researched, expert-backed insights for all your informational needs.
0 thoughts on “How To Print 5X7 Photos On HP Printer”