
Articles
How To Store A Decorated Christmas Tree
Modified: November 2, 2024
Learn the best way to store and preserve your beautifully decorated Christmas tree with our helpful articles. Keep your tree looking fresh for years to come.
(Many of the links in this article redirect to a specific reviewed product. Your purchase of these products through affiliate links helps to generate commission for Storables.com, at no extra cost. Learn more)
Introduction
The holiday season is filled with joy, laughter, and the tradition of decorating a beautiful Christmas tree. Whether you opt for a real or artificial tree, putting up the ornaments and stringing the lights is a cherished activity that brings families together. But once the holidays are over, the question arises: what is the best way to store a decorated Christmas tree?
Properly storing a decorated tree is crucial to preserving its beauty and longevity. The process may seem daunting, but with a few simple steps, you can ensure that your tree stays in perfect condition for many holiday seasons to come.
In this article, we will guide you through the process of storing a decorated Christmas tree. From removing ornaments and lights to choosing the right storage method, we’ll cover everything you need to know. So let’s get started!
Key Takeaways:
- Preserve the Magic: Safely store your decorated Christmas tree by removing ornaments, wrapping it in plastic, and storing it in a cool, dry place to ensure its beauty for future holiday seasons.
- Check, Label, and Store: Regularly inspect your stored Christmas tree for damage and pests, label the storage container, and choose the best storage position to maintain its beauty and structural integrity.
Read more: How To Store Christmas Tree
Step 1: Remove ornaments and lights
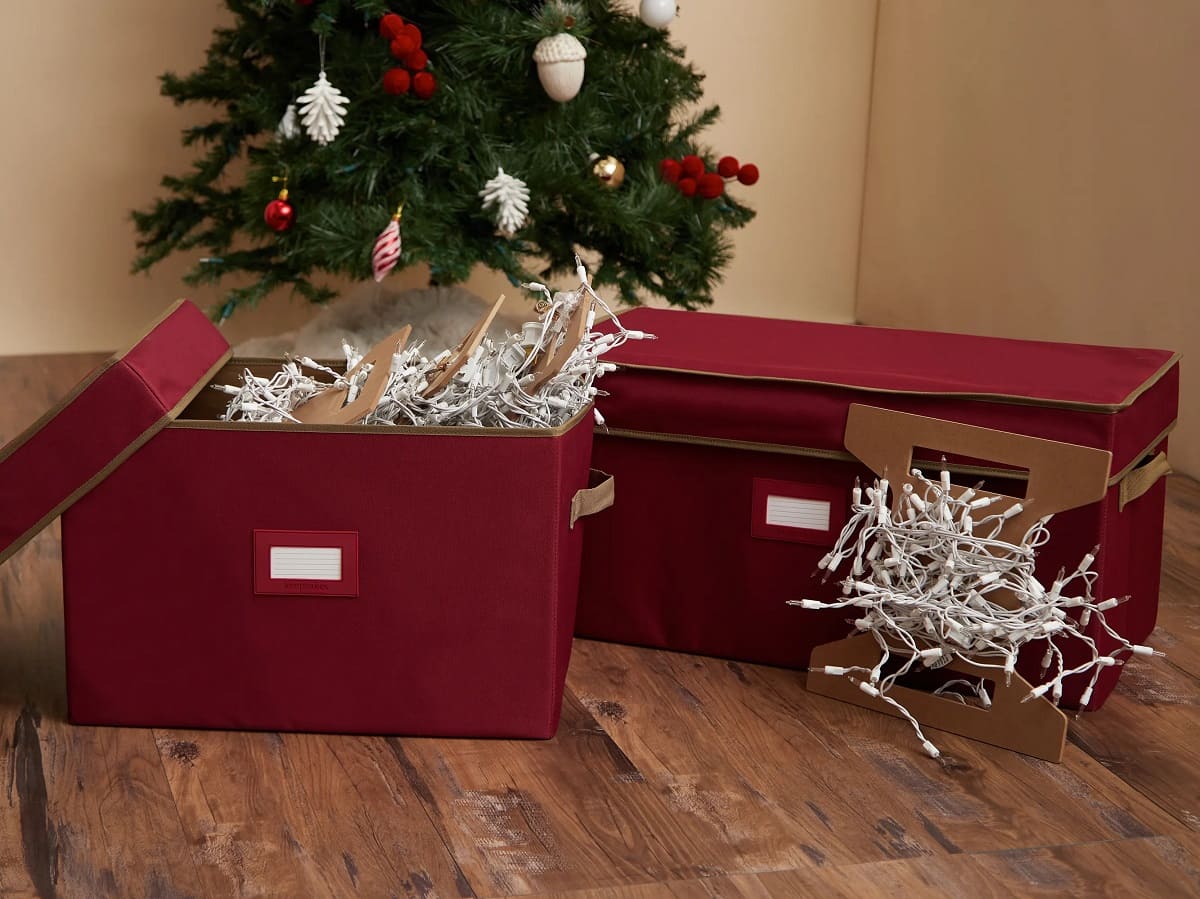
The first step in storing a decorated Christmas tree is to carefully remove all the ornaments and lights. Start by gently detaching each ornament from the branches, being mindful of delicate or fragile decorations. Place them in a designated box or container lined with tissue paper or bubble wrap to prevent any damage during storage. If you have sentimental ornaments, consider wrapping them individually for extra protection.
After removing the ornaments, it’s time to take down the lights. Unwind the strands of lights from the branches, being careful not to tangle or knot them. It may be helpful to enlist the assistance of a friend or family member to avoid any accidents or frustrations. Once the lights are safely removed, coil them carefully and secure them with twist ties or rubber bands to keep them organized.
By taking the time to carefully remove and store your ornaments and lights, you’ll ensure that they remain intact and ready to be used again next year. Plus, it will make the process of decorating the tree much easier and more enjoyable when the holiday season rolls around once more.
Step 2: Disassemble the tree
Now that you’ve removed the ornaments and lights, it’s time to disassemble the Christmas tree. Start by carefully removing any tree toppers or decorative accents from the top of the tree. Set them aside in a safe place as they may be fragile or special to you.
Next, begin taking apart the sections of the tree. For artificial trees, this typically involves separating the main trunk from the lower branches and then dismantling the individual sections. Follow the manufacturer’s instructions for disassembly, as different trees may have varying mechanisms or connectors.
As you disassemble the tree, be cautious not to bend or damage the branches. Take your time and handle each piece with care. If you have a real tree, gently remove any twine or ties that were used to secure the tree to a stand.
By disassembling the tree properly, you’ll ensure that it remains in good condition and is easier to store. It also allows for easier transportation if you have to move the tree to a different location for storage.
Step 3: Wrap the tree in plastic or a tree bag
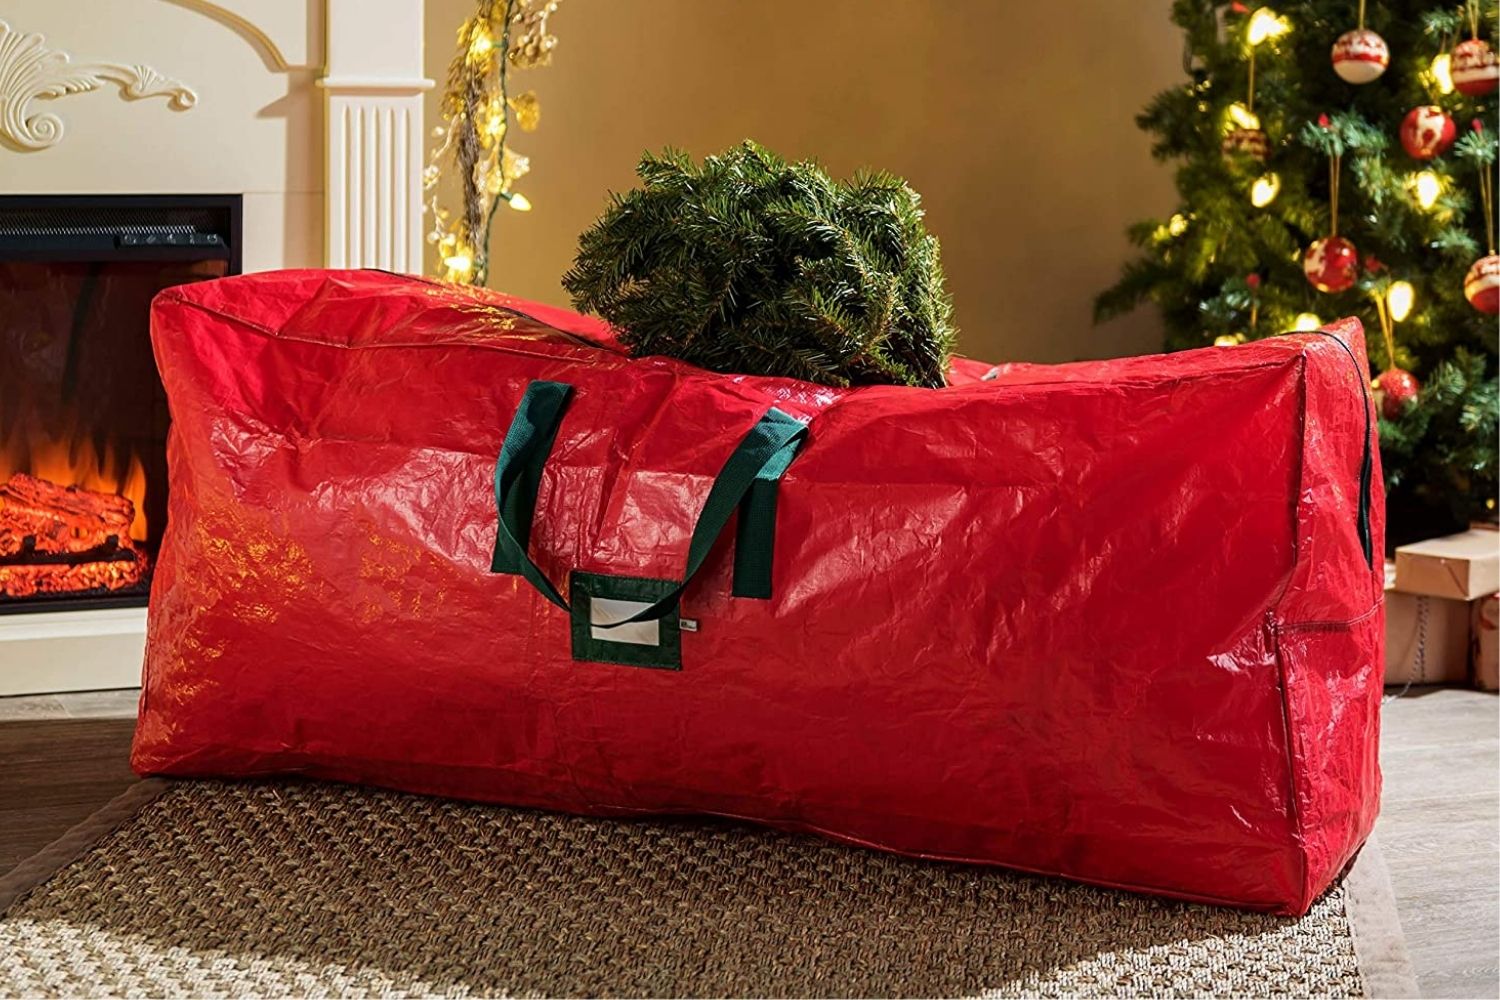
Once you have disassembled the Christmas tree, it’s time to protect it from dust, moisture, and potential damage during storage. The best way to accomplish this is by wrapping the tree in plastic or using a specially designed tree bag.
If you opt for plastic wrap, start by securing the tree sections together with twine or zip ties to prevent them from separating. Then, use a large sheet of plastic wrap or a heavy-duty garbage bag to encase the entire tree. Start at the base and work your way up, ensuring that the plastic covers all the branches and foliage. Secure the wrap tightly with tape or additional ties to keep it in place.
Alternatively, you can use a tree bag specially made for storing Christmas trees. These bags are often made of durable materials, such as canvas or nylon, and come with handles and zippers for easy closure. Simply insert the disassembled tree into the bag and zip it up, ensuring that the bag is completely sealed.
The purpose of wrapping the tree is to provide an extra layer of protection against dust, pests, and any potential moisture. It also helps to keep the tree compact and prevents the branches from getting tangled or damaged during storage.
Step 4: Store the tree in a cool, dry place
After wrapping the tree in plastic or using a tree bag, it’s time to find the perfect storage location. It is crucial to store the tree in a cool, dry place to maintain its integrity and prevent any potential damage.
Look for a storage area that is not prone to extreme temperatures or fluctuations, as this can cause the tree’s materials to deteriorate. Avoid areas that are exposed to direct sunlight or excessive humidity, as these conditions can also lead to damage.
If you have the space, a basement or an attic can be ideal storage locations, as they usually provide a stable environment. Just make sure the area is well-ventilated to avoid any stagnant air or moisture buildup.
If a basement or attic is not available, consider storing the tree in a designated storage closet or a dedicated space in the garage. Ensure that the area is clean and free from any potential hazards that could cause damage to the tree.
When placing the tree in storage, avoid stacking heavy objects on top of it, as this can result in compression and damage to the branches. If necessary, use shelves or storage racks to keep the tree elevated and protected.
By storing the tree in a cool, dry place, you’ll minimize the risk of damage and preserve its quality for future use. Remember to check the storage area periodically, especially during humid months or in areas prone to pests, to ensure the tree remains in good condition.
When storing a decorated Christmas tree, carefully remove delicate ornaments and lights, then wrap the tree in a tree bag or netting to protect it from damage. Store in a cool, dry place to preserve the tree’s freshness.
Step 5: Label the storage container
Labeling the storage container is an essential step in the process of storing a decorated Christmas tree. By clearly indicating what’s inside the container, you’ll make it easier to find and retrieve the tree for future holiday seasons.
Start by selecting a sturdy and appropriately sized container for your tree. Ideally, it should be large enough to accommodate all the tree sections and any additional accessories, such as tree toppers or stands. Opt for a container with a tight-fitting lid to keep out dust and pests.
Once you have the container, use a permanent marker or labels to clearly write “Christmas Tree” on the outside. Additionally, consider labeling the container with the specific tree size, number of sections, or any other relevant information to help with identification later on.
If you have multiple trees or storage containers, it’s a good idea to assign a unique label or color code to each one. This will help you easily differentiate between them and avoid any confusion when it’s time to retrieve a specific tree.
To further enhance organization and ease of retrieval, consider creating an inventory list of all the items inside each storage container. This can be as simple as a written list or even a photograph of the contents. Keep the inventory list in a safe place, such as a digital file or a physical folder, for quick reference in the future.
By labeling the storage container, you’ll ensure that you can easily locate and identify your Christmas tree when the next holiday season arrives. It’s a small but significant step that will save you time and frustration in the long run.
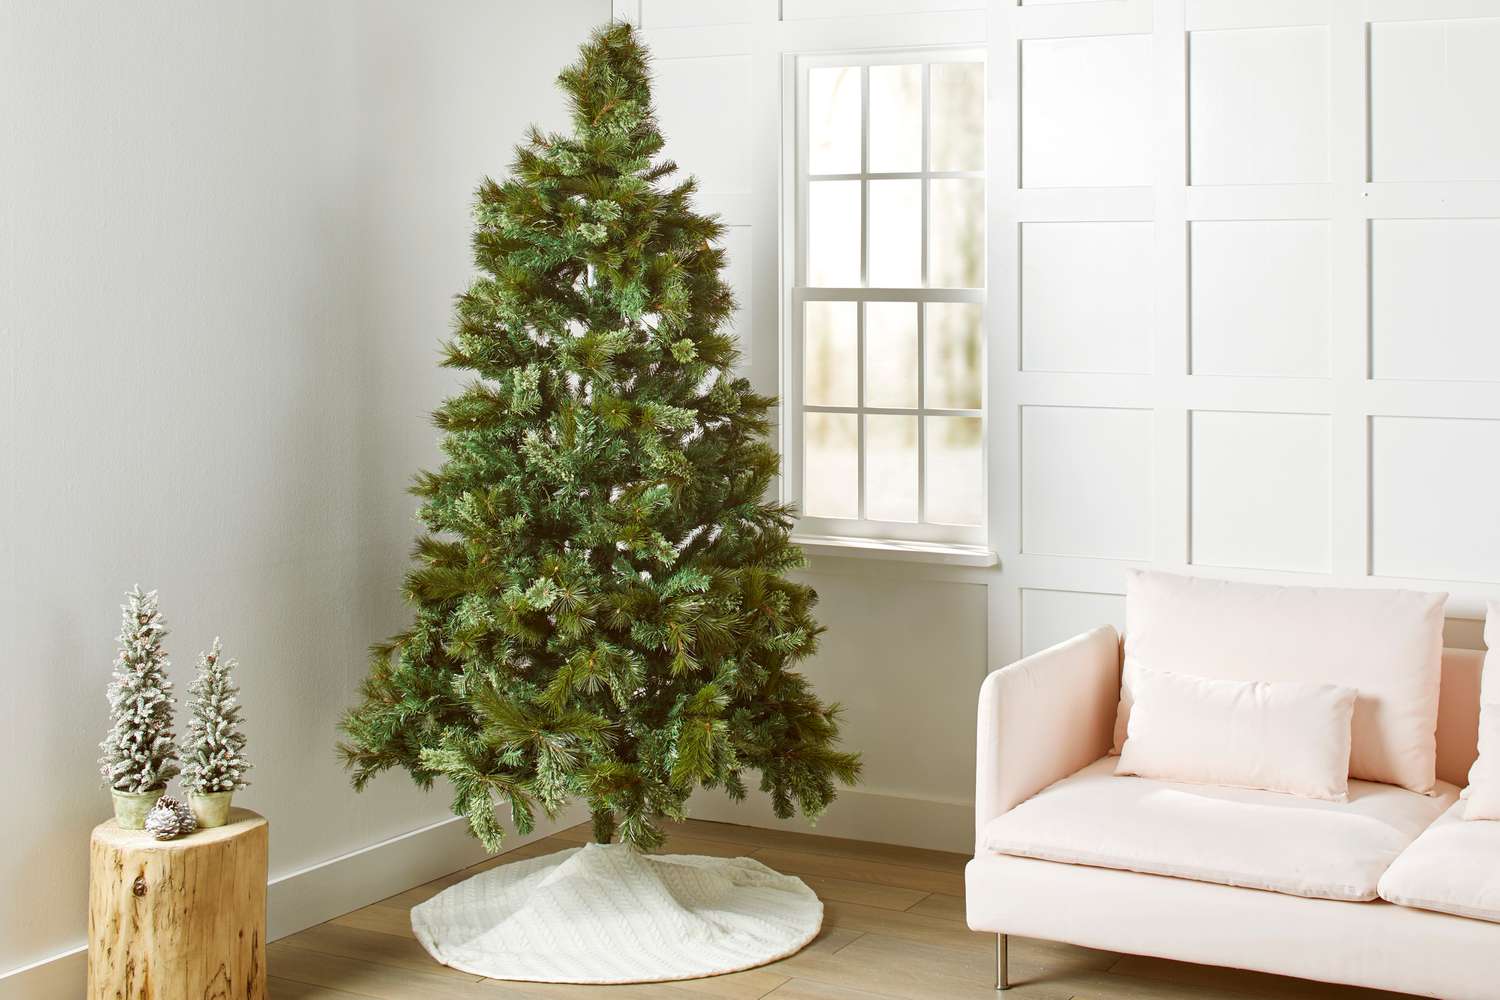
Step 6: Store the tree upright or flat depending on space availability
When it comes to storing a decorated Christmas tree, the available space will often determine the best method of storage. Depending on your storage area and the size of the tree, you can choose to store it either upright or flat.
If you have enough vertical space in your storage area, storing the tree upright is an excellent option. This method allows you to maintain the tree’s shape and minimizes the chance of branches getting bent or crushed. Use a tree stand or secure the tree with straps to keep it standing upright. Make sure to anchor the tree securely to prevent it from tipping over.
On the other hand, if vertical space is limited, you may need to store the tree flat. Carefully position the tree sections in the storage container, layering them in a way that prevents excessive bending or pressure on the branches. Place heavier sections, such as the trunk, on the bottom and lighter sections on top. To protect the tree further, consider placing a layer of padding, such as blankets or bubble wrap, between the sections.
Regardless of whether you store the tree upright or flat, take extra precautions to ensure that the branches and foliage are not crushed or damaged. Avoid stacking heavy objects on top of the tree or placing any items that could cause pressure or stress on the branches.
Remember, the goal is to preserve the tree’s beauty and structural integrity during storage. By considering the available space and choosing the appropriate storage position, you’ll give your Christmas tree the best chance of remaining in excellent condition until the next holiday season.
Step 7: Check the tree periodically for any damage or pests
Even though your decorated Christmas tree is safely stored, it’s important to periodically check on it to ensure that it remains in good condition. By conducting regular inspections, you can catch any potential problems early on and take the necessary steps to address them.
At least once every few months, take some time to examine the tree for any signs of damage. Inspect the branches, foliage, and any stored ornaments or lights for any signs of breakage, discoloration, or wear. If you notice any damage, consider repairing or replacing the affected parts to maintain the tree’s appearance.
Another essential aspect to monitor is the presence of pests. Some common pests, such as spiders, rodents, or ants, may be attracted to stored trees. Inspect the storage area and the tree sections for any signs of pests, such as droppings, chew marks, or webs. If you do notice any pest activity, take appropriate measures to eliminate them to prevent infestation.
To further protect the tree from pests, consider using natural deterrents such as cedar blocks, mothballs, or essential oils known to repel insects. Place these items near the storage container or in the storage area to help keep pests at bay.
Additionally, if you live in an area prone to extreme temperature or humidity changes, it’s important to check the storage environment regularly. Ensure that the temperature and moisture levels remain within an acceptable range to prevent any damage to the tree.
By regularly checking the tree for damage and pests, you can address any issues promptly and ensure that your Christmas tree remains in pristine condition for years to come. It’s a simple yet vital step in the storage process that will help extend the lifespan of your tree.
Conclusion
Storing a decorated Christmas tree may seem like a challenging task, but with the right steps and precautions, you can preserve its beauty and ensure its longevity. By following the steps outlined in this article, you can safely store your tree and ensure that it remains in excellent condition for future holiday seasons.
Remember to start by removing all ornaments and lights, taking care to protect delicate or sentimental decorations. Properly disassemble the tree, keeping the branches intact and avoiding any damage. Wrap the tree in plastic or utilize a tree bag to shield it from dust, moisture, and potential pests.
Find a cool, dry place to store the tree, such as a basement, attic, or dedicated storage area. Label the storage container clearly to make it easier to locate the tree when needed, and consider creating an inventory list for added organization.
Depending on the available space, store the tree upright or flat, ensuring that the branches are not crushed or bent. Periodically check the tree for any signs of damage or pests, taking prompt action if necessary to prevent further issues.
By following these steps, you can enjoy the cherished tradition of decorating a beautiful Christmas tree for years to come. Proper storage ensures that your tree remains in optimal condition and brings joy and magic to your holiday celebrations.
So, take the time to store your decorated Christmas tree with care, knowing that when the next holiday season comes around, you’ll be ready to bring out your beautifully preserved tree and create more lasting memories with your loved ones.
Frequently Asked Questions about How To Store A Decorated Christmas Tree
Was this page helpful?
At Storables.com, we guarantee accurate and reliable information. Our content, validated by Expert Board Contributors, is crafted following stringent Editorial Policies. We're committed to providing you with well-researched, expert-backed insights for all your informational needs.


0 thoughts on “How To Store A Decorated Christmas Tree”