Home>Garden Essentials>How To Grow A Christmas Tree From Seed
Garden Essentials
How To Grow A Christmas Tree From Seed
Modified: March 15, 2024
Learn how to grow a Christmas tree from seed in your garden. Transform your backyard into a winter wonderland with these helpful gardening tips.
(Many of the links in this article redirect to a specific reviewed product. Your purchase of these products through affiliate links helps to generate commission for Storables.com, at no extra cost. Learn more)
Introduction
Growing your own Christmas tree from seed can be a rewarding and fulfilling experience. Not only does it allow you to have a hand in every step of the tree’s growth, but it also gives you the opportunity to create a truly unique and special centerpiece for your holiday celebrations. In this article, we will guide you through the process of growing a Christmas tree from seed, from choosing the right seeds to caring for the mature trees.
Before we dive into the steps, it’s important to note that growing a Christmas tree from seed does require patience and commitment. It takes several years for a tree to reach the desired height and shape, so starting early is key. Make sure to plan ahead and have a long-term vision for your tree.
In the following sections, we will break down the process into easy-to-follow steps, each with its own set of considerations and techniques. By following these steps, you’ll be well on your way to growing your very own Christmas tree from seed.
Let’s get started!
Key Takeaways:
- Growing a Christmas tree from seed requires patience and planning, but it’s a rewarding experience. Choose the right seeds, provide proper care, and enjoy watching your tree thrive into a beautiful holiday centerpiece.
- Proper preparation, including choosing the right seeds and providing adequate care, is essential for successfully growing a Christmas tree from seed. Enjoy the journey of nurturing and shaping your tree into a festive symbol of joy and tradition.
Read more: How To Grow A Tree From A Seed
Step 1: Choosing the Right Seeds
When it comes to growing a Christmas tree from seed, one of the most important factors is selecting the right seeds. Not all tree species are suitable for Christmas tree production, so it’s essential to choose seeds that will thrive in your climate and meet your desired size and shape requirements.
There are a few common tree species that are commonly used as Christmas trees, such as Douglas fir, Fraser fir, and Colorado blue spruce. Research the characteristics and growth habits of each species to determine which one will be the best fit for your needs.
When purchasing seeds, it’s important to ensure that they are of high quality. Look for reputable seed suppliers that specialize in tree seeds. Consider factors such as the germination rate, seed viability, and any certifications or guarantees provided by the supplier.
It’s also worth mentioning that Christmas tree seeds are often sold in large quantities, as they have a low germination rate. This means that you may need to purchase a significant number of seeds to ensure a successful harvest. Keep this in mind when planning your budget.
Another consideration is the age of the seeds. Fresh seeds tend to have a higher germination rate than older ones. Look for seeds that have been harvested within the past year for the best chances of success.
Lastly, consider the specific requirements of the tree species you’ve chosen. Some species may have specific soil or temperature preferences, so make sure to familiarize yourself with these requirements to provide optimal growing conditions for your Christmas tree.
By taking the time to choose the right seeds, you’re setting yourself up for success in growing a beautiful and healthy Christmas tree. In the next step, we’ll cover how to prepare the seeds for planting.
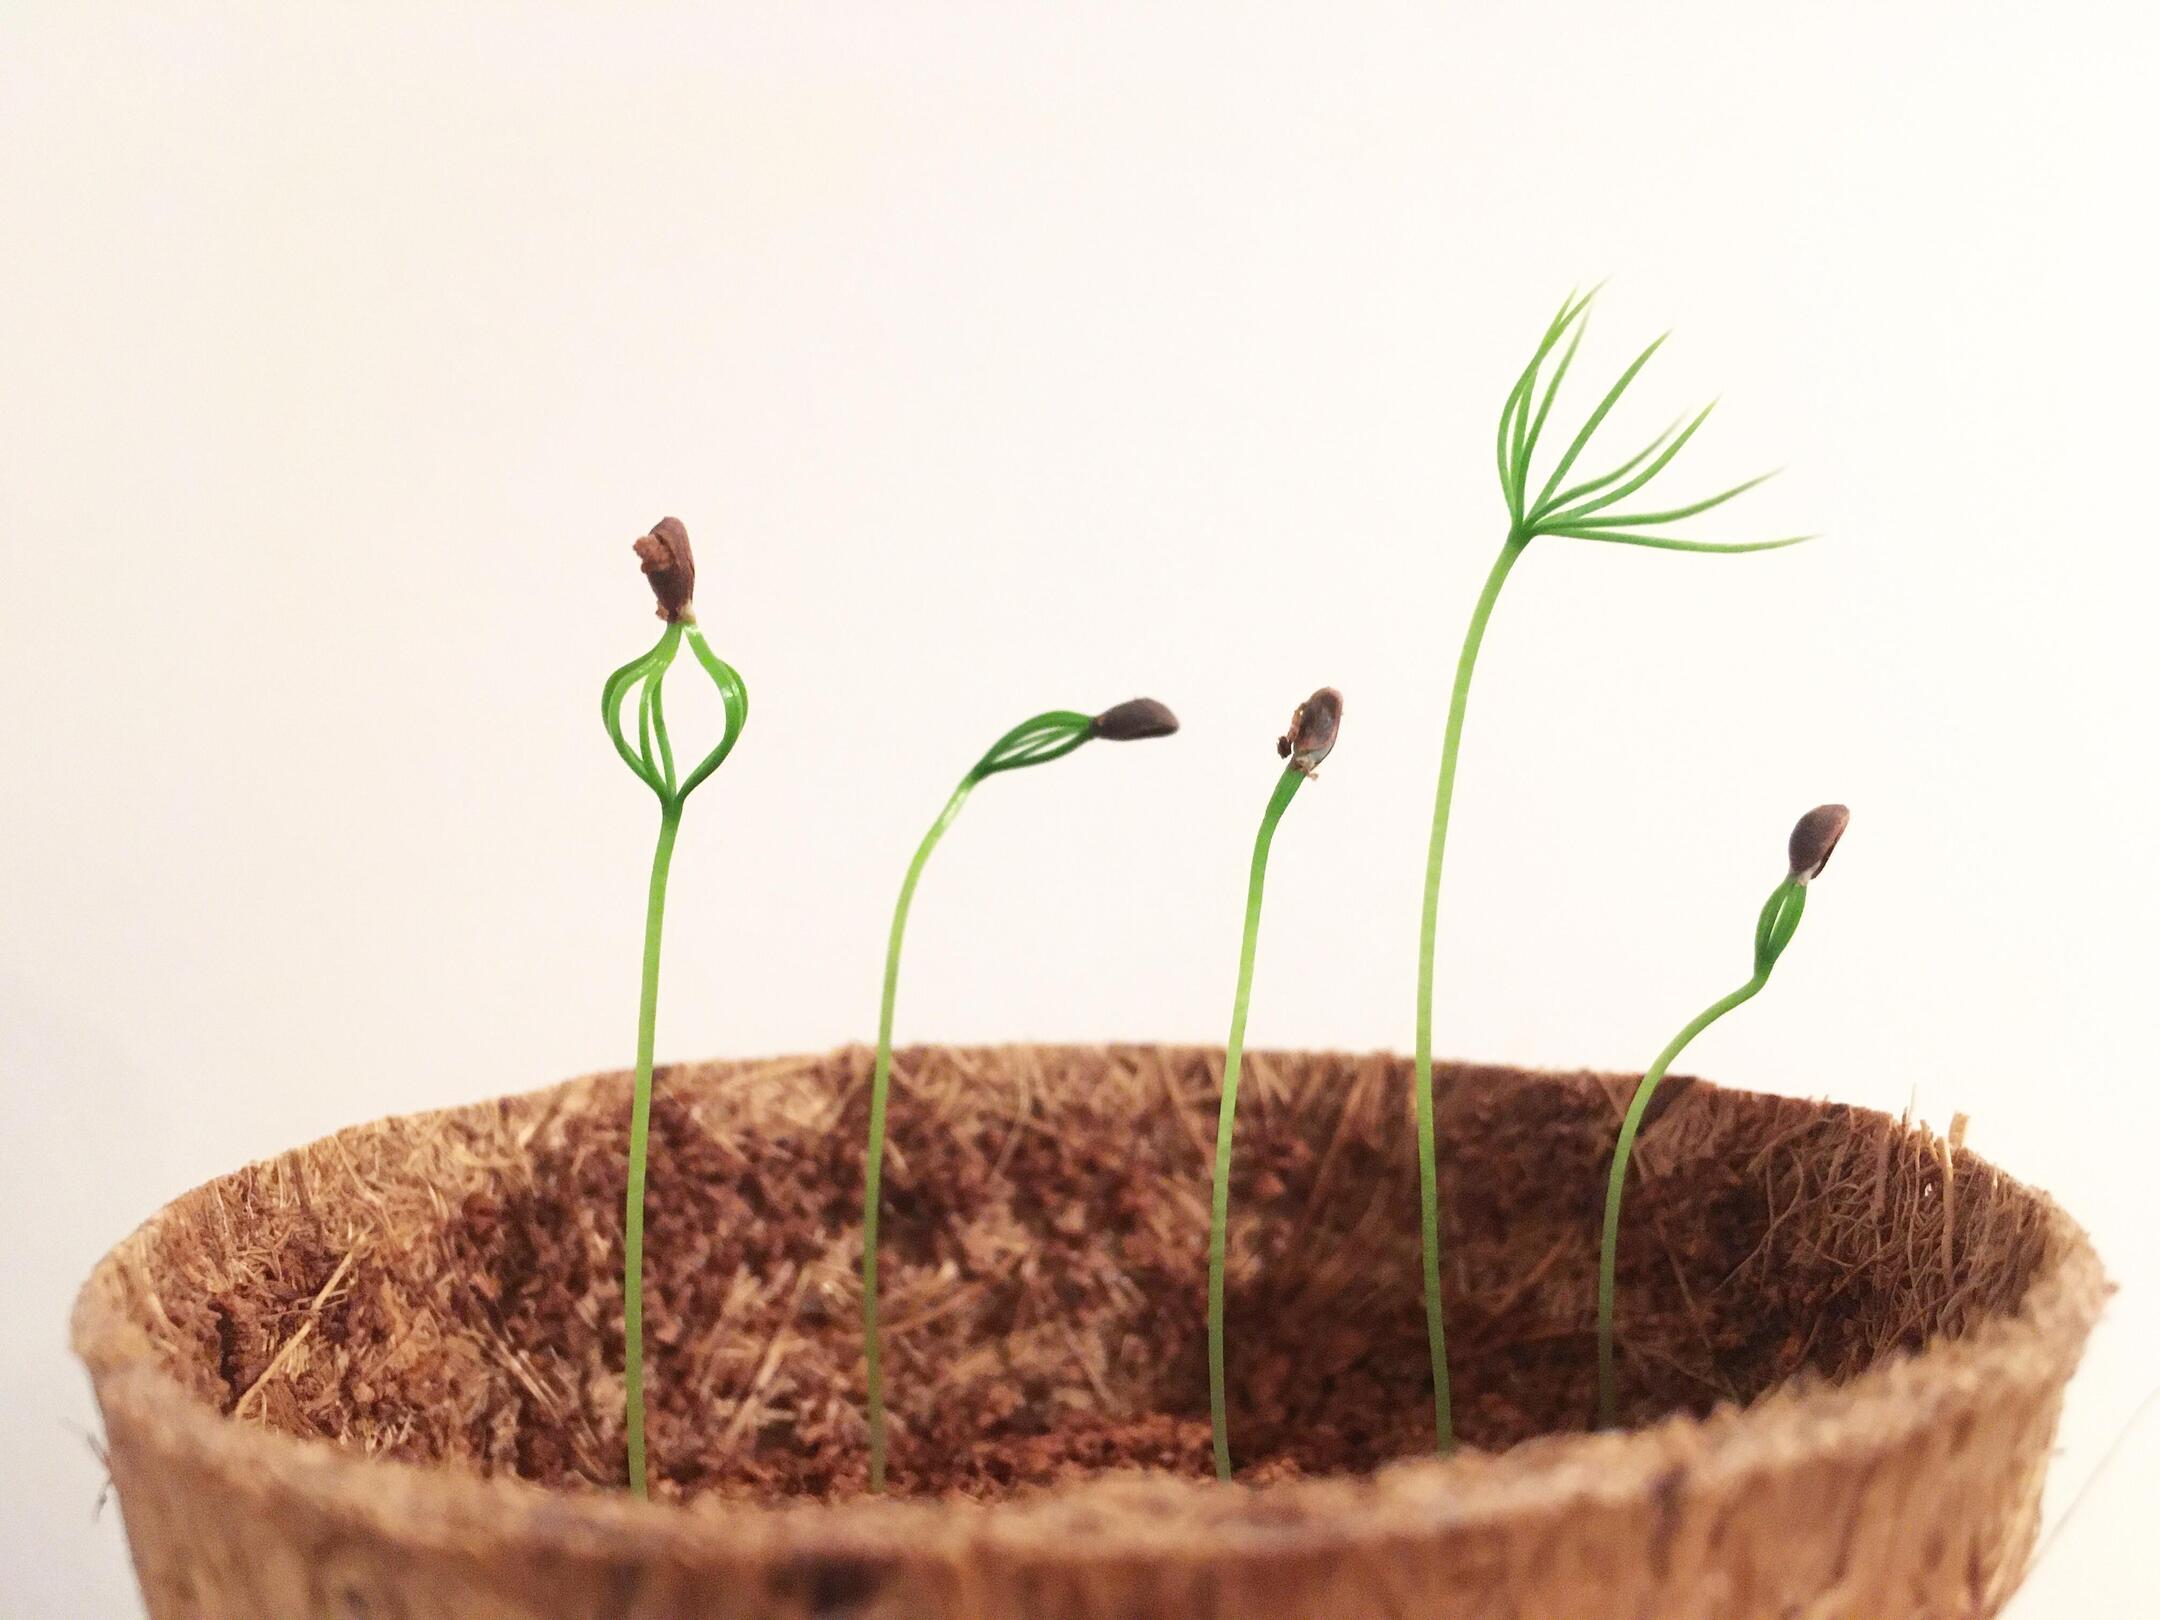
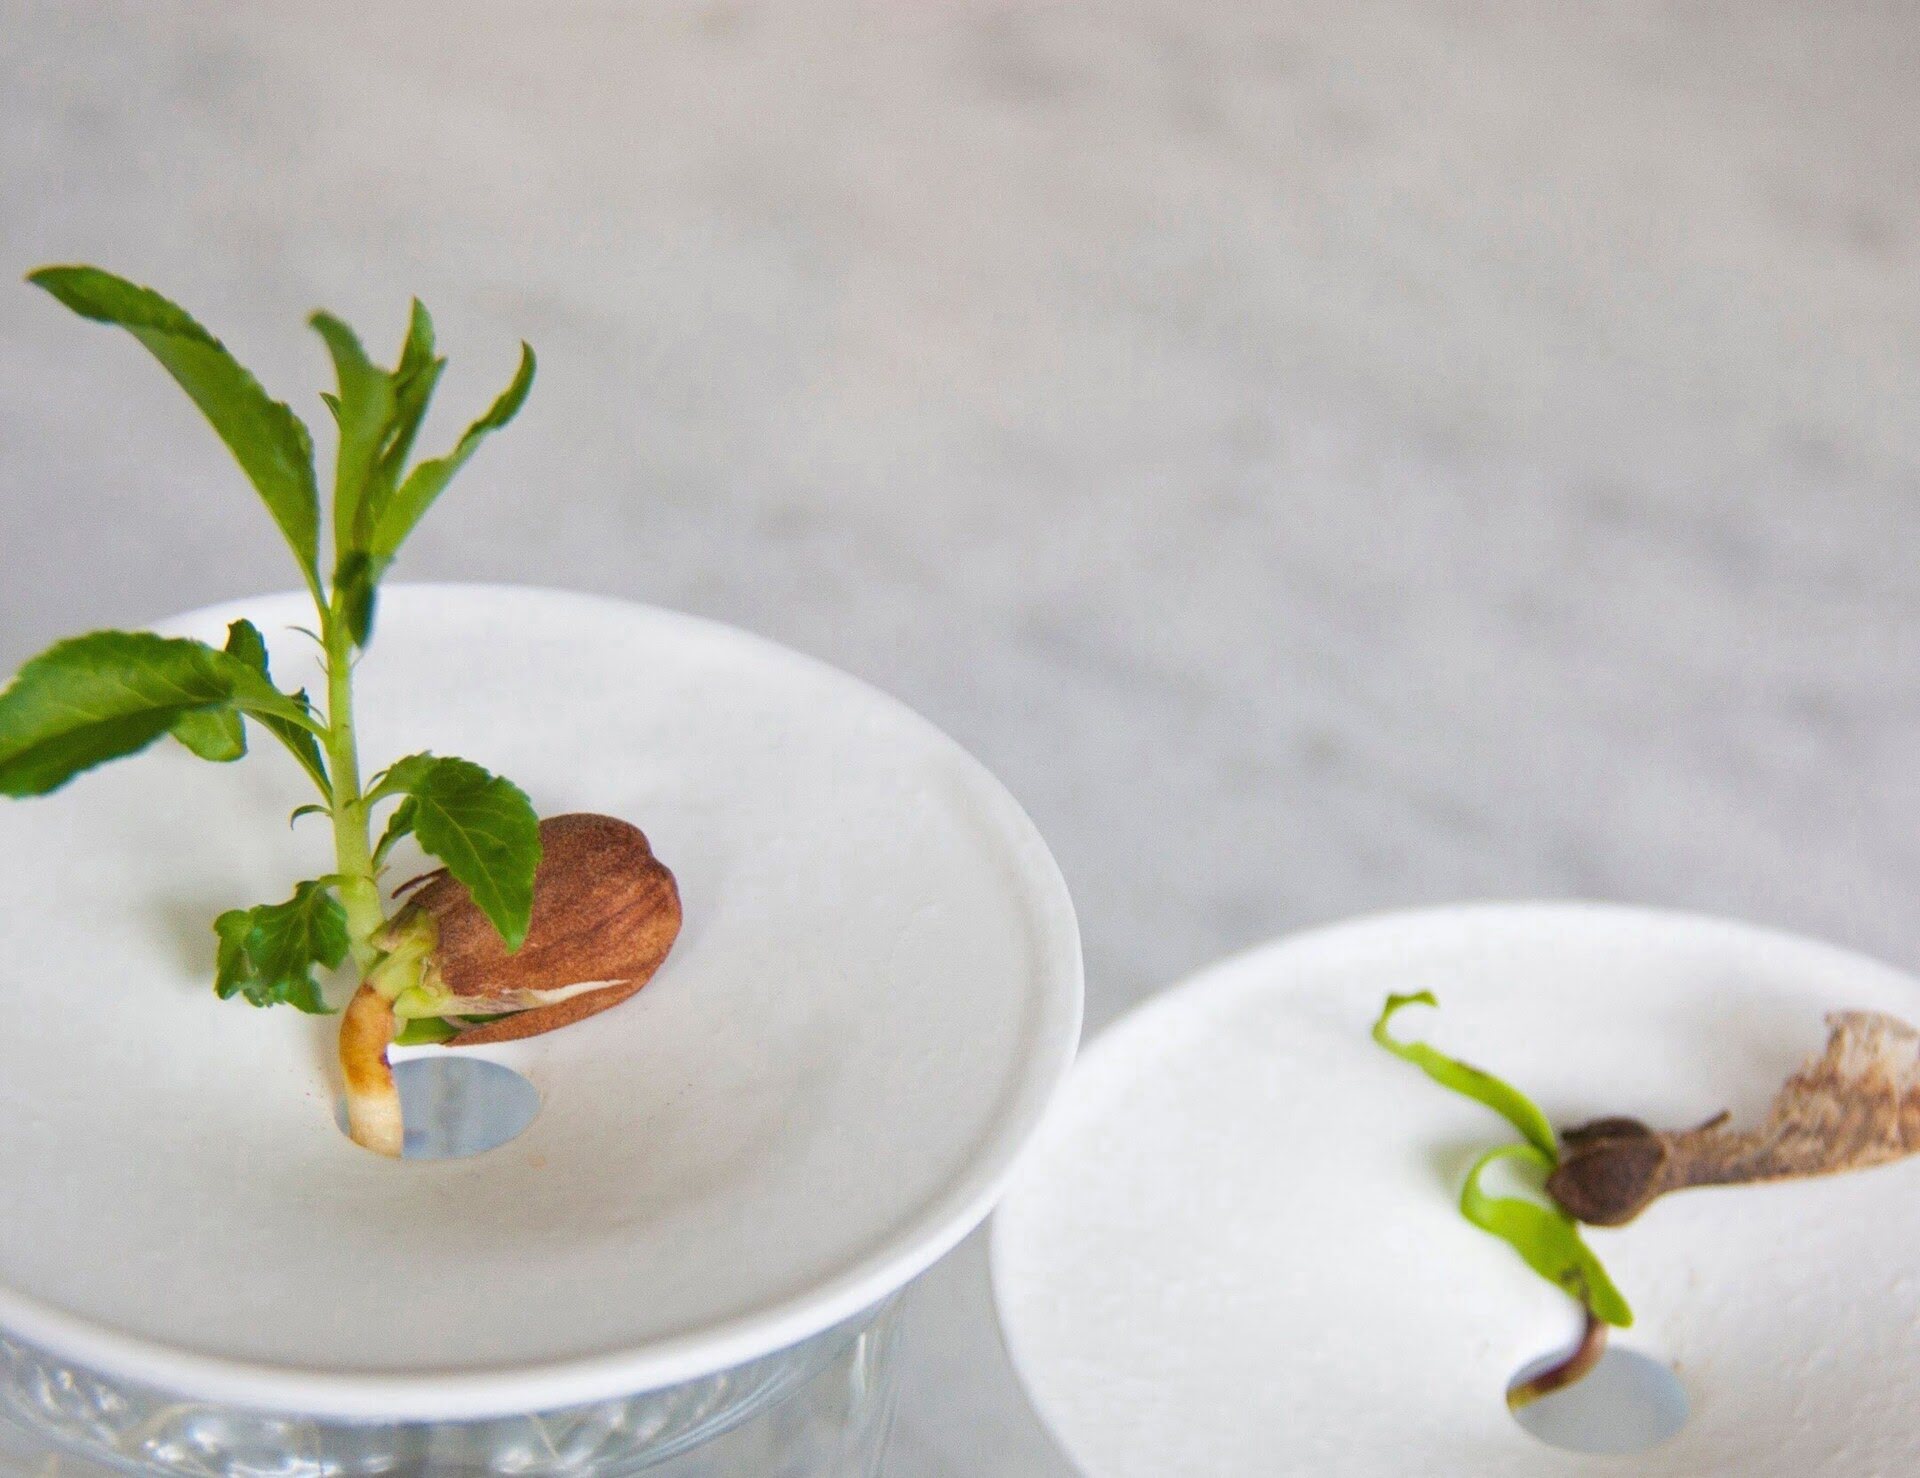
Step 2: Preparing the Seeds for Planting
After you have selected the right seeds for your Christmas tree, the next step is to prepare them for planting. Proper preparation ensures that the seeds have the best opportunity to germinate and grow into healthy seedlings.
The first step in preparing the seeds is to test for viability. This can be done by conducting a simple germination test. Take a small sample of seeds and place them in a damp paper towel or a seed tray with moist soil. Keep them in a warm and well-lit area, and monitor them for germination. This will give you an idea of the percentage of seeds that are viable and will ultimately sprout.
Once you have determined the viability of the seeds, you can move on to the scarification process. Some Christmas tree seeds have a hard outer shell that can inhibit germination. Scarification is the process of breaking or weakening the shell to promote quicker and more consistent germination.
There are several methods for scarification, including mechanical scarification, chemical scarification, and hot water treatment. Mechanical scarification involves nicking or cutting the seed coat with a sharp knife or sandpaper, while chemical scarification involves the use of specific chemicals to soften the shell. Hot water treatment involves soaking the seeds in hot water for a specific period.
It’s important to follow the specific method recommended for the particular tree species you are planting. Each method has its own set of instructions and precautions, so make sure to do your research and follow the guidelines carefully.
After scarification, soak the seeds in water for 24 to 48 hours. This helps to rehydrate the seeds and prepares them for planting. Make sure to change the water regularly to prevent the growth of any harmful bacteria or fungi.
Next, it’s time to stratify the seeds. Stratification mimics the natural cold period that seeds typically experience before germination. It helps to break seed dormancy and promotes even and consistent germination. Place the seeds in a plastic bag with a moistened substrate, such as peat moss or vermiculite, and store them in the refrigerator for a specific period as recommended for the tree species you are planting.
By carefully preparing the seeds for planting, you are maximizing their chances of germinating and growing into healthy seedlings. In the next step, we’ll discuss how to select the proper growing location for your Christmas tree.
Step 3: Selecting the Proper Growing Location
Choosing the right location for growing your Christmas tree is crucial for its long-term success. The growing conditions, including sunlight, soil quality, and drainage, will significantly impact the health and growth of your trees.
Start by considering the amount of sunlight the location receives. Most Christmas tree species thrive in full sun or partial shade, so choose a spot that gets at least 6 hours of direct sunlight per day. Avoid areas with excessive shade or where the tree may be overshadowed by taller structures or trees.
The soil quality also plays a vital role in the growth of your Christmas trees. They prefer well-draining soil that is rich in organic matter. Conduct a soil test to assess the pH level and nutrient content of the soil. Based on the test results, you may need to amend the soil with organic matter or adjust the pH level to provide an optimum growing environment.
In terms of drainage, it’s important to avoid areas with poor drainage or where water tends to accumulate. Excessive moisture can lead to root rot and other diseases, causing damage to your trees. Ensure that the chosen location has proper drainage or consider implementing drainage modifications if needed.
Consider the space available for your Christmas tree plantation as well. Ensure that there is sufficient room for the trees to grow to their full height and width without being crowded. Overcrowding can lead to competition for resources and result in stunted growth or poor tree health.
Additionally, take into account the proximity to structures or other trees. Select a location that allows for enough space between the trees and any nearby structures or vegetation to prevent shading, air circulation, and potential damage during storms or strong winds.
Lastly, accessibility to water sources is another important factor to consider. Ensure that the chosen location has easy access to a water source for irrigation purposes, especially during drier periods. Adequate watering is crucial to the growth and health of your Christmas trees.
By carefully selecting the proper growing location, you are setting your Christmas trees up for success. In the next step, we will guide you through the process of planting the prepared seeds.
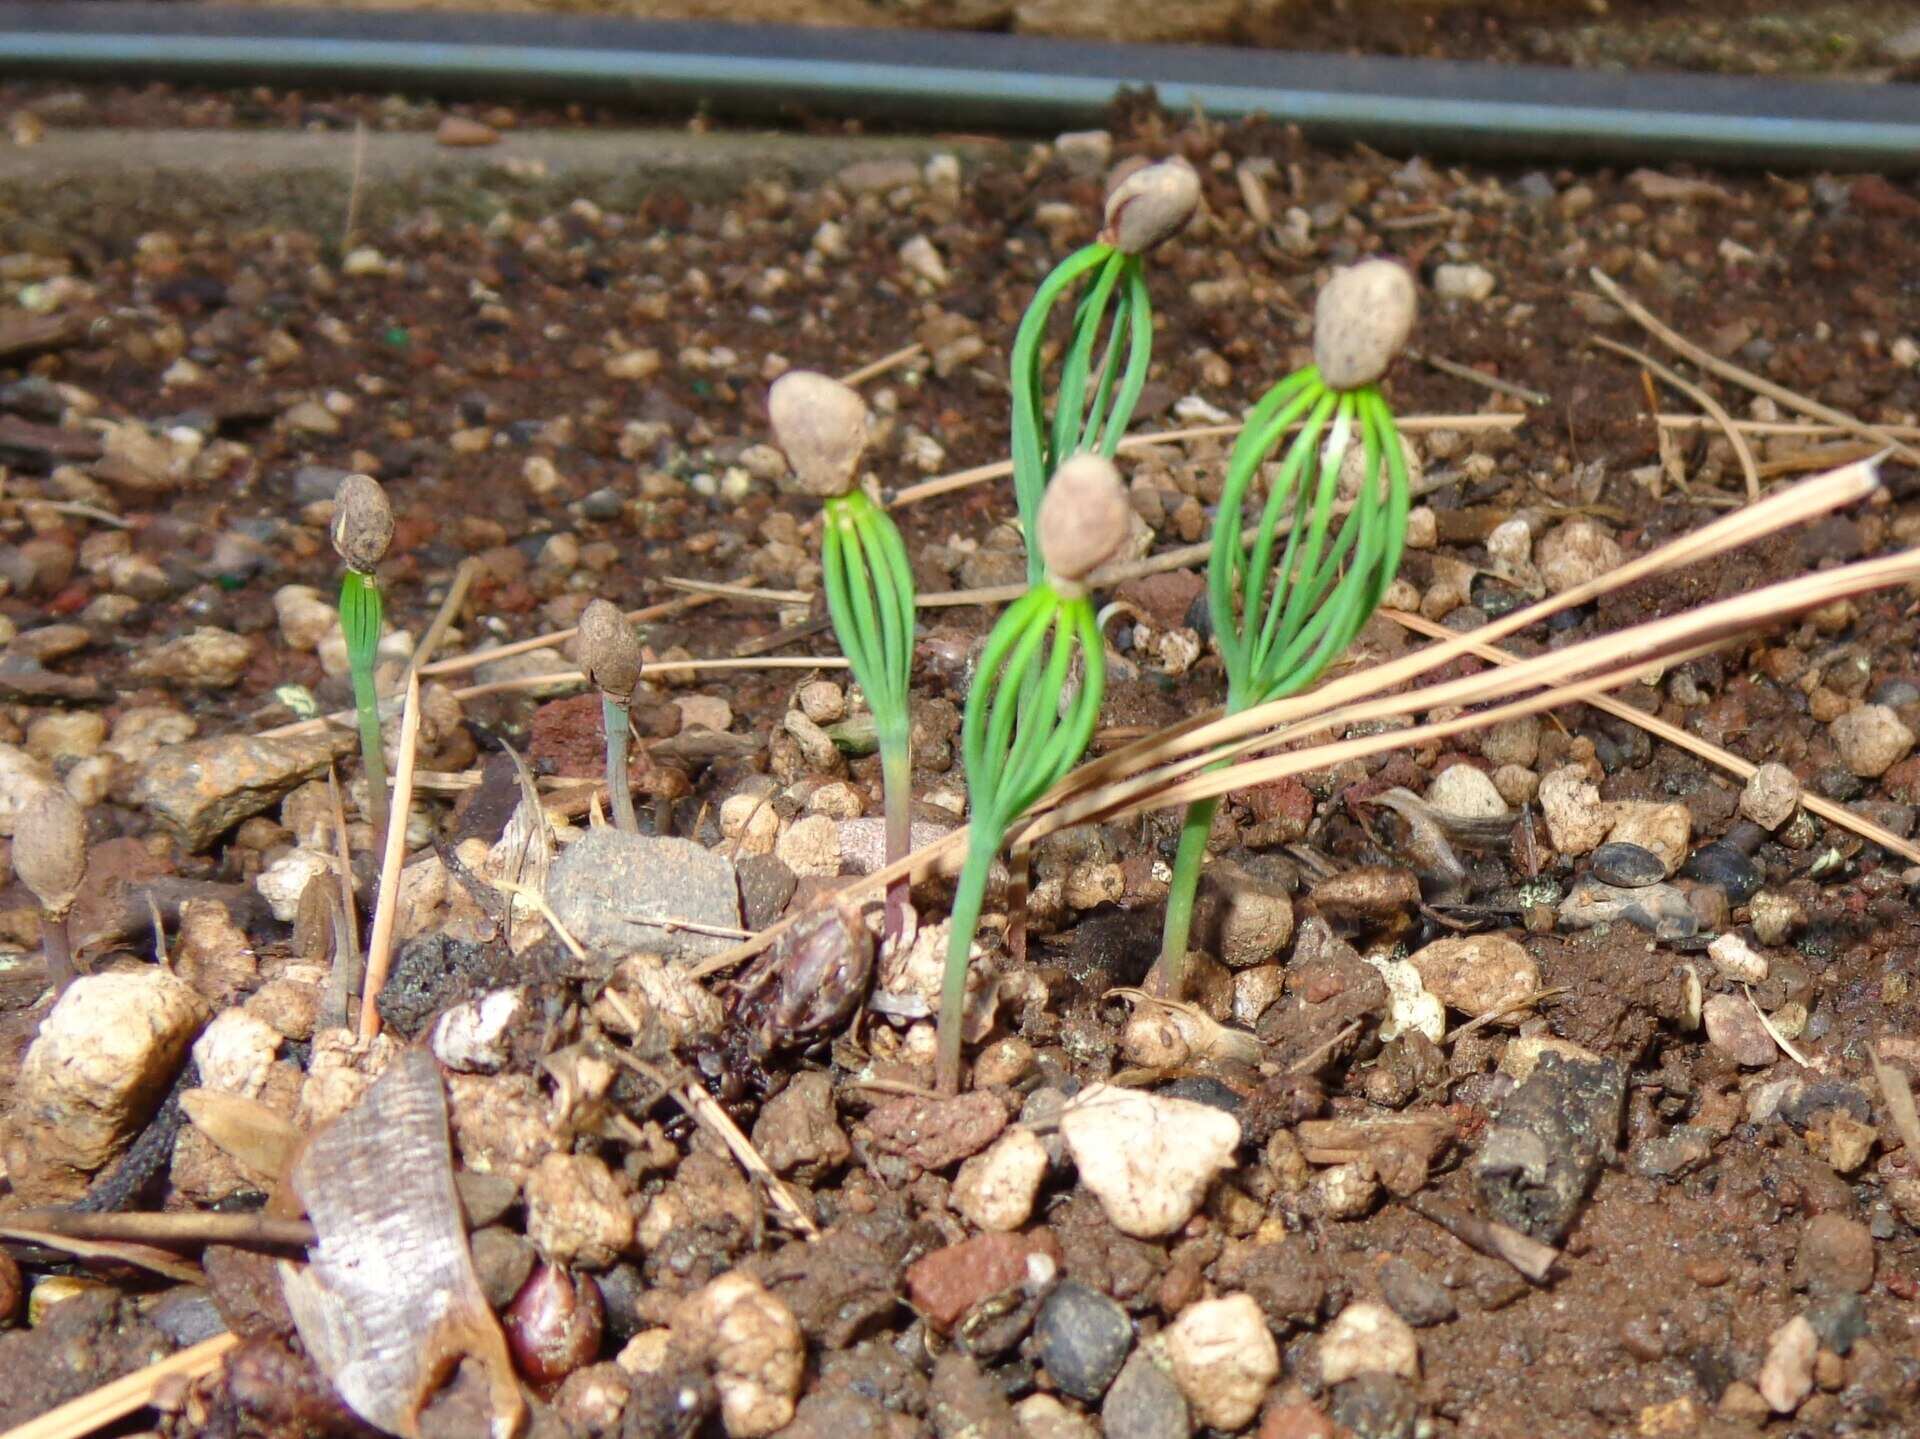
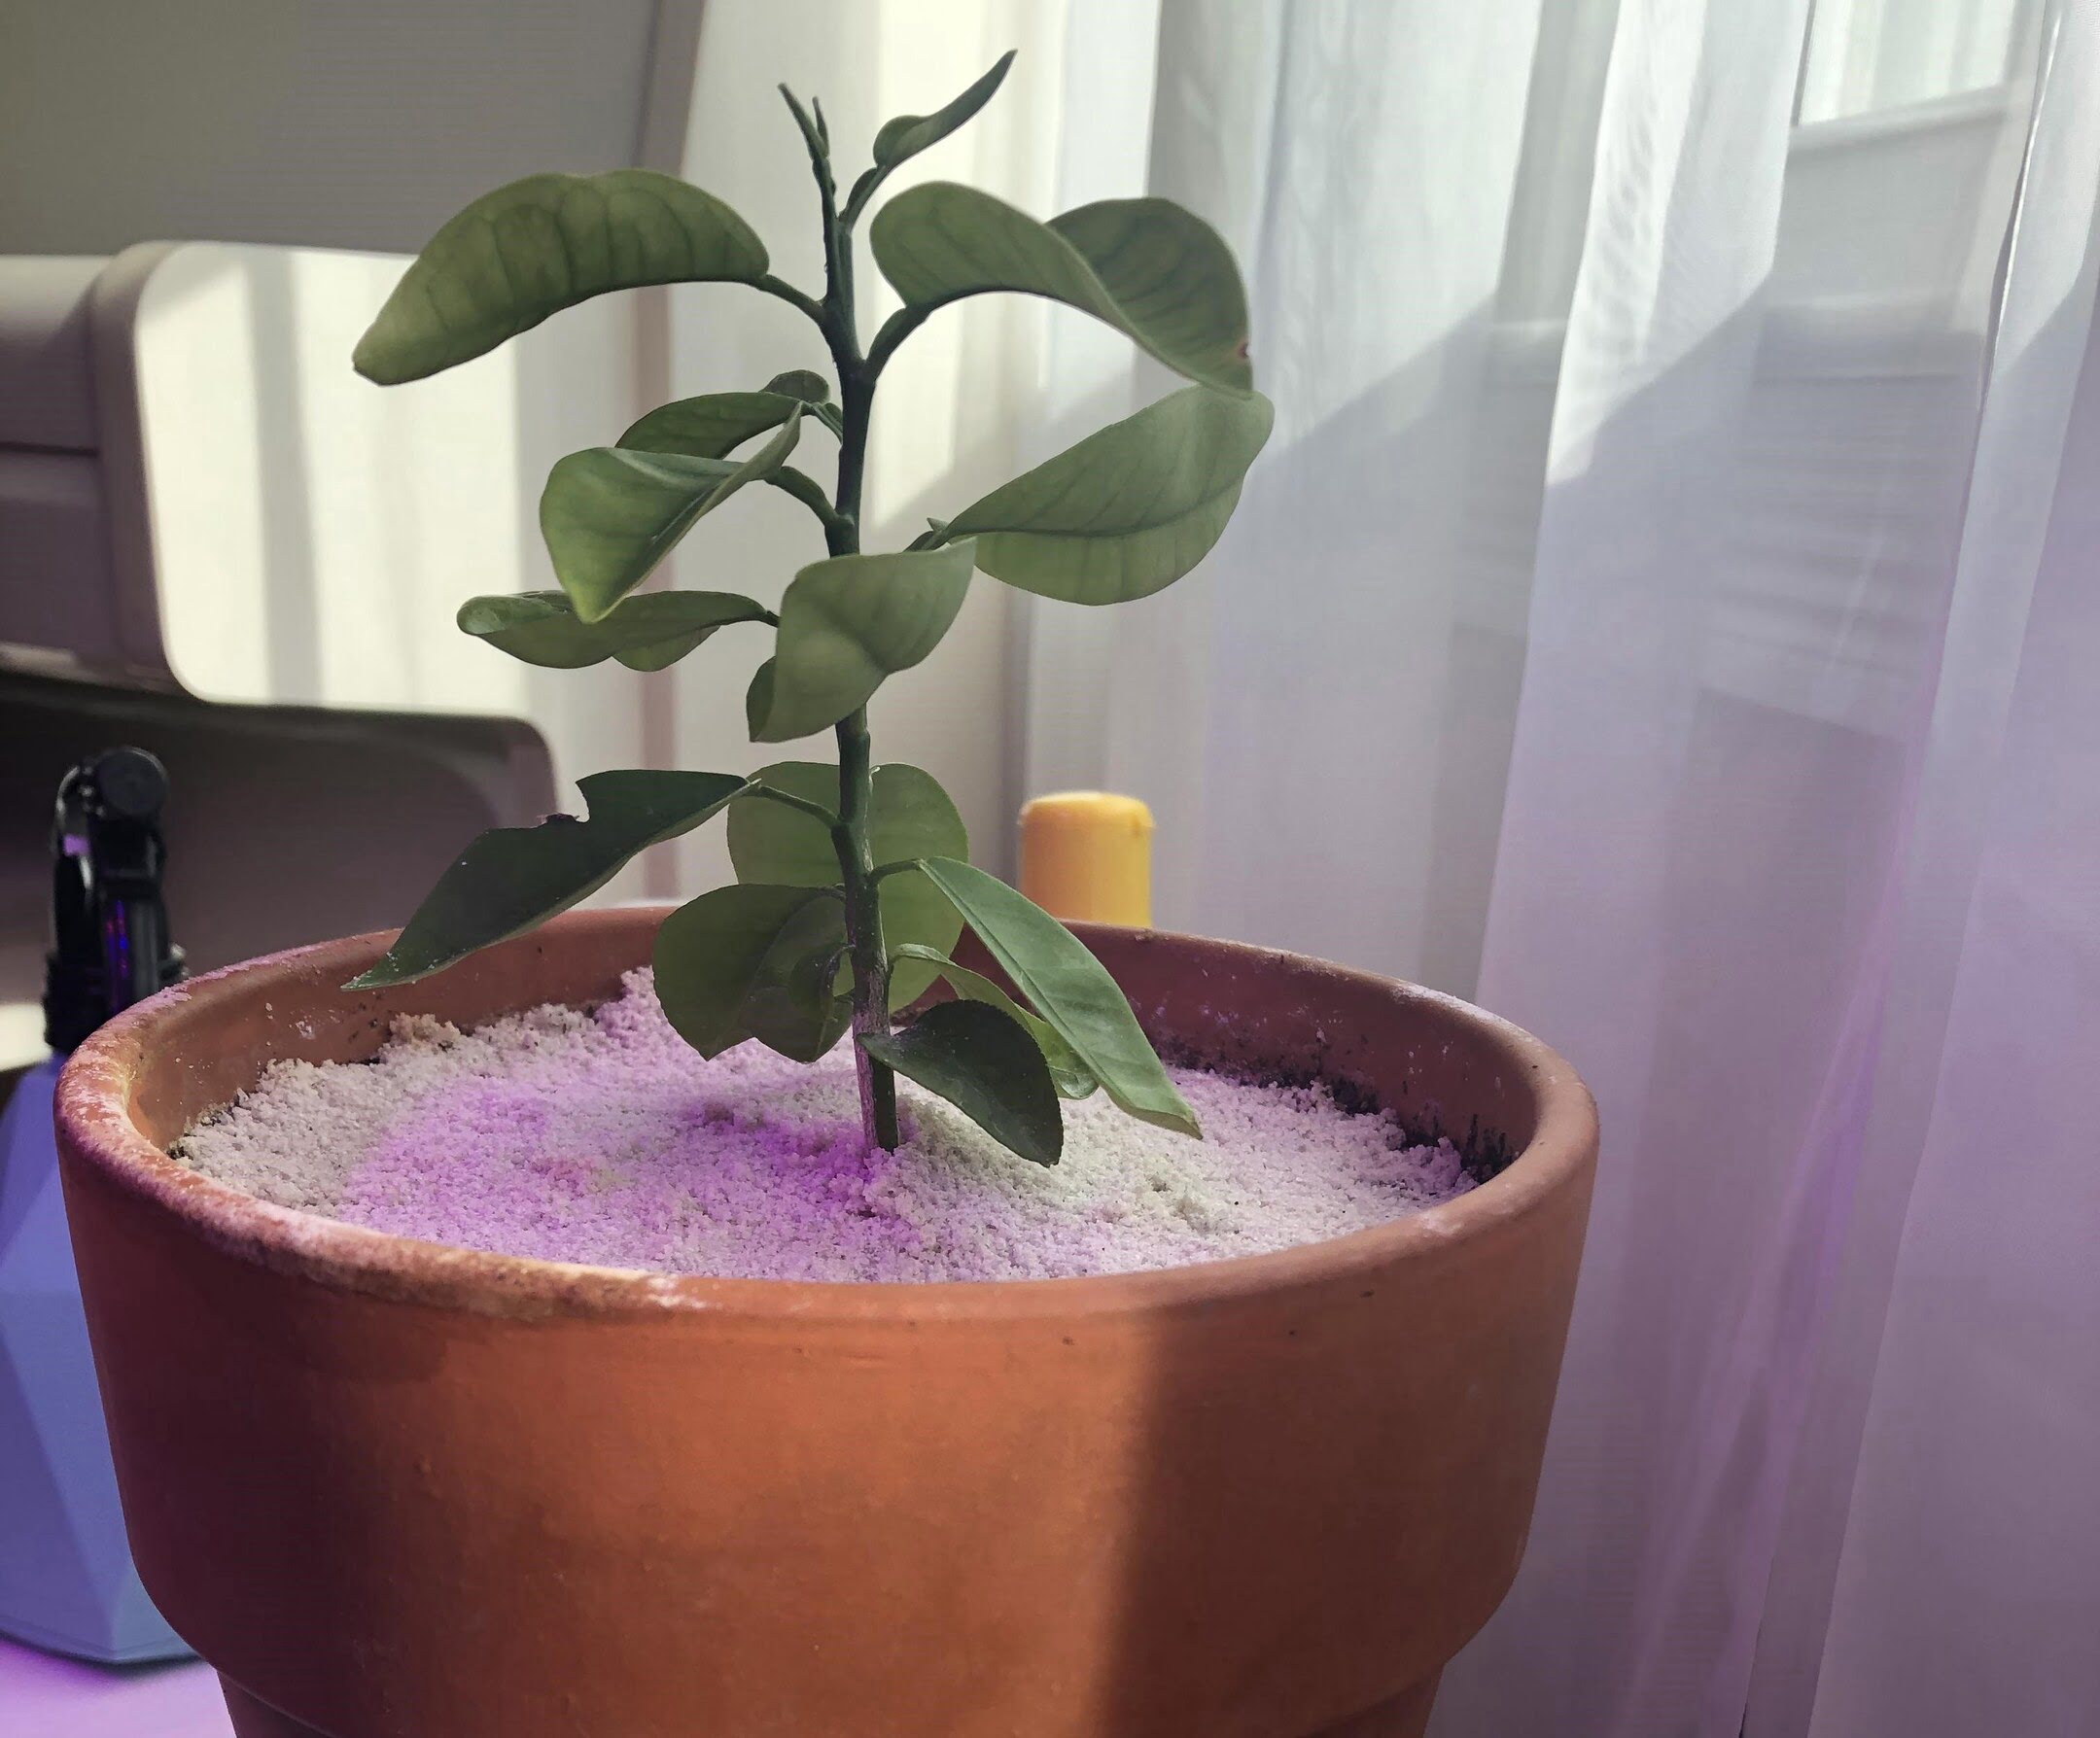
Step 4: Planting the Seeds
Now that you have prepared your Christmas tree seeds and selected a suitable growing location, it’s time to plant them and kickstart their journey towards becoming beautiful trees. Follow these steps to ensure successful planting:
1. Prepare the planting area: Clear away any weeds, grass, or debris from the planting area. Loosen the soil with a garden fork or a tiller to create a loose and aerated bed for the seeds. This will facilitate root penetration and growth.
2. Dig planting holes: Dig small holes in the prepared area, making sure they are deep enough to accommodate the seeds. The depth of the holes should be equivalent to the size of the seeds or slightly deeper—typically around 1/4 to 1/2 inch deep.
3. Plant the seeds: Place one seed in each planting hole, carefully covering it with soil. Gently press down on the soil to ensure good seed-to-soil contact. Do not plant the seeds too deeply, as this can inhibit germination.
4. Space the planting holes: Space the planting holes depending on the desired density of your Christmas tree plantation. Typically, a spacing of 4 to 6 feet between trees is recommended to allow for healthy growth and proper air circulation.
5. Water thoroughly: After planting the seeds, water the area thoroughly to ensure the soil is evenly moist. This will help activate and promote germination. Avoid overwatering, as it can lead to waterlogged soil and rotting of the seeds.
6. Mark the planting spots: To keep track of the planted seeds and to prevent accidental damage, it’s helpful to mark the planting spots with stakes or markers. This will also facilitate care and maintenance tasks in the future.
7. Provide gentle care: Keep the planting area consistently moist but not waterlogged. Avoid extreme temperature fluctuations and provide protection from harsh weather conditions, such as strong winds or excessive heat.
By carefully planting the prepared seeds and providing appropriate care, you are allowing them to take root and begin their journey towards becoming magnificent Christmas trees. In the next step, we will discuss the importance of adequate watering for the seedlings.
Read more: How To Grow Tree From Seed
Step 5: Providing Adequate Watering
Adequate watering is essential for the healthy growth and development of your Christmas tree seedlings. Proper hydration ensures that the roots receive the necessary moisture and nutrients, allowing the trees to thrive. Follow these guidelines for effective and efficient watering:
1. Monitor soil moisture: Keep a close eye on the moisture levels of the soil. Stick your finger into the soil about an inch deep to check if it feels moist. Avoid overwatering, as it can lead to root rot and other diseases, but also make sure the soil doesn’t dry out completely.
2. Water deeply: When watering, aim for deep and thorough irrigation. Give the seedlings a slow, steady soak rather than a quick sprinkle. This encourages the roots to grow deeper into the ground, promoting stronger and healthier trees.
3. Consider your climate: Take into account the climate in your region when determining the frequency of watering. In hot and dry climates, the seedlings may require more frequent watering, while in cooler and more humid climates, less watering may be necessary.
4. Use mulch: Apply a layer of organic mulch around the base of the seedlings to help retain moisture in the soil. Mulch also acts as a barrier against weed growth and helps regulate soil temperature.
5. Water during dry periods: During extended periods of drought or dry weather, increase the frequency of watering to compensate for the lack of natural rainfall. Keep the soil consistently moist but not waterlogged.
6. Time your watering: Water the seedlings in the early morning or late afternoon when temperatures are cooler. This allows the water to effectively penetrate the soil before evaporation occurs.
7. Adjust as the seedlings grow: As the seedlings grow, their water requirements may change. Monitor the moisture levels regularly and adjust your watering routine accordingly.
Remember, providing adequate watering is crucial during the initial stages of growth. As the seedlings mature into trees, they become more resilient and can withstand drier conditions. However, consistent and appropriate watering is still necessary to ensure their overall health and vitality.
In the next step, we will explore the importance of fertilizing the Christmas tree seedlings.
To grow a Christmas tree from seed, plant the seeds in well-drained soil in a sunny location. Keep the soil consistently moist and protect the young trees from harsh weather conditions.
Step 6: Fertilizing the Seedlings
Fertilizing your Christmas tree seedlings is an important step in providing them with the necessary nutrients for optimal growth and development. Proper fertilization enhances the health and vigor of the trees, contributing to their ability to thrive. Follow these guidelines for effective fertilization:
1. Soil test: Conduct a soil test to determine the nutrient needs of your seedlings. This will help you identify any deficiencies or imbalances in the soil, allowing you to choose the appropriate fertilizer formulation.
2. Choose a balanced fertilizer: Select a slow-release, balanced fertilizer specifically formulated for trees or shrubs. Look for fertilizers with an N-P-K ratio (nitrogen-phosphorus-potassium) that is suitable for your tree species. This information can be found on the fertilizer package.
3. Timing: Apply the first round of fertilizer in early spring, just as the trees begin active growth. This will provide a nutrient boost to support their initial development. Follow up with additional applications according to the recommendations on the fertilizer package or based on the results of your soil test.
4. Application method: Spread the fertilizer evenly around the base of each seedling, extending slightly beyond the drip line. Avoid direct contact with the tree’s trunk to prevent burning or damaging the bark. Use a hand trowel or a fertilizer spreader for even distribution.
5. Watering after fertilization: After applying the fertilizer, water the area thoroughly to ensure that the nutrients are absorbed into the soil and reach the tree’s roots. This will help promote efficient nutrient uptake.
6. Organic alternatives: If you prefer organic fertilizers, there are options available, such as compost, well-rotted manure, or organic-based tree fertilizers. These provide a slow-release source of nutrients and improve soil fertility naturally.
7. Avoid over-fertilization: It’s essential to follow the recommended dosage and frequency guidelines provided by the fertilizer manufacturer. Over-fertilization can harm the seedlings and lead to nutrient imbalances or even burn the roots.
Remember, fertilization is a supplement to good soil management and should be used in conjunction with other best practices such as proper watering, mulching, and soil amendment. By providing your Christmas tree seedlings with the right balance of nutrients, you are setting the foundation for healthy growth and vibrant trees.
In the next step, we will discuss how to protect the seedlings from pests.
Step 7: Protecting the Seedlings from Pests
Protecting your Christmas tree seedlings from pests is crucial to ensure their healthy growth and development. Pests can cause significant damage to the seedlings, compromising their overall health and potentially stunting their growth. Here are some strategies to protect your seedlings from common pests:
1. Identify potential pests: Familiarize yourself with the common pests that can affect Christmas trees, such as aphids, mites, caterpillars, and deer. Understanding their life cycles and habits will help you implement appropriate preventive measures.
2. Implement physical barriers: Use physical barriers to prevent pests from accessing the seedlings. For smaller pests like rabbits or rodents, installing wire mesh or fencing around the planting area can be effective. The mesh should be buried at least several inches deep to deter burrowing animals.
3. Inspect regularly: Regularly inspect the seedlings for signs of pest infestation, such as discolored or distorted leaves, webbing, or the presence of insects. Early detection allows for prompt intervention and minimizes the potential damage caused by pests.
4. Introduce beneficial insects or predators: Some insects are natural predators of common pests. For example, ladybugs and lacewings feed on aphids, while birds can help control caterpillars. Consider introducing these beneficial insects or providing bird feeders to attract pest-eating birds.
5. Use organic pest control methods: Consider using organic pest control methods, such as insecticidal soaps or neem oil, to treat specific pest infestations. These products use natural ingredients and are less harmful to beneficial insects and the environment.
6. Rotate plantings: If you plan on growing Christmas trees in the same area for multiple years, practice crop rotation. This means not planting new seedlings in the same location where you previously had Christmas trees. This helps disrupt pest life cycles and reduces the risk of recurring infestations.
7. Remove affected plants: If a severe pest infestation occurs and is damaging multiple seedlings, it may be necessary to remove and destroy the affected plants. This prevents the pests from spreading further and affecting the healthy seedlings.
Remember, preventing pests is often more effective and sustainable than dealing with infestations after they occur. By implementing these pest prevention strategies, you can ensure the health and vitality of your Christmas tree seedlings.
In the next step, we will discuss the importance of pruning and shaping the trees as they grow.
Step 8: Pruning and Shaping the Trees
Pruning and shaping your Christmas trees is an important aspect of their care and maintenance. Proper pruning helps shape the trees into the desired form, promotes healthy growth, and enhances their overall appearance. Follow these guidelines for effective pruning and shaping:
1. Timing: Pruning should be done during the dormant season, usually in late winter or early spring before new growth begins. This allows the trees to recover quickly and minimizes the risk of disease or stress.
2. Remove dead or damaged branches: Start by removing any dead, broken, or diseased branches. These can be a breeding ground for pests and can negatively impact the overall health of the trees. Use sharp pruning shears or a pruning saw to make clean cuts just above the branch collar, where the branch meets the trunk.
3. Thin out crowded branches: If the tree has densely packed branches, thinning them out will improve air circulation and allow more light to reach the inner portions of the tree. Remove branches that are crossing, rubbing against each other, or growing towards the center of the tree.
4. Shape the tree: Depending on the desired shape, selectively prune branches to achieve a balanced and symmetrical tree. This may involve removing branches that are growing unevenly or creating a more tapered or conical shape. Step back periodically to assess the tree’s overall appearance and make adjustments as needed.
5. Consider the height: If you prefer a shorter tree, prune the top leader or central stem to control the height. This helps create a more compact and well-proportioned tree. Be mindful of not removing too much of the leader, as it can stunt vertical growth and affect the overall shape.
6. Maintain a pyramidal shape: For a traditional Christmas tree shape, encourage a pyramidal silhouette by pruning branches to create a conical outline. Focus on maintaining a wider base and gradually tapering towards the top.
7. Avoid excessive pruning: While pruning is important, avoid excessive or overly aggressive pruning, as this can weaken the trees and lead to abnormal growth patterns. Remember that some imperfections can add character and a natural appearance to the tree.
8. Dispose of pruned branches: Remove pruned branches from the area and dispose of them properly. This helps prevent the spread of diseases and pests that may be present on the removed branches.
Proper pruning and shaping of your Christmas trees not only enhance their visual appeal but also contribute to their overall health and growth. By following these guidelines, you can ensure that your trees maintain an attractive form and thrive in their environment.
In the next step, we will discuss how to transplant the seedlings to their permanent location in the field.
Read more: How To Grow Pecan Tree From Seed
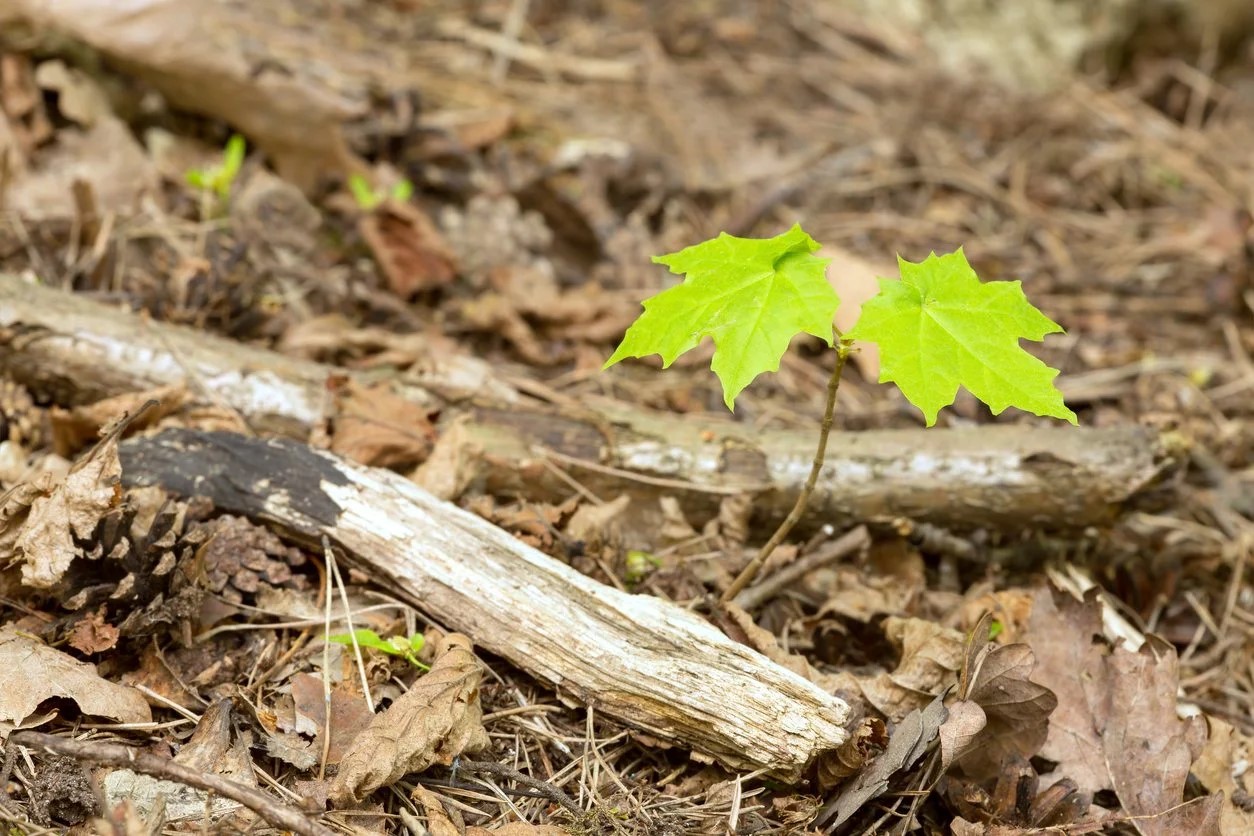
Step 9: Transplanting the Seedlings to the Field
Transplanting your Christmas tree seedlings from their nursery or temporary location to their permanent spot in the field is an important step in their growth journey. Proper transplanting ensures that the seedlings establish a strong root system and continue to thrive in their new environment. Follow these guidelines for successful transplantation:
1. Timing: Transplant the seedlings during their dormant season, usually in early spring or late fall, when the weather conditions are mild and there is less stress on the trees. Avoid transplanting during hot summer months or freezing winter temperatures.
2. Prepare the planting holes: Prior to transplanting, prepare the planting holes in the field. The holes should be slightly wider and deeper than the root ball of the seedling. Loosen the soil and remove any weeds or grass to provide a favorable environment for root growth.
3. Water the seedlings: Before the transplant, thoroughly water the seedlings in their current location to ensure they are well-hydrated and to help ease the removal from the ground.
4. Gently remove the seedlings: Carefully dig around the seedlings, starting at a distance from the trunk, to avoid damaging the roots. Lift the seedlings from the ground, holding them by the root ball or container to minimize stress.
5. Planting process: Place each seedling into the prepared planting hole, making sure that the level of the soil is at the same height or slightly above the level it was in the nursery. Backfill the hole with soil, gently firming it around the roots to remove any air pockets. Avoid compacting the soil too tightly, as this can hinder root growth.
6. Watering after transplanting: After transplanting, water the seedlings thoroughly to settle the soil and ensure good root-to-soil contact. This will help the roots establish in their new location. Monitor the soil moisture regularly and provide adequate irrigation as needed.
7. Mulch the planting area: Apply a layer of mulch around the base of each seedling to retain moisture, suppress weeds, and regulate soil temperature. Leave space around the trunk to avoid moisture accumulation and potential rot.
8. Protect the seedlings: Protect the newly transplanted seedlings from harsh weather conditions, particularly strong winds and intense sunlight. Consider using protective covers or temporary shade structures to shield the young trees until they become more established.
9. Monitor and care for the transplanted seedlings: Regularly check the transplanted seedlings for signs of stress or any pests and diseases. Provide appropriate care, such as watering, mulching, and periodic fertilization, to support their growth and ensure their successful establishment in the field.
By following these guidelines and providing proper care, you can successfully transplant your Christmas tree seedlings from their nursery to their permanent location in the field, setting them up for healthy growth and future harvests.
In the final step, we will discuss the ongoing care and maintenance needed for your growing Christmas trees.
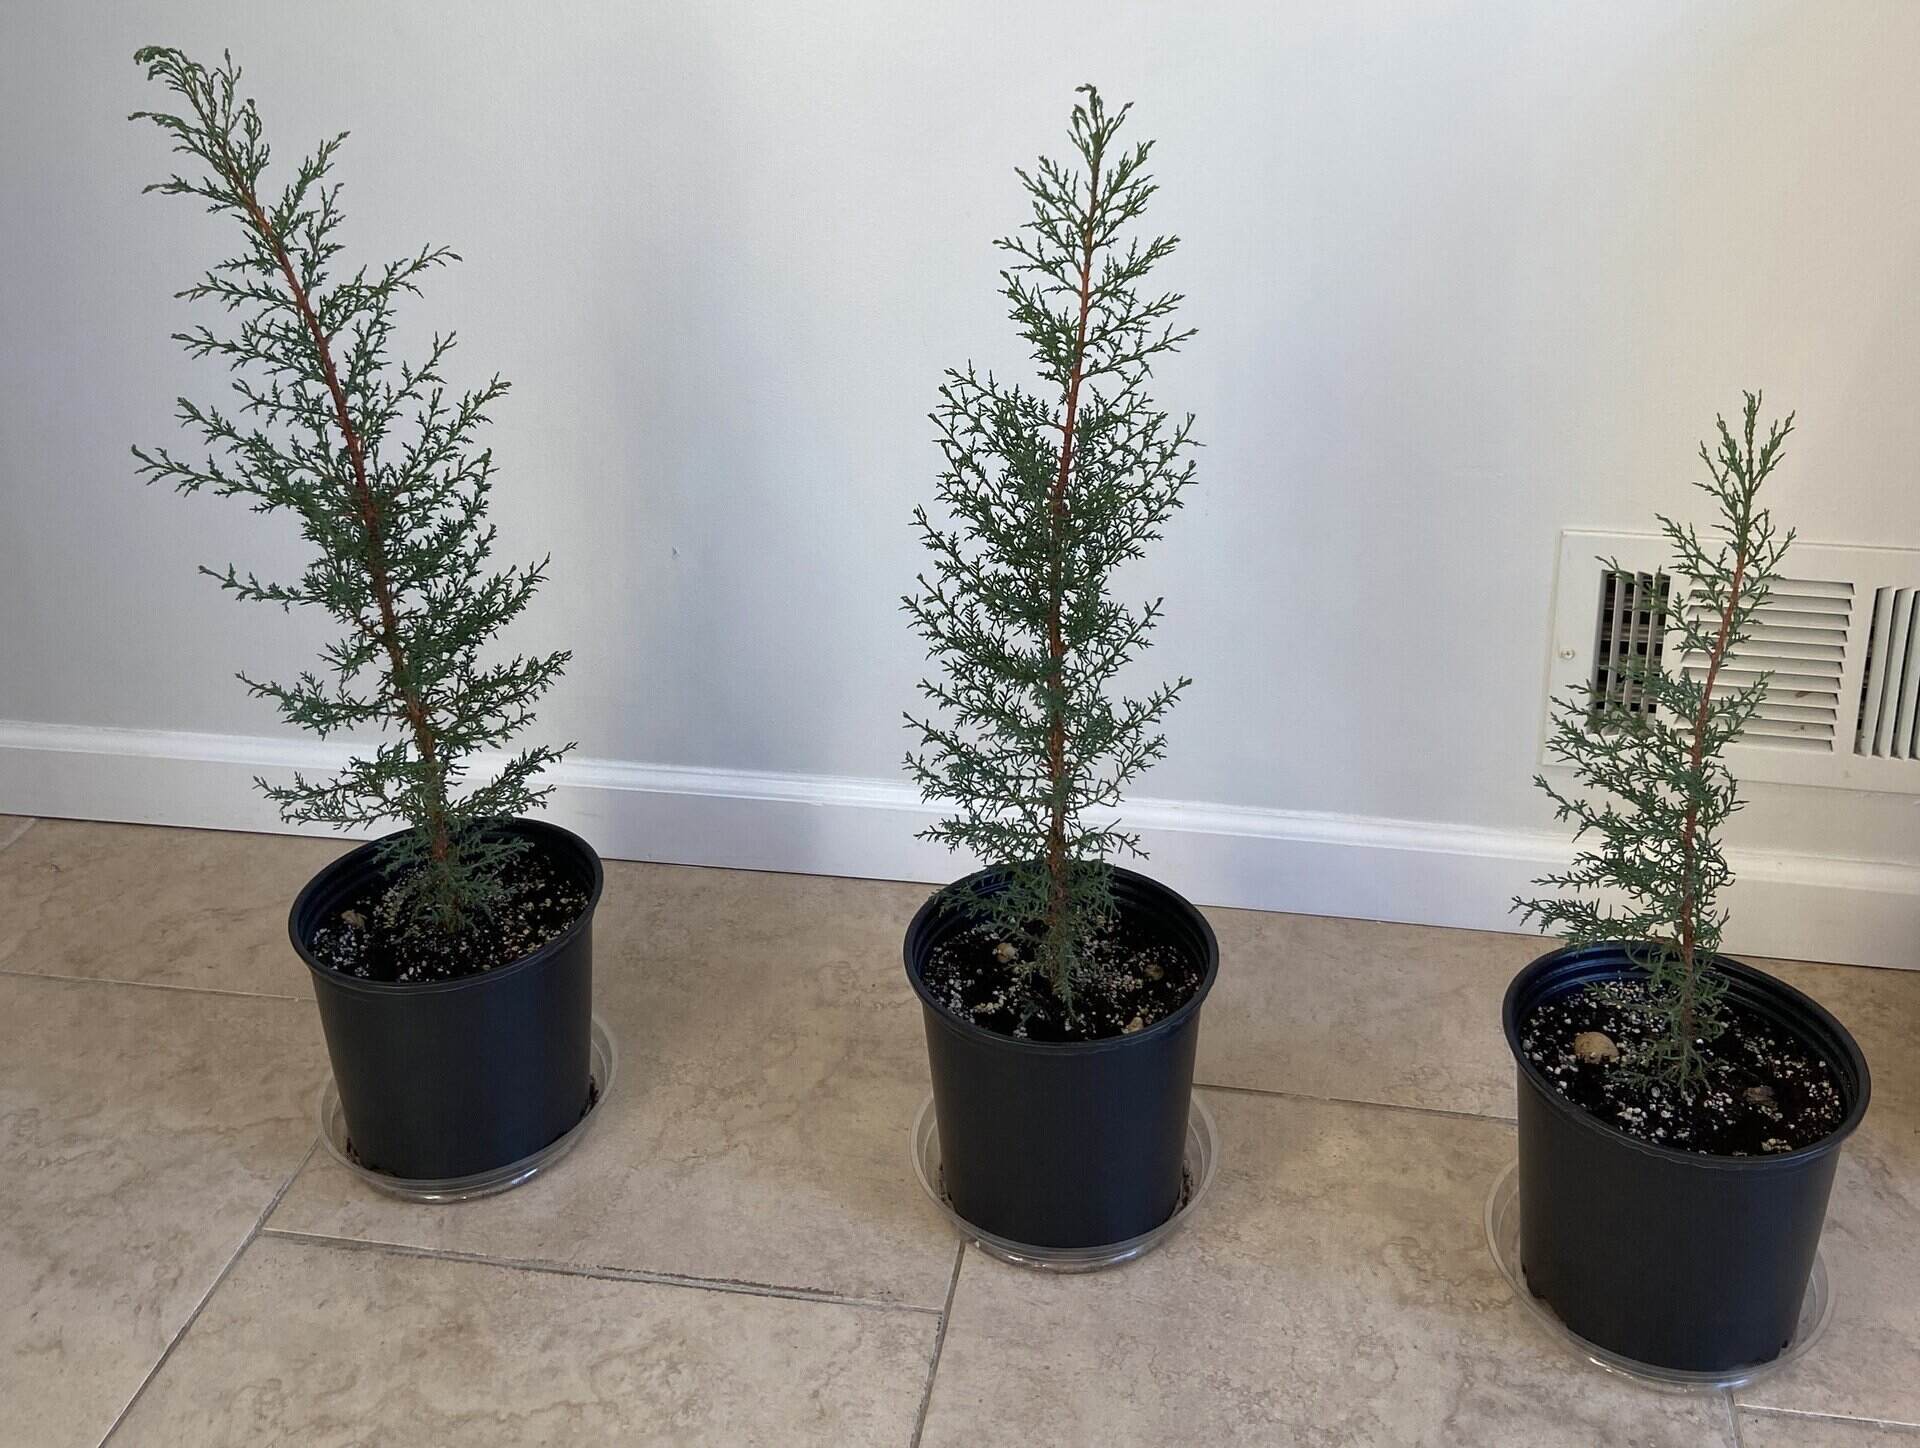
Step 10: Caring for and Maintaining the Growing Trees
As your Christmas trees grow, they require ongoing care and maintenance to ensure their health and vitality. Proper care will help them develop into beautiful, thriving trees that are ready to be harvested for the holiday season. Follow these guidelines for caring for and maintaining your growing trees:
1. Watering: Regular watering is crucial, especially during periods of drought or hot weather. Provide deep, thorough watering to ensure the root zone receives sufficient moisture. Monitor soil moisture levels and adjust watering frequency based on the needs of your specific tree species and the prevailing weather conditions.
2. Mulching: Continue to apply a layer of organic mulch around the base of the trees. Mulch helps retain soil moisture, suppresses weed growth, and maintains a more stable soil temperature. Ensure that the mulch is not piled up against the tree trunk to prevent moisture accumulation and potential rotting.
3. Fertilization: Periodically fertilize your trees to replenish essential nutrients. Follow the recommendations based on soil tests and the specific needs of your tree species. Apply the fertilizer evenly around the base of the trees, taking care to avoid direct contact with the trunk.
4. Pruning: Regularly inspect your trees for any dead, damaged, or diseased branches and remove them promptly. Pruning also helps maintain the desired shape and size of the trees. Avoid pruning during the active growing season to prevent stress and excessive sap loss.
5. Pest and disease management: Monitor your trees for signs of pests or diseases, such as discoloration, wilting, or unusual growth patterns. Implement appropriate pest control measures to prevent infestations and manage any issues in a timely manner. Consider using environmentally friendly and organic remedies whenever possible to minimize the impact on beneficial insects and the surrounding ecosystem.
6. Weed control: Regularly remove weeds from around the base of the trees to prevent competition for nutrients and water. Weeds can also harbor pests and diseases that can impact the health of your trees. Use manual weeding or mulching to suppress weed growth.
7. Protection from extreme weather: Provide protection from extreme weather conditions, such as strong winds, heavy snowfall, or frost. Install windbreaks or use temporary structures, such as burlap wraps or shading devices, to shield the trees from harsh conditions.
8. Regular monitoring: Continuously monitor the growth and health of your trees. Look out for signs of stress, nutrient deficiencies, or any other issues. Address problems promptly to prevent further damage and maximize the trees’ overall well-being.
9. Harvesting: Once your trees have reached the desired size and maturity, carefully harvest them for the holiday season. Use appropriate tools and techniques to ensure a clean cut and minimize damage to the tree. In most cases, it’s best to harvest the trees a few days before they are displayed to maintain their freshness throughout the festive period.
By following these care and maintenance practices, you can ensure the long-term success of your growing Christmas trees. Remember to stay attentive to their needs, provide the necessary care, and enjoy the process of nurturing and growing your own beautiful trees.
With this step, we conclude our guide on how to grow a Christmas tree from seed. We hope you find these steps helpful and that you enjoy the journey of cultivating your very own holiday centerpiece.
Conclusion
Growing a Christmas tree from seed is a rewarding and fulfilling experience that allows you to create a unique and special centerpiece for your holiday celebrations. While it requires patience, planning, and careful attention to detail, the end result is well worth the effort.
In this comprehensive guide, we have covered the essential steps to successfully grow a Christmas tree from seed. From choosing the right seeds and preparing them for planting to selecting a suitable growing location and providing adequate care and maintenance, each step is crucial for the tree’s overall health and growth.
By following these steps, you can ensure that your Christmas tree seedlings develop into healthy, vibrant trees that will bring joy and beauty to your home. Remember to choose the right seeds for your climate and preferences, properly prepare them for planting, select an appropriate growing location, and provide adequate watering, fertilization, and protection from pests and diseases.
Additionally, pruning and shaping the trees, transplanting them to the field, and ongoing care and maintenance are essential for their long-term growth and success. Regular monitoring and proper attention to their needs will help you achieve the desired shape and size, maintain their health, and ultimately harvest magnificent trees for your holiday celebrations.
Remember to enjoy the journey as you watch your Christmas trees grow and thrive. Embrace the process of nurturing and shaping them into beautiful, living symbols of joy and tradition. Celebrate the rewards of your efforts by sharing the beauty of your homegrown Christmas trees with family, friends, and loved ones.
Thank you for embarking on this adventure of growing a Christmas tree from seed with us. We wish you a bountiful and joyful harvest, and a holiday season filled with warmth, love, and the spirit of the Christmas tree you have nurtured from its humble beginnings.
Happy growing and happy holidays!
Frequently Asked Questions about How To Grow A Christmas Tree From Seed
Was this page helpful?
At Storables.com, we guarantee accurate and reliable information. Our content, validated by Expert Board Contributors, is crafted following stringent Editorial Policies. We're committed to providing you with well-researched, expert-backed insights for all your informational needs.


0 thoughts on “How To Grow A Christmas Tree From Seed”