Home>Furniture & Design>Outdoor Furniture>How To Put Christmas Lights On An Outdoor Tree
Outdoor Furniture
How To Put Christmas Lights On An Outdoor Tree
Modified: January 19, 2024
Discover the best techniques for decorating your outdoor tree with Christmas lights. Get creative ideas for outdoor furniture and design.
(Many of the links in this article redirect to a specific reviewed product. Your purchase of these products through affiliate links helps to generate commission for Storables.com, at no extra cost. Learn more)
Introduction
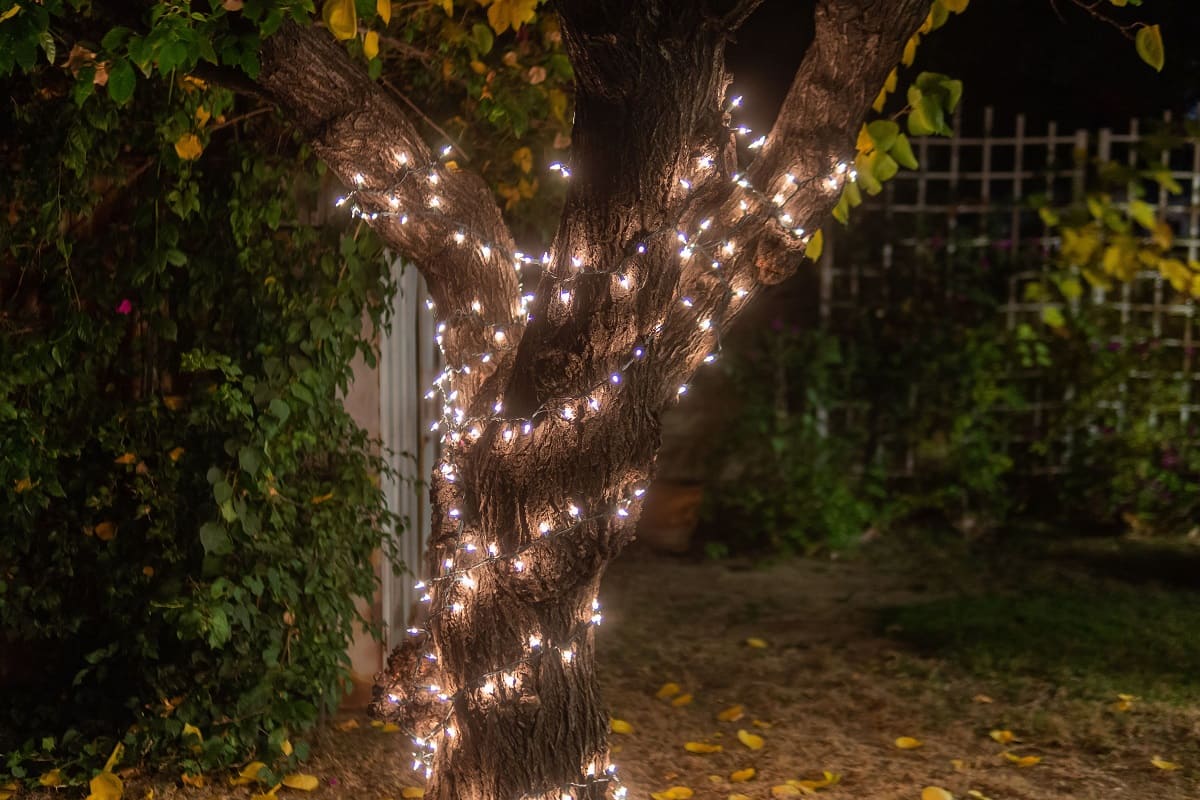
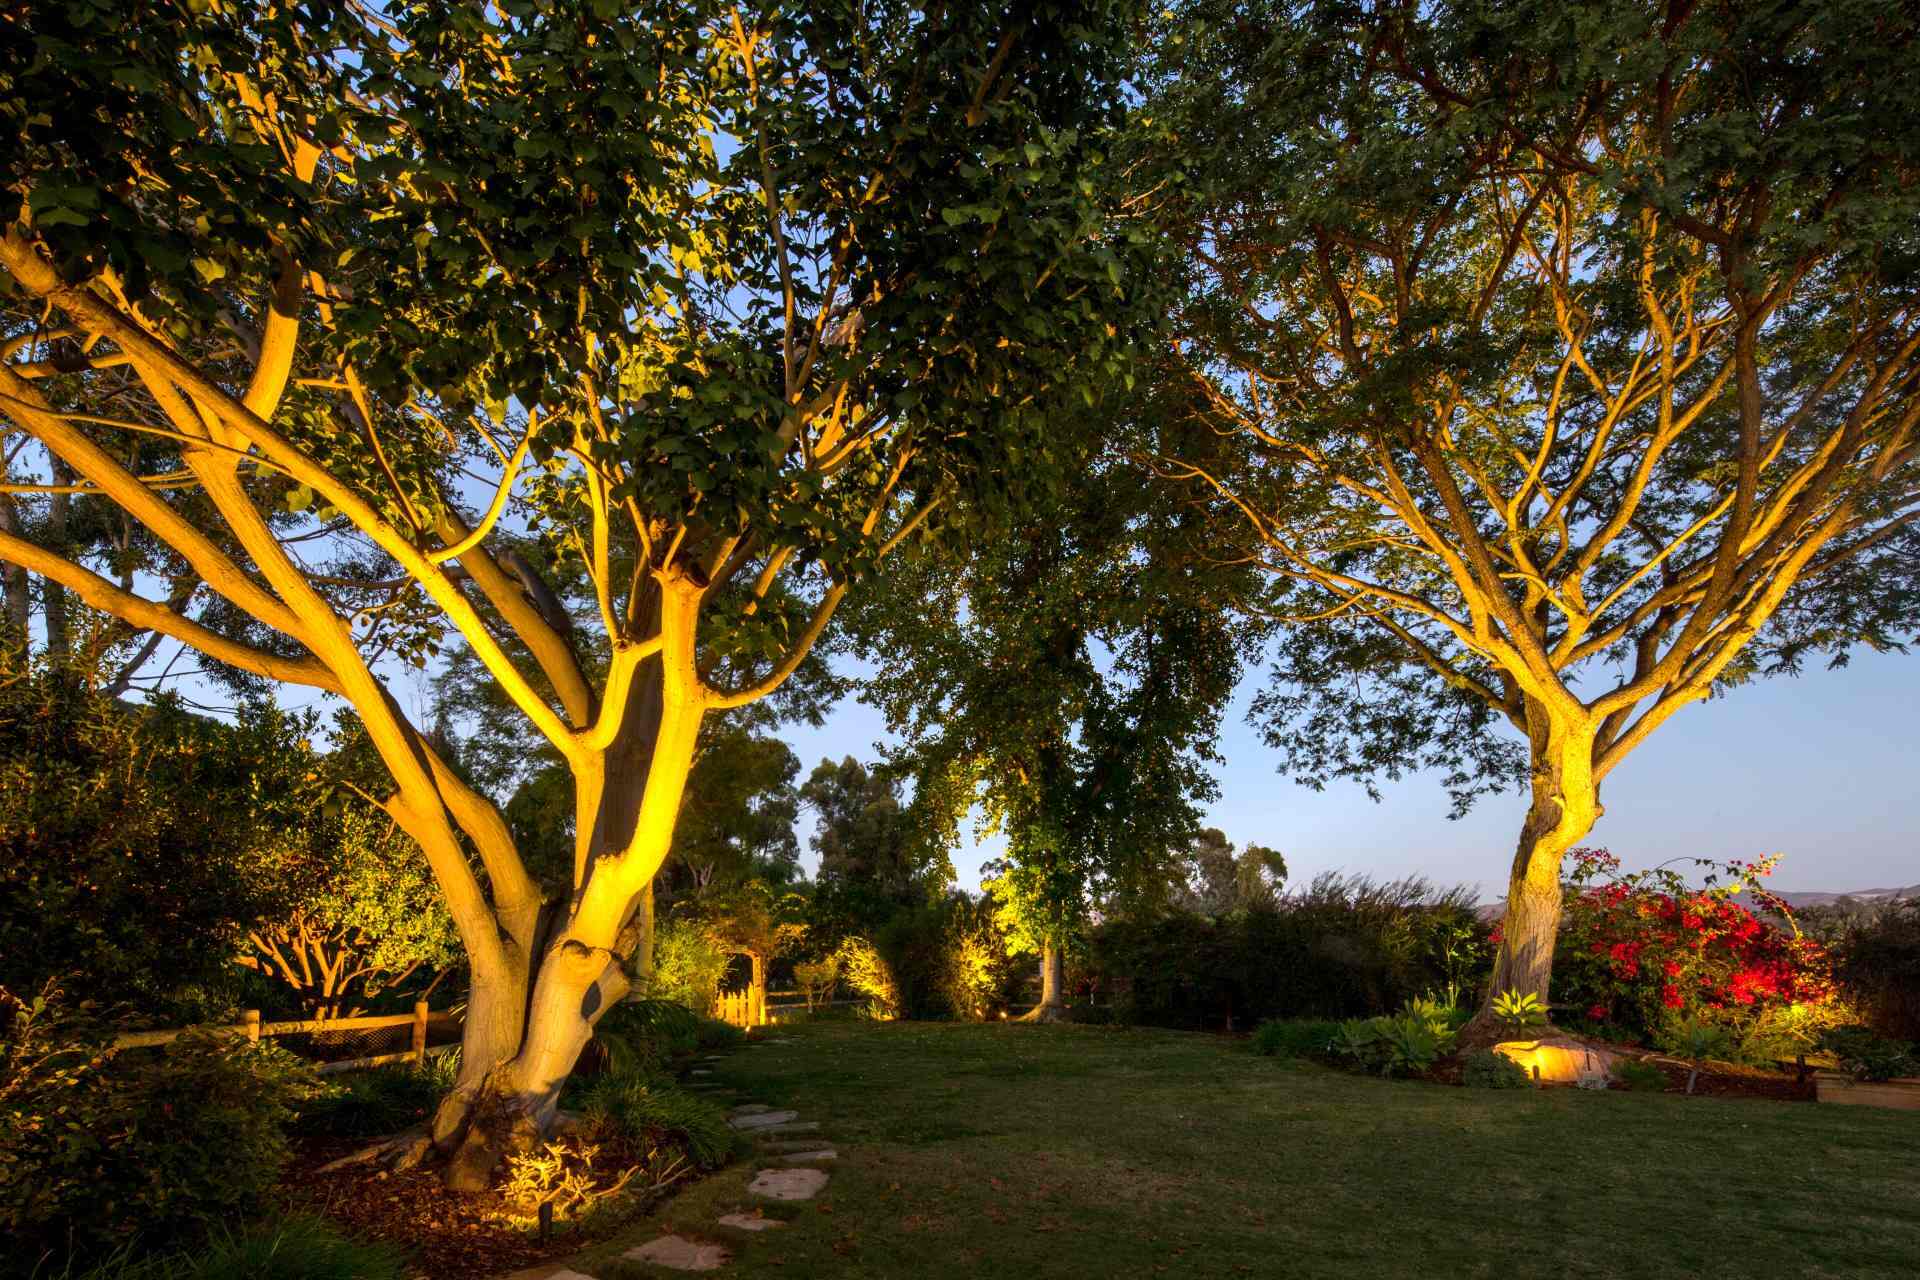
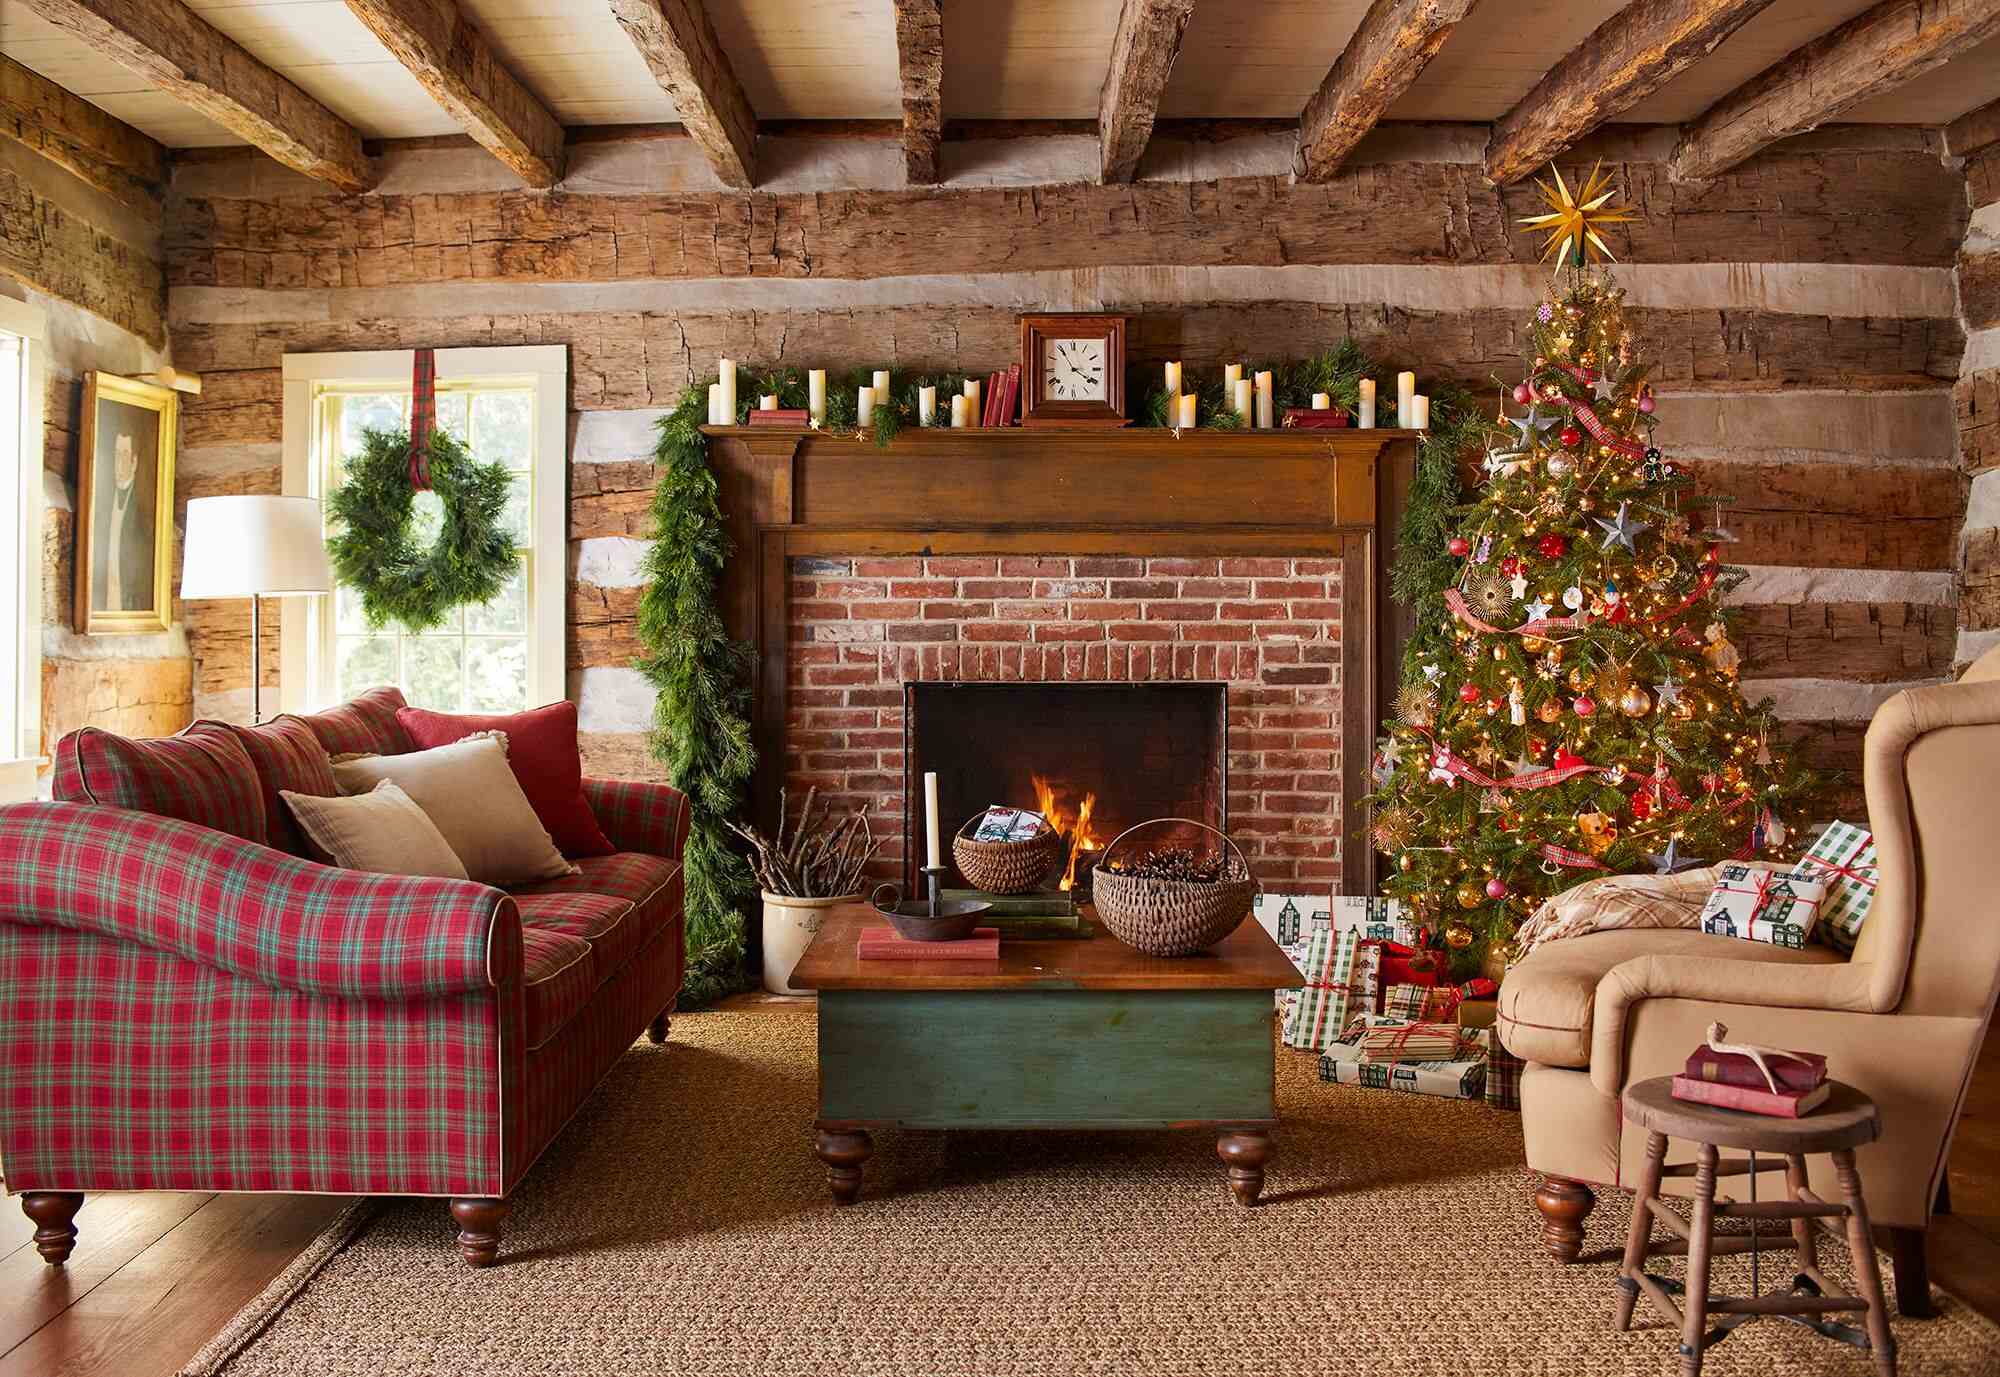
Decorating an outdoor tree with Christmas lights is a festive and time-honored tradition that brings warmth and cheer to the holiday season. The gentle glow of twinkling lights nestled among the branches creates a magical ambiance, evoking feelings of joy and wonder. Whether you have a towering evergreen in your yard or a petite ornamental tree on your patio, adorning it with lights can instantly transform your outdoor space into a winter wonderland.
As you embark on this delightful project, you'll have the opportunity to unleash your creativity and spread holiday cheer to all who behold your dazzling creation. From selecting the perfect lights to carefully arranging them on the tree, each step is a chance to infuse your personal touch and style into the display. With a bit of planning and a sprinkle of imagination, you can turn your outdoor tree into a stunning focal point that radiates festive splendor.
In the following guide, we'll walk through the essential steps to elegantly and securely adorn your outdoor tree with Christmas lights, ensuring a stunning and safe display that will delight all who behold it. Let's dive into the enchanting world of outdoor tree lighting and illuminate your holiday season with an abundance of beauty and merriment.
Key Takeaways:
- Gather supplies like lights, extension cords, and a timer before adorning your outdoor tree with Christmas lights. This will streamline the decorating process and ensure you have everything you need.
- Test your lights before installation to address any issues and guarantee a flawless display. This proactive approach will save time and frustration, allowing for a seamless decorating experience.
Step 1: Gather the Supplies
Before you begin the enchanting task of adorning your outdoor tree with Christmas lights, it’s essential to gather all the necessary supplies. Ensuring that you have everything on hand will streamline the decorating process and prevent interruptions as you bring your vision to life.
Here’s a list of supplies you’ll need:
- Christmas Lights: Select LED or incandescent lights in a color and style that complements your outdoor decor. Consider the size and shape of your tree when determining the length of lights needed.
- Extension Cords: Ensure that the extension cords are rated for outdoor use and are long enough to reach your tree from the power source.
- Outdoor Timer: A timer will allow you to automate the lighting schedule, conserving energy and ensuring that your tree is always aglow during the evening hours.
- Sturdy Ladder: Choose a ladder that is tall enough to reach the upper branches of your tree safely.
- Adhesive Clips or Hooks: These will help secure the lights to the branches without causing damage.
- Weatherproof Power Stake: If your outdoor space lacks convenient power sources, a weatherproof power stake can provide a safe and reliable electricity supply for your lights.
- Optional Decorations: Consider embellishments such as ribbons, bows, or ornaments to enhance the visual impact of your illuminated tree.
By gathering these supplies in advance, you’ll be well-equipped to embark on your outdoor tree lighting adventure with confidence and ease. With everything at your fingertips, you can focus on the joyful task of creating a breathtaking display that will enchant all who behold it.
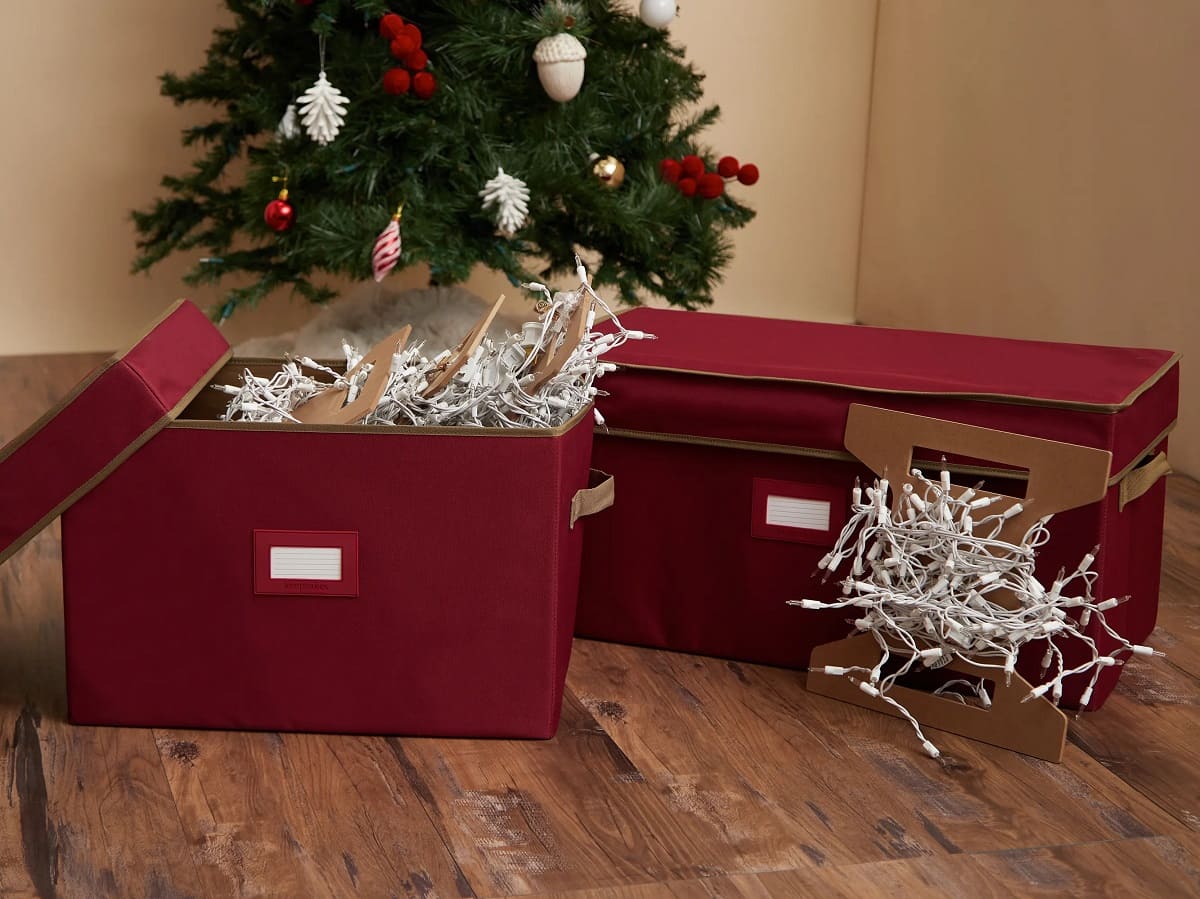
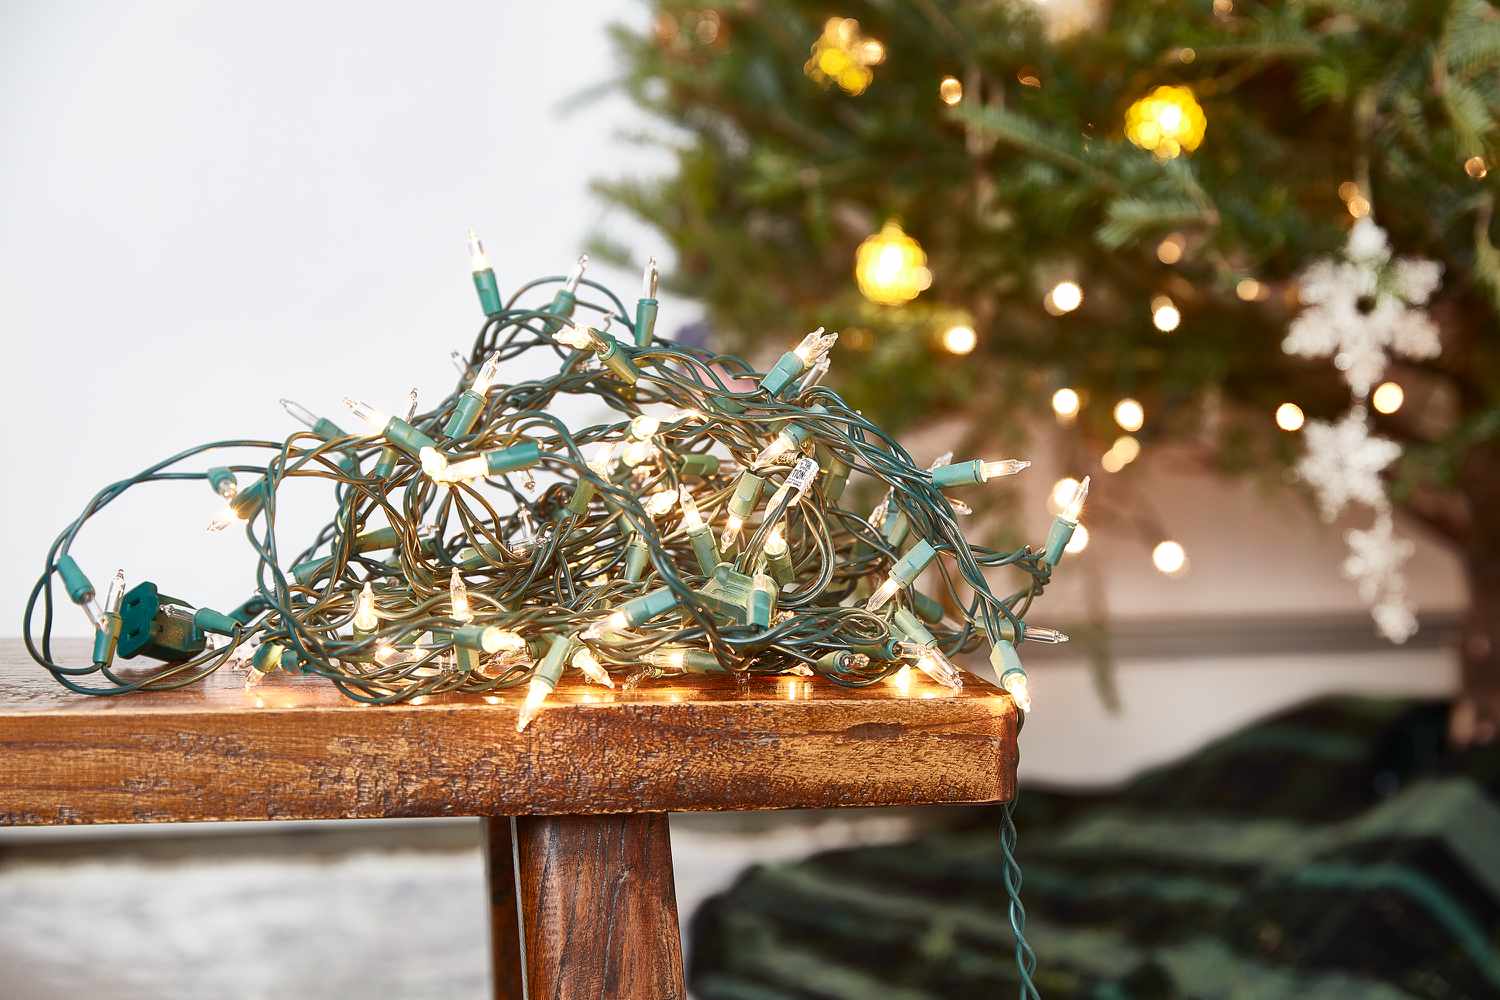
Step 2: Test the Lights
Before adorning your outdoor tree with Christmas lights, it’s crucial to ensure that all the strands are in proper working condition. Testing the lights before installation will save you time and frustration, allowing you to address any issues promptly and ensuring a seamless decorating process.
Here’s how to test your lights:
- Inspect Each Strand: Carefully examine each strand of lights, checking for any broken or missing bulbs, frayed wires, or other damage. Discard any defective strands and replace them with new ones to guarantee a flawless display.
- Plug Them In: Unravel each strand and plug it in to verify that all the bulbs illuminate. Take note of any dim or non-functioning bulbs, as these will need to be replaced to maintain the uniform glow of your tree.
- Check for Consistency: Ensure that all the strands emit the same hue and intensity of light. Consistency is key to achieving a harmonious and captivating display.
- Test the Timer: If you’re using a timer to automate your lighting schedule, test it to confirm that it operates as intended. Adjust the settings to align with your desired illumination times.
By meticulously testing your lights before installation, you’ll preemptively address any issues and guarantee a stunning and uninterrupted display. This proactive approach will set the stage for a seamless decorating experience, allowing you to focus on the artistic arrangement of the lights on your outdoor tree without any unwelcome surprises.
Step 3: Plan the Design
Planning the design for your outdoor tree lighting is a pivotal step that sets the stage for a captivating and harmonious display. By envisioning the arrangement and overall look of the lights, you can create a mesmerizing spectacle that complements your outdoor space and evokes a sense of holiday enchantment.
Consider the following aspects when planning your design:
- Tree Size and Shape: Evaluate the size, shape, and branching pattern of your tree. This will guide the placement and quantity of lights needed to achieve a balanced and captivating display.
- Focal Points: Identify the key features of your tree, such as prominent branches or a central trunk, and consider highlighting them with additional lights or embellishments to accentuate their beauty.
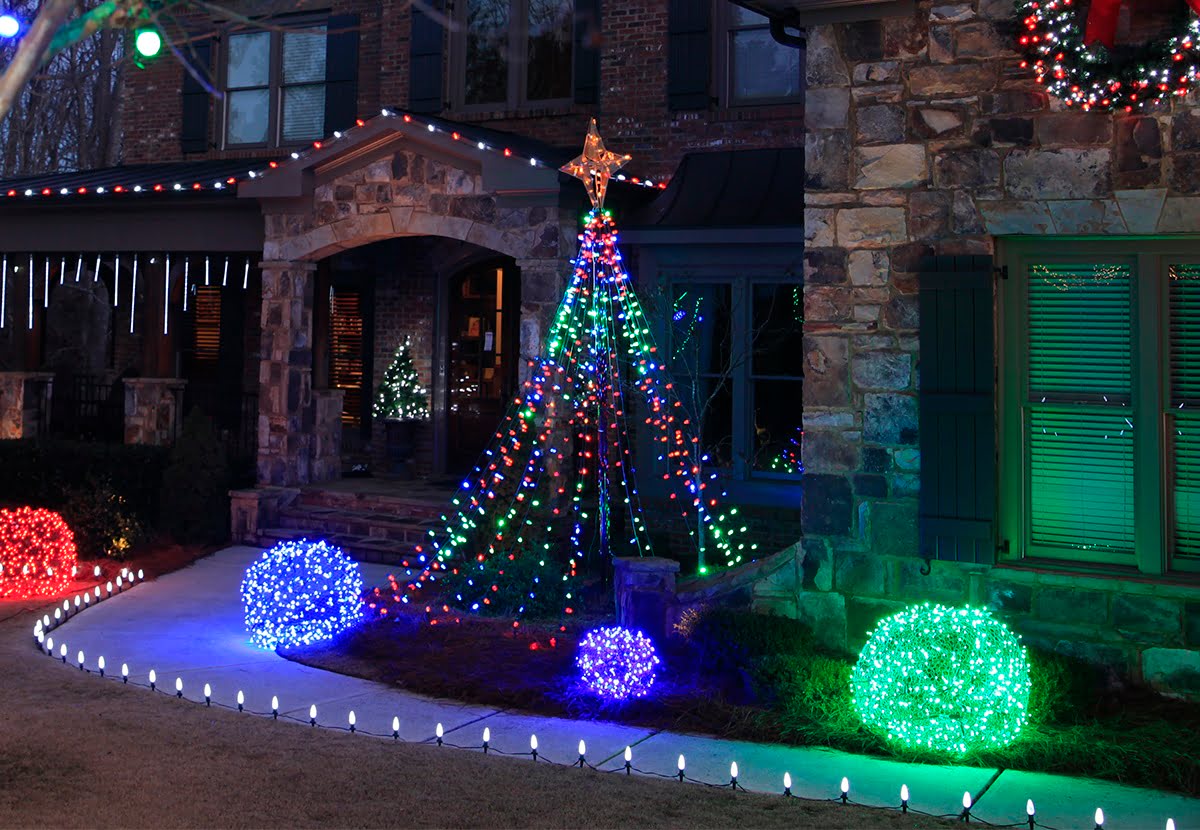
- Color Scheme: Choose a color scheme that harmonizes with your outdoor decor and evokes the ambiance you wish to create. Whether you opt for classic white lights, vibrant multicolor hues, or a themed palette, ensure that it complements the surroundings.
- Lighting Density: Decide on the density of lights you’ll use, aiming for a balanced distribution that illuminates the entire tree without overwhelming it. A uniform lighting density will create a captivating and elegant effect.
- Additional Decorations: If you plan to incorporate extra embellishments such as ribbons, bows, or ornaments, envision how they will integrate with the lights to enhance the overall visual impact.
By carefully planning the design of your outdoor tree lighting, you’ll lay the groundwork for a captivating and cohesive display that radiates festive charm. Visualizing the arrangement and considering the key elements will empower you to create a breathtaking spectacle that infuses your outdoor space with the magic of the season.
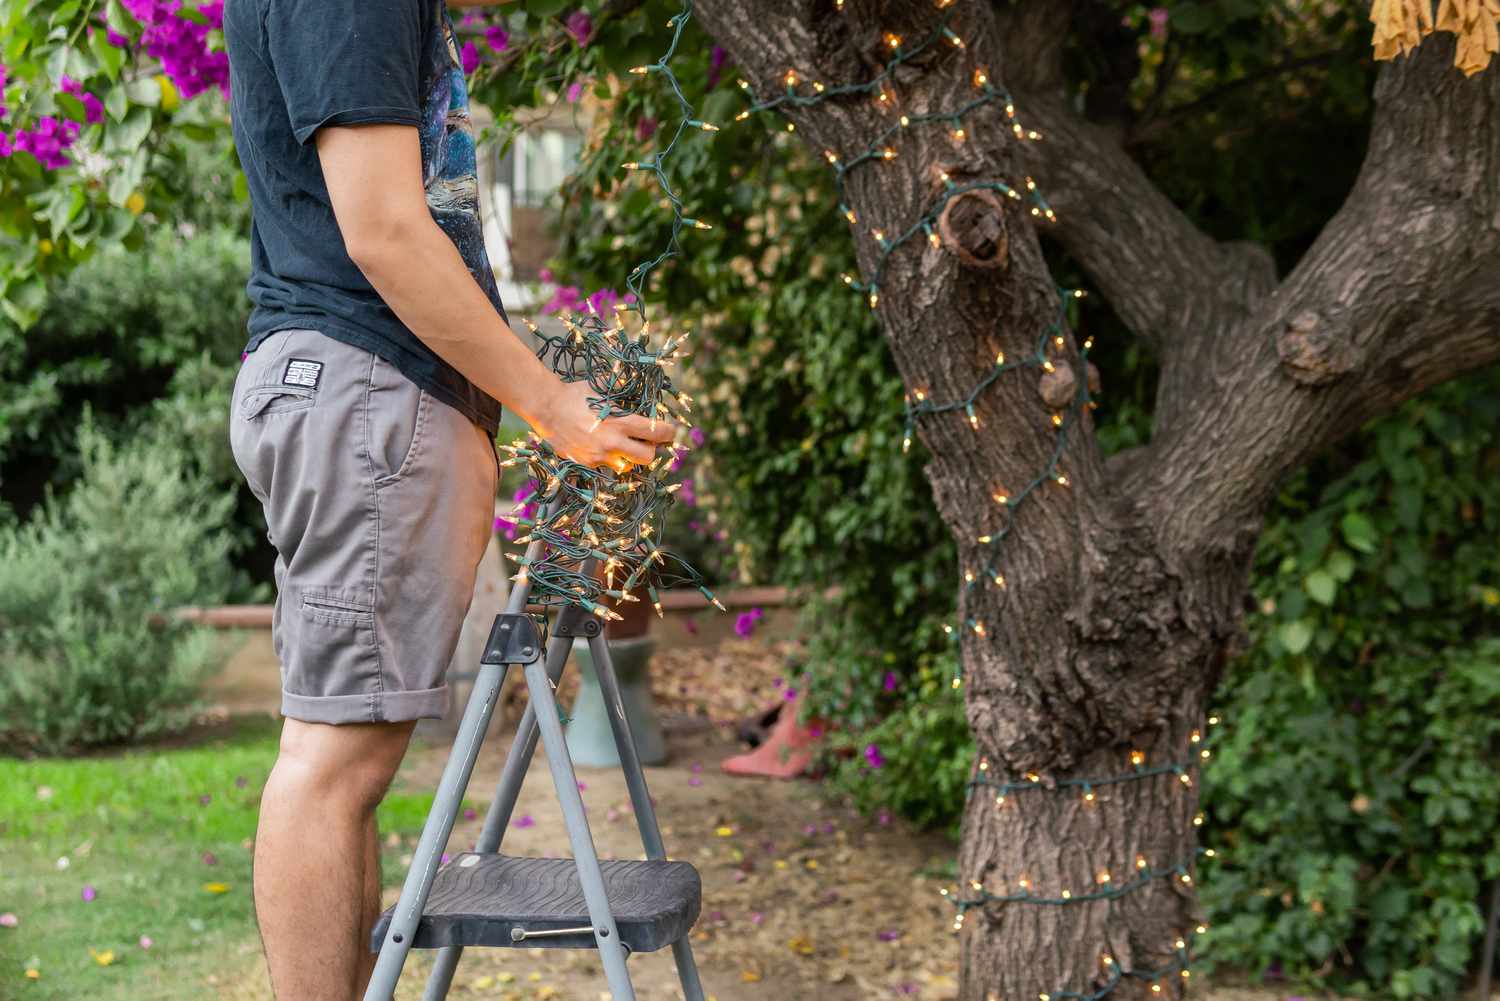
Start at the base of the tree and work your way up, wrapping the lights around the branches. Use outdoor extension cords and LED lights for safety and energy efficiency.
Step 4: Start at the Base
As you embark on the enchanting task of adorning your outdoor tree with Christmas lights, beginning at the base sets the foundation for a seamless and visually captivating display. By strategically starting at the base and working your way upward, you can ensure a balanced and harmonious distribution of lights that accentuates the tree’s natural beauty.
Here’s how to start at the base:
- Secure the First Strand: Begin by securing the plug end of the first strand of lights at the base of the tree, near the power source. This will allow you to easily connect it to an extension cord while concealing the plug for a polished look.
- Wind the Strand: Gently wind the strand around the tree’s trunk in an upward spiral, ensuring a snug and even placement. This will create a radiant core of light that serves as the foundation for the rest of the display.
- Extend to the Branches: Once you reach the lowest branches, continue wrapping the strand around them, radiating outward to cover the lower portion of the tree. Maintain a consistent spacing between the lights to achieve a balanced and enchanting glow.
By commencing the lighting installation at the base of the tree, you’ll establish a radiant and symmetrical foundation that serves as the cornerstone of your captivating display. This strategic approach sets the stage for a seamless and visually stunning transformation of your outdoor tree into a beacon of holiday splendor.
Read more: Christmas Light Ideas For Outdoor Trees
Step 5: Secure the Lights
Once you have elegantly wound the strands of lights around your outdoor tree, securing them in place is essential to ensure a dazzling and enduring display. Properly anchoring the lights will safeguard them against the elements and prevent any disruption to the enchanting ambiance they create.
Here’s how to secure the lights:
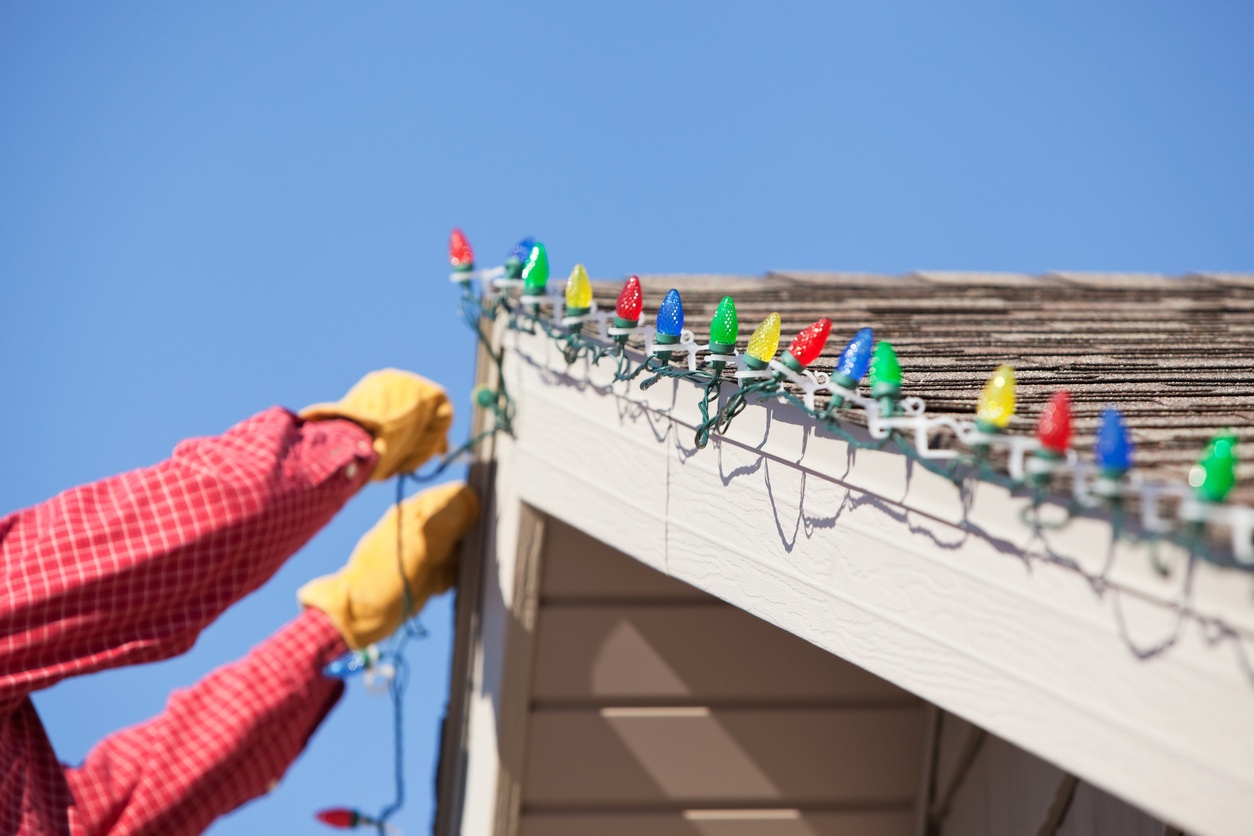
- Utilize Adhesive Clips or Hooks: Affix adhesive clips or hooks to the branches to hold the light strands in place without causing damage. Position the clips at regular intervals to maintain a consistent and polished appearance.
- Adjust the Placement: As you secure the lights, take a step back periodically to assess their arrangement and make any necessary adjustments. Ensuring that the lights are evenly distributed and gracefully draped will elevate the visual impact of your illuminated tree.
- Secure Extension Cords: Conceal extension cords along the tree’s trunk and branches, securing them with additional clips or discreetly tucking them out of sight. This will maintain a seamless and polished presentation while safeguarding the cords from damage.
- Inspect for Stability: After securing the lights, gently shake the branches to confirm that the strands are firmly anchored. Address any loose sections or areas that require reinforcement to guarantee a stable and enduring display.
By diligently securing the lights in place, you’ll fortify the enchanting display of your outdoor tree, ensuring that it radiates with festive splendor throughout the holiday season. This meticulous attention to detail will preserve the beauty and allure of your illuminated creation, inviting admiration and delight from all who behold it.
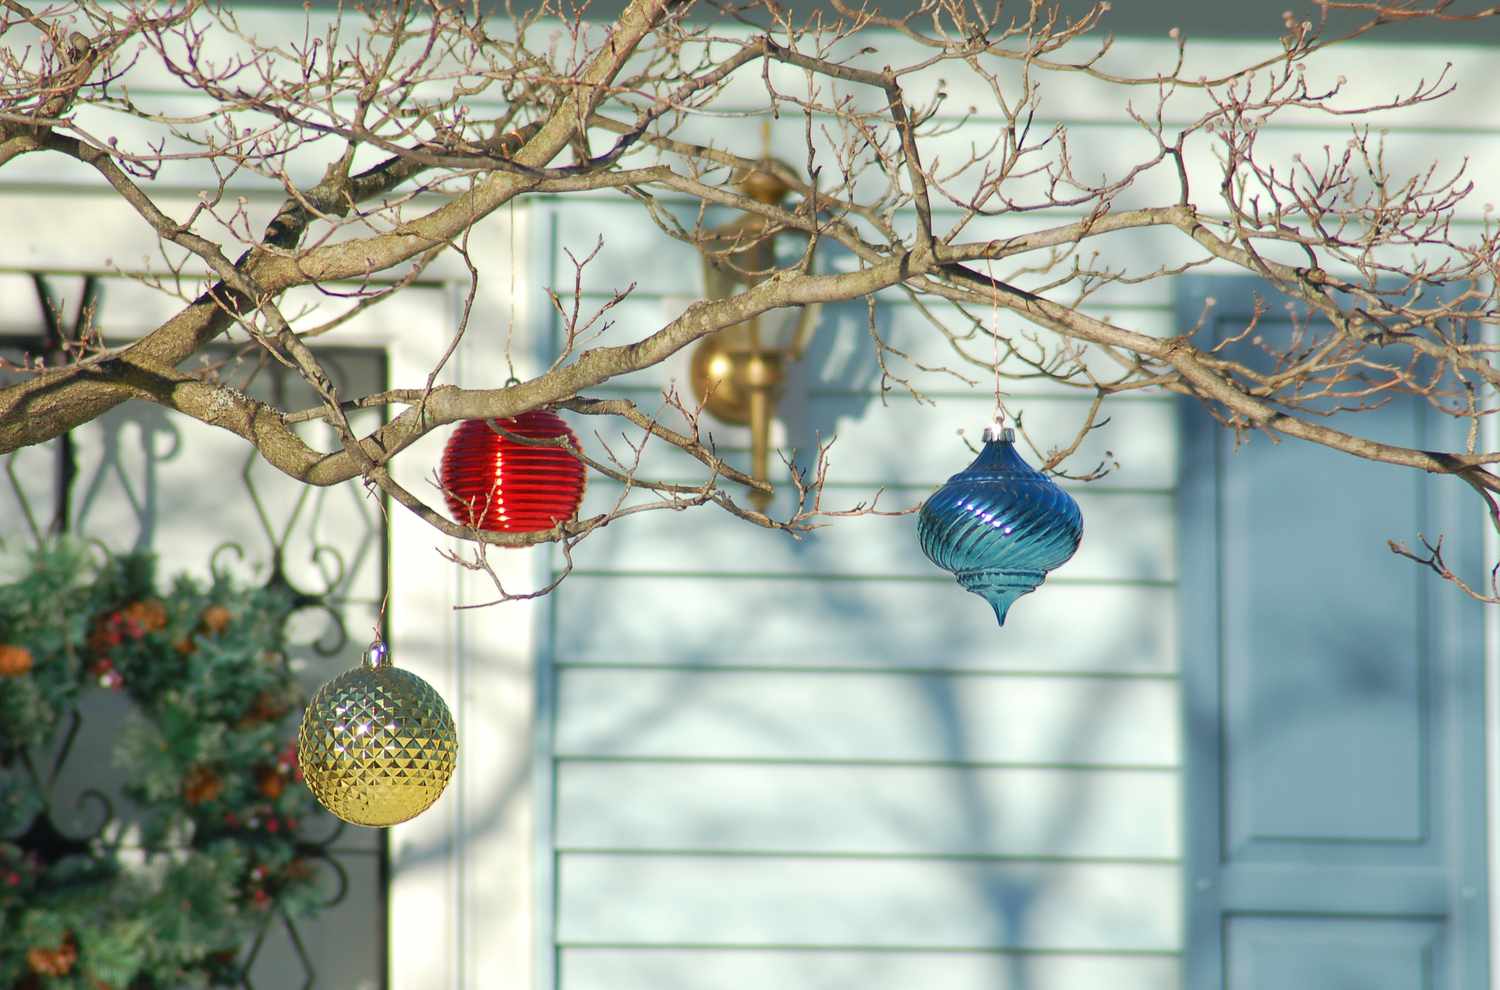
Step 6: Add Extra Decorations
Enhancing your outdoor tree with extra decorations is a delightful way to elevate its festive charm and infuse your personal style into the display. By incorporating embellishments that complement the lights and reflect your holiday aesthetic, you can create a captivating and unique outdoor focal point that radiates warmth and merriment.
Consider the following ideas for adding extra decorations:
- Ribbons and Bows: Adorn the branches with festive ribbons and bows in coordinating colors, weaving them among the lights to impart a touch of elegance and whimsy.
- Ornaments: Hang shatterproof ornaments from the branches, selecting designs and hues that harmonize with the overall theme of your outdoor decor. Ensure that the ornaments are lightweight and securely fastened to withstand outdoor conditions.
- Faux Snow or Foliage: Sprinkle faux snow or tuck artificial foliage among the branches to evoke a wintry enchantment and enhance the magical ambiance of your illuminated tree.
- Garlands: Drape garlands of faux greenery or twinkling lights among the branches to add depth and texture to the display, creating a lush and inviting aesthetic.
By incorporating these extra decorations, you’ll impart a personalized and enchanting touch to your outdoor tree, transforming it into a captivating symbol of holiday cheer. Each embellishment will contribute to the overall visual impact, creating a mesmerizing and inviting display that radiates with the spirit of the season.
Step 7: Enjoy Your Beautiful Outdoor Tree
With the final touches in place and your outdoor tree adorned with radiant lights and charming embellishments, it’s time to revel in the enchanting beauty of your creation. As dusk descends and the lights spring to life, your outdoor space will be transformed into a mesmerizing winter wonderland, radiating warmth and festive cheer.
Here are a few ways to savor and showcase your illuminated outdoor tree:
- Evening Strolls: Take leisurely evening strolls around your outdoor space, basking in the captivating glow of your tree and savoring the tranquil ambiance it imparts.
- Outdoor Gatherings: Host gatherings or intimate gatherings in your outdoor space, allowing your illuminated tree to serve as a captivating focal point that sparks conversation and delight.
- Capture Memories: Capture the enchanting display through photographs or videos, preserving the magical ambiance and creating lasting memories of the holiday season.
- Share the Joy: Invite friends, family, and neighbors to admire your stunning outdoor tree, spreading the joy and warmth of the season to all who behold it.
As you bask in the radiant splendor of your outdoor tree, take a moment to appreciate the creativity and care you’ve poured into this enchanting project. The captivating display serves as a testament to the festive spirit and brings a touch of magic to your outdoor space, fostering a sense of joy and wonder for all who encounter it.
So, embrace the beauty of your illuminated outdoor tree, relish the enchanting ambiance it creates, and revel in the joy it brings to your heart and the hearts of those around you. May the radiant glow of your outdoor tree illuminate the holiday season with warmth, splendor, and boundless cheer.
Frequently Asked Questions about How To Put Christmas Lights On An Outdoor Tree
Was this page helpful?
At Storables.com, we guarantee accurate and reliable information. Our content, validated by Expert Board Contributors, is crafted following stringent Editorial Policies. We're committed to providing you with well-researched, expert-backed insights for all your informational needs.


0 thoughts on “How To Put Christmas Lights On An Outdoor Tree”