Articles
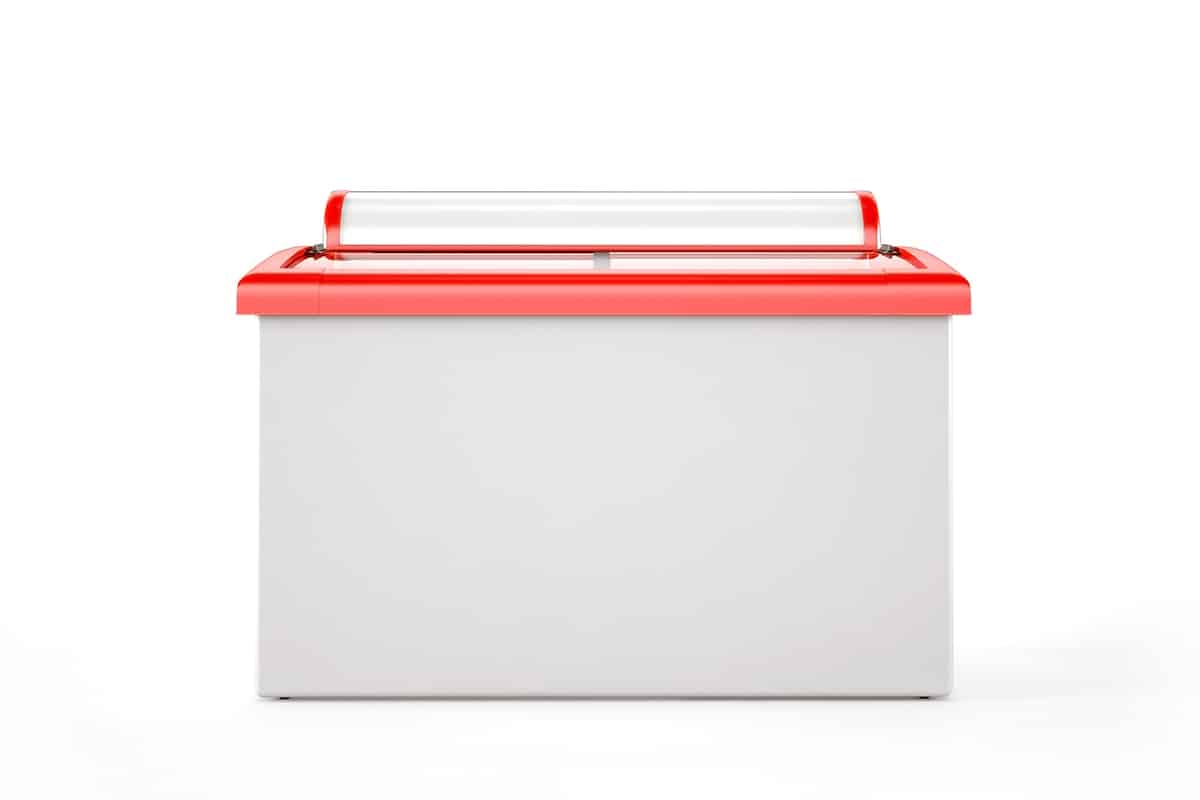
How To Store A Freezer When Not In Use
Modified: May 6, 2024
Learn how to properly store a freezer when it's not in use. Read our informative articles on freezer storage tips and keep your appliance in top condition.
(Many of the links in this article redirect to a specific reviewed product. Your purchase of these products through affiliate links helps to generate commission for Storables.com, at no extra cost. Learn more)
Introduction
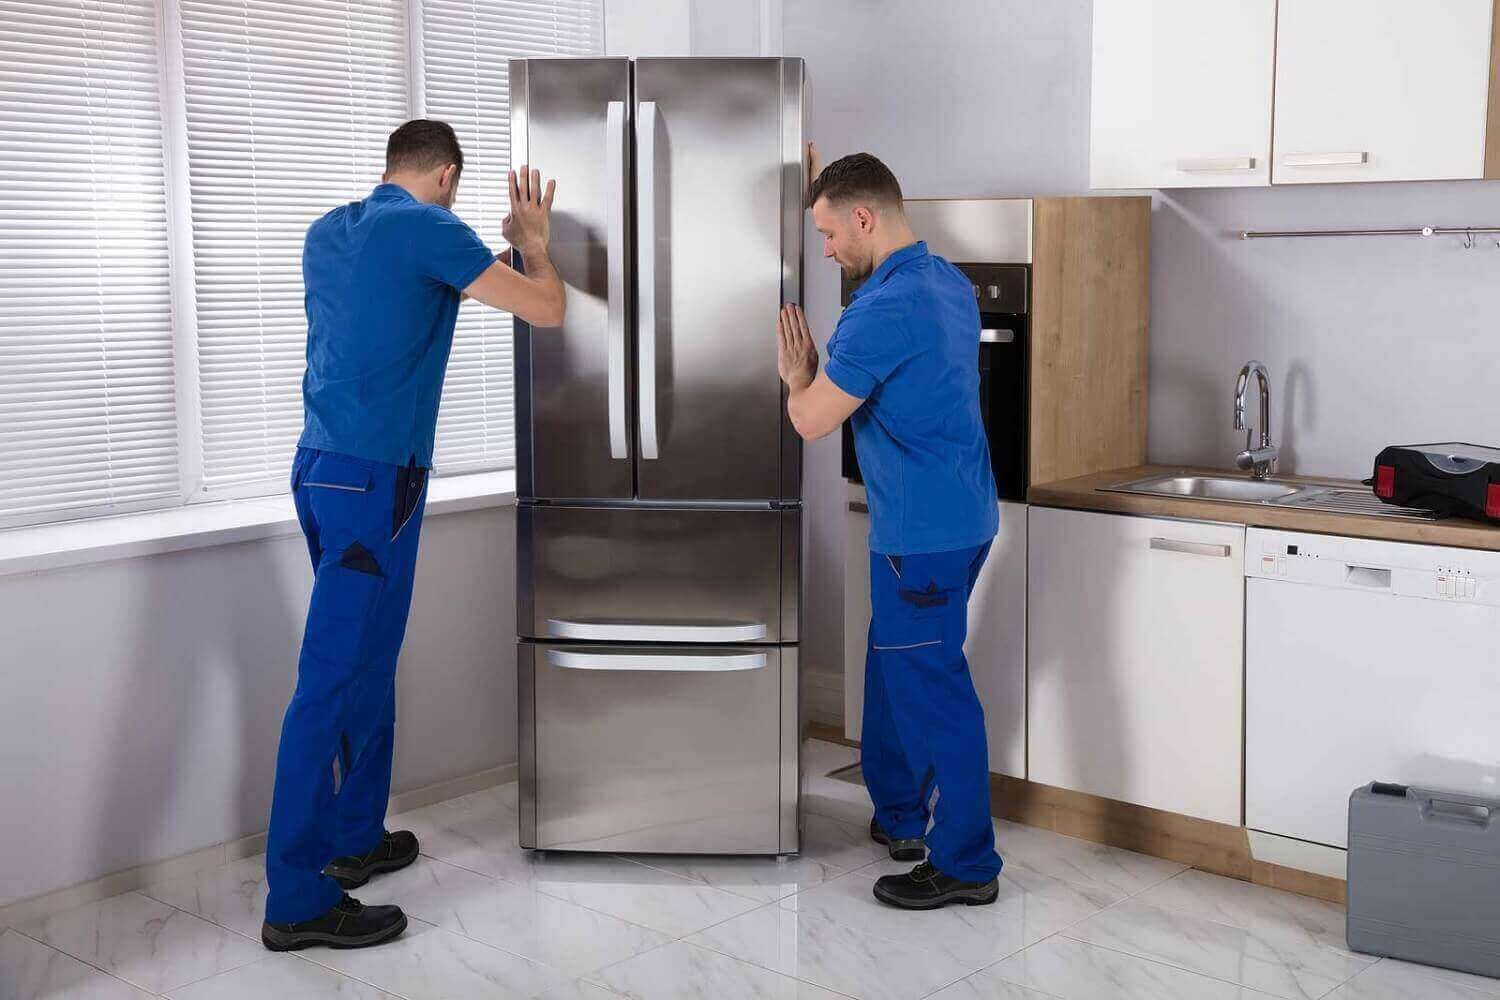
When it comes to home appliances, the freezer plays a crucial role in preserving our food and keeping it fresh for longer periods. However, there may be times when you need to store a freezer when it is not in use, such as during a move or when renovating your kitchen. Properly storing your freezer is essential to ensure its longevity and prevent any damage. In this article, we will guide you through the steps of how to store a freezer when not in use, ensuring it remains in excellent condition for future use.
Properly storing your freezer involves several important steps, including selecting the storage location, cleaning and defrosting the freezer, removing all contents, disconnecting the power supply, securing and protecting the exterior, covering and insulating, and monitoring the storage environment. By following these steps, you can rest assured knowing that your freezer will be ready for use whenever you need it.
So, without further ado, let’s dive into the details of each step involved in storing a freezer when not in use.
Key Takeaways:
- Properly storing a freezer involves choosing a suitable location, cleaning, and defrosting, removing contents, disconnecting power, securing the exterior, covering, and monitoring the storage environment.
- Maintenance tips for prolonged storage include monitoring the environment, checking for leaks, ensuring ventilation, periodic cleaning, pest control, and verifying the power supply before use.
Read more: How To Store A Chest Freezer When Not In Use
Choosing the Storage Location
When it comes to storing your freezer, choosing the right location is crucial. You’ll want to find a space that is cool, dry, and well-ventilated. Ideally, the temperature should be between 32°F to 85°F (0°C to 29°C) to ensure the freezer doesn’t get too cold or too hot, which can affect its performance and longevity. Additionally, it’s important to consider the following factors:
- Accessibility: Select a location where you can easily access the freezer when needed. This will ensure that retrieval and installation are convenient and hassle-free.
- Level Ground: Make sure the area is level to prevent any potential damage to the freezer or its components. Uneven surfaces can put unnecessary stress on the appliance, leading to malfunctions.
- Away from Direct Sunlight: Avoid placing the freezer in direct sunlight or near heat sources such as stoves or heaters. Excessive heat can cause the freezer to work harder and may result in damage to its internal components.
- Adequate Space: Ensure that there is enough space around the freezer for proper air circulation. Leave a few inches of clearance on all sides to allow for proper ventilation and prevent overheating.
- Stable Environment: Choose a location that is less prone to temperature fluctuations and humidity. Extreme temperature variations and high humidity levels can damage the freezer’s internal components, leading to potential malfunctions.
By considering these factors, you can choose the ideal storage location for your freezer, providing a safe and stable environment for its extended period of non-use. Once you have selected the storage location, it’s time to move on to the next step: cleaning and defrosting the freezer.
Cleaning and Defrosting the Freezer
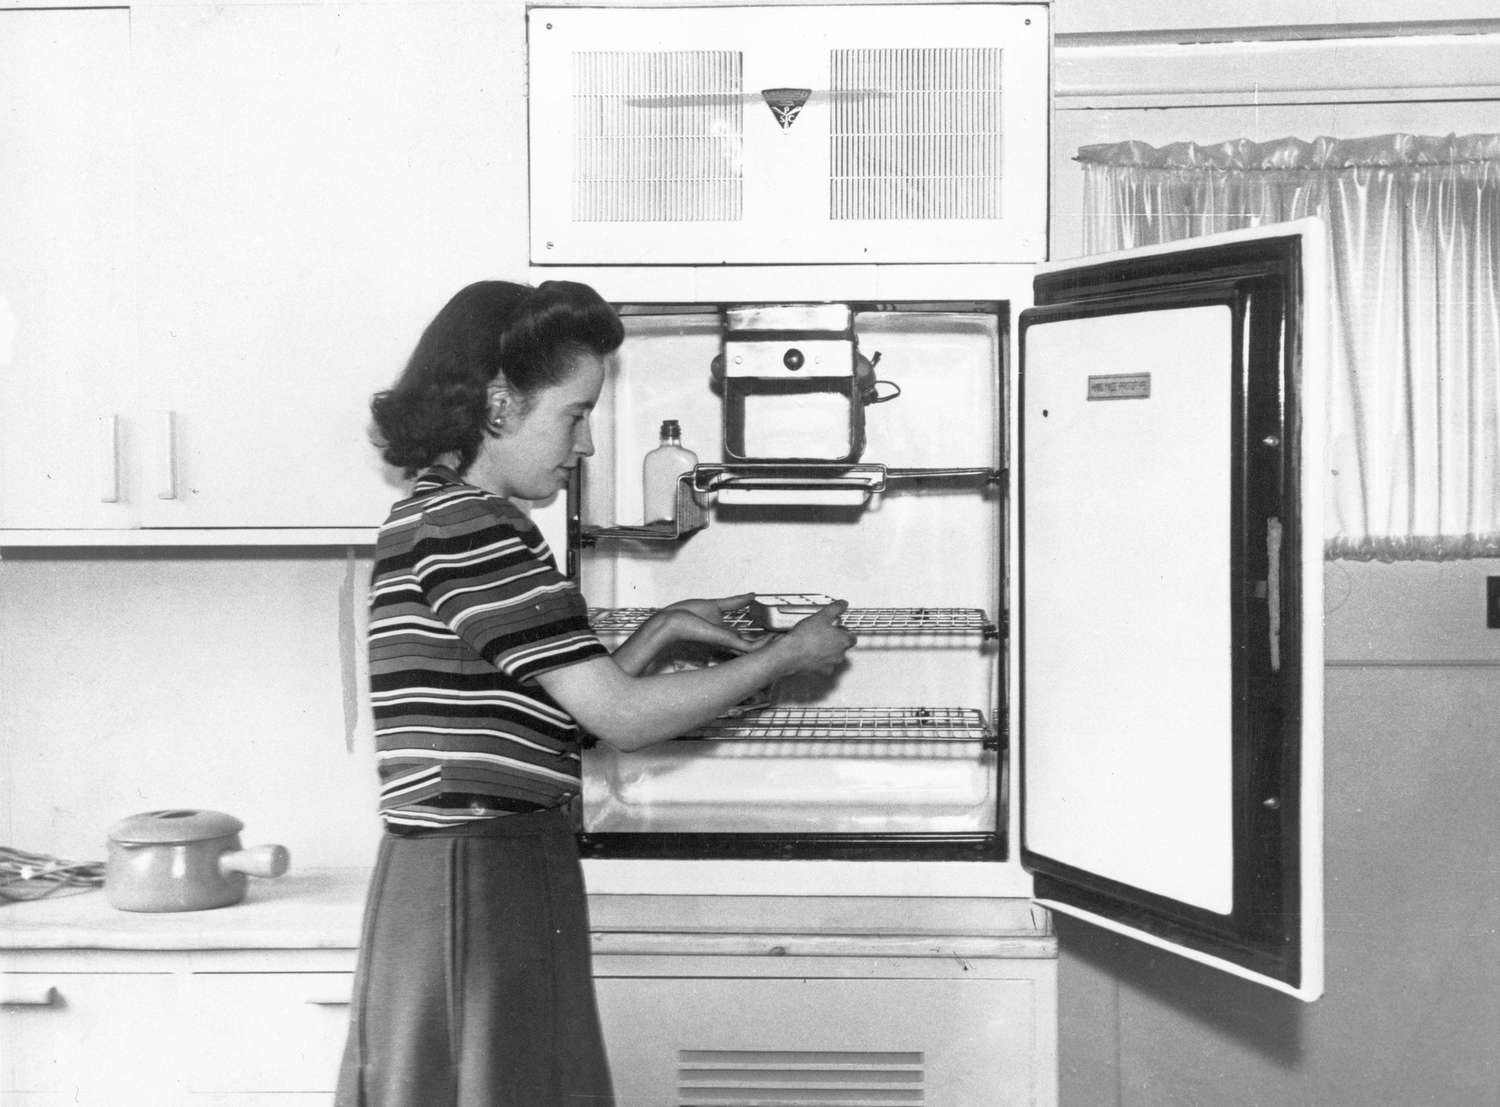
Before you store your freezer, it is essential to clean and defrost it thoroughly. This step is crucial to remove any food debris, odors, and ice buildup, ensuring a clean and fresh storage environment. Here’s how to clean and defrost your freezer:
- Remove all contents: Start by emptying the freezer of all its contents. Take out any food items and store them in an alternative freezer or cooler to keep them fresh during the cleaning process.
- Unplug the freezer: Safely unplug the freezer from the power supply to avoid any electrical hazards. This will also prevent the freezer from cooling while you clean and defrost it.
- Defrosting: Allow the freezer to defrost naturally. Turn off the freezer’s cooling system, and keep the freezer door open. Place towels or absorbent materials around the freezer to catch any water as the ice melts. Avoid using sharp objects or heaters to expedite the defrosting process, as they can damage the interior.
- Cleaning the interior: Once the freezer has completely defrosted, remove any remaining ice or frost from the interior using a soft cloth or sponge. Prepare a solution of warm water and mild dish soap and use it to clean the interior walls, shelves, and drawers. Rinse thoroughly with clean water and dry the interior completely to prevent the growth of mold and mildew.
- Cleaning the exterior: Wipe down the exterior of the freezer with a mixture of mild dish soap and warm water. Pay attention to any stains or spills, and gently scrub them away. Dry the exterior with a clean cloth.
By cleaning and defrosting your freezer before storage, you are ensuring a fresh and hygienic environment for your appliance. Once cleaned and dried, the next step is to remove all contents from the freezer.
Removing All Contents
When preparing to store your freezer, it is essential to remove all contents from the appliance. This step is important to prevent the spoilage of perishable items and to ensure a hassle-free storage process. Here are the steps to follow when removing all contents from your freezer:
- Sort and discard: Take inventory of the items in your freezer and sort them accordingly. Check the expiration dates and discard any expired or spoiled food items. This will help avoid unpleasant odors and potential contamination during storage.
- Transfer to alternative storage: If you have another freezer or access to a cooler, transfer any food items that need to be kept frozen to the alternative storage. Use ice packs or dry ice to maintain the low temperature during the transfer.
- Clean the removed items: Before placing the transferred food items in an alternative storage space, clean the containers or packaging to avoid any potential contamination.
- Remove all trays and shelves: Take out all removable trays, shelves, and drawers from the freezer. Clean them thoroughly using warm water and mild dish soap. Rinse and dry them completely before storing them separately.
- Clean the door seal: Pay close attention to cleaning the door seal or gasket of the freezer. Use a damp cloth and mild detergent to remove any dirt or debris that may have accumulated on the seal.
By removing all contents from the freezer, you are ensuring that there are no perishable items or potential contaminants left behind. This step will not only keep your freezer clean but also make it easier to clean and maintain during storage. Once the contents have been removed, you can proceed to the next step of emptying and cleaning the freezer compartments.
Emptying and Cleaning the Freezer Compartments
After removing all contents from your freezer, the next step is to empty and clean the compartments of the freezer. This process involves thoroughly cleaning the interior compartments, such as shelves, drawers, and bins. Here’s how to empty and clean the freezer compartments:
- Remove all compartments: Take out all removable compartments, such as shelves, drawers, and bins, from the freezer. This will make it easier to clean and ensure no dirt or residue is left behind.
- Empty ice trays and ice bins: If your freezer has ice trays or ice bins, empty them completely. Clean and dry them before storing them separately.
- Clean the compartments: Prepare a mixture of warm water and mild dish soap. Use this solution to clean the compartments, inside and out, with a soft cloth or sponge. Pay attention to any stubborn stains and gently scrub them away. Rinse the compartments with clean water and dry them thoroughly.
- Inspect for damages: While cleaning the compartments, take the opportunity to inspect them for any damages or signs of wear and tear. If you notice any cracks, breaks, or malfunctions, make a note of them for repair or replacement before storing the freezer.
- Reassemble compartments: Once the compartments are clean and dry, reassemble them and ensure they fit snugly in their designated spots. Double-check that all compartments are clean and free from any remaining debris.
Emptying and cleaning the freezer compartments is an important step to maintain a hygienic storage environment. By removing all food particles, spills, and dirt, you are preventing the growth of bacteria and potential foul odors. With the compartments cleaned and reassembled, the next step is to disconnect the power supply.
Read more: How To Store A Printer When Not In Use
Disconnecting the Power Supply
Before storing your freezer, it is crucial to disconnect the power supply to ensure safety and avoid any potential electrical issues. Here’s how to properly disconnect the power supply:
- Unplug the freezer: Locate the power cord of the freezer and unplug it from the electrical outlet. Ensure that you do this safely by grasping the plug firmly and pulling it straight out.
- Secure the cord: Once the freezer is unplugged, secure the power cord to prevent it from dragging on the floor or becoming tangled. You can use tape, twist ties, or cord organizers to keep it neatly bundled.
- Inspect the cord: Take a moment to inspect the power cord for any signs of damage or wear and tear. If you notice any frayed wires or exposed insulation, refrain from using the cord and seek a replacement to prevent any electrical hazards.
- Store the plug: To keep the plug handy and prevent it from getting misplaced, you can wrap it securely with the power cord and attach it to the back of the freezer using tape or a cord holder.
Disconnecting the power supply ensures the safety of the freezer during storage and prevents any unnecessary energy consumption. Additionally, it reduces the risk of electrical hazards, such as short circuits or electrical fires. With the power supply disconnected, it’s time to take measures to secure and protect the exterior of the freezer.
Before storing a freezer, make sure it is completely defrosted and cleaned. Leave the door slightly ajar to prevent mold and mildew growth. Use a cover to protect it from dust.
Securing and Protecting the Freezer Exterior
When storing your freezer, it’s important to take steps to secure and protect the exterior of the appliance. This will help prevent any damage and maintain its appearance. Here are some measures to secure and protect the freezer exterior:
- Secure the door: Make sure the freezer door is securely closed and latched. This will prevent it from accidentally opening during storage and reduce the risk of any damage to the door or its components.
- Use a door lock: If you want an extra level of security, consider using a door lock specifically designed for freezers. These locks can help prevent unauthorized access and keep the contents of the freezer safe.
- Avoid stacking items on top: When storing the freezer, avoid placing any heavy objects or stacking items on top of it. This can cause unnecessary strain on the freezer and potentially damage the exterior surface.
- Protect from dust and dirt: Use a clean cloth or cover to protect the exterior of the freezer from dust and dirt during storage. This will help maintain its cleanliness and prevent any buildup that may be difficult to clean later on.
- Avoid exposure to moisture: Ensure that the storage location you chose for the freezer is dry to prevent any moisture or humidity from affecting the exterior. Moisture can lead to rust or damage the surface of the freezer.
By taking these precautions, you are securing and protecting the exterior of the freezer, ensuring its integrity and preserving its appearance during storage. Now, let’s move on to the next step: covering and insulating the freezer.
Covering and Insulating the Freezer
Covering and insulating your freezer when storing it is an essential step to protect it from dust, temperature fluctuations, and potential damage. Here’s how to effectively cover and insulate your freezer:
- Choose a suitable cover: Select a cover that fits your freezer properly. Good options include a plastic or vinyl cover specifically designed for appliances or a large, heavy-duty plastic sheet. Ensure the cover completely encloses the freezer and provides a snug fit.
- Wrap the freezer: Start by cleaning the exterior of the freezer to remove any dust or dirt. Once clean and dry, wrap the freezer tightly with the chosen cover. Make sure all sides, including the top and bottom, are completely covered. This will help protect it from dust and other contaminants.
- Secure the cover: Use bungee cords, straps, or tape to secure the cover in place and prevent it from slipping or coming loose during storage. Ensure that the cover is tightly secured to provide maximum protection.
- Insulate with blankets: For added insulation, you can place thick blankets or towels around the freezer. These will help regulate the temperature inside the freezer and offer protection against extreme temperature fluctuations.
- Avoid blocking ventilation: While covering and insulating the freezer, make sure you do not block any ventilation areas. This will allow proper airflow and prevent the buildup of excess moisture inside the appliance.
By properly covering and insulating your freezer, you are providing an additional layer of protection against dust, temperature changes, and potential damage. The cover will also help maintain the cleanliness and appearance of the freezer during its time in storage. With the freezer securely covered and insulated, it’s time to move on to the next step: monitoring the storage environment.
Monitoring the Storage Environment
While your freezer is in storage, it is important to monitor the storage environment to ensure optimal conditions and prevent any potential damage to the appliance. Here are some tips for monitoring the storage environment:
- Temperature control: Regularly check the temperature of the storage area to ensure it remains within the recommended range for freezer storage. Extreme temperatures can affect the performance and longevity of the appliance.
- Humidity levels: Keep an eye on the humidity levels in the storage space. High humidity can lead to the growth of mold or mildew, while low humidity can cause cracking or drying out of the freezer’s components.
- Air circulation: Ensure that there is proper air circulation in the storage area. Good airflow will help prevent the buildup of moisture and maintain a stable environment for the freezer.
- Check for pests: Regularly inspect the storage area for any signs of pests, such as rodents or insects. These pests can cause damage to the freezer and its contents. If you notice any signs of infestation, take immediate action to eliminate the pests.
- Monitor power supply: If the storage area has access to electricity, consider using a power monitor or timer to periodically activate the power supply. This will help prevent the freezer’s components from becoming stagnant due to prolonged periods of inactivity.
By actively monitoring the storage environment, you can address any issues promptly and ensure that the freezer is kept in optimal conditions. This will help maintain the appliance’s performance and extend its lifespan. With proper monitoring in place, you can now focus on maintenance tips for prolonged storage periods.
Read more: How To Store A Cooler When Not In Use
Maintenance Tips for Prolonged Storage Periods
If you’re planning to store your freezer for a prolonged period, it is crucial to follow these maintenance tips to ensure its proper functioning when you eventually need to use it again:
- Regularly check the storage environment: Continue monitoring the storage area to ensure temperature and humidity levels remain stable. Address any issues promptly to prevent damage to the freezer.
- Inspect for leaks: Periodically check for any signs of leaks or water accumulation inside the freezer or around the storage area. Leaks can indicate a malfunction or damage that may need to be addressed before using the appliance.
- Ensure proper ventilation: Throughout the storage period, make sure there is adequate air circulation around the freezer. This will help prevent the buildup of moisture and maintain a favorable storage environment.
- Periodically clean the exterior: Regularly wipe down the exterior of the freezer to remove any dust or debris that may have accumulated during storage. This will help maintain its appearance and prevent any potential damage.
- Check for pests: Continue inspecting the storage area for any signs of pests and take necessary actions to eliminate them. Seal any entry points to prevent pests from entering and causing damage to the freezer.
- Consider periodic rotation: If feasible, you can rotate the freezer periodically during storage to ensure even weight distribution and prevent any potential damage from extended periods of pressure on certain areas.
- Verify power supply before use: Before plugging in and using the freezer again, verify the power supply and cord for any signs of damage. If necessary, replace the cord to ensure safe and proper functioning.
By following these maintenance tips, you can ensure that your freezer remains in good condition during its prolonged storage period. When the time comes to use the freezer again, you can do so with confidence, knowing that it has been well-maintained. Now, let’s summarize the key points.
Conclusion
Storing a freezer properly when not in use is essential to ensure its longevity and maintain its performance. By following the steps outlined in this article, you can store your freezer with confidence and know that it will be ready for use when you need it. Let’s recap the key points discussed:
First, choose a suitable storage location that is cool, dry, and well-ventilated. Next, clean and defrost the freezer, removing all contents and thoroughly cleaning the interior and exterior. Disconnect the power supply and secure the freezer’s exterior to prevent any damage. Cover and insulate the freezer to protect it from dust, temperature fluctuations, and other potential hazards. Monitor the storage environment, including temperature, humidity, and airflow. Finally, follow maintenance tips for prolonged storage periods, keeping an eye on the storage environment and performing regular checks and cleaning.
By thoroughly following these steps and taking proper care, your freezer will remain in excellent condition while in storage and will be ready for use when you retrieve it. Remember to always refer to the manufacturer’s guidelines and instructions for any specific recommendations related to your freezer model.
Properly storing your freezer not only protects your investment but also ensures that your food stays fresh and your appliance functions optimally. With these tips, you can confidently store your freezer and have peace of mind knowing that it will be in good working order when you need it again.
Now that you've mastered storing your freezer, why not cut down on utility bills too? Our next guide on efficient home appliance use shows you how to save energy with your air conditioner. Keeping cool doesn't have to burn through cash. Find out simple yet effective strategies to reduce power consumption and enjoy a more eco-friendly home. Don't miss out on these smart tips!
Frequently Asked Questions about How To Store A Freezer When Not In Use
Was this page helpful?
At Storables.com, we guarantee accurate and reliable information. Our content, validated by Expert Board Contributors, is crafted following stringent Editorial Policies. We're committed to providing you with well-researched, expert-backed insights for all your informational needs.


0 thoughts on “How To Store A Freezer When Not In Use”