
Articles
How To Store A Yeti Cooler When Not In Use
Modified: April 22, 2024
Learn the best way to store your Yeti cooler when it's not in use with these helpful articles. Prevent damage and extend its lifespan.
(Many of the links in this article redirect to a specific reviewed product. Your purchase of these products through affiliate links helps to generate commission for Storables.com, at no extra cost. Learn more)
Introduction
When it comes to keeping your beverages and perishables cold, there’s no denying the effectiveness of a Yeti cooler. These coolers are renowned for their durability, insulation, and ability to keep items chilled for an extended period. However, what do you do when you’re not using your Yeti cooler? How can you store it properly to ensure its longevity and keep it in optimal condition?
In this article, we will guide you through the step-by-step process of storing your Yeti cooler when it’s not in use. By following these guidelines, you can maintain the quality and performance of your cooler for years to come.
Key Takeaways:
- Properly storing your Yeti cooler when not in use is crucial for maintaining its quality and performance for years to come. Follow these steps to ensure longevity and optimal condition.
- Cleaning, removing accessories, choosing a dry storage location, opening the drain plug, and covering the cooler are essential steps for proper Yeti cooler storage. These measures protect the cooler from damage and ensure it’s ready for future use.
Read more: How To Store A Cooler When Not In Use
Step 1: Clean and Dry
Before storing your Yeti cooler, it’s essential to clean it thoroughly. Start by removing any food debris or liquids from the interior. You can use a mild detergent or a mixture of water and vinegar to clean the surfaces. Avoid using harsh chemicals or abrasive scrubbers, as they may damage the cooler’s insulation.
Once you have cleaned the interior, rinse it with clean water and allow it to air dry completely. It’s crucial to ensure that there is no moisture trapped inside the cooler, as it can lead to mold or mildew growth. Opening the cooler’s drain plug can help facilitate the drying process.
Additionally, don’t forget to clean the exterior of the cooler as well. Wipe it down with a damp cloth or sponge to remove any dirt or stains. Pay attention to the latches, handles, and hinges, and make sure they are free from any debris. Cleaning the exterior will not only keep your cooler looking its best but also prevent any unwanted odors or contaminants from transferring to the interior.
Step 2: Remove Accessories
Before storing your Yeti cooler, it’s important to remove any accessories that may be attached or stored inside. This includes items such as dividers, baskets, cutting boards, or any additional inserts you may have added to customize your cooler.
Removing these accessories serves two purposes. Firstly, it prevents any potential damage to the accessories themselves during storage. Secondly, it allows for better air circulation within the cooler, which can help prevent any moisture or odors from being trapped.
Once you have removed the accessories, take a moment to inspect them for any dirt or debris. Clean them with mild detergent and rinse thoroughly before storing them separately. This will ensure that they remain in good condition and ready for use when you need them next.
By removing and cleaning the accessories before storage, you can maintain their functionality and extend their lifespan. It also allows for easier cleaning and maintenance of the cooler’s interior.
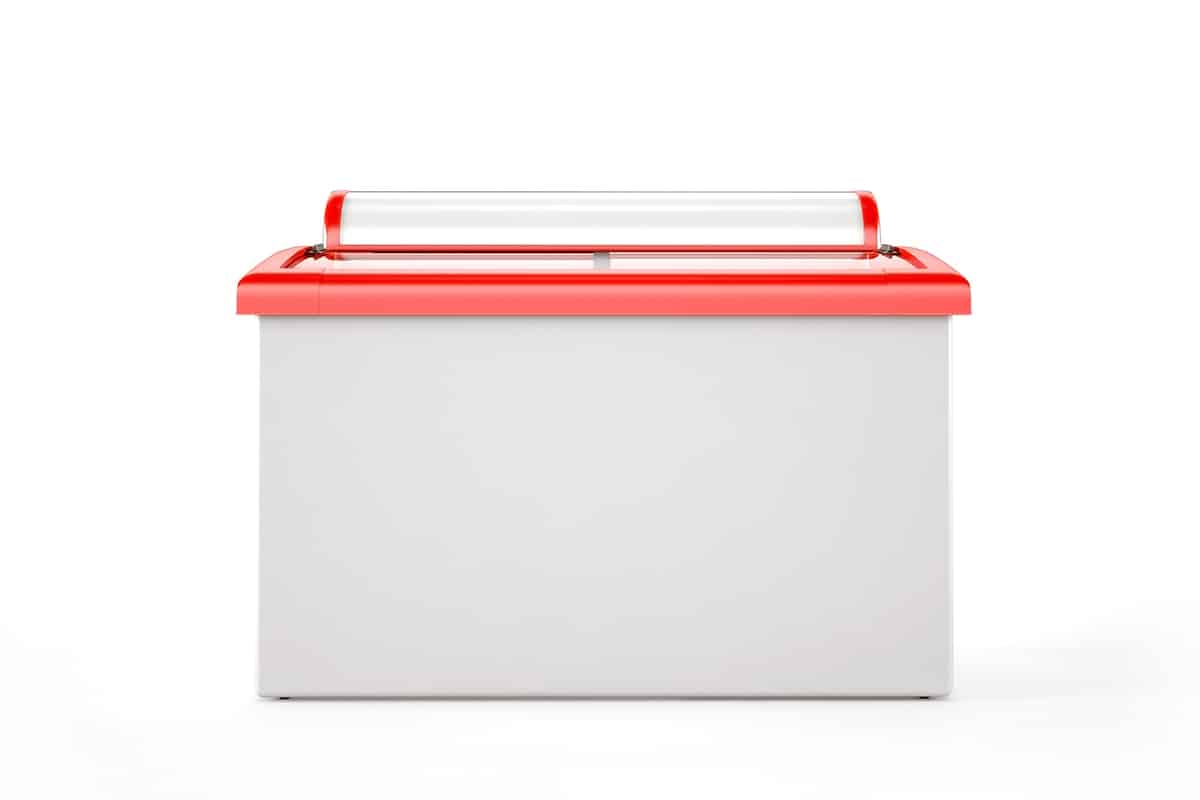
When not in use, store your Yeti cooler in a cool, dry place with the lid open to prevent any moisture buildup and potential mold growth. This will help maintain the integrity of the cooler for future use.
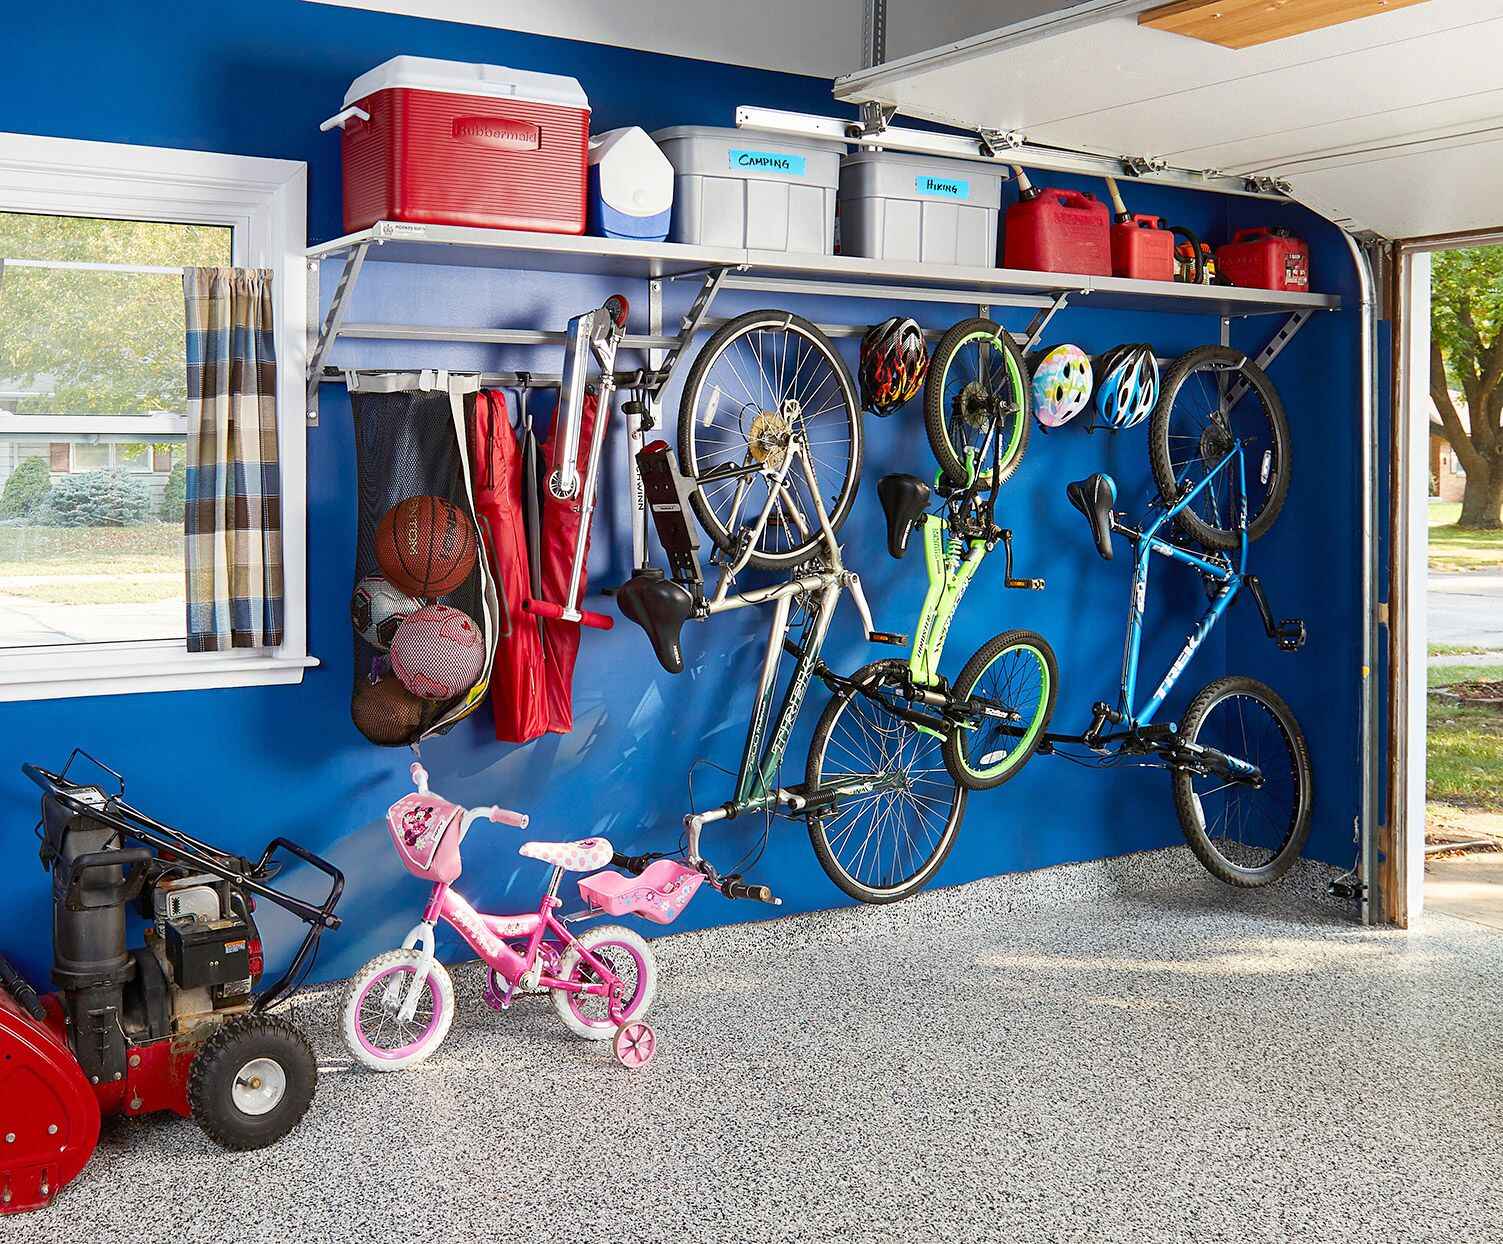
Step 3: Store in a Dry Location
When it comes to storing your Yeti cooler, it’s crucial to choose a dry location. Excessive moisture can lead to mold growth or damage the insulation of the cooler. Therefore, avoid storing it in damp basements, humid outdoor sheds, or areas prone to moisture buildup.
Opt for a well-ventilated area, such as a garage or a climate-controlled storage space, if available. Make sure the storage area is clean and free from any potential contaminants, such as chemicals or sharp objects, that could potentially damage the cooler.
It’s also advisable to place a protective barrier, such as a plastic sheet or tarp, beneath the cooler to further safeguard it from any moisture that may be present on the floor. This additional layer of protection can help prevent any moisture from seeping into the cooler and causing damage.
When storing the cooler, make sure it is kept in an upright position. This will prevent any potential warping or deformation of the cooler’s shape. It’s also a good idea to keep the cooler out of direct sunlight, as prolonged exposure to UV rays can degrade the cooler’s materials over time.
By selecting a dry location for storage, you can ensure that your Yeti cooler remains in optimal condition and ready for use whenever you need it.
Step 4: Open the Drain Plug
As part of the storage process, it’s essential to open the drain plug on your Yeti cooler. The drain plug is designed to allow any excess water or moisture to escape, preventing the buildup of condensation or potential damage due to trapped moisture.
Prior to opening the drain plug, ensure that the cooler is empty and dry. Then, locate the drain plug on the cooler, typically found near the bottom. Depending on the model, it may be a twist-off cap or a simple push-pull plug.
With caution, open the drain plug to release any accumulated water. Allow the cooler to drain completely before closing the drain plug. This step is crucial to avoid any moisture buildup during storage, which can lead to mold growth or unpleasant odors.
After draining the water, wipe down the interior of the cooler with a clean cloth to remove any residual moisture. Doing so will further ensure that the cooler is dry and ready for storage.
Remember to periodically check the drain plug while the cooler is in storage to ensure it remains open. This will help maintain proper ventilation and prevent any potential issues related to trapped moisture.
By opening the drain plug, you can effectively eliminate any excess water and promote proper airflow within the cooler during storage.
Read more: How To Store Yeti Cups
Step 5: Cover or Wrap the Cooler
To provide an extra layer of protection and keep your Yeti cooler in pristine condition during storage, it is recommended to cover or wrap it. This step helps prevent dust, dirt, and other potential contaminants from settling on the cooler’s surfaces.
One option is to use a specially-designed Yeti cooler cover, which is specifically tailored to fit your cooler’s dimensions. These covers are typically made from durable, weather-resistant materials that provide excellent protection from the elements.
If a Yeti cooler cover is not available, you can also use a heavy-duty tarp or a clean, breathable fabric to wrap the cooler. Ensure that the material completely covers the cooler and is secured tightly to prevent it from coming loose during storage.
When wrapping or covering the cooler, make sure to leave the drain plug exposed to ensure proper ventilation. This will help prevent any moisture buildup inside the cooler while it is in storage.
Before covering or wrapping the cooler, it’s important to ensure that the cooler is clean and dry. Removing any debris and allowing the cooler to fully air dry will help prevent any potential odors or mildew growth.
By covering or wrapping the cooler, you can protect it from dust, sun exposure, and other environmental factors that may cause damage or discoloration. This step will help prolong the lifespan of your Yeti cooler and keep it looking as good as new.
Frequently Asked Questions about How To Store A Yeti Cooler When Not In Use
Was this page helpful?
At Storables.com, we guarantee accurate and reliable information. Our content, validated by Expert Board Contributors, is crafted following stringent Editorial Policies. We're committed to providing you with well-researched, expert-backed insights for all your informational needs.


0 thoughts on “How To Store A Yeti Cooler When Not In Use”