Articles
How To Use A Freezer As A Kegerator
Modified: October 19, 2024
Learn how to use a freezer as a kegerator with this informative article. Find step-by-step instructions and helpful tips to turn your freezer into a beer dispensing machine.
(Many of the links in this article redirect to a specific reviewed product. Your purchase of these products through affiliate links helps to generate commission for Storables.com, at no extra cost. Learn more)
Introduction
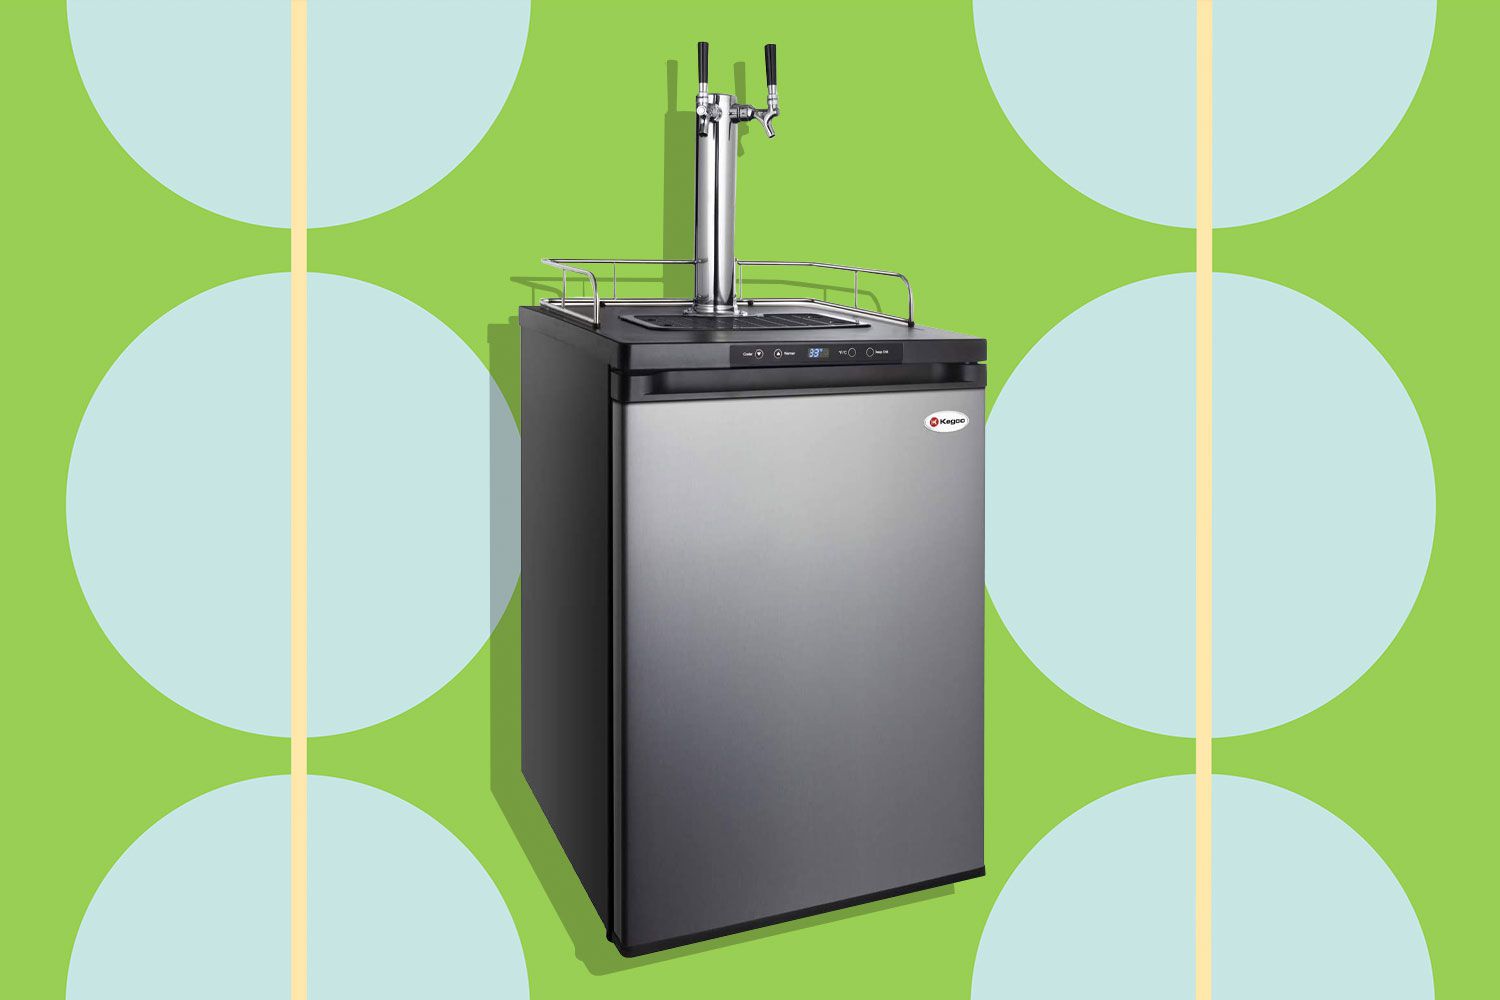
Welcome to your comprehensive guide on how to transform a regular freezer into a kegerator! If you’re a beer enthusiast or someone who loves hosting parties, having a kegerator can be a game-changer. A kegerator allows you to serve draft beer straight from the tap, ensuring a refreshing and perfectly poured beer every time.
While commercial kegerators can be expensive, you can achieve the same result by repurposing a freezer and setting up your own DIY kegerator. Not only is this a cost-effective option, but it also allows you to customize the size and features to meet your specific needs.
In this guide, we will walk you through the step-by-step process of converting a freezer into a kegerator. You do not need to possess advanced technical skills or have extensive experience in DIY projects – just a little bit of patience, some basic tools, and a desire to create your own kegerator.
Before we dive into the details, let’s discuss the advantages of using a freezer as a kegerator. Freezers are designed to maintain a consistent temperature, making them an ideal choice for keeping your beer cold. Additionally, the insulation in a freezer helps to preserve the carbonation in your beer, ensuring a fresh and bubbly pour every time.
Now that we have an overview of what we are going to achieve, let’s dive into the first step – choosing the right freezer for your kegerator project.
Key Takeaways:
- Transform a regular freezer into a kegerator to enjoy cost-effective, customizable draft beer at home. Follow simple steps to choose the right freezer, make modifications, and troubleshoot common issues for a refreshing DIY experience.
- Regular maintenance and cleaning are essential for optimal kegerator performance. Keep beer lines and components clean, monitor temperature, and check for leaks to ensure years of perfectly poured, great-tasting beer straight from your DIY kegerator.
Read more: How To Build A Freezer Kegerator
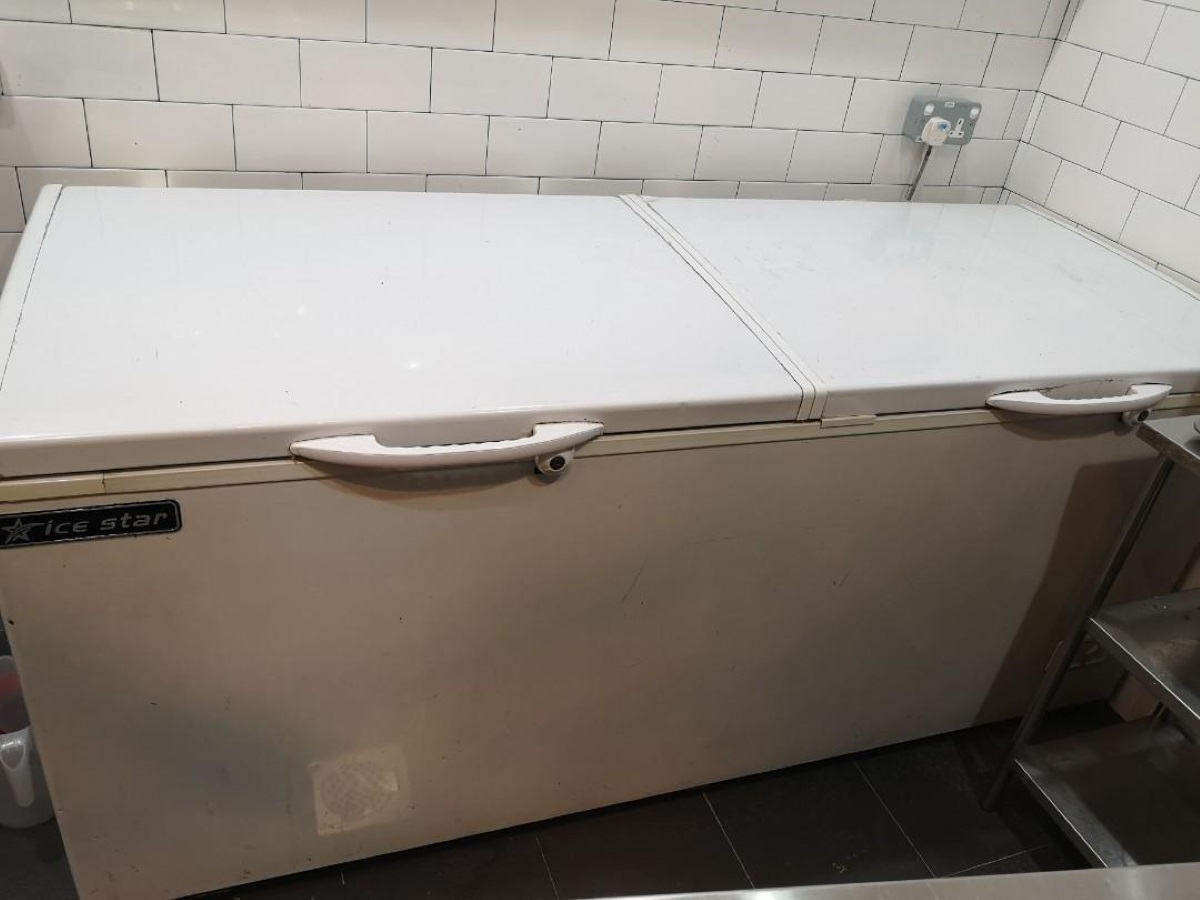
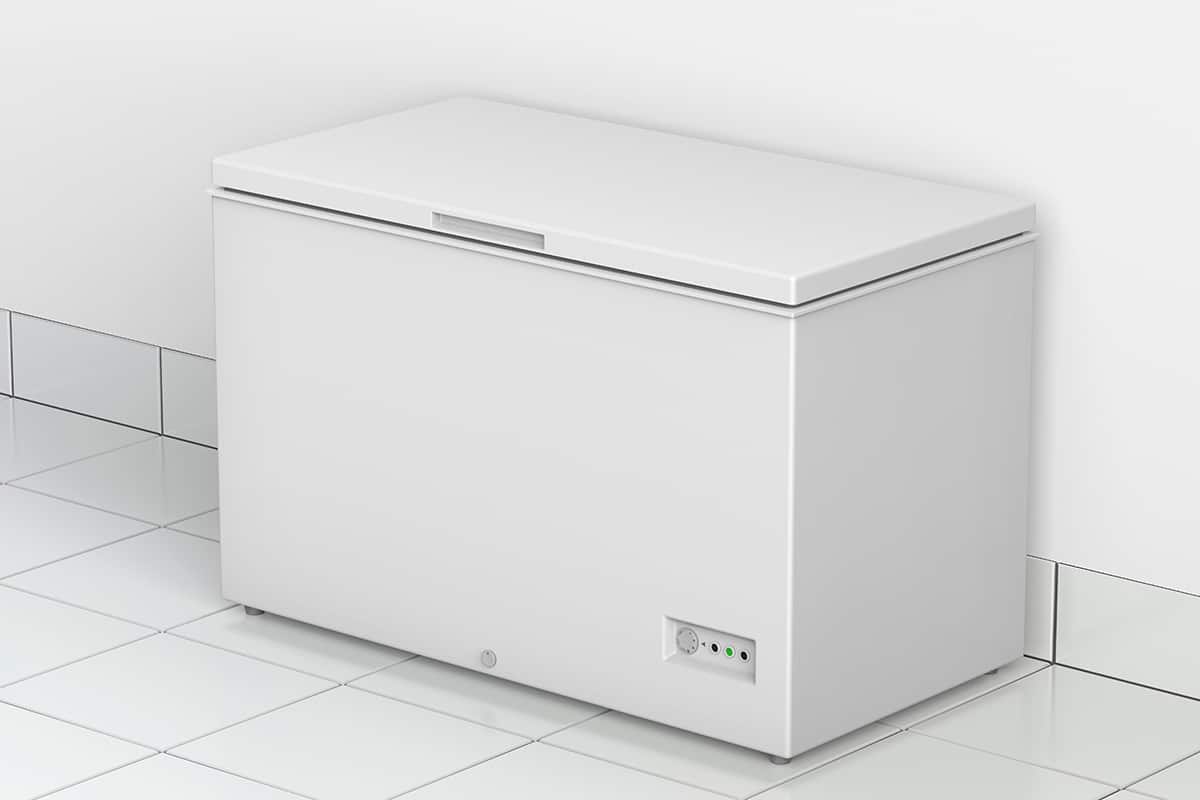
Choosing the Right Freezer
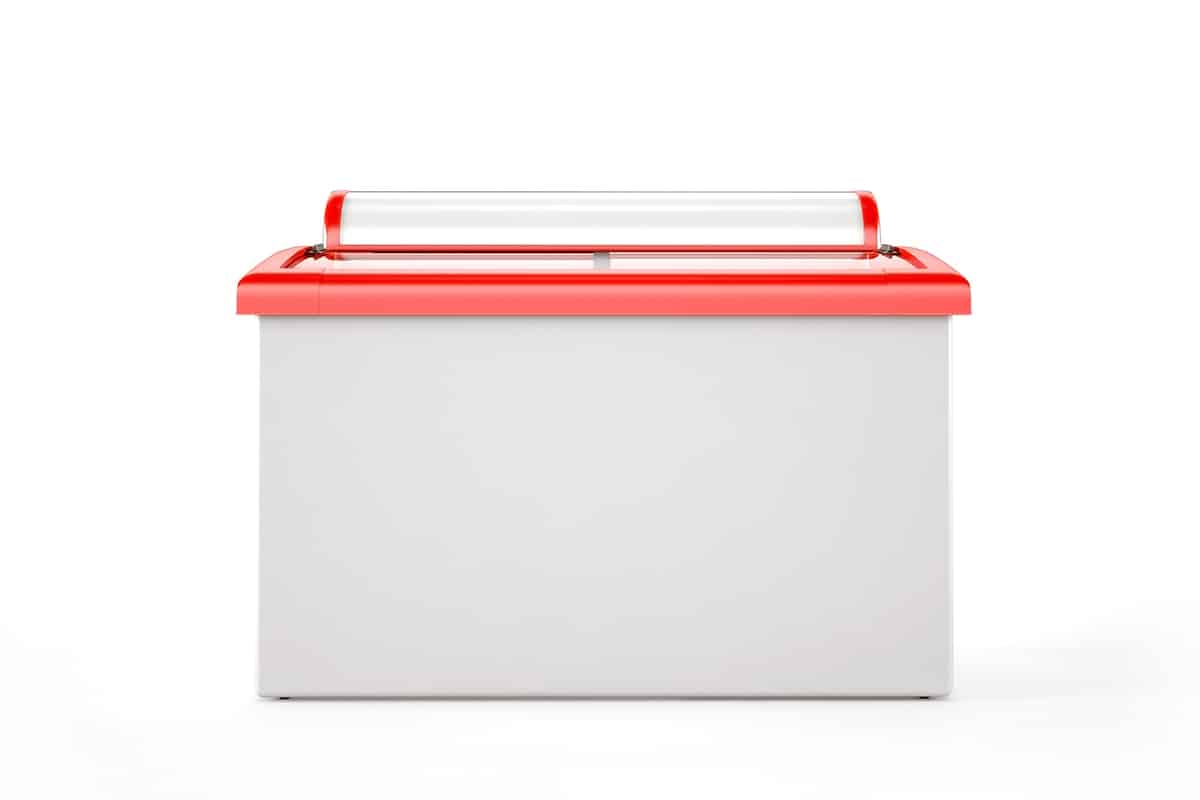
When it comes to selecting a freezer for your kegerator project, there are a few key factors to consider. Here are some guidelines to help you choose the right freezer:
- Size: Determine how many kegs you plan to fit into your kegerator. Measure the dimensions of the kegs to ensure the freezer you choose can accommodate them. Additionally, consider the available space in your home or entertainment area where the kegerator will be placed.
- Temperature Control: Look for a freezer that offers adjustable temperature control. This will allow you to set the ideal temperature for keeping your beer chilled. Ideally, you want a temperature range of 36-38 degrees Fahrenheit (2-3 degrees Celsius) for most beers.
- Frost-Free or Manual-Defrost: Frost-free freezers are convenient as they automatically defrost, eliminating the need for manual defrosting. However, they tend to have more temperature fluctuations. On the other hand, manual-defrost freezers are more reliable at maintaining a consistent temperature but require periodic defrosting.
- Energy Efficiency: Consider the energy efficiency rating of the freezer. Look for freezers with an Energy Star certification to ensure they consume less energy and help save on electricity bills.
- Additional Features: Some freezers come with features like a built-in lock, interior lighting, or adjustable shelves. While these features are optional, they can enhance the convenience and usability of your kegerator.
Once you have determined your requirements, you can start your search for the perfect freezer. Check local appliance stores, online marketplaces, or even consider purchasing a used freezer if it is in good condition. Be sure to read reviews and compare prices to find the best deal.
Now that you have chosen the right freezer, let’s move on to the next step – preparing the freezer for its transformation into a kegerator.
Preparing the Freezer
Now that you have your chosen freezer, it’s time to prepare it for the kegerator conversion process. Here are the steps to follow:
- Clean the Freezer: Before making any modifications, thoroughly clean the interior of the freezer. Remove any existing shelves, drawers, or accessories and wipe down the surfaces with a mild cleaning solution. Rinse and dry the freezer completely.
- Remove the Door and Shelves: In order to create space for your keg(s) and draft system, you will need to remove the freezer door and any shelves inside. Carefully unscrew the hinges of the door and set it aside. Remove the shelves by lifting them out or unscrewing any brackets holding them in place.
- Check for Any Leaks: Inspect the freezer for any signs of leaks or cracks. If you notice any, it’s important to address these issues before proceeding with the kegerator conversion. Leaks can affect temperature control and compromise the functionality of your kegerator.
- Consider Adding Insulation: While most freezers come with sufficient insulation, you can enhance it by adding additional insulation to improve temperature stability. You can use foam insulation boards or insulation tape to line the interior walls of the freezer. This will help maintain consistent temperatures and prevent outside heat from affecting the beer.
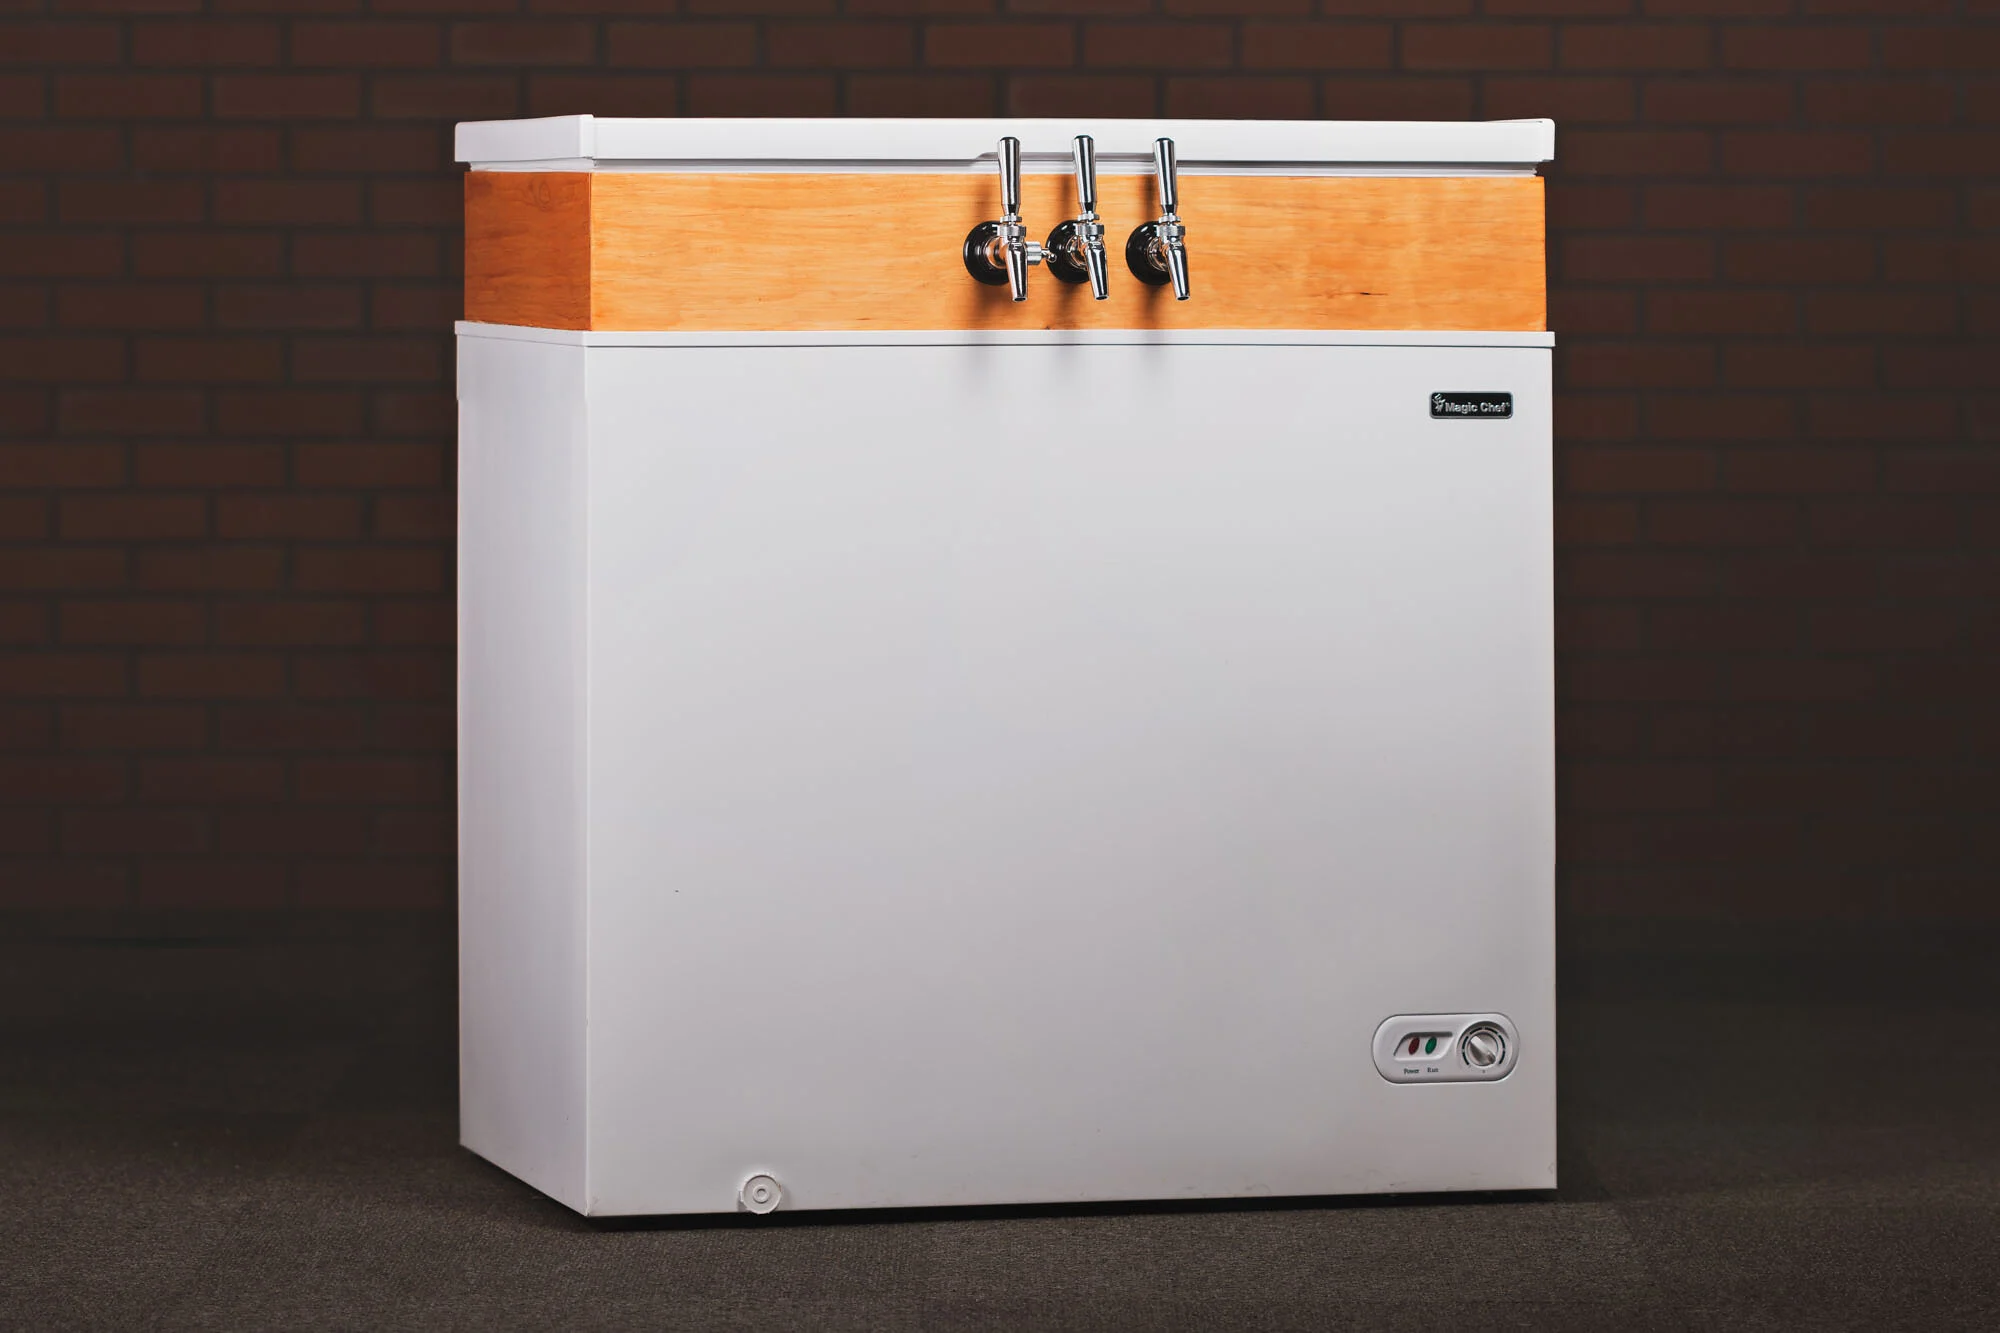
- Secure the Opening: Since you have removed the freezer door, you need to find a way to cover the opening while still allowing access to your kegs. A common method is creating a wooden collar or frame that fits snugly over the freezer opening. This frame will serve as a platform to attach the draft system components.
Once you have completed these steps, your freezer is now ready for the kegerator modification process. In the next section, we will guide you through the steps to modify your freezer effectively. So let’s move on to the exciting part of transforming your freezer into a kegerator!
Modifying the Freezer
Now comes the exciting part – modifying your freezer to turn it into a fully functional kegerator. Follow these steps to ensure a successful modification:
- Create Holes for Draft System Components: Using a drill and appropriate drill bits, carefully create holes in the wooden collar or frame that you previously installed. These holes are for the various components of the draft system – the beer faucet, shank, and CO2 lines. Measure and plan the placement of these holes to ensure proper alignment.
- Install the Shank and Faucet: Insert the shank through the hole in the collar and attach it securely using a lock nut. Ensure there is a rubber washer between the lock nut and the collar to prevent leaks. Attach the beer faucet to the outer end of the shank. Tighten all the connections to avoid any air or beer leakage.
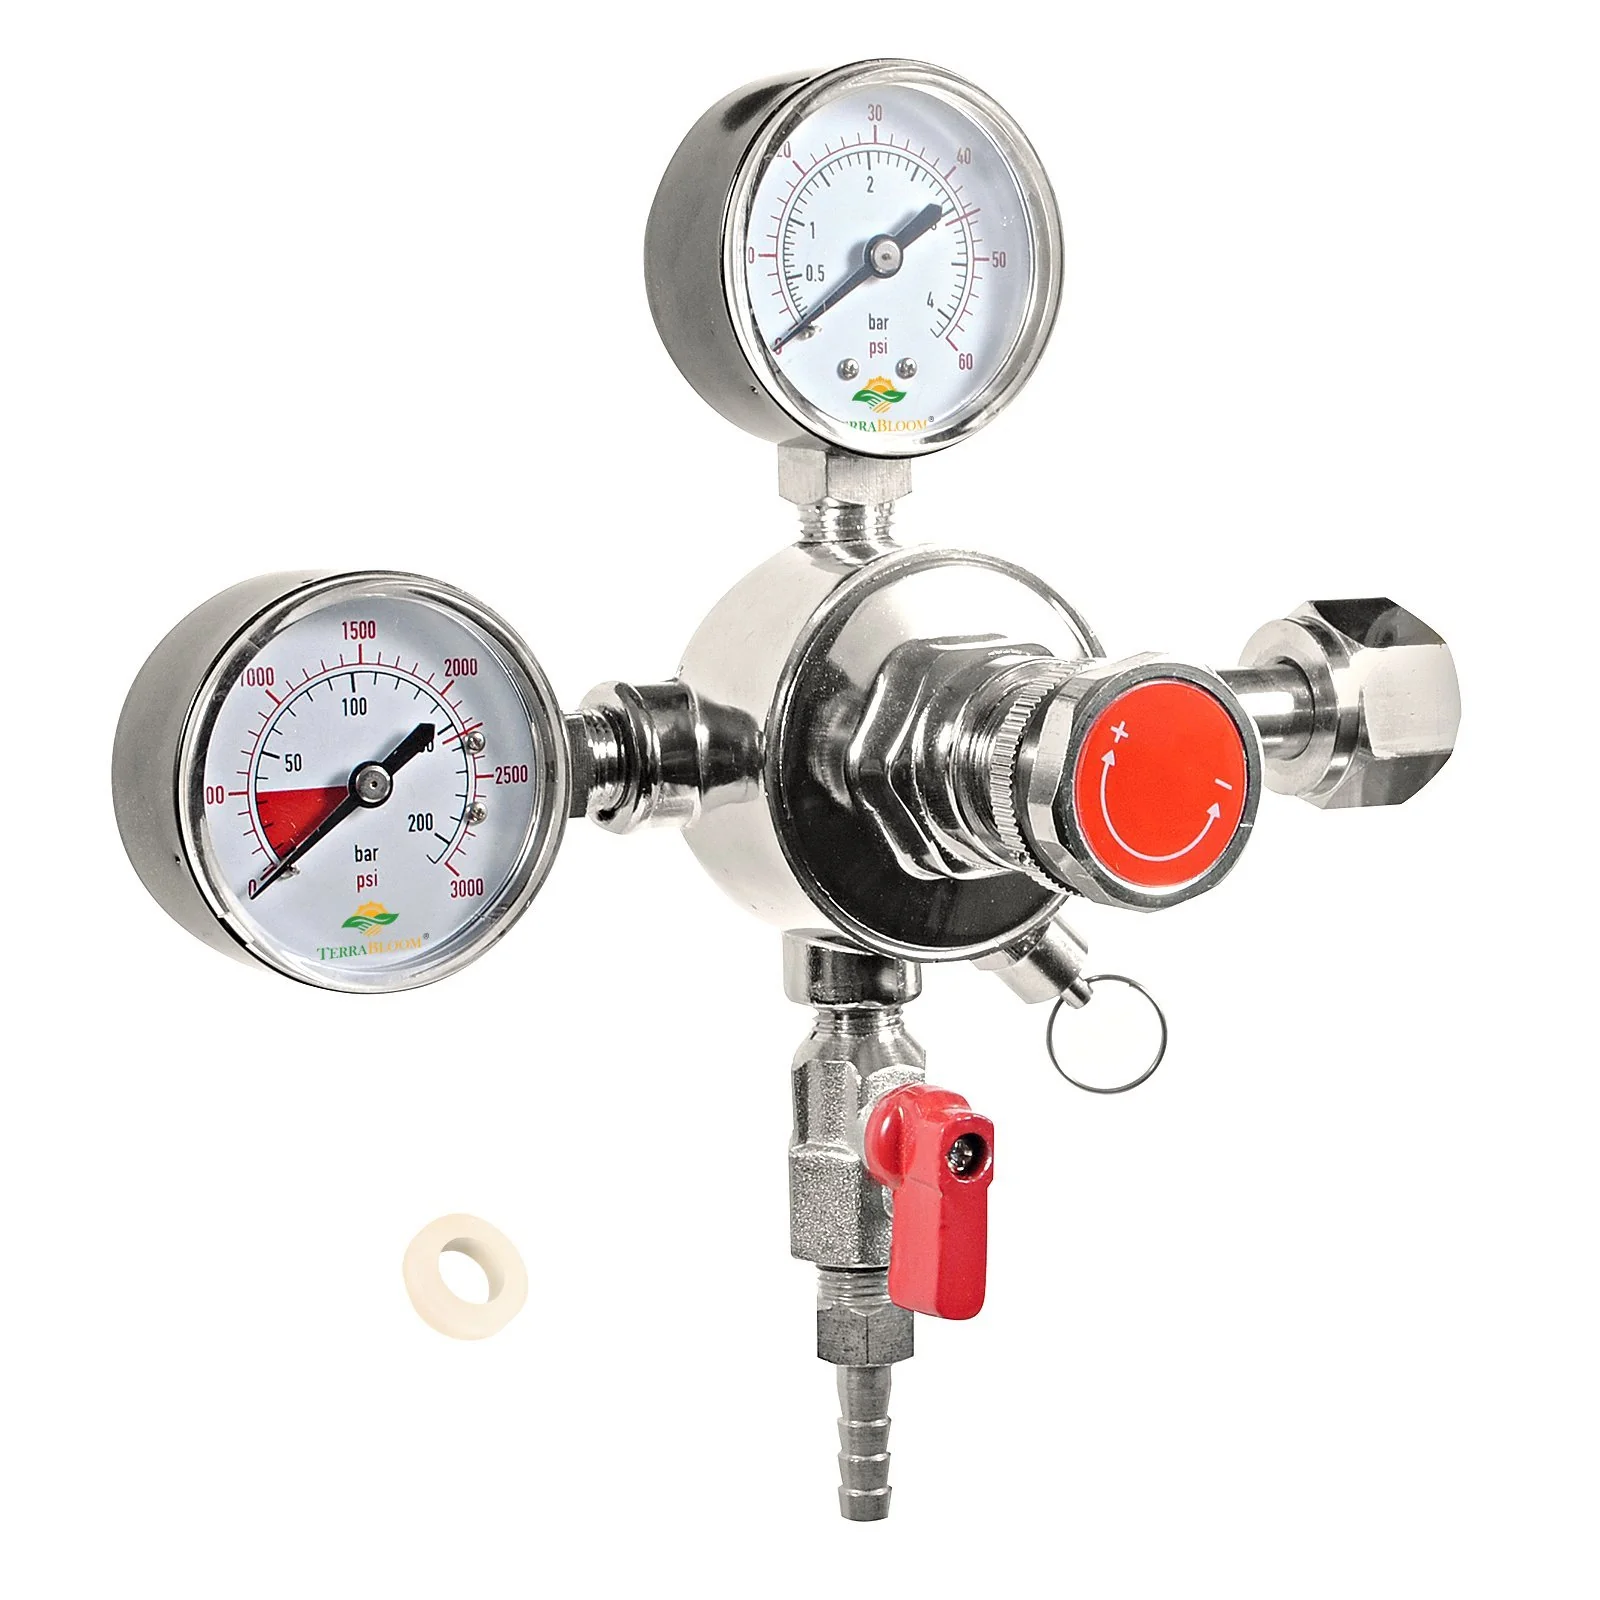
- Connect the CO2 System: Insert the CO2 line through another hole in the collar and connect it to a CO2 regulator. The regulator will control the flow of the CO2 gas into the keg. Make sure all connections are secure and use Teflon tape if needed to prevent leaks.
- Attach the CO2 Tank: Place the CO2 tank near the kegerator and connect it to the CO2 regulator using a CO2 tank wrench. Ensure the tank valve is closed before attaching the regulator. Once connected, slowly open the tank valve to allow the CO2 gas to flow into the regulator.
- Insulate the Draft System: To prevent condensation from forming on the draft system components, it’s a good idea to insulate them. Use foam insulation tape or covers to wrap around the shank, faucet, and CO2 lines. This will help maintain the temperature and protect against any moisture buildup.
Double-check all the connections and ensure everything is secure and properly aligned. You’re almost there! In the next section, we will discuss how to install the draft system and test your newly modified freezer kegerator.
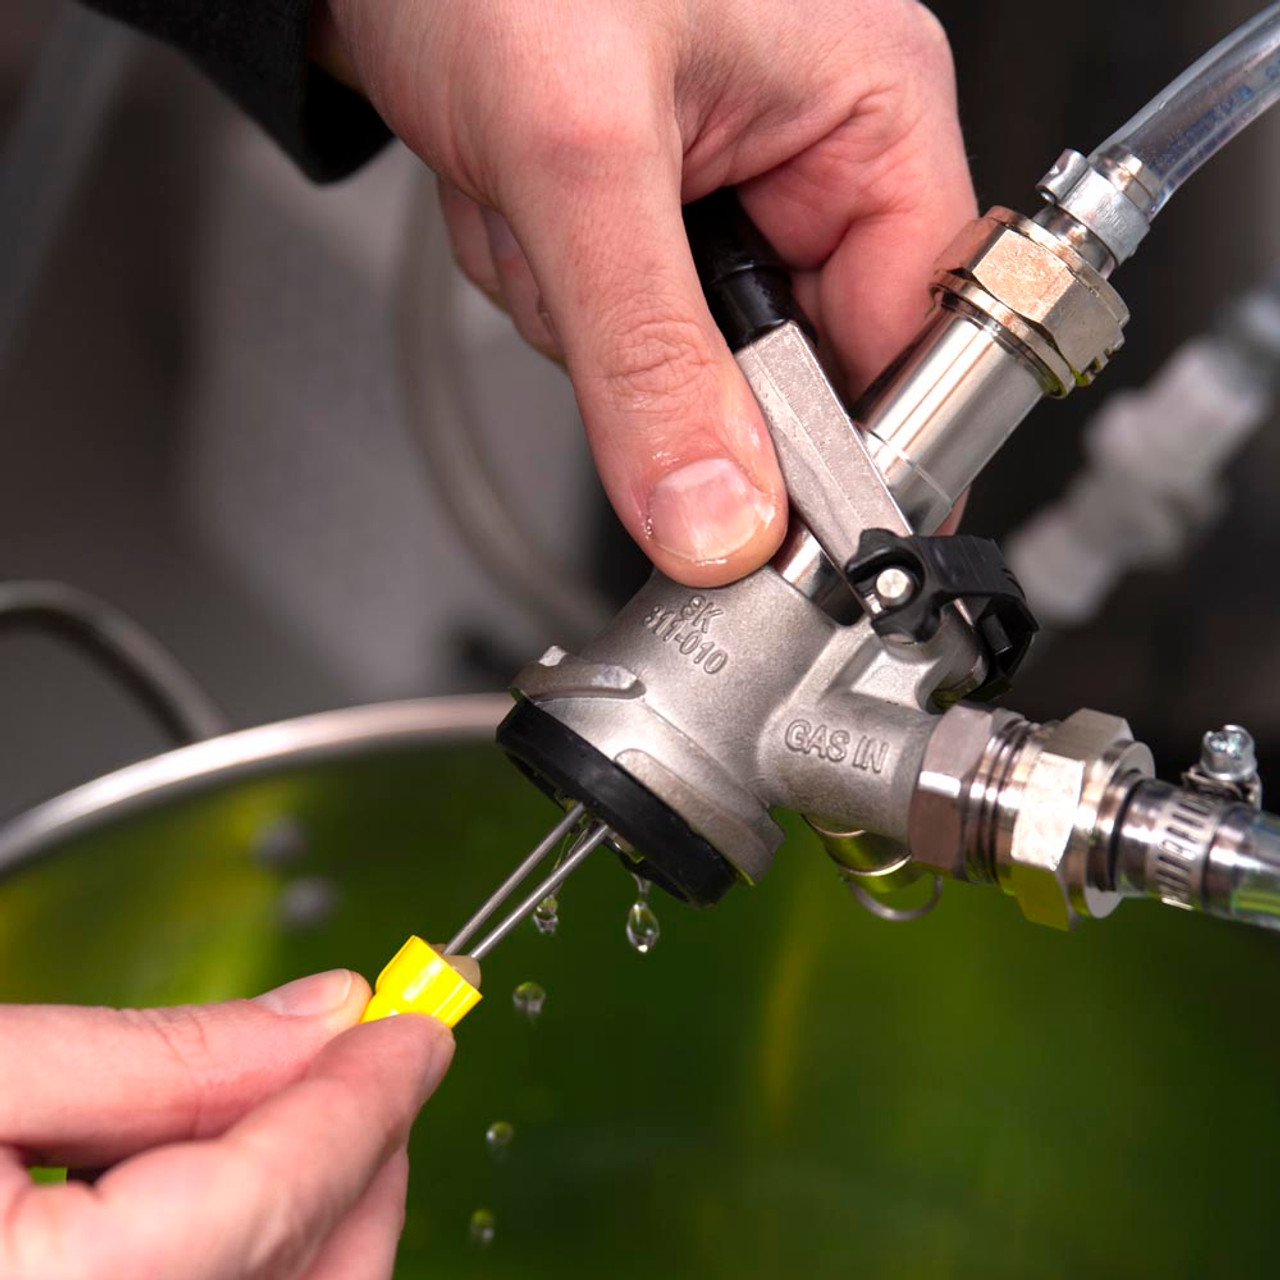
Installing the Draft System
With the modifications complete, it’s time to install the draft system in your newly transformed kegerator. Follow these steps to ensure a successful installation:
- Attach the Beer Line: Connect one end of the beer line to the beer faucet and the other end to the keg coupling. Ensure that the connections are tight and secure to prevent any beer leakage.
- Connect the CO2 Line: Connect one end of the CO2 line to the CO2 regulator and the other end to the keg gas inlet. Use hose clamps or zip ties to secure the connections and prevent any gas leakage.
- Set the CO2 Pressure: Adjust the CO2 regulator to the recommended pressure for the type of beer you are serving. Different beers require different levels of carbonation, so refer to the guidelines provided by the beer manufacturer or consult a beer expert for the appropriate pressure setting.
- Prime the Beer Line: To prime the beer line and remove any air or foam, open the faucet and let the beer flow for a few seconds. This will ensure a clean and smooth pour when you tap the keg later.
- Insert the Keg: Carefully place the keg inside the kegerator, making sure it is secure and properly seated. Close the kegerator door, ensuring a tight seal to maintain the temperature.
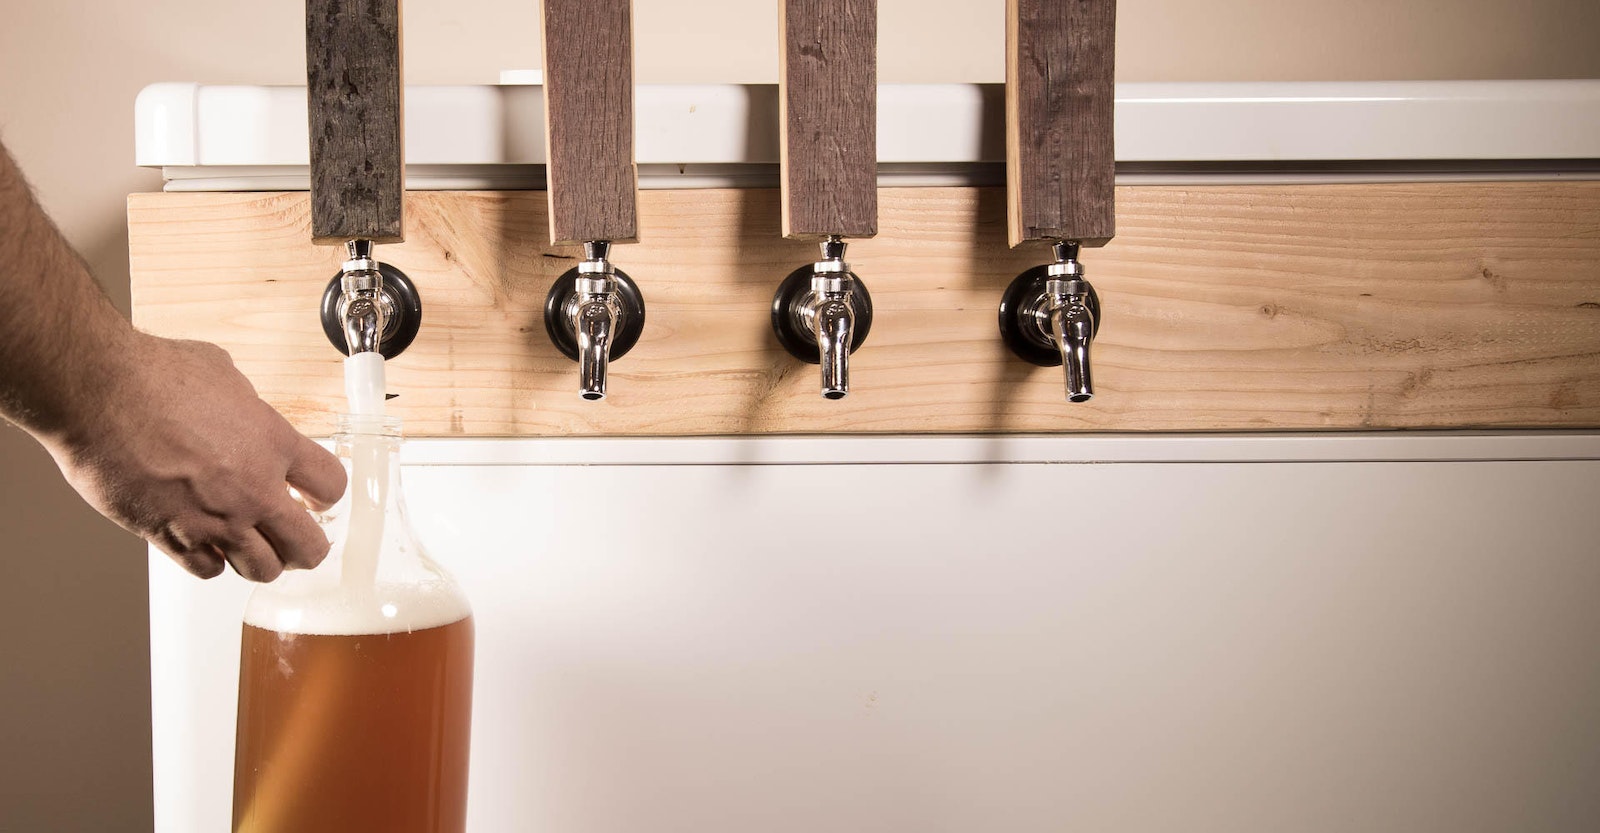
- Test the System: Now it’s time to test your newly installed draft system. Open the faucet and pull the tap handle to dispense the beer into a glass. Evaluate the pour and foam levels. Adjust the CO2 pressure if necessary to achieve the desired carbonation and foaminess.
Congratulations! Your kegerator is now up and running. Enjoy the satisfaction of being able to pour a perfectly chilled and refreshing beer straight from your own DIY kegerator.
In the next section, we will provide some troubleshooting tips to help you address any issues you may encounter and ensure the optimal performance of your kegerator.
When using a freezer as a kegerator, make sure to set the temperature to the ideal range for serving beer, which is typically between 38-45°F (3-7°C) to ensure the best quality and taste.
Testing the System
After installing the draft system in your kegerator, it’s important to thoroughly test the system to ensure everything is working correctly. Here are the steps for testing your kegerator:
- Check for Leaks: Inspect all connections, including the beer and CO2 lines, as well as the faucet and shank. Look for any signs of leaks, such as dripping or hissing sounds. If you notice any leaks, tighten the connections or replace any faulty components.
- Pour a Glass of Beer: Open the faucet and pour a glass of beer. Observe the pour to ensure it is smooth and the beer has the appropriate level of carbonation. The beer should have a nice head of foam but not be excessively foamy or flat.
- Check the Temperature: Use a digital thermometer to check the temperature inside the kegerator. Ideally, it should be between 36-38 degrees Fahrenheit (2-3 degrees Celsius). If the temperature is too low or too high, adjust the temperature control settings on the freezer accordingly.
- Adjust CO2 Pressure: Evaluate the carbonation level of the beer. If the beer appears flat, you may need to increase the CO2 pressure slightly. If it is too carbonated and produces excessive foam, decrease the CO2 pressure. Make small adjustments and allow time for the system to stabilize before retesting.
- Monitor the System: Keep an eye on your kegerator over the next few days to ensure that the temperature remains consistent, the beer flows smoothly, and there are no further issues or leaks. If you experience any problems, refer to the troubleshooting tips in the next section.
Testing your kegerator ensures that you can enjoy a perfectly poured beer and make any necessary adjustments for optimal performance. In the next section, we will provide you with some helpful troubleshooting tips to address common issues that may arise with your kegerator.
Troubleshooting Tips
While setting up your kegerator, you may encounter some common issues. Here are a few troubleshooting tips to help you address these problems:
- Excessive Foam: If your beer is pouring with excessive foam, it could be due to high CO2 pressure or improper temperature. Reduce the CO2 pressure slightly and ensure that the kegerator is maintaining a consistent temperature between 36-38 degrees Fahrenheit (2-3 degrees Celsius).
- Flat Beer: If your beer lacks carbonation and tastes flat, it may be due to low CO2 pressure or a leak in the system. Increase the CO2 pressure slightly and check all connections for any signs of leaks. Tighten any loose connections or replace faulty components if necessary.
- Temperature Fluctuations: If you notice significant temperature fluctuations in your kegerator, it could be due to a faulty temperature control or inadequate insulation. Check the temperature control settings on your freezer and ensure proper insulation using foam insulation tape or covers.
- Leaking Faucet or Lines: If you notice any leaks from the faucet or beer/CO2 lines, it’s important to address them immediately. Tighten the connections and ensure there are no cracks or tears in the lines. If the issue persists, consider replacing the faulty components.
- Frost Buildup: If you notice excessive frost buildup inside the kegerator, it may be due to frequent door openings or a faulty defrost system. Try reducing the frequency of door openings and ensure proper airflow within the kegerator. If the problem continues, consult the freezer’s manual or contact the manufacturer for assistance.
- Carbonation Problems: If you consistently experience issues with carbonation levels in your beer, it may be worth investing in a carbonation tester or working with a beer expert to fine-tune the CO2 pressure settings for different styles of beer.
By troubleshooting and addressing these common issues, you can ensure that your kegerator is running smoothly and your beer is always served at its best. Now that you are equipped with troubleshooting knowledge, let’s move on to the final section on maintenance and cleaning to keep your kegerator in top shape.
Maintenance and Cleaning
To keep your kegerator functioning optimally and to ensure the longevity of your system, regular maintenance and cleaning are essential. Here are some guidelines to follow:
- Regular Cleaning: Clean the beer lines and faucets at least once every two to three weeks. Disconnect the beer lines and soak them in a cleaning solution recommended for draft systems. Use a faucet brush to clean the inside of the faucet. Rinse the lines and faucet thoroughly with clean water before reattaching them.
- Deep Cleaning: Every three to four months, perform a deep clean of the kegerator. Remove all beer lines, faucets, and other components. Clean the interior of the kegerator using a mild cleaning solution, ensuring to remove any residue or build-up. Rinse and dry all components thoroughly before reassembling the kegerator.
- CO2 Tank Maintenance: Inspect the CO2 tank regularly for any signs of damage or leaks. Check the pressure gauge to ensure the tank has an adequate level of CO2. If needed, refill or replace the CO2 tank according to the manufacturer’s instructions.
- Temperature Monitoring: Continuously monitor the temperature inside your kegerator using a digital thermometer. Ensure that the temperature remains within the desired range of 36-38 degrees Fahrenheit (2-3 degrees Celsius). Adjust the temperature control settings accordingly if needed.
- Check for Leaks: Routinely inspect all connections, including the beer and CO2 lines, as well as the faucets and shanks. Look for any signs of leaks, such as dripping or hissing sounds. Make any necessary adjustments or replacements to prevent any beer or gas leakage.
- Keep it Clean and Organized: Regularly wipe down the exterior of the kegerator to keep it clean and presentable. Maintain an organized kegerator by storing kegs and supplies neatly, making it easier to access and manage your setup.
- Follow Manufacturer’s Guidelines: Always refer to the manufacturer’s guidelines and instructions for specific maintenance and cleaning recommendations for your kegerator model. These guidelines may include specific cleaning solutions, product-specific advice, and maintenance procedures.
Following these maintenance and cleaning practices will help keep your kegerator in optimal condition, ensuring the quality and taste of your beer. With proper care, your kegerator can provide years of enjoyment and a constantly refreshing supply of draft beer.
Now that you are equipped with the knowledge of maintaining and cleaning your kegerator, let’s conclude this guide with some final thoughts.
Conclusion
Congratulations on successfully transforming a regular freezer into your very own kegerator! By following the steps outlined in this guide, you have created a cost-effective and customizable solution for enjoying draft beer at home or during your gatherings.
Throughout this guide, we discussed the importance of choosing the right freezer, preparing it for the conversion, and making the necessary modifications. We also covered the installation of the draft system, testing the system, troubleshooting common issues, and the importance of regular maintenance and cleaning.
With your kegerator fully functional, you can now enjoy the experience of pouring a cold and refreshing beer straight from the tap in the comfort of your own home. You have the freedom to experiment with different styles and flavors of beer, host memorable gatherings, and impress your friends and family with your DIY skills.
Remember to keep your kegerator well-maintained by regularly cleaning the beer lines and components, monitoring the temperature, and checking for any leaks or issues. This will ensure that your kegerator continues to serve you great-tasting beer for years to come.
Thank you for choosing this comprehensive guide on how to use a freezer as a kegerator. Cheers to many enjoyable moments and the perfect pour from your very own DIY kegerator!
Frequently Asked Questions about How To Use A Freezer As A Kegerator
Was this page helpful?
At Storables.com, we guarantee accurate and reliable information. Our content, validated by Expert Board Contributors, is crafted following stringent Editorial Policies. We're committed to providing you with well-researched, expert-backed insights for all your informational needs.


0 thoughts on “How To Use A Freezer As A Kegerator”