Home>Home Appliances>Cleaning Appliances>How To Clean A Mop Head After Use
Cleaning Appliances
How To Clean A Mop Head After Use
Modified: September 1, 2024
Learn the best methods for cleaning a mop head after use to keep your cleaning appliances fresh and effective. Discover tips for maintaining a clean and hygienic mop head.
(Many of the links in this article redirect to a specific reviewed product. Your purchase of these products through affiliate links helps to generate commission for Storables.com, at no extra cost. Learn more)
Introduction
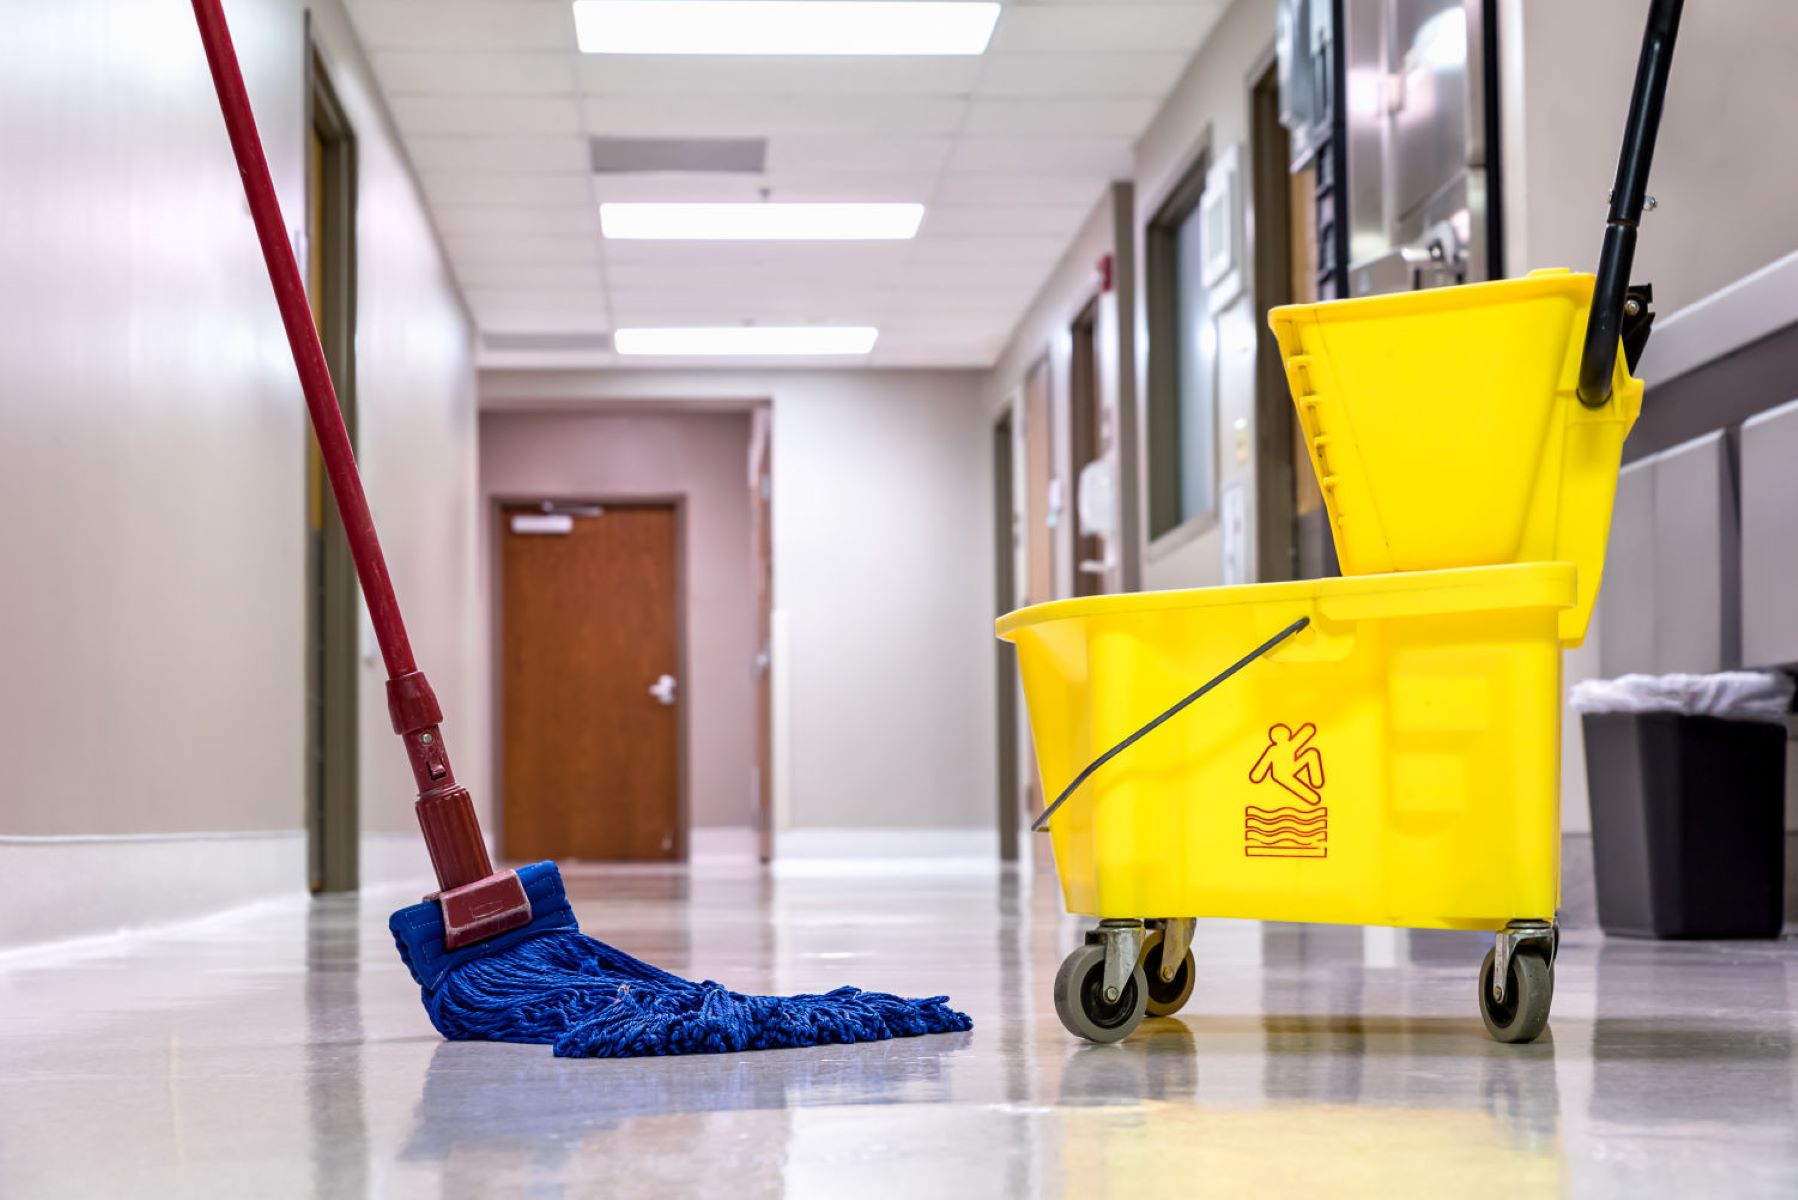
Cleaning your home is essential for maintaining a healthy and hygienic environment. While many people focus on cleaning floors and surfaces, they often overlook the importance of cleaning their mop heads. Mop heads can harbor dirt, grime, and bacteria, making them a potential source of contamination if not properly maintained. In this comprehensive guide, we will explore the step-by-step process of effectively cleaning a mop head after use. By following these simple yet crucial steps, you can ensure that your mop head remains clean and functional, contributing to a cleaner and healthier living space for you and your family.
Properly cleaning a mop head not only extends its lifespan but also ensures that it continues to effectively remove dirt and germs from your floors. Whether you use a traditional cotton mop or a modern microfiber mop, regular cleaning is essential to prevent the buildup of bacteria and unpleasant odors. Additionally, maintaining a clean mop head can contribute to the overall effectiveness of your cleaning routine, allowing you to achieve sparkling clean floors with ease.
Join us as we delve into the step-by-step process of cleaning a mop head, providing you with valuable insights and practical tips to streamline this essential aspect of home maintenance. Let's embark on this journey to discover the best practices for keeping your mop head fresh, clean, and ready for the next cleaning session.
Key Takeaways:
- Regularly cleaning your mop head is crucial for maintaining a hygienic home environment and ensuring your floors are free from contaminants and bacteria.
- Properly drying your mop head after cleaning helps prevent the growth of mold and mildew, preserving its cleanliness and functionality for future use.
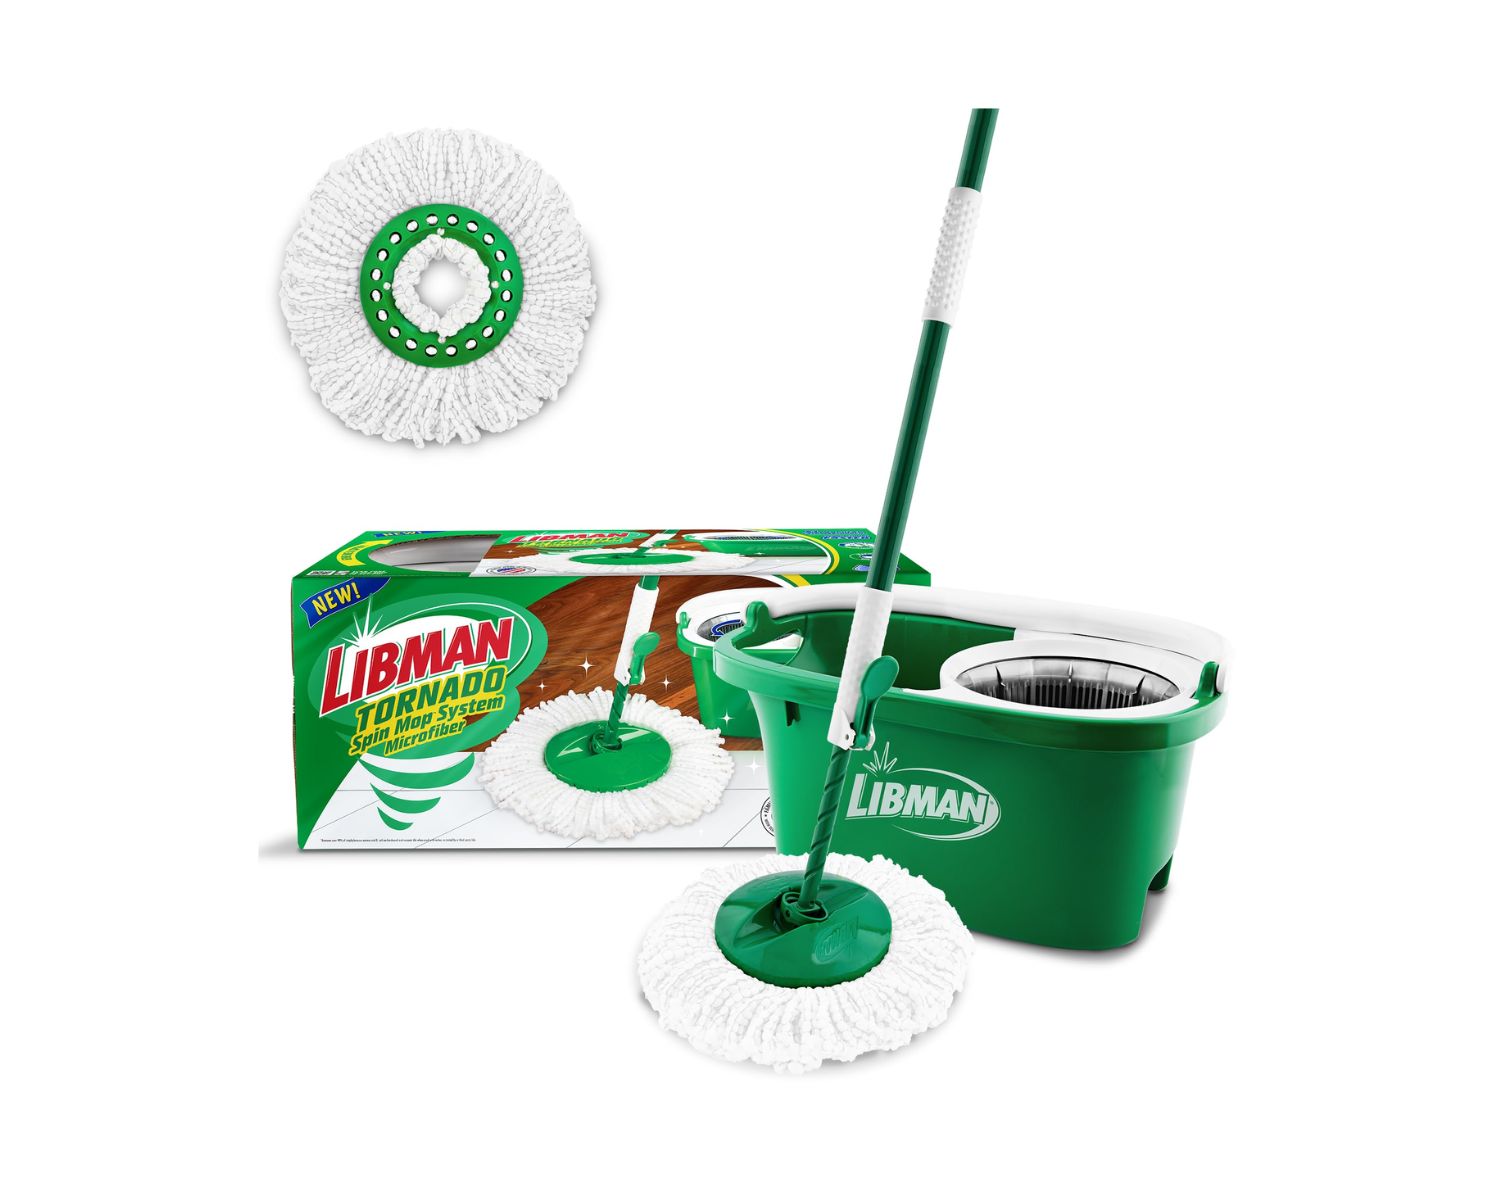
Read more: How To Clean A Libman Mop Head
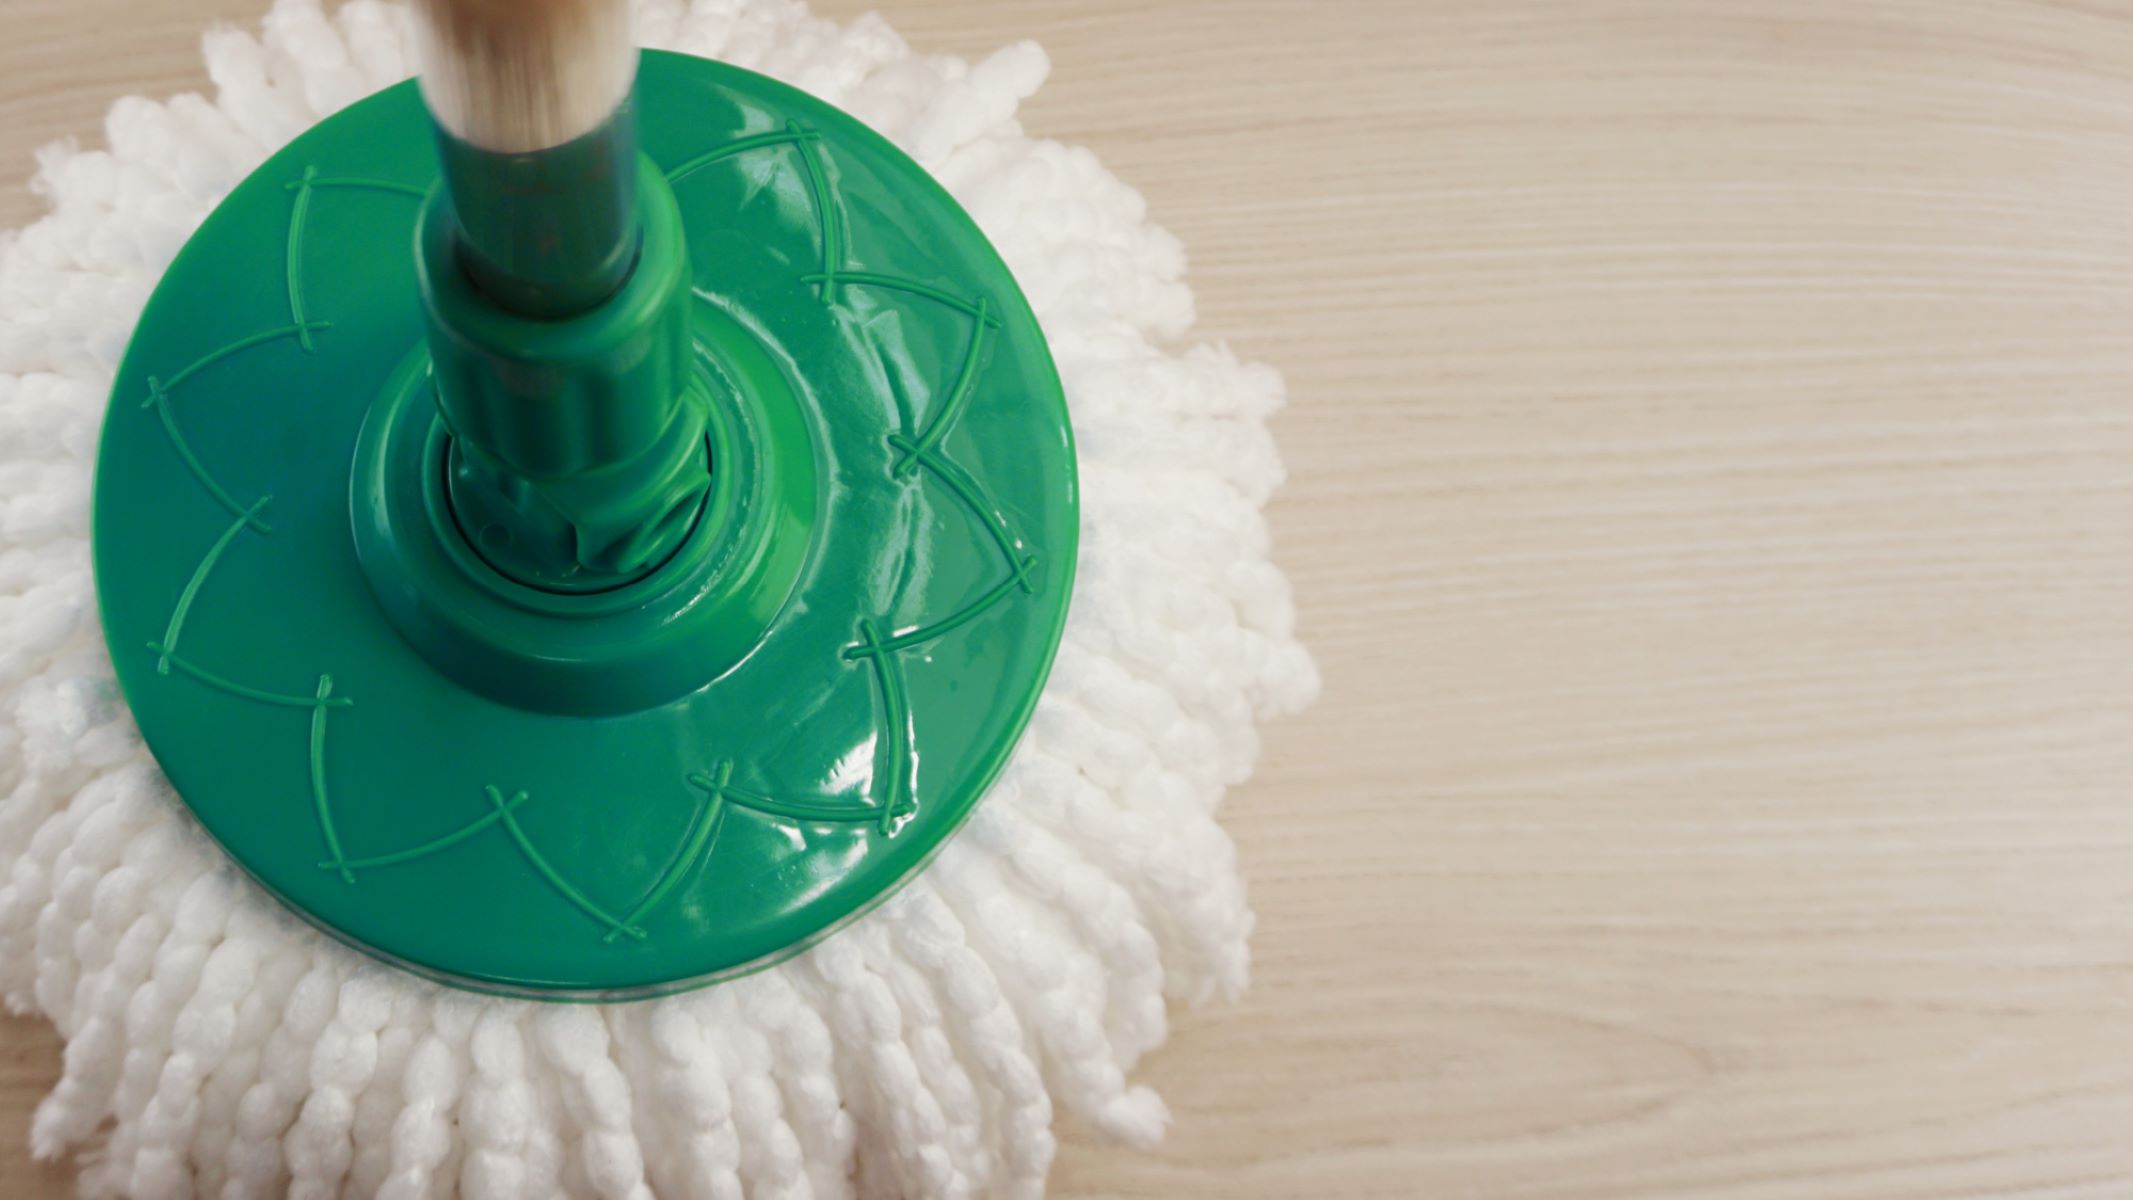
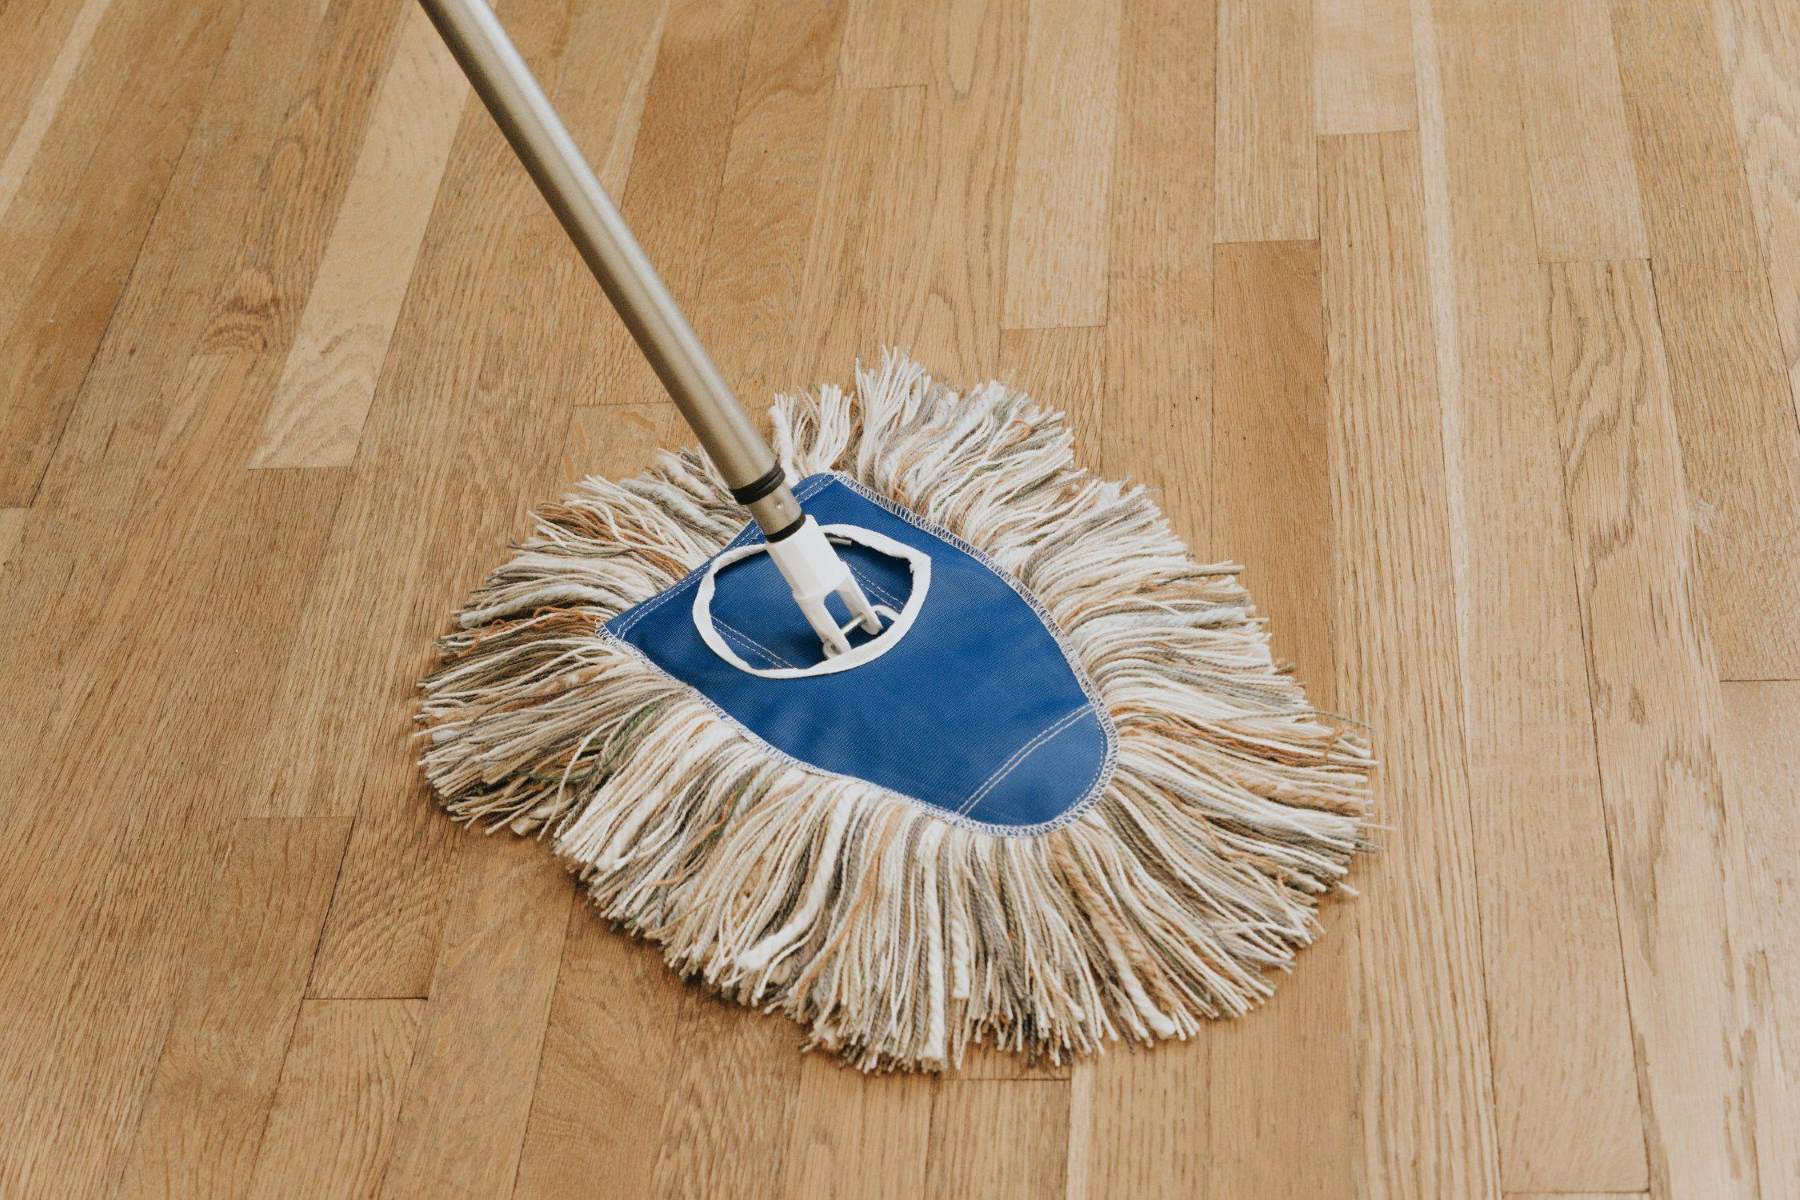
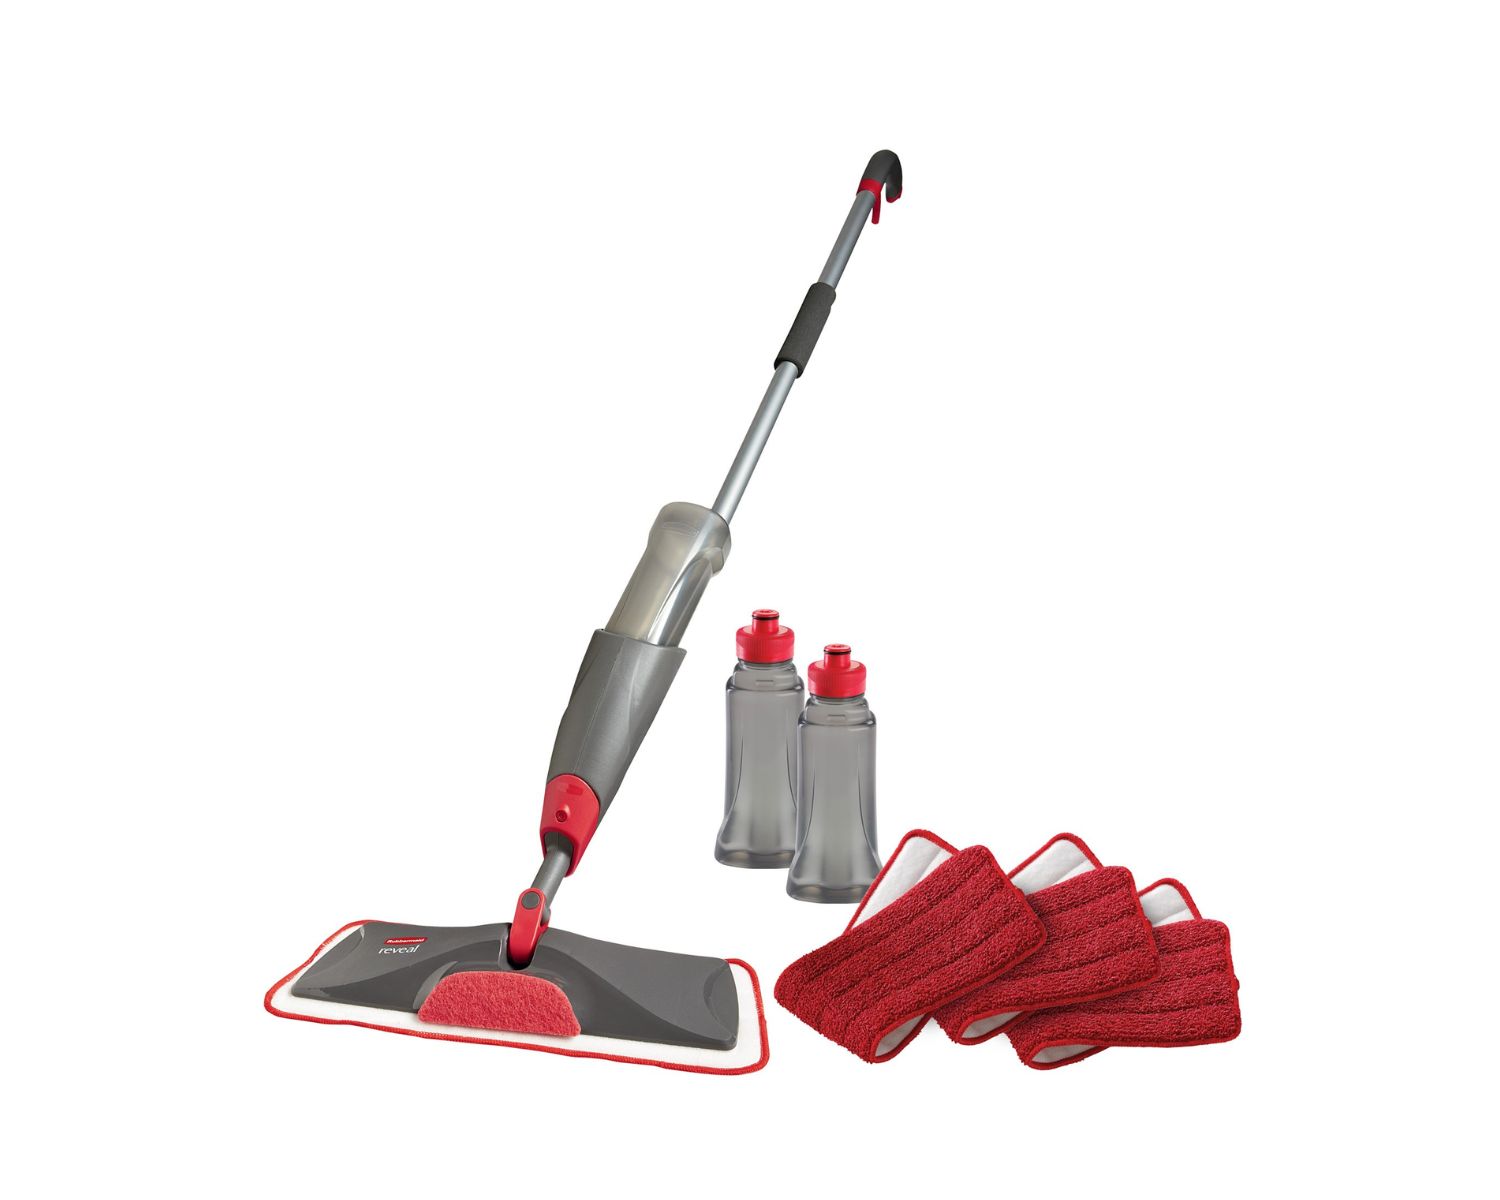
Step 1: Remove the Mop Head
Before embarking on the cleaning process, it’s crucial to start by removing the mop head from the handle. This step allows for easier manipulation and thorough cleaning of the mop head, ensuring that no area is overlooked. The following sub-steps outline the process of removing the mop head:
- Unscrew or Release Mechanism: Depending on the type of mop you have, whether it’s a traditional string mop or a modern flat mop, you’ll need to unscrew or release the mechanism holding the mop head in place. This may involve twisting, unsnapping, or pressing a release button to detach the mop head from the handle.
- Gently Detach: Once the securing mechanism is disengaged, gently detach the mop head from the handle. Be mindful of any excess dirt or debris that may dislodge during this process, and handle the mop head carefully to avoid spreading dirt to surrounding areas.
- Prepare for Cleaning: After removing the mop head, prepare a suitable cleaning area. This may involve laying down a protective sheet or placing the mop head in a dedicated cleaning basin to contain any drips or spills during the cleaning process.
By carefully following these steps, you can safely remove the mop head from the handle, setting the stage for the subsequent cleaning procedures. With the mop head detached, you are now ready to proceed to the next step of rinsing away surface debris and contaminants, ensuring a thorough and effective cleaning process.
Step 2: Rinse the Mop Head
Once the mop head is removed from the handle, the next crucial step is to thoroughly rinse it to remove surface dirt, grime, and cleaning residue. This step serves as a preliminary cleaning process, preparing the mop head for deeper cleaning in subsequent steps. Follow these detailed sub-steps to ensure effective rinsing of the mop head:
- Shake Off Loose Debris: Begin by gently shaking the mop head to dislodge any loose debris, such as dirt, hair, or larger particles. This preliminary action helps prevent these contaminants from clogging drains or causing unnecessary mess during the rinsing process.
- Rinse Under Running Water: Take the mop head to a sink or outdoor area and rinse it thoroughly under running water. Use your hands to massage the mop head, ensuring that water flows through the fibers or strands, dislodging embedded dirt and cleaning solution residues.
- Squeeze Out Excess Water: After rinsing, gently squeeze the mop head to remove excess water. This step helps prepare the mop head for the subsequent soaking and washing processes, ensuring that it is not overly saturated before being cleaned.
Rinsing the mop head is a critical initial step in the cleaning process, effectively removing surface contaminants and preparing the mop head for deeper cleaning. By diligently following these sub-steps, you can ensure that the mop head is free of loose debris and ready for the next stages of the cleaning procedure.
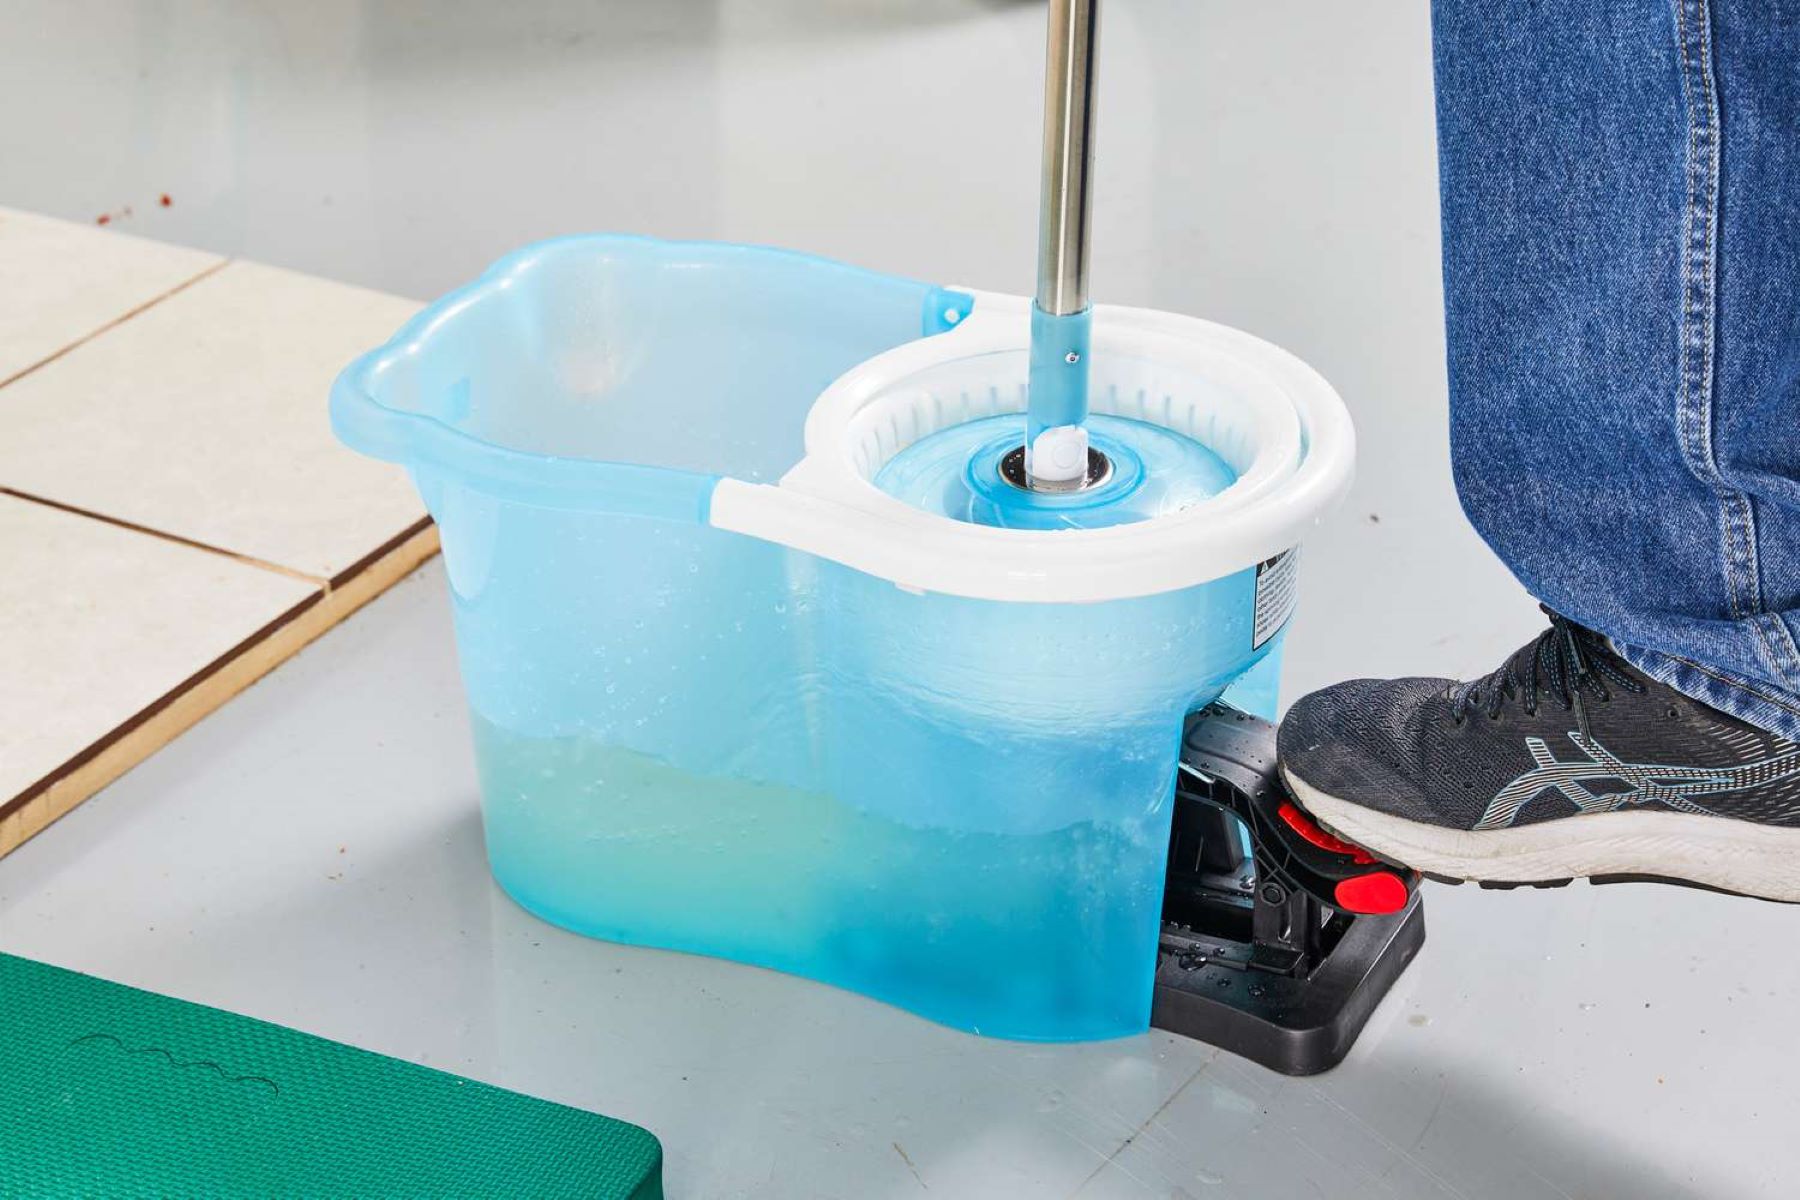
Step 3: Soak the Mop Head
Soaking the mop head is a pivotal step in the cleaning process, as it allows for the loosening of embedded dirt, grime, and bacteria. This thorough soaking helps to dislodge contaminants that may be deeply embedded within the fibers or strands of the mop head. Follow these comprehensive sub-steps to ensure effective soaking of the mop head:
- Prepare a Cleaning Solution: Fill a bucket or basin with warm water and add a suitable cleaning solution. This may include a mild detergent, white vinegar, or a specialized cleaning product designed for mop heads. Ensure that the cleaning solution is well-dissolved in the water to create an effective soaking solution.
- Submerge the Mop Head: Place the mop head into the prepared cleaning solution, ensuring that it is fully submerged. Gently agitate the mop head within the solution to facilitate the penetration of the cleaning solution into the fibers or strands, effectively targeting embedded dirt and contaminants.
- Allow Adequate Soaking Time: Depending on the level of soiling and the type of contaminants present, allow the mop head to soak for a sufficient duration. This may range from 15 minutes to an hour, allowing the cleaning solution to work its magic in dislodging dirt and grime from the mop head.
By diligently following these sub-steps, you can ensure that the mop head undergoes a thorough soaking process, effectively preparing it for the subsequent washing phase. Soaking serves as a crucial step in the overall cleaning process, facilitating the removal of embedded contaminants and contributing to the restoration of the mop head’s cleanliness and functionality.
Rinse the mop head thoroughly with hot water after each use to remove dirt and debris. Then, soak the mop head in a mixture of hot water and a mild detergent for at least 15 minutes before rinsing it again. Finally, allow the mop head to air dry completely before storing it.
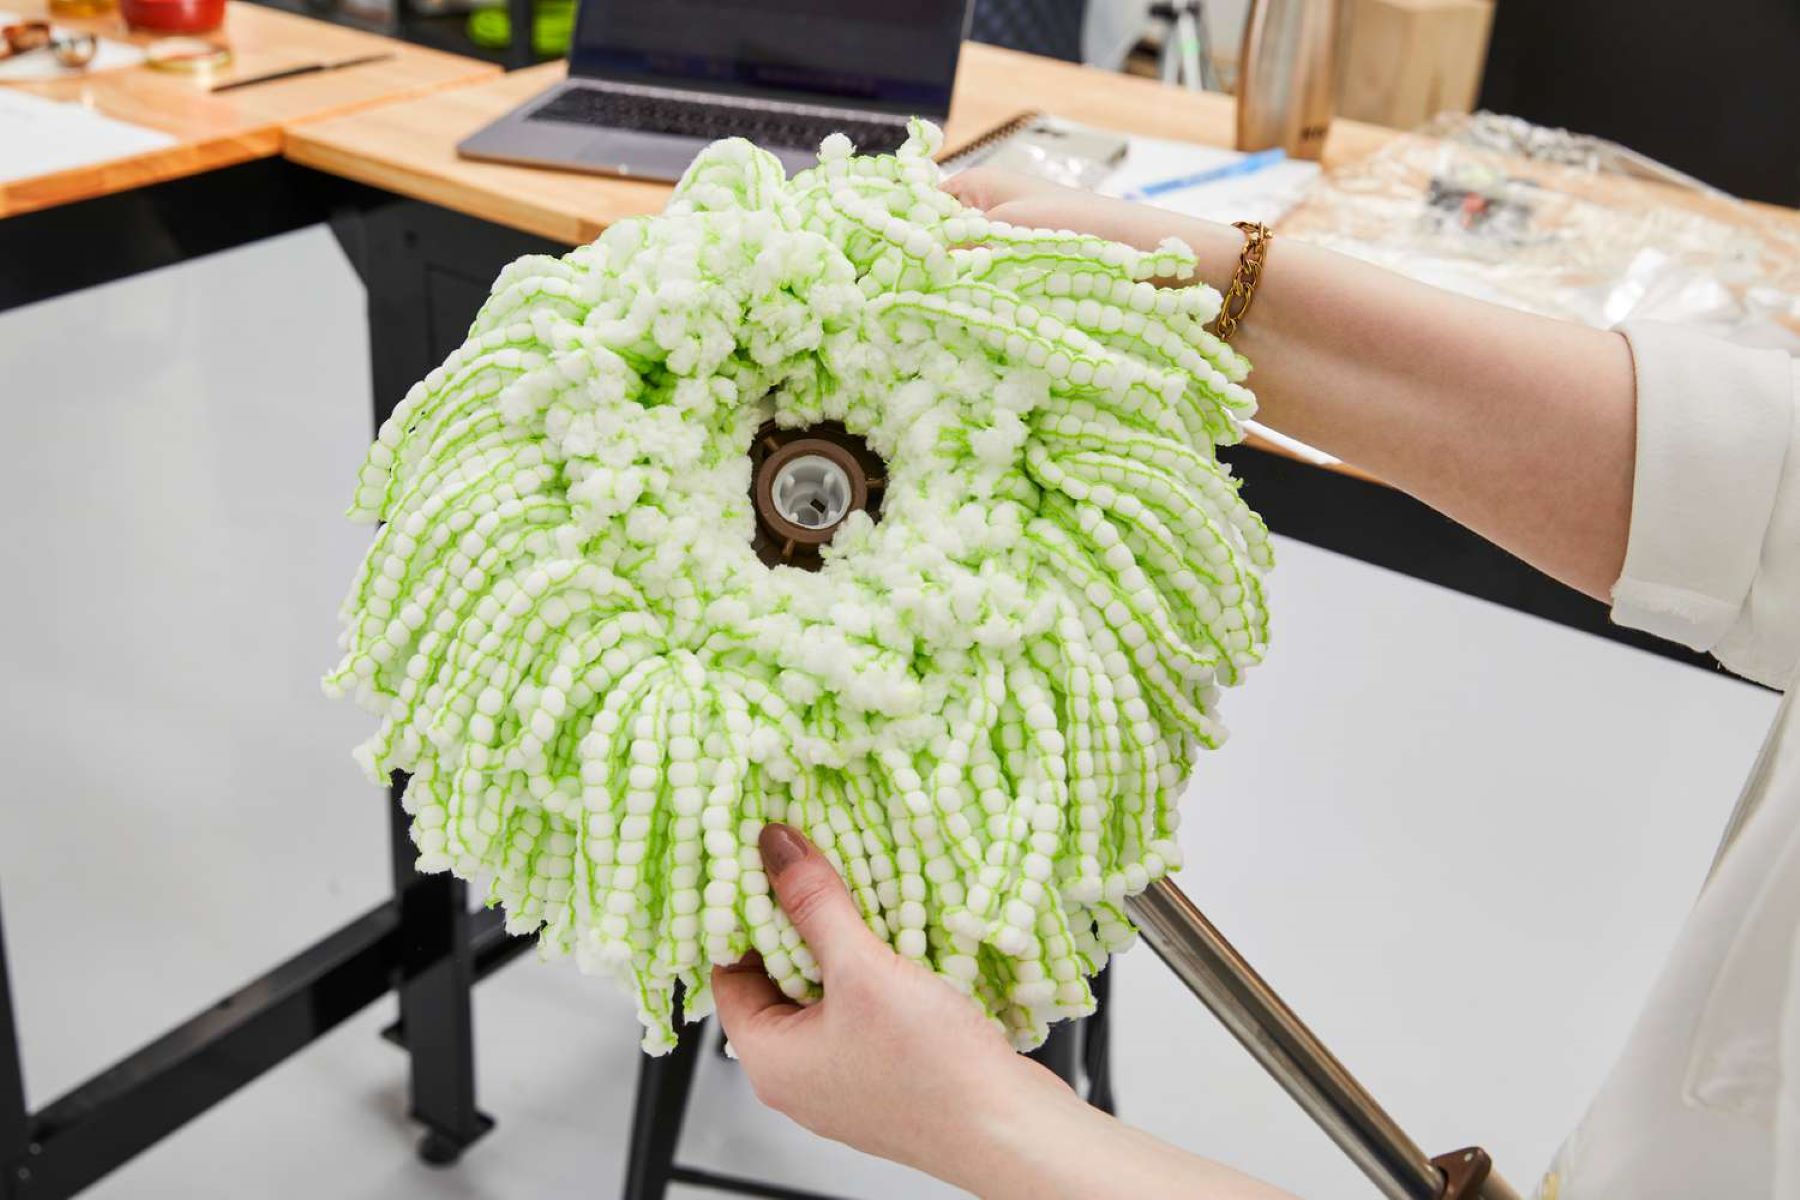
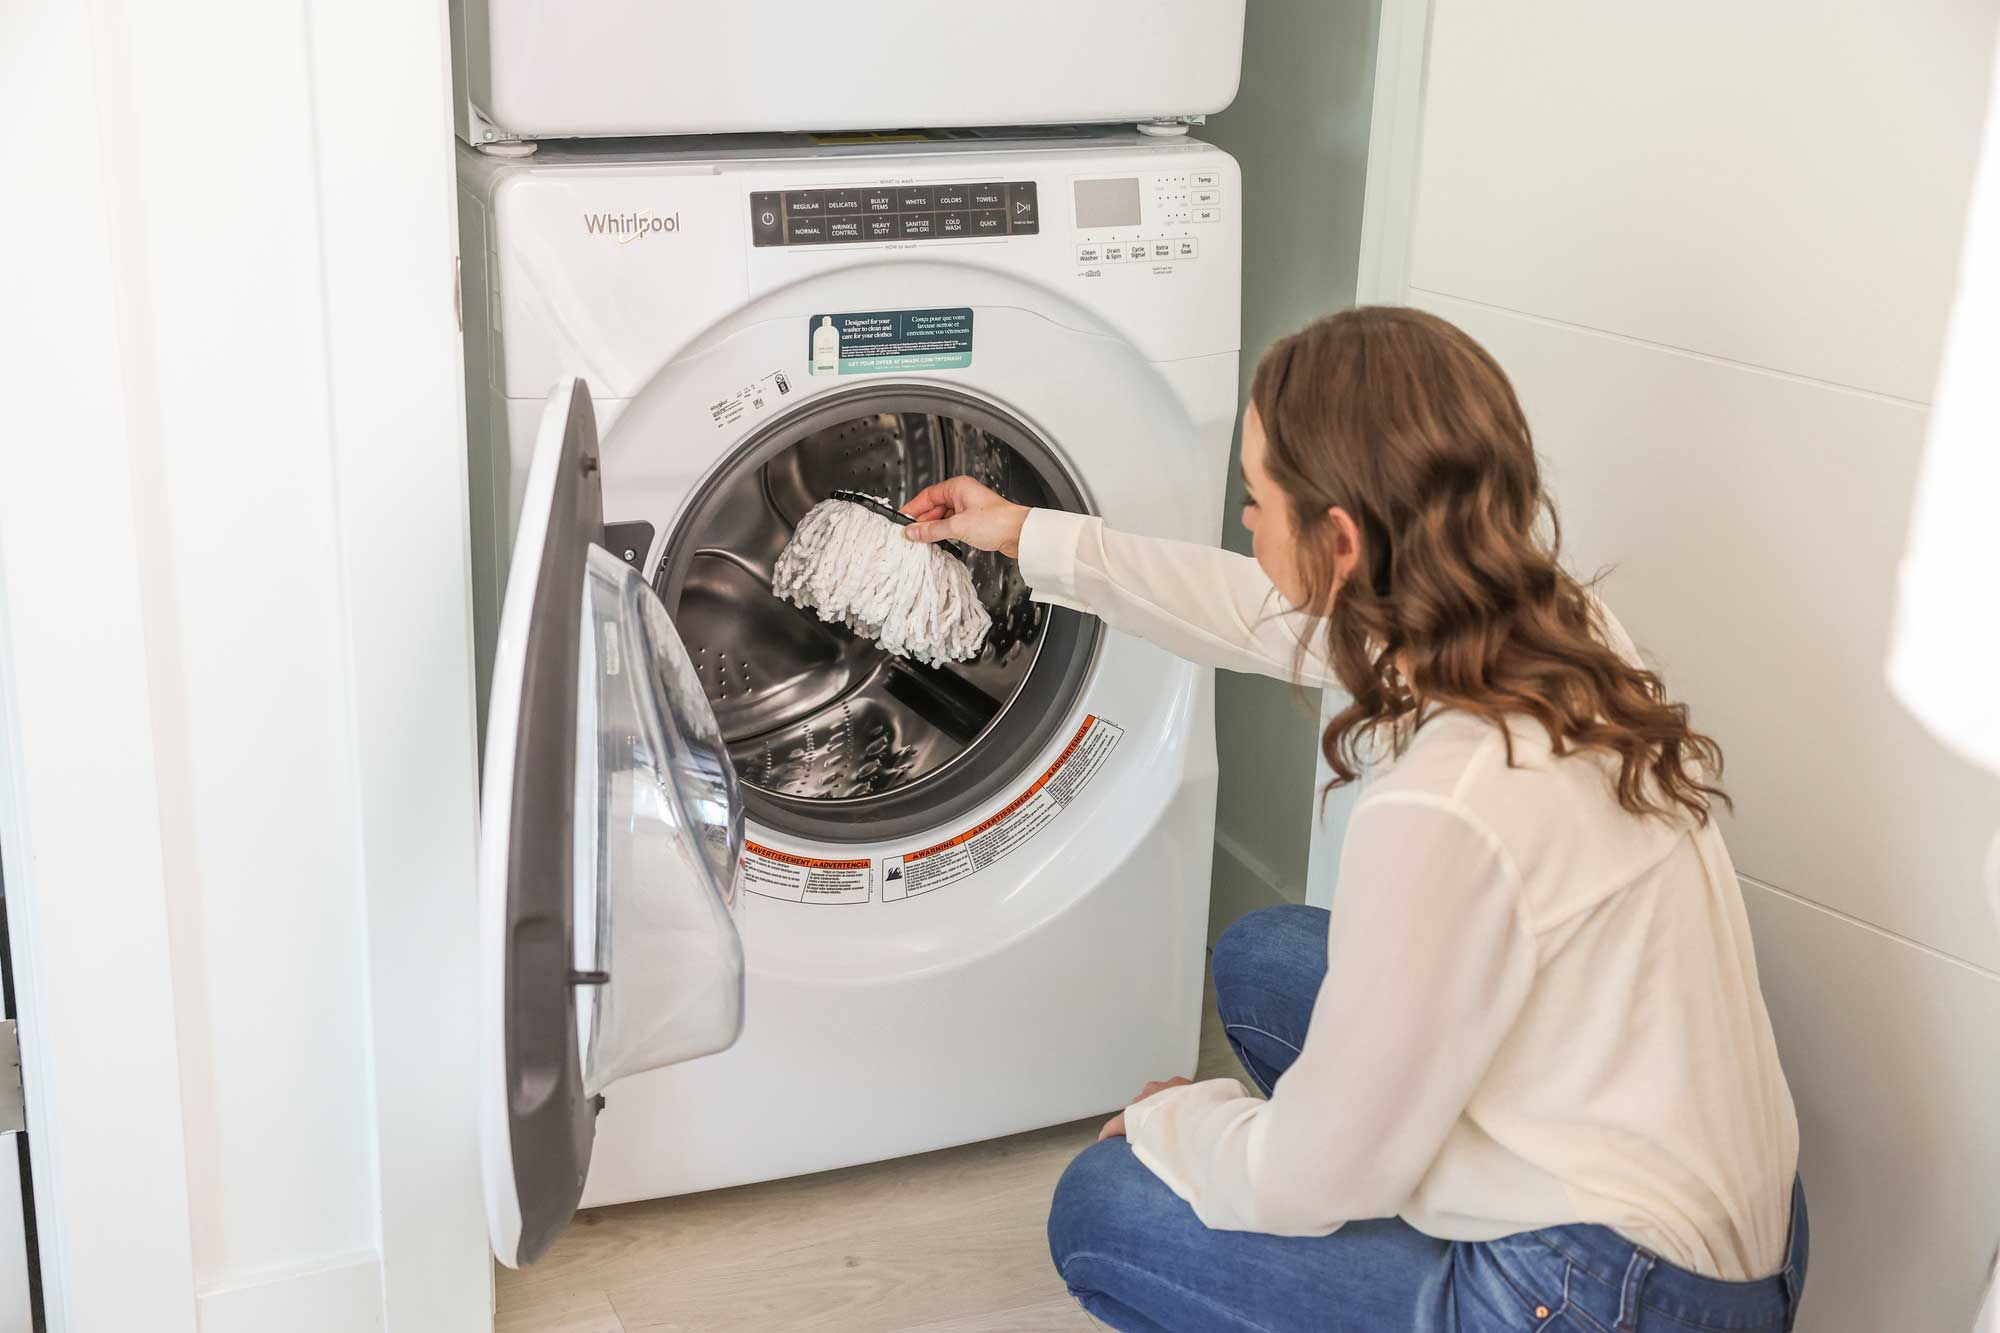
Step 4: Wash the Mop Head
Washing the mop head is a pivotal stage in the cleaning process, as it involves the thorough removal of dirt, grime, and contaminants that have been loosened during the soaking phase. This step is essential for restoring the cleanliness and functionality of the mop head, ensuring that it is ready for future cleaning tasks. Follow these detailed sub-steps to effectively wash the mop head:
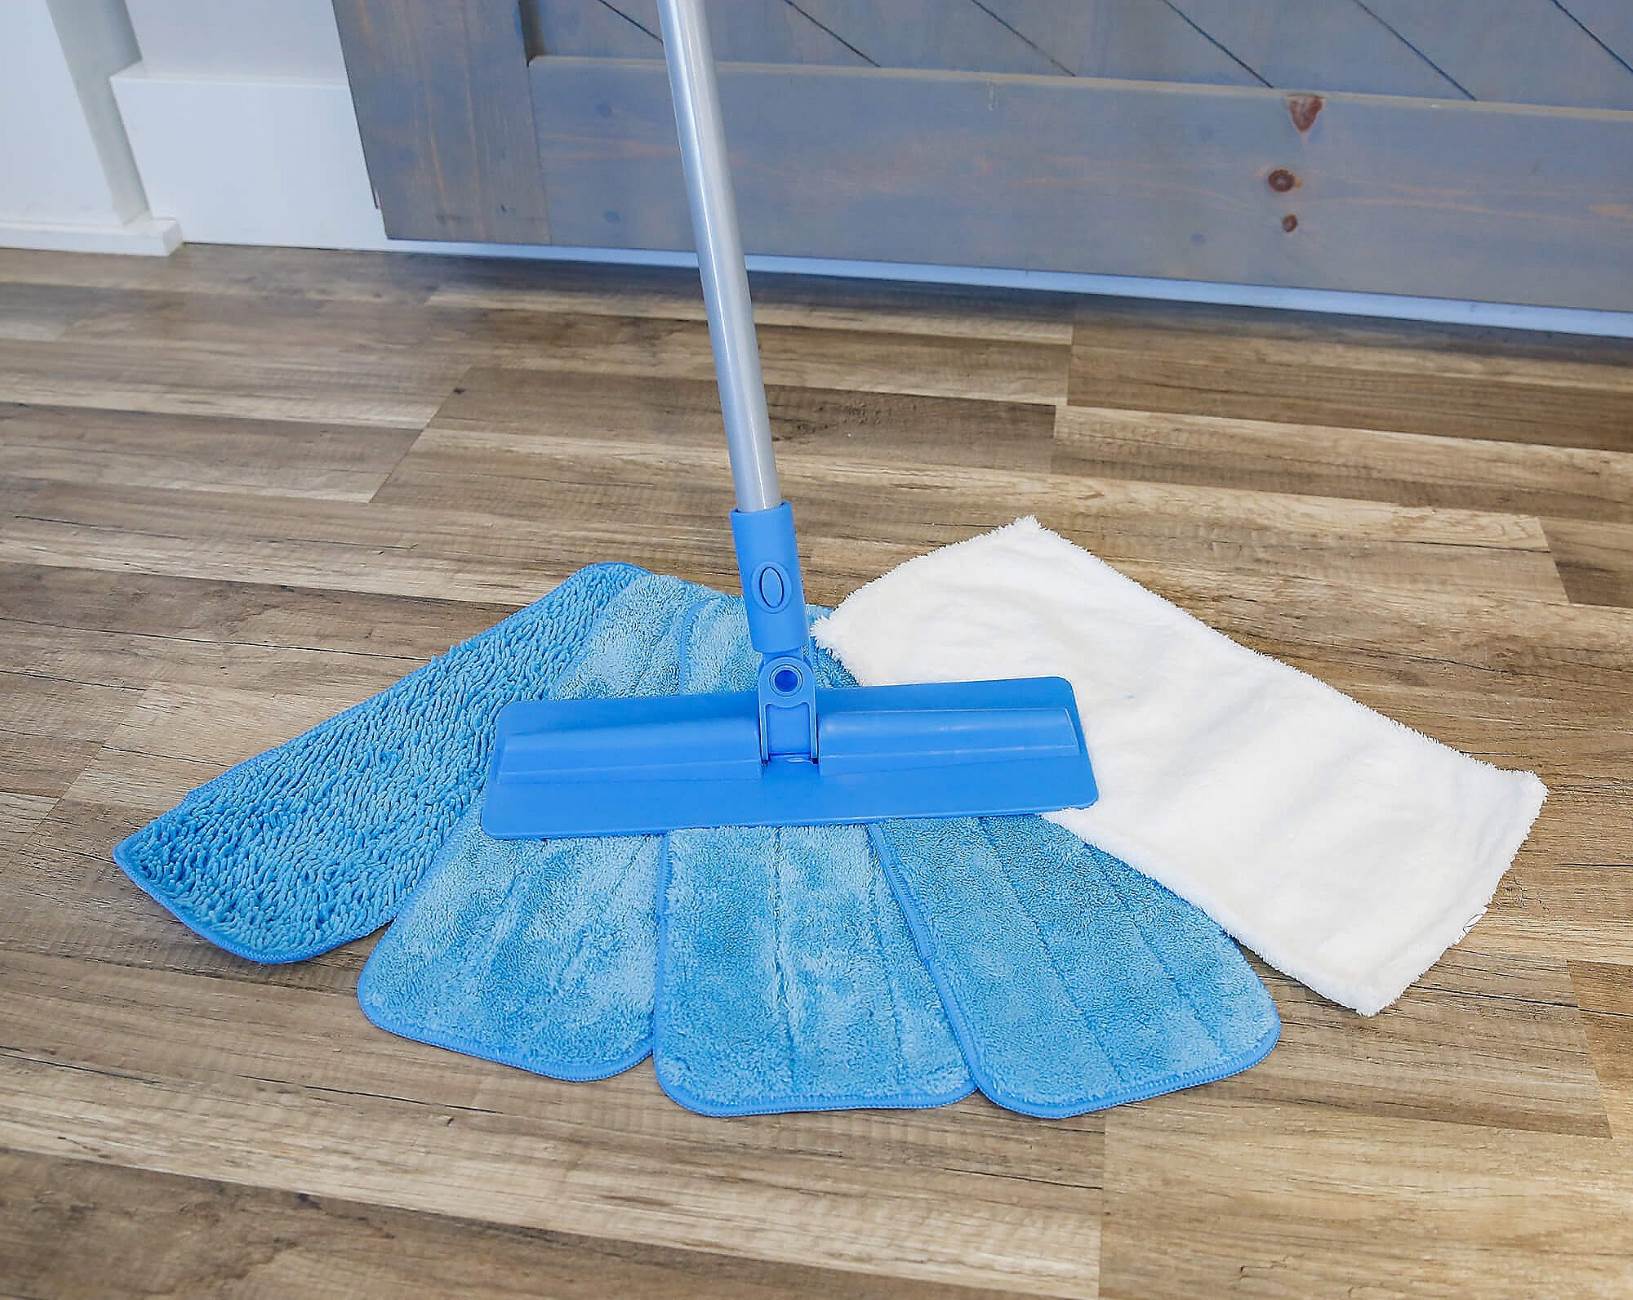
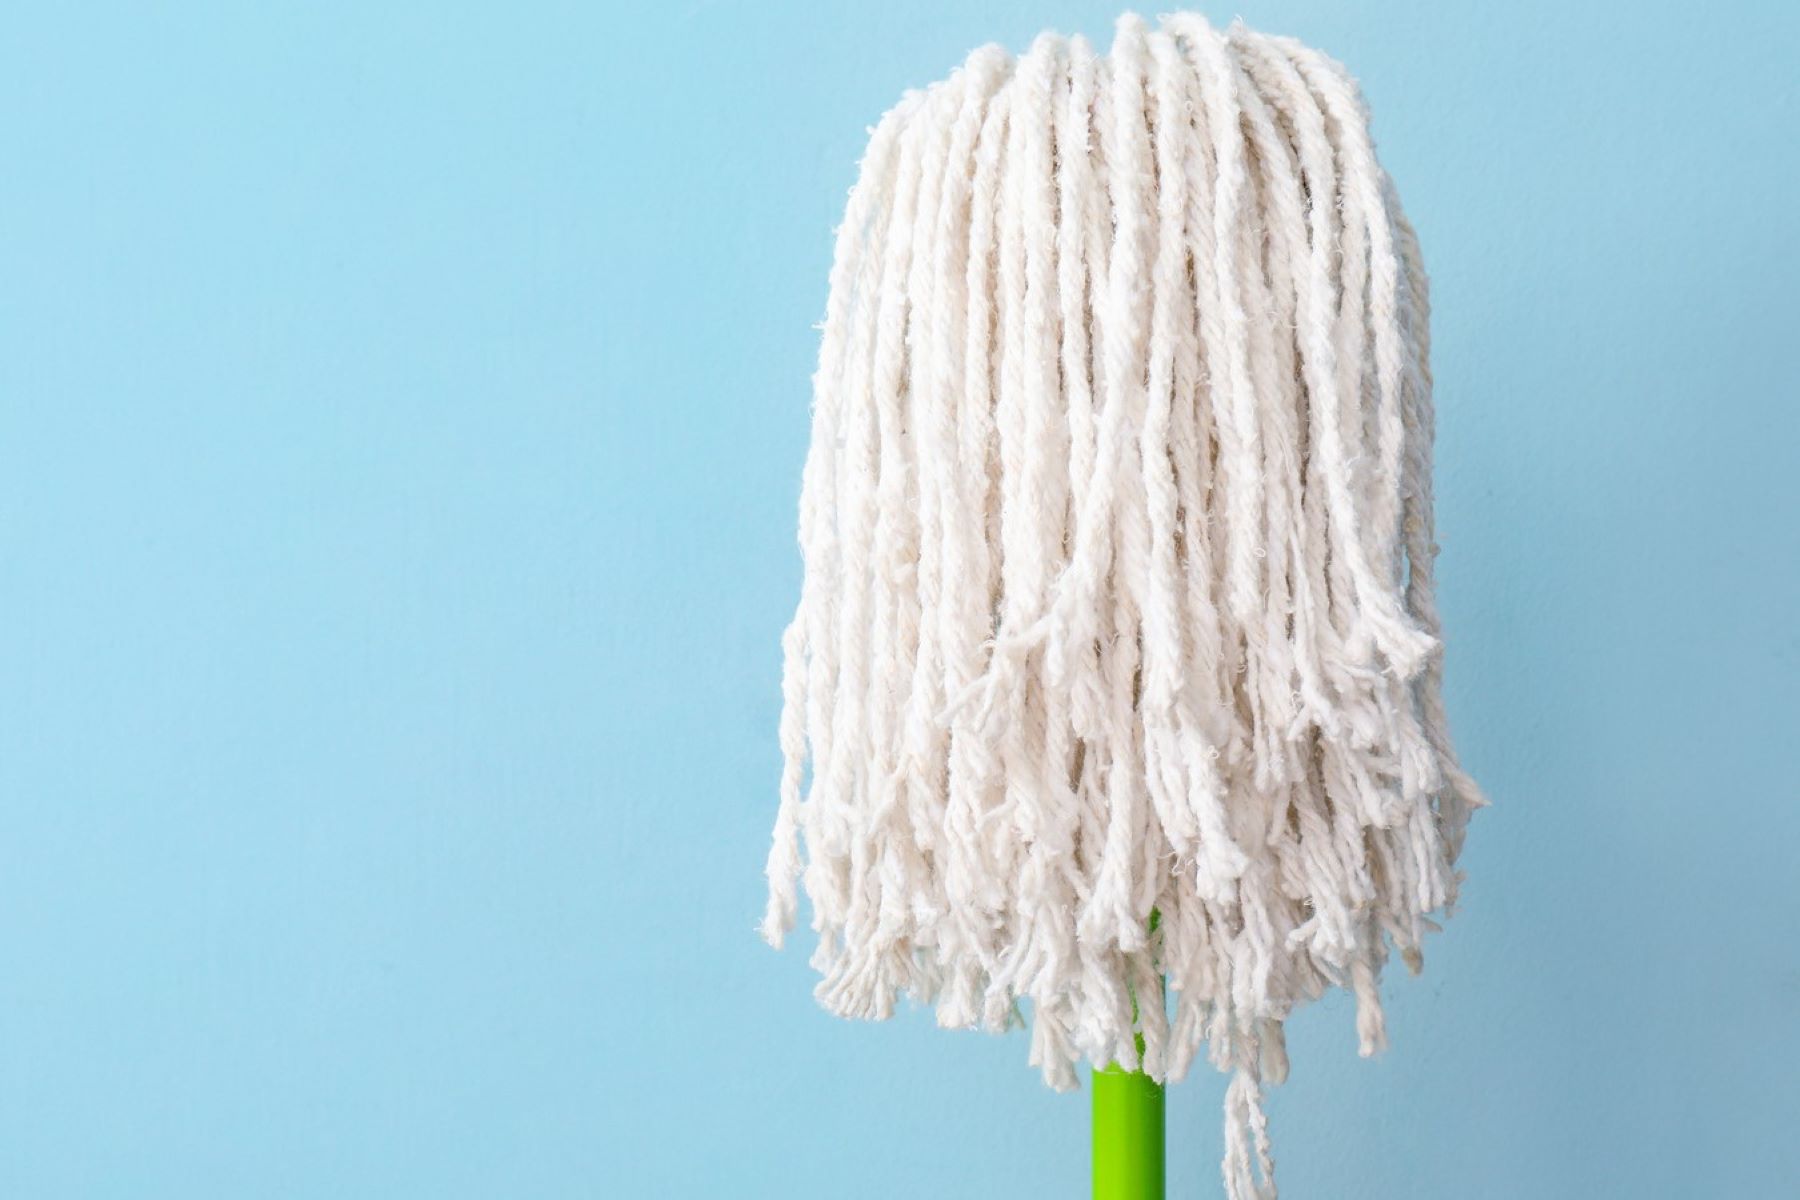
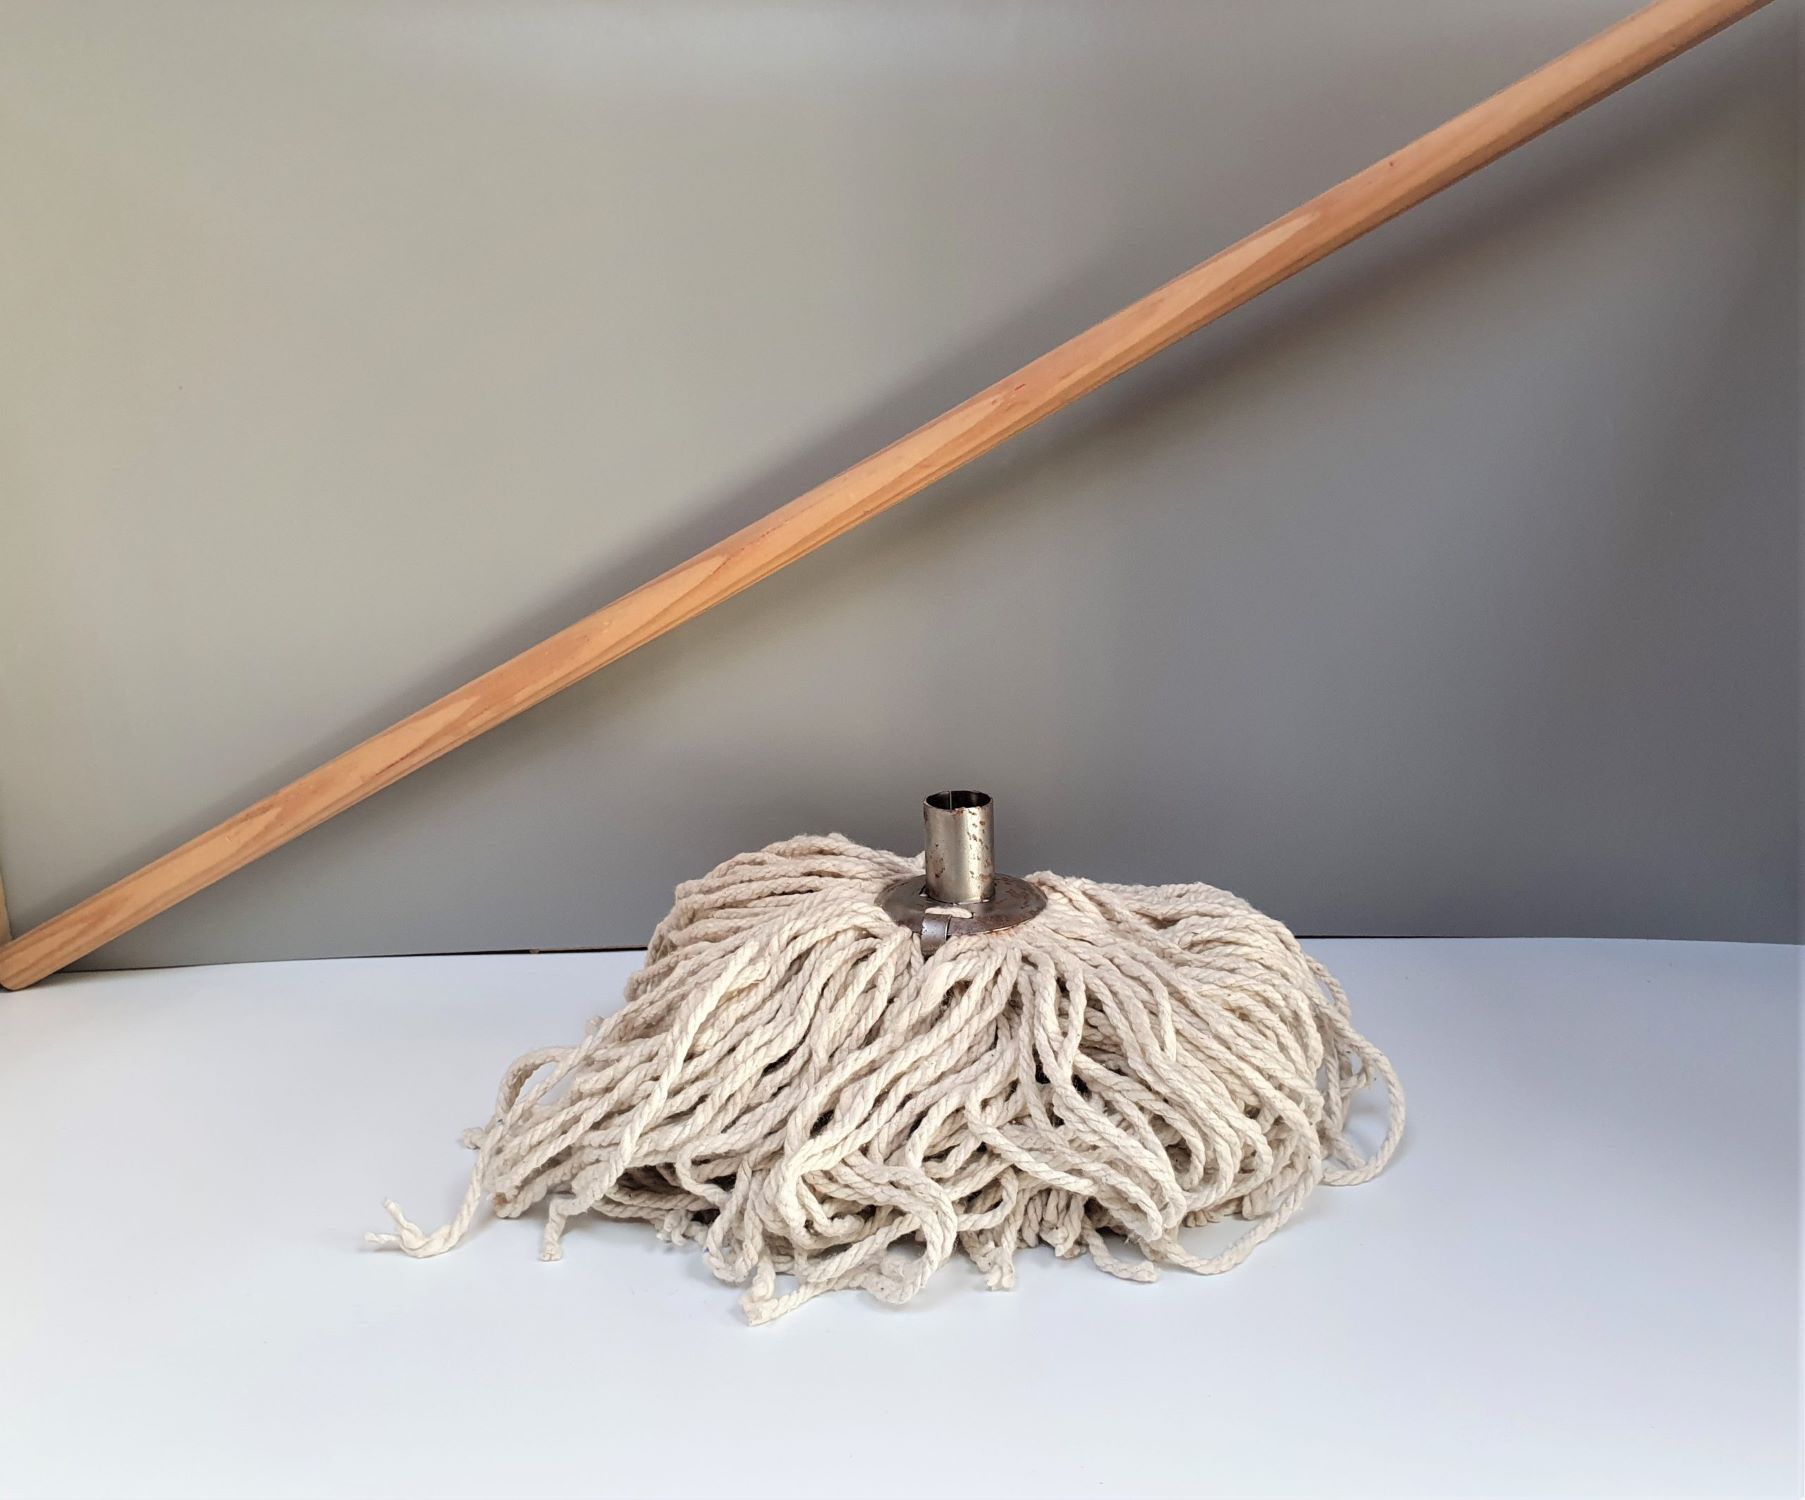
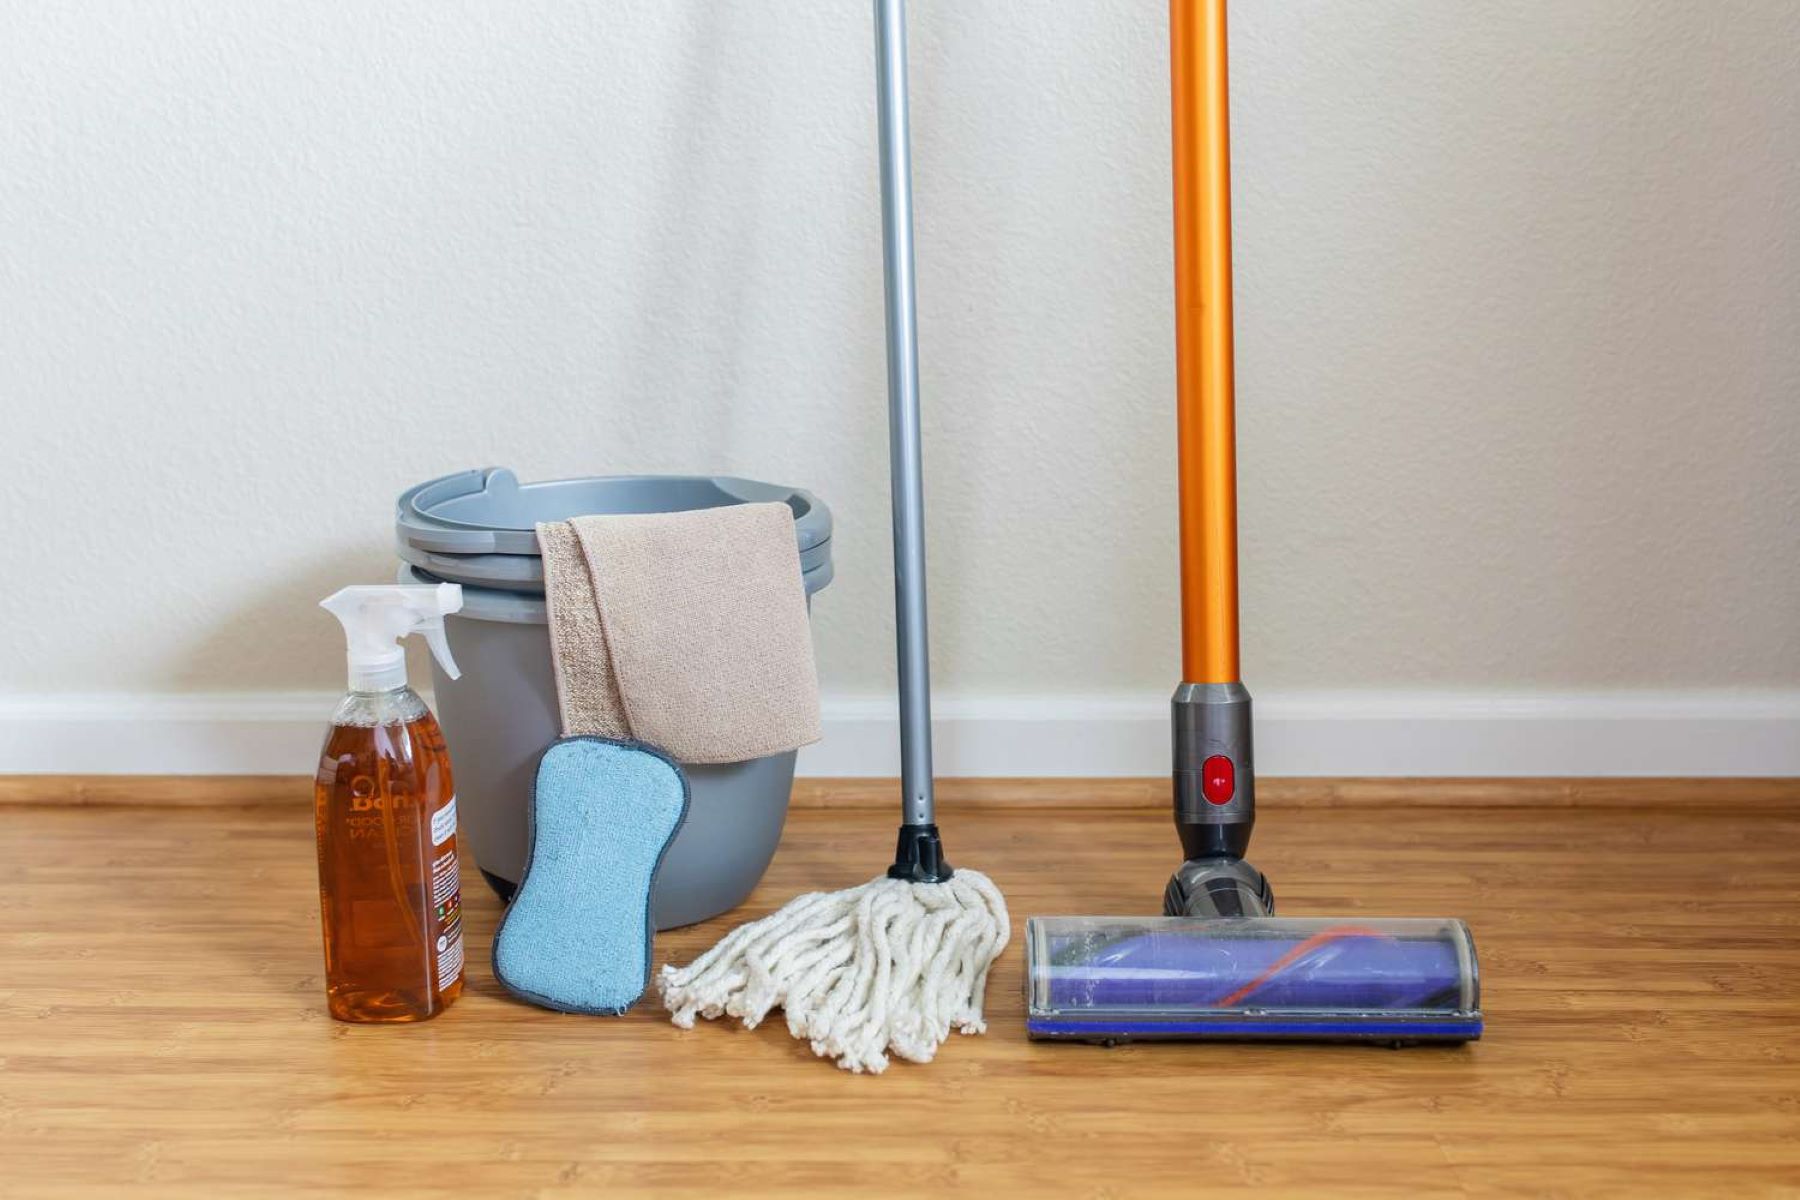
- Hand Wash or Machine Wash: Depending on the manufacturer’s instructions and the type of mop head material, determine whether hand washing or machine washing is suitable. For traditional cotton mop heads, machine washing may be appropriate, while microfiber mop heads often require gentle hand washing to prevent damage to the delicate fibers.
- Use Suitable Detergent: If hand washing the mop head, use a mild detergent or a cleaning solution specifically formulated for cleaning mop heads. For machine washing, select a gentle laundry detergent and avoid using fabric softeners, as they can leave residues that diminish the mop head’s effectiveness.
- Thoroughly Rinse: After washing, thoroughly rinse the mop head to remove any residual detergent or cleaning solution. Ensure that the water runs clear, indicating the complete removal of cleaning agents and contaminants from the mop head.
- Gentle Squeezing: Gently squeeze the mop head to remove excess water. Avoid wringing or twisting the mop head vigorously, as this can damage the fibers or strands, compromising the mop head’s effectiveness.
By meticulously following these sub-steps, you can ensure that the mop head undergoes a thorough washing process, effectively eliminating dirt, grime, and contaminants. This step is crucial for maintaining the cleanliness and functionality of the mop head, ensuring that it is ready for future cleaning tasks and contributes to a hygienic living environment.
Read more: How To Clean Spin Mop Head
Step 5: Dry the Mop Head
Properly drying the mop head is a critical final step in the cleaning process, as it ensures that the mop head is free from excess moisture and ready for storage or immediate use. Effective drying also helps prevent the growth of mold, mildew, and unpleasant odors, preserving the cleanliness and functionality of the mop head. Follow these comprehensive sub-steps to ensure the thorough drying of the mop head:
- Air Drying: After washing, place the mop head in a well-ventilated area to air dry. Ensure that the mop head is spread out to allow for even drying and to prevent the formation of damp spots that can lead to mold and mildew growth.
- Optimize Air Circulation: If possible, position a fan near the drying mop head to enhance air circulation and expedite the drying process. Increased air movement helps to evaporate moisture more rapidly, reducing the drying time and minimizing the risk of musty odors developing in the mop head.
- Avoid Direct Heat: Refrain from using direct heat sources such as radiators or hair dryers to dry the mop head, as excessive heat can damage certain materials and compromise the integrity of the mop head’s fibers or strands.
- Ensure Complete Dryness: Confirm that the mop head is completely dry before storing or using it for cleaning tasks. This may involve gently touching the mop head to assess its dryness and ensuring that no residual moisture is present.
By diligently following these sub-steps, you can ensure that the mop head undergoes a thorough drying process, effectively eliminating excess moisture and preventing the development of mold and mildew. Proper drying contributes to the preservation of the mop head’s cleanliness and functionality, ensuring that it remains a reliable tool for maintaining a hygienic living environment.
Conclusion
Cleaning a mop head is an essential aspect of home maintenance that is often overlooked. By following the step-by-step process outlined in this guide, you can ensure that your mop head remains clean, hygienic, and ready for future cleaning tasks. From removing the mop head and rinsing away surface debris to soaking, washing, and thorough drying, each step plays a crucial role in maintaining the cleanliness and functionality of this indispensable cleaning tool.
Regularly cleaning your mop head not only extends its lifespan but also contributes to the overall effectiveness of your cleaning routine. A clean mop head ensures that dirt and grime are effectively removed from your floors, leaving them sparkling clean and free from contaminants. Additionally, maintaining a clean mop head helps to prevent the spread of bacteria and unpleasant odors, contributing to a healthier living environment for you and your family.
By incorporating these cleaning practices into your regular home maintenance routine, you can enjoy the benefits of a well-maintained mop head that consistently delivers exceptional cleaning results. Whether you use a traditional cotton mop or a modern microfiber mop, proper cleaning and maintenance are essential for preserving the integrity and effectiveness of this indispensable cleaning tool.
Embrace the process of cleaning your mop head as a proactive step towards maintaining a clean and hygienic home. With each meticulous cleaning session, you contribute to the overall cleanliness and well-being of your living space, ensuring that every cleaning task is performed with maximum efficiency and effectiveness.
So, the next time you embark on a cleaning session, remember the importance of a clean mop head and the valuable role it plays in achieving pristine floors and a healthier home environment. By following the steps outlined in this guide, you can elevate your cleaning routine and maintain a hygienic living space that you can take pride in.
Frequently Asked Questions about How To Clean A Mop Head After Use
Was this page helpful?
At Storables.com, we guarantee accurate and reliable information. Our content, validated by Expert Board Contributors, is crafted following stringent Editorial Policies. We're committed to providing you with well-researched, expert-backed insights for all your informational needs.

0 thoughts on “How To Clean A Mop Head After Use”