Home>Furniture & Design>Bathroom Accessories>How To Clean A Plunger After Use

Bathroom Accessories
How To Clean A Plunger After Use
Modified: February 17, 2024
Learn how to properly clean and maintain your bathroom accessories, including plungers, to keep them hygienic and functional. Follow these simple steps for effective plunger maintenance.
(Many of the links in this article redirect to a specific reviewed product. Your purchase of these products through affiliate links helps to generate commission for Storables.com, at no extra cost. Learn more)
Introduction
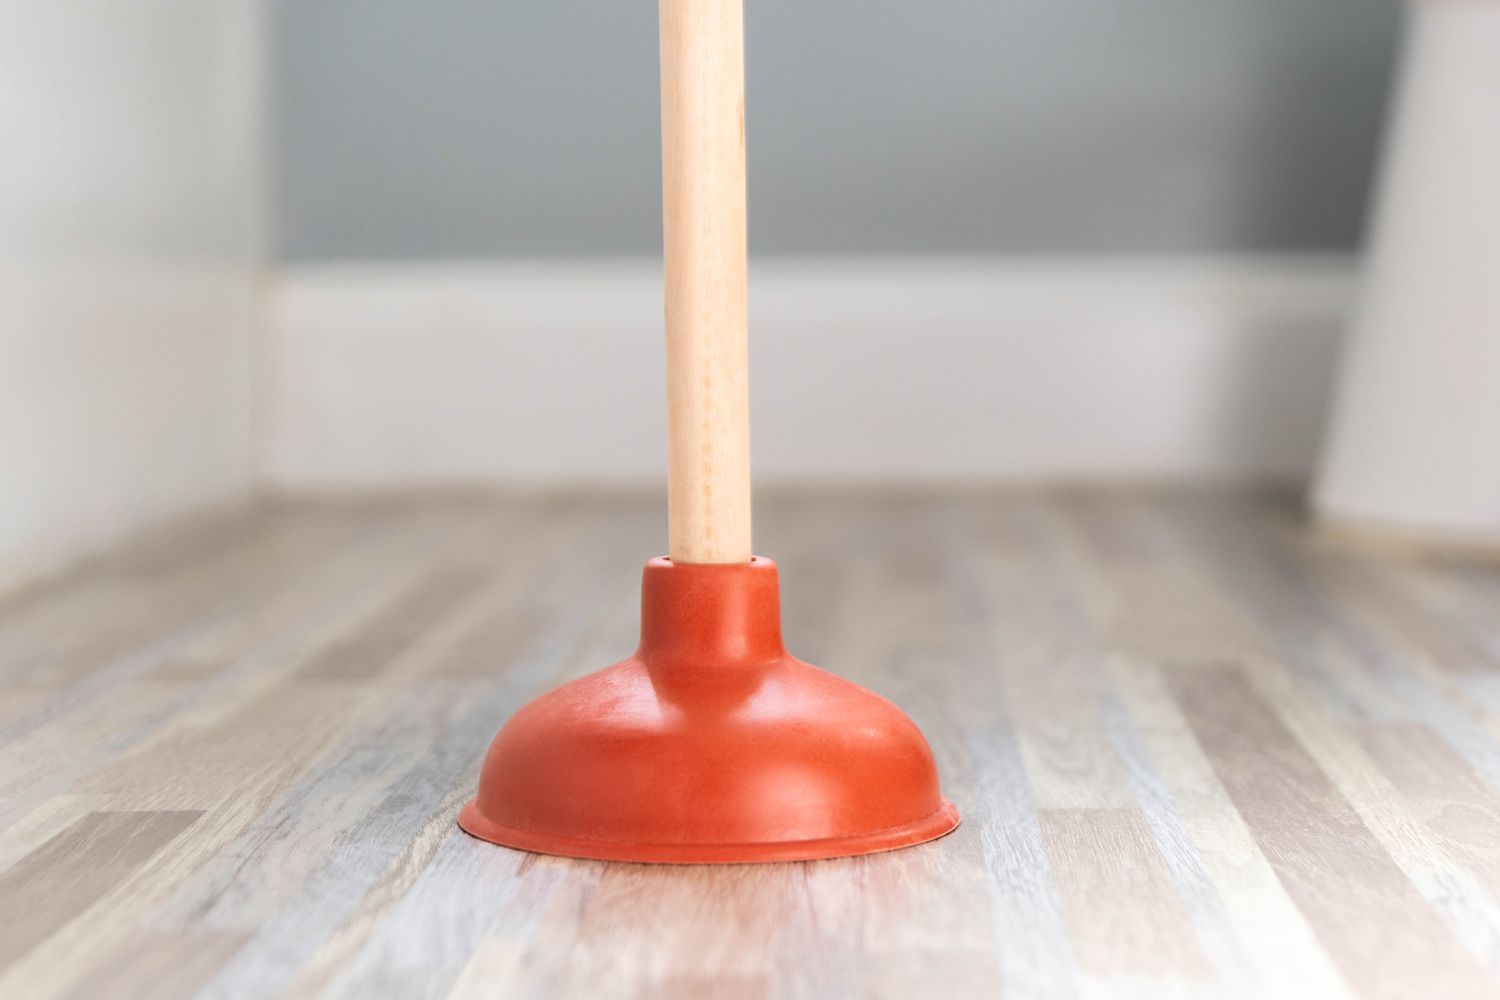
Cleaning a plunger after use is an essential part of maintaining a hygienic bathroom environment. Whether you've just tackled a stubborn clog or simply want to ensure that your plunger remains clean and ready for future use, proper cleaning is crucial. A plunger comes into direct contact with unsanitary substances, making it imperative to clean and disinfect it thoroughly after each use. By following a few simple steps, you can effectively clean your plunger and prevent the spread of germs and bacteria in your bathroom.
A clean plunger not only promotes a healthier living space but also extends the lifespan of the tool. Neglecting to clean a plunger can lead to the buildup of grime, mold, and unpleasant odors, rendering it less effective over time. Additionally, a dirty plunger can potentially transfer harmful bacteria to other surfaces in your bathroom, posing a health risk to you and your family. Therefore, taking the time to clean your plunger after each use is a small yet impactful way to maintain a clean and safe bathroom environment.
In this comprehensive guide, we will walk you through the step-by-step process of cleaning a plunger after use. From preparing the necessary cleaning materials to disinfecting and drying the plunger, each step is designed to ensure that your plunger remains clean, sanitary, and ready for future use. By following these simple yet effective cleaning techniques, you can maintain a hygienic bathroom and prolong the life of your plunger. Let's dive into the cleaning process and discover how easy it is to keep your plunger clean and germ-free.
Key Takeaways:
- Keep your plunger clean to prevent the spread of germs and bacteria in your bathroom. Thoroughly rinse, disinfect, and dry it after each use to maintain a hygienic living space.
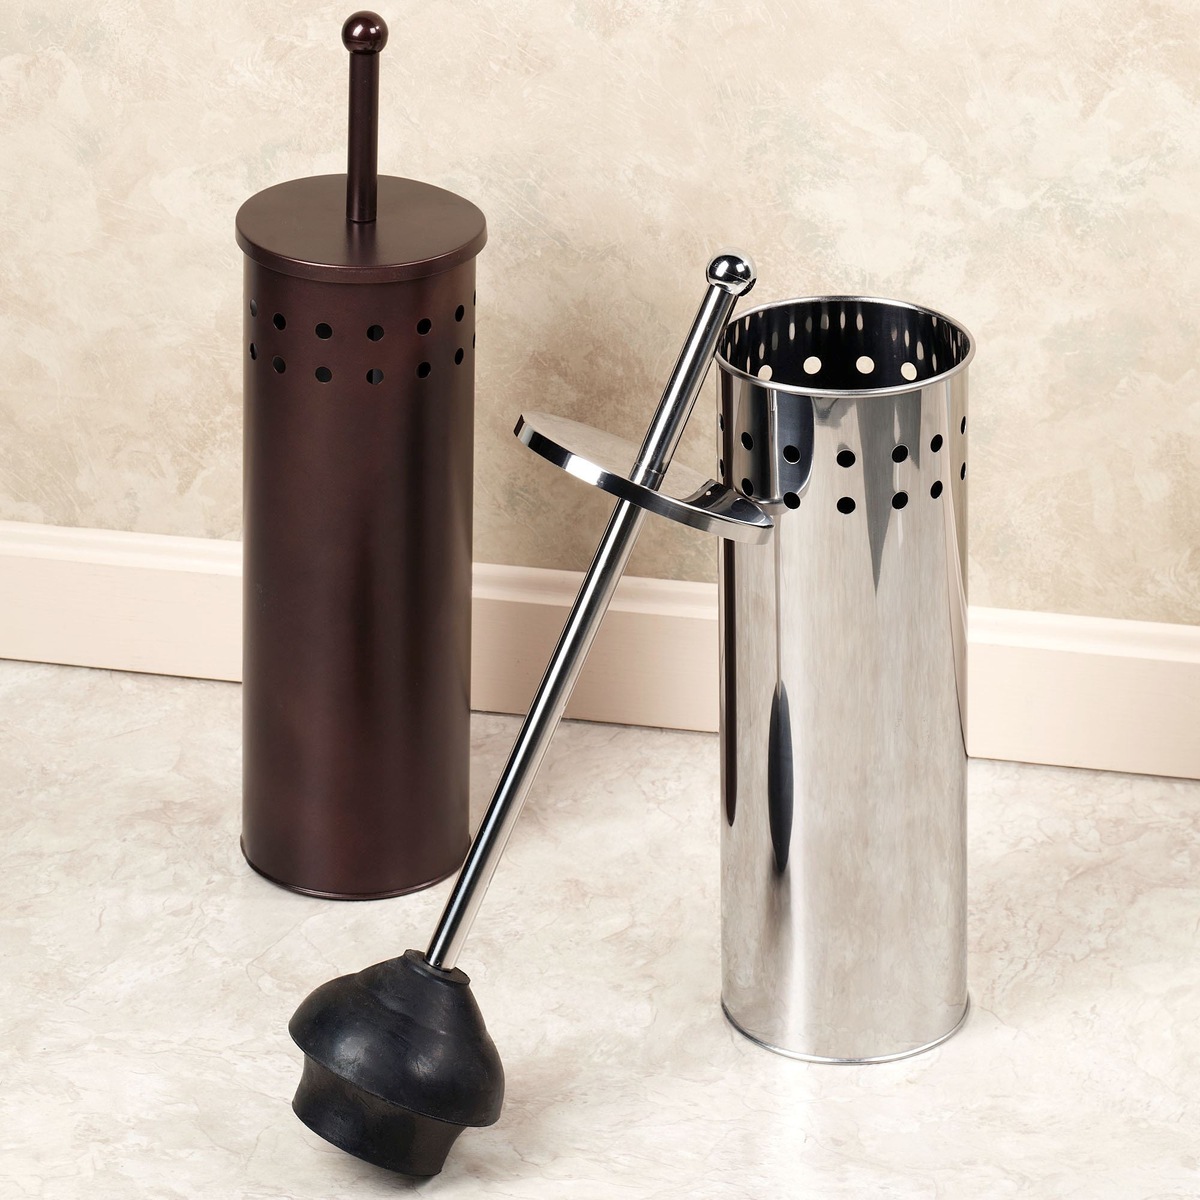
- Gather rubber gloves, disinfectant cleaner, a bucket, scrubbing brush, mild soap, and clean towels to effectively clean your plunger. Thoroughly rinse, disinfect, and dry for a germ-free bathroom.
Read more: How To Use A Plunger?
Step 1: Prepare the cleaning materials
Before embarking on the task of cleaning your plunger, it's essential to gather the necessary cleaning materials. Having the right supplies at hand will streamline the cleaning process and ensure that you can effectively remove any dirt, grime, and bacteria from the plunger. Here's a detailed look at the cleaning materials you'll need:
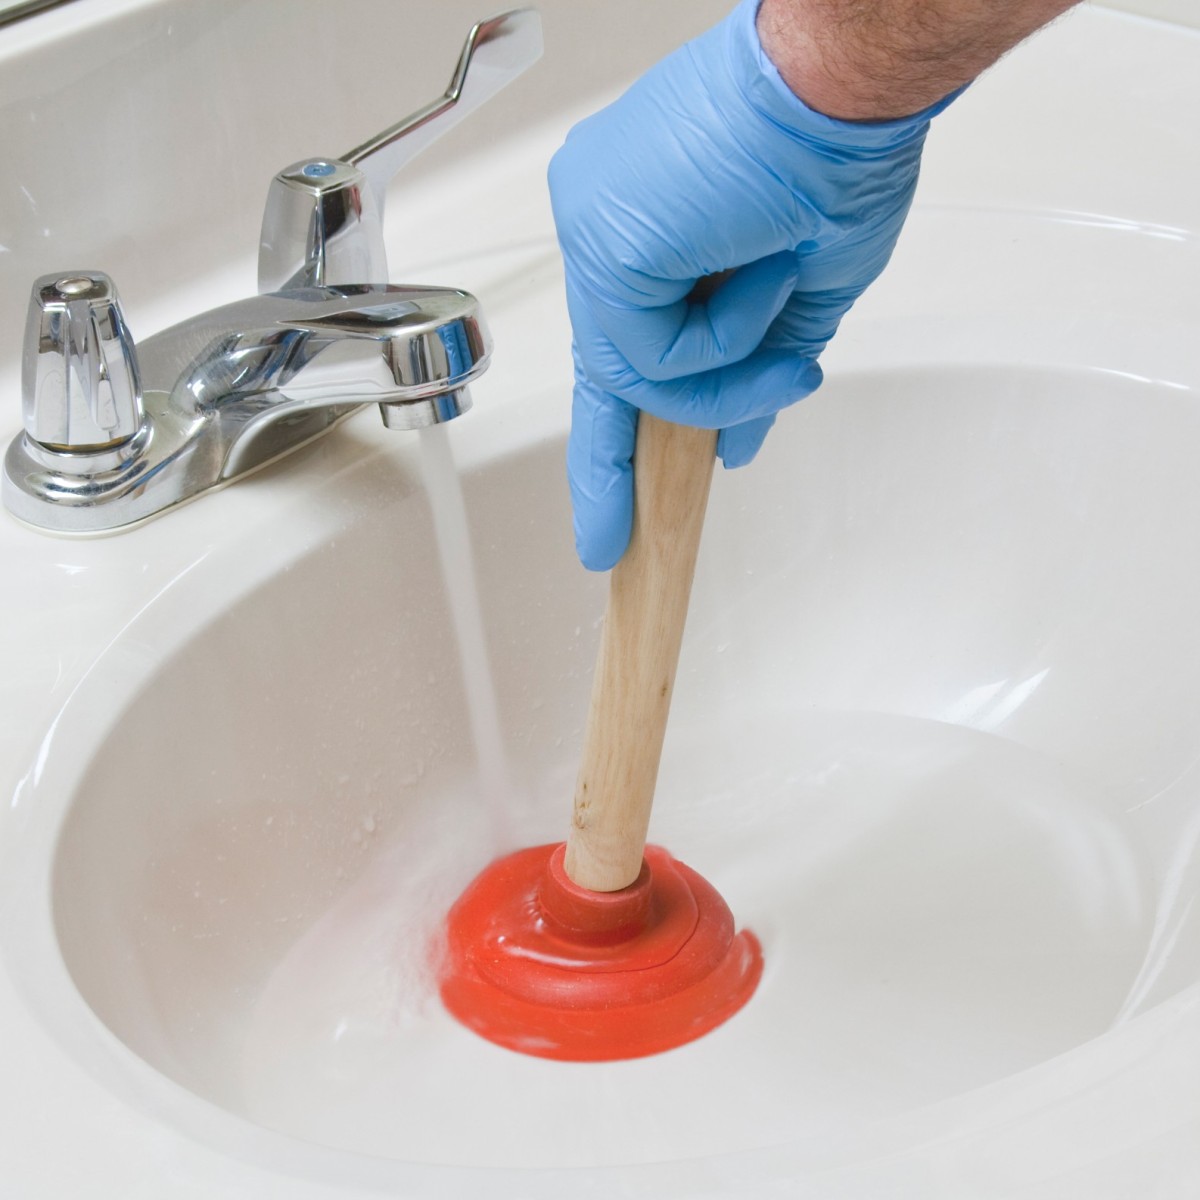
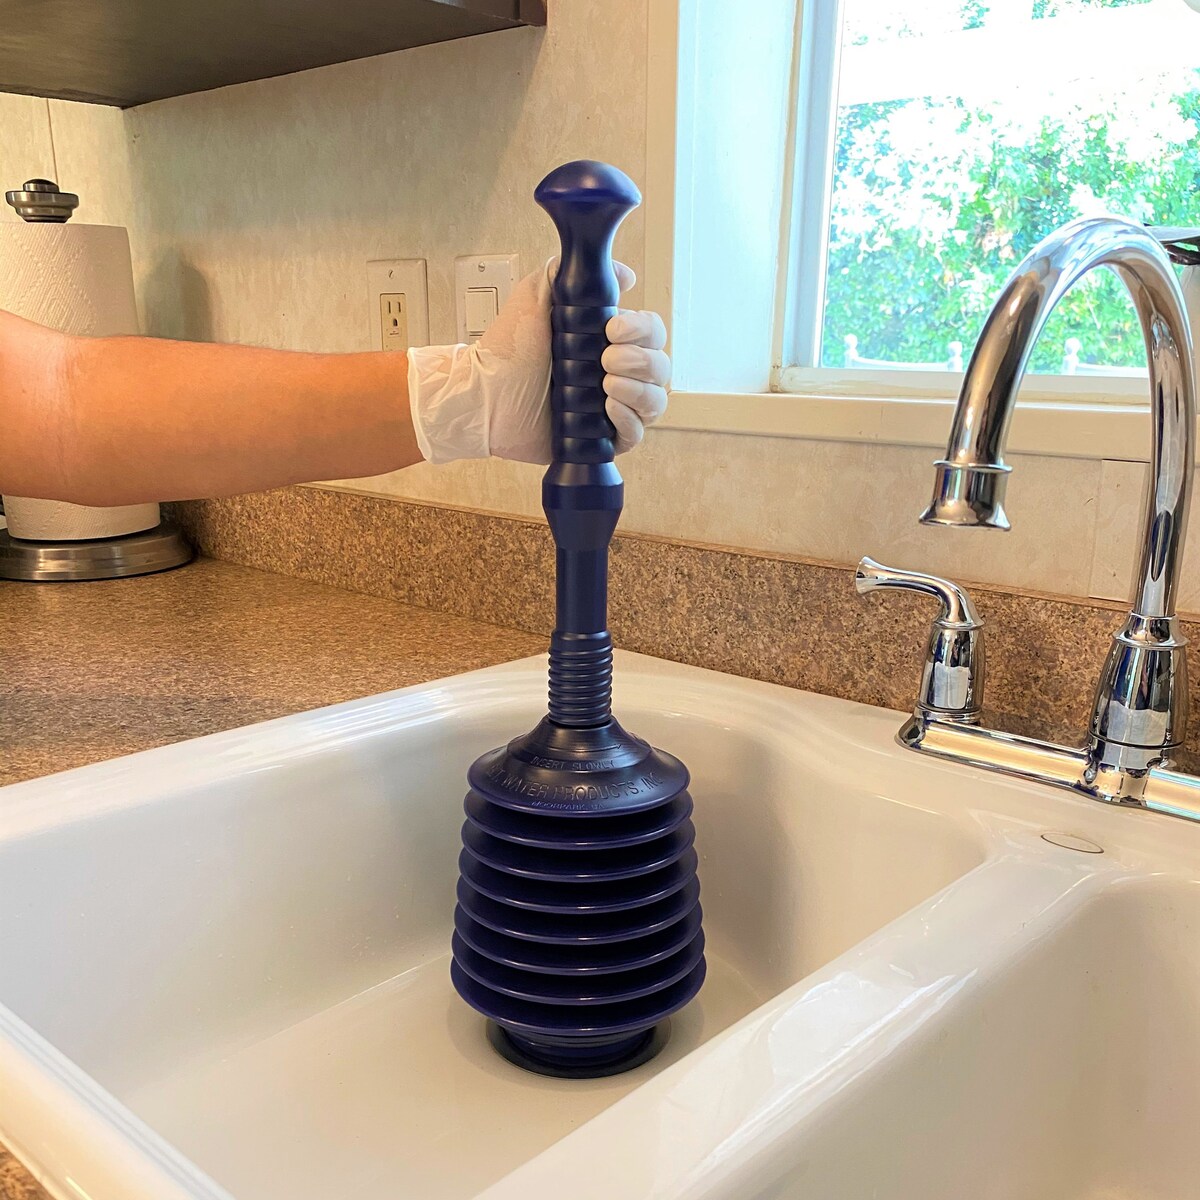
1. Rubber Gloves
Wearing rubber gloves is crucial when handling a used plunger. This protective gear will shield your hands from coming into direct contact with any residual waste or bacteria on the plunger, minimizing the risk of exposure to harmful germs.
2. Disinfectant Cleaner
Select a disinfectant cleaner that is specifically formulated to eliminate bacteria and germs. Look for a cleaner that is safe to use on plastic and rubber materials, as this will ensure that it effectively sanitizes the plunger without causing any damage.
3. Bucket or Basin
Prepare a bucket or basin filled with warm water. This will serve as the primary vessel for rinsing off the plunger and diluting the disinfectant cleaner. Opt for a container that is large enough to accommodate the plunger and allows for easy maneuvering during the cleaning process.
Read more: How To Clean A Toilet Plunger
4. Scrubbing Brush
A sturdy scrubbing brush will aid in removing any stubborn residue from the plunger's surface. Choose a brush with durable bristles that can effectively dislodge debris and grime, ensuring a thorough cleaning process.
5. Mild Soap
Select a mild soap or dishwashing liquid to use in conjunction with the scrubbing brush. The soap will help to break down and remove any remaining residue on the plunger, leaving it clean and fresh.
6. Clean Towels
Prepare a few clean towels for drying the plunger after the cleaning process. Opt for towels that are highly absorbent and free from any lingering odors or contaminants, as these will be used to ensure the plunger is completely dry before storage.
By gathering these essential cleaning materials, you'll be well-equipped to tackle the task of cleaning your plunger effectively. With the right supplies in hand, you can proceed to the next steps with confidence, knowing that you have everything you need to maintain a clean and hygienic plunger for future use.
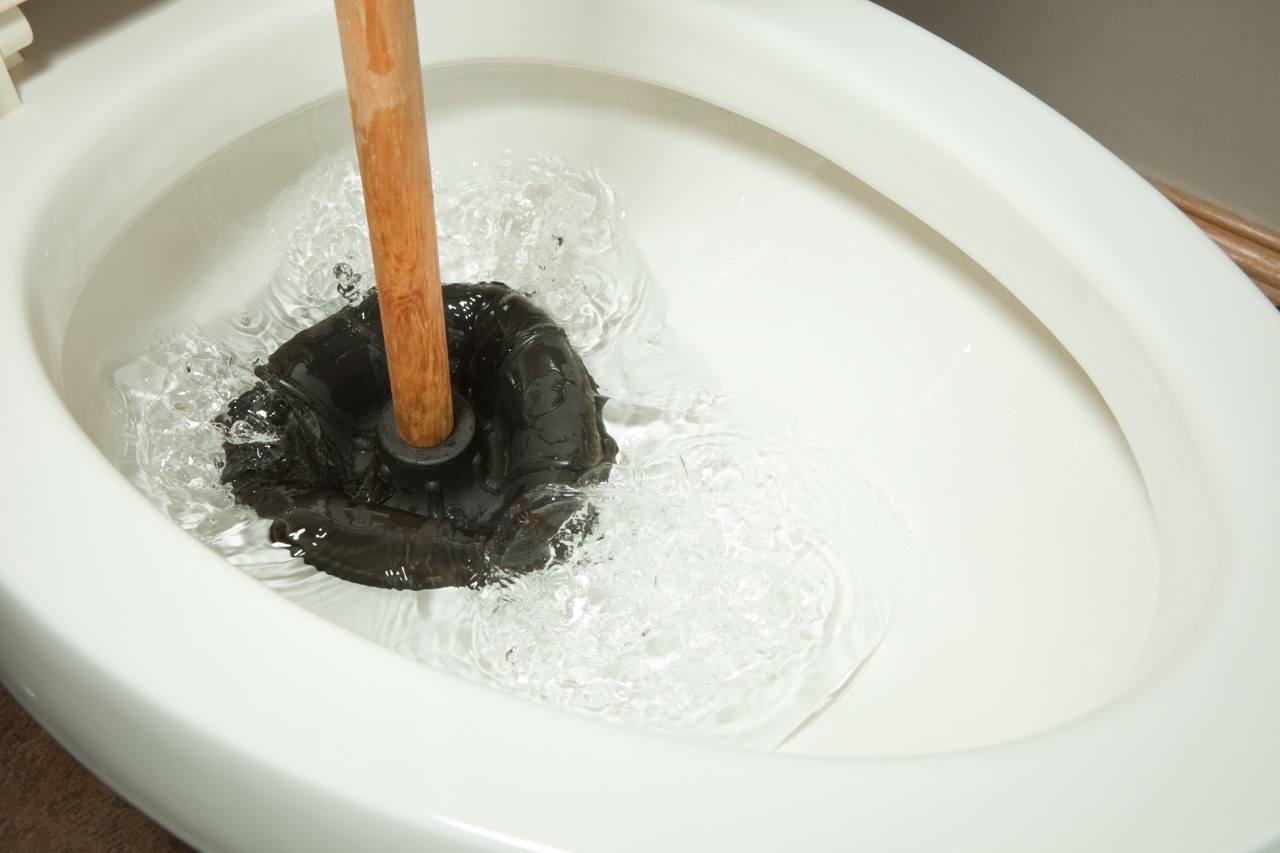
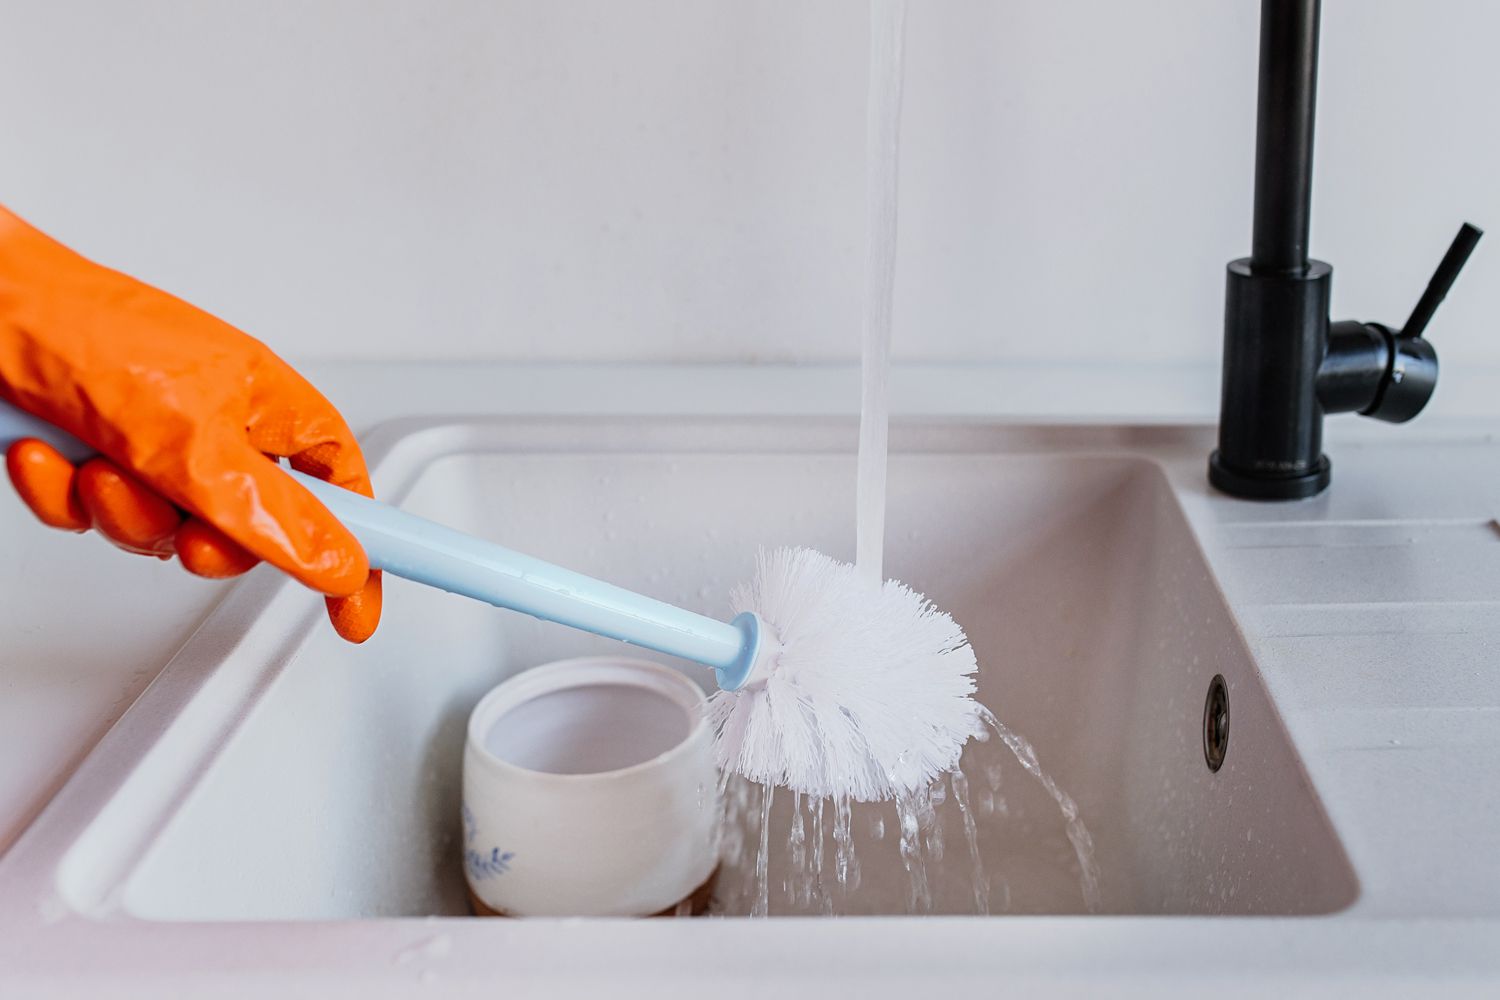
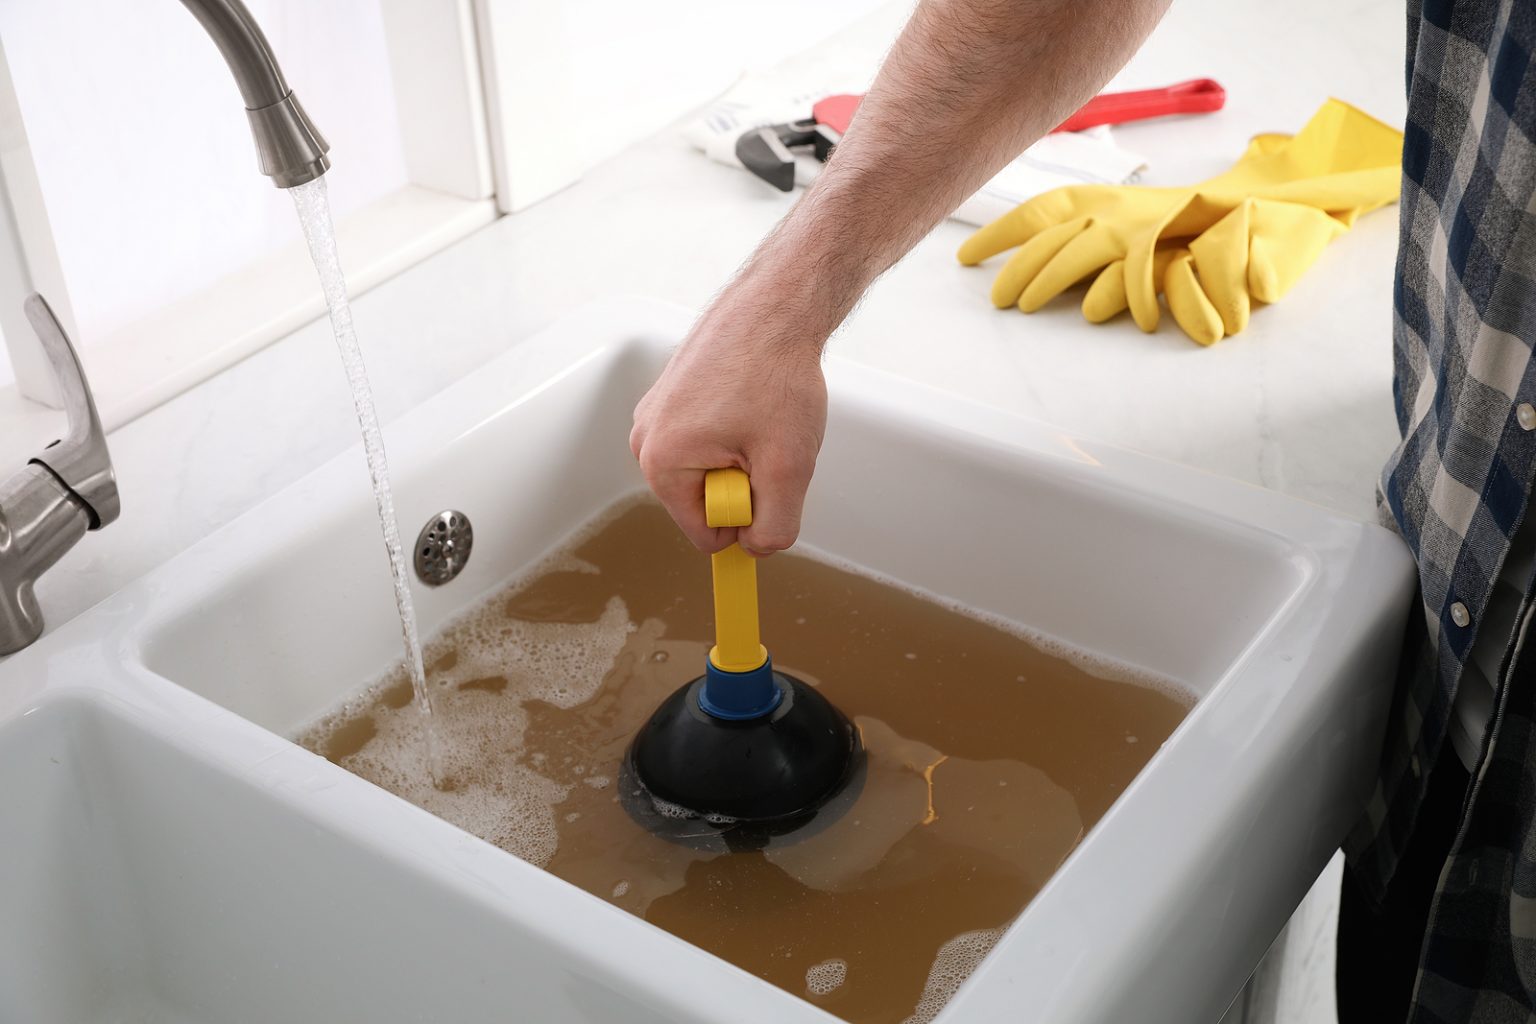
Step 2: Rinse off the plunger
After gathering the necessary cleaning materials, the next step in the plunger cleaning process is to thoroughly rinse off the plunger. This step is crucial for removing any visible debris, residue, or lingering odors from the plunger's surface. By effectively rinsing the plunger, you can prepare it for the subsequent disinfection and ensure that it is free from any initial contaminants.
To begin, place the plunger in a bucket or basin filled with warm water. The warm water will help to loosen any stubborn residue and facilitate the rinsing process. Using a gentle swirling motion, agitate the water to dislodge any debris clinging to the plunger. This initial rinsing step serves to remove the bulk of the waste and prepares the plunger for further cleaning.
Once the plunger has been thoroughly rinsed in warm water, inspect the rubber cup and the entire surface for any remaining residue. If necessary, use a scrubbing brush and mild soap to gently scrub the plunger, paying close attention to areas with visible grime or buildup. The scrubbing action, combined with the mild soap, will help to dislodge and remove any stubborn residue, ensuring that the plunger is clean and free from visible contaminants.
After scrubbing, rinse the plunger once again under running water to remove any soapy residue and ensure that it is thoroughly clean. As you rinse the plunger, visually inspect the surface to confirm that all debris and soap have been effectively removed. This visual check will help ensure that the plunger is ready for the next crucial step: disinfection.
By diligently rinsing off the plunger and removing any visible debris, you are setting the stage for the subsequent disinfection process. This thorough rinsing step not only cleans the plunger's surface but also prepares it for the application of a disinfectant cleaner, which is essential for eliminating harmful bacteria and germs. With the plunger now clean and free from visible contaminants, you can proceed to the next step with confidence, knowing that you have effectively prepared the plunger for thorough disinfection.
Read more: How To Use A Coffee Plunger
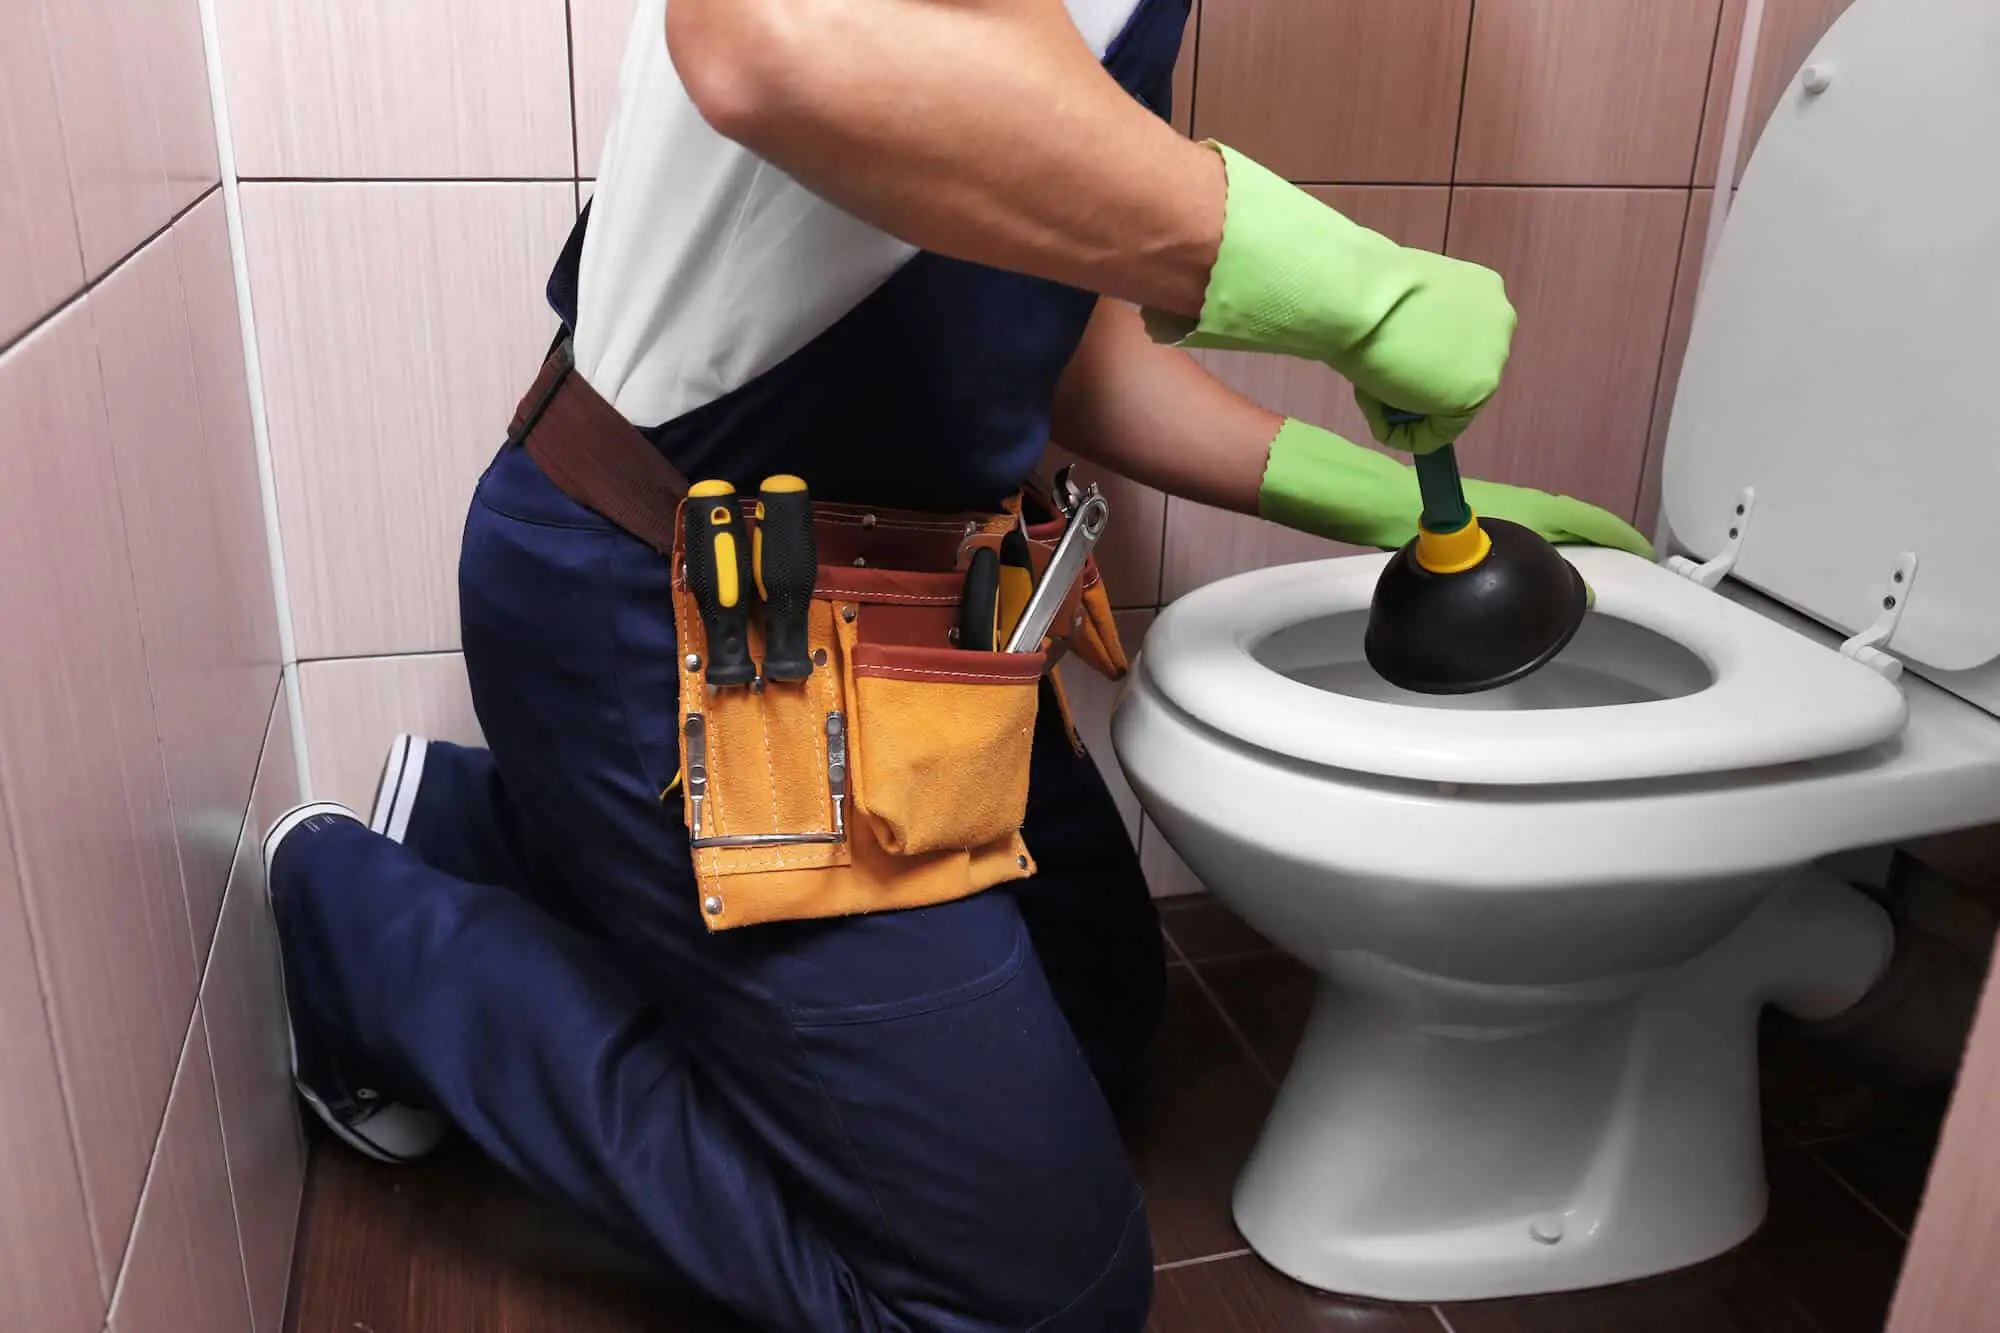
Step 3: Disinfect the plunger
Disinfecting the plunger is a critical step in the cleaning process, as it effectively eliminates harmful bacteria and germs that may be present on the plunger's surface. By thoroughly disinfecting the plunger, you can ensure that it is safe for future use and prevent the spread of contaminants in your bathroom.
To begin the disinfection process, prepare a disinfectant cleaner that is specifically formulated to kill bacteria and germs. Select a cleaner that is safe for use on plastic and rubber materials to avoid any potential damage to the plunger. Carefully read and follow the manufacturer's instructions for the proper application of the disinfectant cleaner.
Once the disinfectant cleaner is ready, apply it generously to the entire surface of the plunger, ensuring that all areas are thoroughly coated. Pay particular attention to the rubber cup and the handle, as these are the primary contact points during use. Allow the disinfectant cleaner to remain on the plunger for the recommended duration specified on the product label. This dwell time is crucial for the cleaner to effectively kill any lingering bacteria and germs.
After the specified dwell time has elapsed, use a clean scrubbing brush to gently agitate the disinfectant cleaner on the plunger's surface. The scrubbing action will help to ensure that the cleaner reaches all areas of the plunger, effectively eliminating any remaining bacteria and germs. Focus on areas that may have come into direct contact with waste during use, as these areas are particularly susceptible to bacterial contamination.
Once the plunger has been thoroughly scrubbed with the disinfectant cleaner, rinse it off under running water to remove any residual cleaner and ensure that it is free from any lingering disinfectant. As you rinse the plunger, visually inspect the surface to confirm that it is clean and free from any remaining disinfectant residue.
By diligently disinfecting the plunger, you can effectively eliminate harmful bacteria and germs, ensuring that it is safe for future use. This crucial step not only promotes a hygienic bathroom environment but also safeguards against the spread of contaminants. With the plunger now thoroughly disinfected, you can proceed to the final step of the cleaning process with the confidence of knowing that your plunger is clean, sanitary, and ready for storage until its next use.
Step 4: Dry the plunger
After the thorough cleaning and disinfection of the plunger, the final step involves ensuring that the plunger is completely dry before storage. Proper drying is essential to prevent the growth of mold, mildew, and bacteria on the plunger, which can compromise its cleanliness and effectiveness. By following the appropriate drying techniques, you can maintain a hygienic plunger that is ready for future use.
To begin the drying process, use clean towels to carefully pat the entire surface of the plunger. The towels will absorb any remaining moisture, ensuring that the plunger is not stored while damp. Pay particular attention to the rubber cup and the handle, as these areas may retain moisture and require thorough drying. Continue to pat the plunger with clean towels until no visible moisture remains on the surface.
Once the initial moisture has been removed, allow the plunger to air dry in a well-ventilated area. Position the plunger in a manner that allows air to circulate around it, facilitating the evaporation of any residual moisture. This step is crucial for ensuring that the plunger dries completely, inside and out, before it is stored.
Depending on the humidity level and air circulation in the drying area, the plunger may take some time to dry thoroughly. It is important to exercise patience and allow the plunger sufficient time to air dry completely. Avoid storing the plunger prematurely, as this can trap moisture and create an environment conducive to mold and bacterial growth.
As the plunger dries, periodically check its surface to ensure that it is free from any lingering moisture. Visually inspect the rubber cup and the handle, as these areas are prone to retaining moisture and may require additional drying time. Once the plunger is completely dry to the touch, it is ready to be stored in a clean and dry location until its next use.
By diligently drying the plunger, you can prevent the accumulation of moisture and the development of mold or bacteria, ensuring that it remains clean and hygienic between uses. This final step in the cleaning process completes the comprehensive care of the plunger, setting the stage for its future effectiveness in addressing bathroom clogs and maintaining a sanitary living environment.
Conclusion
In conclusion, maintaining a clean and hygienic plunger is essential for promoting a healthy bathroom environment and ensuring the effectiveness of this indispensable tool. By following the step-by-step cleaning process outlined in this guide, you can effectively remove dirt, grime, and bacteria from your plunger, safeguarding against the spread of contaminants and prolonging its lifespan.
Proper cleaning begins with gathering the necessary materials, including rubber gloves, disinfectant cleaner, a bucket or basin, a scrubbing brush, mild soap, and clean towels. These supplies are essential for preparing the plunger for thorough cleaning and disinfection.
Rinsing off the plunger is the next crucial step, allowing you to remove visible debris and prepare the plunger for disinfection. Thoroughly scrubbing the plunger with mild soap and a scrubbing brush ensures that it is free from any lingering residue, setting the stage for the disinfection process.
Disinfecting the plunger is a pivotal step in the cleaning process, effectively eliminating harmful bacteria and germs that may be present on the plunger's surface. By applying a disinfectant cleaner and allowing it to dwell before scrubbing the plunger, you can ensure that it is safe for future use and free from contaminants.
Finally, drying the plunger completely is essential for preventing the growth of mold, mildew, and bacteria. By patting the plunger with clean towels and allowing it to air dry in a well-ventilated area, you can maintain a hygienic plunger that is ready for storage until its next use.
Incorporating these cleaning techniques into your bathroom maintenance routine will not only promote a clean and sanitary living space but also extend the life of your plunger. By taking the time to clean and disinfect your plunger after each use, you can contribute to a healthier and more hygienic bathroom environment for yourself and your family.
Remember, a clean plunger is not only a more effective tool for addressing clogs but also a proactive measure in maintaining a clean and healthy home. With these simple yet effective cleaning practices, you can ensure that your plunger remains a reliable and hygienic fixture in your household for years to come.
Frequently Asked Questions about How To Clean A Plunger After Use
Was this page helpful?
At Storables.com, we guarantee accurate and reliable information. Our content, validated by Expert Board Contributors, is crafted following stringent Editorial Policies. We're committed to providing you with well-researched, expert-backed insights for all your informational needs.


0 thoughts on “How To Clean A Plunger After Use”