
Articles
How To Store A Snowblower In Your Garage
Modified: February 22, 2024
Learn the best way to store your snowblower in the garage with our informative articles.
(Many of the links in this article redirect to a specific reviewed product. Your purchase of these products through affiliate links helps to generate commission for Storables.com, at no extra cost. Learn more)
Introduction
Winter brings with it the need for snow removal, and a snowblower can be a valuable tool to help ease the burden. However, once the snow season comes to an end, it is essential to properly store your snowblower to keep it in good condition and ready for use in the next winter season. Storing your snowblower in the garage not only protects it from the elements but also ensures that it remains in optimal working condition.
In this article, we will guide you through the steps to effectively store your snowblower in the garage. By following these steps, you can prevent any damage to the snowblower and ensure that it will be ready when the next snowfall arrives.
Key Takeaways:
- Properly preparing and storing your snowblower in the garage is crucial for maintaining its performance and longevity. Follow the steps outlined to prevent damage, ensure smooth operation, and be ready for the next winter season.
- Regular maintenance, including cleaning, lubricating, and rust prevention, is essential for keeping your snowblower in optimal condition. Choose a safe storage location and follow manufacturer’s guidelines for maximum lifespan.
Read more: How To Store Snowblower
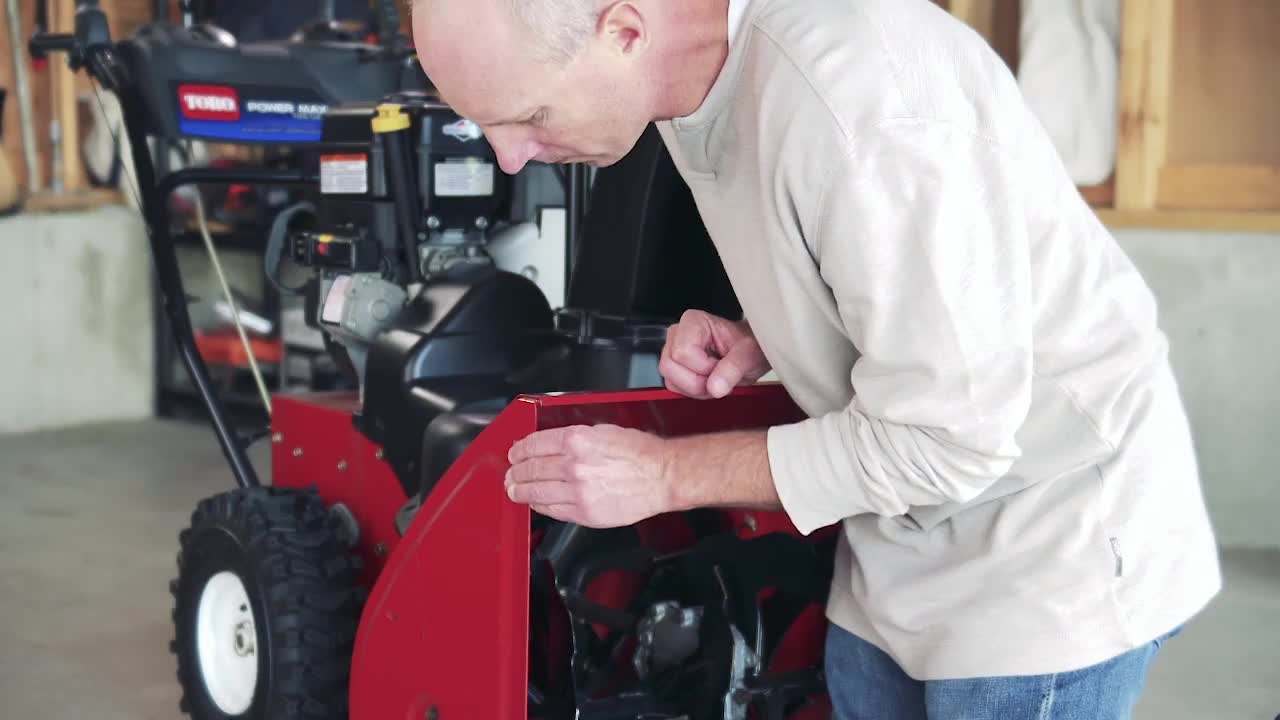
Step 1: Prepare the snowblower
Before you begin the process of storing your snowblower in the garage, it is important to properly prepare it. Start by familiarizing yourself with the owner’s manual for your specific snowblower model. The manual will provide you with valuable information and instructions specific to your machine.
Begin by removing any attachments or accessories, such as snow chutes or drift cutters, from the snowblower. These can be stored separately to prevent any damage or loss during the storage period.
Next, inspect the snowblower for any signs of damage or wear. Check the belts, cables, and any other moving parts to ensure they are in good condition. If you notice any issues, it is recommended to repair or replace the damaged parts before storing the snowblower.
Additionally, it is a good idea to clean the exterior of the snowblower. Use a soft cloth or brush to remove any dirt, debris, or salt residue that may have accumulated during its use. Cleaning the snowblower will help prevent rust and corrosion.
Lastly, make sure to disconnect the spark plug wire to ensure that the snowblower cannot accidentally start during the storage period. Safety should be a top priority when handling any power equipment.
By properly preparing your snowblower, you can address any issues before storing it and ensure that it is in good working condition when you need it again.
Step 2: Clean the snowblower
Properly cleaning your snowblower before storing it is crucial to maintain its performance and extend its lifespan. Over time, snow, ice, and debris can build up on various parts of the machine, which can lead to rust, corrosion, and clogs. Follow these steps to effectively clean your snowblower:
- Start by removing any excess snow or ice from the snowblower. Use a broom or brush to gently clear off any remaining snow on the exterior of the machine and the chute.
- Inspect the auger and impeller carefully. Remove any packed snow or ice that may have accumulated between the blades using a plastic shovel or your hands. Take care not to use metal tools that may damage the blades or housing.
- Next, clean the chute thoroughly. Use a soft brush or cloth to remove any remaining snow, ice, or debris. Pay special attention to the discharge chute and the chute deflector, as these areas tend to collect the most debris.
- Check the wheel and drive mechanism for any stuck or packed snow. If necessary, use a plastic scraper or your hands to remove any buildup, taking care not to damage the wheels or drive components.
- Inspect the scraper bar and skid shoes. These parts may wear down over time and should be replaced if they are excessively worn. Ensure that they are clean and free of debris.
- Lastly, use a damp cloth or sponge to wipe down the entire snowblower, paying attention to any crevices or hard-to-reach areas. This will remove any remaining dirt or salt residue.
By thoroughly cleaning your snowblower, you can prevent rust, corrosion, and clogs that may arise from the accumulation of snow, ice, and debris. This ensures that your snowblower will be in optimal condition when you need it next winter.
Step 3: Empty the fuel tank
Emptying the fuel tank is an important step in the snowblower storage process. Storing your snowblower with a full or partially full fuel tank can lead to fuel deterioration, clogged fuel lines, or even damage to the engine. Follow these steps to properly empty the fuel tank:
- Start by running the snowblower until it runs out of fuel. This ensures that the fuel tank is as empty as possible.
- If there is still a small amount of fuel left in the tank, you have a few options. One option is to run the snowblower until it uses up all the fuel. However, if you prefer not to run the engine without a load, you can use a siphon or a hand pump to remove the remaining fuel. Be sure to use a clean container to collect the fuel.
- Once the fuel tank is empty, start the snowblower and run it for a few minutes to burn any remaining fuel in the carburetor. This helps prevent fuel residue from clogging the carburetor and affecting the performance of the engine.
- After the snowblower has run for a few minutes, turn off the engine and disconnect the spark plug wire to ensure the snowblower cannot start accidentally.
Emptying the fuel tank before storing your snowblower helps prevent fuel-related issues and keeps your machine in good condition. It is also a safety measure, as storing flammable fuel in the garage can be hazardous.
Remember, if you plan to store your snowblower for an extended period, it is recommended to add a fuel stabilizer to the remaining fuel in the tank before emptying it. This helps prevent the fuel from deteriorating over time and ensures that it will be easier to start the snowblower when you need it next winter.
Step 4: Remove the spark plug
Removing the spark plug is an essential step in preparing your snowblower for storage. It helps prevent accidental starts and allows you to perform maintenance on the spark plug if necessary. Follow these steps to safely remove the spark plug:
- Locate the spark plug, which is typically located near the engine on top of the snowblower.
- Use a spark plug wrench or socket wrench to loosen the spark plug. Turn it counterclockwise to remove it from the engine.
- Inspect the spark plug for any signs of wear, damage, or carbon buildup. If the spark plug is damaged or excessively worn, it is recommended to replace it before storing the snowblower.
- If the spark plug is in good condition, you can clean it using a wire brush or a spark plug cleaner. Gently remove any carbon buildup or debris from the spark plug electrodes.
- Once the spark plug has been inspected and cleaned (if necessary), you can reinstall it. Carefully thread it into the spark plug hole by hand, then tighten it with the spark plug wrench or socket wrench. Be careful not to overtighten.
By removing the spark plug, you ensure that the snowblower cannot accidentally start during the storage period. This is an important safety measure, as it prevents any potential injuries or damage that can occur if the machine is started unintentionally. Additionally, inspecting and cleaning the spark plug helps maintain the ignition system of the snowblower, ensuring it will start smoothly when needed in the future.
Remember to refer to the owner’s manual for your specific snowblower model for any specific instructions or recommendations regarding the spark plug removal and maintenance process.
When storing a snowblower in the garage, make sure to clean it thoroughly to remove any snow, dirt, and debris. Drain the fuel or use a fuel stabilizer to prevent damage to the engine. Store it in a dry, well-ventilated area to prevent rust and corrosion.
Read more: How To Store A Snowblower
Step 5: Lubricate moving parts
Lubricating the moving parts of your snowblower is crucial for preventing rust, corrosion, and unnecessary wear and tear. By keeping these parts well-lubricated, you ensure that they will function smoothly and efficiently when the next winter season arrives. Follow these steps to properly lubricate the moving parts of your snowblower:
- Start by referring to the owner’s manual for your snowblower to identify the specific moving parts that require lubrication. Common parts include the auger, drive system, and chute.
- Next, gather the appropriate lubricant recommended by the manufacturer. It may be a general-purpose lubricant or a specific lubricant designed for snowblowers.
- Apply the lubricant to the designated moving parts according to the manufacturer’s instructions. Typically, you will use a spray or brush to evenly coat the surfaces. Pay special attention to any joints, bearings, or pivots that require lubrication. This will ensure smooth operation and longevity of these components.
- After applying the lubricant, manually move the parts back and forth a few times to distribute the lubrication evenly and allow it to penetrate properly.
By regularly lubricating the moving parts of your snowblower, you reduce friction, prevent rust, and extend the lifespan of these components. This maintenance step is essential for keeping your snowblower in optimal condition and ensuring its reliable performance when you need it next.
Remember to always follow the manufacturer’s recommendations for lubrication intervals and the specific lubricant to use. Each snowblower model may have different lubrication requirements, so consulting the owner’s manual is essential.
Step 6: Protect against rust
Rust is one of the biggest adversaries of any outdoor power equipment, including snowblowers. To ensure the longevity and performance of your snowblower, it’s important to take proactive measures to protect it against rust during storage. Follow these steps to effectively protect your snowblower:
- Start by thoroughly cleaning the snowblower, as mentioned in earlier steps. Removing any dirt, debris, or salt residue helps eliminate potential moisture traps that can contribute to rust formation.
- Next, inspect the metal surfaces of the snowblower for any signs of rust or corrosion. If you spot any, gently remove it using a wire brush or sandpaper. Be careful not to damage the underlying metal while doing so.
- Once the snowblower is clean and free of rust, apply a rust preventative coating to the exposed metal surfaces. There are various products available on the market, such as rust inhibitors, rust-resistant sprays, or even plain motor oil.
- Use a clean cloth or brush to evenly apply the rust preventative coating to all metal surfaces of the snowblower. This includes the chute, housing, auger, and any other exposed metal components.
- Pay special attention to areas prone to moisture, such as joints, hinges, and crevices. Ensure that these areas receive a sufficient coating of the rust preventative product.
- Allow the rust preventative coating to dry and create a protective barrier against rust. This may take a few hours or overnight, depending on the product used.
By taking these steps to protect your snowblower against rust, you can significantly extend its lifespan and maintain its overall performance. Rust prevention is particularly important when storing a snowblower in a garage, as garages often have higher humidity levels compared to other storage areas.
Remember to repeat this rust prevention process each time you prepare your snowblower for storage, ensuring that it remains protected against rust during its idle period.
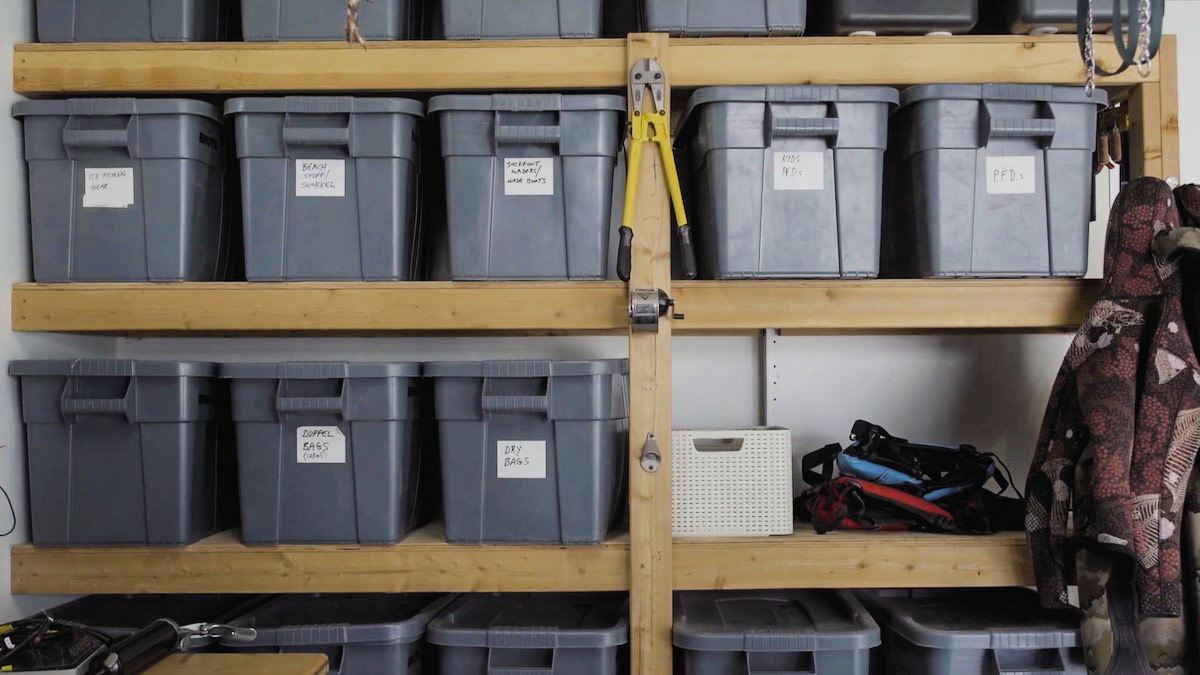
Step 7: Store the snowblower in a safe spot
Choosing the right spot to store your snowblower is crucial for its safety and longevity. Here are some important considerations when selecting a storage location for your snowblower:
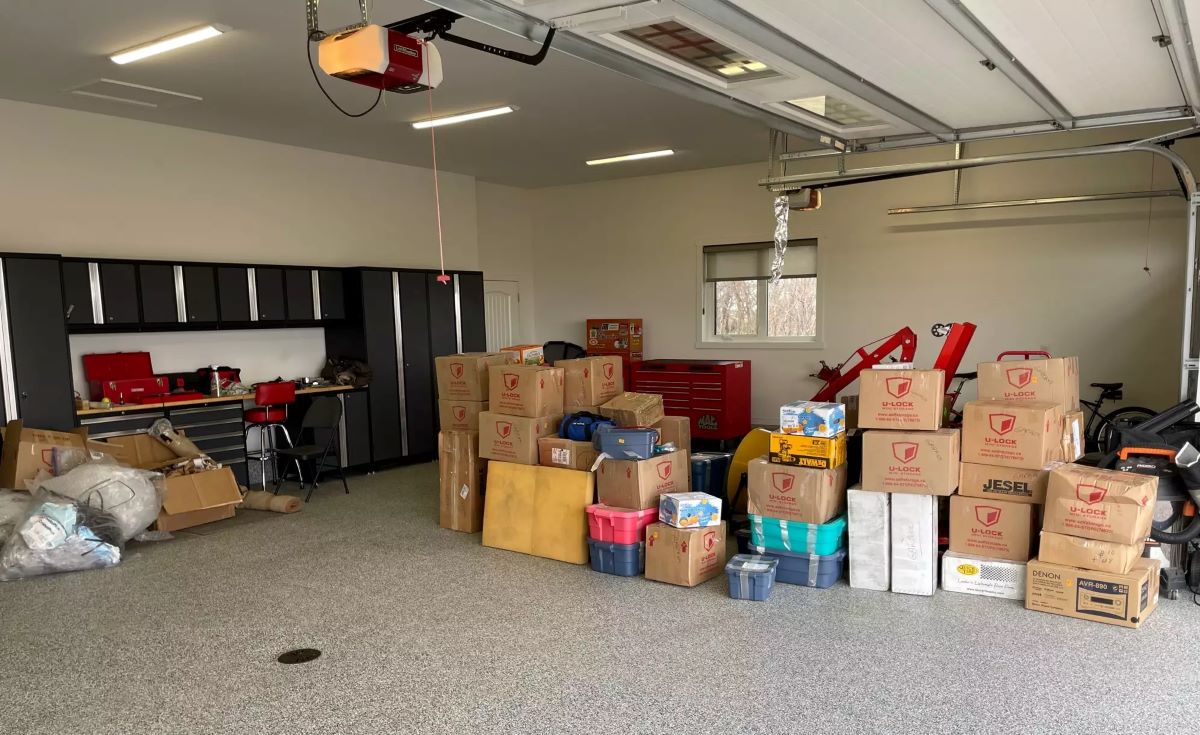
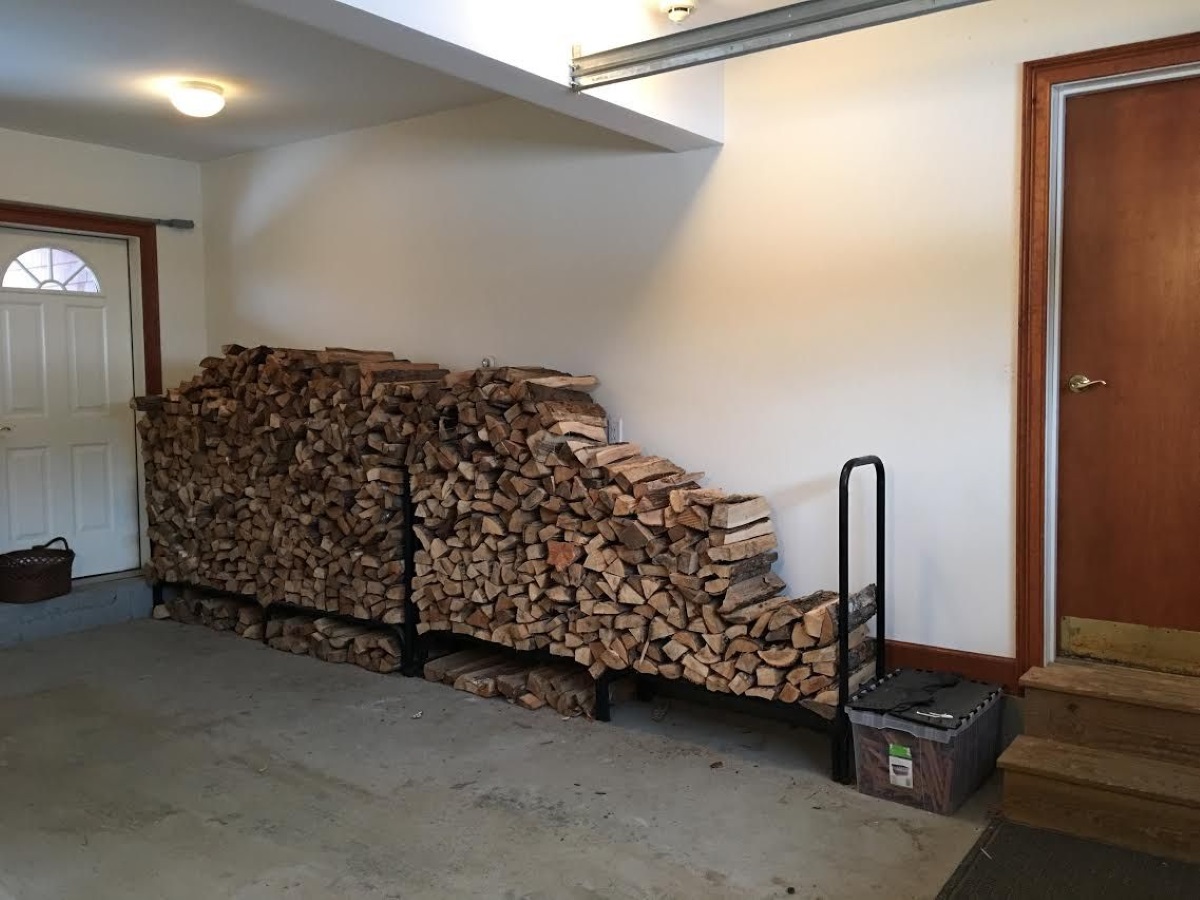
- Garage or shed: If possible, store your snowblower in a covered, dry space such as a garage or shed. This helps protect the machine from the elements, including moisture, sunlight, and extreme temperatures.
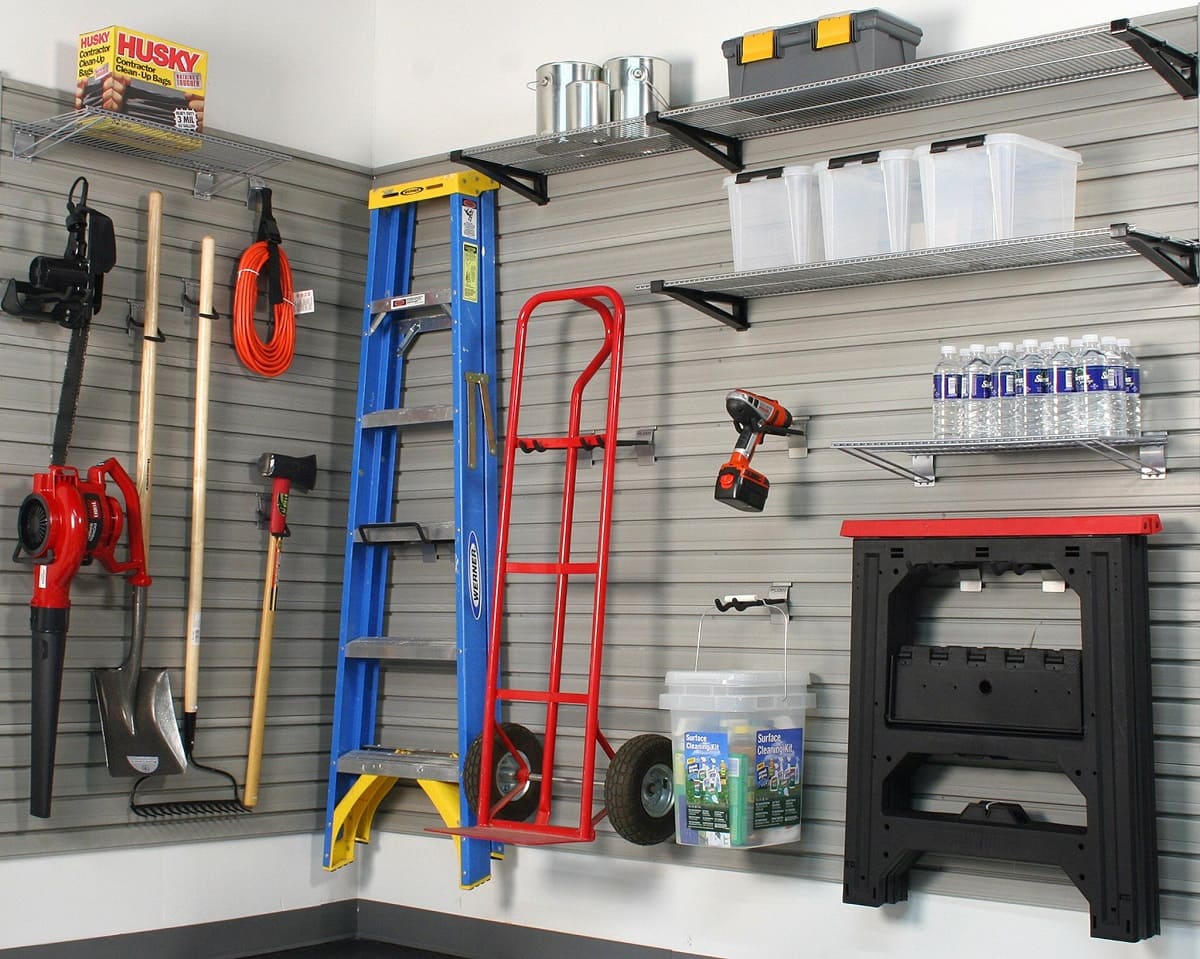
- Elevated surface: Place the snowblower on an elevated surface, such as a wooden pallet or a sturdy shelf, to prevent it from sitting directly on the cold concrete floor. This helps prevent rust formation and moisture buildup.
- Avoid cramped spaces: Ensure that there is enough space around the snowblower for easy access and ventilation. Cramped spaces can make it difficult to perform maintenance tasks and may contribute to mold or mildew growth.
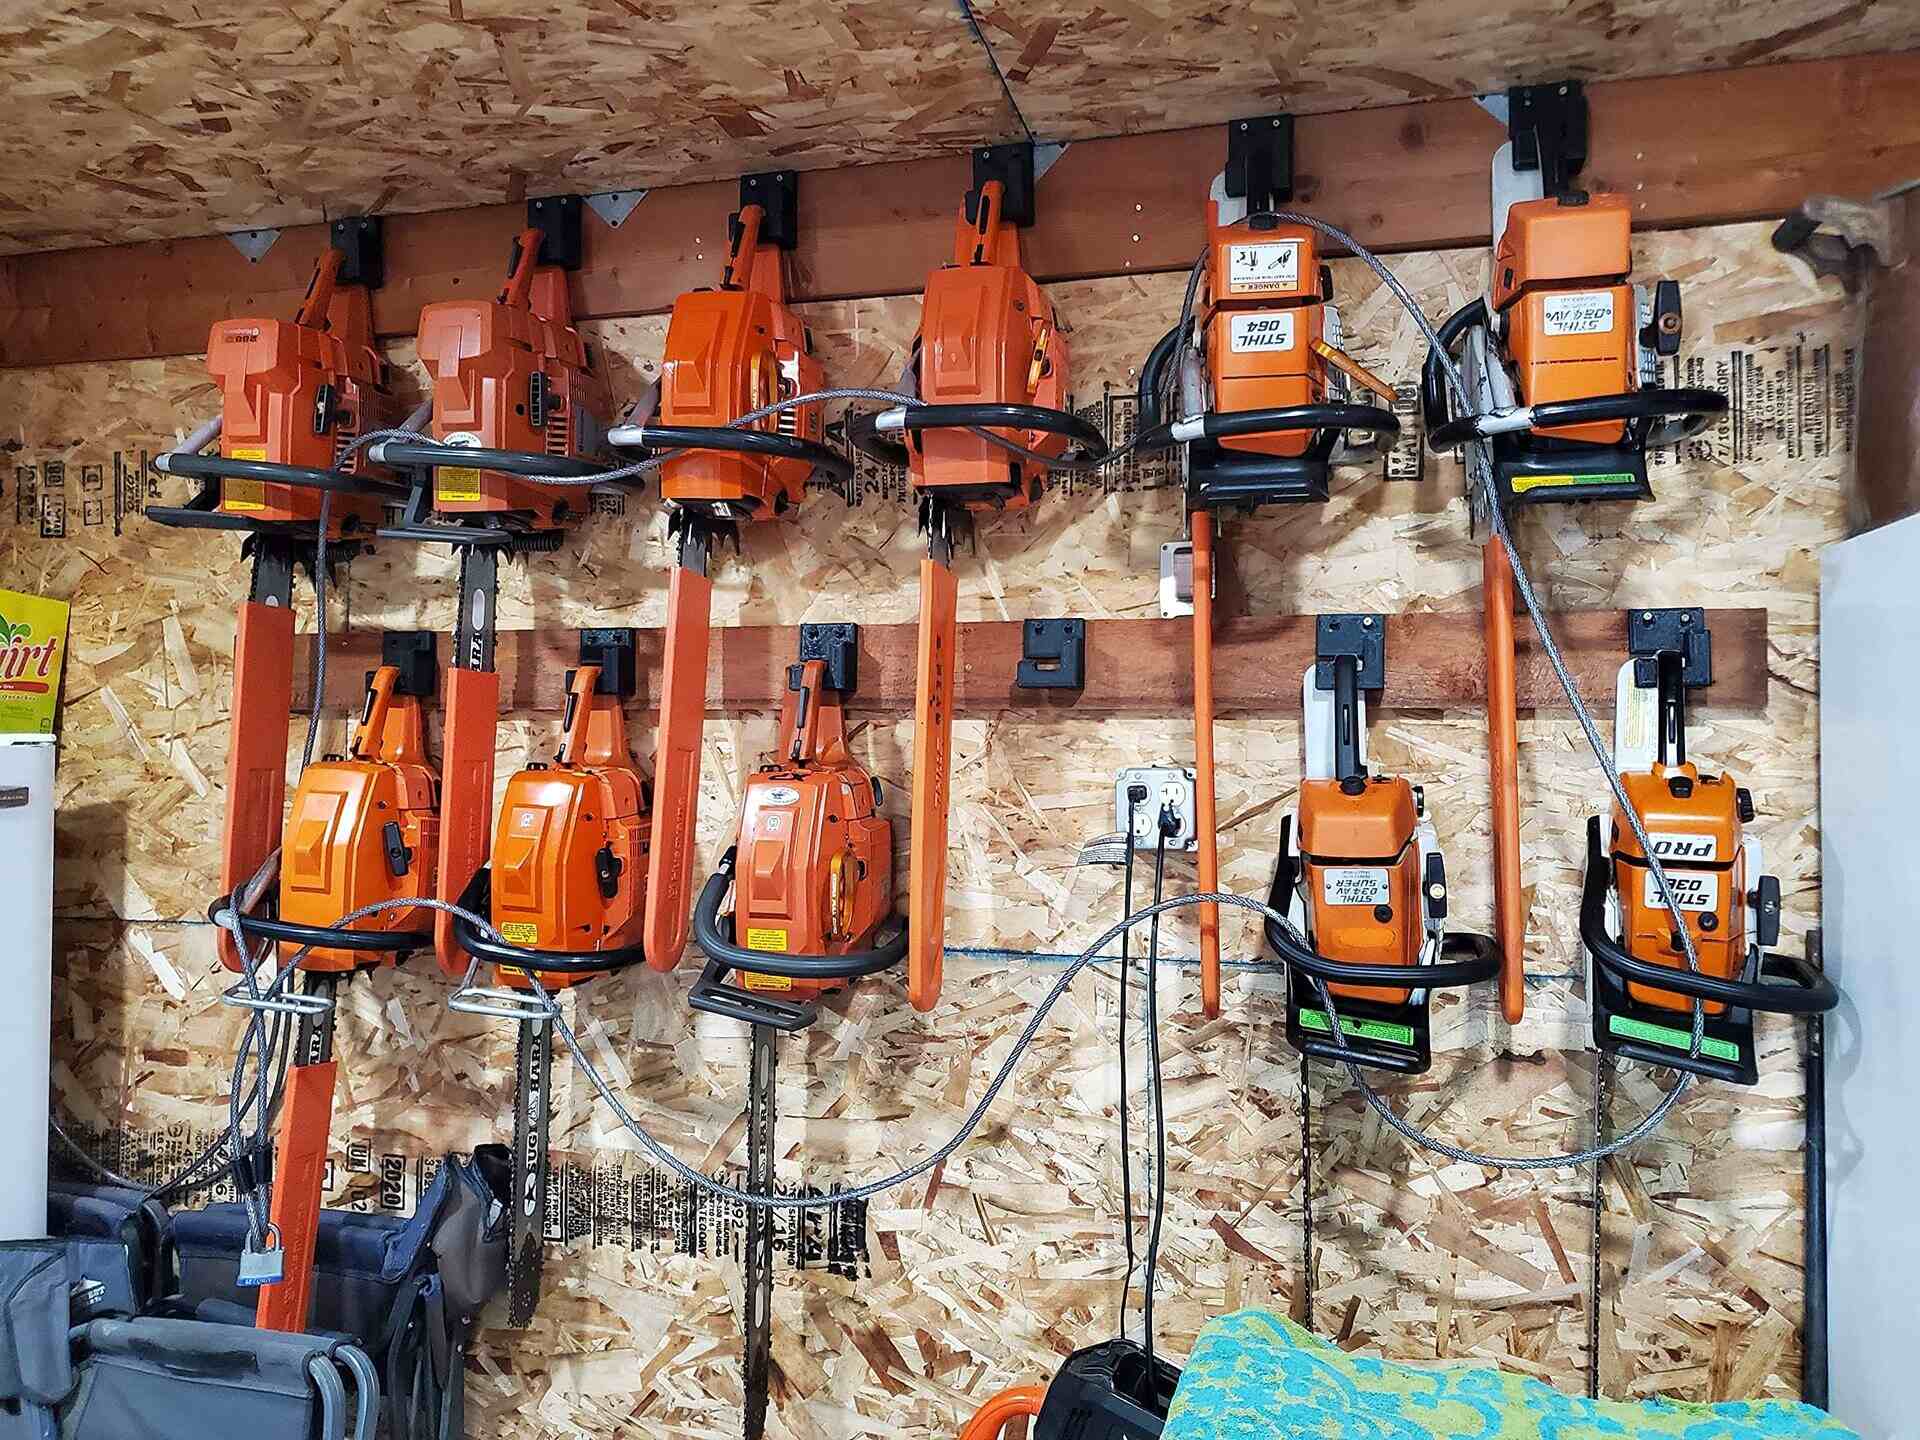
- Secure position: Anchor the snowblower in a secure position to prevent it from tipping over or falling during storage. Use straps, bungee cords, or hooks to keep it in place.
- Protection from pests: Take measures to protect your snowblower from pests such as rodents. Seal any openings or gaps where rodents can enter and consider using repellents or traps as an extra precaution.
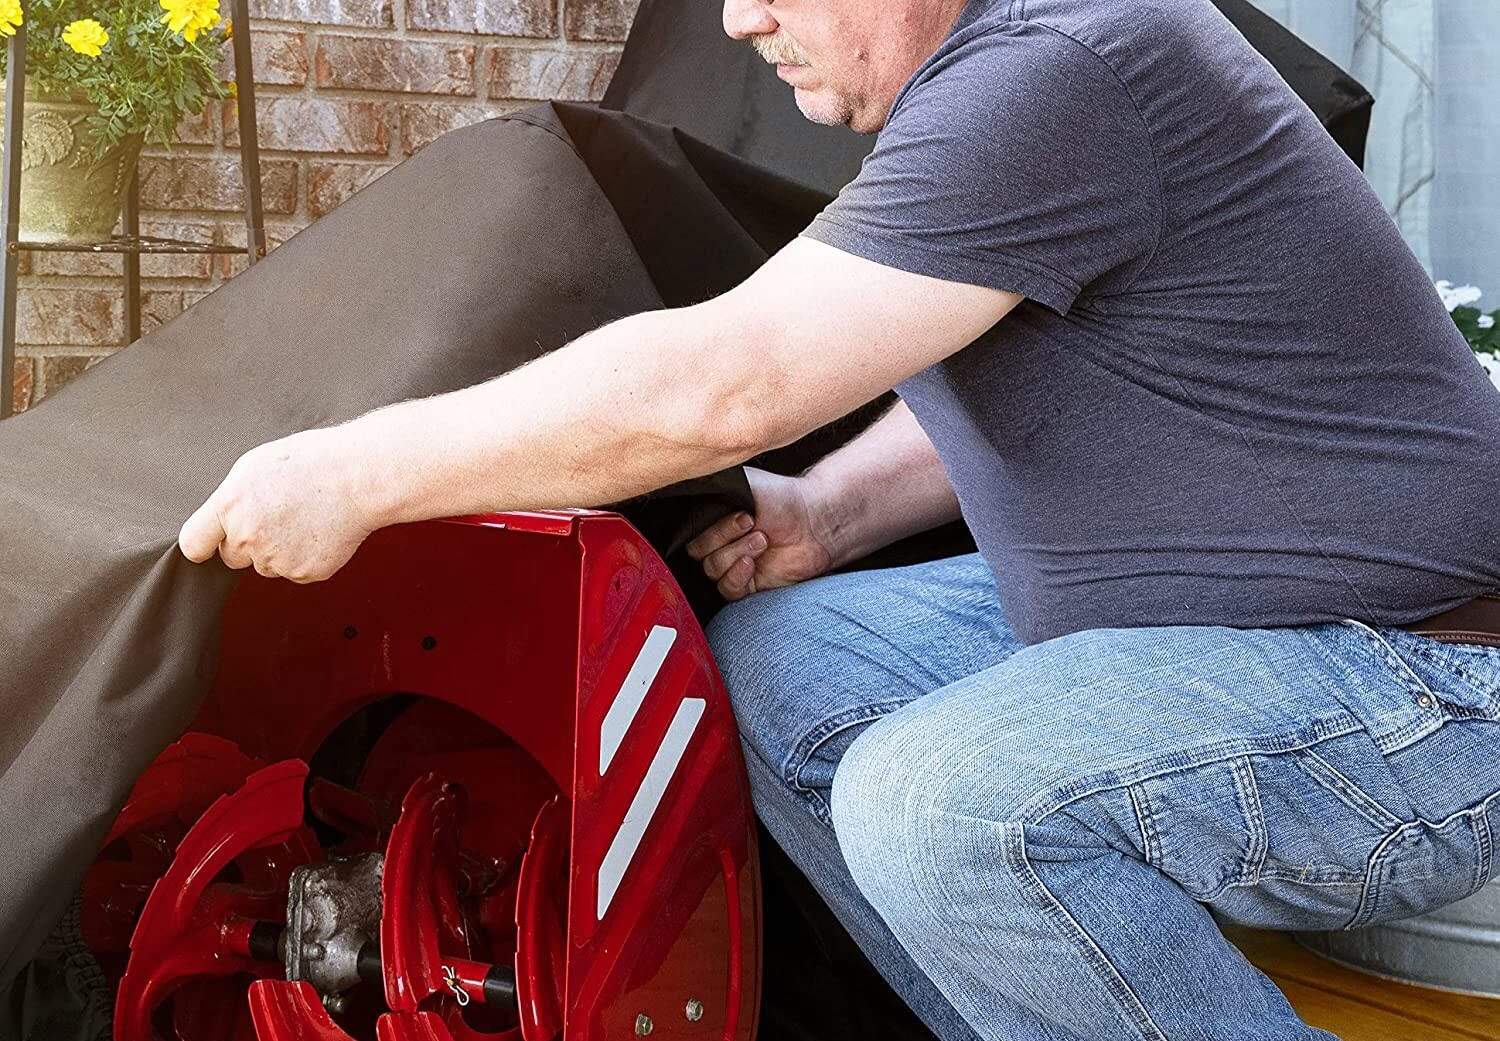
- Cover it up: Use a waterproof, breathable cover to protect the snowblower from dust and debris while allowing for proper ventilation. Avoid using plastic covers that can trap moisture and lead to condensation.
- Keep it accessible: Store the snowblower in a location that is easily accessible when you need it. Ensure that other items in the storage area do not obstruct access to the snowblower.
By carefully choosing the storage location for your snowblower and taking preventive measures, you can ensure its safety and maintain its performance throughout the storage period. Regularly check on the snowblower and perform any necessary maintenance tasks to keep it in optimal condition.
Conclusion
Properly storing your snowblower in the garage is essential for preserving its performance and extending its lifespan. By following the steps outlined in this article, you can ensure that your snowblower remains in optimal condition during the off-season and is ready to go when the next winter arrives.
Remember to prepare the snowblower by removing attachments, cleaning the exterior, and disconnecting the spark plug. Empty the fuel tank to prevent fuel deterioration and lubricate the moving parts to prevent rust and ensure smooth operation. Finally, store the snowblower in a safe, dry place, protecting it from the elements and pests.
Regular maintenance and proper storage significantly contribute to the longevity and reliability of your snowblower. By taking these steps, you can enjoy seamless operation, efficient snow removal, and avoid potential issues that may arise from neglecting proper storage practices.
Always refer to your snowblower’s owner’s manual for specific instructions and recommendations tailored to your equipment. Following the manufacturer’s guidelines, combined with the steps outlined in this article, will help maximize the lifespan of your snowblower and keep it running at its best for years to come.
Frequently Asked Questions about How To Store A Snowblower In Your Garage
Was this page helpful?
At Storables.com, we guarantee accurate and reliable information. Our content, validated by Expert Board Contributors, is crafted following stringent Editorial Policies. We're committed to providing you with well-researched, expert-backed insights for all your informational needs.


0 thoughts on “How To Store A Snowblower In Your Garage”