Home>Garage Storage>How To Paint Your Garage Door To Give Your Exterior A Facelift

Garage Storage
How To Paint Your Garage Door To Give Your Exterior A Facelift
Modified: February 26, 2024
Transform the look of your home with a fresh coat of paint on your garage door. Discover easy steps and expert tips on how to give your exterior a facelift with garage storage.
(Many of the links in this article redirect to a specific reviewed product. Your purchase of these products through affiliate links helps to generate commission for Storables.com, at no extra cost. Learn more)
Introduction
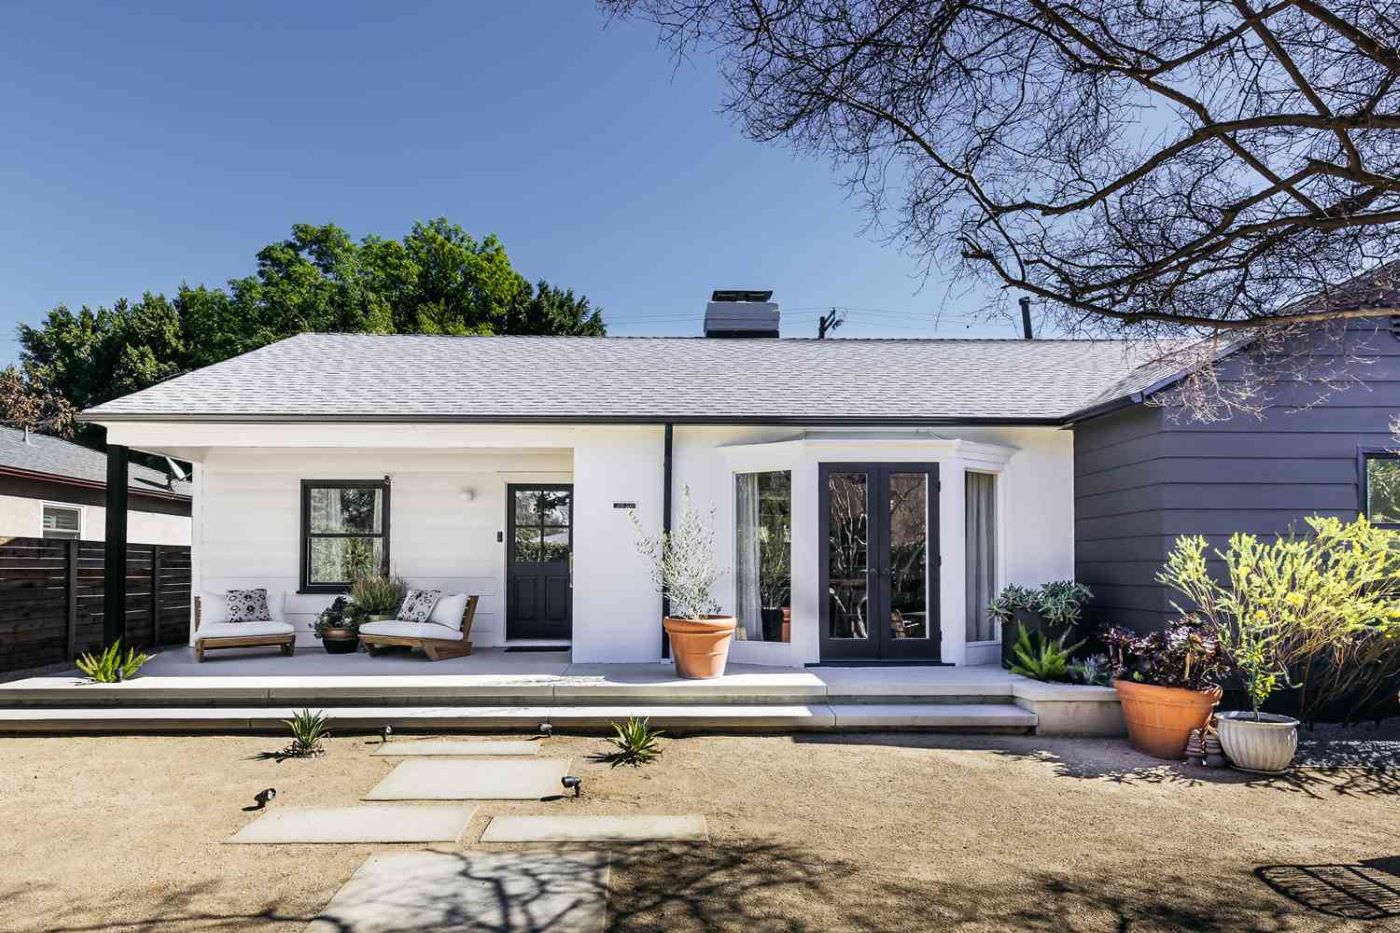
Welcome to your comprehensive guide on how to paint your garage door and give your exterior a much-needed facelift. Your garage door is an important element of your home’s curb appeal, and a fresh coat of paint can make a significant difference in enhancing its appearance. Whether you want to update the color of your garage door or simply refresh its current look, painting it is a cost-effective and relatively easy way to achieve your desired result.
Not only does painting your garage door improve its aesthetic appeal, but it also protects the surface from weather elements, preventing damage and extending its lifespan. By following a few simple steps and using the right materials, you can transform your garage door from dull and worn-out to vibrant and attractive.
In this guide, we will walk you through the entire process of painting your garage door, from choosing the right paint to applying the finishing touches. We will provide you with tips, techniques, and expert advice to ensure a successful and long-lasting paint job.
So, let’s roll up our sleeves, gather our supplies, and get ready to transform your garage door into a standout feature that will make your home the envy of the neighborhood!
Key Takeaways:
- Transform your garage door with a fresh coat of paint to enhance curb appeal and protect it from weather damage. Choose the right paint, prepare the surface, and apply with care for a professional finish.
- Elevate your home’s exterior by painting your garage door. Gather supplies, clean and prime the surface, and apply multiple coats for a vibrant, long-lasting finish. Don’t forget the finishing touches for a polished look!
Read more: How To Paint A Garage Door
Choosing the Right Paint
When it comes to choosing the right paint for your garage door, there are a few factors to consider. The type of paint you select will impact not only the durability and longevity of the finish but also the overall appearance. Here are some points to keep in mind:
- Exterior paint: Make sure to choose a paint specifically designed for exterior surfaces to withstand the elements. Look for a high-quality, weather-resistant, and UV-protective paint that will prevent fading and peeling over time.
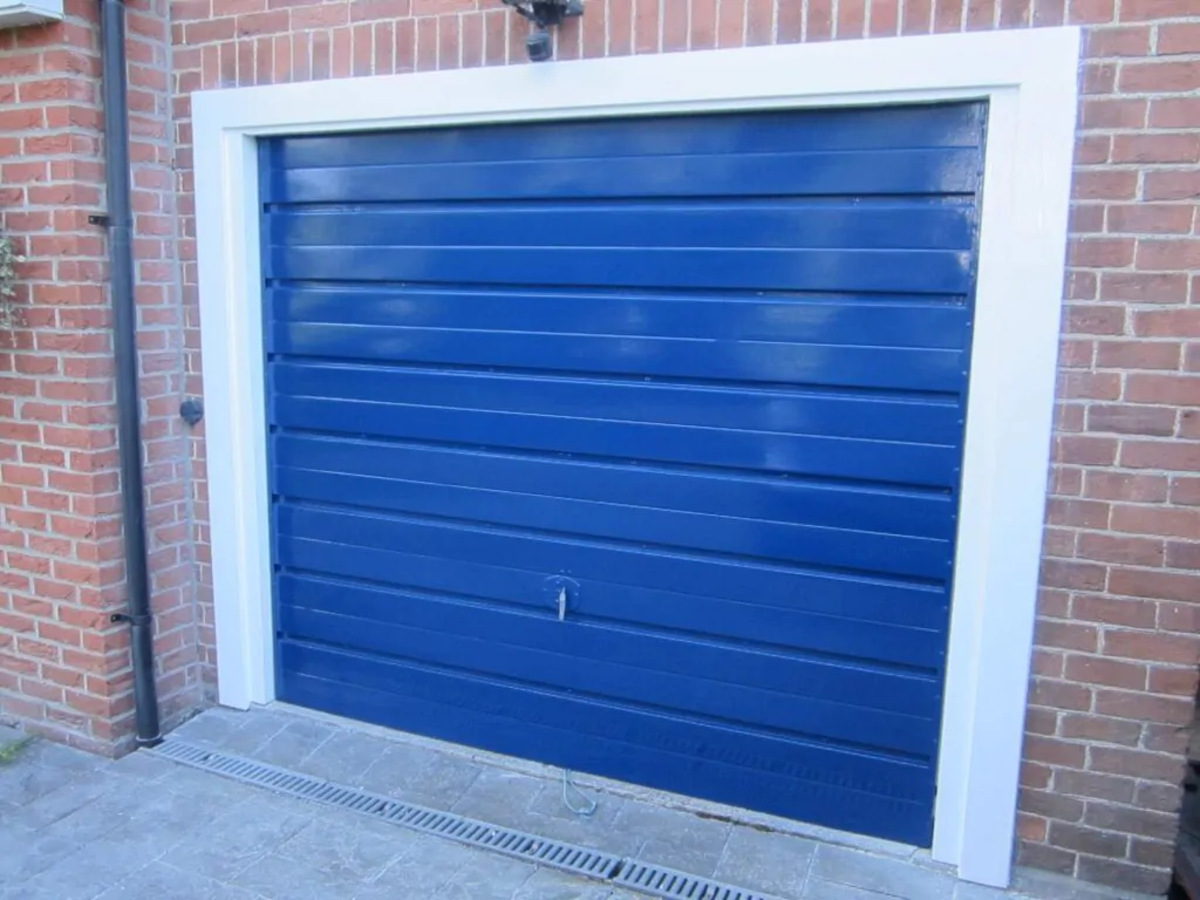
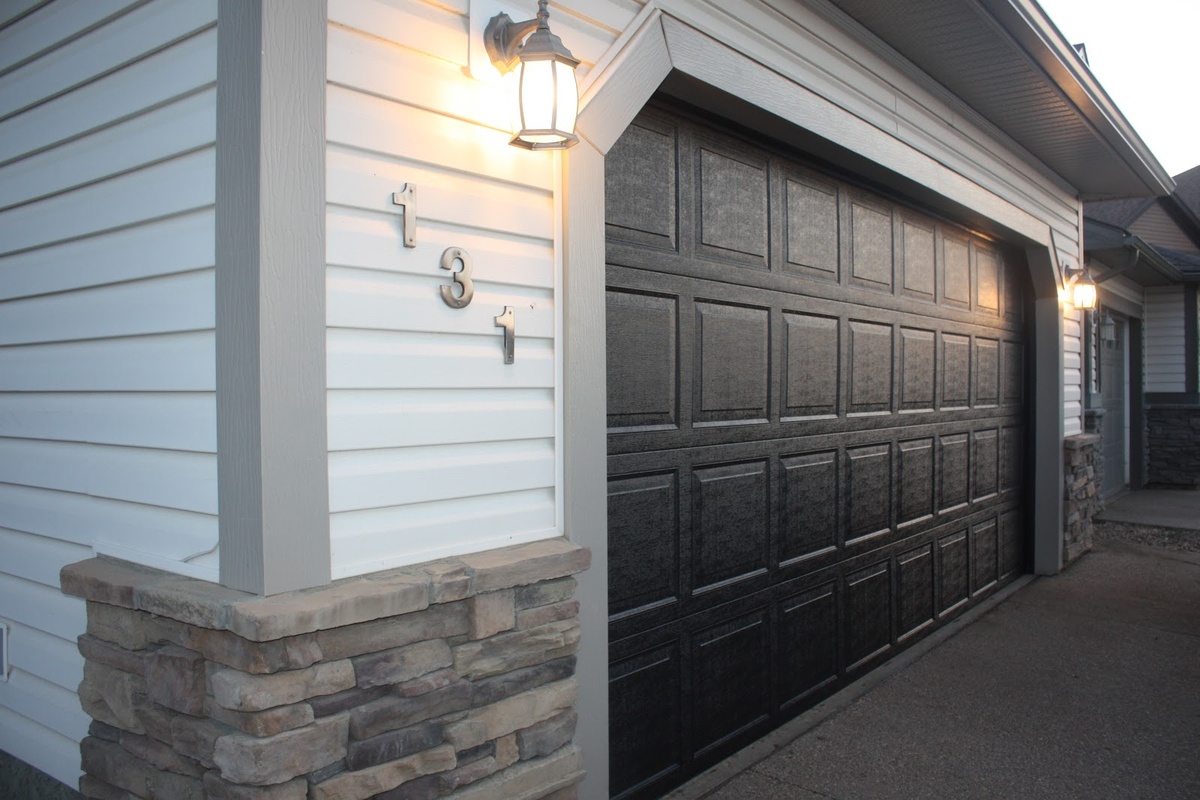
- Color: Consider the overall aesthetics of your home and select a color that complements the exterior. You may opt for a neutral shade that blends well with the surroundings or choose a contrasting color to make a bold statement.
- Finish: Decide on the desired finish of your garage door. A glossy finish will provide a sleek and polished look, while a satin or matte finish will create a more subtle and understated appearance.
- Quality: Investing in a high-quality paint will yield better results and ensure a longer-lasting finish. Look for brands that are known for their durability and resistance to chipping, cracking, and peeling.
- Environmentally friendly: If you are conscious of the environment, consider choosing a paint that is low in volatile organic compounds (VOCs) to minimize harmful emissions.
Additionally, it’s essential to check the manufacturer’s instructions for any specific recommendations or requirements when it comes to painting garage doors. Some paints may require a primer or multiple coats for optimal coverage, while others may be specifically formulated for certain types of surfaces.
Remember, the right paint choice can make a significant difference in the appearance and longevity of your garage door. Take your time to research and select a paint that ticks all the boxes for your specific needs and preferences.
Gathering the Necessary Supplies
Before you start painting your garage door, it’s important to gather all the necessary supplies to ensure a smooth and efficient painting process. Having everything on hand will save you time and prevent any unnecessary interruptions. Here are the essential supplies you’ll need:
- Paint: Purchase the desired amount of exterior paint in the color and finish of your choice. Make sure you have enough to cover the entire surface of your garage door, including any additional coats if necessary.
- Primer: If the manufacturer recommends using a primer, ensure you have the appropriate type and quantity. The primer will help the paint adhere better to the surface and provide an even finish.
- Paintbrushes: Invest in high-quality paintbrushes suitable for the type of paint you’re using. Different brush sizes will come in handy for different areas of the garage door.
- Paint roller: A paint roller with a medium nap will make the painting process quicker and more efficient, especially for larger flat areas of the garage door.
- Paint tray: Use a paint tray to hold the paint and make it easier to load the roller or brush with the desired amount of paint.
- Drop cloth or plastic sheeting: Protect the surrounding area by laying down a drop cloth or plastic sheeting to catch any paint drips or spills.
- Painter’s tape: Use painter’s tape to mask off any areas that you don’t want to be painted, such as windows, hardware, or trim.
- Sandpaper: If your garage door has any rough or peeling areas, use sandpaper to smooth them out before painting.
- Cleaner or degreaser: Depending on the condition of your garage door, you may need a cleaner or degreaser to remove any dirt, grease, or previous paint residue.
- Scraper: A scraper can be useful for removing any loose or flaking paint.
- Safety equipment: Don’t forget to prioritize safety by wearing goggles or safety glasses and gloves to protect your eyes and skin from paint splatters and chemicals.
By gathering all the necessary supplies beforehand, you’ll be well-prepared and can focus on the painting process without any unnecessary interruptions. Additionally, having the right tools and equipment will ensure a professional and high-quality paint job.
Preparing Your Garage Door
Proper preparation is crucial for achieving a smooth and long-lasting paint finish on your garage door. Before you begin painting, follow these steps to ensure your garage door is properly prepared:
- Clean the surface: Start by thoroughly cleaning the surface of your garage door. Use a mild detergent and water solution to remove any dirt, grease, or debris. Pay extra attention to areas that are particularly dirty or stained.
- Remove old paint: If your garage door has any loose or flaking paint, it’s important to remove it before applying a new coat. Use a scraper to gently scrape away the old paint. Sand the area to create a smooth surface and blend the edges with the surrounding paint.
- Repair any damage: Inspect your garage door for any dents, cracks, or other damage. Use a suitable filler or putty to repair any imperfections. Allow the filler to dry completely and sand it down to create an even surface.
- Smooth out rough areas: If there are any rough or uneven areas on your garage door’s surface, use sandpaper to smooth them out. This will help create a uniform and professional finish.
- Remove hardware: If possible, remove any hardware, such as handles or hinges, from the garage door. This will make it easier to paint the door and ensure that no areas are accidentally missed.
- Mask off areas: Use painter’s tape and plastic sheeting to protect any areas you don’t want to be painted, such as windows, trim, or hardware that cannot be removed. Make sure the tape is applied securely to prevent any paint bleed-through.
- Protect the surrounding area: Lay down a drop cloth or plastic sheeting to protect the surrounding area from paint drips or spills. This will save you time and effort in cleaning up after the painting process.
By taking the time to properly prepare your garage door, you’ll create a solid foundation for your paint job. This will result in a smoother and more professional finish, as well as ensure the longevity and durability of the paint.
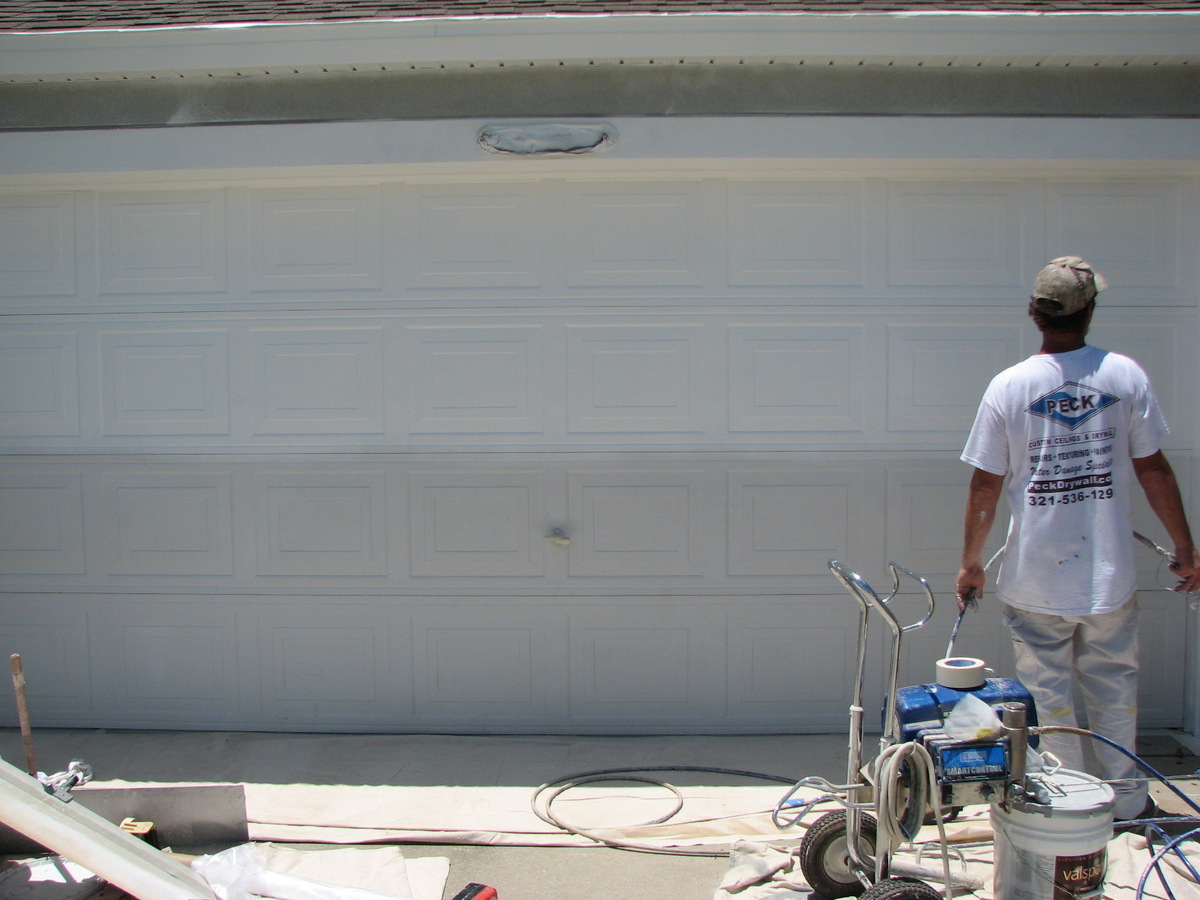
Clean the garage door thoroughly before painting to remove any dirt, grease, or mildew. Use a high-quality exterior paint and consider using a paint sprayer for a smooth finish.
Cleaning and Priming the Surface
Once you have properly prepared your garage door, the next step is to clean the surface and apply a primer. This step is essential for ensuring proper adhesion of the paint and achieving a smooth and uniform finish. Follow these steps to clean and prime your garage door:
- Clean the surface: Use a cleaner or degreaser specifically formulated for outdoor surfaces to thoroughly clean the garage door. Scrub any remaining dirt, grime, or grease from the surface using a scrub brush or sponge. Rinse the door with clean water and allow it to dry completely.
- Mask off areas: Cover any areas or surfaces that you want to protect from primer or paint using painter’s tape and plastic sheeting. This includes windows, trim, and hardware that cannot be removed.
- Apply the primer: Apply a coat of primer to the entire surface of the garage door. Use a brush or roller to apply the primer evenly, being careful not to leave any drips or heavy spots. Follow the manufacturer’s instructions regarding drying time.
- Sand the primer: Once the primer is dry, lightly sand the surface with fine-grit sandpaper. This will help smooth out any imperfections and create a better surface for the paint to adhere to. Dust off any sanding residue before proceeding.
Applying a primer is especially important if you’re painting over a previously unpainted surface, a different color, or if your garage door has a lot of imperfections. The primer creates a uniform base, seals the surface, and improves the adhesion of the paint.
Remember, priming the surface ensures a durable and long-lasting paint job. It helps prevent the paint from peeling, blistering, or fading over time and ensures a smooth and professional-looking finish.
Read more: How To Paint Wood Garage Door
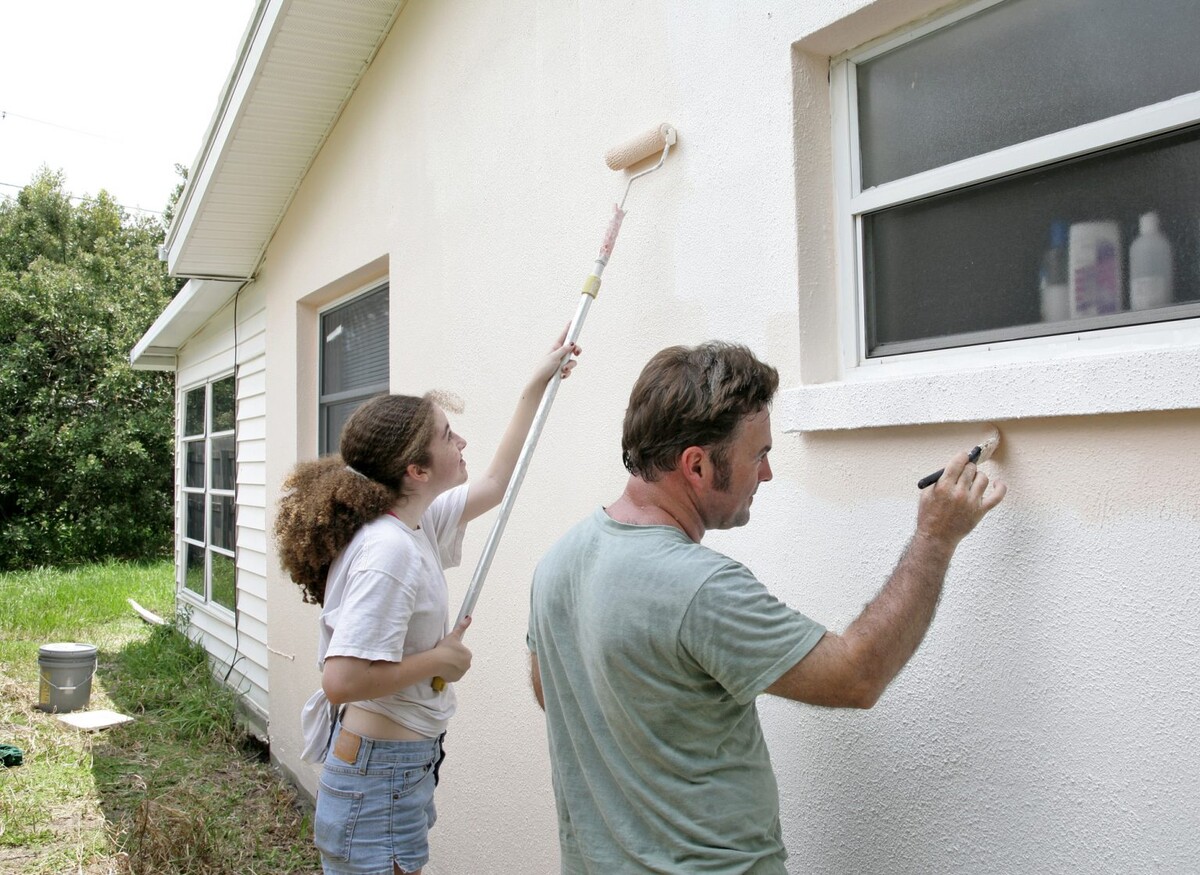
Painting Your Garage Door
Now comes the exciting part – it’s time to paint your garage door! Follow these steps to ensure a smooth and successful painting process:
- Stir the paint: Before you start painting, stir the paint thoroughly to ensure an even consistency. Use a stir stick or a paint mixer attachment for a drill.
- Start from the top: Begin painting from the top of the garage door, working your way down. This way, any drips or splatters can be easily corrected as you progress.
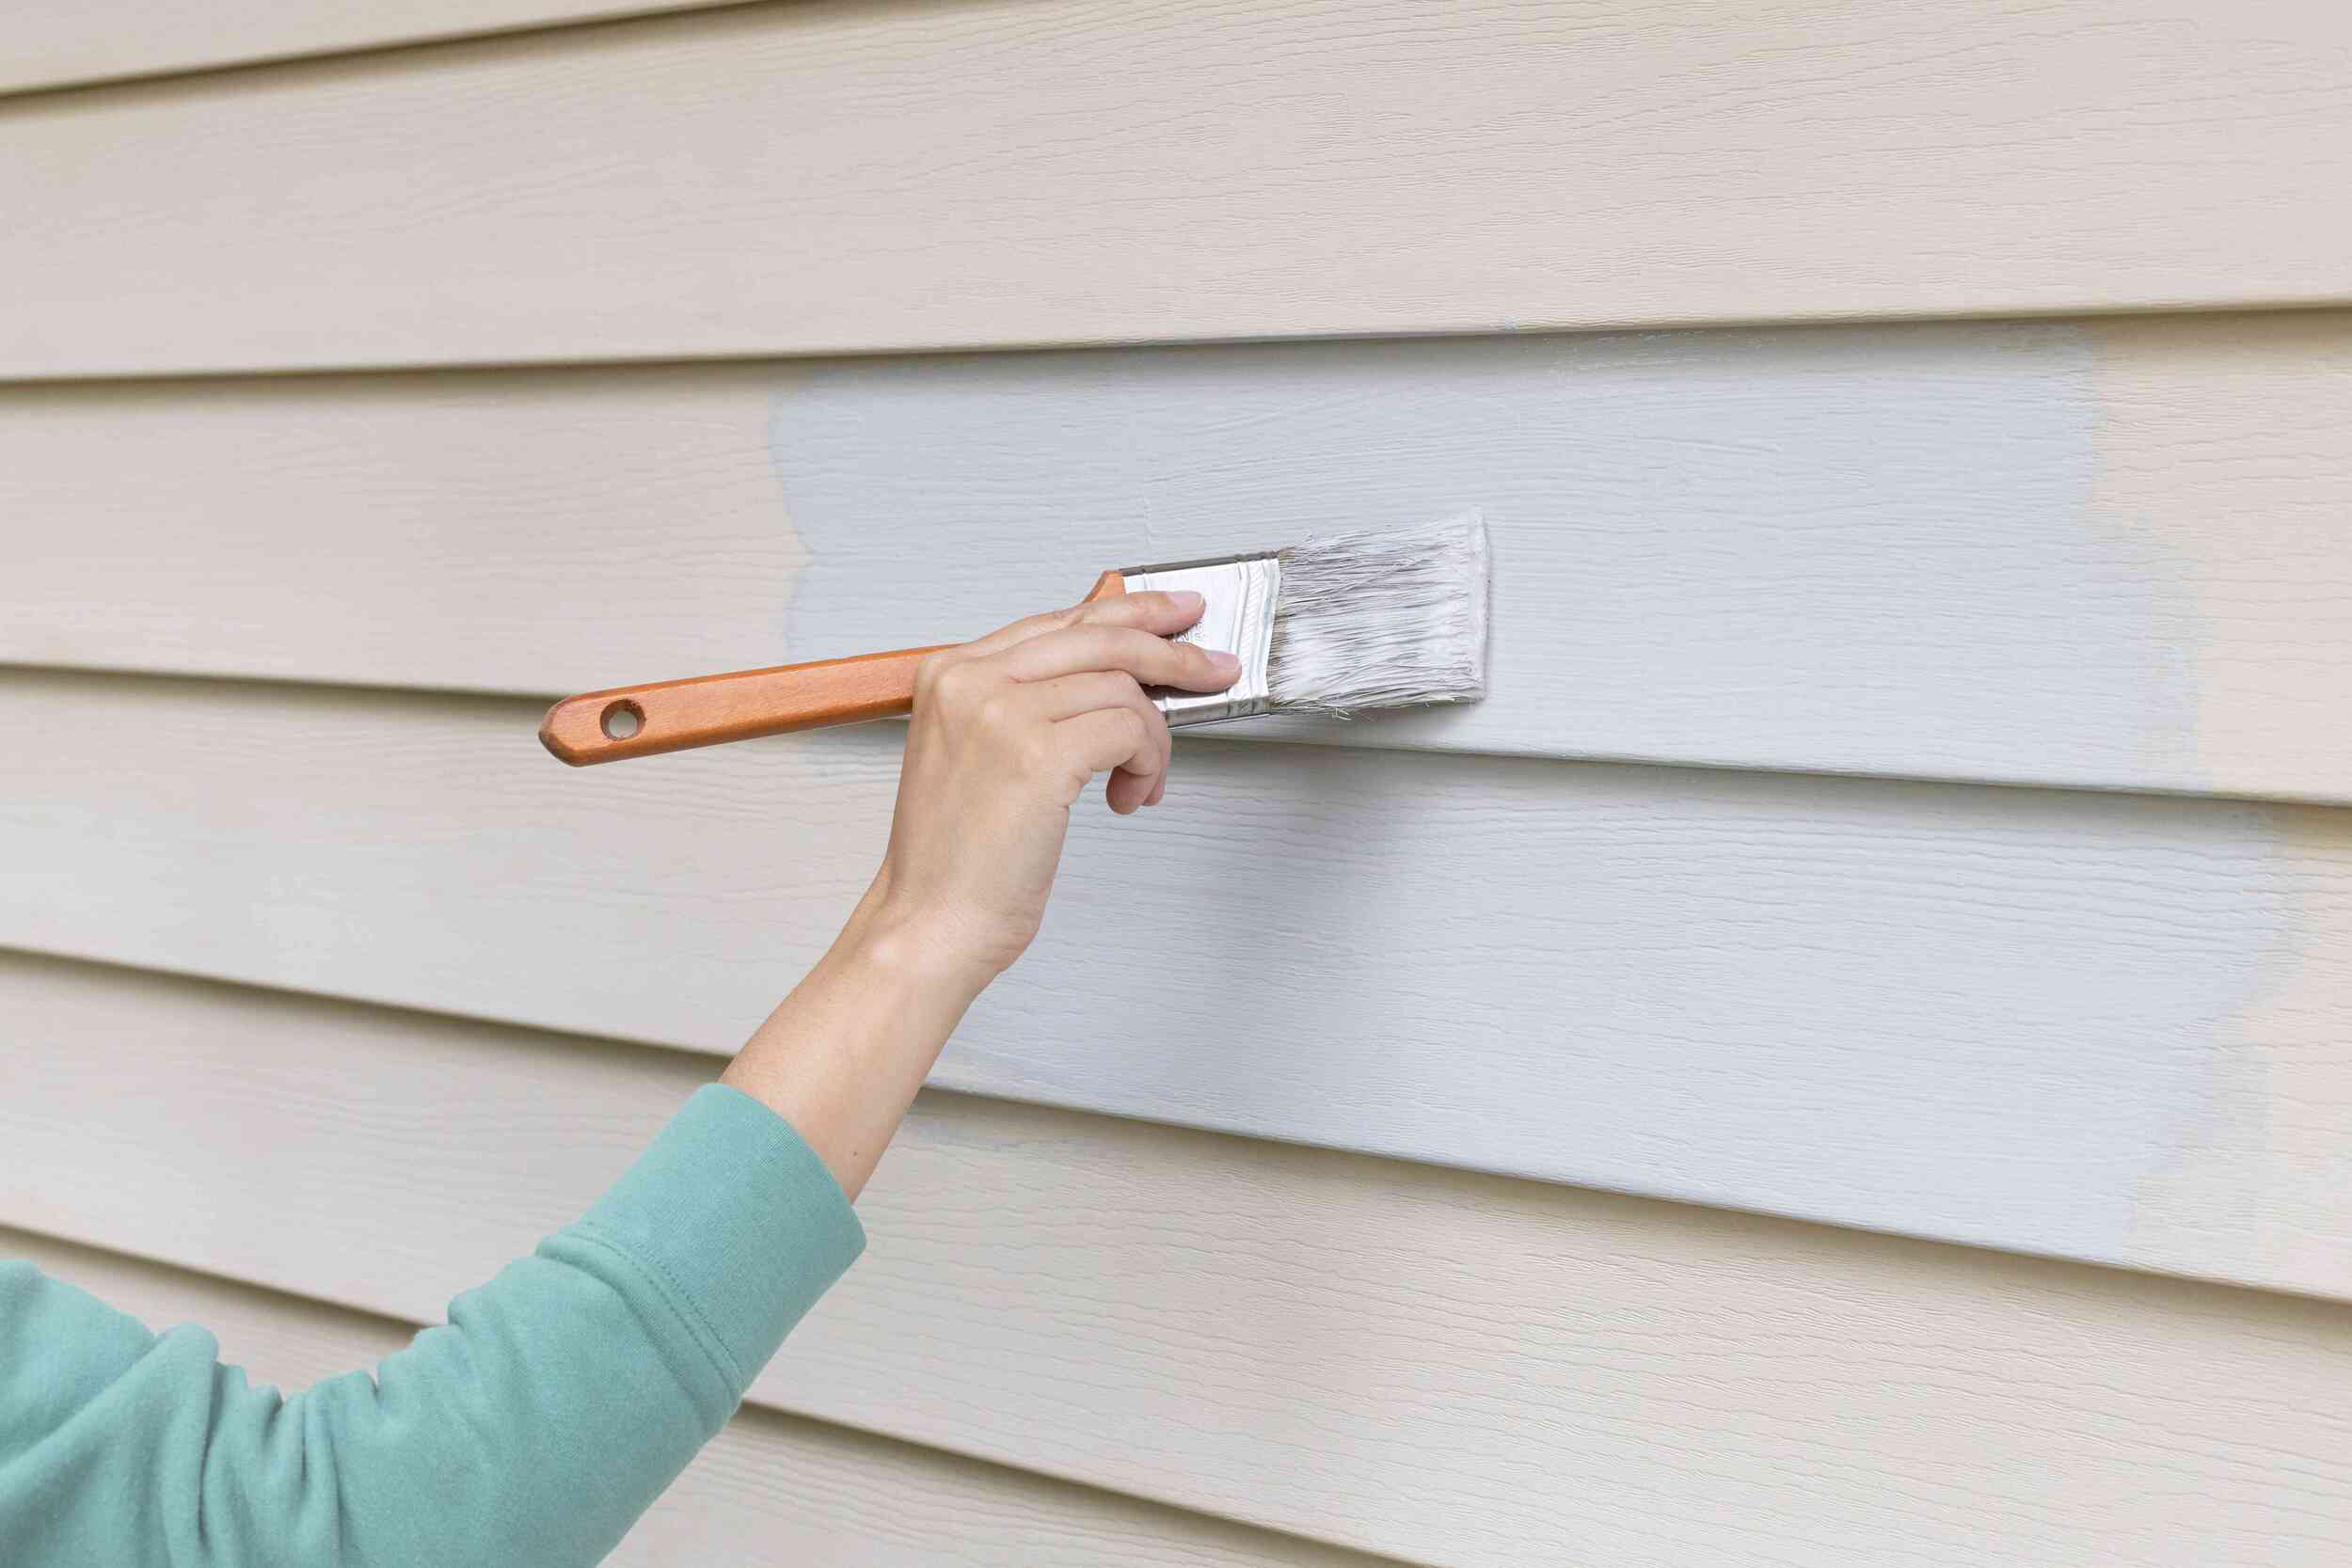
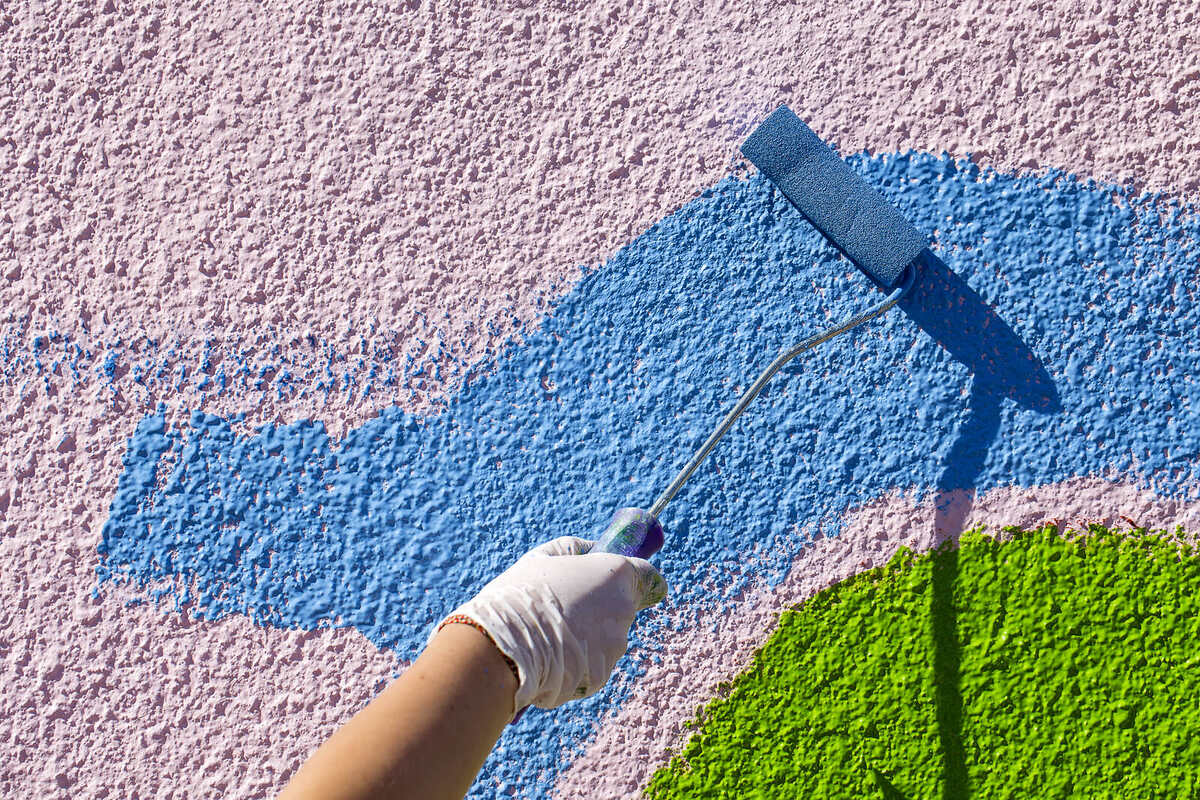
- Use the right technique: If you’re using a brush, apply the paint in long, smooth strokes, following the grain of the door. If you’re using a roller, start from one side and roll the paint on in a vertical motion, slightly overlapping each stroke to ensure even coverage.
- Work in sections: Divide the garage door into manageable sections, such as panels or sections between windows. This will help you stay organized and ensure an even application of paint.
- Apply thin coats: It’s better to apply multiple thin coats of paint rather than one thick coat. This will prevent drips, runs, and uneven drying. Allow each coat to dry completely before applying the next one, following the manufacturer’s instructions for drying time.
- Paint the edges and corners: Use a smaller brush to paint the edges, corners, and hard-to-reach areas of the garage door. Be careful to maintain a consistent paint thickness throughout the door.
- Watch for drips and runs: Keep an eye out for any drips or runs as you paint. Correct them immediately by smoothing out the excess paint with a brush or roller before it dries.
- Pay attention to detail: Take your time to ensure that the paint is applied evenly to create a smooth and professional finish. Check for any missed spots or uneven areas and touch them up as necessary.
Remember, patience and attention to detail are key when painting your garage door. Take your time and focus on achieving an even and consistent application of paint. Proper technique will result in a professional-looking finish that enhances the overall appearance of your garage door.
Applying a Second Coat (Optional)
After completing the first coat of paint on your garage door, you may decide to apply a second coat for added durability and a more vibrant finish. While a second coat is optional, it can greatly enhance the overall appearance and longevity of the paint job. Follow these steps to apply a second coat:
- Allow the first coat to dry: Before applying a second coat, it’s crucial to allow the first coat to dry completely. Follow the manufacturer’s instructions for recommended drying time.
- Inspect the first coat: Take a close look at the first coat of paint on your garage door. Assess the coverage and appearance to determine if a second coat is necessary. If you notice any thin areas or unevenness, a second coat will help address these issues.
- Prepare the surface: Lightly sand the surface using fine-grit sandpaper to create a smooth texture for the second coat. Be sure to remove any dust or debris before applying the second coat.
- Apply the second coat: Using the same technique as the first coat, apply the second coat of paint. Ensure that the paint is evenly distributed and covers any areas that may have been missed in the first coat.
- Allow proper drying time: Once you’ve applied the second coat, allow it to dry completely before handling or operating the garage door. This will ensure a durable and long-lasting finish.
Applying a second coat of paint provides additional protection and coverage, especially for areas that are exposed to harsh weather conditions. It also helps create a more vibrant and consistent appearance.
Keep in mind that the need for a second coat may vary depending on factors such as the type of paint used, the color of the paint, and the condition of your garage door’s surface. It’s always a good idea to assess the results after the first coat and make a decision based on your specific needs and desired outcome.
By taking the time to apply a second coat, you’ll ensure a more long-lasting and visually appealing paint job that will enhance the overall curb appeal of your home.
Adding Finishing Touches
After you’ve applied the necessary coats of paint to your garage door, it’s time to add the finishing touches to complete the transformation. These final steps will give your garage door a polished look and ensure the paint job stands the test of time.
- Remove masking materials: Carefully remove the painter’s tape and plastic sheeting that was used to protect areas from paint. Peel the tape slowly and at a 45-degree angle to prevent any damage or peeling of the freshly painted surface.
- Inspect for touch-ups: Take a close look at the painted surface of your garage door and inspect for any areas that may need touch-ups. Use a small brush to carefully correct any imperfections or missed spots.
- Reattach hardware: If you removed any hardware, such as handles or hinges, during the painting process, now is the time to reattach them. Make sure they are securely fastened and aligned properly.
- Protective coating (optional): Consider applying a protective coating or sealer specifically designed for painted surfaces. This will provide an extra layer of protection against UV rays, moisture, and general wear and tear. Follow the manufacturer’s instructions for application and drying time.
- Clean up: Properly clean and store your paintbrushes, rollers, and other painting supplies. Dispose of any used drop cloths or plastic sheeting and safely dispose of any empty paint cans or containers according to local regulations.
By giving attention to these finishing touches, you’ll ensure a professional and well-executed paint job on your garage door. Your hard work will be rewarded with a beautiful and refreshed exterior that enhances the curb appeal of your home.
Remember, regular maintenance and upkeep of your painted garage door will help preserve its appearance and longevity. Keep an eye out for any signs of wear or damage and address them promptly to avoid more extensive repairs in the future.
Now step back and admire the transformation of your garage door. Enjoy the renewed beauty and increased curb appeal it brings to your home!
Frequently Asked Questions about How To Paint Your Garage Door To Give Your Exterior A Facelift
Was this page helpful?
At Storables.com, we guarantee accurate and reliable information. Our content, validated by Expert Board Contributors, is crafted following stringent Editorial Policies. We're committed to providing you with well-researched, expert-backed insights for all your informational needs.


0 thoughts on “How To Paint Your Garage Door To Give Your Exterior A Facelift”