Articles
How To Make Your Garage Door Smart
Modified: February 23, 2024
Discover the best articles on making your garage door smart and enhance your home security. Learn how to upgrade your garage door with smart technology for ultimate convenience and peace of mind.
(Many of the links in this article redirect to a specific reviewed product. Your purchase of these products through affiliate links helps to generate commission for Storables.com, at no extra cost. Learn more)
Introduction
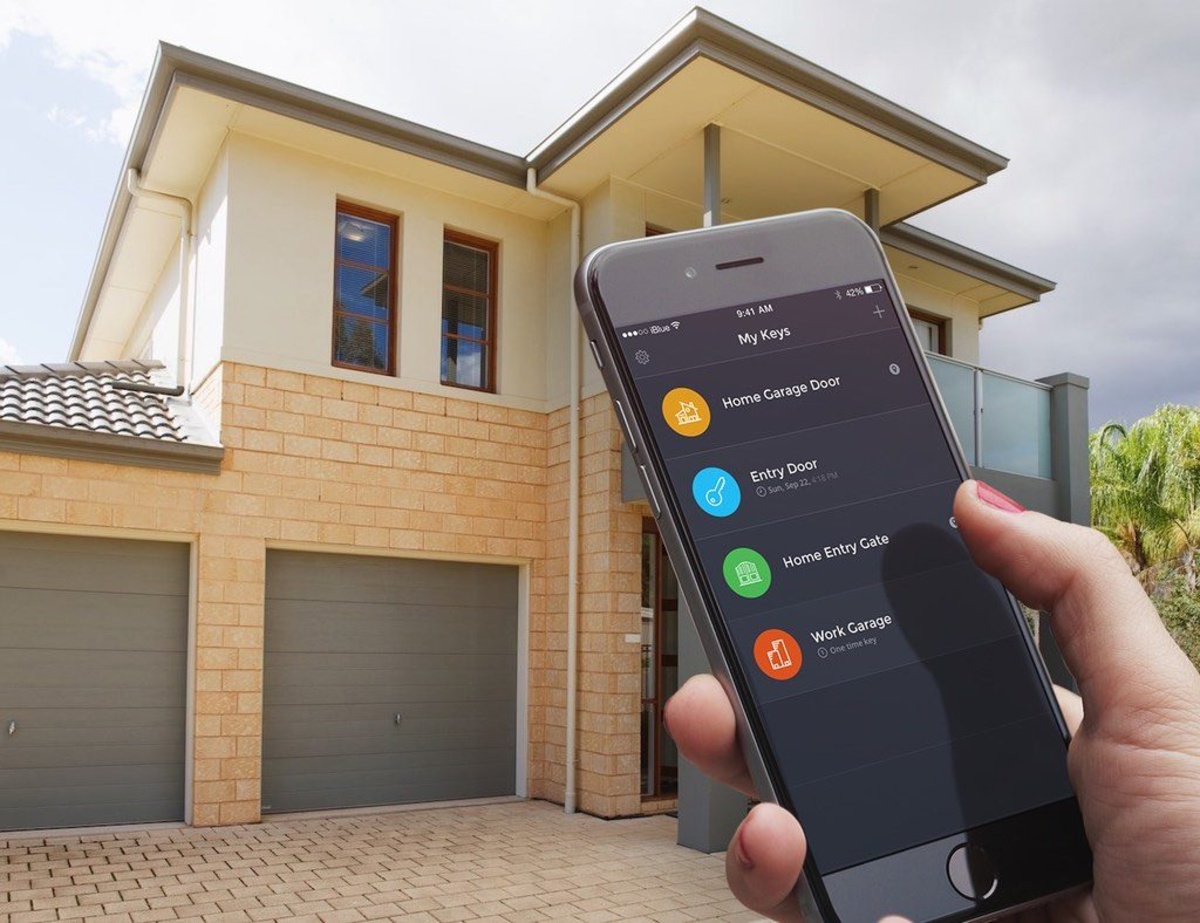
Welcome to the world of smart technology where even your garage door can be transformed into a smart device. Imagine being able to open and close your garage door with just a tap on your phone or a simple voice command. With the advent of smart garage door openers, this futuristic dream is now a reality.
In this article, we will guide you through the process of making your garage door smart, step by step. From assessing compatibility to troubleshooting common issues, we’ve got you covered. So, let’s dive in and explore how you can turn your traditional garage door into a modern, convenient, and secure smart device.
But before we get into the nitty-gritty details, it’s important to understand what a smart garage door opener is and how it works. Put simply, a smart garage door opener is a device that allows you to control your garage door remotely using a smartphone app or voice commands. It typically replaces your existing garage door opener, adding smart features and connectivity options.
Now, let’s start our journey to make your garage door smart!
Key Takeaways:
- Transform your traditional garage door into a modern, convenient, and secure smart device by following our comprehensive guide. From assessing compatibility to integrating with voice assistants, enjoy the convenience and peace of mind a smart garage door opener brings.
- Ensure the longevity and smooth operation of your smart garage door opener by following our troubleshooting and maintenance tips. Keep your garage door in optimal condition and embrace the future of technology within your smart home ecosystem.
Step 1: Assessing Compatibility
Before diving into the installation process, it’s important to determine if your garage door is compatible with a smart garage door opener. Not all garage doors can be retrofitted with smart technology, so it’s crucial to assess compatibility beforehand.
Here are a few factors to consider when assessing compatibility:
- Type of Garage Door: Smart garage door openers are typically compatible with most types of garage doors, including sectional, one-piece, and swinging doors. However, it’s essential to ensure that your door is in good working condition and properly balanced.
- Age of Garage Door Opener: If your garage door opener is more than 15 years old, it might not be compatible with smart technology. Newer models often have built-in compatibility features, so it’s worth checking the manufacturer’s specifications.
- Power Source: Smart garage door openers require a stable power source to function properly. Make sure your garage has a reliable electrical outlet nearby to power the opener.
- Internet Connectivity: Since smart garage door openers rely on a Wi-Fi connection, it’s necessary to have a stable internet connection in your garage. If your Wi-Fi signal is weak or non-existent, you may need to invest in a Wi-Fi extender or consider other connectivity options.
If you’re uncertain about the compatibility of your garage door, it’s best to consult a professional garage door installer or contact the manufacturer of the smart garage door opener you’re considering. They can provide guidance based on your specific situation.
Once you’ve assessed compatibility and determined that your garage door is suitable for a smart garage door opener, you’re ready to move on to the next step: installation. Stay tuned for our detailed guide on how to install a smart garage door opener and bring your garage into the 21st century!
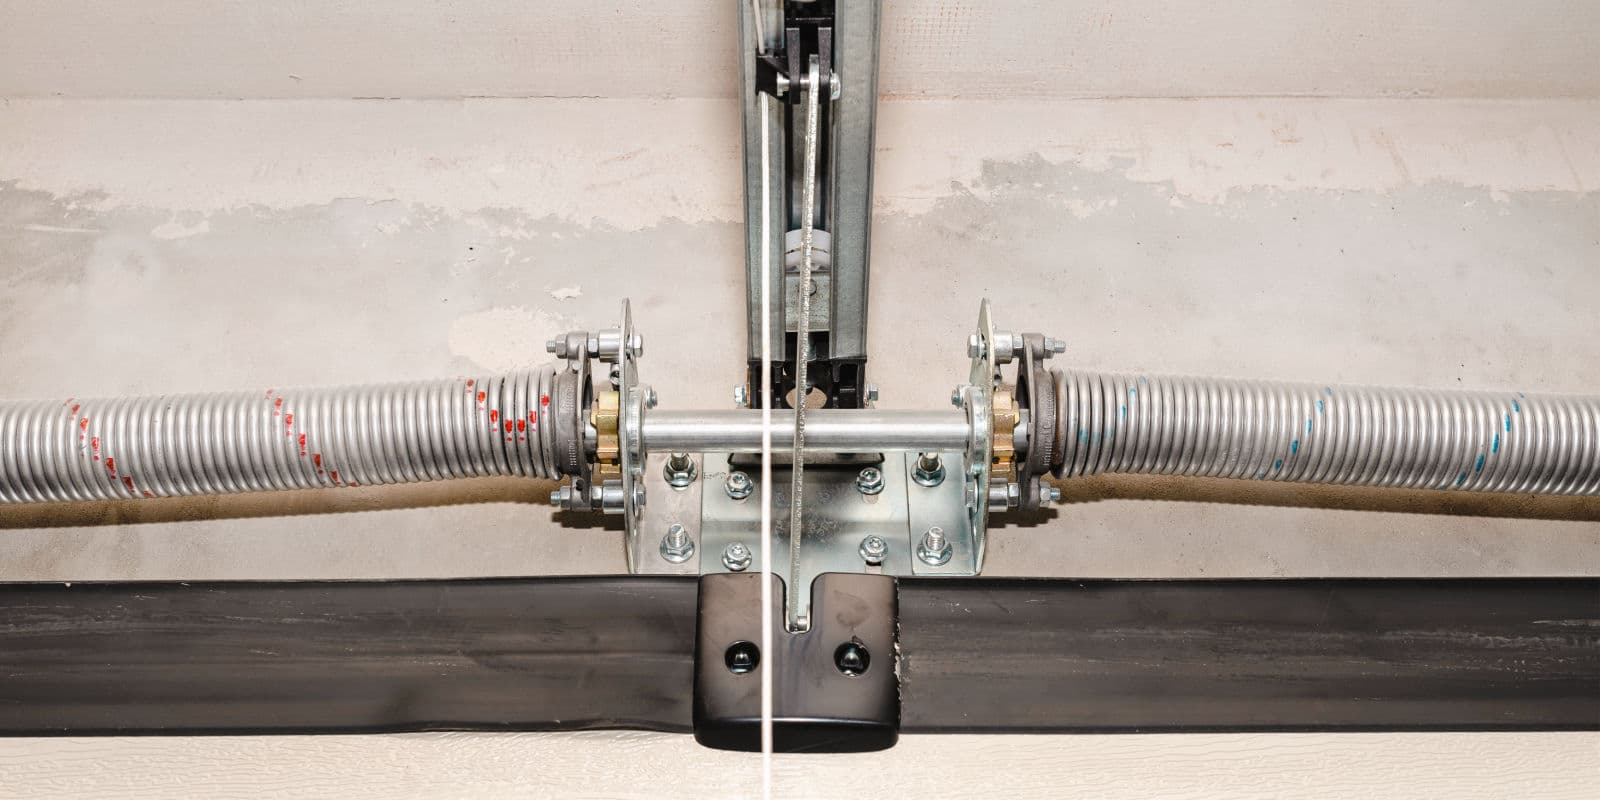
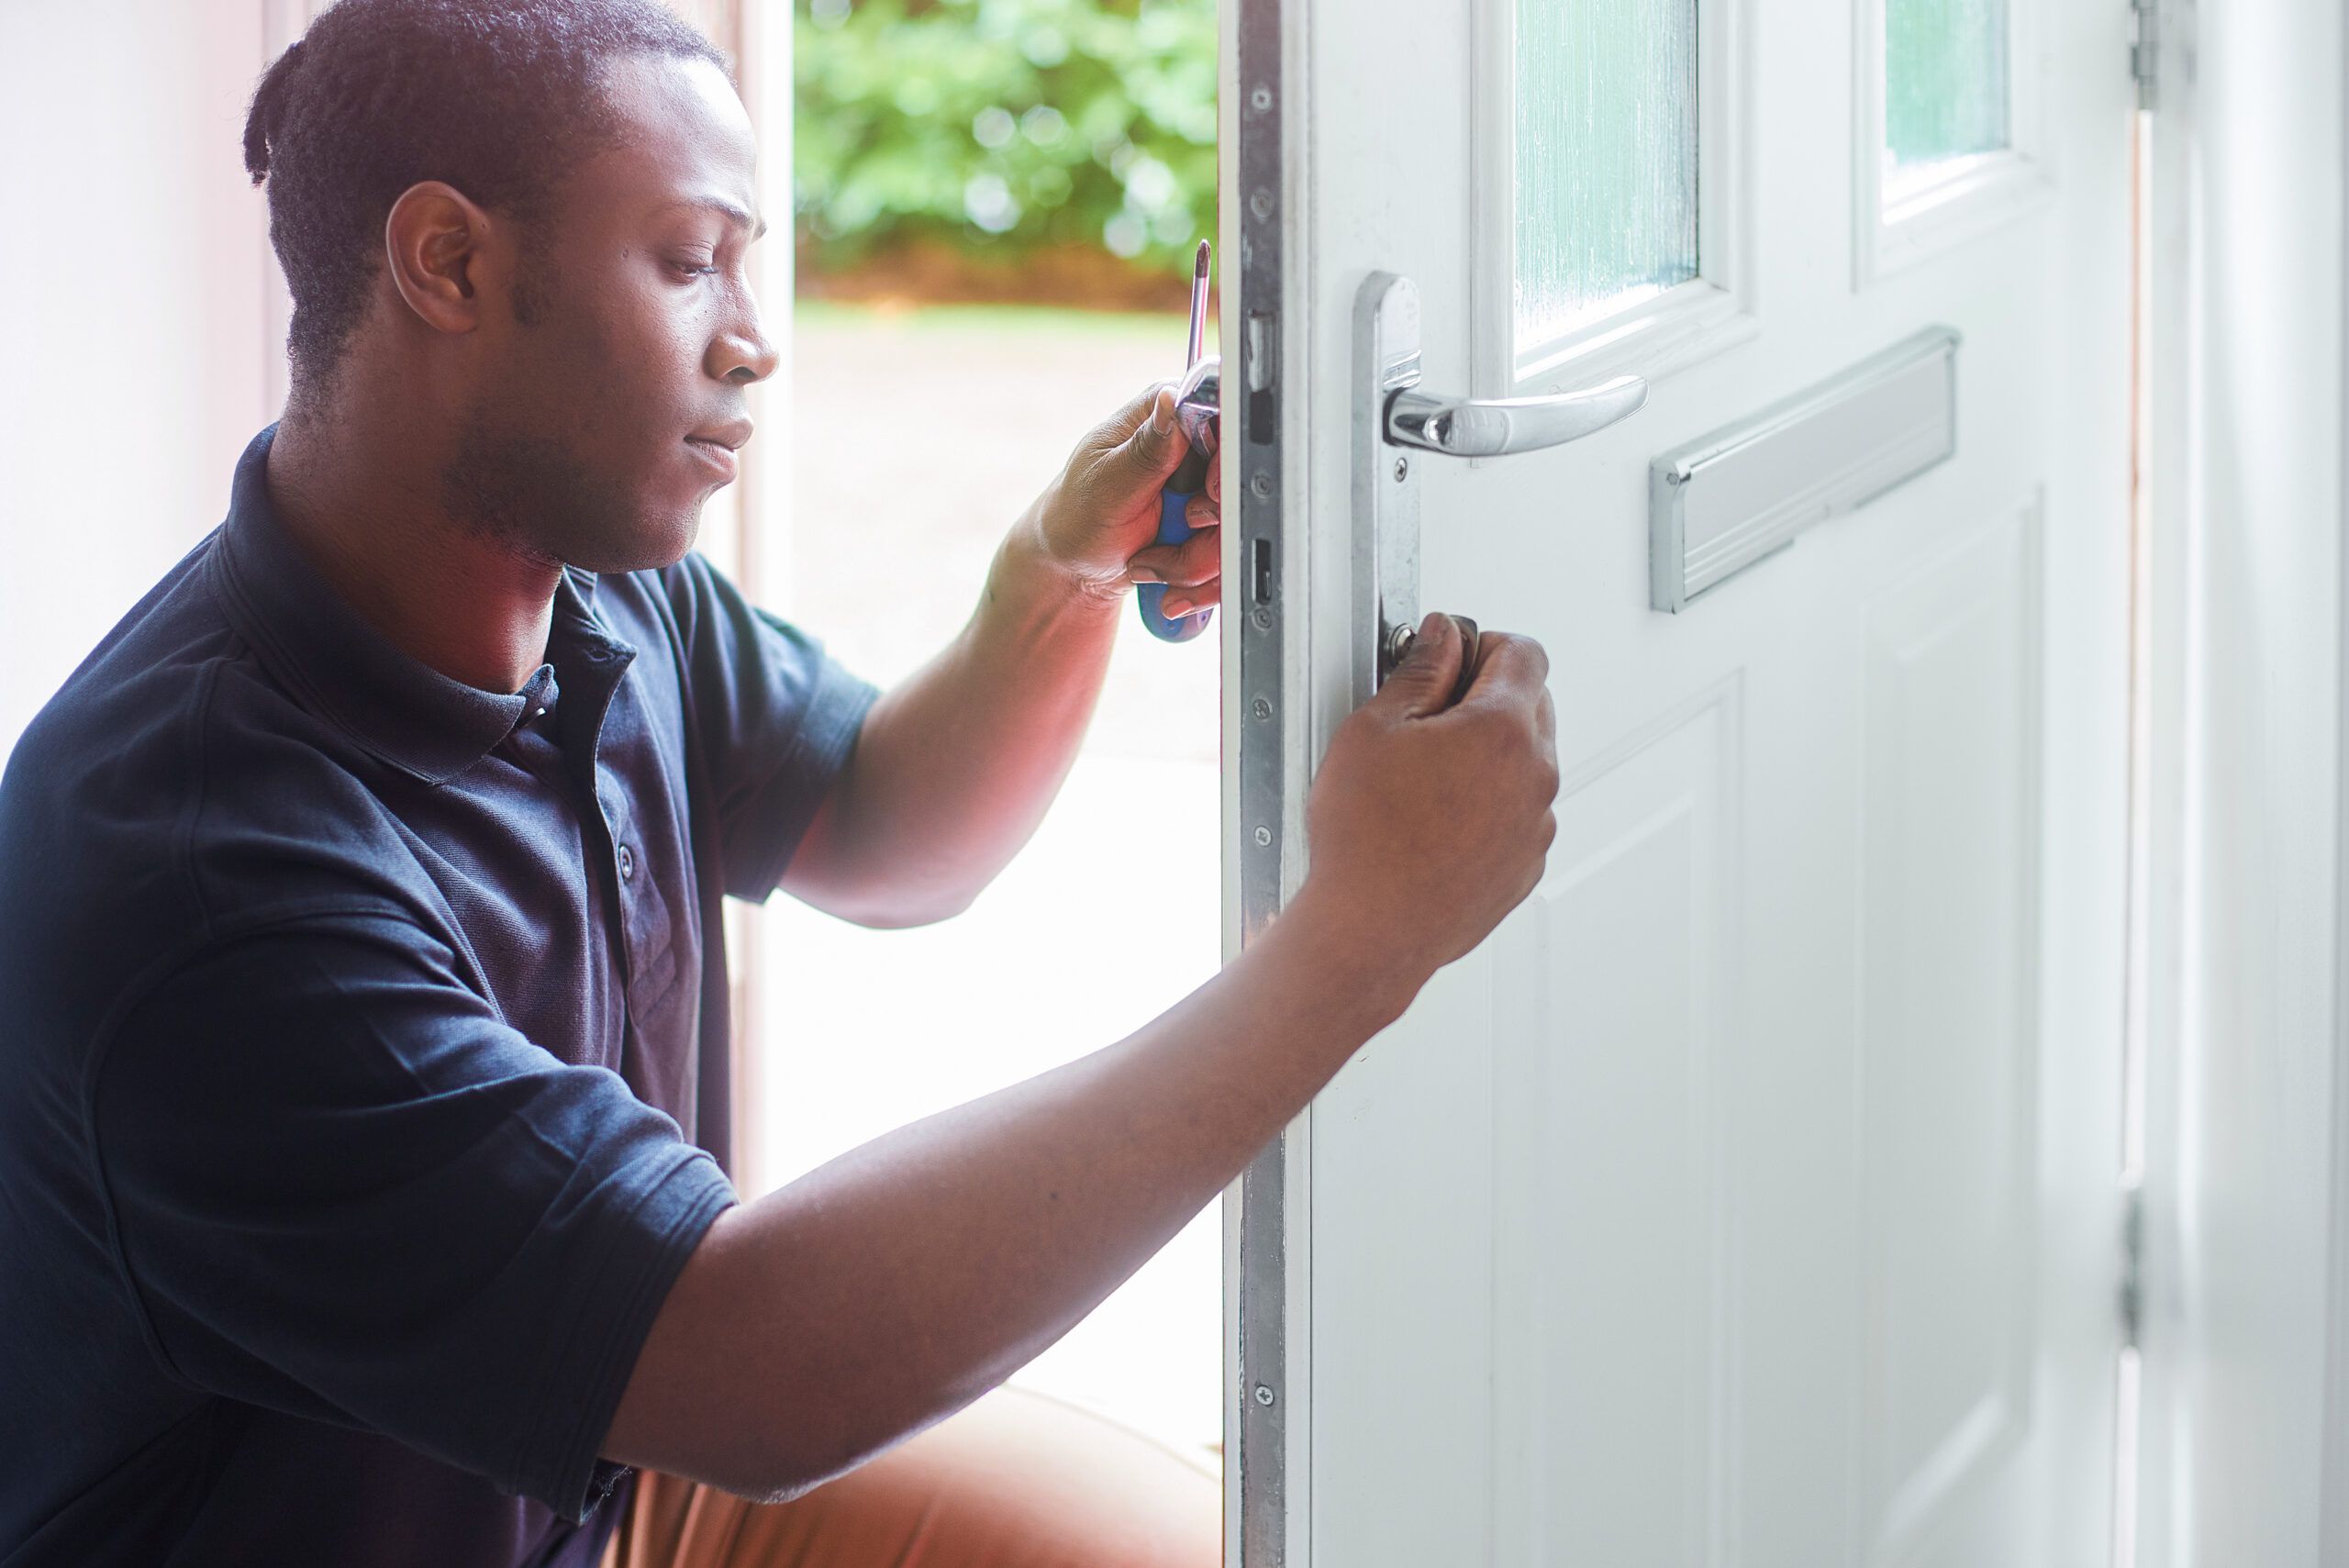
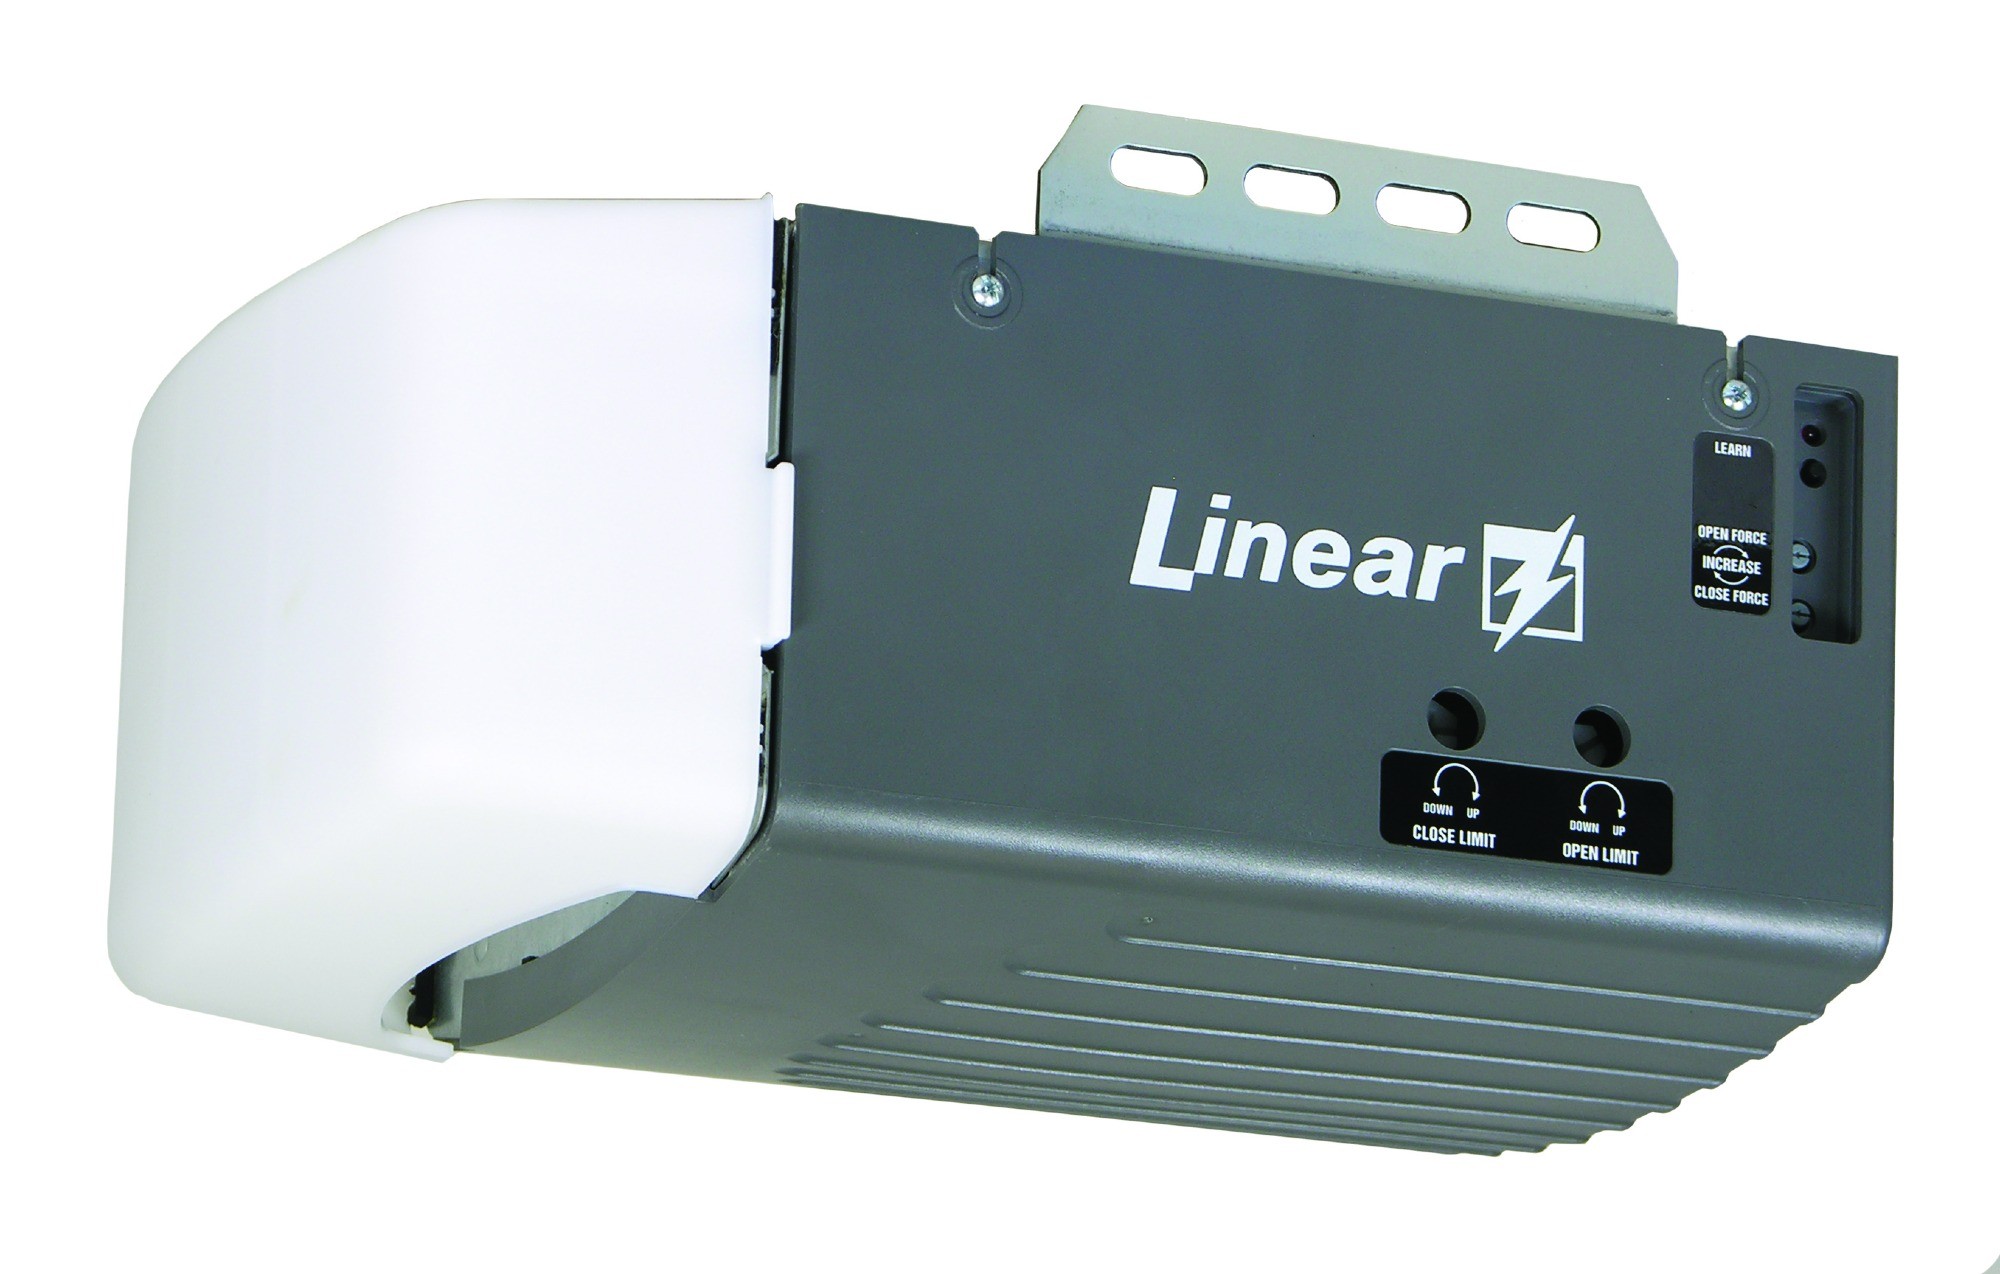
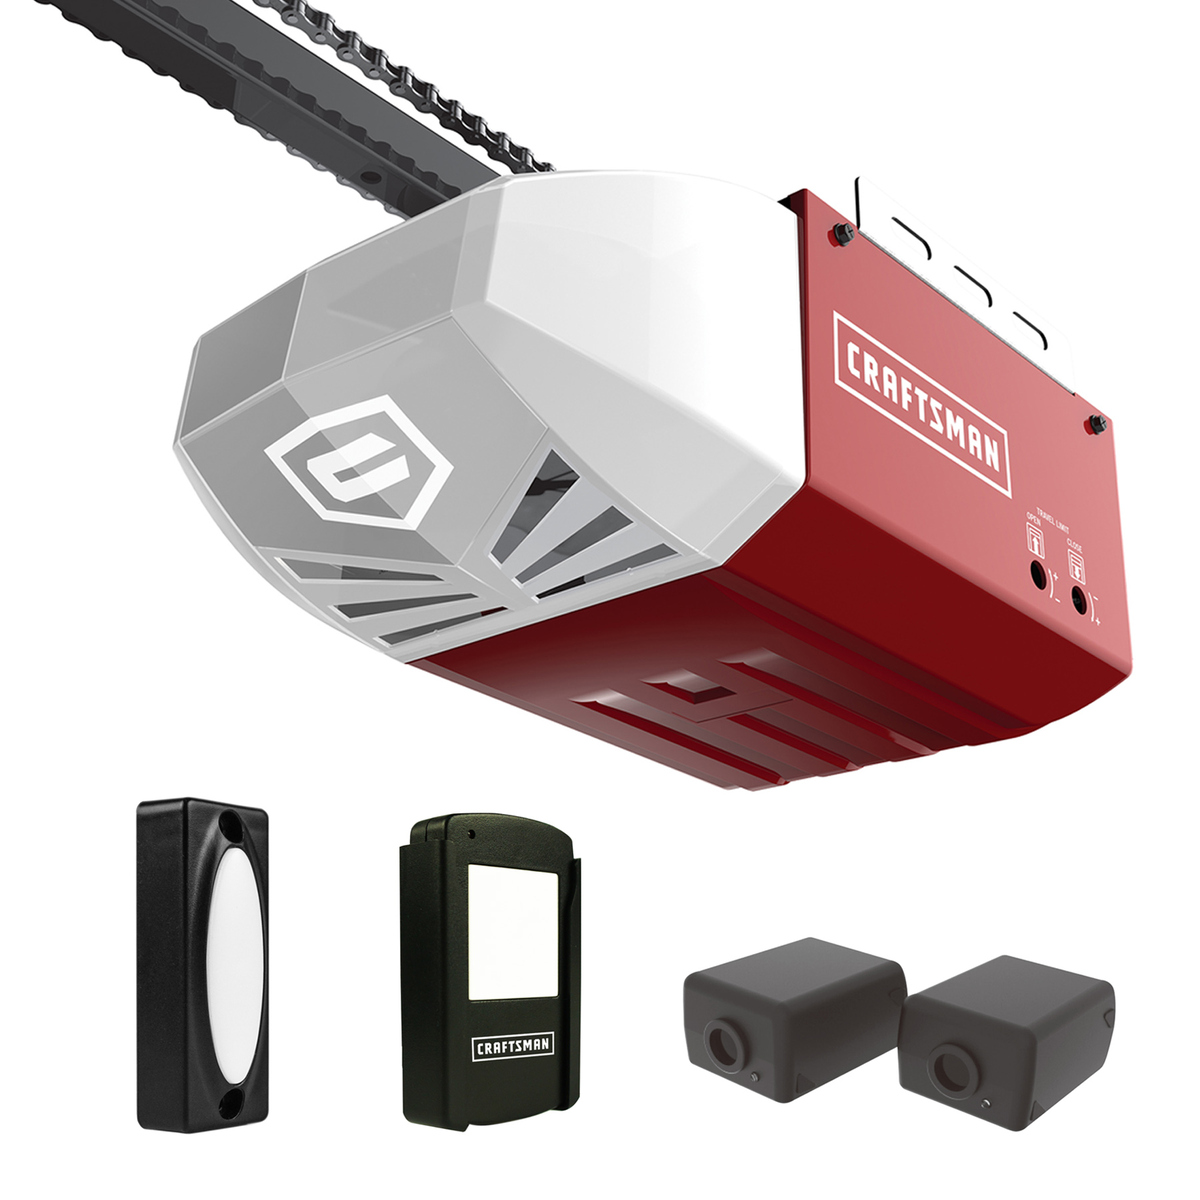
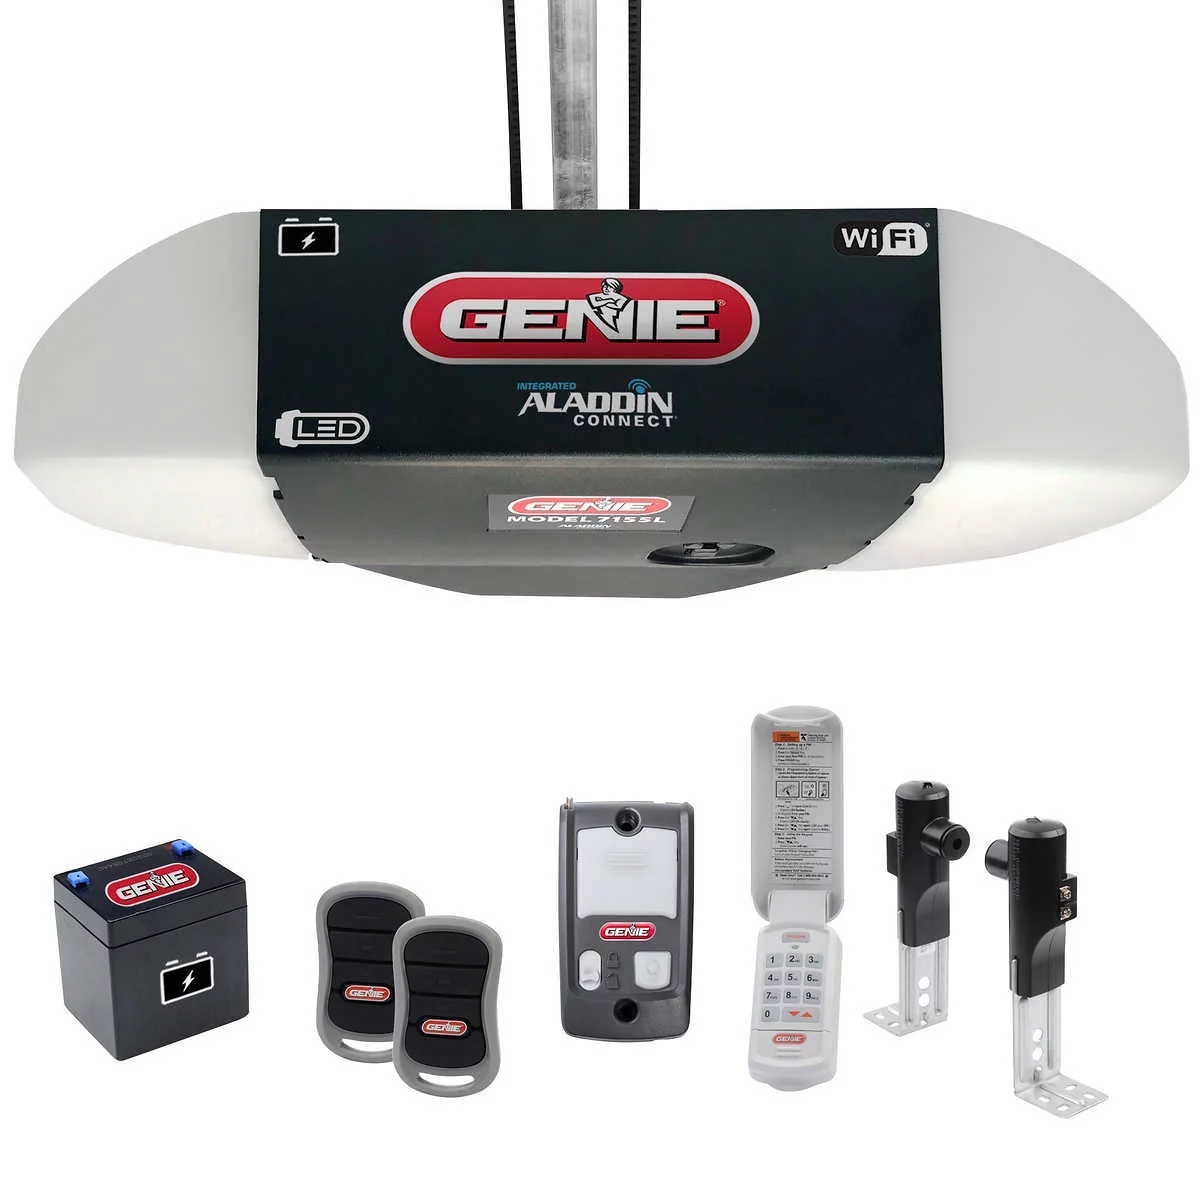
Step 2: Installing Smart Garage Door Opener
Now that you’ve determined compatibility, it’s time to move on to installing your new smart garage door opener. Installation may vary depending on the specific model you choose, so be sure to follow the manufacturer’s instructions provided with your device. However, here are the general steps involved in installing a smart garage door opener:
- Gather the necessary tools: Before you begin, make sure you have all the tools required for installation. This may include a ladder, screwdriver, level, drill, and wire stripper.
- Turn off power: For safety purposes, turn off the power to your garage door opener by unplugging it from the electrical outlet or turning off the circuit breaker.
- Remove the existing opener: Disconnect and remove any existing garage door opener from the ceiling or wall. Follow the manufacturer’s instructions for proper removal.
- Attach the mounting bracket: Install the new smart garage door opener’s mounting bracket on the ceiling or wall using the provided screws. Ensure it is secure and level.
- Connect the power: Connect the power wires of the smart garage door opener to the existing electrical wiring in your garage. Take note of the color-coded wires and follow the instructions for correct connections.
- Install the rail: Attach the rail or chain of the smart garage door opener to the mounting bracket, following the manufacturer’s instructions. Make sure it is aligned and secured properly.
- Attach the trolley and arm: Connect the trolley or carriage to the rail, and attach the arm to the garage door. Ensure they are properly aligned and connected securely.
- Test the opener: Before proceeding, test the smart garage door opener to ensure it is functioning correctly. Use the provided remote or wall panel to open and close the garage door.
Remember to consult the manufacturer’s instructions for any additional steps specific to your smart garage door opener model. It’s also a good idea to have a second person assist you with installation for safety and ease.
Once you’ve successfully installed the smart garage door opener, you’re ready to move on to the next step: connecting it to Wi-Fi. Stay tuned for our step-by-step guide on connecting your smart garage door opener to your home’s Wi-Fi network!
Step 3: Connecting Garage Door Opener to Wi-Fi
Now that your smart garage door opener is installed, it’s time to connect it to your home’s Wi-Fi network. This will enable you to control your garage door remotely using a smartphone or other connected devices. Here’s how to connect your garage door opener to Wi-Fi:
- Access the Wi-Fi settings: Locate the control panel or settings on the smart garage door opener. This may be a physical panel on the device itself or a digital interface accessible through a mobile app.
- Select the network: Find the Wi-Fi network you want to connect to and select it from the available options. Make sure you have the network name and password handy, as you’ll need to enter them during the setup process.
- Enter Wi-Fi credentials: Follow the on-screen prompts to enter the network name and password for your Wi-Fi network. Take care to enter them accurately to ensure a successful connection.
- Confirm the connection: Once you’ve entered the Wi-Fi credentials, the smart garage door opener will attempt to connect to the network. Wait for the confirmation message or indicator light that signifies a successful connection.
- Test the connection: To ensure that the smart garage door opener is properly connected to Wi-Fi, test its functionality. Use the smartphone app or other control methods to open and close the garage door remotely. If it works, you’ve successfully connected your garage door opener to Wi-Fi!
It’s worth noting that some smart garage door openers may have additional steps or specific requirements during the Wi-Fi setup process. Refer to the manufacturer’s instructions for your particular model to ensure you follow the correct procedures.
Once your smart garage door opener is connected to Wi-Fi, you’ll have the convenience of controlling your garage door from anywhere with an internet connection. But we’re not stopping there – in the next step, we’ll guide you through the process of downloading and setting up the mobile app for your smart garage door opener. Stay tuned!
Step 4: Downloading and Setting Up Mobile App
After successfully connecting your smart garage door opener to Wi-Fi, the next step is to download and set up the mobile app that allows you to control and monitor your garage door remotely. Here’s how you can do it:
- Identify the compatible app: Find out which mobile app is compatible with your smart garage door opener. Check the manufacturer’s documentation or website to see if they have a dedicated app or if they recommend a specific third-party app.
- Download the app: Visit the App Store (for iOS) or Google Play Store (for Android) on your smartphone. Search for the app by name, and download and install it onto your device.
- Create an account: Launch the app and follow the on-screen instructions to create a new account. You’ll typically need to provide your email address and create a password. Some apps may also offer social media sign-in options.
- Add your garage door opener: Once you’ve created an account, you’ll be prompted to add your smart garage door opener to the app. This usually involves scanning a QR code or entering a unique code provided with the opener.
- Complete setup: Follow the prompts to complete the setup process for your smart garage door opener. This may include configuring settings, naming your garage door, and setting up additional features such as automatic timers or alerts.
- Test the app: After the setup is complete, test the app by opening and closing your garage door using the virtual controls within the app. Ensure that the app is communicating properly with your smart garage door opener.
Setting up the mobile app for your smart garage door opener is an essential step in gaining full control and convenience. With the app installed, you’ll be able to operate your garage door remotely, check its status, and receive alerts and notifications.
Now that you have the app set up, it’s time to move on to the next step: configuring the smart features of your garage door opener. Stay tuned!
Consider installing a smart garage door opener that can be controlled remotely via a smartphone app. This will allow you to open and close your garage door from anywhere, as well as receive notifications when it’s been opened or closed.
Read more: How To Make A Garage Door
Step 5: Configuring Smart Garage Door Features
Now that you have the mobile app set up, it’s time to configure the smart features of your garage door opener. These features enhance convenience, security, and customization. Here’s how you can configure the smart features:
- Customize door settings: Access the app’s settings menu and explore the various options available for customizing your garage door’s behavior. This may include adjusting the speed of the door’s opening and closing, setting up automatic closing timers, or configuring vacation mode to disable remote access during your absence.
- Create user accounts and permissions: If you want to provide access to other family members or trusted individuals, you can create user accounts within the app. Assign permissions and restrictions to each account to control who can operate the garage door and access its features.
- Set up alerts and notifications: Enable notifications and alerts through the app to receive real-time updates about the status of your garage door. You can choose to be notified when the door opens, closes, or if any unusual activity is detected.
- Integrate with other smart devices: If you have other smart home devices or systems, such as a home security system or voice assistant, explore the app’s integration options. Linking your garage door opener with other devices can enhance automation and provide added convenience.
- Explore additional features: Some smart garage door openers offer additional features, such as geofencing, which automatically opens or closes the door based on your smartphone’s location. Take time to explore these features and configure them according to your preferences.
Configuring the smart features of your garage door opener allows you to tailor its functionality to your specific needs. By personalizing settings, setting up alerts, and integrating with other smart devices, you’ll maximize the benefits of your smart garage door opener.
In the next step, we’ll explore how you can integrate your smart garage door opener with popular voice assistants, such as Amazon Alexa or Google Assistant. Stay tuned!
Step 6: Integration with Voice Assistants
One of the major benefits of having a smart garage door opener is the ability to control it using voice commands. By integrating your smart garage door opener with popular voice assistant devices, such as Amazon Alexa or Google Assistant, you can conveniently open and close your garage door without even lifting a finger. Here’s how you can integrate your garage door opener with voice assistants:
- Check compatibility: Ensure that your smart garage door opener is compatible with the voice assistant device you have, such as Amazon Alexa or Google Assistant. Check the manufacturer’s documentation or website to confirm compatibility.
- Set up your voice assistant device: Follow the instructions provided with your voice assistant device to set it up and connect it to your home’s Wi-Fi network. Make sure it’s properly configured and ready for use.
- Enable the skill or action: Open the voice assistant app or go to the voice assistant’s website and enable the skill or action related to your smart garage door opener. This skill or action allows the voice assistant to communicate with your garage door opener.
- Link the accounts: Within the voice assistant app or website, link your smart garage door opener account by entering your credentials or following the provided instructions. This will establish the connection between the two devices.
- Discover devices: Use the voice assistant app or voice command to discover connected devices. The voice assistant will scan and recognize your smart garage door opener, allowing you to control it using voice commands.
- Test the integration: After completing the setup, use voice commands to open and close your garage door through the voice assistant device. Ensure that the voice commands are accurately recognized and that the garage door responds accordingly.
Integrating your smart garage door opener with voice assistants adds another layer of convenience and hands-free control to your smart home setup. Whether you’re inside your home or away, you can use voice commands to operate your garage door easily.
In the final step, we’ll discuss some troubleshooting and maintenance tips to ensure smooth operation of your smart garage door opener. Let’s dive in!
Step 7: Troubleshooting and Maintenance Tips
While smart garage door openers are designed to offer convenience and reliability, occasional issues may arise. To ensure smooth operation and longevity of your smart garage door opener, it’s important to follow these troubleshooting and maintenance tips:
- Regularly inspect and clean: Periodically inspect the garage door and opener for any signs of wear and tear. Clean the tracks, sensors, and other components to ensure they’re free from dirt, debris, and obstructions that may affect operation.
- Check and tighten hardware: As part of routine maintenance, check and tighten any loose screws or bolts on the garage door opener, tracks, and other hardware. Loose hardware can cause misalignment and affect the smooth operation of the door.
- Test safety features: Test the safety features of your smart garage door opener, such as the auto-reverse and sensor functionality. Place an object in the door’s path and check if it reverses direction properly. If any safety features are not functioning as expected, consult the manufacturer’s instructions or seek professional assistance for repairs.
- Ensure sufficient Wi-Fi signal: If you’re experiencing connectivity issues with your smart garage door opener, check the Wi-Fi signal strength in your garage. Consider installing a Wi-Fi range extender or relocating your router to improve signal strength and stability.
- Update firmware and app: Manufacturers often release firmware updates and app upgrades to enhance performance and security. Regularly check for updates and install them as recommended to ensure your smart garage door opener is running the latest software version.
- Keep login credentials secure: Protect your smart garage door opener and its app by using strong, unique passwords. Avoid sharing login credentials with unauthorized individuals and be cautious when granting access to the app for other users.
- Familiarize yourself with emergency release: In case of power outages or other emergencies, familiarize yourself with the emergency release feature of your garage door opener. This allows you to manually open and close the door when necessary.
By following these troubleshooting and maintenance tips, you’ll minimize the risk of issues and ensure long-term functionality of your smart garage door opener. Remember to refer to the manufacturer’s instructions for any specific troubleshooting steps or maintenance guidelines.
Congratulations! You’ve successfully transformed your garage door into a smart device, allowing you to control and monitor it with ease. Enjoy the convenience and security that a smart garage door opener brings to your home!
Thank you for following this guide. If you have any further questions or need assistance, don’t hesitate to reach out to the manufacturer’s support or consult a professional garage door technician.
Conclusion
Congratulations, you’ve reached the end of our comprehensive guide on how to make your garage door smart. By following the steps outlined in this article, you’ve successfully transformed your traditional garage door into a modern, convenient, and secure smart device.
We started by assessing compatibility to ensure that your garage door is suitable for a smart garage door opener. Then, we walked through the installation process, guiding you on how to properly install the smart garage door opener. Next, we covered the essential step of connecting the garage door opener to your home’s Wi-Fi network, enabling remote control capabilities.
Once the connection was established, we provided instructions on downloading and setting up the mobile app, allowing you to control your garage door from your smartphone. We then explored how to configure the smart features of your garage door opener, customizing its behavior and integrating it with voice assistants for voice control convenience.
To ensure smooth operation, we discussed troubleshooting tips and maintenance guidelines, empowering you to address common issues and keep your smart garage door opener in optimal condition. Remember, regular maintenance and attention to safety features are crucial for the longevity and proper functioning of your smart garage door opener.
We hope that this guide has been informative and helpful, and that you can now enjoy the convenience, security, and peace of mind that a smart garage door opener brings. Embrace the future of technology and revel in the seamless integration of your garage door into your smart home ecosystem.
Thank you for joining us on this journey, and should you have any further questions or need assistance, don’t hesitate to seek the support of the manufacturer or a professional garage door technician. Enjoy your newly smart-enabled garage door!
Frequently Asked Questions about How To Make Your Garage Door Smart
Was this page helpful?
At Storables.com, we guarantee accurate and reliable information. Our content, validated by Expert Board Contributors, is crafted following stringent Editorial Policies. We're committed to providing you with well-researched, expert-backed insights for all your informational needs.


0 thoughts on “How To Make Your Garage Door Smart”