Articles
How To Store Baked Oatmeal
Modified: December 7, 2023
Learn how to properly store baked oatmeal with these helpful articles. Keep your leftovers fresh and delicious for days.
(Many of the links in this article redirect to a specific reviewed product. Your purchase of these products through affiliate links helps to generate commission for Storables.com, at no extra cost. Learn more)
Introduction
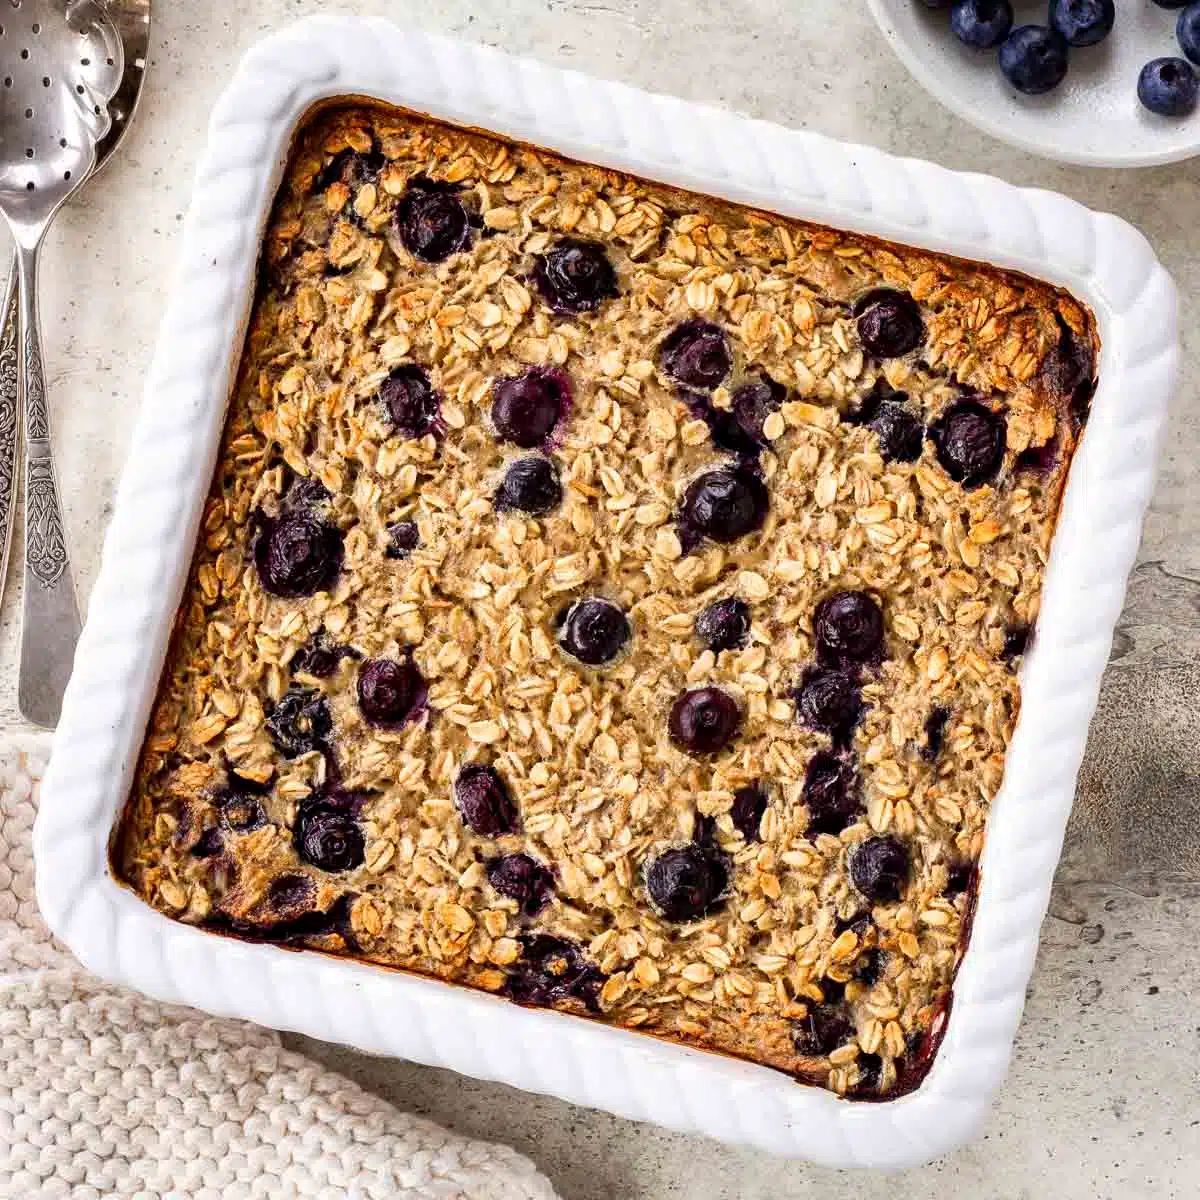
Welcome to the wonderful world of baked oatmeal! If you’re a fan of oatmeal for breakfast but find yourself craving a change of pace, baked oatmeal is the perfect solution. Not only is it delicious and satisfying, but it can also be prepared ahead of time and stored for later consumption. In this article, we’ll guide you through the process of storing baked oatmeal to ensure its freshness and flavor are preserved.
From the warmth and comfort it provides to the versatility in flavor combinations, baked oatmeal has become a beloved breakfast choice for many. It’s a wholesome and hearty meal that can be customized to suit your taste preferences. Whether you prefer sweet or savory flavors, baked oatmeal can accommodate a wide range of ingredients to tickle your taste buds.
But what if you made a big batch of baked oatmeal and can’t finish it all in one sitting? That’s where proper storage techniques come into play. By following the steps outlined in this article, you’ll be able to enjoy your delicious baked oatmeal for days to come.
Key Takeaways:
- Enjoy the convenience of baked oatmeal by following proper storage techniques. From cooling to labeling, ensure freshness and flavor for days to come. Reheat with ease for a delicious breakfast anytime!
- Experiment with flavors and add-ins for a personalized baked oatmeal experience. Store in individual portions, label, and date containers for easy tracking. Reheat using microwave, oven, or stovetop methods for a comforting breakfast delight!
Read more: How To Store Oatmeal
Ingredients
Before we dive into the storage process, let’s talk about the key ingredients you’ll need to make your baked oatmeal:
- Old-fashioned rolled oats: These are the star of the show and provide the hearty base for our baked oatmeal.
- Milk or plant-based milk: Choose any type of milk you prefer, whether it’s dairy or non-dairy, to add moisture and creaminess to the dish.
- Eggs: Eggs help bind the ingredients together and add richness to the baked oatmeal.
- Sweetener: You can use brown sugar, maple syrup, honey, or any other sweetener of your choice to add sweetness to the dish.
- Vanilla extract: A splash of vanilla extract adds a lovely aroma and depth of flavor to the baked oatmeal.
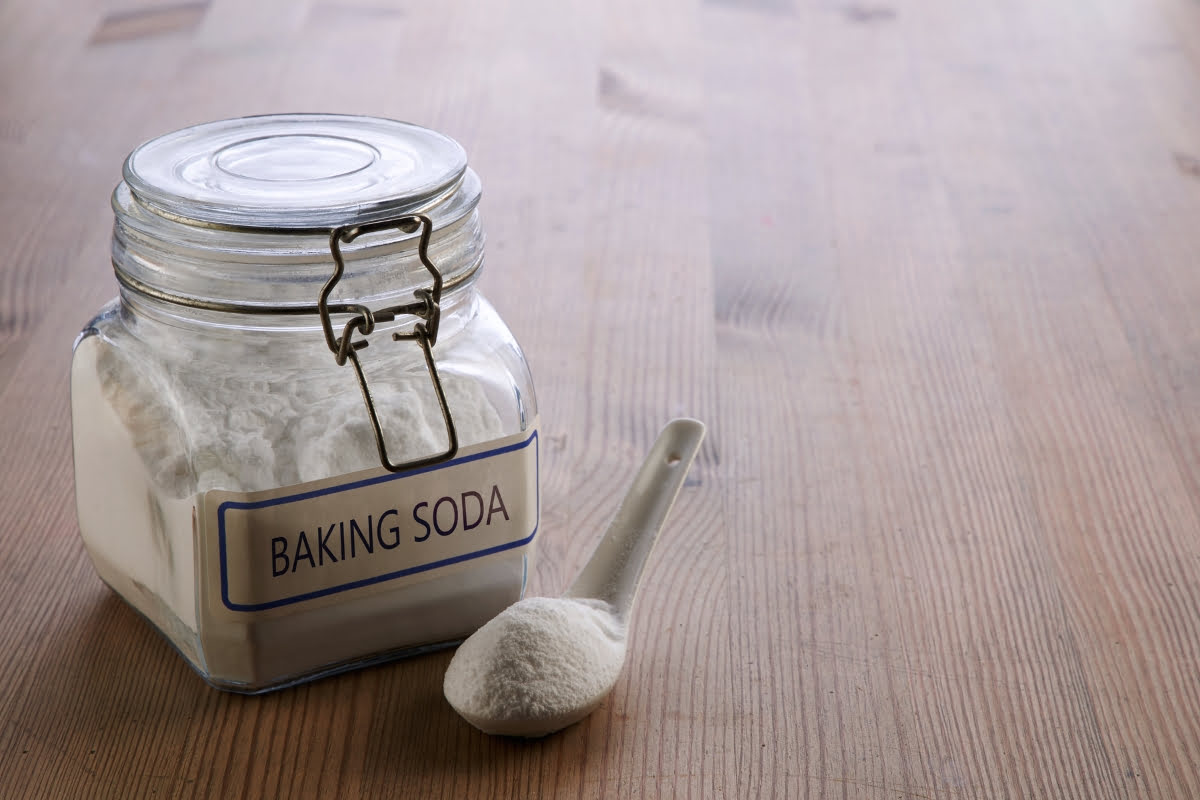
- Baking powder: Baking powder helps the oatmeal rise and become fluffy and tender.
- Spices: Get creative with spices like cinnamon, nutmeg, or cardamom to infuse your baked oatmeal with warm and comforting flavors.
- Add-ins: This is where you can truly customize your baked oatmeal. Consider adding fruits, nuts, seeds, chocolate chips, or any other ingredients that you enjoy.
Keep in mind that the quantity of each ingredient will vary based on the recipe you choose to follow. Be sure to check the specific measurements and instructions in your chosen recipe.
Equipment Needed
Preparing and storing baked oatmeal requires a few essential kitchen tools. Here’s what you’ll need:
- Baking dish: Choose a baking dish of appropriate size to accommodate your recipe. A glass or ceramic dish works well.
- Mixing bowl: Use a large mixing bowl to combine all the ingredients for your baked oatmeal.
- Whisk or fork: You’ll need a whisk or fork to beat the eggs and mix the ingredients together.
- Spatula or spoon: A spatula or spoon will come in handy for mixing the batter and scooping it into the baking dish.
- Measuring cups and spoons: Accurate measurements are crucial for the success of your baked oatmeal, so make sure you have measuring cups and spoons on hand.
- Plastic wrap or foil: These will be used to cover the baked oatmeal during storage.
- Airtight containers: Choose containers that seal tightly to keep your baked oatmeal fresh.
- Reheating options: Whether it’s a microwave, oven, or stovetop, have a reheating method available to enjoy your baked oatmeal later on.
Having these basic tools in your kitchen will make the process of preparing and storing baked oatmeal convenient and hassle-free.
Step 1: Preparing the Baked Oatmeal
Now that you have all your ingredients and equipment ready, it’s time to start preparing your baked oatmeal. Follow these simple steps:
- Preheat the oven: Start by preheating your oven to the temperature specified in your recipe. This ensures that your baked oatmeal cooks evenly.
- Mix the ingredients: In a large mixing bowl, combine the rolled oats, milk, eggs, sweetener, vanilla extract, baking powder, spices, and any add-ins you desire. Use a whisk or fork to thoroughly mix all the ingredients until well combined.
- Grease the baking dish: Lightly grease your baking dish to prevent the baked oatmeal from sticking to the sides. You can use cooking spray, butter, or oil for this purpose.
- Transfer the mixture: Pour the oatmeal mixture into the greased baking dish, spreading it evenly with a spatula or spoon.
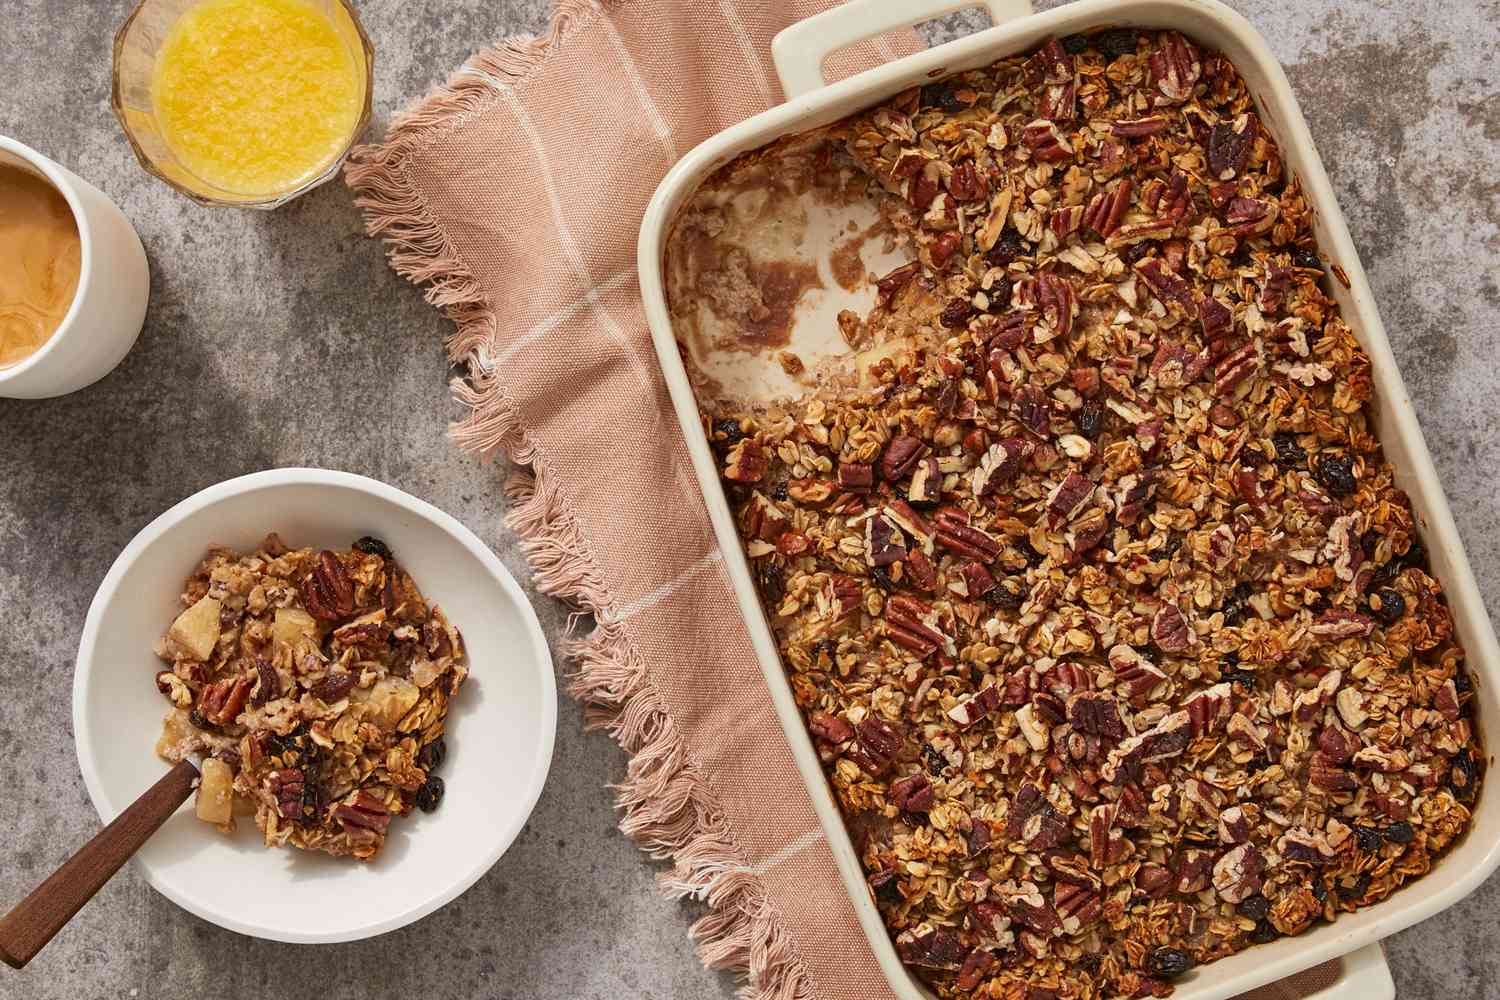
- Add toppings (optional): If your recipe calls for toppings like fruits, nuts, or chocolate chips, sprinkle them over the oatmeal mixture to add extra flavor and texture.
- Bake the oatmeal: Place the baking dish in the preheated oven and bake for the specified time in your recipe. Baked oatmeal usually takes around 30-40 minutes to cook, but it’s essential to follow the timing provided in your specific recipe.
- Check for doneness: To ensure the baked oatmeal is cooked through, insert a toothpick or knife into the center. If it comes out clean or with a few moist crumbs, your oatmeal is ready.
Once you’ve completed these steps, your baked oatmeal is ready to be stored and enjoyed later. Let’s move on to the next step to learn how to properly cool and store it.
Store baked oatmeal in an airtight container in the refrigerator for up to 5 days. You can also freeze individual portions in airtight containers for up to 3 months. Just reheat in the microwave or oven when ready to eat.
Step 2: Cooling and Storing
After your baked oatmeal has finished baking, it’s crucial to allow it to cool down before storing it. This helps prevent condensation and sogginess. Follow these steps to cool and store your baked oatmeal:
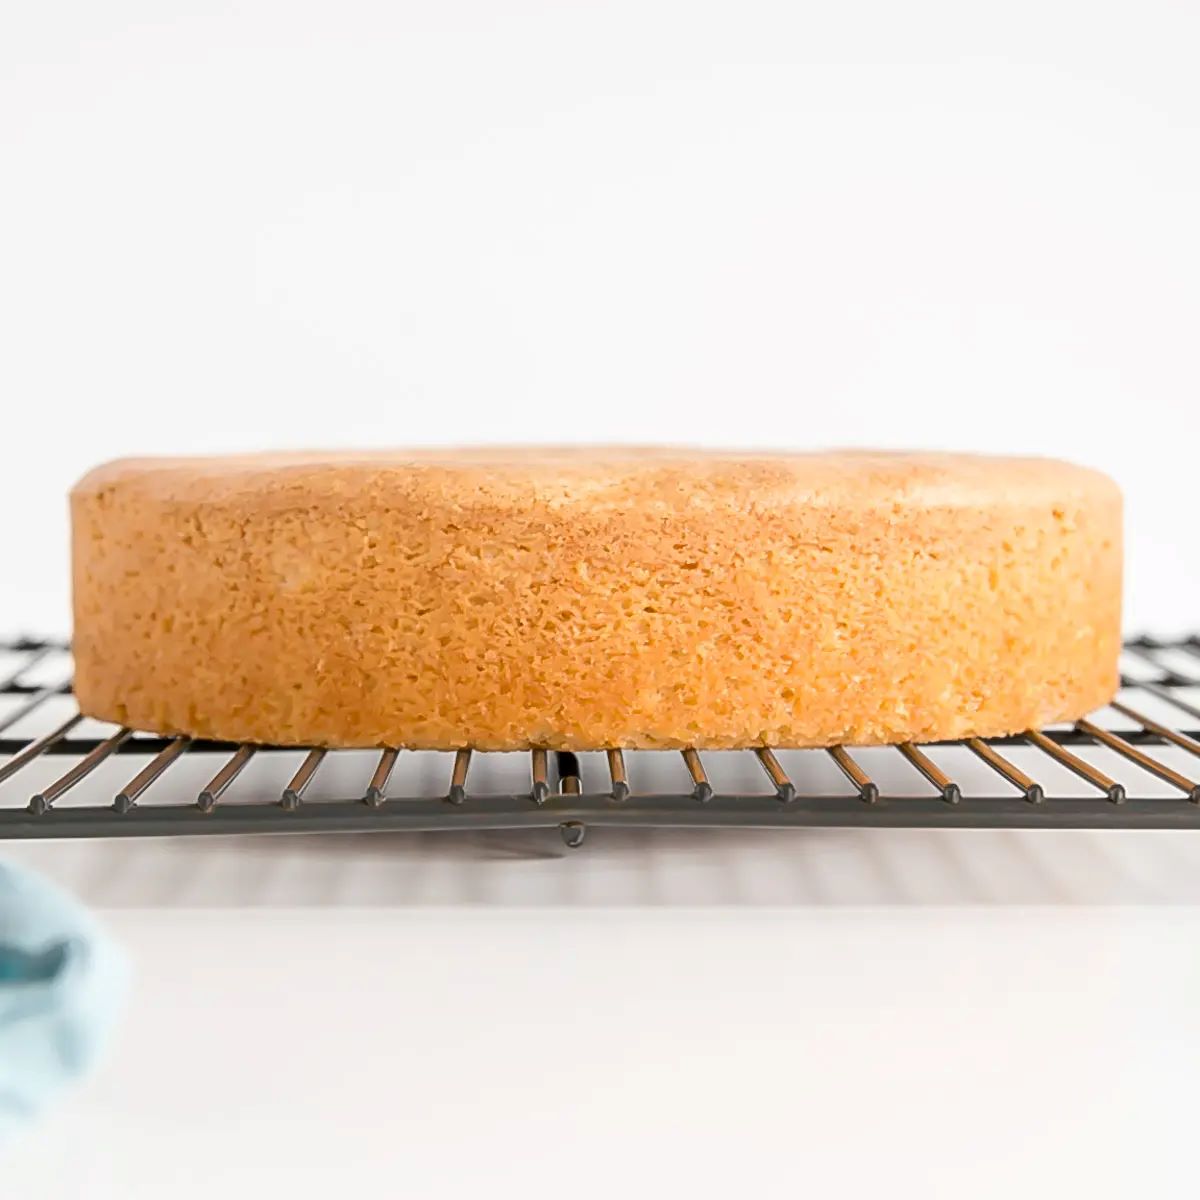
- Cool the oatmeal: Once you take the baked oatmeal out of the oven, set it on a cooling rack and let it cool for about 15-20 minutes. This will allow the oatmeal to firm up slightly and become easier to handle.
- Cut into portions: After the baked oatmeal has cooled down, use a knife to cut it into individual portions. This will make it easier to grab and reheat later on.
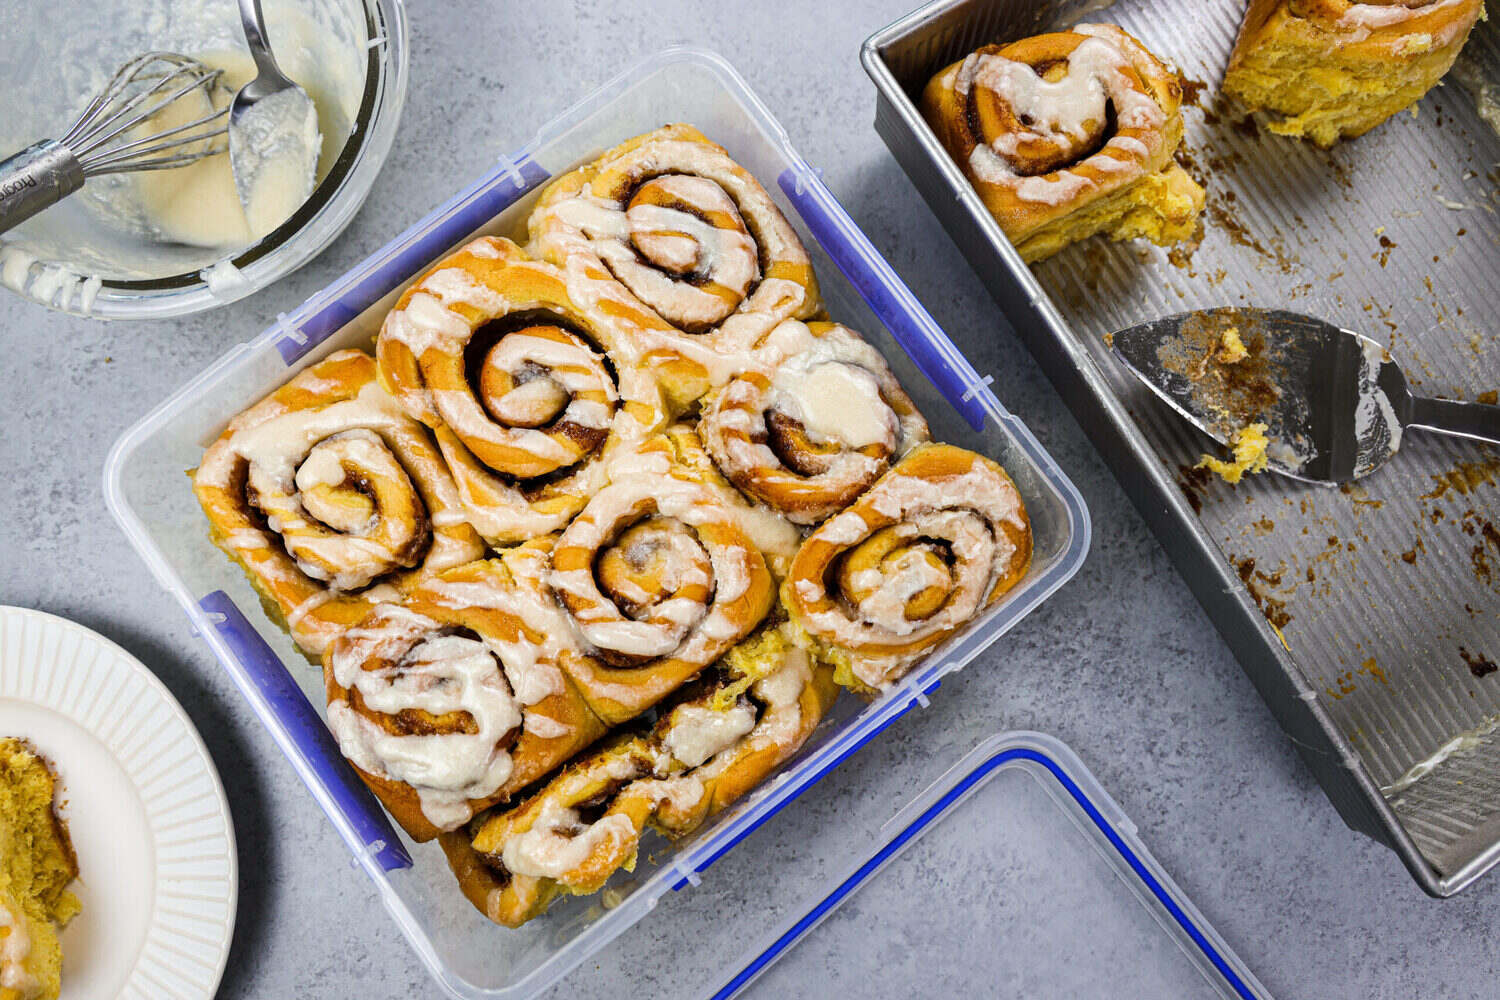
- Transfer to containers: Place each portion of baked oatmeal into separate airtight containers. Ensure the containers are suitable for freezer or refrigerator storage.
- Cover and label: Seal the containers tightly with plastic wrap or foil to prevent air from entering. If you have multiple containers, it can be helpful to label them with the date to keep track of freshness.
- Refrigerate or freeze: Depending on when you plan to enjoy your baked oatmeal, you can either refrigerate it for short-term storage (up to 3-4 days) or freeze it for longer-term storage (up to 2-3 months).
By following these steps, you can ensure that your baked oatmeal remains fresh and maintains its delicious flavors even after it has been stored.
Read more: How To Store Oatmeal Cookies
Tips for Proper Storage
To maintain the quality and freshness of your stored baked oatmeal, here are some helpful tips:
- Use airtight containers: Ensure that the containers you use for storing your baked oatmeal are completely airtight. This helps prevent moisture and odors from seeping in, preserving the texture and flavor.
- Store in individual portions: If possible, store your baked oatmeal in individual portions. This allows for easy grabbing and reheating without having to thaw or reheat the entire batch.
- Label and date: When storing your baked oatmeal, it can be helpful to label each container with the date of preparation. This helps keep track of freshness and ensures you consume it before it goes stale.
- Leave room for expansion: If you’re storing your baked oatmeal in the freezer, make sure to leave some headspace in the container. As the oatmeal freezes, it may expand slightly. Leaving room prevents the container from cracking.
- Refrigeration duration: If refrigerating, consume your baked oatmeal within 3-4 days to ensure optimal freshness and taste.
- Freezing duration: If frozen, consume your baked oatmeal within 2-3 months for the best quality. While it can last longer, the texture and taste may begin to deteriorate over time.
- Thawing before reheating: If you freeze your baked oatmeal, it’s important to thaw it thoroughly before reheating. You can do this by transferring it from the freezer to the refrigerator overnight.
- Reheat in portions: When reheating your baked oatmeal, only microwave or warm up the portion you plan to eat. This helps maintain the texture and prevents the oatmeal from becoming too dry.
By following these tips, you can ensure that your stored baked oatmeal stays fresh, flavorful, and enjoyable for longer periods.
Reheating Instructions
When you’re ready to enjoy your stored baked oatmeal, it’s time to reheat it to bring back its delicious flavors and comforting warmth. Follow these instructions for reheating:
- Microwave method: Place your desired portion of baked oatmeal in a microwave-safe bowl. Microwave on high for about 1-2 minutes, or until heated through. Stir halfway through to ensure even reheating.
- Oven method: Preheat your oven to 350°F (175°C). Transfer your portion of baked oatmeal to an oven-safe dish. Cover with foil to prevent drying. Bake for about 10-15 minutes, or until heated to your desired temperature.
- Stovetop method: This method works best for reheating larger portions. Heat a non-stick skillet or frying pan over medium heat. Add a tablespoon of butter or oil, then add the baked oatmeal portion. Cook for a few minutes, stirring occasionally, until heated throughout.
Remember, the reheating time may vary depending on the portion size and the power of your microwave or oven. It’s always a good idea to check and stir the oatmeal during the reheating process to ensure even heating.
Once your baked oatmeal is heated to your liking, it’s ready to be enjoyed. You can top it with additional ingredients like fresh fruits, a drizzle of honey or maple syrup, yogurt, or a sprinkle of nuts for added flavor and texture.
Now that you know the proper reheating methods, you can confidently store your baked oatmeal knowing that it can be easily reheated and enjoyed whenever you desire.
Conclusion
Storing baked oatmeal is a fantastic way to enjoy this wholesome and delicious breakfast dish at your convenience. By following the steps outlined in this article, you can ensure that your baked oatmeal stays fresh and flavorful for an extended period.
Properly preparing your baked oatmeal, cooling it down, and transferring it to airtight containers will help maintain its texture and taste. Whether you choose to refrigerate it for short-term storage or freeze it for longer-term storage, remember to label and date each container for easy tracking.
When you’re ready to indulge, reheating your stored baked oatmeal can be done through microwave, oven, or stovetop methods. Use these reheating instructions to bring back the comforting warmth and mouthwatering flavors.
Feel free to get creative with your baked oatmeal by experimenting with various flavor combinations and add-ins. From fresh berries to nuts, seeds, and spices, the possibilities are endless.
Now that you have the knowledge and tips to properly store and reheat baked oatmeal, you can enjoy this delicious and nutritious breakfast option whenever you please. So go ahead, plan your batches, store them efficiently, and savor the convenience of a delicious breakfast awaiting you!
Happy baking, storing, and reheating!
Frequently Asked Questions about How To Store Baked Oatmeal
Was this page helpful?
At Storables.com, we guarantee accurate and reliable information. Our content, validated by Expert Board Contributors, is crafted following stringent Editorial Policies. We're committed to providing you with well-researched, expert-backed insights for all your informational needs.


0 thoughts on “How To Store Baked Oatmeal”