Articles
How To Store Baking Supplies
Modified: October 20, 2024
Learn the best ways to store your baking supplies and keep them fresh with these helpful articles.
(Many of the links in this article redirect to a specific reviewed product. Your purchase of these products through affiliate links helps to generate commission for Storables.com, at no extra cost. Learn more)
Introduction
Welcome to the wonderful world of baking! Whether you’re a seasoned baker or just starting out, having a well-stocked pantry of baking supplies is essential. The key to successful baking lies not only in using high-quality ingredients but also in properly storing them. Proper storage ensures that your baking supplies remain fresh, flavorful, and ready to use whenever inspiration strikes.
In this article, we’ll explore the best storage techniques for various baking ingredients, from flour and sugar to spices and fats. By following these guidelines, you can extend the shelf life of your baking supplies and maintain their optimal quality for longer periods.
So, let’s dive in and learn how to store our beloved baking ingredients to ensure delicious and impressive results every time we step into the kitchen.
Key Takeaways:
- Proper storage of baking supplies is crucial for maintaining freshness and quality. Use airtight containers, keep ingredients cool and dry, and follow the first-in, first-out principle to ensure optimal baking results.
- Regularly inspect and clean your storage areas to prevent contamination and maintain a well-organized space. By implementing proper storage techniques, you can prolong the shelf life of your baking supplies and ensure they’re always ready for your creative baking endeavors.
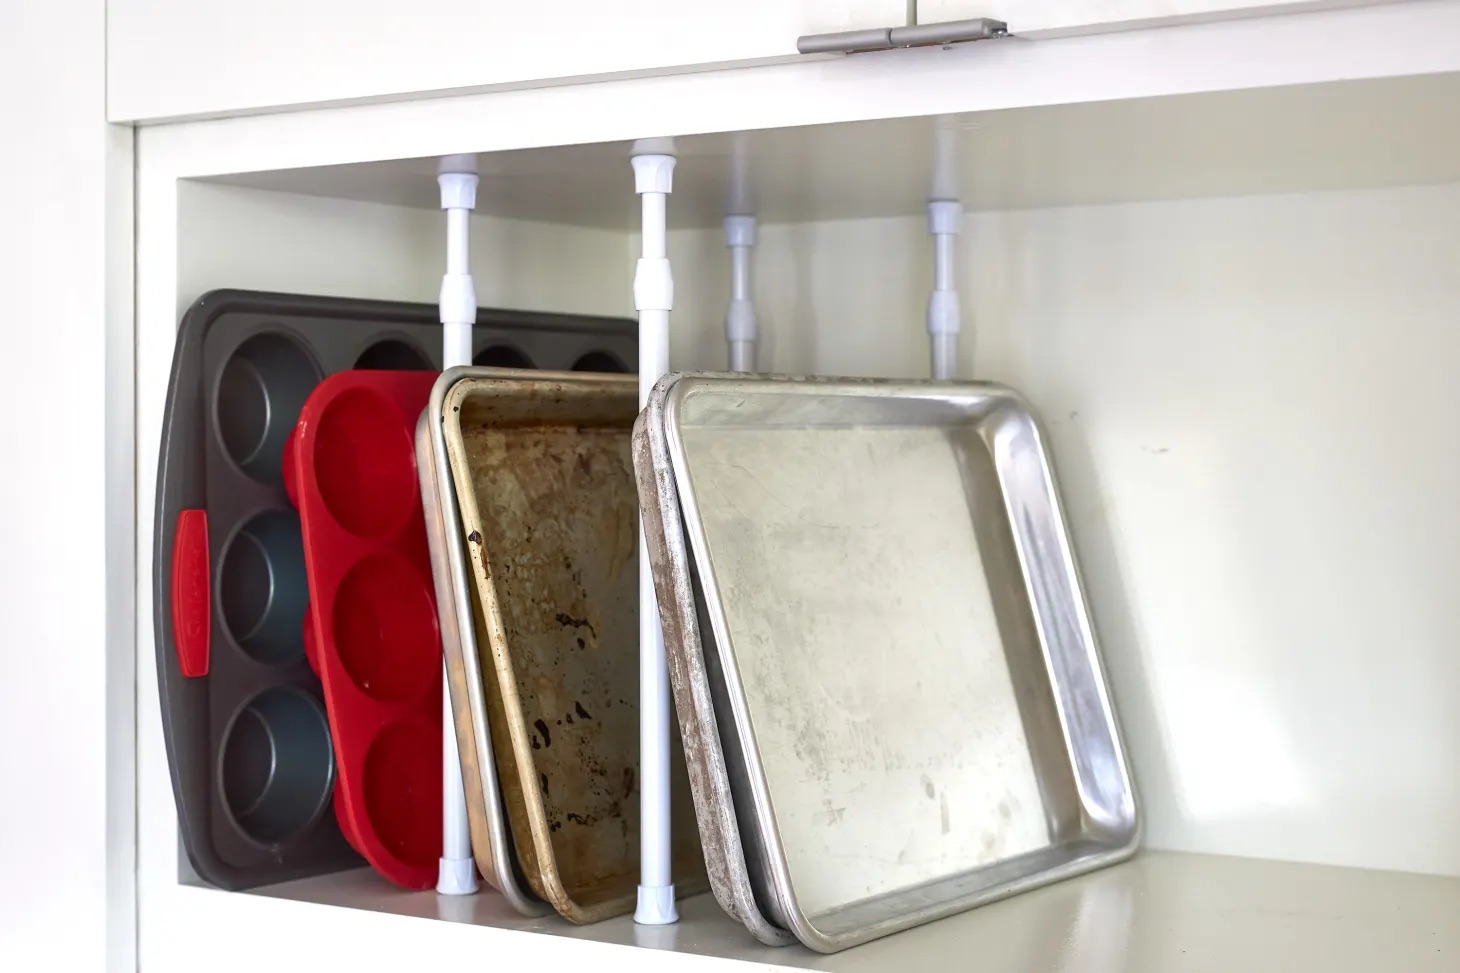
Read more: How To Store Baking Pans
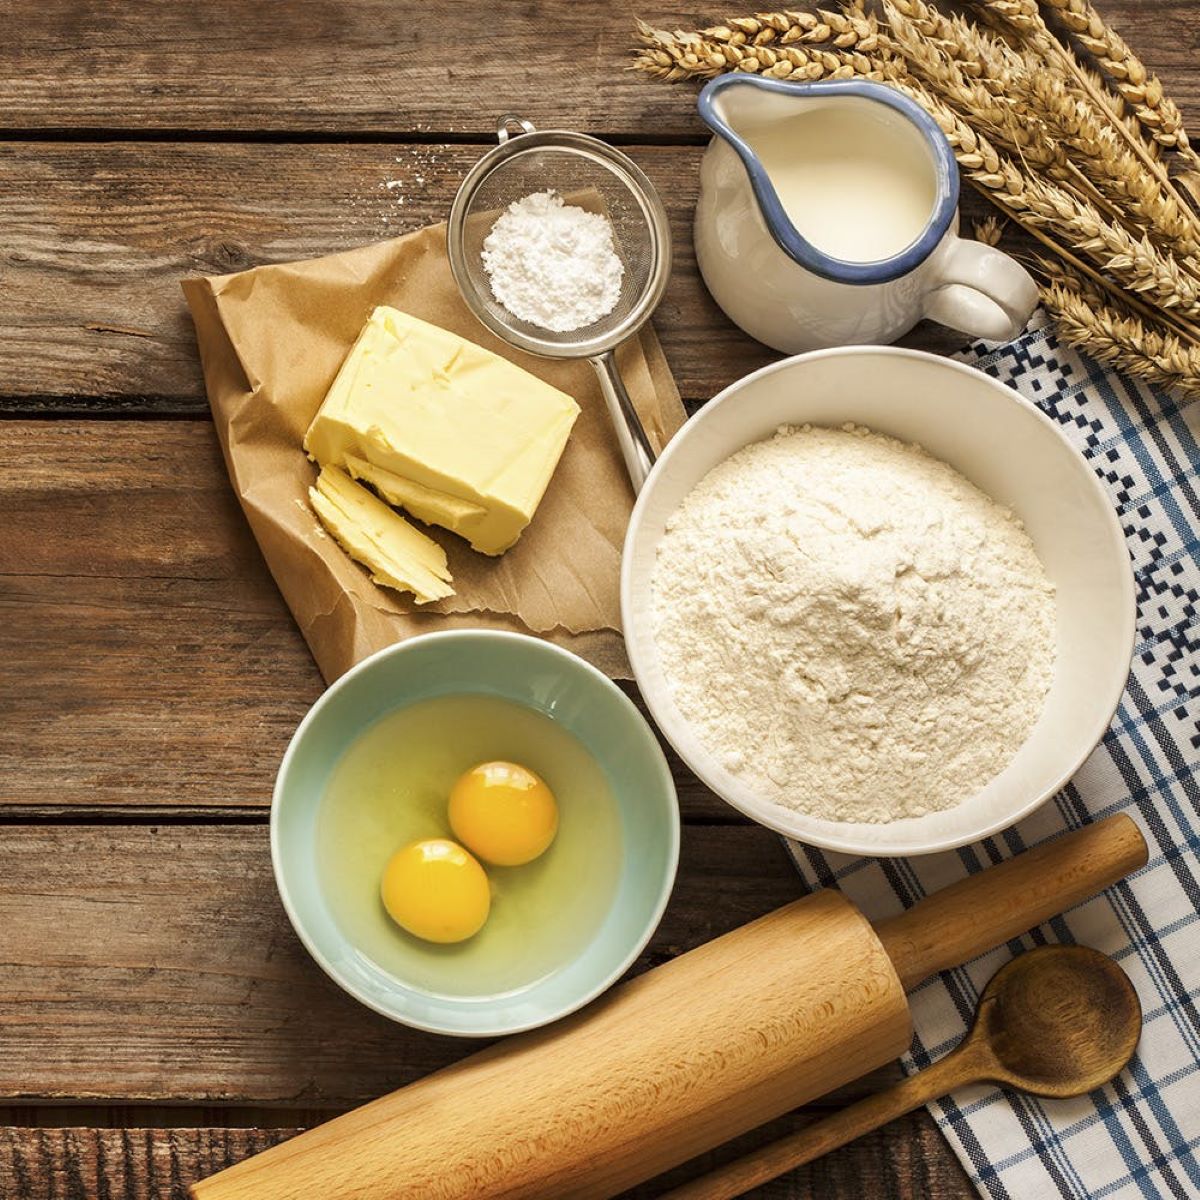
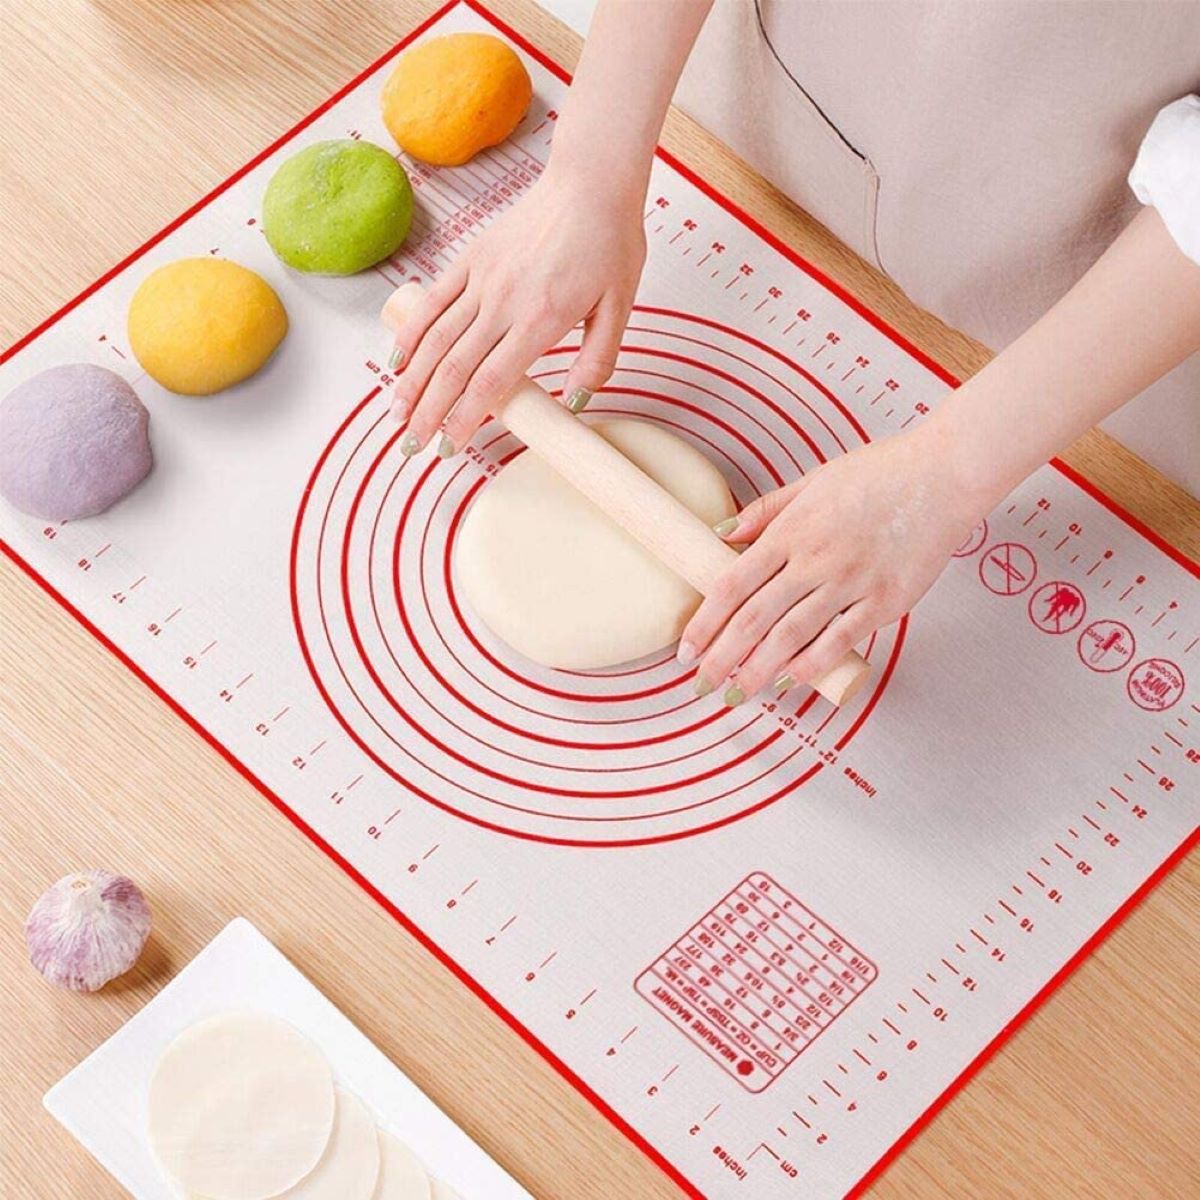
Essential Baking Supplies
Before we delve into the storage techniques, let’s quickly go over some of the essential baking supplies that you should have in your kitchen. These supplies form the foundation of many baking recipes and are crucial for achieving the best results.
1. Flour: All-purpose flour, cake flour, and bread flour are some common types of flour used in baking. They provide structure and texture to baked goods.
2. Sugar: Granulated sugar, powdered sugar, and brown sugar are staples in baking. They add sweetness, moisture, and help with browning.
3. Baking Powder and Baking Soda: These leavening agents are responsible for making baked goods rise. Baking powder is a combination of baking soda and acid, while baking soda requires an acidic ingredient to activate.
4. Yeast: Yeast is used in bread baking to make the dough rise and create a fluffy texture. It’s important to keep yeast fresh for optimal results.
5. Nuts and Seeds: Almonds, walnuts, pecans, and seeds like chia and flaxseed add flavor, texture, and nutrition to baked goods.
6. Chocolate and Cocoa Powder: Whether it’s chocolate chips, cocoa powder, or chocolate bars, these ingredients bring indulgence and richness to desserts.
7. Extracts and Flavorings: Vanilla extract, almond extract, and other flavorings enhance the taste profile of baked goods.
8. Spices and Herbs: Common baking spices include cinnamon, nutmeg, ginger, and cloves. They add warmth and depth to recipes.
9. Oils and Fats: Butter, vegetable oil, and shortening are commonly used in baking. They provide moisture and contribute to the texture of baked goods.
10. Food Coloring: Food coloring is useful for adding vibrant hues to cookies, cakes, and frostings, allowing for creative decorations.
11. Decorating Supplies: Icing, sprinkles, edible glitter, and piping bags are essential for adding the perfect finishing touches to your baked creations.
By ensuring you have these essential baking supplies stocked in your pantry, you’ll be well-prepared to tackle any baking recipe that comes your way.
Proper Storage Techniques for Baking Ingredients
Now that you’re familiar with the essential baking supplies, let’s discuss the proper storage techniques to maintain their freshness and quality.
1. Keep it airtight: The key to preserving the flavor and texture of your baking ingredients is to store them in airtight containers. This prevents moisture and air from getting in and extends their shelf life.
2. Use opaque containers: When storing ingredients like flour, sugar, and cocoa powder, opt for opaque containers. This helps to protect them from light exposure, which can cause them to degrade over time.
3. Store in a cool, dry place: Baking ingredients, especially those prone to spoilage, should be stored in a cool and dry place, away from direct sunlight and heat. Excessive heat or humidity can shorten their shelf life and affect their quality.
4. Label your containers: It’s important to label your baking ingredient containers with the name and the date of purchase or expiration. This helps you keep track of their freshness and usage.
5. Rotate stock: To ensure that you’re using the oldest ingredients first, practice the principle of “first in, first out.” When replenishing your supplies, place the new purchases behind the older ones to avoid any ingredients becoming stale or expired.
6. Avoid transferring to different containers: Ingredients often come in well-sealed packaging. Unless it’s necessary, avoid transferring them into different containers. The original packaging is designed for optimal storage and prevents the ingredients from being exposed to air and moisture.
7. Properly reseal opened packages: Once you’ve opened a package of ingredients like baking powder, baking soda, or yeast, be sure to reseal it tightly to prevent moisture from entering. Some ingredients, like yeast, can be stored in the refrigerator or freezer to extend their shelf life.
8. Check for pests: Unfortunately, pests can be a lurking threat in our kitchens. Regularly check your baking supplies, especially grains like flour and nuts, for signs of infestation. If you spot any pests or signs of damage, discard the affected ingredients and clean the storage area thoroughly.
By implementing these proper storage techniques, you can ensure that your baking ingredients remain fresh, flavorful, and ready for whenever your baking adventures call.
Storing Flour
Flour is a versatile ingredient used in a wide variety of baking recipes, but proper storage is crucial to maintain its freshness and prevent it from spoiling.
1. Choose the right container: When storing flour, it’s best to use an airtight container made of glass, plastic, or metal. This container will protect the flour from moisture, air, and pests.
2. Keep it cool and dry: Flour should be stored in a cool and dry place, away from direct sunlight and heat. Exposure to heat and humidity can cause the flour to spoil or attract pests. Avoid storing it near the stove or in the refrigerator, as fluctuations in temperature can lead to condensation.
3. Use a dark container: To prevent light from degrading the quality of the flour, choose an opaque or dark-colored container. This will help maintain the flour’s freshness and prevent it from developing off-flavors.
4. Don’t mix old and new flour: When replenishing your flour supply, avoid mixing new flour with old. Instead, use up the older flour before opening a new package. This ensures that you’re consistently using the oldest flour first and helps maintain freshness.
5. Don’t forget to label: Properly label your flour containers with the type of flour and the date of purchase. This will help you keep track of the flour’s freshness and prevent any confusion.
6. Keep whole wheat flour refrigerated: Unlike all-purpose flour, whole wheat flour contains more oils and can spoil faster. It’s best to store whole wheat flour in an airtight container in the refrigerator or freezer to maintain its quality for a longer time.
7. Don’t overstock: It’s important not to overstock on flour, especially if you don’t bake frequently. Flour is best when used within six to nine months of opening the package. If you have a surplus, consider sharing it with friends or family, or donating it to a local food pantry.
By following these storage tips, you can ensure that your flour remains fresh, free from pests, and ready to be transformed into delicious baked goods.
Storing Sugar
Sugar is a staple ingredient in baking, adding sweetness and moisture to a wide range of recipes. To keep your sugar fresh and free from moisture or pests, follow these proper storage techniques:
1. Use airtight containers: Sugar should be stored in airtight containers, such as glass jars or resealable plastic bags. This helps to preserve its texture and prevent moisture from seeping in.
2. Keep it dry: Moisture can cause sugar to clump or harden. Store your sugar in a cool and dry place, away from areas of high humidity. Avoid storing it near the stove, dishwasher, or sink.
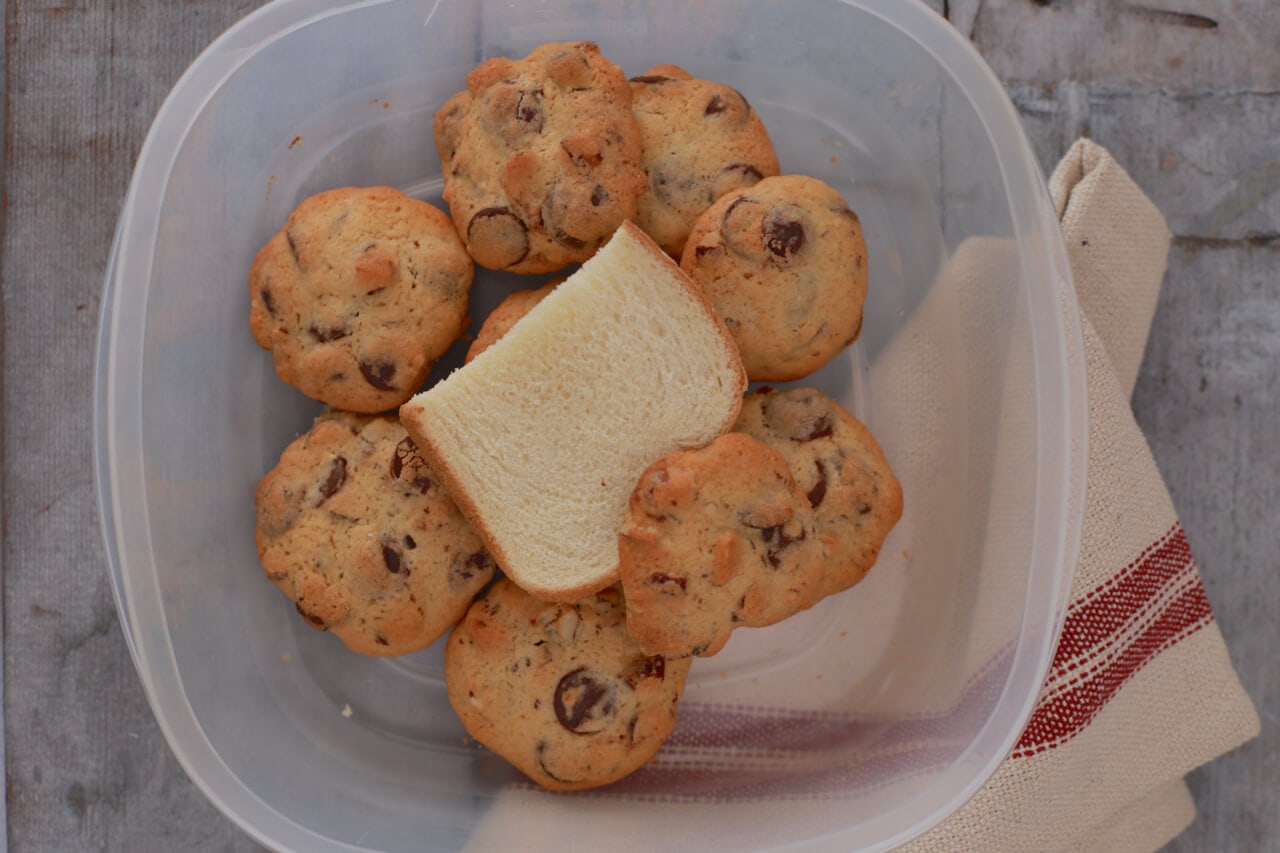
3. Use airtight containers for brown sugar: Brown sugar has a higher moisture content and can harden more easily than granulated sugar. It’s essential to store brown sugar in an airtight container or place a slice of bread or a small piece of apple in the container to help retain moisture and prevent hardening.
4. Avoid storing sugar in the refrigerator: While sugar does not require refrigeration, it’s best to keep it in a cool pantry or cupboard. Refrigeration can introduce moisture and cause the sugar to clump.
5. Discard hardened sugar: If your sugar has hardened and formed lumps, you can place it in a microwave-safe bowl with a damp paper towel on top and microwave it in short intervals until it softens. Alternatively, you can also place it in a sealed plastic bag and gently crush it with a rolling pin.
6. Label your containers: Properly label your sugar containers with the type of sugar and the date of purchase. This helps you keep track of its freshness and usage.
7. Check for pests: Sugar can attract pests, such as ants or pantry moths. Regularly inspect your sugar storage containers for any signs of infestation. If you spot any pests or signs of damage, discard the affected sugar and clean the storage area thoroughly.
By following these storage tips, you can ensure that your sugar stays fresh, free from clumps, and ready to add a touch of sweetness to your baked treats.
Read more: How To Store Baked Cake
Storing Baking Powder and Baking Soda
Baking powder and baking soda are essential leavening agents in baking, helping your baked goods rise and achieve the perfect texture. To ensure their effectiveness, it’s important to store them properly:
1. Keep them airtight: Both baking powder and baking soda need to be stored in airtight containers to prevent moisture from affecting their potency. Moisture can cause clumping and reduce their leavening power.
2. Use the original packaging: Baking powder and baking soda are typically packaged in airtight containers. It’s often best to store them in their original packaging to maintain their freshness. If the original packaging is compromised, transfer them to airtight containers or resealable bags.
3. Store in a cool and dry place: Moisture and heat can degrade the quality of baking powder and baking soda, affecting their potency. Store them in a cool and dry place, away from direct sunlight, such as a pantry or cupboard.
4. Keep them separate from strong odors: Baking powder and baking soda can absorb odors easily. Store them away from strong-smelling ingredients like spices, herbs, or cleaning supplies, to avoid any unwanted flavor transfer.
5. Check for expiration dates: Baking powder and baking soda have a shelf life and can lose their potency over time. Check the expiration dates on the packaging and replace them if they have expired.
6. Test for freshness: To check if your baking powder and baking soda are still active, you can perform simple tests. For baking powder, mix 1 teaspoon of baking powder with 1/4 cup of hot water. If it bubbles vigorously, it’s still fresh. For baking soda, mix 1/4 teaspoon of baking soda with 2 teaspoons of vinegar. If it bubbles immediately, it’s still potent.
7. Store baking soda in the refrigerator: While baking soda does not require refrigeration, it can benefit from being stored in the refrigerator. The cooler temperature can help prolong its potency and prevent clumping.
By following these storage tips, you can ensure that your baking powder and baking soda remain fresh and effective, leading to successful baking endeavors.
Storing Yeast
Yeast is a crucial ingredient in bread baking, playing a vital role in the fermentation process that helps dough rise and develop its characteristic texture and flavor. To maintain the effectiveness of yeast, proper storage is essential:
1. Keep it airtight: Yeast is sensitive to moisture and air, so it’s crucial to store it in an airtight container. Many yeast packages come with a resealable closure or are vacuum-sealed for optimal freshness. If the original packaging is opened, transfer the yeast to an airtight container or a resealable plastic bag.
2. Store in the refrigerator or freezer: Yeast has a limited shelf life, but storing it in the refrigerator or freezer can significantly extend its viability. Refrigeration or freezing slows down the yeast’s activity, preserving its quality. If storing in the refrigerator, keep the yeast in the original packaging or airtight container to prevent moisture absorption.
3. Check the expiration date: Yeast does have a limited shelf life, especially when stored at room temperature. Always check the expiration date on the yeast package, and pay attention to any usage recommendations provided.
4. Allow yeast to come to room temperature: When using refrigerated or frozen yeast, allow it to come to room temperature before using it in a recipe. This helps activate the yeast and ensures optimal fermentation.
5. Test yeast for freshness: If you’re unsure whether your yeast is still active, you can conduct a simple test to check its viability. Dissolve 1 teaspoon of yeast and 1/4 teaspoon of sugar in 1/4 cup of warm water. If the mixture becomes frothy and bubbles up within 5-10 minutes, the yeast is likely still active.
6. Properly label containers: Whether you’re using the original yeast package or transferring it to a different container, make sure to label the container with the date of purchase or the expiration date. This helps you keep track of the yeast’s freshness.
Remember that yeast is a living organism, and its potency decreases over time. By following these storage guidelines, you can ensure that your yeast remains viable and helps you achieve that perfect rise in your homemade breads and other yeast-based baked goods.
Storing Nuts and Seeds
Nuts and seeds are not only delicious but also packed with nutrients that add flavor, texture, and nutritional value to your baked goods. To keep these ingredients fresh and prevent them from going rancid, proper storage is crucial:
1. Keep them airtight: Nuts and seeds contain natural oils that can turn rancid when exposed to air. Store them in airtight containers, such as glass jars or resealable plastic bags, to protect them from oxygen and moisture.
2. Store in a cool and dark place: Nuts and seeds should be stored in a cool, dark pantry or cupboard. Exposure to sunlight and heat can accelerate the oxidation process and cause them to spoil more quickly.
3. Use the refrigerator or freezer for longer storage: If you plan to keep nuts and seeds for an extended period, it’s best to store them in the refrigerator or freezer. Cold temperatures help to slow down the oxidation process, maintaining their freshness and quality.
4. Label your containers: Properly label your containers with the type of nuts or seeds and the date of purchase. This allows you to keep track of their freshness and usage.
5. Roast before storing (optional): If you prefer to roast your nuts and seeds for added flavor and crispiness, it’s best to store them after roasting. Roasting can slightly reduce the shelf life, so it’s recommended to consume them within a reasonable time frame.
6. Avoid mixing different varieties: Nuts and seeds have distinct flavors and aromas. To prevent flavor transfer, avoid mixing different varieties within the same storage container.
7. Check for freshness: Over time, nuts and seeds may become stale or rancid. To check for freshness, give them a sniff. They should have a pleasant aroma and not smell musty or off. If they taste bitter or have a rancid flavor, it’s best to discard them.
By following these storage tips, you can keep your nuts and seeds fresh, flavorful, and ready to enhance the taste and texture of your favorite baked creations.
Store baking supplies in airtight containers to keep them fresh and prevent pests. Label containers with the expiration date to ensure you use ingredients before they go bad.
Storing Chocolate and Cocoa Powder
Chocolate and cocoa powder are beloved ingredients in baking, providing rich flavors and luscious textures to a wide range of desserts. To maintain their quality and prevent them from losing their taste and texture, proper storage is essential:
1. Keep them cool and dry: Chocolate and cocoa powder should be stored in a cool and dry place, away from direct sunlight, heat sources, and humidity. Exposure to heat and moisture can cause chocolate to melt or develop a white, powdery film known as “chocolate bloom,” while moisture can cause cocoa powder to clump.
2. Use airtight containers: To protect chocolate and cocoa powder from moisture and air, store them in airtight containers. Glass jars or resealable plastic bags are ideal options. Make sure the containers are clean and dry before transferring the ingredients.
3. Store in the refrigerator or freezer: If you live in a hot and humid climate or want to extend the shelf life of your chocolate, you can store it in the refrigerator or freezer. Wrap the chocolate tightly in plastic wrap or place it in an airtight container before refrigerating or freezing. However, be aware that refrigeration can cause chocolate to absorb odors from other foods, so it’s best to keep it in a separate compartment or sealed container.
4. Bring chocolate to room temperature before use: When you’re ready to use refrigerated or frozen chocolate, allow it to come to room temperature gradually. This helps prevent condensation from forming on the chocolate’s surface, which can affect its texture.
5. Label your containers: Properly label your chocolate and cocoa powder containers with the type, brand, and date of purchase. This helps you keep track of their freshness and ensure you use the oldest ones first.
6. Check for signs of spoilage: Before using stored chocolate, inspect it for any signs of spoilage. Look for discoloration, mold, or off smells. If you notice any of these signs, discard the chocolate as it may be compromised.
7. Keep away from strong odors: Chocolate easily absorbs odors, so keep it away from strongly scented foods or substances to retain its original taste and aroma.
By following these storage guidelines, you can preserve the quality and flavor of your chocolate and cocoa powder, ensuring they are ready to elevate your baked treats with their delectable richness.
Read more: How To Store Sushi Bake
Storing Extracts and Flavorings
Extracts and flavorings are the secret ingredients that enhance the taste and aroma of your baked goods, adding depth and complexity to your recipes. To ensure the longevity and quality of these potent flavorings, proper storage is key:
1. Keep them tightly sealed: Extracts and flavorings should be stored in tightly sealed containers to prevent evaporation and maintain their freshness. Choose glass containers with airtight lids or screw caps to preserve their potency.
2. Store in a cool and dark place: Like many other baking ingredients, extracts and flavorings should be kept in a cool, dark place to prevent heat and light exposure. Avoid storing them near the stove or in direct sunlight, as heat and light can degrade the flavors over time.
3. Avoid moisture exposure: Extracts and flavorings can be sensitive to moisture, so it’s important to keep them away from sources of humidity in your kitchen. Don’t store them near the sink or in areas where water could splash onto the containers.
4. Label your containers: Properly label your extract and flavoring containers with their name and the date of purchase. This helps you keep track of their freshness and ensure you use them within their recommended shelf life.
5. Avoid cross-contamination: When using extracts and flavorings, be cautious not to contaminate the liquids. Use clean spoons or droppers to remove the desired amount and avoid putting any leftover mixture back into the container. This prevents the introduction of bacteria or other contaminants that could affect the quality of the extract.
6. Check for expiration dates: While extracts and flavorings can last a long time when stored properly, they do have a shelf life. Check the expiration date on the packaging and replace them if they have expired, as their flavors may diminish over time.
7. Test for potency: If you’re unsure about the potency of your extracts and flavorings, you can perform a simple taste test. Add a small amount to a dish or beverage and assess the strength of the flavor. If the flavor seems weak, it may be time to replace the product.
By following these storage tips, you can maintain the freshness and potency of your extracts and flavorings, ensuring that they enhance your baked goods with their delightful flavors for a long time.
Storing Spices and Herbs
Spices and herbs are the flavorful powerhouses in your baking arsenal, adding aroma and taste to your recipes. To preserve their vibrant flavors and maximize their shelf life, proper storage is crucial:
1. Keep them airtight: Spices and herbs should be stored in airtight containers, such as glass jars or tins, to prevent exposure to air and moisture. These containers will help retain the flavor potency and prevent the spices and herbs from clumping or absorbing moisture.
2. Store in a cool and dark place: Heat, light, and humidity can compromise the quality and flavor of spices and herbs. Store them in a cool, dark pantry or cabinet away from direct sunlight, heat sources, and areas prone to moisture, such as near the sink or stove.
3. Avoid transferring to new containers: While it may be tempting to transfer spices and herbs to decorative containers, it’s best to keep them in their original packaging. Most spice and herb containers are designed to protect the flavor and quality. If you prefer to use separate containers, make sure they are airtight and properly labeled.
4. Avoid grinding in advance: Whole spices and herbs retain their flavor and aroma better than pre-ground ones. Grind them as needed to maintain their potency. If you have pre-ground spices or herbs, storing them in airtight containers will help slow down flavor degradation.
5. Label your containers: Properly label your spice and herb containers with their names and the purchase date. This will help you keep track of freshness and usage, ensuring you use the older ones first.
6. Check for freshness: Over time, spices and herbs can lose their potency. Check for freshness by smelling them. If the aroma is weak or dull, it’s a sign that they may have lost their flavor. Also, check for any signs of discoloration or mold and discard any spices or herbs that appear spoiled.
7. Avoid contaminating with moisture: Be cautious when using spices and herbs near steam or moisture. Moisture can cause caking or clumping, compromising their quality. Use clean, dry measuring spoons to scoop out the spices and herbs, and avoid sprinkling them directly into steaming pots.
By following these storage tips, you can ensure that your spices and herbs maintain their vibrant flavors, allowing you to create aromatic and delicious baked goods with confidence.
Storing Oils and Fats
Oils and fats play a vital role in baking, adding moisture, flavor, and texture to your creations. To ensure their quality and prevent them from going rancid, proper storage is essential:
1. Choose the right container: Oils and fats should be stored in opaque, airtight containers made of glass or metal. These containers will protect them from light exposure, which can cause oils to degrade and fats to become rancid.
2. Keep them cool: Oils and fats should be stored in a cool and dark place, away from direct sunlight and heat sources. Excessive heat can accelerate the oxidation process and lead to rancidity. The ideal temperature for storage is around 50 to 70 degrees Fahrenheit (10 to 21 degrees Celsius).
3. Check the expiration date: Oils and fats have a limited shelf life, so it’s important to check the expiration dates on the packaging. Using them past their prime can impact the taste and quality of your baked goods.
4. Properly seal the container: Ensure that the container is tightly sealed after each use to prevent air exposure and maintain the freshness of the oil or fat. Oxygen can cause oxidation, leading to off flavors and reduced quality.
5. Refrigerate when necessary: While some oils and fats can be stored at room temperature, others benefit from refrigeration to prolong their freshness. Oils that contain high levels of unsaturated fats, such as avocado oil or walnut oil, are more susceptible to rancidity and can benefit from refrigeration. Solid fats, such as butter or shortening, can also be refrigerated to extend their shelf life.
6. Allow fats to soften before using: If you store solid fats like butter or shortening in the refrigerator, allow them to soften at room temperature before using them in your recipes. Cold fats can affect the texture of your baked goods if not properly incorporated.
7. Avoid cross-contamination: To prevent the transfer of flavors and odors, store oils and fats away from strongly scented ingredients. Keep them separate from spices, herbs, onions, or other pungent foods that could compromise their flavors.
8. Clean containers and utensils: When pouring or scooping oils and fats, use clean utensils to avoid introducing contaminants that can cause spoilage. Clean the containers periodically to avoid the buildup of residue that could impact the quality of the stored oils or fats.
By following these storage guidelines, you can maintain the freshness and quality of your oils and fats, ensuring that they enhance your baked goods with their desirable flavors and textures.
Storing Food Coloring
Food coloring is a fun and creative ingredient that adds vibrant colors to your baked goods and desserts. To ensure the longevity and quality of your food coloring, proper storage is important:
1. Keep it tightly sealed: Food coloring should be stored in tightly sealed containers to prevent evaporation and maintain its potency. Most food coloring comes in small bottles with screw-on caps or dropper lids, which are designed to seal tightly. Make sure the lids are securely closed after each use to prevent air exposure.
2. Store in a cool and dark place: Heat and light can degrade the quality and intensity of food coloring. To preserve its vibrant colors, store food coloring in a cool and dark pantry or cupboard, away from direct sunlight and heat sources. Exposure to light and heat can cause the color to fade over time.
3. Avoid moisture exposure: Moisture can cause food coloring to clump or lose its quality. Store it in a dry area of the kitchen and avoid storing it near the sink or in areas prone to high humidity.
4. Properly label your containers: If you transfer food coloring to different containers, make sure to label them with the brand and color name. This will help you easily identify the colors you need for your recipes.
5. Check for expiration dates: While food coloring doesn’t typically expire, it can lose its potency over time. Check the expiration date on the packaging, especially if it’s liquid food coloring, and consider replacing it if it’s past its prime.
6. Store upright and organized: Store your food coloring bottles upright to prevent any leakage or spills. Arrange them in a way that allows for easy access and visibility, so you can quickly find the desired colors while baking or decorating.
7. Inspect for any changes: Before using food coloring, give it a visual inspection. Look for any changes in color, consistency, or signs of mold or contamination. If you notice any abnormalities, it’s best to discard the food coloring and replace it.
By following these storage tips, you can maintain the quality and vibrancy of your food coloring, ensuring that your baked goods and desserts come to life with beautiful and eye-catching colors.
Read more: How To Store Baked Biscuits
Storing Decorating Supplies
Decorating supplies are essential for adding the perfect finishing touches to your baked creations. To keep your decorating supplies organized and in optimal condition, proper storage is key:
1. Separate containers for different supplies: Use separate containers or compartments to store different types of decorating supplies, such as piping tips, icing bags, sprinkles, and edible glitters. This helps keep them organized and easily accessible when you need them.
2. Airtight containers for perishable items: If you have perishable decorating supplies, such as homemade icing or whipped cream, store them in airtight containers in the refrigerator to maintain their freshness. Make sure to label the containers with the date of preparation to keep track of their shelf life.
3. Keep it cool and dry: Decorating supplies, especially those sensitive to heat and moisture, should be stored in a cool and dry place. Avoid storing them near the stove, sink, or anywhere prone to humidity, as moisture can cause them to clump or deteriorate.
4. Label containers: Properly label your containers or storage boxes with the contents and expiration dates if applicable. This will help you easily find the supplies you need and ensure you use them before their expiration dates.
5. Protect delicate items: Delicate decorating supplies, such as fragile sugar decorations or delicate fondant embellishments, should be stored in a separate container to prevent breakage or damage. Consider using padded containers or small boxes to protect them from being crushed or deformed.
6. Keep away from direct sunlight: Sunlight can fade colors and degrade the quality of certain decorating supplies, like edible glitters and food colorings. Store them in a dark or dimly lit area to preserve their vibrant shades and extend their shelf life.
7. Clean and dry before storage: Make sure all decorating supplies are clean and thoroughly dried before storing them. Moisture can promote the growth of mold or other contaminants, compromising the quality of your supplies. Ensure everything is completely dry to prevent any potential issues.
8. Regularly inspect and discard expired items: Periodically go through your decorating supplies to check for any expired or damaged items. Discard anything that has passed its expiration date or shows signs of spoilage. Properly dispose of any supplies that are no longer safe for use.
By following these storage tips, you can keep your decorating supplies organized, extend their shelf life, and ensure that they are in optimal condition for creating beautiful and delicious decorations for your baked goods.
Conclusion
Proper storage of baking supplies is essential for maintaining their freshness, flavor, and quality. By following the right storage techniques, you can ensure that your ingredients remain in optimal condition, ready to create delicious and impressive baked goods. Here’s a quick recap of the key points:
1. Use airtight containers to keep ingredients fresh and protect them from moisture and air exposure.
2. Store baking supplies in a cool and dry place, away from direct sunlight, heat sources, and humidity.
3. Properly label your containers with the purchase or expiration dates to keep track of freshness and usage.
4. Follow the first-in, first-out principle, using older ingredients before opening new ones.
5. Check for signs of spoilage, such as discoloration, odors, or pests, and discard any compromised ingredients.
6. Refrigerate or freeze perishable items that benefit from colder storage, like yeast or whole wheat flour.
7. Avoid transferring ingredients to different containers unless necessary, as original packaging is often designed for optimal storage.
By implementing these storage techniques, you can prolong the shelf life of your baking supplies and ensure that they are always ready for your creative baking endeavors. Remember to regularly inspect and clean your storage areas to prevent contamination and maintain a well-organized space.
So, next time you step into the kitchen to embark on a baking adventure, you can confidently reach for your properly stored ingredients, knowing that they will contribute to the deliciousness of your culinary creations. Happy baking!
Frequently Asked Questions about How To Store Baking Supplies
Was this page helpful?
At Storables.com, we guarantee accurate and reliable information. Our content, validated by Expert Board Contributors, is crafted following stringent Editorial Policies. We're committed to providing you with well-researched, expert-backed insights for all your informational needs.

0 thoughts on “How To Store Baking Supplies”