Home>Kitchen & Cooking>Kitchen Gadgets & Utensils>How To Make Pie Crust In A Stand Mixer
Kitchen Gadgets & Utensils
How To Make Pie Crust In A Stand Mixer
Modified: August 19, 2024
Learn how to make the perfect pie crust using a stand mixer and essential kitchen gadgets and utensils. Impress your guests with flaky, homemade pies!
(Many of the links in this article redirect to a specific reviewed product. Your purchase of these products through affiliate links helps to generate commission for Storables.com, at no extra cost. Learn more)
Introduction
Read more: How To Make Pie Crust In Kitchenaid Mixer
Introduction
Making pie crust in a stand mixer is a convenient and efficient way to achieve a flaky, delicious crust for your homemade pies. While traditional methods involve cutting butter into flour by hand, using a stand mixer can streamline the process without sacrificing the quality of the crust. Whether you're a seasoned baker or a novice in the kitchen, mastering this technique can elevate your pie-making skills to new heights.
Creating the perfect pie crust is an art form that requires the right ingredients, precise techniques, and a touch of patience. With the help of a stand mixer, you can achieve consistent results while saving time and effort. In this comprehensive guide, we will explore the step-by-step process of making pie crust in a stand mixer, from gathering the essential ingredients to mastering the art of mixing and shaping the dough. By the end of this journey, you'll be equipped with the knowledge and confidence to create delectable pie crusts that will leave your family and friends craving for more.
Join us as we embark on a culinary adventure, uncovering the secrets to mastering the art of pie crust making with the aid of a stand mixer. Let's dive into the world of flaky, buttery perfection and discover how this kitchen gadget can revolutionize your baking experience. So, roll up your sleeves, preheat your oven, and get ready to embark on a delightful journey of pie-making mastery.
Key Takeaways:
- Master the art of making flaky pie crusts with a stand mixer, saving time and effort while achieving consistent, delicious results.
- Carefully select and measure ingredients, incorporate cold butter, and mix dough with precision to create the perfect foundation for your homemade pies.
Ingredients
Before delving into the process of making pie crust in a stand mixer, it’s essential to gather the right ingredients to ensure the success of your baking endeavor. The following ingredients are fundamental to creating a classic, flaky pie crust:
- All-Purpose Flour: 2 1/2 cups of all-purpose flour serve as the base for the pie crust, providing the necessary structure and texture.
- Unsalted Butter: 1 cup of cold, unsalted butter, cut into small cubes, is essential for achieving a tender and flaky crust.
- Granulated Sugar: 1 teaspoon of granulated sugar adds a hint of sweetness to the crust, balancing the flavors of the filling.
- Salt: 1 teaspoon of salt enhances the overall flavor profile of the crust, complementing the savory or sweet fillings.
- Cold Water: 4-8 tablespoons of ice-cold water facilitate the binding of the dough, ensuring proper cohesion without compromising the flakiness.
By meticulously selecting and measuring these ingredients, you set the stage for creating a pie crust that embodies the perfect balance of tenderness and structure. The cold butter and water are crucial elements that contribute to the desired flakiness, while the precise measurements of flour, sugar, and salt lay the foundation for a well-balanced crust.
Now that we’ve assembled our ingredients, it’s time to explore the essential equipment needed to execute the pie crust-making process with precision and ease.
Equipment Needed
Equipping yourself with the right tools is a pivotal step in the journey of making pie crust in a stand mixer. The following essential equipment will ensure that you can execute the process seamlessly and achieve a flawless crust:
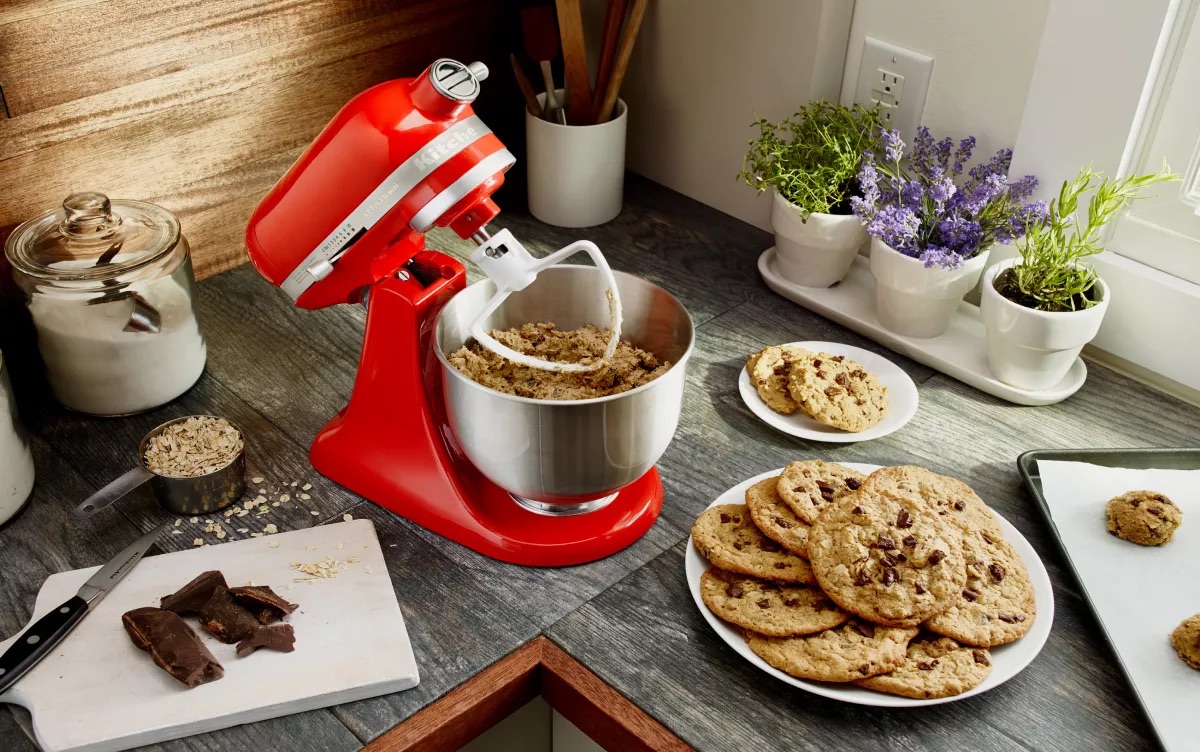
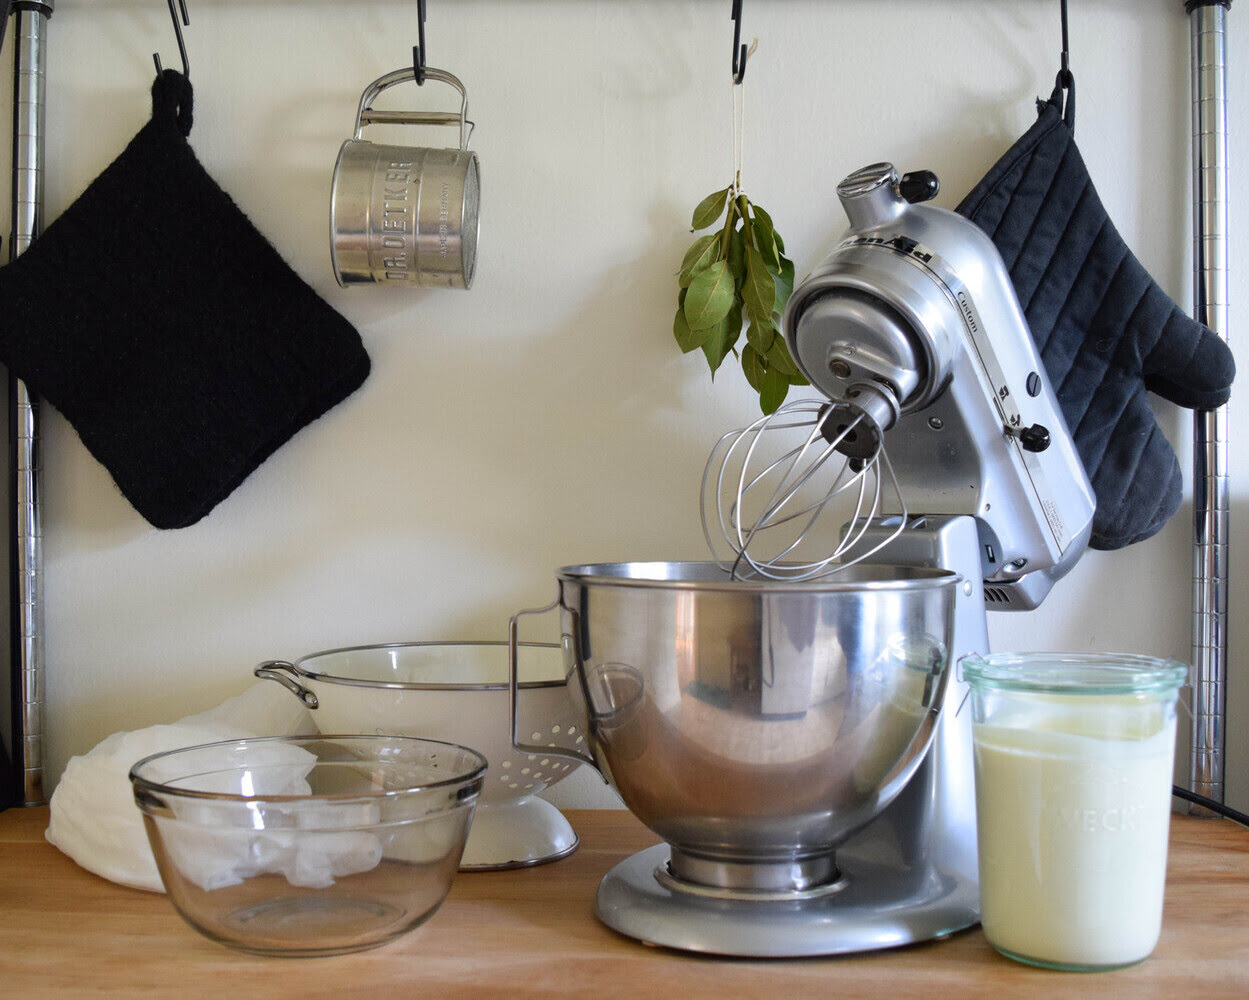
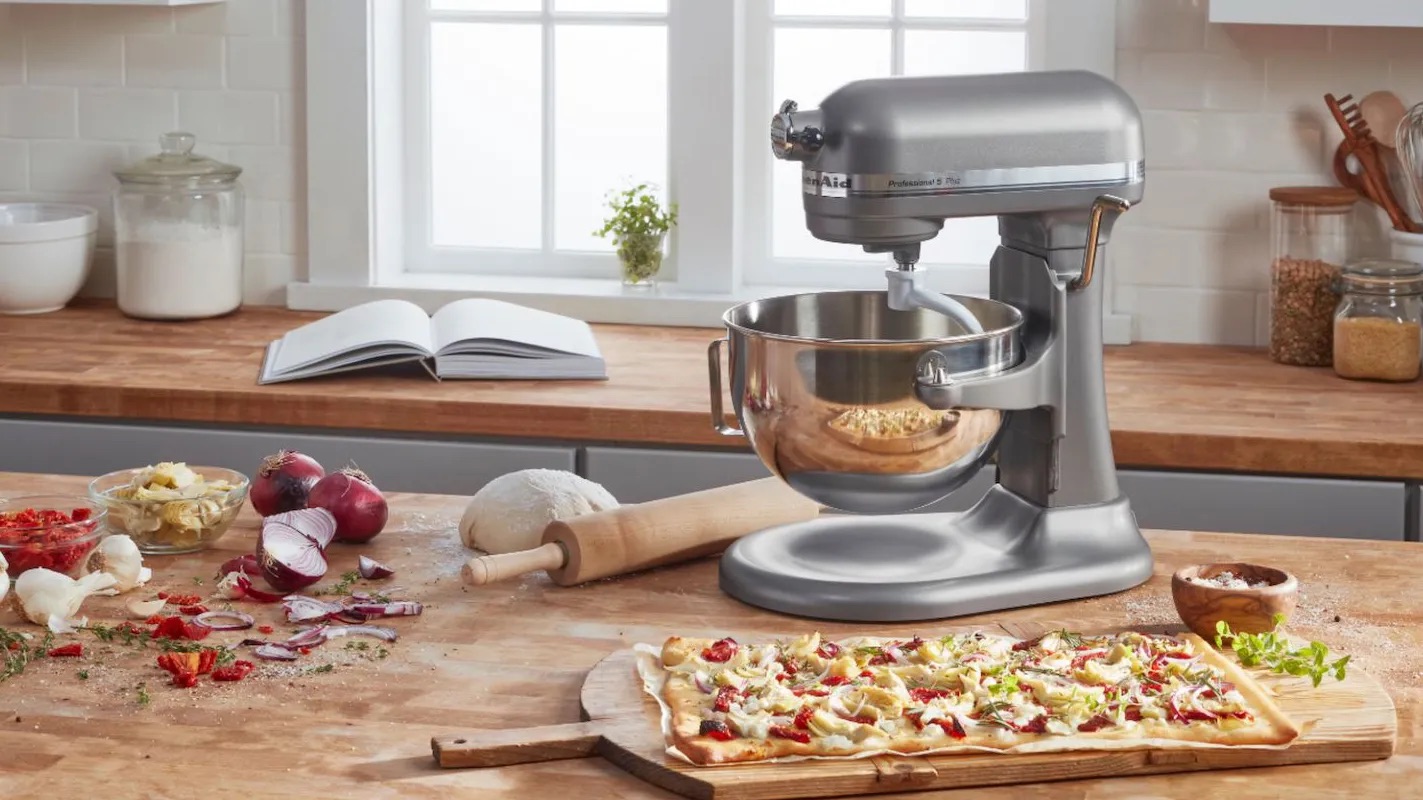
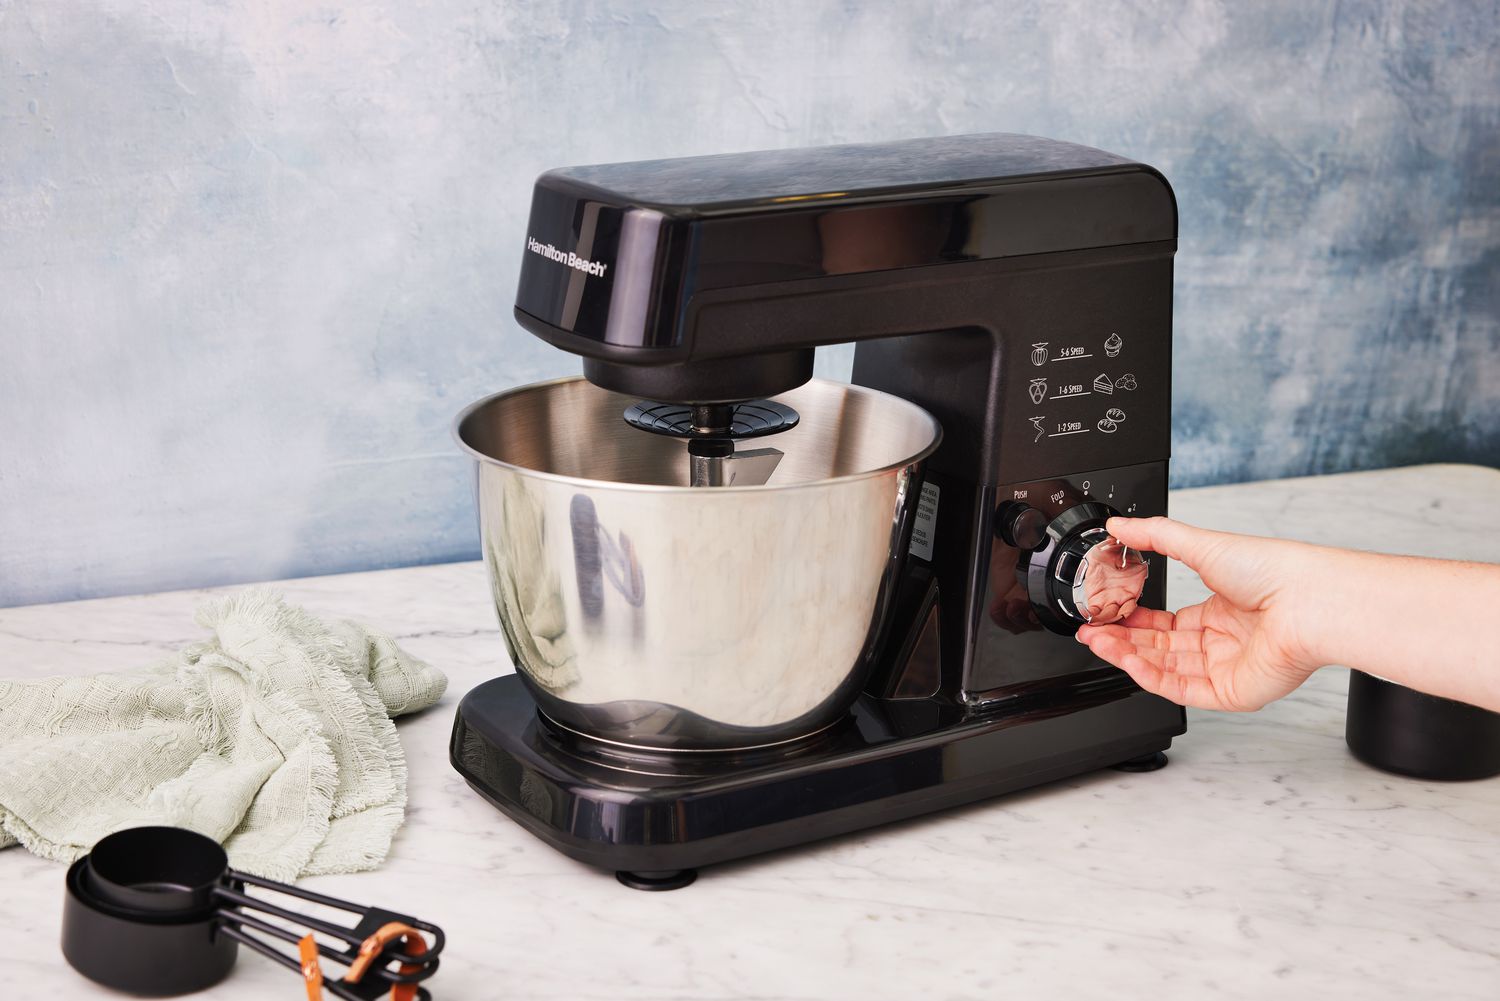
- Stand Mixer: A reliable stand mixer with a paddle attachment is the centerpiece of this process. It provides the power and precision required to blend the ingredients into a cohesive dough without overworking it.
- Measuring Cups and Spoons: Accurate measurements are crucial in achieving the desired texture and consistency. Utilize measuring cups and spoons to portion the flour, sugar, and water precisely.
- Pastry Cutter or Bench Scraper: While the stand mixer will handle the bulk of the mixing, a pastry cutter or bench scraper is useful for incorporating any remaining dry ingredients and shaping the dough.
- Plastic Wrap: Wrapping the dough in plastic wrap is essential for allowing it to rest and chill properly, which enhances the texture and workability of the crust.
- Refrigerator: Chilling the dough is a crucial step in the pie crust-making process. A refrigerator provides the ideal environment for the dough to rest and firm up, ensuring optimal results.
By ensuring that you have these essential tools at your disposal, you can approach the pie crust-making process with confidence and precision. Each piece of equipment plays a unique role in contributing to the success of the final product, from mixing the ingredients to shaping and chilling the dough.
With our ingredients and equipment in place, we are ready to embark on the step-by-step journey of creating a delectable pie crust using a stand mixer.
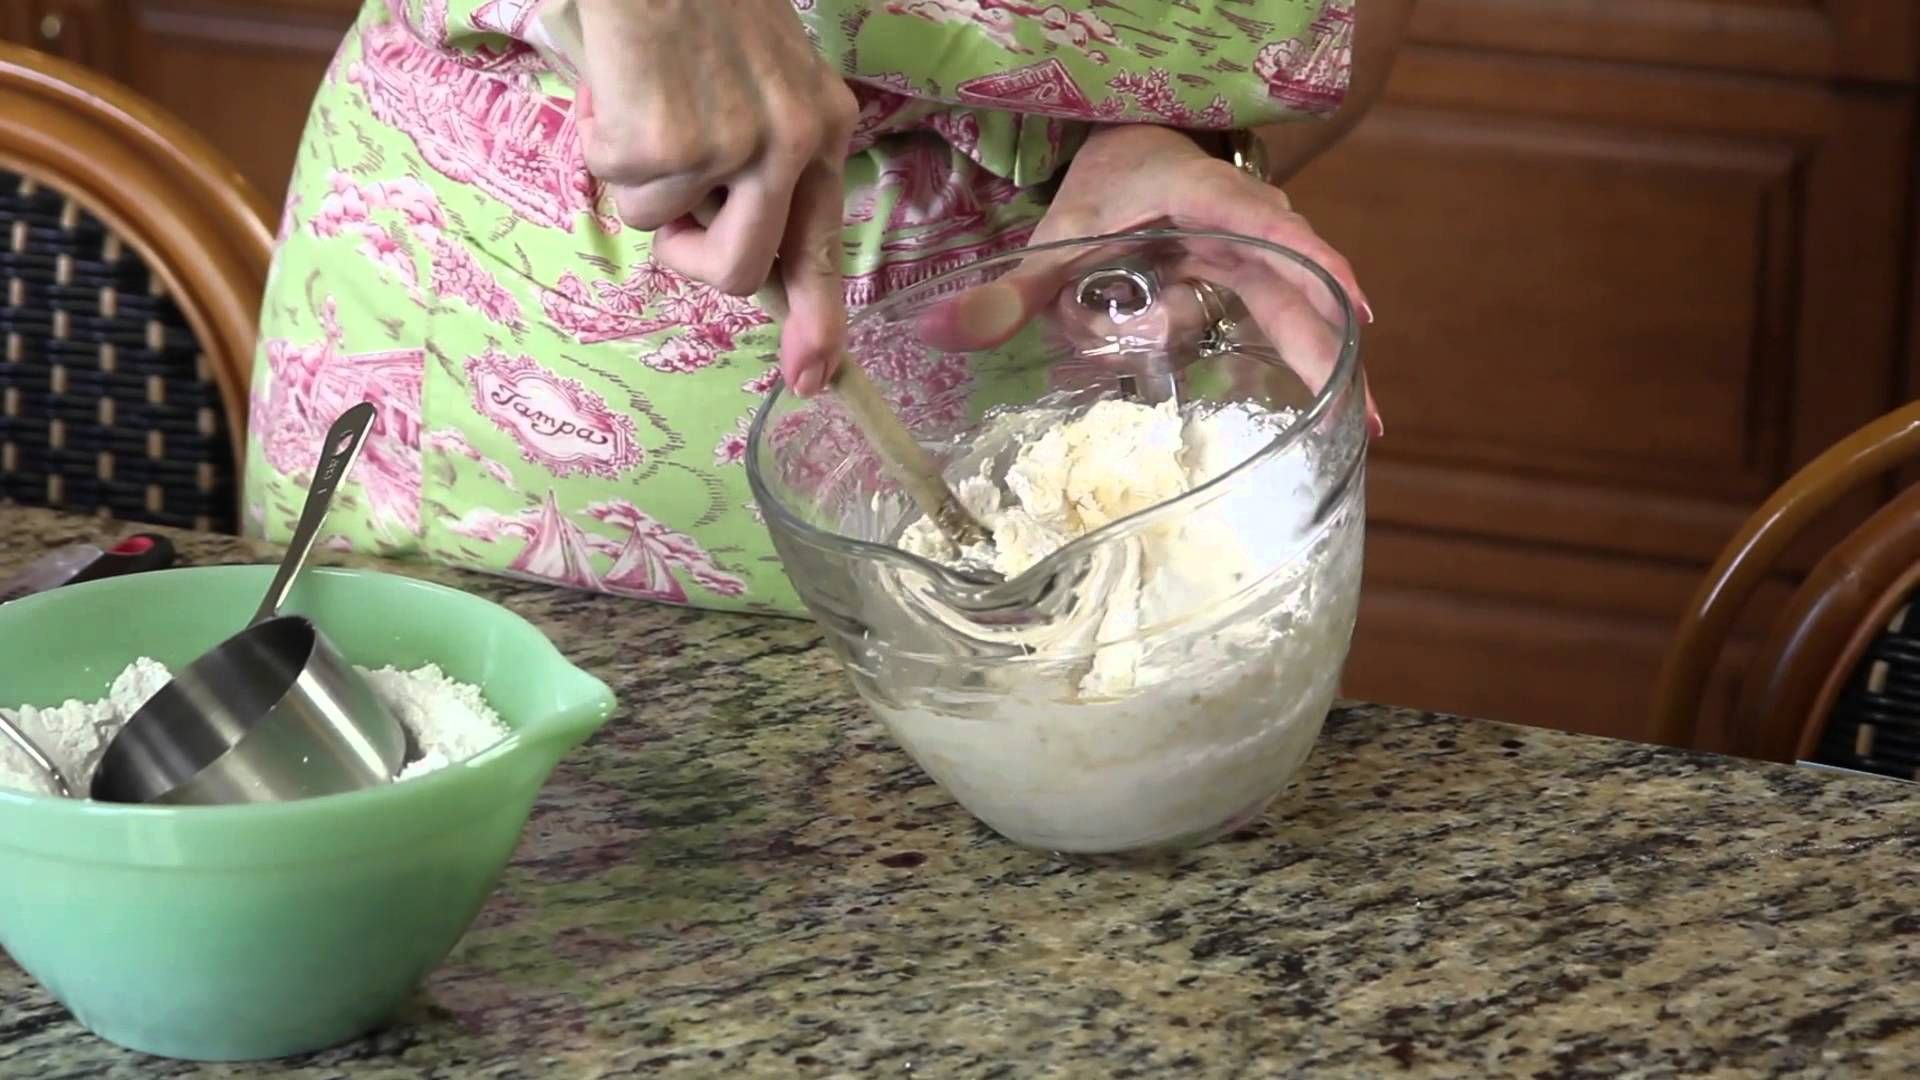
Step 1: Prepare the Dry Ingredients
The initial step in crafting a perfect pie crust in a stand mixer involves preparing the dry ingredients. This process sets the foundation for the crust’s texture and structure, laying the groundwork for a flaky and tender result.
To begin, measure 2 1/2 cups of all-purpose flour, 1 teaspoon of granulated sugar, and 1 teaspoon of salt. Accurate measurements are crucial, as they directly impact the consistency and flavor of the crust. Using measuring cups and spoons, ensure that each ingredient is precisely portioned before proceeding to the next step.
Once the dry ingredients are measured, transfer them to the mixing bowl of the stand mixer. The spacious bowl provides ample room for the ingredients to be combined without spillage, allowing for a seamless mixing process.
With the dry ingredients in place, it’s time to move on to the next crucial step in the pie crust-making journey: incorporating the cold butter into the flour mixture. The careful balance of these ingredients is essential for achieving the desired flakiness and flavor in the final crust.
By meticulously preparing the dry ingredients, you set the stage for a successful mixing process in the stand mixer. The precise combination of flour, sugar, and salt forms the backbone of the crust, ensuring that each bite delivers a harmonious blend of flavors and textures.
With the dry ingredients primed and ready, we can now proceed to the pivotal step of adding the cold butter to the mixture, setting the stage for the creation of a delectably flaky pie crust.
Read more: How To Store Pie Crust
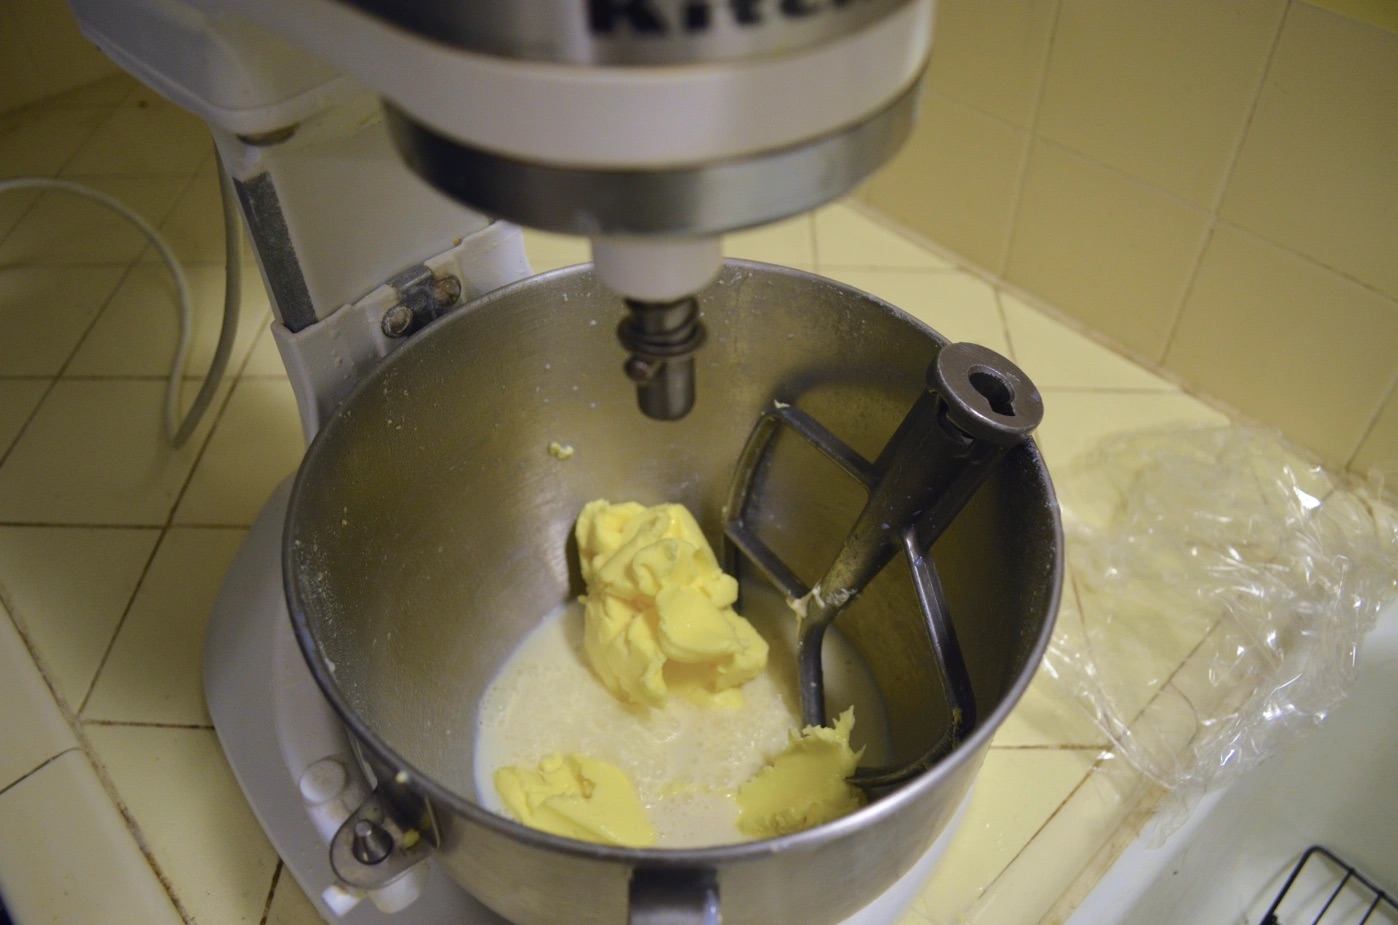
Step 2: Add the Butter
Adding the cold butter to the dry ingredients is a critical phase in the pie crust-making process, as it lays the foundation for achieving the coveted flakiness and rich flavor that characterize a perfect crust. The cold butter, when incorporated into the flour mixture, creates pockets of fat that result in the desirable flaky texture upon baking.
Begin by ensuring that you have 1 cup of cold, unsalted butter cut into small cubes. The cold temperature of the butter is essential, as it prevents it from blending too thoroughly with the flour, ultimately contributing to the crust’s flakiness. The small cubes allow for easier integration into the dry ingredients, ensuring even distribution throughout the mixture.
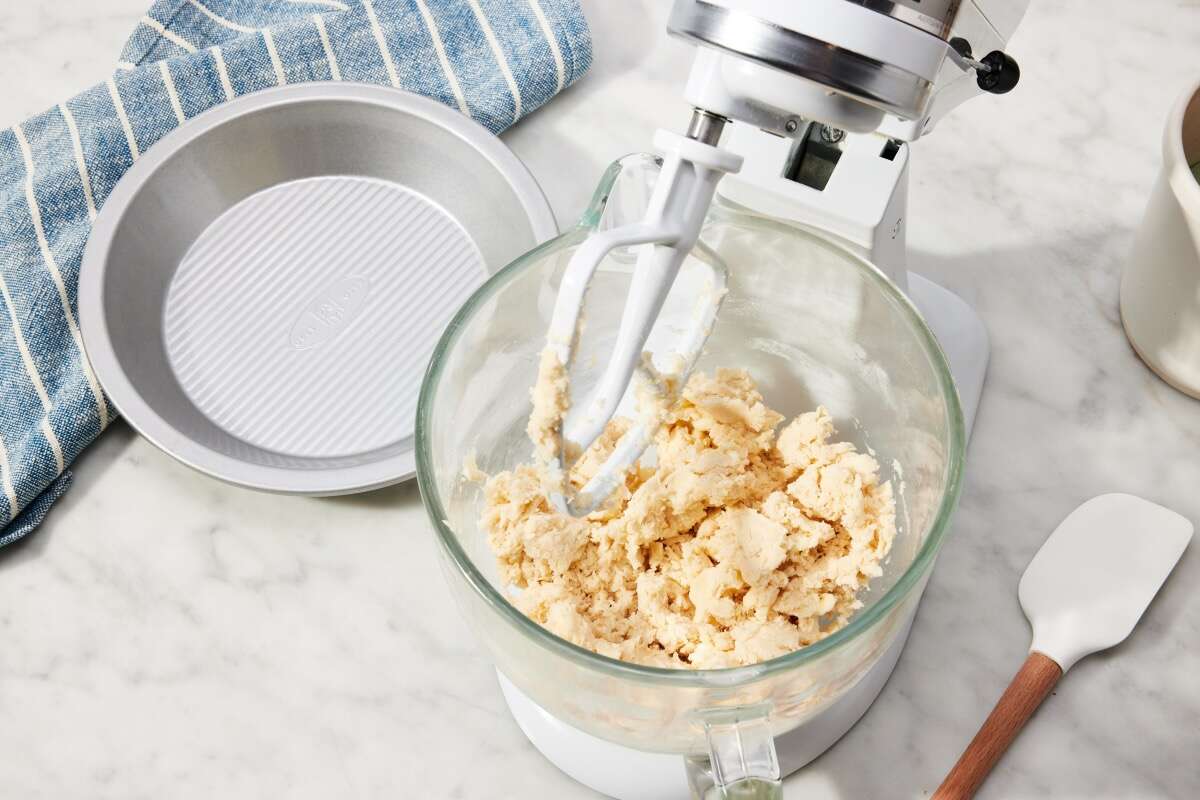
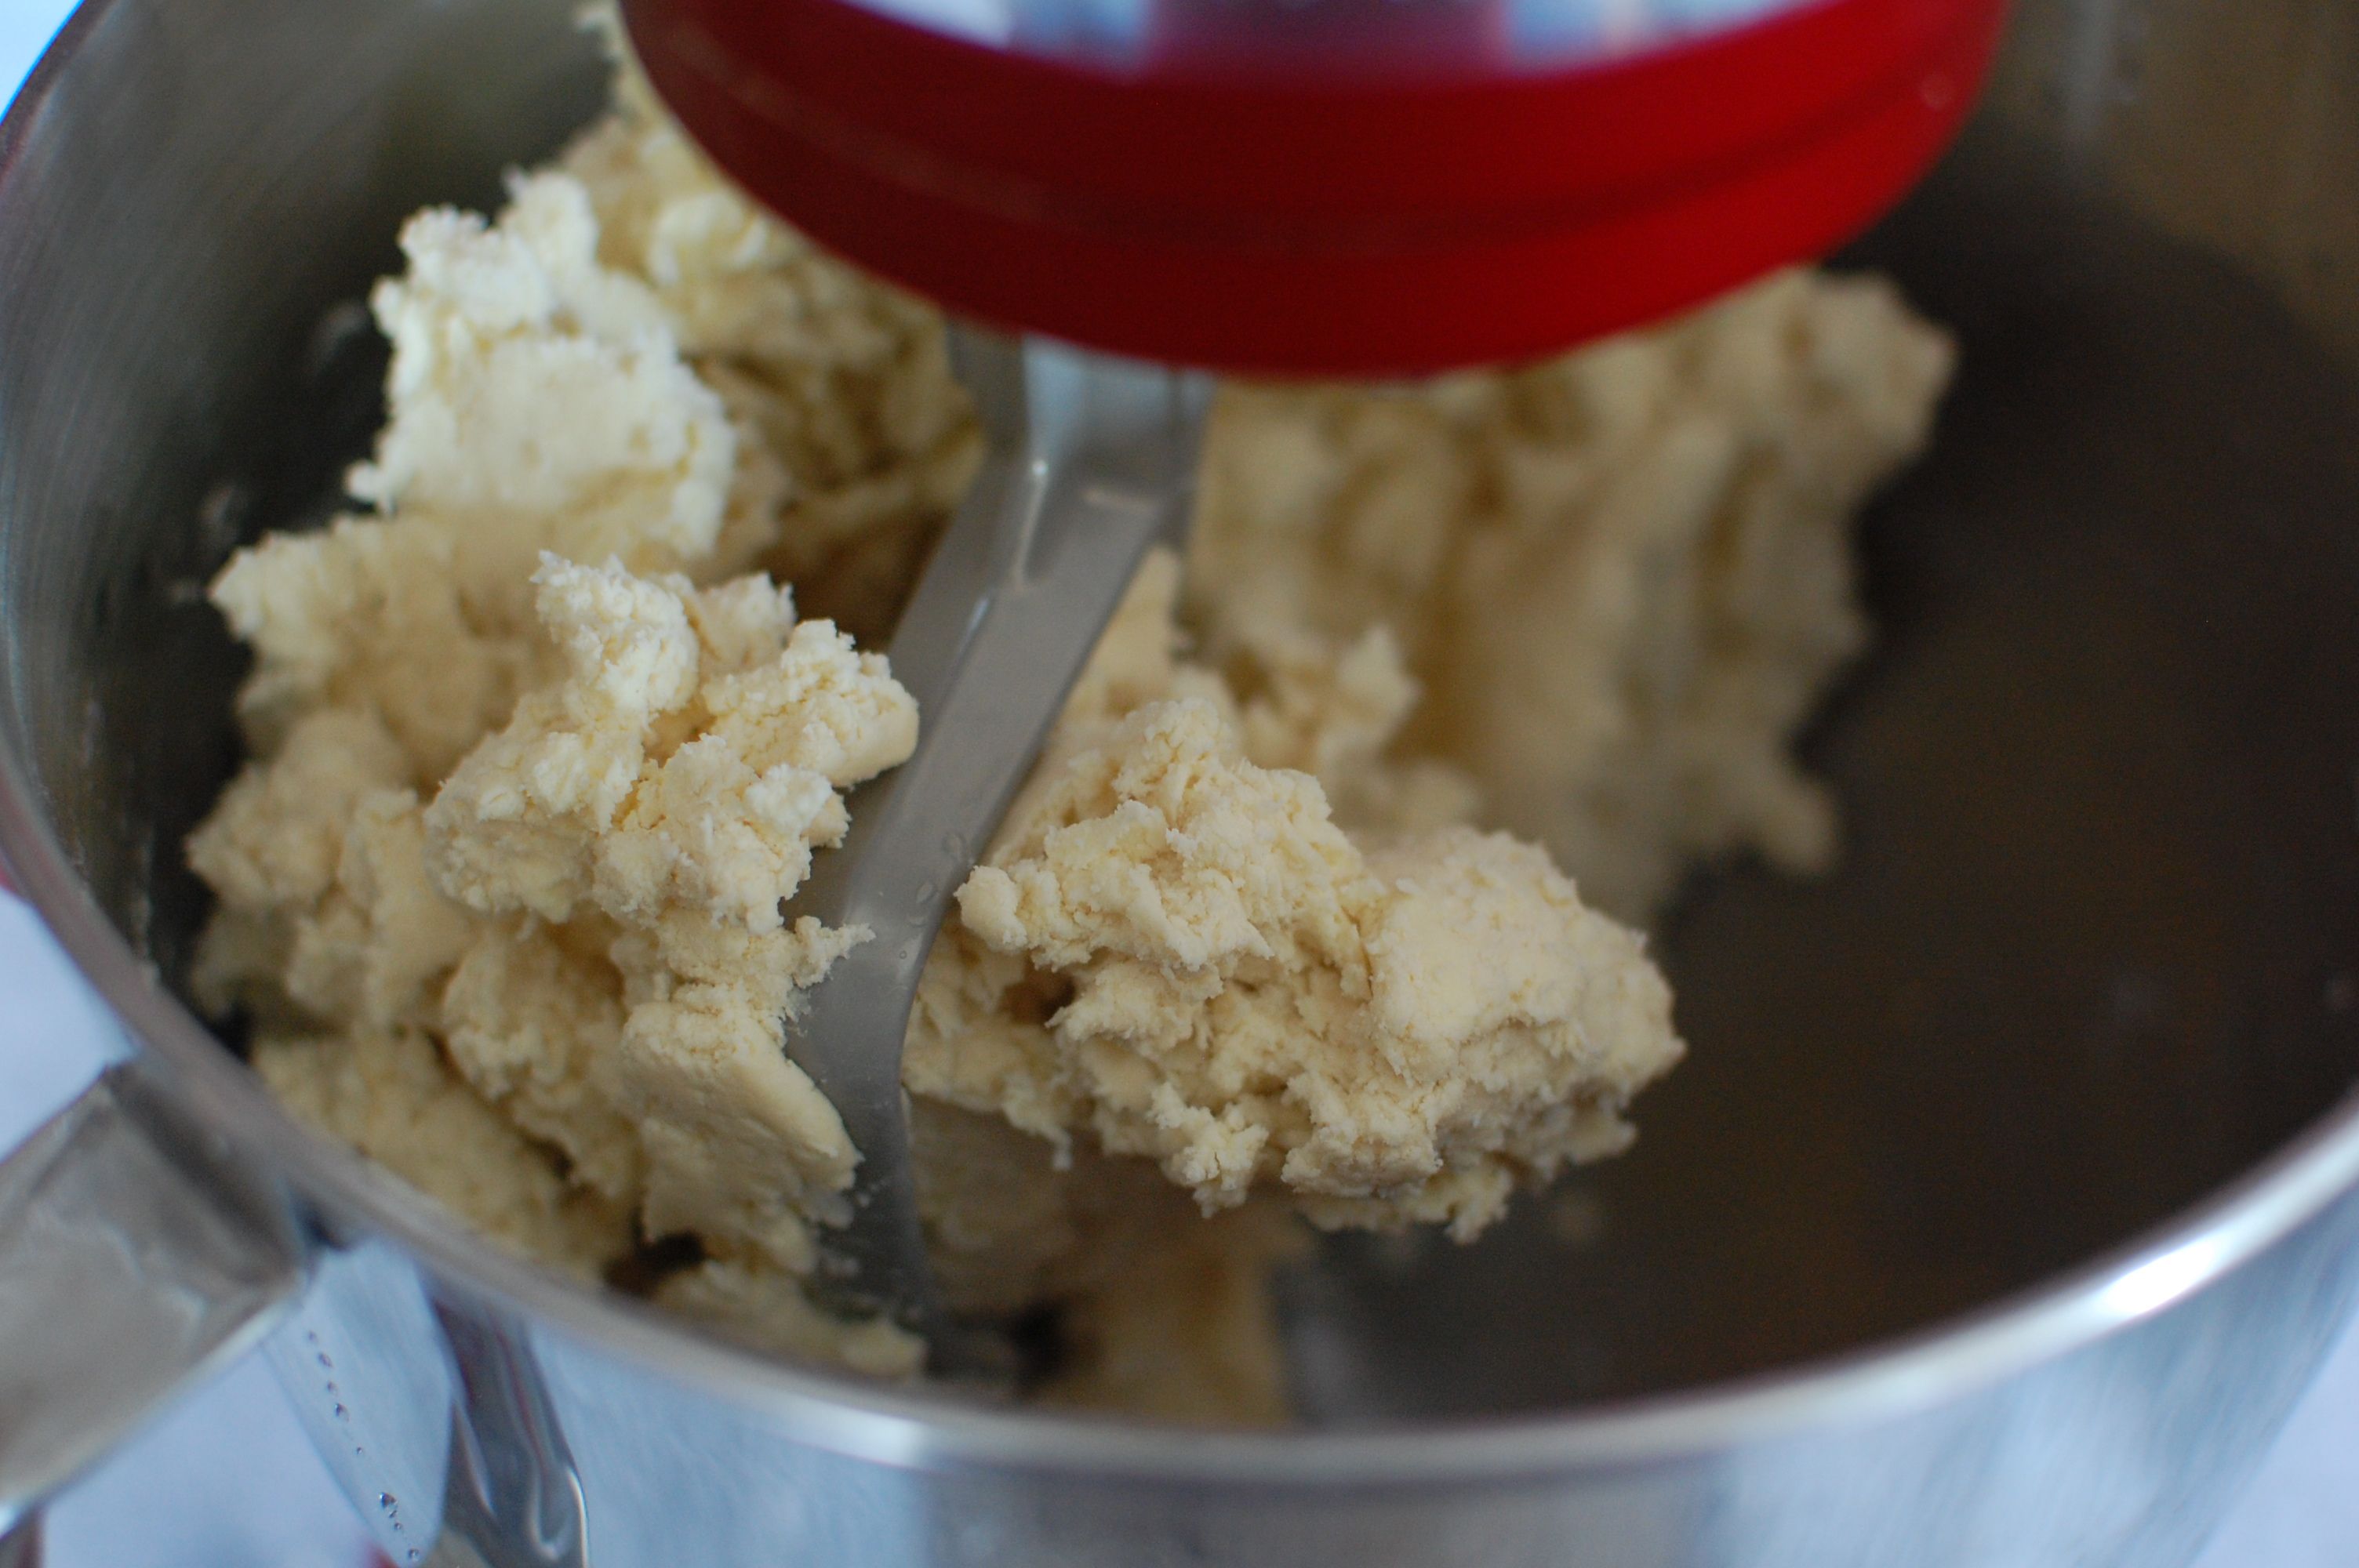
With the stand mixer and dry ingredients ready, add the cubed butter to the mixing bowl. The paddle attachment of the stand mixer will facilitate the blending process, ensuring that the butter is evenly distributed and incorporated into the flour mixture without overworking it. The goal is to achieve a coarse, crumbly texture with visible pea-sized pieces of butter throughout the mixture.
As the stand mixer operates at a low speed, the butter and flour will gradually combine, resulting in a texture that resembles coarse sand. This stage is crucial, as it sets the stage for the subsequent mixing and shaping of the dough. The distinct pockets of butter within the mixture will contribute to the flakiness of the crust once it is baked to golden perfection.
By adding the cold butter to the dry ingredients with precision and care, you pave the way for a pie crust that boasts a delectably flaky texture and rich, buttery flavor. With the butter fully incorporated, we can now proceed to the next step: mixing the dough to achieve the perfect consistency for our pie crust.
Chill all the ingredients and equipment before making pie crust in a stand mixer to ensure the fat stays cold and the dough stays flaky.
Step 3: Mix the Dough
With the dry ingredients and cold butter expertly combined, the next pivotal step in creating a flawless pie crust in a stand mixer is mixing the dough to achieve the perfect consistency. This phase requires precision and attentiveness to ensure that the dough attains the ideal texture for crafting a flaky, tender crust.
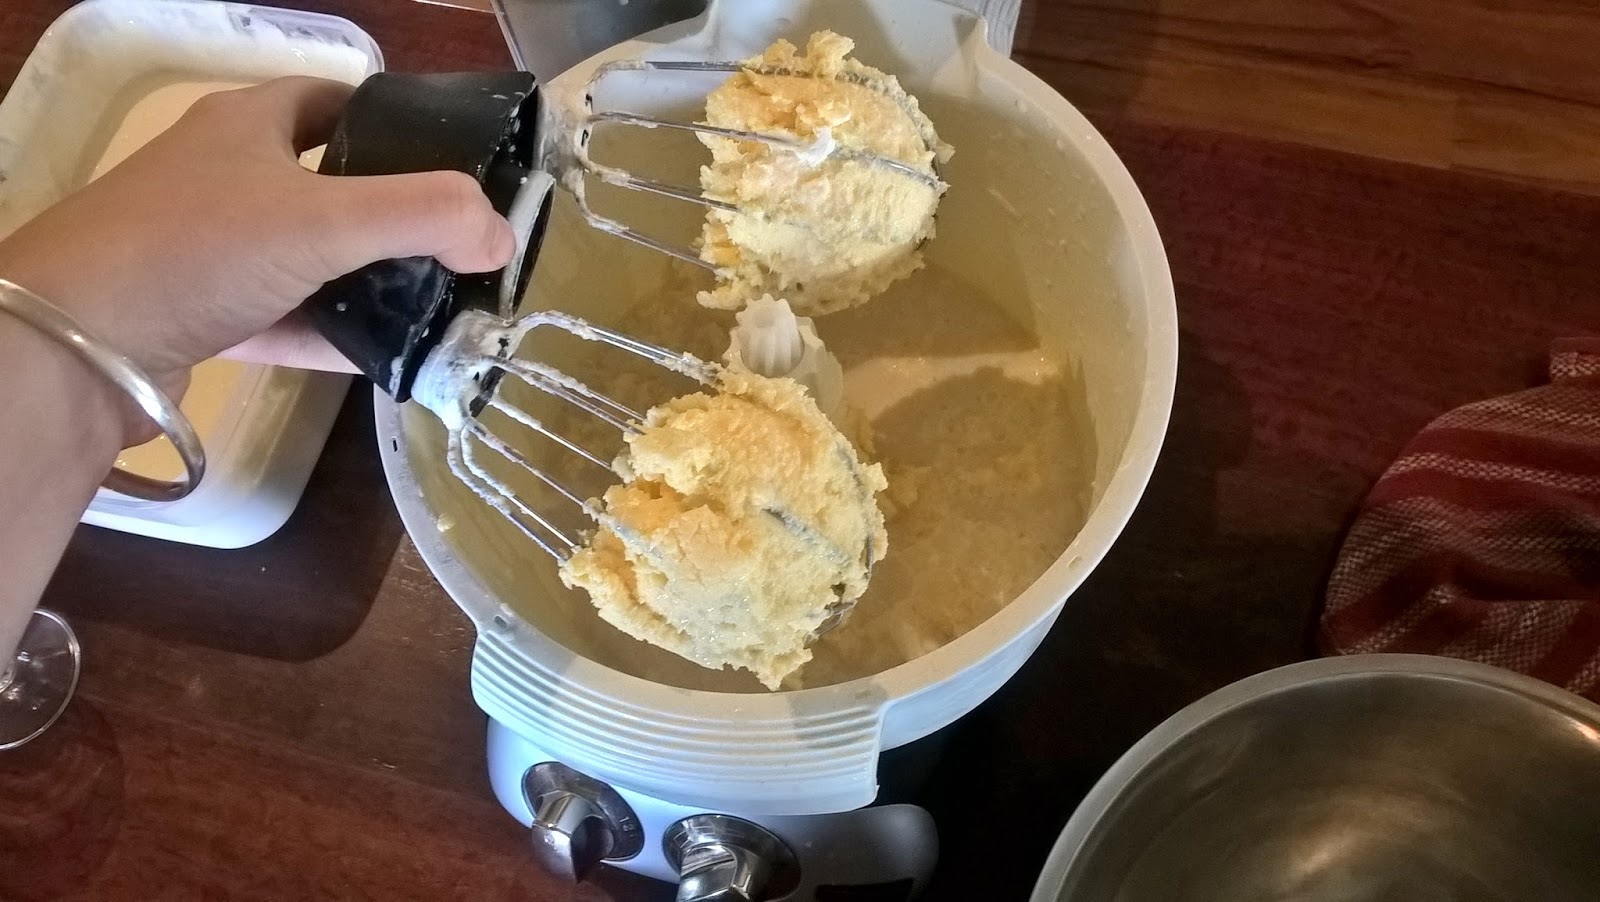
Engage the stand mixer with the paddle attachment at a low speed, gradually adding 4-8 tablespoons of ice-cold water to the flour and butter mixture. The slow addition of water allows for careful monitoring of the dough’s consistency, preventing it from becoming overly wet or sticky. The goal is to achieve a cohesive dough that holds together without being excessively moist.
As the water is incorporated, observe the transformation of the mixture into a shaggy dough that begins to clump together. It’s essential to avoid overmixing, as this can lead to a tough crust rather than the desired flakiness. The stand mixer provides the power and precision needed to blend the ingredients evenly without overworking the dough.
Throughout the mixing process, periodically pause the stand mixer to assess the dough’s texture. Pinch a small portion of the mixture between your fingers to gauge its moisture level and cohesiveness. The ideal consistency is achieved when the dough holds together when pressed but is not overly sticky or dense.
Once the dough reaches the desired consistency, turn off the stand mixer to prevent overmixing. At this stage, the dough is primed and ready to be shaped into a disc, setting the stage for the final steps in preparing the pie crust.
By mixing the dough with precision and attentiveness, you lay the groundwork for a pie crust that embodies the perfect balance of tenderness and flakiness. With the dough seamlessly blended, we can now proceed to the next crucial step: shaping the dough into a disc for chilling.
Step 4: Form the Dough into a Disc
Forming the mixed dough into a disc is a pivotal step in the pie crust-making process, as it prepares the dough for chilling and ultimately contributes to the crust’s texture and ease of handling. This step requires finesse and attention to detail to ensure that the dough is shaped and handled with care, setting the stage for a delectably flaky and tender crust.
Begin by transferring the mixed dough from the stand mixer onto a clean, lightly floured work surface. The gentle dusting of flour prevents the dough from sticking and facilitates the shaping process. As you handle the dough, avoid excessive kneading or manipulation, as this can lead to a tough crust rather than the desired flakiness.
Gently gather the dough and shape it into a cohesive mass, being mindful not to overwork it. Once the dough holds together, use your hands to flatten it into a disc shape, approximately 1 inch thick. The disc shape allows for even chilling and resting, ensuring that the dough maintains its structural integrity while developing the desired texture.
As you shape the dough into a disc, maintain a light touch to prevent the butter within the dough from melting. The distinct pockets of butter, when preserved through careful handling, contribute to the flakiness and tenderness of the crust once it is baked to golden perfection.
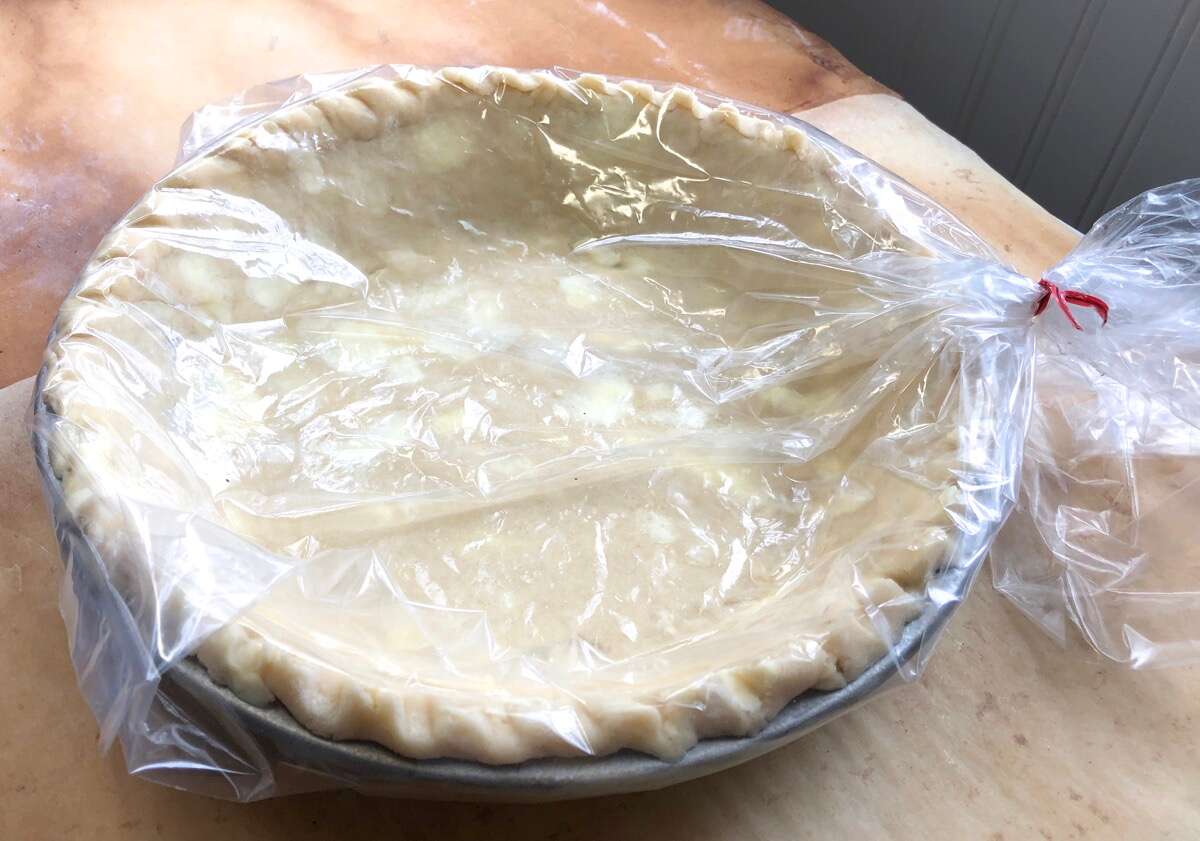
After forming the dough into a disc, wrap it tightly in plastic wrap to secure its shape and prevent it from drying out during the chilling process. The plastic wrap creates a protective barrier, allowing the dough to rest and firm up, ultimately enhancing its workability and texture.
With the dough expertly shaped into a disc and securely wrapped, it is now ready for the final step in the preparation process: chilling. The careful handling and shaping of the dough set the stage for a perfectly textured and flavorful pie crust that will elevate your culinary creations.
Step 5: Chill the Dough
Chilling the formed dough is a crucial final step in the pie crust-making process, as it allows the flavors to meld and the gluten to relax, resulting in a tender and flaky crust. The chilling process also solidifies the butter within the dough, ensuring that it maintains its distinct pockets, which are essential for achieving the desired texture and flavor.
After wrapping the formed dough in plastic wrap, place it in the refrigerator to chill for a minimum of 30 minutes, or ideally up to 2 hours. The cold environment of the refrigerator facilitates the firming of the dough, enhancing its workability and texture while preventing the butter from melting prematurely.
During the chilling period, the dough undergoes a transformative process, allowing the flour to fully hydrate while the butter solidifies. This results in a dough that is easier to handle and shape, ultimately leading to a flakier and more tender crust once it is baked to golden perfection.
As the dough chills, take this opportunity to prepare the filling for your pie, whether it’s a luscious fruit medley, a rich custard, or a savory meat and vegetable combination. The chilled dough will be ready to envelop the filling, providing the perfect foundation for your culinary creation.
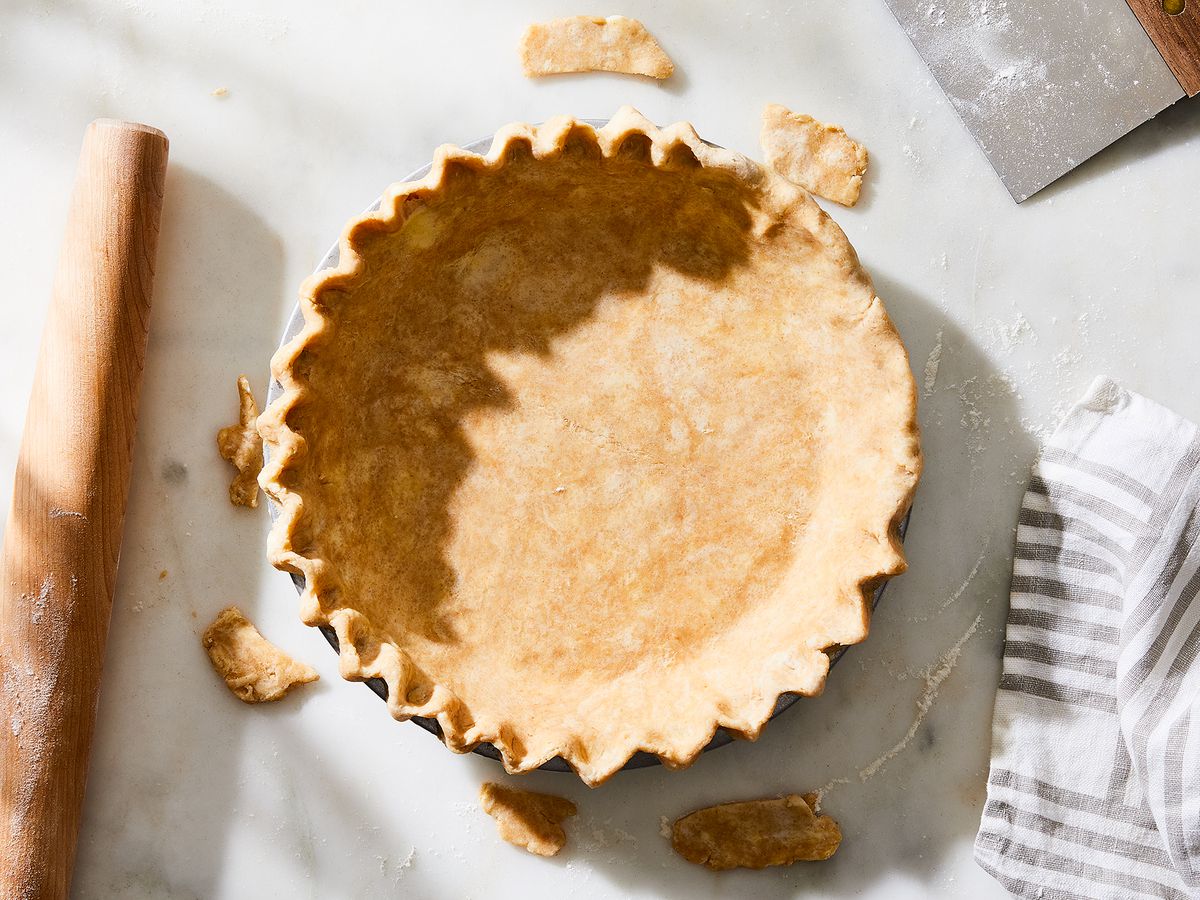
Once the dough has thoroughly chilled and firmed up, it is primed and ready to be rolled out and shaped according to your pie recipe’s specifications. The careful chilling process ensures that the dough retains its structure and texture, allowing for effortless handling and shaping without compromising its flakiness.
With the dough expertly chilled and the filling prepared, you are now equipped to assemble and bake a pie with a perfectly crafted crust that embodies the ideal balance of tenderness and flakiness. The careful attention to the chilling process sets the stage for a culinary masterpiece that will delight your taste buds and those of your eager guests.
With the dough thoroughly chilled and the filling prepared, you are now ready to assemble and bake a pie with a perfectly crafted crust that embodies the ideal balance of tenderness and flakiness. The careful attention to the chilling process sets the stage for a culinary masterpiece that will delight your taste buds and those of your eager guests.
Read more: How To Cook Pie Crust On Stove Top
Conclusion
Congratulations! You have embarked on a culinary journey that has equipped you with the knowledge and skills to create a delectably flaky and tender pie crust using a stand mixer. By meticulously following each step of the process, from preparing the dry ingredients to chilling the formed dough, you have unlocked the secrets to achieving a perfect pie crust that will elevate your homemade pies to new heights.
The art of pie crust making is a testament to the harmonious interplay of precise ingredients, thoughtful techniques, and a touch of culinary finesse. With the aid of a stand mixer, you have seamlessly blended the essential components to create a crust that embodies the perfect balance of tenderness and flakiness, setting the stage for a delightful culinary creation.
As you embark on future pie-making endeavors, remember the invaluable techniques and insights gained from this journey. The careful selection and measurement of ingredients, the precise incorporation of cold butter, and the attentive mixing and shaping of the dough are all integral to crafting a pie crust that will captivate the senses and leave a lasting impression.
Armed with this newfound expertise, you are poised to delight your family and friends with an array of tantalizing pies, each featuring a flawlessly crafted crust that serves as the crowning glory of your culinary masterpiece. Whether you’re crafting sweet fruit-filled pies, decadent custard creations, or savory meat and vegetable delights, your perfectly crafted crust will be the foundation of unforgettable dining experiences.
So, roll up your sleeves, preheat your oven, and let your creativity soar as you infuse your pie-making endeavors with the artistry and precision you’ve cultivated. With each flaky, golden-brown crust that emerges from your oven, you’ll witness the joy and satisfaction that comes from mastering the art of pie crust making with a stand mixer.
Embrace the culinary adventure that lies ahead, and savor the delightful moments that await as you share your delectable creations with those who are fortunate enough to gather around your table. The perfect pie crust is now well within your reach, and the possibilities for culinary exploration are endless.
Frequently Asked Questions about How To Make Pie Crust In A Stand Mixer
Was this page helpful?
At Storables.com, we guarantee accurate and reliable information. Our content, validated by Expert Board Contributors, is crafted following stringent Editorial Policies. We're committed to providing you with well-researched, expert-backed insights for all your informational needs.

0 thoughts on “How To Make Pie Crust In A Stand Mixer”