Articles
How To Store Broth In Freezer
Modified: August 20, 2024
Learn how to properly store broth in the freezer to maintain its quality and freshness. Follow our step-by-step guide for the best results.
(Many of the links in this article redirect to a specific reviewed product. Your purchase of these products through affiliate links helps to generate commission for Storables.com, at no extra cost. Learn more)
Introduction
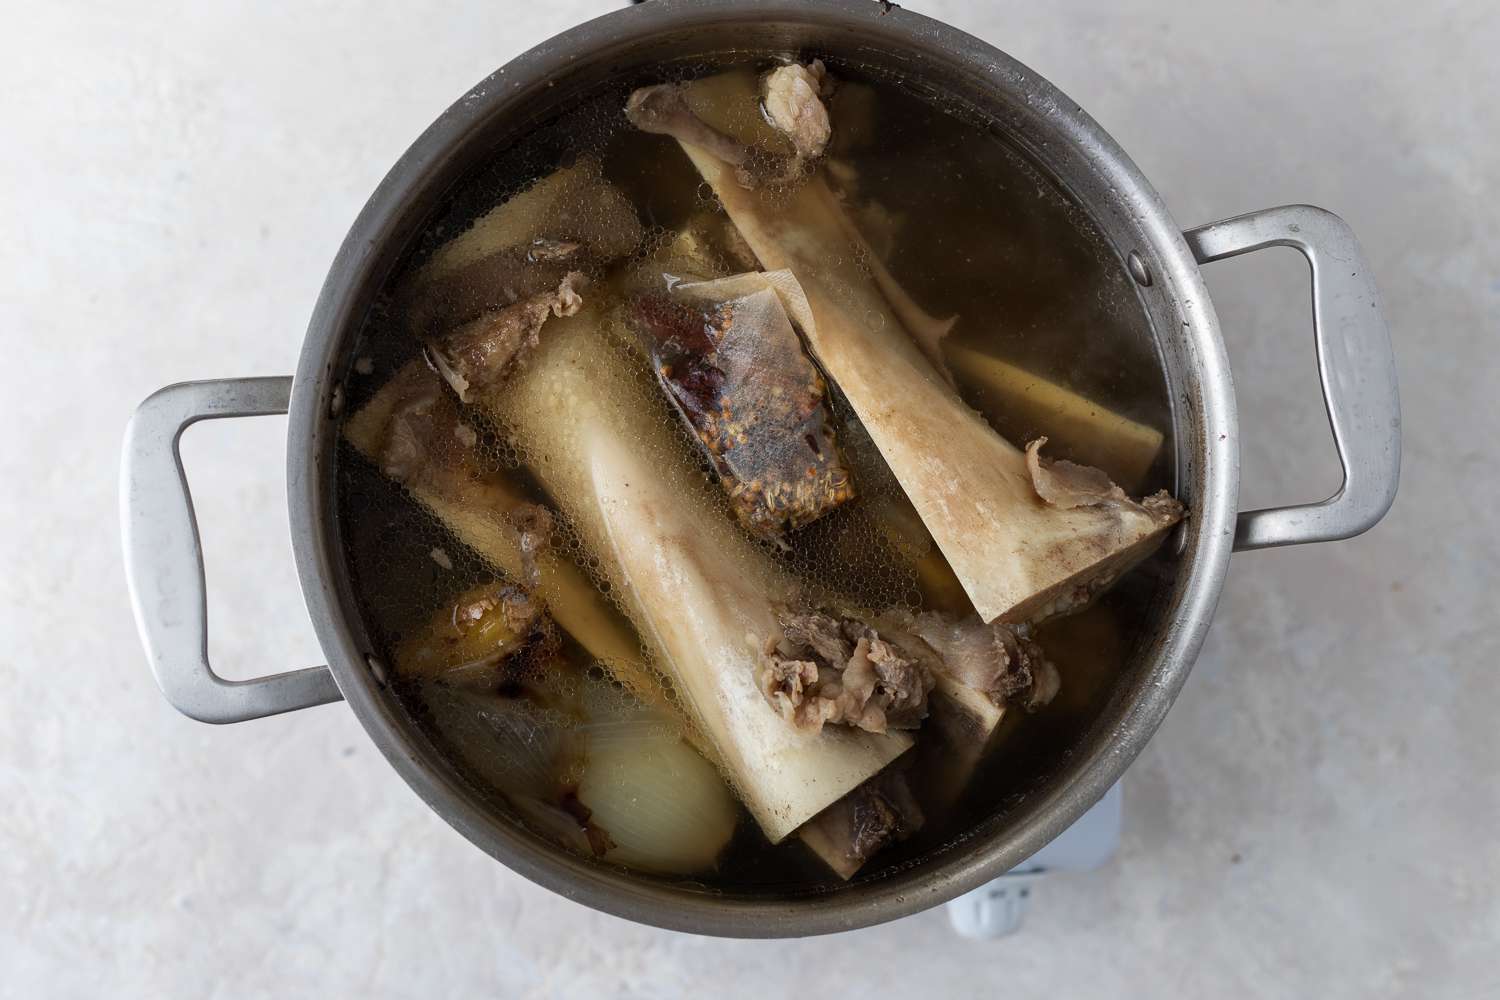
Storing broth in the freezer is a convenient way to have this flavorful liquid on hand for future use. Whether you’ve made a big batch of homemade broth or have leftover broth from a recipe, freezing it allows you to preserve its freshness and use it later in soups, stews, gravies, and various other dishes.
Freezing broth not only saves you time and effort in the kitchen but also helps to reduce food waste. Instead of letting that extra broth go to waste, you can store it safely in the freezer and enjoy it later when needed. In this article, we will explore the benefits of freezing broth, how to prepare it for freezing, the different storage methods, and tips for thawing and using frozen broth.
So, if you want to learn how to properly store broth in the freezer and make the most of your homemade or store-bought broth, keep reading!
Key Takeaways:
- Freezing broth is a practical way to preserve flavor, reduce waste, and save time in the kitchen. Proper preparation, storage, and thawing ensure delicious, ready-to-use broth for a variety of recipes.
- Choosing suitable containers, labeling, and portioning broth before freezing makes it convenient for future use. Thaw safely and use within recommended timeframes to enjoy its flavor and versatility.
Read more: How To Store Beef Broth
Benefits of Freezing Broth
Freezing broth offers several benefits that make it a worthwhile practice for any home cook. Here are some advantages of freezing broth:
- Convenience: Having frozen broth on hand means you can whip up a delicious soup or sauce at a moment’s notice. This can be particularly handy on busy days when you don’t have time to make broth from scratch.
- Preserves Freshness: Freezing broth helps retain its freshness and flavor. Properly stored broth can maintain its quality for several months, allowing you to enjoy it long after it would have spoiled in the refrigerator.
- Reduces Food Waste: By freezing leftover broth, you can avoid wasting it. Rather than tossing out excess broth that you won’t use immediately, you can store it in the freezer for future recipes.
- Economical: Making your own broth can be cost-effective, but it often yields more than you need for a single recipe. Freezing the extra broth means you get the most out of your ingredients and can use it whenever you want without the need to buy store-bought broth.
- Enhances Flavor: Freezing broth can actually intensify its flavor. The freezing process allows the flavors to meld and develop, resulting in a more concentrated broth when it’s thawed and used.
- Time-Saving: Instead of spending time making broth each time a recipe calls for it, you can save time by having broth already frozen and ready to use. This can be particularly beneficial for busy weeknight meals.
With these benefits in mind, it’s clear that freezing broth is a smart and practical choice. It not only ensures you have a flavorful ingredient at your fingertips but also helps reduce food waste and simplifies your cooking routine.
Preparing the Broth for Freezing
Before you can freeze your broth, it’s important to prepare it properly. Here are three key steps to follow:
- Cooling the Broth: Allow the broth to cool completely before freezing it. This is crucial to prevent condensation and ice crystals from forming in the container, which can impact the quality of the broth. To cool the broth quickly, you can transfer it to a shallow, wide container and place it in an ice bath.
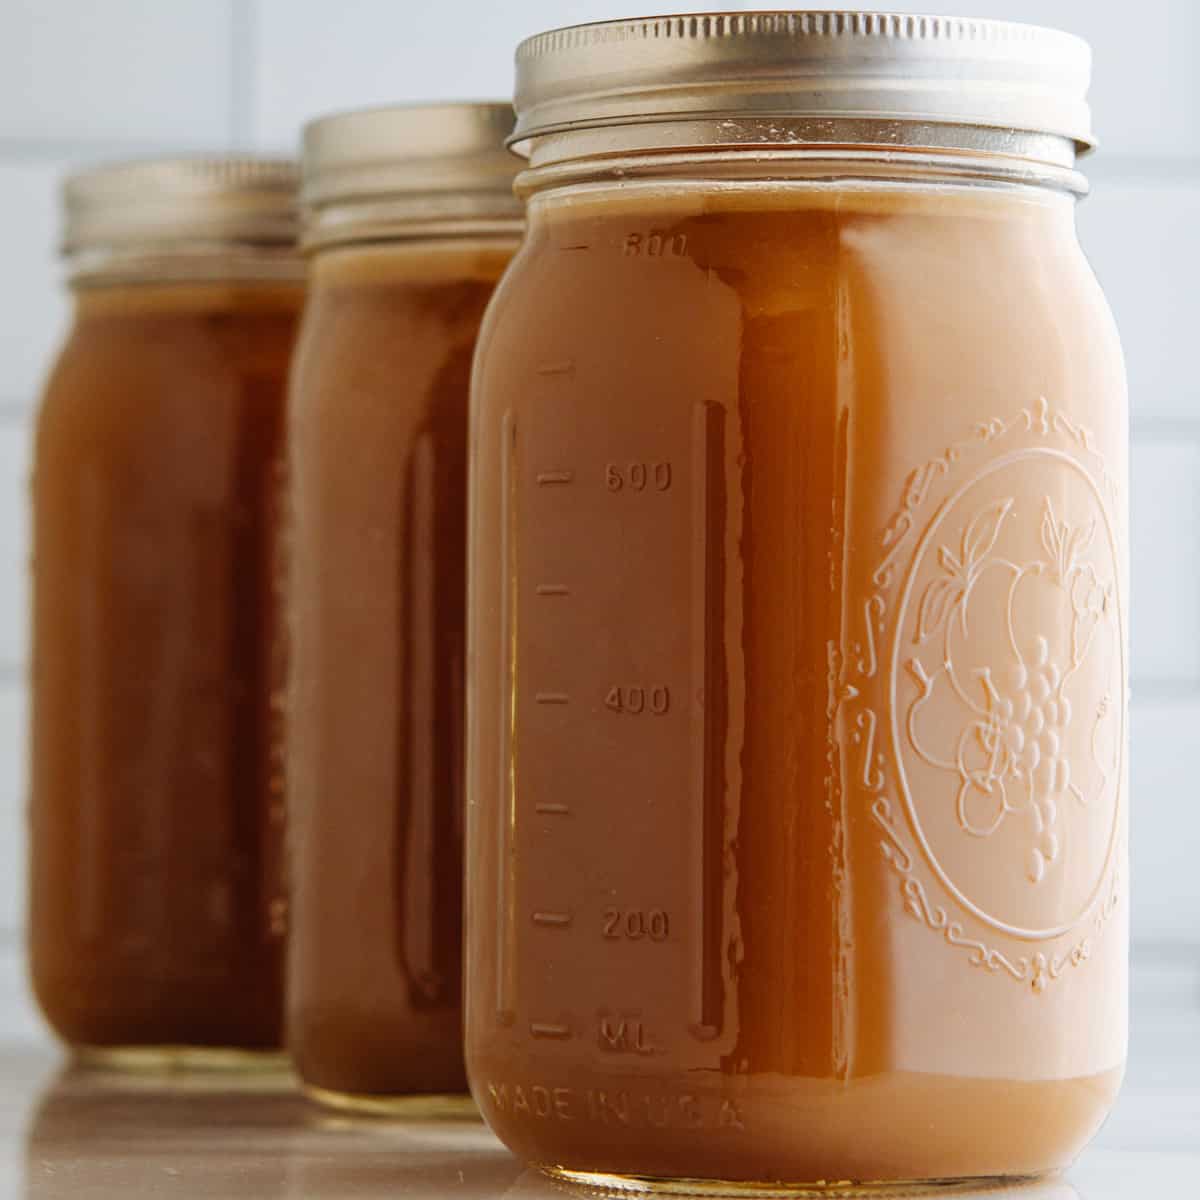
- Choosing the Right Containers: Selecting suitable containers is essential for proper freezing and storage of the broth. Look for freezer-safe containers or bags that are airtight and leak-proof. Glass canning jars, BPA-free plastic containers, and heavy-duty freezer bags are commonly used options.
- Labeling the Containers: Once you have filled your chosen containers with the cooled broth, be sure to label them with the date and contents. This labeling step is easy to overlook but can be incredibly helpful later when you’re trying to identify the broth’s age or specific type. You can use adhesive labels or write directly on the containers with a permanent marker.
By taking these steps before freezing your broth, you ensure that it is properly cooled, stored in appropriate containers, and labeled for easy identification. This way, you’ll have no trouble finding and using the broth when you need it in the future.
Freezing Broth
When it comes to freezing broth, there are a few different methods you can use. Two common options are using freezer bags or freezer-safe containers. Additionally, properly portioning the broth can make it more convenient to use. Let’s explore these methods in more detail:
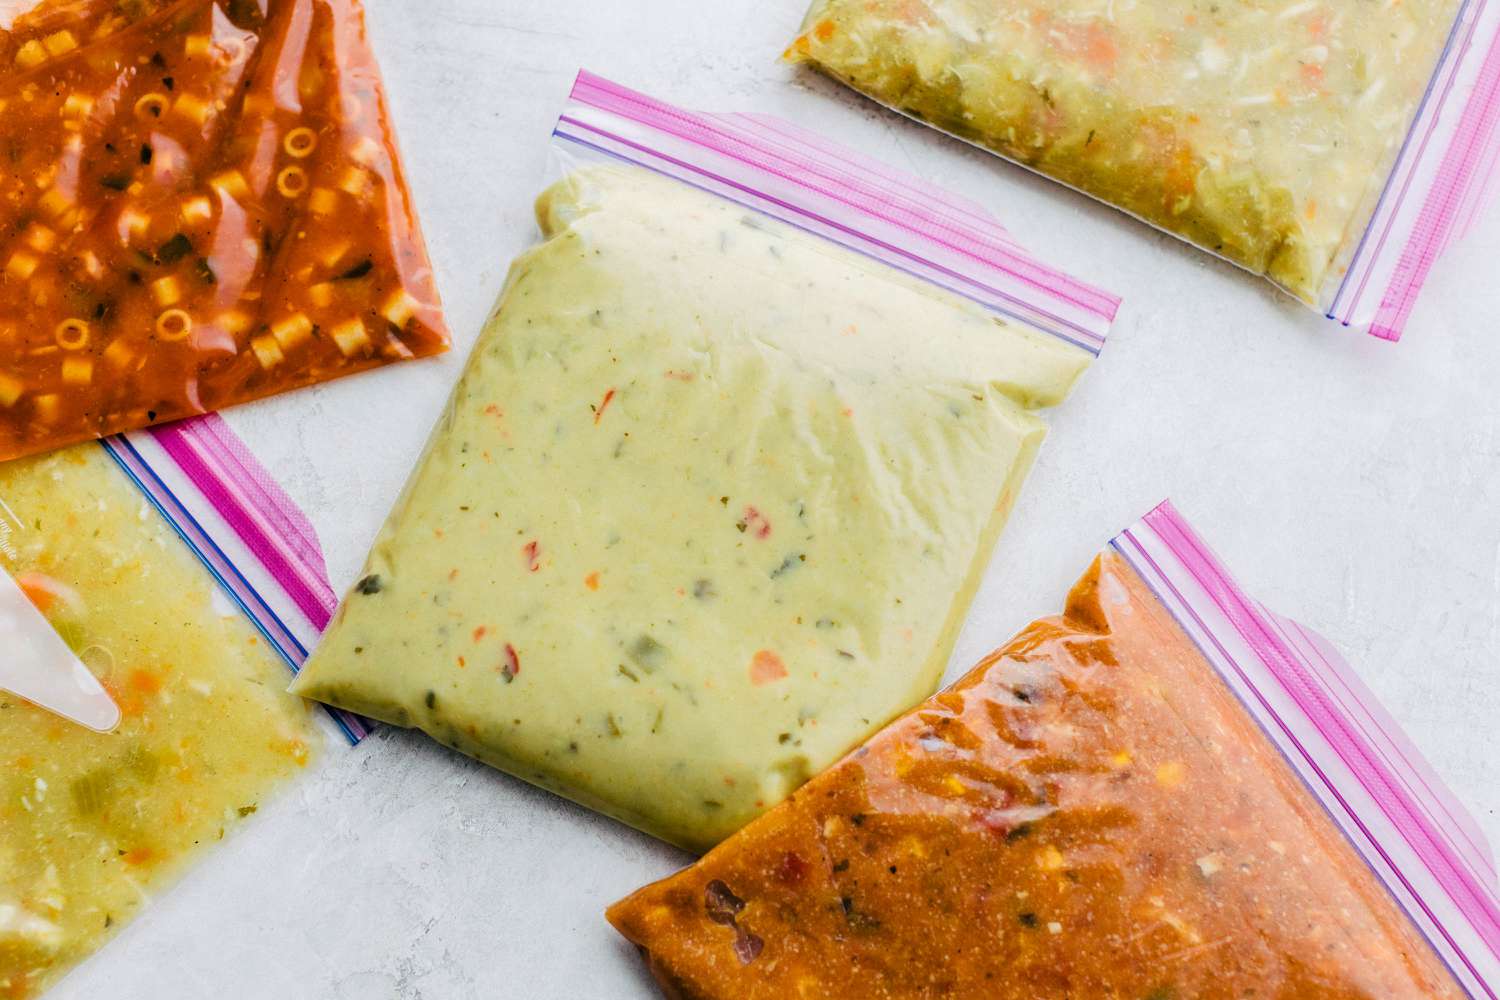
- Using Freezer Bags: Freezer bags are a popular choice for freezing broth. Pour the cooled broth into freezer bags, leaving some room at the top for expansion. Seal the bags tightly, removing any excess air by gently pressing it out before sealing. Lay the bags flat in the freezer to maximize storage space and allow for easier stacking.
- Using Freezer-Safe Containers: If you prefer to use containers, make sure they are labeled as freezer-safe. Fill the containers with the cooled broth, leaving a small amount of headspace to allow for expansion during freezing. Make sure the lids or covers are secure and airtight to prevent any potential leaks or freezer burn. Stack the containers in the freezer to maximize space.
- Portioning the Broth: Consider portioning the broth before freezing to make it more flexible for future recipes. You can divide the broth into smaller containers or freezer bags, so you only thaw what you need for a particular dish. This way, you don’t have to thaw the entire batch of broth when you only require a portion of it.
By using freezer bags, freezer-safe containers, or a combination of both, and properly portioning the broth, you can easily store and use the desired amount of broth in the future. It’s important to choose a method that works best for you and your storage space, ensuring that the broth remains well-preserved and easily accessible.
When storing broth in the freezer, use airtight containers or resealable freezer bags to prevent freezer burn. Leave some space at the top of the container for the liquid to expand as it freezes. Label the containers with the date and type of broth for easy identification.
Storing Broth in the Freezer
When it comes to storing broth in the freezer, there are a few key considerations to keep in mind to maintain its quality and usability. Let’s explore these factors in detail:
- Proper Storage Temperature: The freezer temperature plays a crucial role in preserving the quality of the broth. Ensure that your freezer maintains a temperature of 0°F (-18°C) or below. This helps to prevent the growth of bacteria and maintains the flavor and texture of the broth over an extended period.
- Organizing the Freezer: Proper organization in the freezer can make a significant difference when it comes to storing broth. Create a designated area for the broth containers or bags. Consider using stackable containers or arranging freezer bags upright in a box or freezer bin to maximize space. This will make it easier to locate and access the broth when needed.
- Avoiding Freezer Burn: Freezer burn can occur when the broth is exposed to air, leading to off-flavors and potential texture changes. To prevent freezer burn, make sure your containers or bags are sealed tightly and free from any leaks or openings. If using freezer bags, remove as much air as possible before sealing. For containers, fill them to leave minimal headspace to reduce the risk of air exposure.
By storing broth at the proper freezer temperature, organizing it in a way that maximizes space and accessibility, and taking precautions to avoid freezer burn, you can ensure that your frozen broth retains its quality and flavor for an extended period. These steps will make it easier to use the broth when needed and minimize any potential waste or spoilage.
Read more: How To Store Chicken Broth
Thawing and Using Frozen Broth
When it’s time to use your frozen broth, proper thawing and handling are essential to maintain its quality and safety. Let’s explore the recommended methods for thawing frozen broth, along with some tips for using thawed broth effectively:
- Thawing Methods: There are a few safe ways to thaw frozen broth:
- Refrigerator Method: Thaw the broth by transferring it from the freezer to the refrigerator. This method is the slowest but the safest, allowing for a gradual and even thawing process. It is best suited for planning ahead, as it usually takes several hours or overnight.
- Cold Water Method: If you need to thaw the broth more quickly, you can use the cold water method. Place the frozen broth in a leak-proof plastic bag and submerge it in a bowl of cold water. Change the water every 30 minutes to promote thorough and safe thawing. Remember to use this method only if you plan to use the thawed broth immediately.
- Microwave Method: While not the recommended method, you can use the microwave to thaw broth in a pinch. Follow the microwave’s instructions for defrosting. Be cautious to use the microwave’s defrost setting or low power to prevent partial cooking. It is important to use the thawed broth immediately after microwaving.
- Tips for Using Thawed Broth: Consider these tips when using thawed broth:
- Inspect the broth for any signs of spoilage, including an off smell, strange color, or unnatural texture. If it appears or smells questionable, discard it.
- If there is excessive fat on the surface of the thawed broth, you can easily remove it using a spoon or skimmer.
- Consider using the thawed broth within a few days for optimal flavor and safety. While it can generally stay good for several months in the freezer, its quality may gradually decline over time.
- Thawed broth can be used in a wide range of recipes, including soups, stews, sauces, gravies, and more. Experiment with different dishes to explore the versatility of your frozen broth.
- Shelf Life of Thawed Broth: Once thawed, treat the broth as you would any perishable food. It is essential to refrigerate and use it within a few days to minimize the risk of bacterial growth and foodborne illness.
By following proper thawing methods, handling thawed broth efficiently, and using it within recommended timeframes, you can ensure that your frozen broth remains safe, delicious, and ready to enhance your favorite recipes.
Conclusion
Storing broth in the freezer is a practical and convenient way to preserve its flavor and extend its shelf life. By following the proper steps for preparing, freezing, and storing broth, you can ensure that it remains fresh and ready to be used in a variety of recipes.
The benefits of freezing broth are numerous. It provides you with a readily available ingredient, reduces food waste, and saves you time and effort in the kitchen. Freezing broth also allows you to make the most of your homemade broth or leftovers from recipes.
When preparing broth for freezing, make sure it cools completely and choose the right containers, labeling them for easy identification. Freezer bags and freezer-safe containers are excellent options, and portioning the broth allows for convenient usage later on.
Proper storage of broth in the freezer is crucial. Ensure that your freezer maintains the appropriate temperature to prevent the growth of bacteria. Organize your freezer to optimize space and prevent freezer burn, which can affect the quality of the broth.
Thawing frozen broth safely is essential. Use methods such as refrigerator thawing, cold water thawing, or microwave thawing (with caution). Once thawed, inspect the broth for any signs of spoilage and use it within a few days for best results.
In conclusion, by following these guidelines for storing, freezing, and using broth, you can enjoy its delicious flavor and versatility whenever you need it. So don’t waste any more broth and start freezing it for later use in your favorite recipes!
Frequently Asked Questions about How To Store Broth In Freezer
Was this page helpful?
At Storables.com, we guarantee accurate and reliable information. Our content, validated by Expert Board Contributors, is crafted following stringent Editorial Policies. We're committed to providing you with well-researched, expert-backed insights for all your informational needs.


0 thoughts on “How To Store Broth In Freezer”