Home>Articles>How To Make Broth From Soup Bones In An Electric Pressure Cooker
Articles
How To Make Broth From Soup Bones In An Electric Pressure Cooker
Modified: August 24, 2024
Learn how to make flavorful broth from soup bones using an electric pressure cooker. Get detailed articles and step-by-step instructions to perfect your broth-making skills.
(Many of the links in this article redirect to a specific reviewed product. Your purchase of these products through affiliate links helps to generate commission for Storables.com, at no extra cost. Learn more)
Introduction
There’s nothing quite as comforting as a steaming bowl of homemade soup or a rich, flavorful broth. And one of the best ways to achieve that depth of flavor is by making broth from soup bones. Whether you’re a seasoned home cook or just starting out in the kitchen, using an electric pressure cooker can help you create delicious broth in a fraction of the time.
In this article, we’ll guide you through the process of making broth from soup bones using an electric pressure cooker. We’ll cover everything from choosing the right bones to adding flavorful ingredients and setting up the pressure cooker. So let’s get started and unlock the secrets to making mouthwatering broth right in your own kitchen.
Key Takeaways:
- Create rich, flavorful broth in a fraction of the time by making it from soup bones in an electric pressure cooker. Experiment with different bone types and ingredients to customize your unique, mouthwatering broth.
- Elevate your broth-making skills by following preparation steps, adding flavorful ingredients, and setting up your electric pressure cooker. Experiment with seasoning, aromatics, and cooking times to craft a delicious, versatile base for various dishes.
Read more: How To Make Bone Broth In Slow Cooker
Choosing the Right Soup Bones
When it comes to making broth, selecting the right bones is crucial. The bones you choose will contribute to the flavor and richness of the final broth. Here are some tips for selecting the best soup bones:
- Beef or Chicken: The most common choices for broth are beef bones and chicken bones. Beef bones, such as marrow bones, shanks, or oxtails, will create a rich, hearty broth. Chicken bones, including carcasses or wings, will give you a lighter, more delicate broth.
- Quality: Choose high-quality bones from a trusted source. Look for bones that are fresh, have a good amount of connective tissue, and are preferably pasture-raised or organic.
- Flavor Variations: If you’re feeling adventurous, you can mix different types of bones to create unique flavor variations. For example, combining beef and pork bones can result in a more complex broth.
- Amount: The quantity of bones you use will depend on the size of your pressure cooker and the desired amount of broth. As a general guideline, aim for around 1-2 pounds of bones per quart of water.
Keep in mind that the quality and type of bones you use will greatly impact the flavor of your broth. Experiment with different options to find your favorite combination.
Preparing the Soup Bones
Before you can start cooking the broth, it’s essential to properly prepare the soup bones. Follow these steps to ensure the best results:
- Rinse the Bones: Give the bones a quick rinse under cold water to remove any debris or loose pieces.
- Roast the Bones: Preheat your oven to 400°F (200°C). Place the bones on a baking sheet and roast them for about 30 minutes. This step helps to enhance the flavor of the bones and gives the broth a richer taste.
- Optional: Season the Bones: If you want to add extra flavor, you can season the bones with salt, pepper, garlic powder, or other herbs and spices of your choice before roasting.
- Cool and Degrease: After roasting, allow the bones to cool slightly. Then, remove any excess fat or grease that has accumulated. This step helps to create a cleaner broth.
By following these preparation steps, your soup bones will be ready to infuse your broth with delicious flavor.
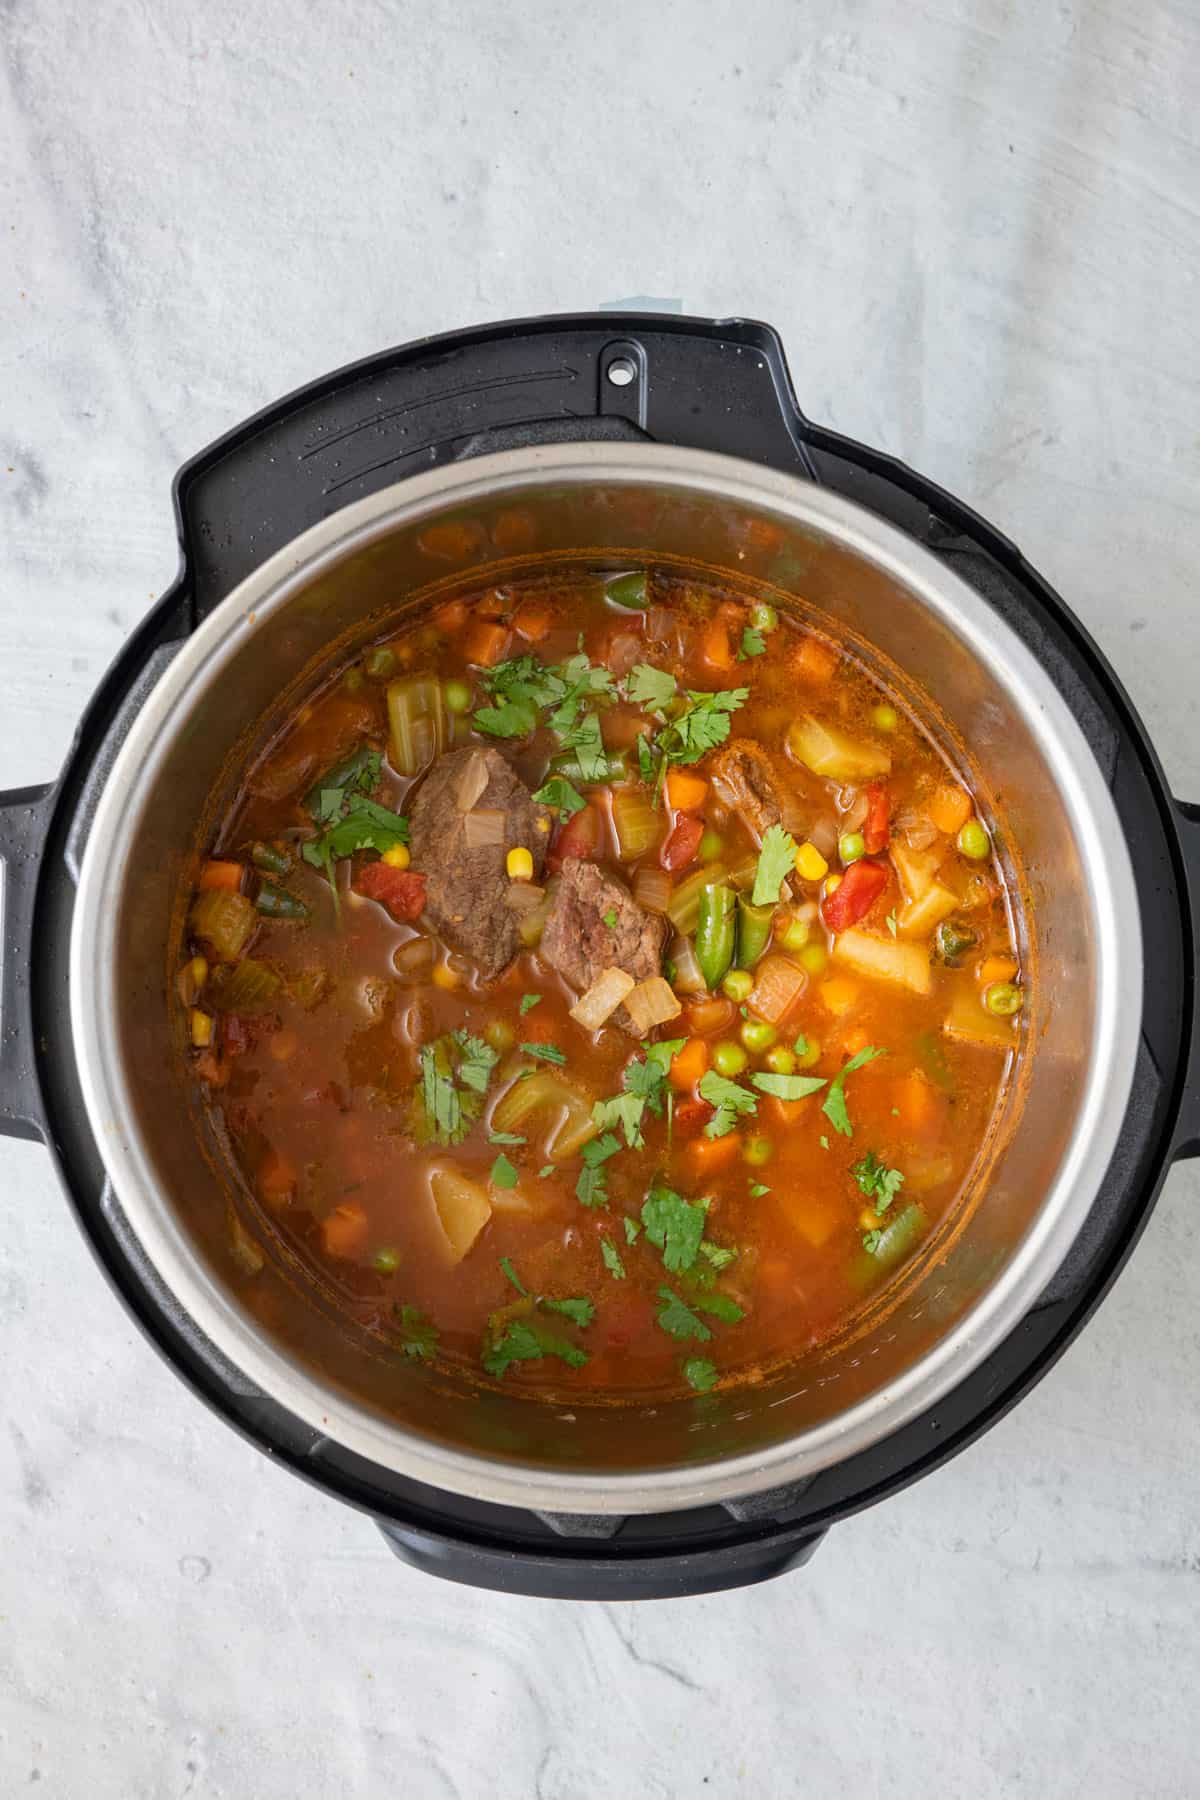
Adding Flavorful Ingredients
While the soup bones will provide a solid base for your broth, adding flavorful ingredients will take it to the next level. Here are some ingredients you can include to enhance the taste:
- Vegetables: Chop up onion, carrots, celery, and garlic to add to your broth. These aromatic vegetables will impart a savory depth of flavor.
- Herbs and Spices: Bundle together a few sprigs of fresh herbs like thyme, rosemary, and parsley, or add dried herbs like bay leaves, peppercorns, and whole cloves. These will infuse the broth with additional aromas and flavors.
- Aromatics: Consider adding a splash of soy sauce, a touch of fish sauce, or even a dried sea vegetable like kombu for a hint of umami.
- Salt and Pepper: Season the broth with salt and pepper to taste. Start with a modest amount and adjust as needed during the cooking process.
Remember, these ingredients are meant to complement the flavor of the soup bones, so use them in moderation to avoid overpowering the natural taste of the broth. Feel free to experiment with different combinations to find the perfect flavor profile for your soup.
Setting up the Electric Pressure Cooker
Now that you have prepared the soup bones and gathered your flavorful ingredients, it’s time to set up your electric pressure cooker. Follow these steps to ensure a smooth cooking process:
- Check the Manual: Familiarize yourself with the specific instructions and settings of your electric pressure cooker by referring to the user manual. Different models may have slight variations in operation.
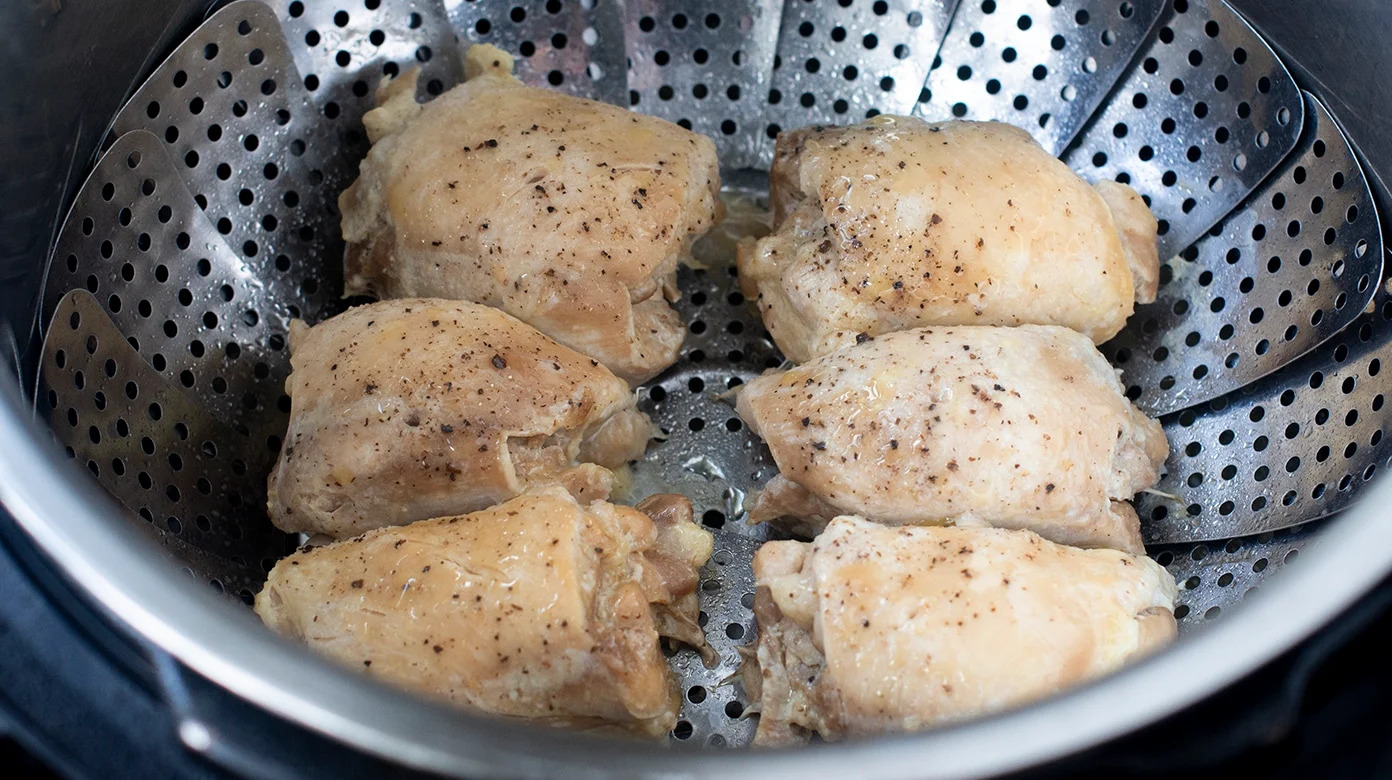
- Add Ingredients: Place the prepared soup bones, vegetables, herbs, spices, and any other desired ingredients into the pressure cooker pot.
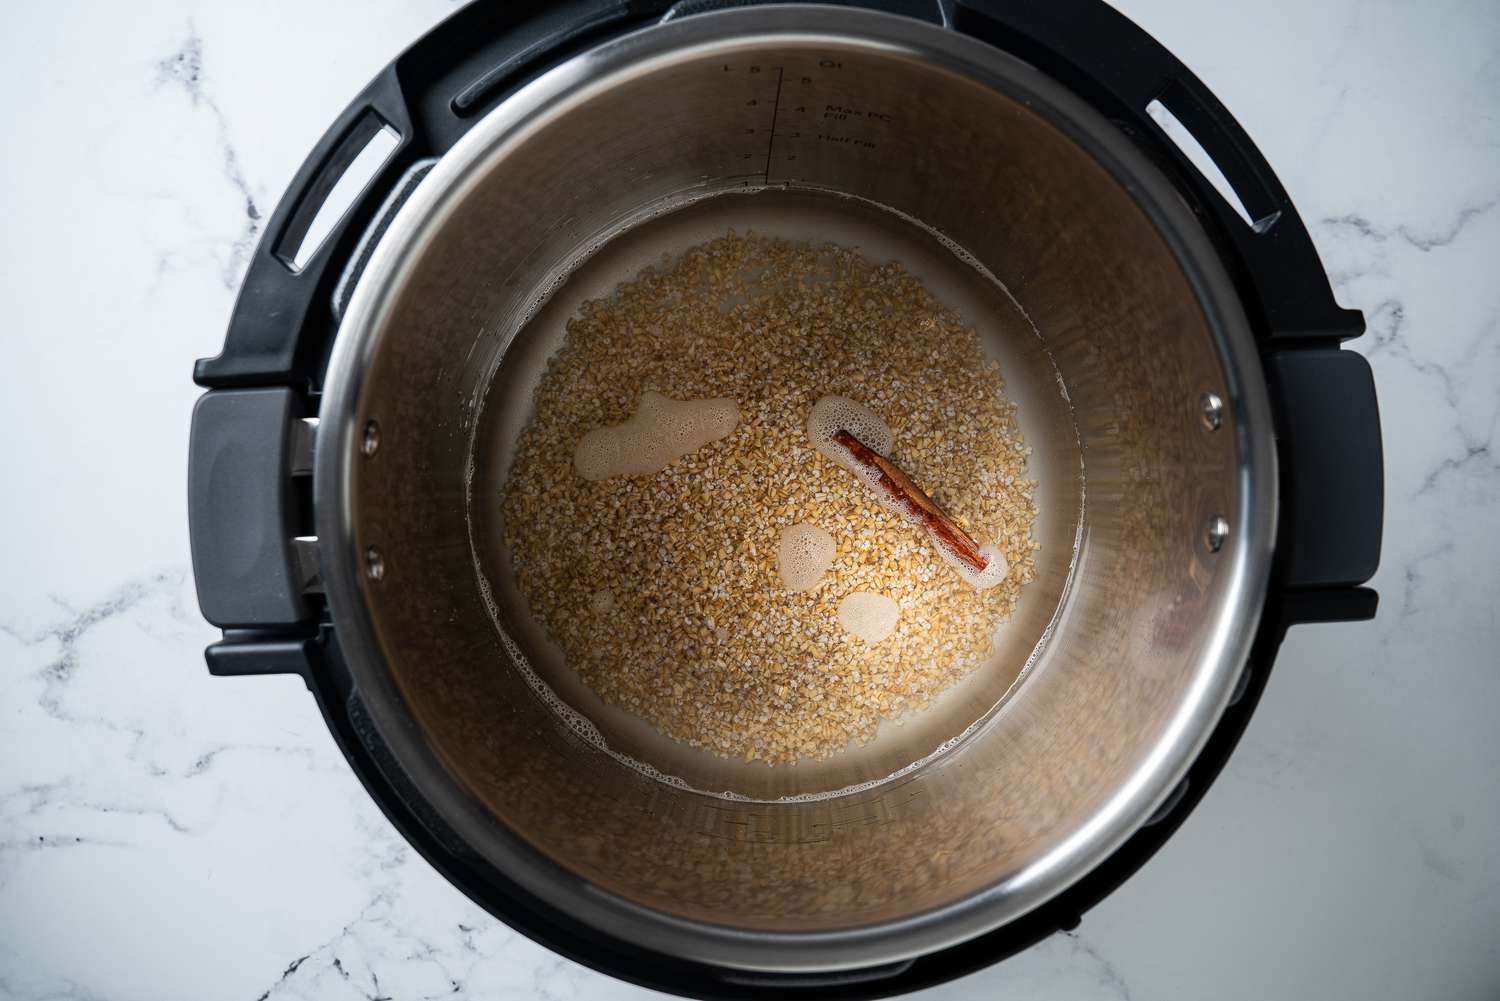
- Add Water: Pour in enough water to cover the ingredients but leave some space for expansion. Typically, you’ll want to fill the pot with about 2/3 to 3/4 of its capacity.
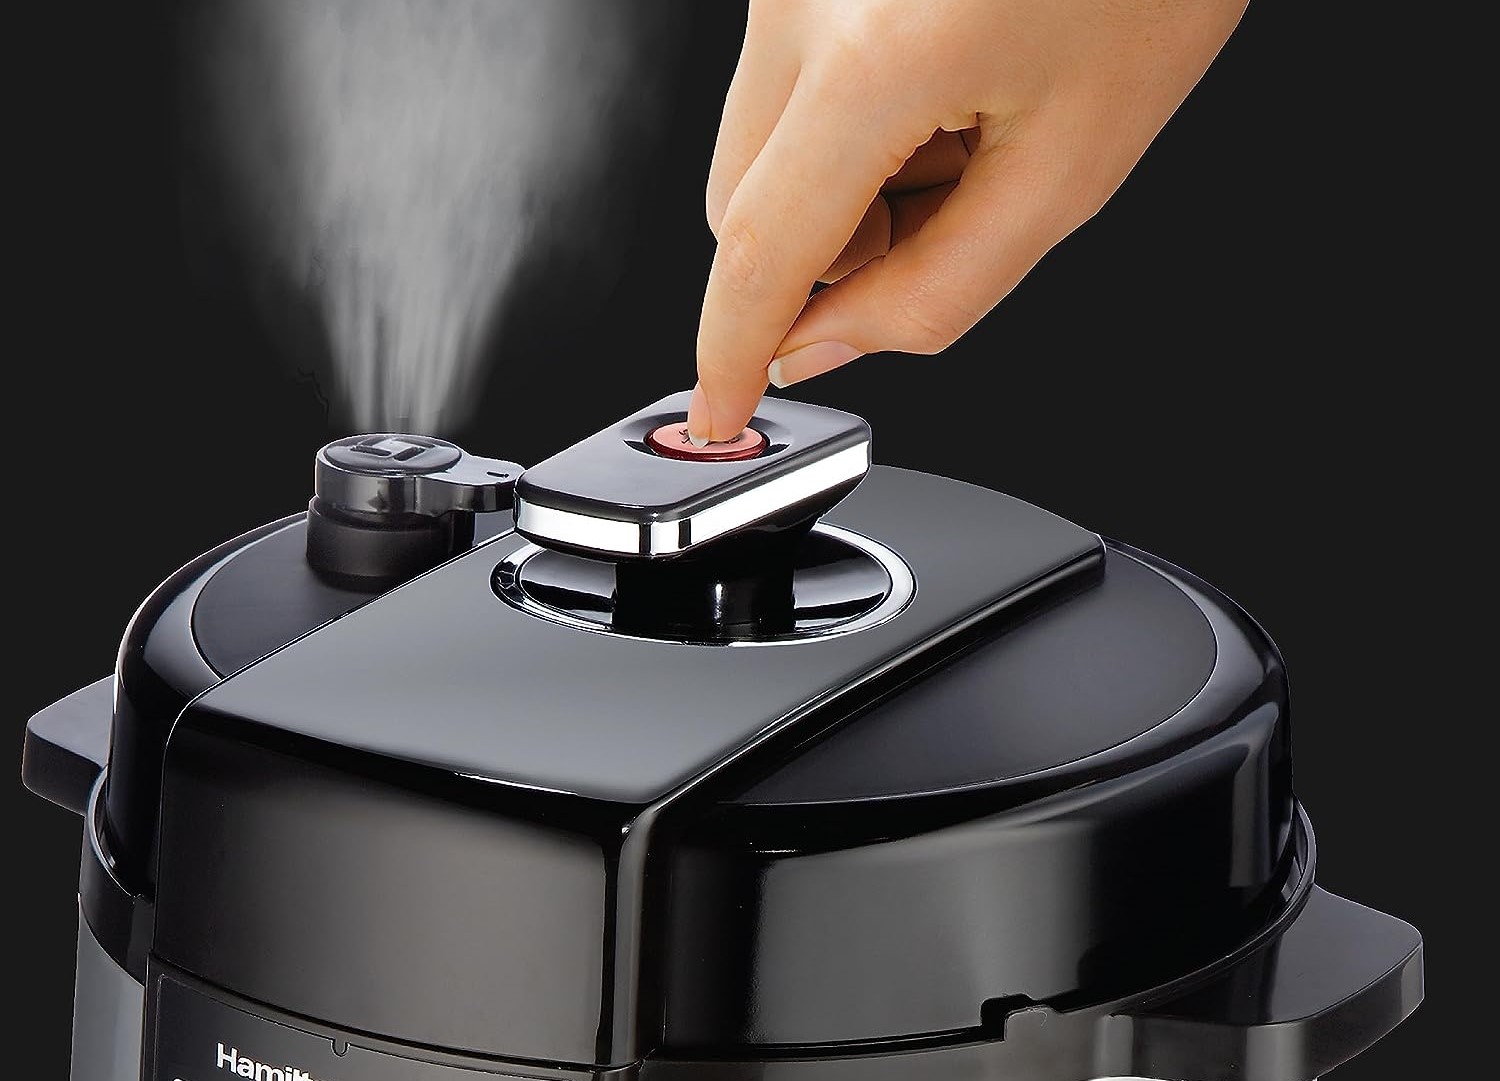
- Secure the Lid: Ensure the pressure cooker’s lid is properly sealed and locked into place, following the manufacturer’s instructions. This is crucial for creating the necessary pressure inside the cooker.
- Select the Cooking Program: Depending on your pressure cooker model, choose the appropriate setting for making broth. Many electric pressure cookers have a “Soup” or “Broth” setting that you can select.
- Set the Cooking Time: Set the cooking time according to the instructions in your recipe or use a guideline. For beef broth, a cooking time of about 1-2 hours is typical, while chicken broth may require 30 minutes to an hour.
- Start Cooking: Press the start button on your electric pressure cooker to begin the cooking process. The cooker will take some time to pressurize before the timer starts counting down.
It’s important to follow these steps and any additional guidelines provided by your specific electric pressure cooker model to ensure safe and efficient cooking.
After cooking the soup bones in the electric pressure cooker, let the broth cool before straining it. This will make it easier to remove any excess fat that rises to the top.
Read more: How To Can Soup In Electric Pressure Cooker
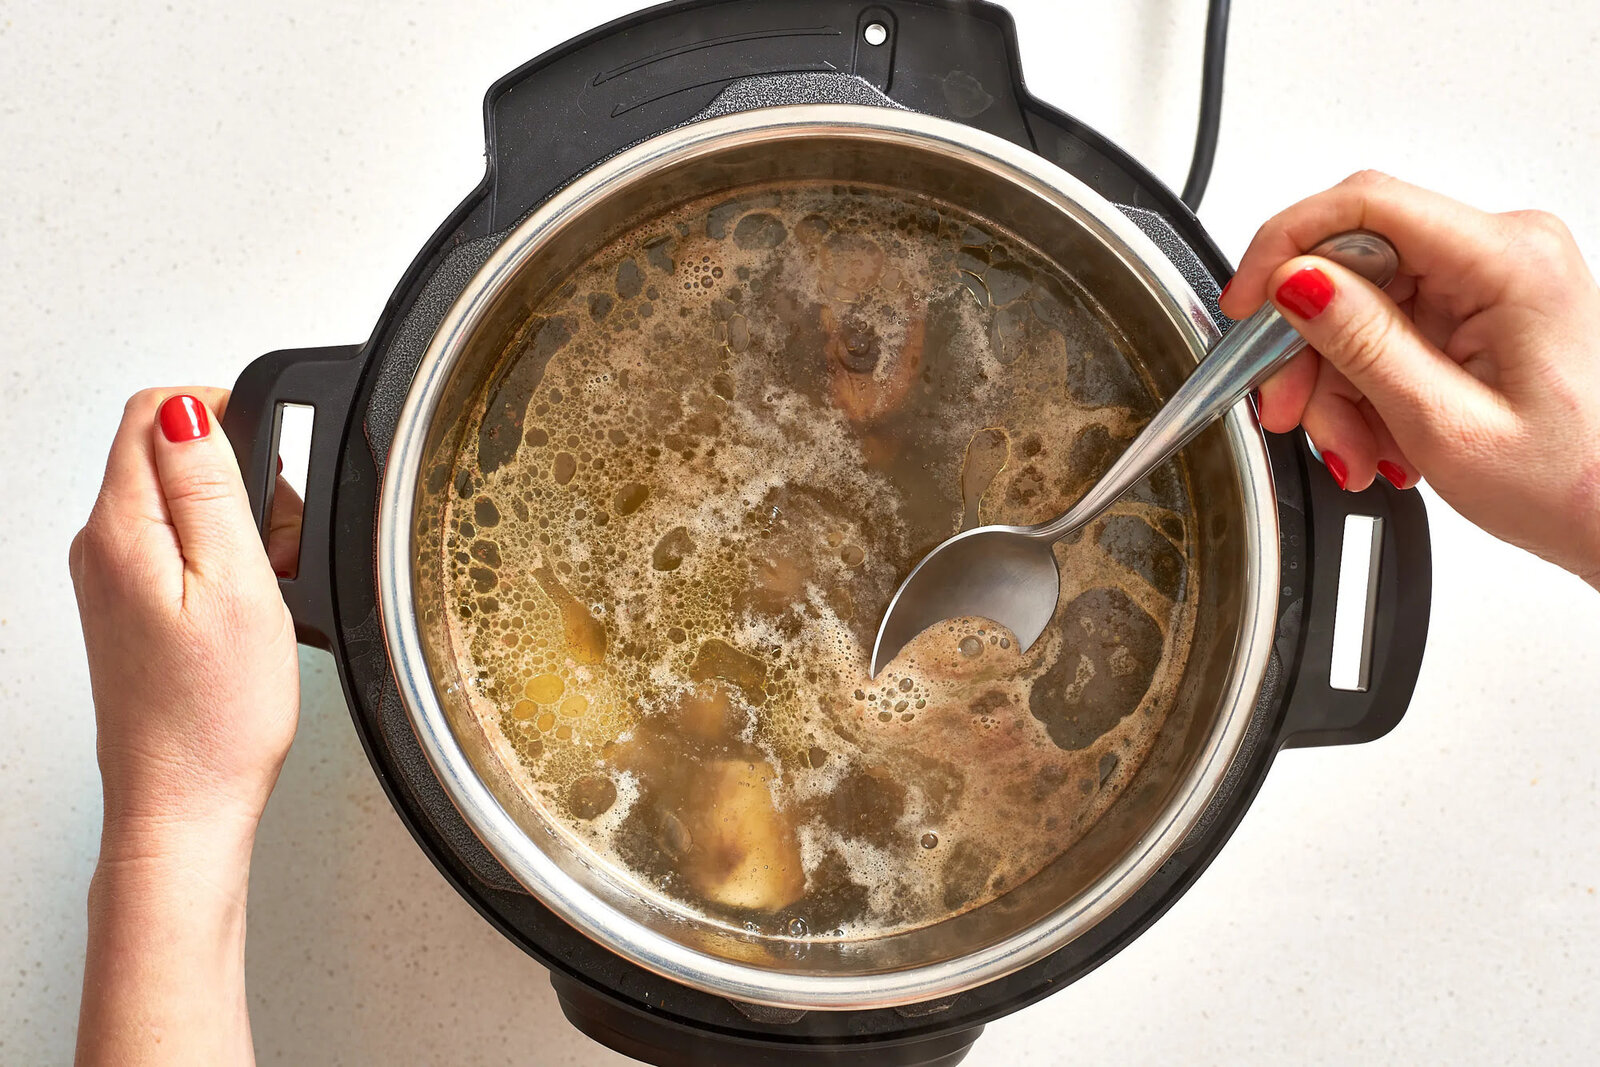
Cooking the Broth
Once you’ve set up your electric pressure cooker, it’s time to start cooking the broth. Follow these steps to ensure the best results:
- Wait for Pressure Build-up: After you’ve pressed the start button, the pressure cooker will take some time to build up pressure. This period can range from a few minutes to around 15 minutes depending on the model.
- Cooking Time: Once the pressure has built up, the cooking time will begin counting down. The time will vary depending on the type of bones and the desired intensity of flavor. Beef broth typically requires 1-2 hours of cooking time, while chicken broth can be done in 30 minutes to an hour.
- Natural Release or Quick Release: After the cooking time is complete, you have two options for releasing the pressure. The natural release method allows the pressure to come down naturally, which can take an additional 10-20 minutes. The quick release method involves carefully turning the pressure release valve to manually release the pressure.
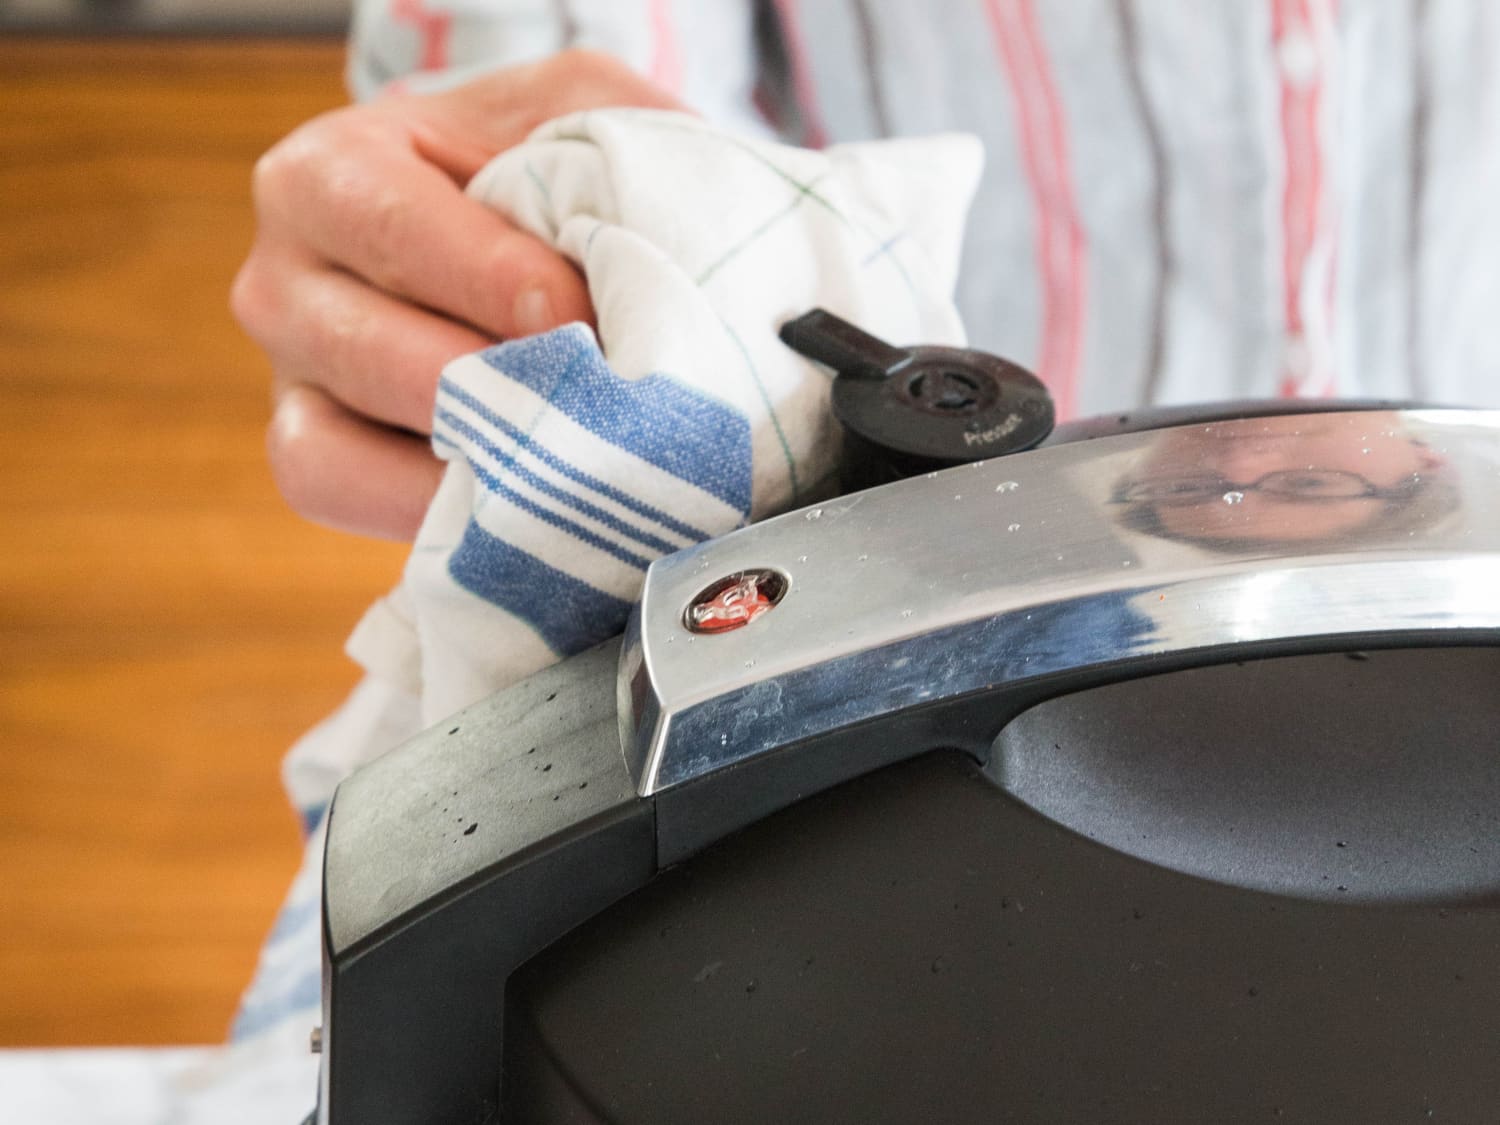
- Check for Safety: Before opening the pressure cooker, make sure that all the pressure has been released. Some models have safety locks that prevent you from opening the lid until the pressure has fully dissipated.
- Open the Lid: Once it’s safe to do so, carefully open the lid of the pressure cooker. You’ll be greeted with a fragrant and flavorful broth.
It’s important to note that the cooking times provided are general guidelines. Depending on personal preferences and the desired intensity of flavor, you may choose to increase or decrease the cooking time slightly.
Now that you’ve cooked the broth, it’s time to move on to the next steps – straining and storing.
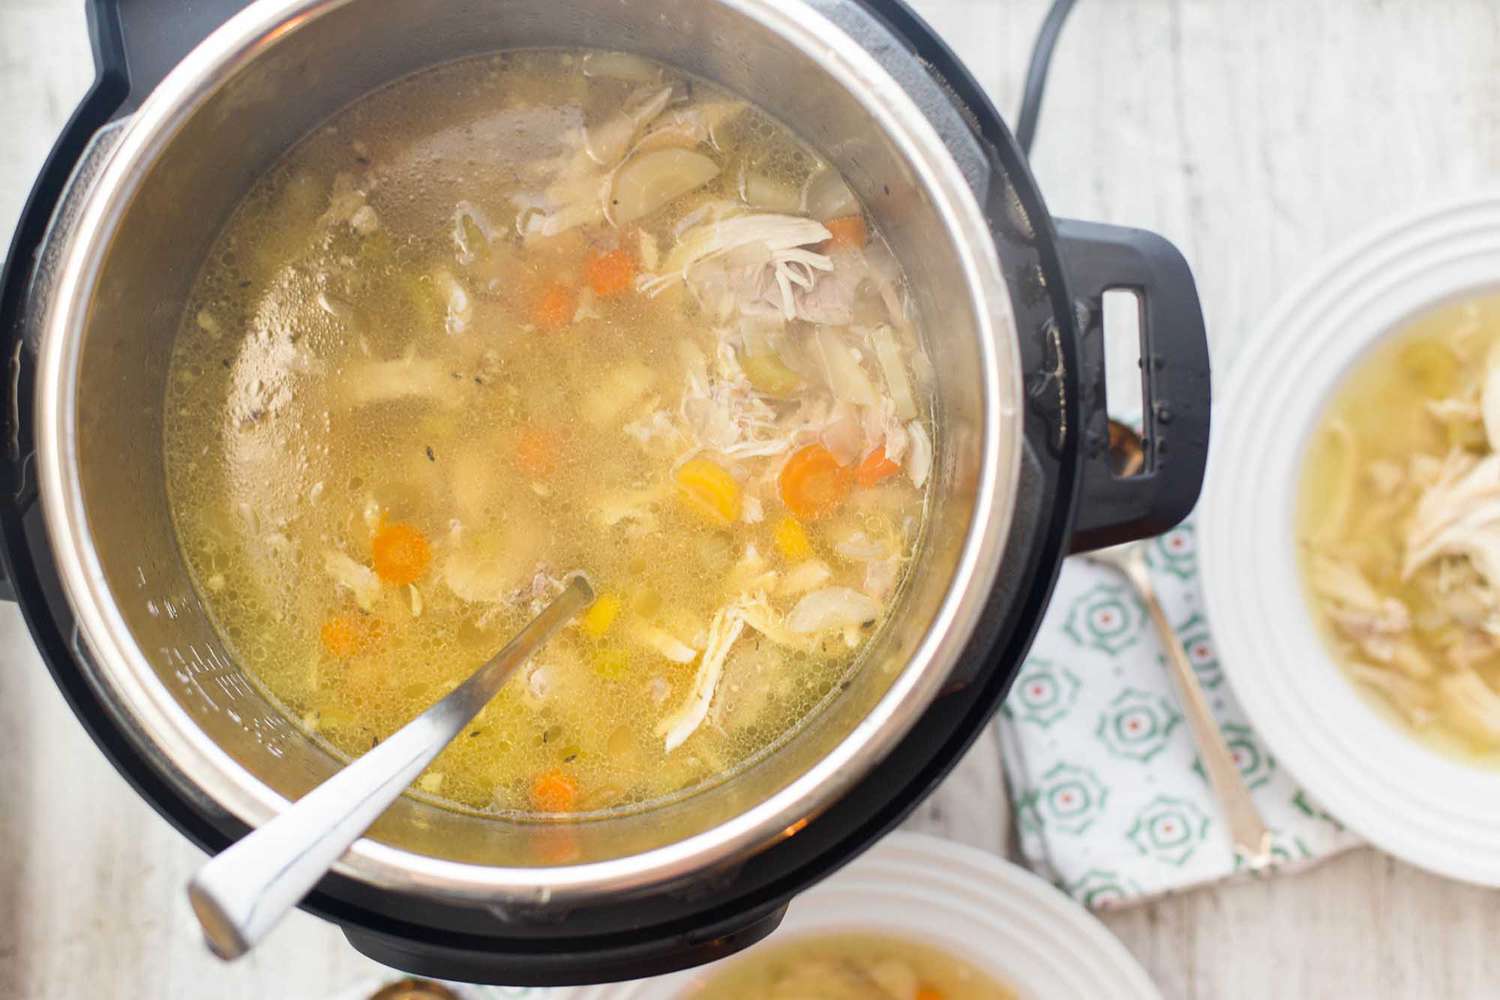
Straining and Storing the Broth
After cooking the broth in your electric pressure cooker, it’s time to strain and store the flavorful liquid. Here’s how you can do it:
- Straining: Carefully ladle the broth through a fine-mesh strainer or cheesecloth to remove any solids, such as bones, vegetables, herbs, and spices. This will ensure a smooth and clear broth.
- Cooling: Allow the strained broth to cool at room temperature for a while. Once it has slightly cooled down, transfer it to the refrigerator and let it chill completely. This will help any excess fat rise to the surface and solidify, making it easier to skim off.
- Skimming: Once the broth has chilled, skim off any solidified fat from the surface using a spoon or a skimmer. This step will result in a lighter and healthier broth.
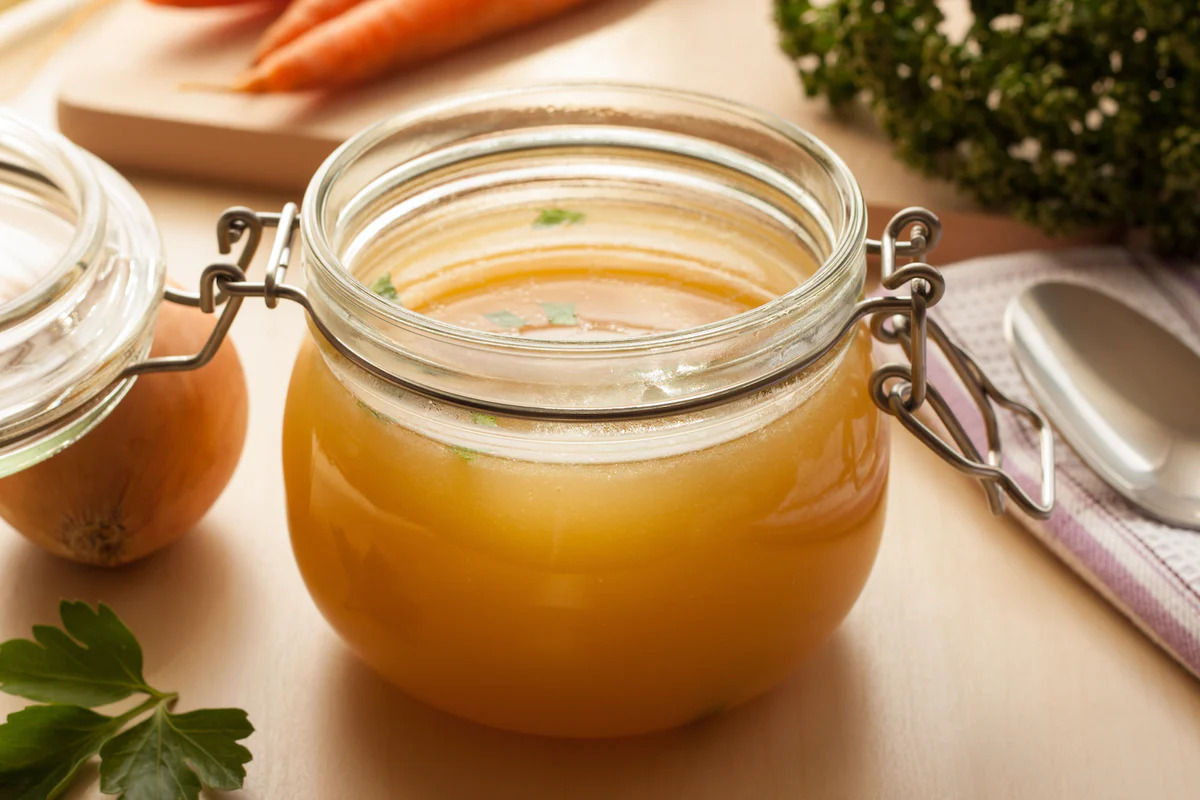
- Storage: Transfer the strained and skimmed broth into airtight containers, such as mason jars or freezer-safe containers. Label the containers with the date and contents for easy reference.
- Freezing: If you don’t plan to use the broth immediately, you can freeze it for future use. Leave some room in the containers for expansion during freezing. Frozen broth can last for several months.
Now that your broth is strained, skimmed, and properly stored, you can use it as a delicious base for soups, stews, sauces, and other recipes. Just thaw and heat the desired amount whenever you need it.
Remember, homemade broth is a versatile ingredient that can add incredible flavor and depth to a wide variety of dishes. Enjoy the fruits of your labor and savor the deliciousness!
Tips for Making Delicious Broth
While making broth from soup bones in an electric pressure cooker is relatively straightforward, there are a few tips and tricks that can help you achieve even more flavor and depth. Here are some tips to take your broth to the next level:
- Season Generously: Don’t shy away from seasoning your broth with salt, herbs, and spices. A well-seasoned broth can make a huge difference in the overall taste.
- Add Acid: To enhance the flavor profile, consider adding a splash of acidity. A squeeze of lemon juice or a splash of vinegar can brighten up the broth and balance out the richness.
- Include Vegetable Scraps: Save any vegetable scraps, such as onion peels, carrot tops, or celery leaves. You can store them in a freezer bag until you’re ready to make broth. Adding these scraps to your broth can contribute to a more robust and complex flavor.
- Experiment with Aromatics: Don’t be afraid to try different combinations of herbs, spices, and aromatics. From bay leaves and thyme to ginger and star anise, the possibilities are endless. Be adventurous and develop your own signature broth recipe.
- Use High-Quality Ingredients: The quality of your ingredients will directly impact the flavor of your broth. Opt for organic or pasture-raised bones and fresh, seasonal vegetables for the best results.
- Let the Flavors Develop: If time allows, let the broth simmer on low heat for an extended period. This will give the flavors more time to meld together, resulting in a richer and more concentrated broth.
- Skim the Fat: Removing any excess fat during the straining process will result in a lighter and clearer broth. Skimming off the fat can also improve the texture and mouthfeel.
- Customize to Your Taste: Feel free to customize the broth to suit your preferences. If you like it more savory, add more herbs and spices. If you prefer it lighter, reduce the cooking time slightly.
Remember, making delicious broth is both an art and a science. Don’t be afraid to experiment, adjust, and make it your own. With practice and exploration, you’ll be able to create the perfect broth that satisfies your taste buds.
Conclusion
Making broth from soup bones in an electric pressure cooker is a wonderful way to create flavorful, homemade broth in a fraction of the time. By following the steps outlined in this article, you can achieve delicious results and unlock the full potential of your pressure cooker.
From choosing the right soup bones to adding flavorful ingredients and setting up your electric pressure cooker, each step plays a crucial role in creating a robust and aromatic broth. Taking the time to properly prepare the bones, select quality ingredients, and season generously will elevate the taste and depth of your broth.
Remember to experiment and personalize your broth by trying different variations of herbs, spices, and aromatics. Don’t be afraid to get creative and let your taste buds be your guide. The beauty of making homemade broth is that you have the freedom to tailor it to your preferences and create a one-of-a-kind flavor profile.
Once you have cooked the broth, strain and store it properly to ensure longevity and easy use for future culinary adventures. Whether you use it as a base for soups, stews, sauces, or simply savor it on its own, the homemade broth will add a mouthwatering richness that cannot be replicated by store-bought options.
By following the tips provided and honing your skills in making broth, you can create a culinary foundation that enhances the taste of countless dishes. Enjoy the process, embrace the flavors, and share the joys of homemade broth with friends and family.
So, why wait? Dust off your electric pressure cooker, gather your ingredients, and embark on a broth-making journey that will elevate your cooking to new heights.
Frequently Asked Questions about How To Make Broth From Soup Bones In An Electric Pressure Cooker
Was this page helpful?
At Storables.com, we guarantee accurate and reliable information. Our content, validated by Expert Board Contributors, is crafted following stringent Editorial Policies. We're committed to providing you with well-researched, expert-backed insights for all your informational needs.


0 thoughts on “How To Make Broth From Soup Bones In An Electric Pressure Cooker”