Articles
How To Store Homemade Chicken Broth
Modified: February 24, 2024
Learn the best methods for storing homemade chicken broth in this informative article. Keep your broth fresh and flavorful for future use.
(Many of the links in this article redirect to a specific reviewed product. Your purchase of these products through affiliate links helps to generate commission for Storables.com, at no extra cost. Learn more)
Introduction
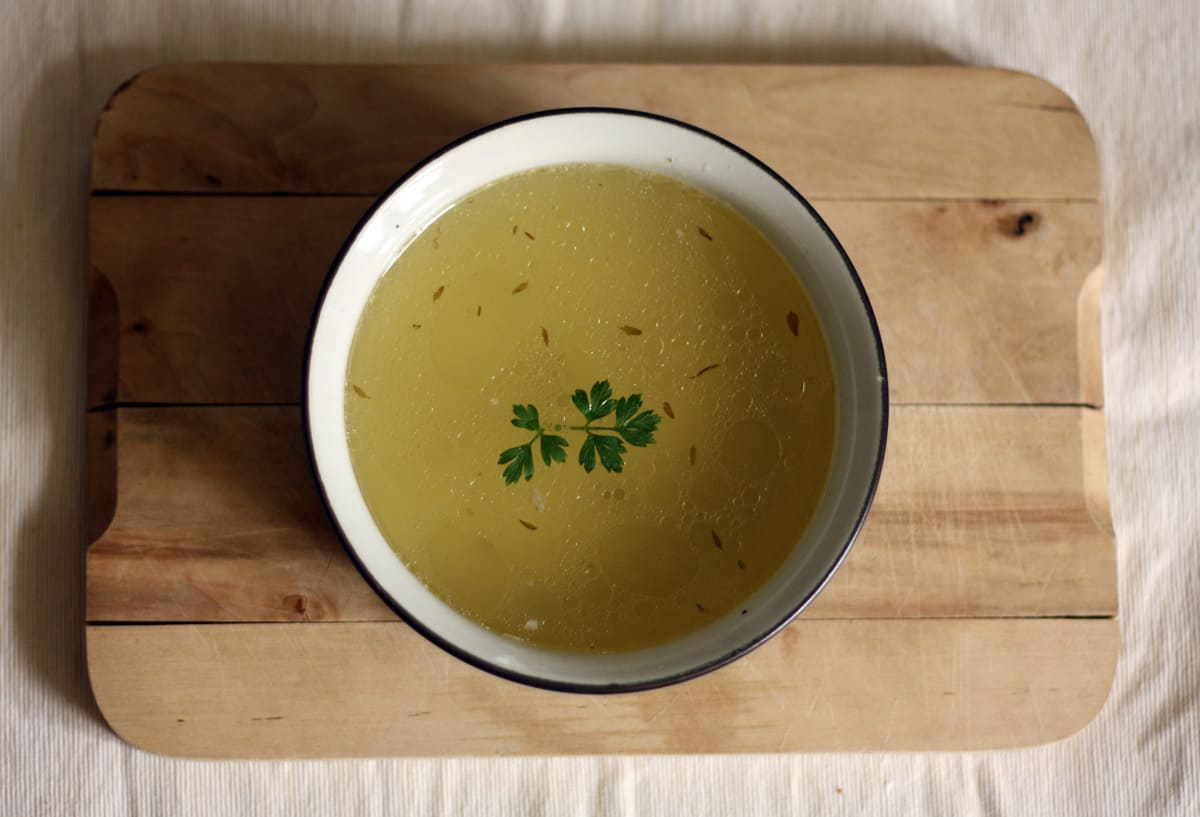
Homemade chicken broth is a versatile and flavorful base for countless delicious recipes. Whether you’re making a hearty soup, a savory sauce, or a flavorful risotto, having a batch of homemade chicken broth on hand can elevate your culinary creations to a whole new level.
Not only does homemade chicken broth impart a rich and delicious taste to your dishes, but it also offers a range of health benefits. It is packed with nutrients, including essential minerals, amino acids, and collagen, which can support strong bones, promote healthy skin, and boost your immune system.
If you enjoy the process of cooking and want to make the most out of your ingredients, preparing your own chicken broth is a rewarding and satisfying task. Not only will you have control over the flavor and quality of the broth, but it can also save you money compared to store-bought options.
In this article, we will guide you through the process of storing homemade chicken broth to ensure it stays fresh and flavorful for as long as possible. We’ll cover everything from choosing the right ingredients to freezing and refrigerating techniques, so you can enjoy the benefits of homemade chicken broth whenever you need it.
So, let’s dive in and discover the best practices for storing homemade chicken broth!
Key Takeaways:
- Elevate your dishes with homemade chicken broth, packed with flavor and health benefits. Follow proper storage techniques to ensure freshness and convenience for all your culinary creations.
- From selecting the best ingredients to using and thawing frozen broth, master the art of homemade chicken broth storage for flavorful and nutritious dishes.
Read more: How To Store Chicken Broth
Benefits of Homemade Chicken Broth
Homemade chicken broth offers a range of benefits that make it an invaluable staple in the kitchen. Here are some of the key advantages of using homemade chicken broth in your cooking:
- Flavorful and Versatile: Homemade chicken broth adds depth, richness, and umami flavor to a wide variety of dishes, including soups, stews, sauces, and risottos. It can enhance the taste of your recipes and take them to the next level.
- Nutrient-Rich: Chicken broth is packed with nutrients derived from the bones, cartilage, and meat used to make it. It contains essential minerals like calcium, magnesium, and phosphorus, as well as amino acids that are beneficial for your overall health.
- Supports Gut Health: The gelatin present in homemade chicken broth is gentle on the digestive system and can help soothe and heal the gut lining. It may also aid in the digestion of other foods, making it a valuable addition to a healthy diet.
- Boosts the Immune System: Homemade chicken broth is believed to have immune-boosting properties due to its high content of nutrients like zinc, selenium, and vitamins A and C. Consuming chicken broth during times of illness can help support a healthy immune response.
- Promotes Healthy Skin and Joints: The collagen present in chicken broth is known for its benefits to the skin and joints. Regular consumption of homemade chicken broth may help improve skin elasticity, reduce wrinkles, and support joint health.
- Hydration and Satiation: Chicken broth is an excellent source of hydration and can help keep you feeling full and satiated. It is a low-calorie option that can be enjoyed on its own or used as a base for other dishes.
By incorporating homemade chicken broth into your cooking, you can enjoy these benefits while adding depth and flavor to your favorite recipes. Now that we’ve explored the advantages, let’s move on to the next step: choosing the right ingredients for your homemade chicken broth.
Choosing the Right Ingredients
The key to a delicious and flavorful homemade chicken broth starts with selecting the right ingredients. Here are some tips to help you choose the best ingredients for your broth:
- Chicken: Choose high-quality chicken for the best results. You can use a whole chicken or a combination of chicken parts like bones, thighs, and wings. Using a mix of white meat and dark meat will add depth of flavor to your broth.
- Bones and Cartilage: Including bones and cartilage in your chicken broth is essential for extracting nutrients and achieving a rich, gelatinous consistency. If possible, use bones with some meat still attached as they will add extra flavor.
- Vegetables: Add a variety of vegetables to enhance the flavor of your broth. Carrots, celery, onions, and garlic are classic choices, but you can also experiment with other aromatic vegetables like leeks and parsley. Wash and roughly chop the vegetables before adding them to the broth.
- Herbs and Spices: Fresh or dried herbs and spices can elevate the flavor of your homemade chicken broth. Common options include bay leaves, thyme, rosemary, parsley, and black peppercorns. Tie the herbs and spices in a cheesecloth or use a mesh infuser for easy removal later.
- Water: Use filtered water to make your chicken broth. It’s important to use enough water to fully cover the ingredients in your pot but avoid over-diluting the broth. The water should enhance the flavors of the chicken, vegetables, and herbs without overpowering them.
- Salt: While it’s best to add salt to your dishes when using the broth, you can add a small amount during the cooking process. Keep in mind that the broth will reduce while simmering, so be cautious with the amount and adjust later when using it in recipes.
Remember, the quality and freshness of your ingredients will greatly impact the resulting flavor of your homemade chicken broth. Whenever possible, choose organic and locally sourced ingredients to ensure the best taste and nutritional value.
Now that you’ve chosen your ingredients, it’s time to move onto the next step: preparing the chicken broth. Let’s dive in!
Preparing the Chicken Broth
Once you have gathered the right ingredients, it’s time to start preparing your homemade chicken broth. Follow these simple steps to create a flavorful and nourishing broth:
- Prepping the Chicken: If using a whole chicken, remove the giblets and excess fat from the cavity. If using chicken parts, rinse them under cold water to remove any impurities. Pat dry with paper towels.
- Roasting the Chicken (Optional): For added depth of flavor, you can choose to roast the chicken parts in the oven before making the broth. Place the chicken in a roasting pan, season with salt and pepper, and roast at 400°F (200°C) for 30-40 minutes or until golden brown. This step is optional but highly recommended.
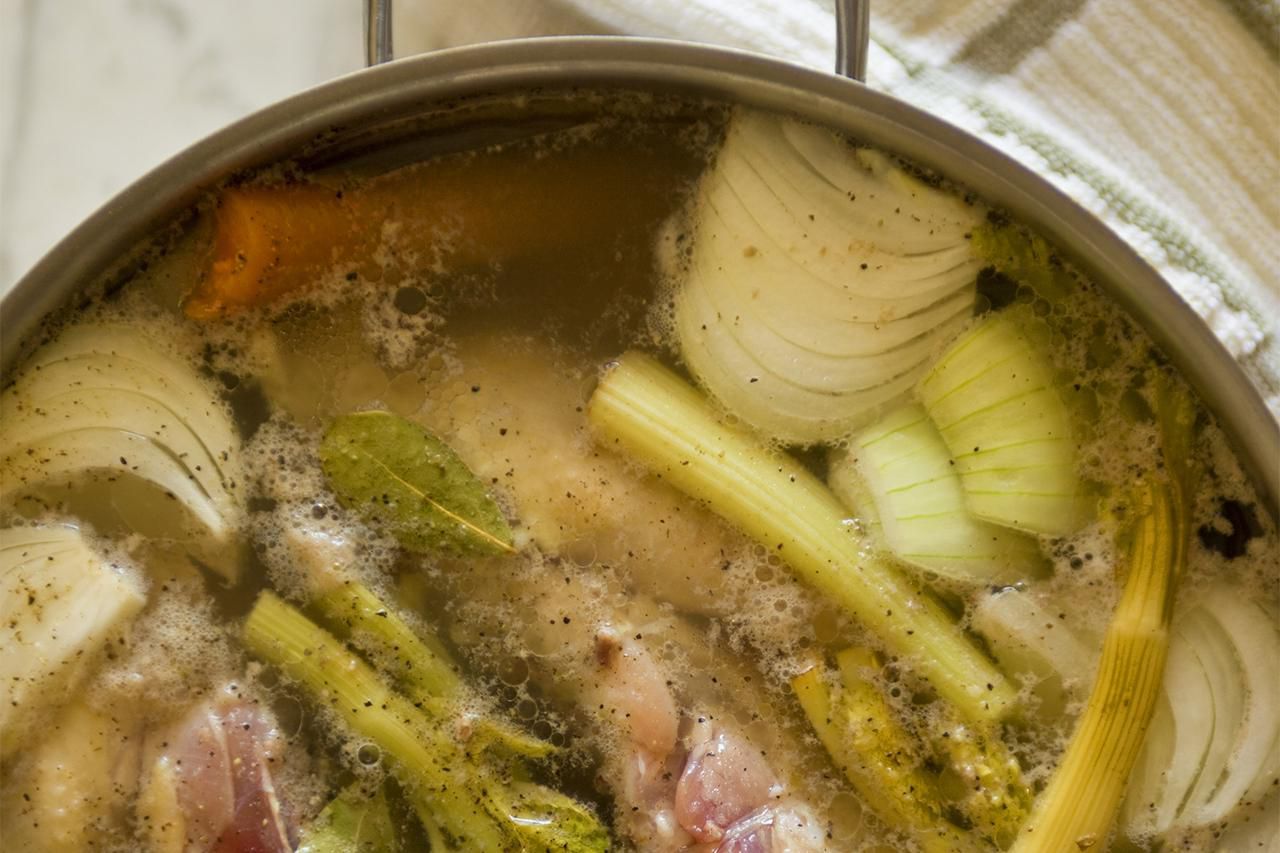
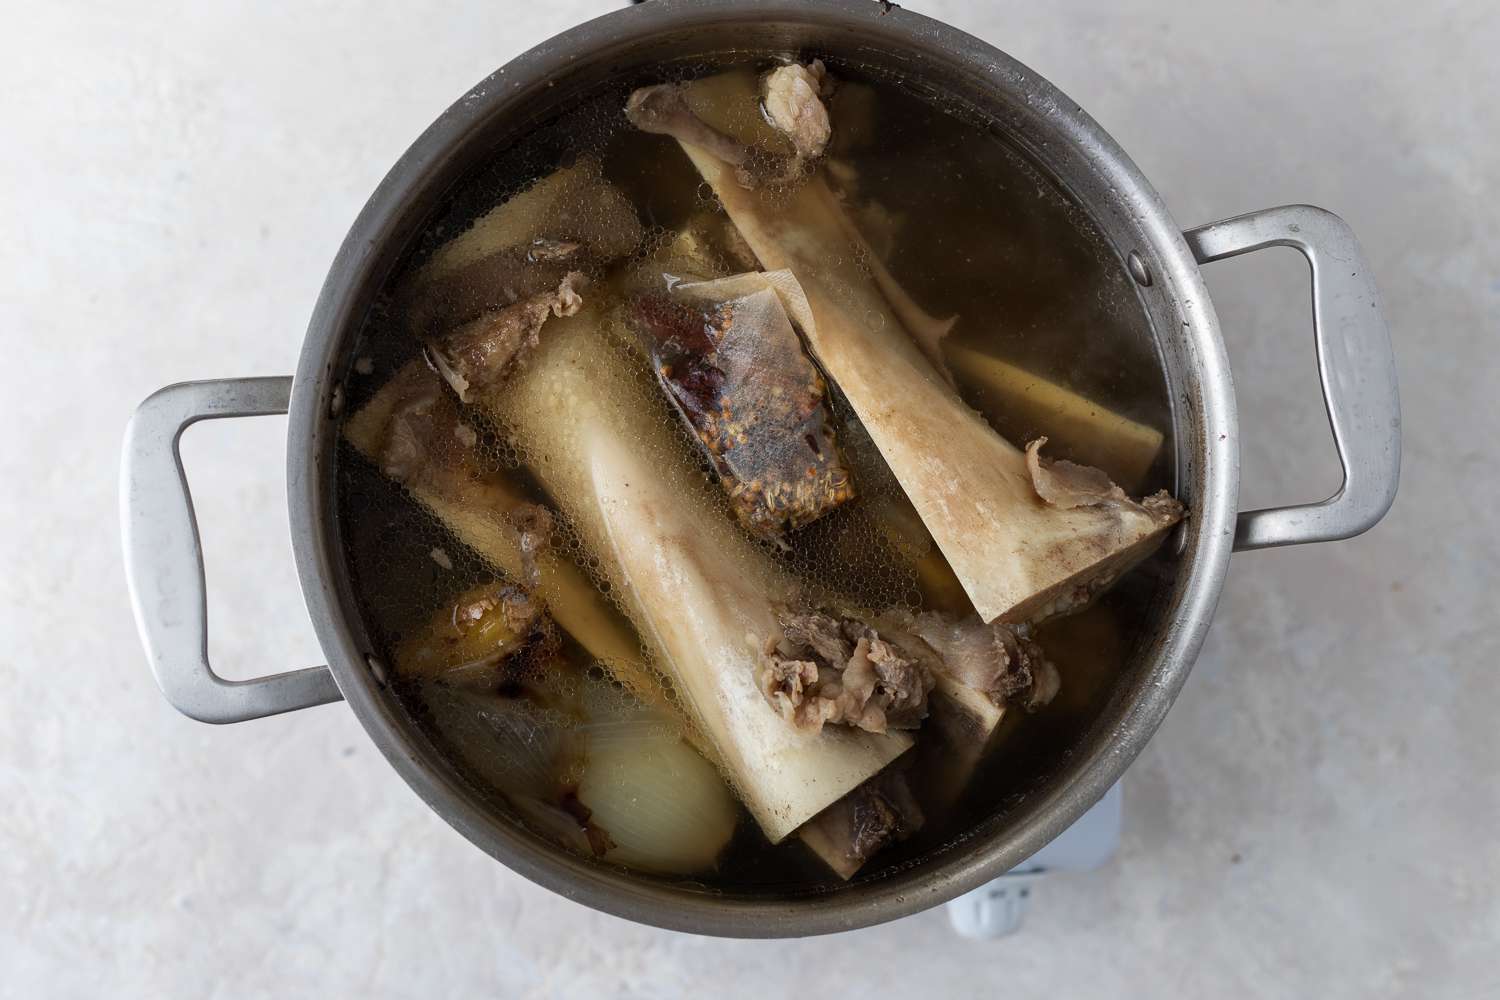
- Combining Ingredients: In a large stockpot or Dutch oven, add the chicken, bones, vegetables, herbs, and spices. Pour in enough filtered water to fully cover the ingredients, leaving a couple of inches of space at the top.
- Bringing to a Boil: Place the pot over medium-high heat and bring the mixture to a boil. Once boiling, reduce the heat to low and let it simmer gently. Skim off any impurities or foam that rise to the surface with a slotted spoon or skimmer.
- Simmering the Broth: Allow the chicken broth to simmer uncovered for about 2-4 hours. This slow and gentle simmering process allows the flavors to meld and the nutrients to be extracted from the ingredients.
- Straining the Broth: Carefully remove and discard the solids from the pot using tongs or a slotted spoon. Place a fine-mesh strainer or a cheesecloth-lined colander over a large bowl or another pot. Pour the broth through the strainer to remove any remaining impurities.
- Cooling the Broth: Allow the broth to cool at room temperature for about 1 hour. Afterward, place it in the refrigerator overnight or for at least 8 hours. This step helps solidify the fat, making it easier to remove.
Once the broth has cooled and solidified, you can move on to the next step: separating the fat and storing the broth. We will cover this in the upcoming sections.
Now that your homemade chicken broth is ready, you can savor the delicious aroma and anticipate the plethora of culinary possibilities it will bring to your dishes.
Cooling and Storing the Broth
Properly cooling and storing your homemade chicken broth is crucial to maintain its freshness and flavor. Follow these steps to ensure your broth stays safe and delicious:
- Skim off the Fat: Once the chicken broth has cooled in the refrigerator, you’ll notice a layer of solidified fat on the surface. Use a spoon or a fat separator to skim off and discard the fat. This step helps reduce the risk of spoilage and ensures a cleaner-tasting broth.
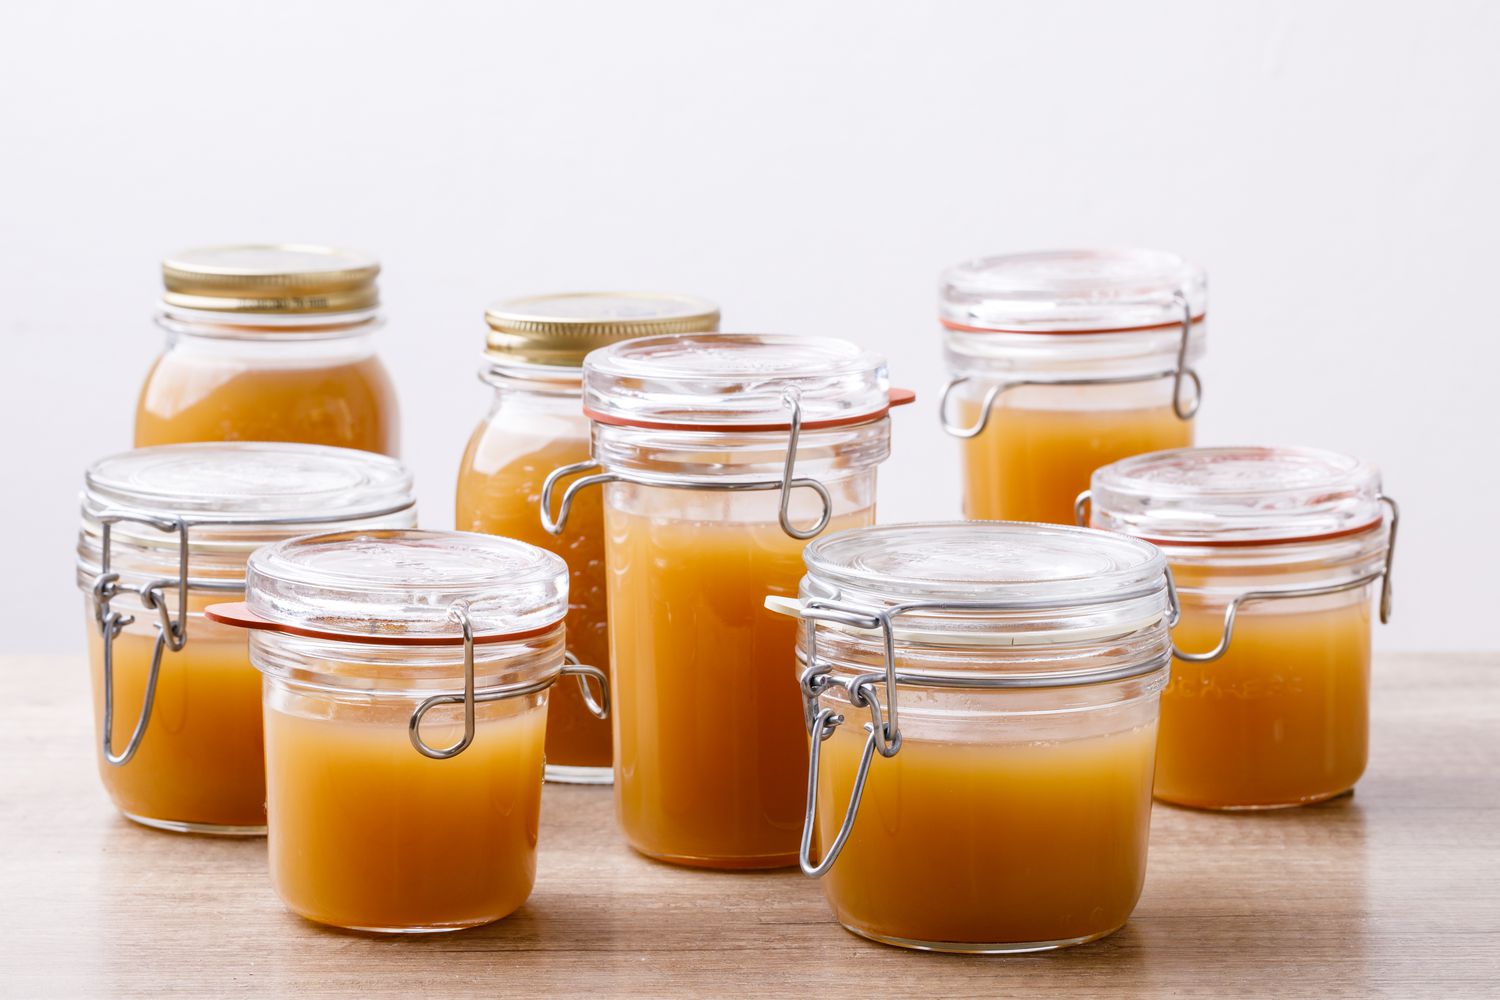
- Separate into Portions: Divide the chicken broth into suitable portions based on your cooking needs. Consider storing smaller portions that you can quickly thaw and use as needed. Freezing in smaller portions also allows for easier reheating, reducing waste.
- Choosing the Right Containers: It’s crucial to use proper containers for storing the chicken broth. Opt for freezer-safe containers or freezer bags to prevent the broth from absorbing any odors or developing freezer burn. Ensure the containers have a tight seal to prevent leaks or spills.
- Labeling and Dating: Before transferring the broth into containers, label each container with the date and contents. This will help you keep track of the broth’s freshness and easily identify which containers to use first.
- Portioning and Storage: Carefully ladle or pour the chicken broth into the containers, leaving some headspace for expansion during freezing. Seal the containers tightly and place them in the freezer or refrigerator, depending on your storage preference.
If you plan to use the chicken broth within a few days, storing it in the refrigerator is a suitable option. It can typically last for up to 4-5 days when refrigerated. However, if you want to store it for a longer duration, freezing the broth is the best option.
By following these steps, you can properly cool and store your homemade chicken broth, allowing it to retain its freshness and flavor. In the next sections, we will explore the specific techniques for freezing and refrigerating the broth and how to use it once it’s been thawed.
Let’s dive into the details on freezing and refrigerating your homemade chicken broth!
Read more: How To Store Homemade Vegetable Broth
Proper Containers for Storage
Choosing the right containers for storing your homemade chicken broth is essential to maintain its quality and prevent any cross-contamination or spoilage. Here are some tips to help you select the proper containers for storing your broth:
- Freezer-Safe Containers: When planning to freeze your chicken broth, it’s important to use containers specially designed for freezer storage. Look for containers that are labeled as freezer-safe or made from materials such as BPA-free plastic or glass, which can withstand the freezing temperatures without cracking or breaking.
- Sealable Freezer Bags: Another convenient option for freezing chicken broth is to use sealable freezer bags. Make sure they are specifically designed for freezer use to prevent leakage and potential freezer burn. Sealable bags also offer the advantage of saving space in the freezer as they can be stacked flat.
- Airtight Lids: Whichever container you choose, ensure that it has airtight lids or closures. This will help prevent air exposure, which can cause freezer burn and affect the quality of the broth. A tight seal will also prevent any odors from infiltrating the broth, maintaining its flavor.
- Portion Sizes: Consider portioning the broth into smaller containers or freezer bags. This allows you to thaw only the amount needed for a recipe, reducing waste. Smaller portions also freeze and thaw more quickly and evenly compared to larger quantities.
- Transparent Containers: If possible, choose containers that are transparent or have a clear window. This makes it easier to identify the contents without the need to open each container. It also allows you to keep track of the freshness and quantity of your chicken broth.
Remember to thoroughly clean and dry the containers before pouring the cooled broth into them. This helps maintain hygiene and prevents the introduction of any unwanted contaminants.
By using appropriate containers for storage, you can preserve the quality and flavor of your homemade chicken broth, making it ready to use whenever you need. In the next sections, we will discuss the importance of labeling and dating, as well as the specific techniques for freezing and refrigerating the broth.
Let’s move on to labeling and dating your broth for easy identification!
Labeling and Dating the Broth
Properly labeling and dating your homemade chicken broth is a crucial step in organizing your storage and ensuring you use the broth within its optimal timeframe. Here are some tips for labeling and dating your broth:
- Label the Containers: Use a waterproof marker or adhesive labels to clearly mark each container with the contents. Include the words “Chicken Broth” or “Homemade Chicken Broth” to easily identify it in your freezer or refrigerator.
- Date of Preparation: Write down the date you prepared the broth on the label. This will help you keep track of its freshness and determine how long it has been stored.
- Quantity: Optionally, you can note the quantity or volume of the broth in each container. This can be helpful when planning recipes or determining how much broth to thaw for a particular dish.
- Additional Notes: If you have any special instructions or notes about the broth, such as whether it is reduced-sodium or made with specific herbs and spices, it’s useful to include this information on the label.
Labeling and dating your containers not only helps with organization but also ensures that you use the broth before its quality begins to deteriorate. With proper labeling, you can easily identify the oldest broth and avoid any potential waste.
When it comes to dating, it’s important to follow general guidelines. Homemade chicken broth stored in the refrigerator is typically safe to use for 4-5 days. However, when frozen, chicken broth can retain its quality for up to 3-6 months. Always prioritize safety and freshness when using your stored broth.
Now that you have properly labeled and dated your homemade chicken broth, it’s time to move on to the next steps: freezing and refrigerating techniques. In the following sections, we will explore the specific methods for freezing and refrigerating your broth and how to use it once it’s been thawed.
Let’s discover the specifics of freezing homemade chicken broth!
Freezing Homemade Chicken Broth
Freezing homemade chicken broth is a convenient and effective way to extend its shelf life and have it readily available for future use. Follow these steps to freeze your broth properly:
- Cool the Broth: Allow the homemade chicken broth to cool completely in the refrigerator before transferring it to the freezer. This helps prevent the temperature inside the freezer from rising and ensures efficient freezing.
- Select Freezer-Safe Containers: Choose freezer-safe containers with airtight lids or sealable freezer bags specifically designed for freezing. Make sure the containers have enough headspace to allow for expansion during freezing.
- Portion the Broth: Divide the cooled broth into smaller portions based on your needs. Consider portion sizes that are suitable for recipes you commonly use. Smaller portions freeze and thaw more quickly, allowing for convenience and minimizing waste.
- Pour and Seal: Carefully pour the cooled broth into the freezer-safe containers, leaving some space at the top to allow for expansion. Seal the containers tightly, ensuring there are no leaks or openings that could result in freezer burn.
- Label and Date: Label each container with the date of freezing and the contents. This will help you identify the age of the broth and ensure you use the oldest containers first.
- Freeze in Flat Layers (Optional): If using sealable freezer bags, you can lay them flat on a baking sheet to freeze. This allows for easy stacking and saves space in the freezer. Once frozen, vertically store the bags to maximize freezer space.
- Freeze at 0°F (-18°C): Place the containers or bags in the coldest part of your freezer, ideally at 0°F (-18°C) or below. The lower the temperature, the better the quality and longevity of the frozen broth.
Frozen homemade chicken broth can typically be stored for 3-6 months without significant loss of flavor or quality. However, for the best results, try to use the broth within the first three months.
Now that your homemade chicken broth is safely stored in the freezer, you can conveniently thaw and use it whenever a recipe calls for a flavorful base. In the following sections, we will delve into the details of thawing frozen broth and refrigerating homemade chicken broth.
Let’s explore the specifics of refrigeration next!
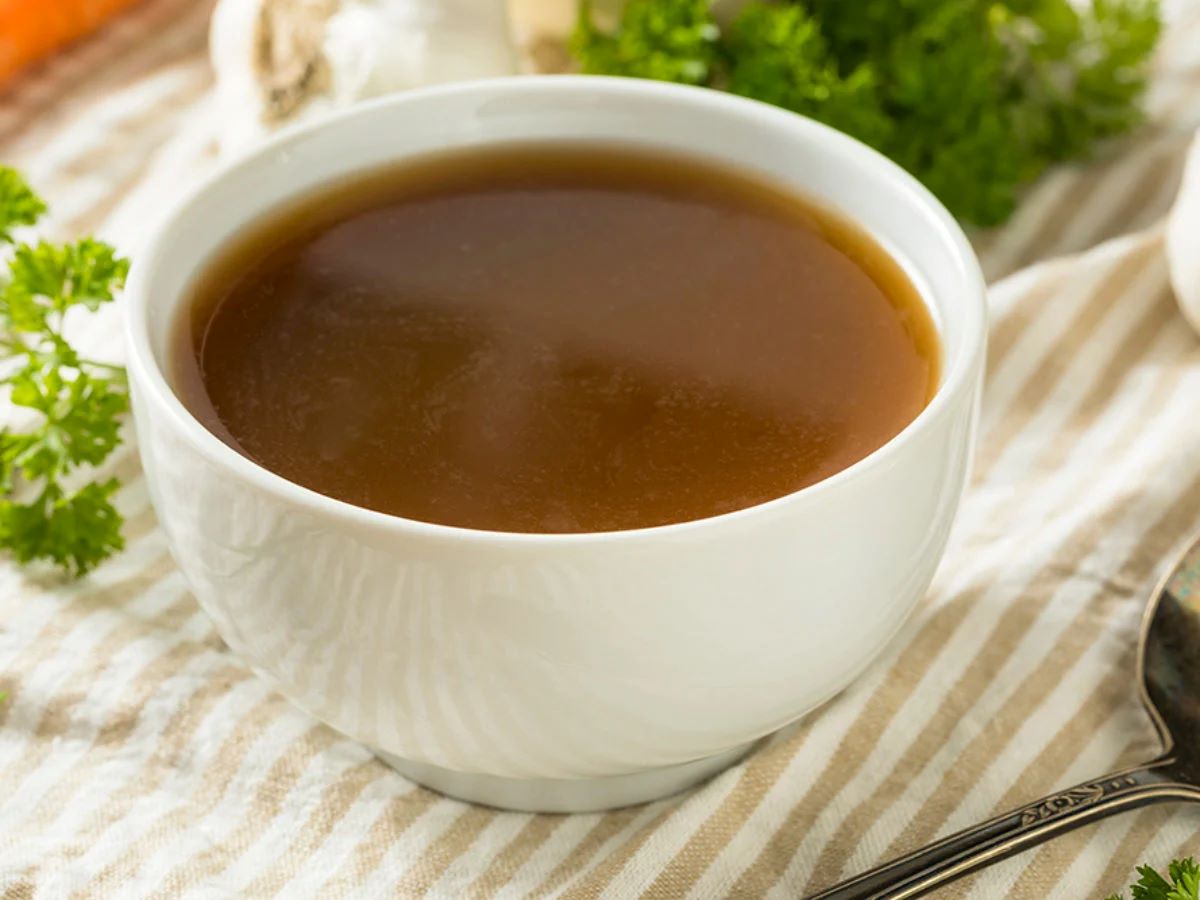
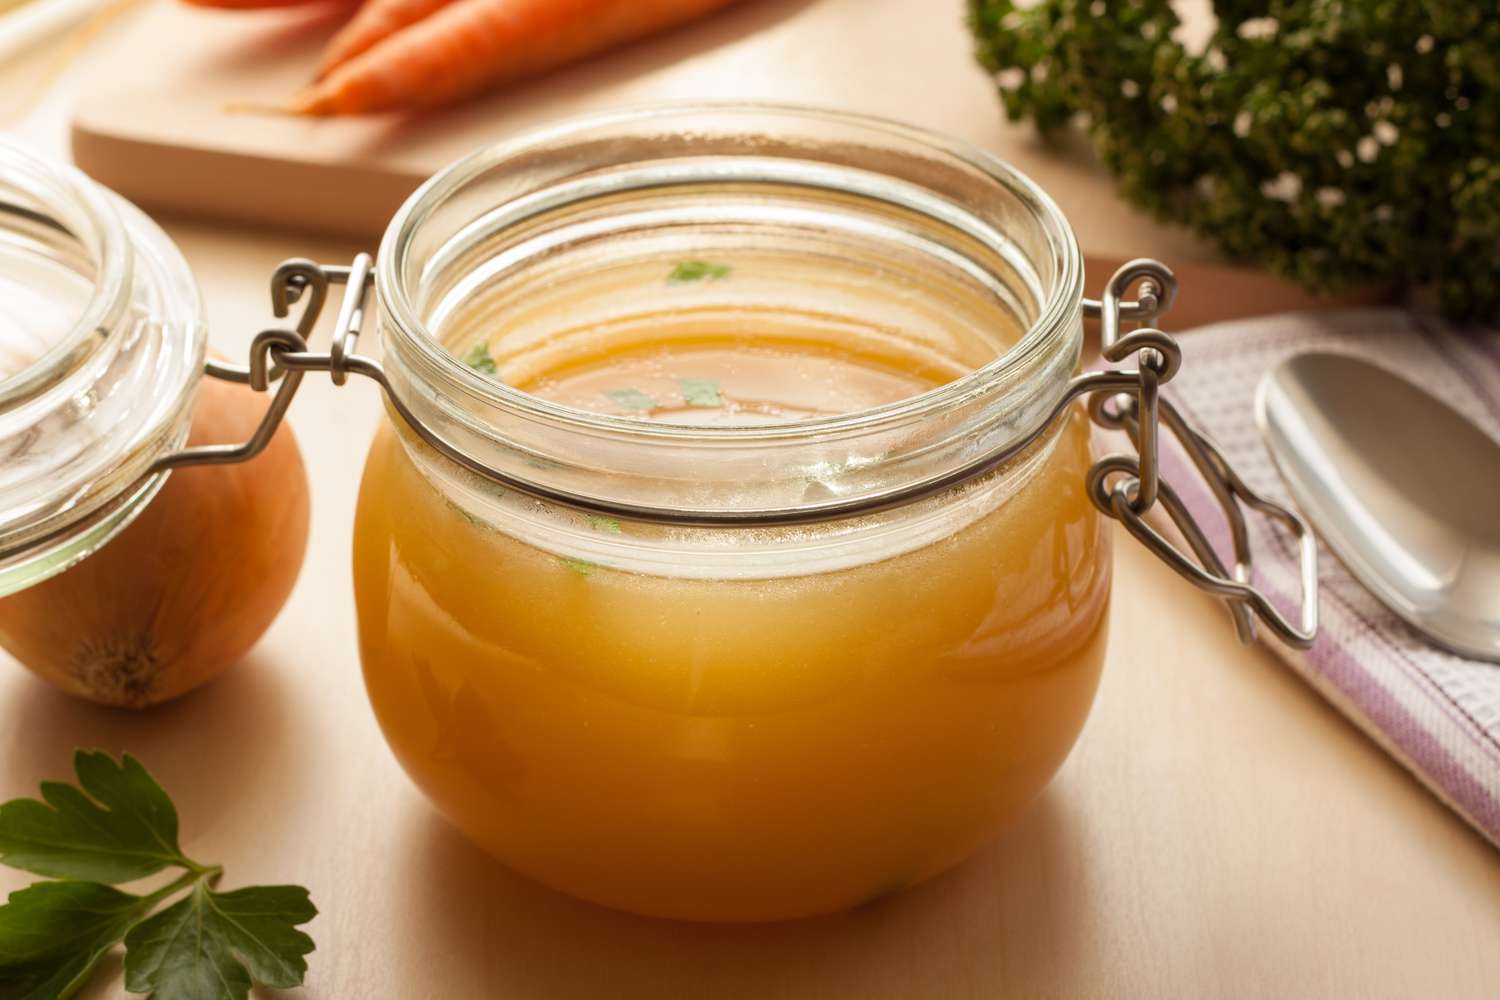
After straining the homemade chicken broth, let it cool to room temperature before transferring it to airtight containers. Store in the refrigerator for up to 4 days or freeze for longer storage.
Refrigerating Homemade Chicken Broth
Refrigerating homemade chicken broth is a suitable option if you plan to use it within a few days. Follow these steps to properly store your broth in the refrigerator:
- Cool the Broth: After preparing your homemade chicken broth, allow it to cool completely at room temperature for about an hour. This helps bring the temperature down before transferring it to the refrigerator.
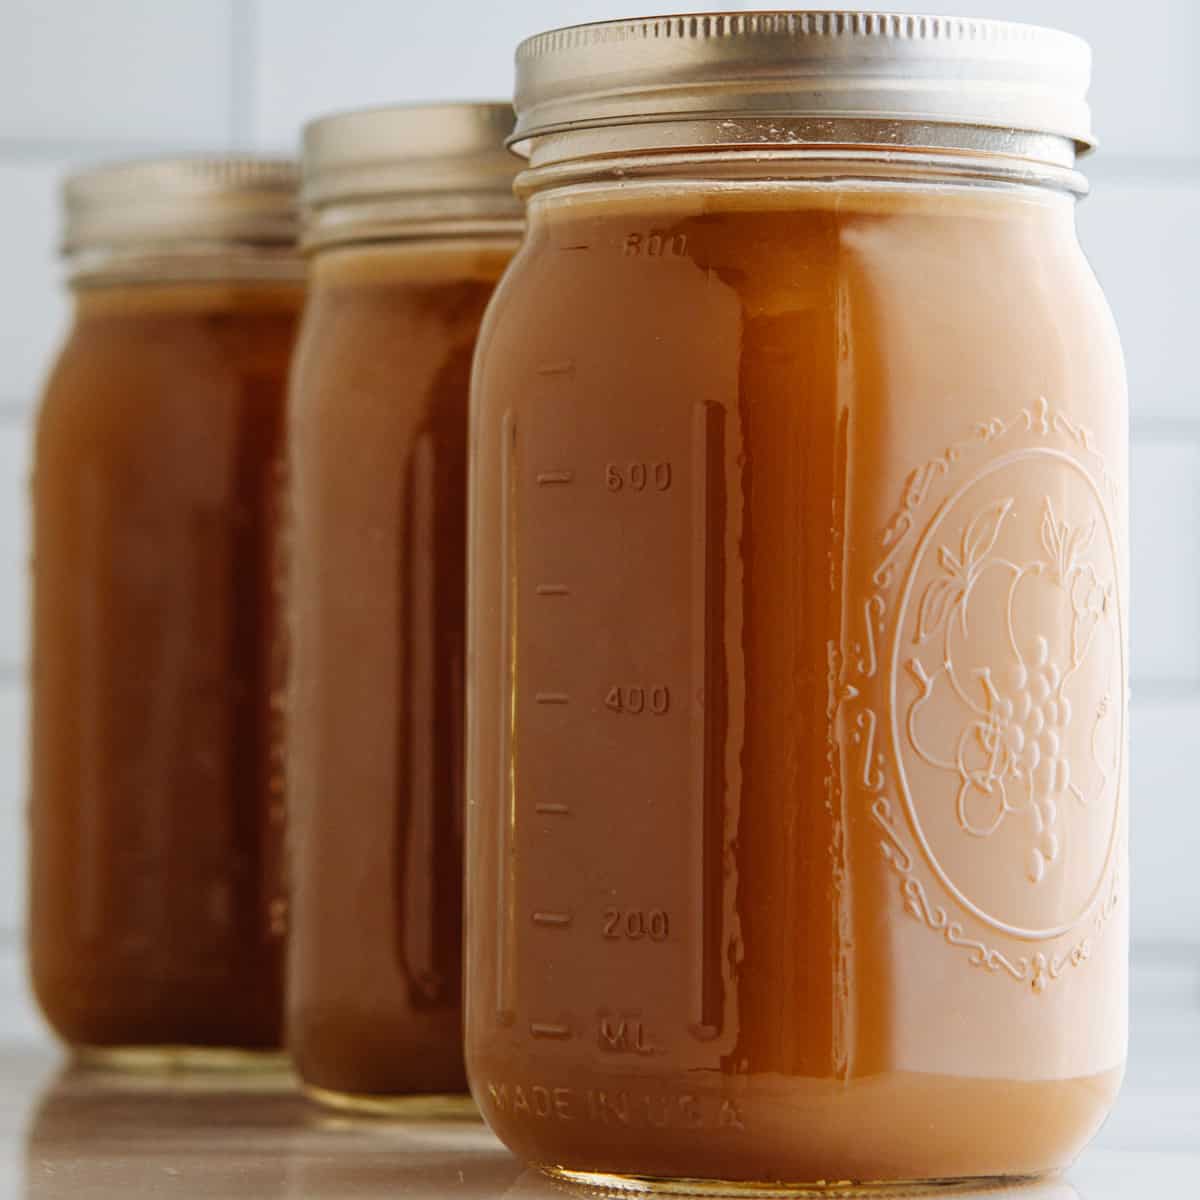
- Choose Refrigerator-Safe Containers: Transfer the cooled broth to clean, airtight containers suitable for refrigerator storage. Glass jars with tight-fitting lids, plastic containers, or food-grade storage bags are all good options.
- Portion and Seal: Divide the broth into smaller portions if desired, making it easier to use as needed. Ensure the containers are sealed tightly to prevent any leakage or absorption of odors from other foods in the refrigerator.
- Label and Date: Label each container with the date of preparation. This will help you keep track of its freshness and ensure you use the broth within a safe timeframe.
- Store in the Refrigerator: Place the containers of chicken broth in the coldest part of your refrigerator, ideally on one of the lower shelves. Keeping it away from the door and other foods that may transmit odors helps ensure the broth stays fresh for longer.
Homemade chicken broth stored in the refrigerator can typically be used within 4-5 days. However, it’s important to use your judgment and examine the broth for any signs of spoilage, such as an off smell or appearance, before using it in recipes.
Refrigerating the broth is a convenient option, especially when you plan to use it in the near future. However, if you need to store the broth for an extended period, freezing is the best method to maintain its quality and flavor.
Now that you know how to properly refrigerate your homemade chicken broth, you can enjoy its freshness and use it in your culinary creations with confidence. In the next sections, we will explore how to use your frozen or refrigerated broth and provide useful tips for thawing frozen broth.
Let’s dive into the specifics of using frozen or refrigerated broth next!
Read more: How To Store Homemade Broth
Using Frozen or Refrigerated Broth
Whether you have stored your homemade chicken broth in the freezer or the refrigerator, there are several ways to incorporate it into your recipes. Here are some tips for using frozen or refrigerated broth:
Using Frozen Broth:
- Thawing the Broth: To use your frozen chicken broth, it will need to be thawed first. The safest method is to transfer the frozen container to the refrigerator and let it thaw slowly overnight. This ensures even thawing and maintains the quality of the broth.
- Quick Thawing: If you need to use the broth immediately and don’t have time for overnight thawing, you can place the frozen container in a bowl of cold water. Change the water every 30 minutes to speed up the thawing process. Avoid using hot water as it can partially cook the broth and compromise its flavor.
- Using Partially Thawed Broth: If you only need a portion of the broth for your recipe, you can partially thaw it by running cool water over the container. This will allow you to remove the desired amount while keeping the remaining broth frozen for future use.
- Reheat and Use: Once thawed, transfer the broth to a saucepan and gently heat it over low to medium heat until it reaches a simmer. Avoid boiling the broth as it can affect the flavor and quality. You can now use the broth as a base for soups, stews, sauces, or any other recipe calling for chicken broth.
Using Refrigerated Broth:
- Checking for Freshness: Before using refrigerated chicken broth, inspect it for any signs of spoilage, such as an off smell or unusual appearance. If it looks or smells questionable, it’s best to discard it to avoid the risk of foodborne illness.
- Shake and Reheat: Over time, refrigerated broth may separate or develop a gel-like texture due to the presence of natural gelatin. Simply give the container a gentle shake or stir before reheating. Transfer the desired amount of broth to a saucepan and heat it gently over low to medium heat until it reaches a simmer.
- Using in Recipes: Once reheated, the refrigerated chicken broth is ready to be used in your favorite recipes. It can serve as a delicious base for soups, stews, gravies, and many other dishes that call for chicken broth as an ingredient. Enjoy the rich flavor and nutrients it brings to your culinary creations.
Using your homemade chicken broth, whether it’s frozen or refrigerated, adds depth and flavor to your recipes. Enjoy the convenience of having a flavorful base readily available for a variety of dishes.
Now that you know how to use your frozen or refrigerated broth, let’s conclude with some helpful tips on using and thawing frozen broth!
Tips for Using and Thawing Frozen Broth
When it comes to using and thawing frozen chicken broth, these tips will help you make the most of your homemade goodness:
Using Frozen Broth:
- Portion Control: Consider freezing your broth in various portion sizes that align with your recipe needs. This allows for easy usage and minimizes waste.
- Pre-Freeze in Ice Cube Trays: For recipes that require small amounts of broth, you can freeze the broth in ice cube trays. Once frozen, transfer the broth cubes to a freezer bag for space-efficient storage. This way, you can easily thaw only the number of cubes needed.
- Use in Cooking: Frozen chicken broth can be added directly to soups, stews, sauces, and other cooked dishes. No need to thaw the broth fully if it will be simmering for a longer duration; it will thaw and incorporate while cooking.
- Create Flavorful Ice Cubes: Amp up the flavor of your recipes by freezing chopped herbs, garlic, ginger, or other aromatics in the broth. These frozen flavor cubes can be dropped directly into your cooking for an instant burst of flavor.
- Repackage if Necessary: If you’ve initially frozen your broth in large containers but find yourself frequently needing smaller portions, consider repackaging the frozen broth into smaller containers or freezer bags. This allows for easier portioning and minimizes thawing and refreezing.
Thawing Frozen Broth:
- Plan Ahead: Thaw frozen chicken broth in the refrigerator overnight to ensure safe and even thawing. It’s a good habit to transfer a container of frozen broth to the refrigerator a day before you plan to use it.
- Cold Water Thawing: If you need to thaw the broth more quickly, you can place the frozen container in a sealed plastic bag and submerge it in a bowl of cold water. Change the water every 30 minutes to maintain a safe temperature.
- Thawed and Unused: Once you’ve thawed the broth, it’s important to use it within a couple of days. If you don’t use the entire thawed portion, avoid refreezing it and use it up in soups or other recipes instead.
- Thawing Time: Thawing time varies depending on the size and thickness of the frozen broth. It’s best to allow enough time for slow thawing, especially if you’re using a large container of frozen broth.
- Thawing in Microwaves: While it’s possible to thaw frozen broth in the microwave, exercise caution to avoid uneven heating or partially cooking the broth. Use the defrost setting in short intervals, flipping or stirring the broth occasionally, until it is properly thawed.
By following these tips, you’ll be able to effectively and safely use and thaw your frozen chicken broth, ensuring your dishes are filled with flavor and nutrition.
Now that you’re equipped with these handy tips, you can confidently store and utilize your homemade chicken broth to enhance your culinary creations. Enjoy the convenience and deliciousness it brings to your recipes!
With this, we conclude our guide on storing homemade chicken broth. Happy cooking!
Conclusion
Homemade chicken broth is a flavorful, nutrient-rich foundation that adds depth and complexity to numerous dishes. By following the proper storage techniques, you can ensure that your homemade broth remains fresh and accessible whenever you need it.
We began by discussing the benefits of homemade chicken broth, including its versatile flavor profile and various health benefits. From there, we explored the importance of selecting the right ingredients, such as high-quality chicken, bones, vegetables, and herbs, to create a rich and flavorful broth.
Next, we covered the step-by-step process of preparing the chicken broth, from prepping the chicken to simmering and straining the broth. Properly cooling the broth is crucial before transferring it to storage containers.
We then delved into the details of cooling and storing the broth, including selecting suitable containers, labeling and dating the broth, and the specific techniques for freezing and refrigerating. These practices help maintain the quality, flavor, and safety of your homemade chicken broth.
Additionally, we provided insights on using frozen or refrigerated broth, including tips for thawing frozen broth and utilizing both frozen and refrigerated broth in your recipes. Portion control, quick thawing methods, and creative uses of frozen broth were covered to help you make the most of your stored broth.
By following these guidelines and best practices, you can ensure that your homemade chicken broth remains fresh, flavorful, and ready to enhance your culinary creations. Whether you’re making a comforting soup, a hearty stew, or a savory sauce, the depth and richness of homemade chicken broth will elevate your dishes to new heights.
Now, armed with the knowledge of proper storage techniques, you can confidently embark on your homemade chicken broth journey. Enjoy the process of creating delicious, nourishing broth and the multitude of recipes that it will inspire.
So, go ahead, stock up your freezer and refrigerator with batches of homemade chicken broth, labeled, organized, and ready to enhance your favorite recipes. Your taste buds and your culinary creations will thank you!
Frequently Asked Questions about How To Store Homemade Chicken Broth
Was this page helpful?
At Storables.com, we guarantee accurate and reliable information. Our content, validated by Expert Board Contributors, is crafted following stringent Editorial Policies. We're committed to providing you with well-researched, expert-backed insights for all your informational needs.


0 thoughts on “How To Store Homemade Chicken Broth”