
Articles
How To Store Homemade Bone Broth
Modified: January 6, 2024
Discover the best methods for storing your homemade bone broth with our informative articles. Keep your broth fresh and flavorful for longer!
(Many of the links in this article redirect to a specific reviewed product. Your purchase of these products through affiliate links helps to generate commission for Storables.com, at no extra cost. Learn more)
Introduction
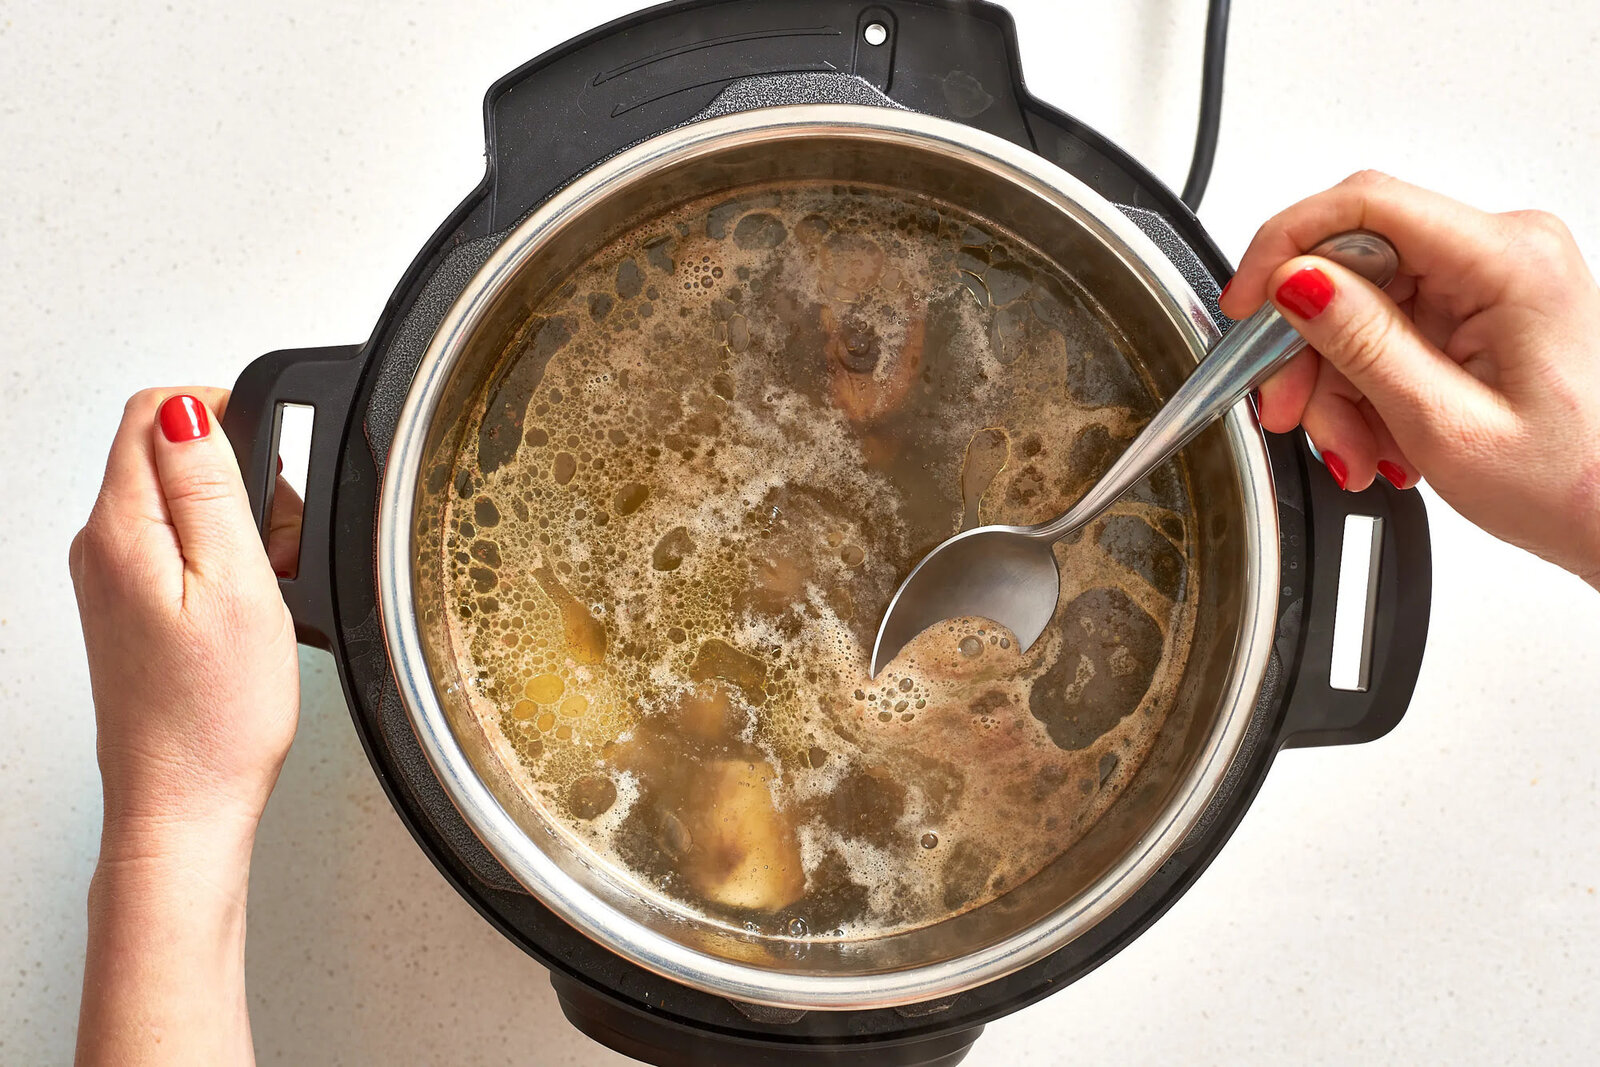
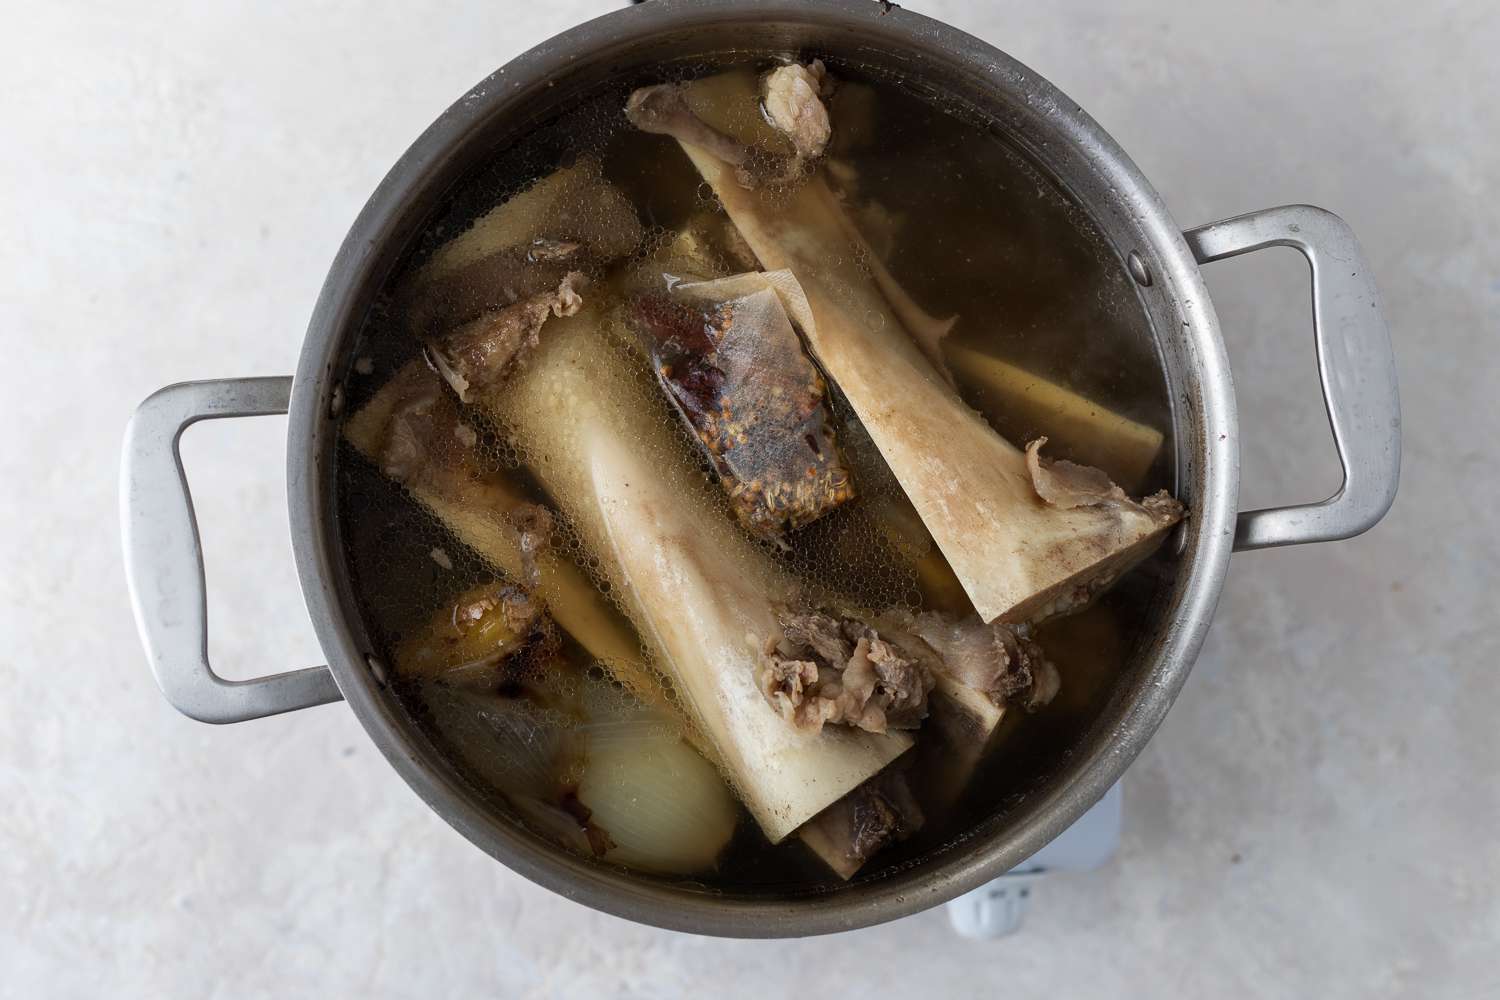
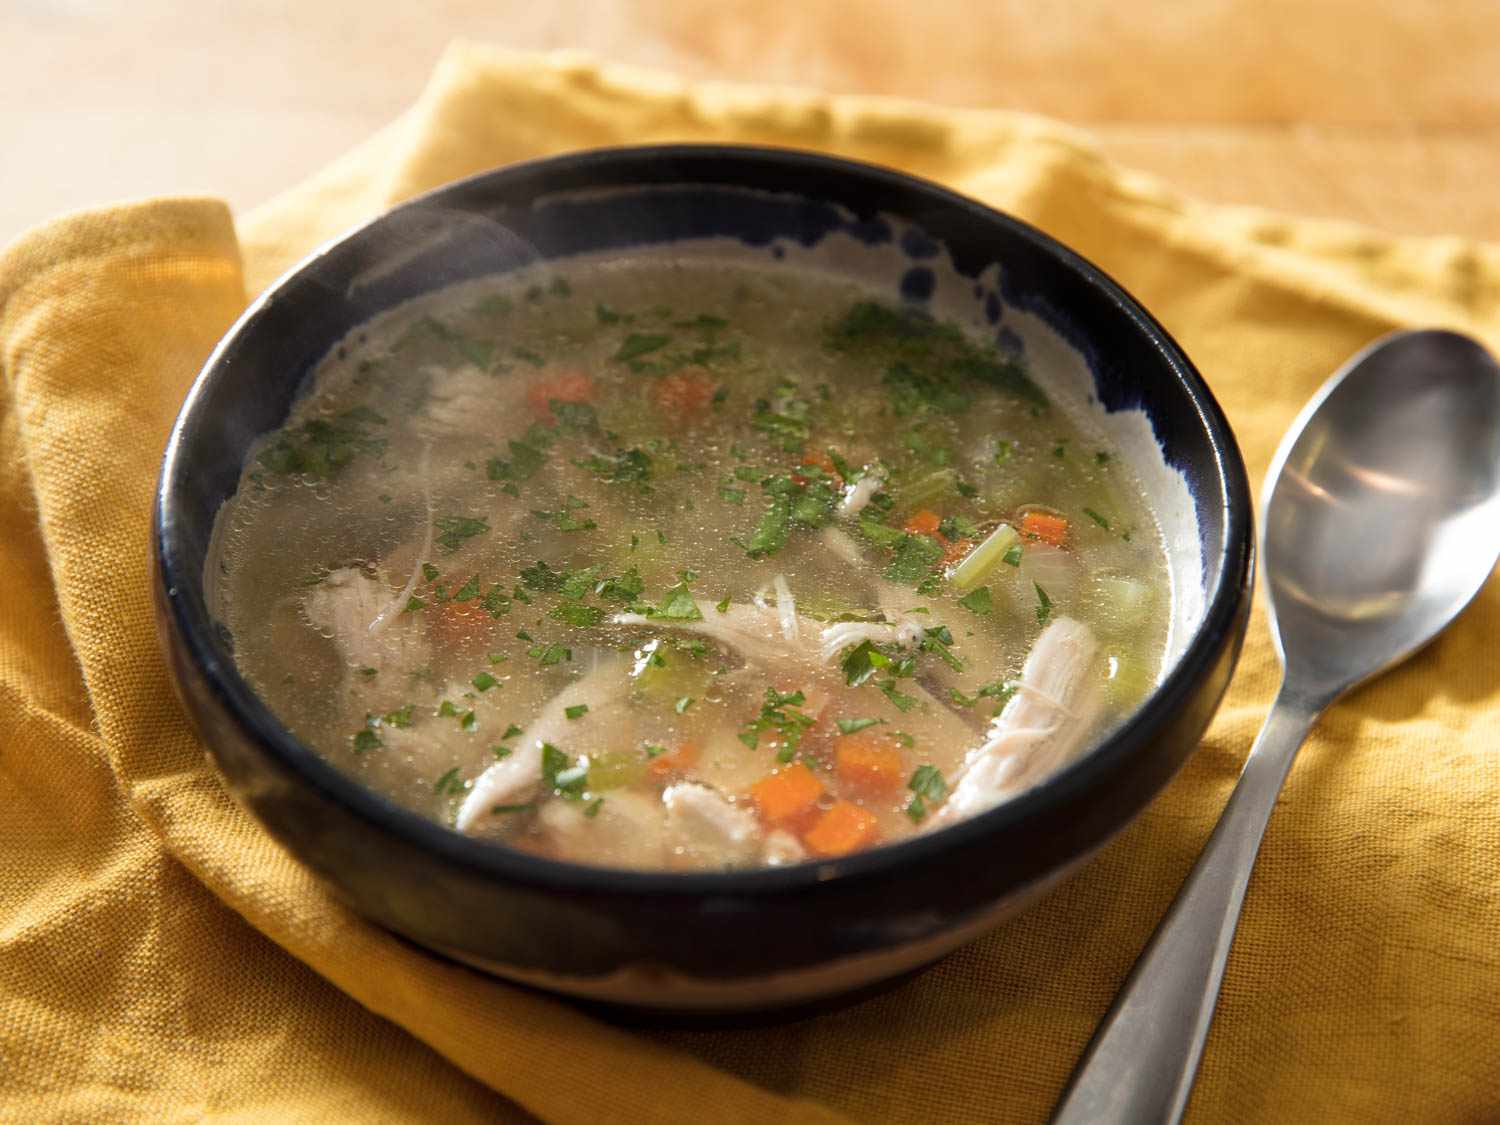
Welcome to the world of homemade bone broth! Making your own bone broth is not only a rewarding and economical endeavor but also a fantastic way to take advantage of the numerous health benefits it offers. Whether you’re a seasoned bone broth enthusiast or just starting your journey, learning how to properly store your homemade bone broth is essential to ensure its freshness and longevity.
Homemade bone broth is packed with nutrients, such as collagen, amino acids, and minerals, which contribute to its rich flavor and health-promoting properties. However, due to its perishable nature, it’s crucial to handle and store bone broth correctly to maintain its quality and prevent it from spoiling.
In this article, we’ll guide you through the process of storing homemade bone broth to help you retain its nutritional value and delicious taste.
Key Takeaways:
- Properly storing homemade bone broth is essential for maintaining its freshness, flavor, and nutritional benefits. Whether frozen or refrigerated, following best practices and using the right containers can extend its shelf life and ensure convenient usage.
- Implementing tips such as vacuum sealing, repackaging if needed, and practicing proper hygiene can maximize the shelf life of homemade bone broth. By following these guidelines, you can enjoy the rich flavors and health benefits for an extended period.
Read more: How To Store Bone Broth In Fridge
Why Store Homemade Bone Broth?
Storing homemade bone broth allows you to have a ready-to-use stock of this nutritious liquid on hand whenever you need it. Here are a few reasons why you should consider storing your bone broth:
- Convenience: Having homemade bone broth readily available in your freezer or refrigerator makes it easy to incorporate into your daily cooking. Whether you need a flavorful base for soups, sauces, or stews, or simply want to sip on a warm cup of broth, having it stored and easily accessible saves you time and effort.
- Health Benefits: Bone broth is known for its numerous health benefits, including supporting gut health, improving joint health, and boosting the immune system. By storing homemade bone broth, you can ensure that you always have a supply of this nutritious and healing elixir at your fingertips.
- Reduced Waste: Making a large batch of bone broth allows you to use up leftover bones and vegetable scraps, reducing food waste in your kitchen. Storing the broth allows you to extend its shelf life and make use of every last drop.
- Cost-effective: Buying store-bought bone broth can be quite expensive, especially for high-quality, organic options. By making your own and storing it properly, you can save money in the long run while enjoying the same health benefits and delicious taste.
Now that you understand the benefits of storing homemade bone broth, let’s explore the best ways to store it to maintain its quality and flavor.
Choosing the Right Storage Containers
When it comes to storing homemade bone broth, selecting the right containers is key to preserving its freshness and preventing freezer burn or spoilage. Here are some factors to consider when choosing storage containers:
- Airtight: Opt for containers with airtight seals to prevent air from getting in and causing oxidation or freezer burn. This helps to maintain the flavor, nutrients, and quality of the bone broth.
- BPA-free: Look for containers that are BPA-free to ensure that no harmful chemicals leach into your broth over time.
- Safe for Freezing: Make sure the containers you choose are safe for freezing, as some materials may crack or become damaged when exposed to low temperatures.
- Durable: Select containers that are sturdy and durable, capable of withstanding the freezing and thawing process without breaking or leaking.
- Size: Consider the size of your containers based on your intended usage. It’s often helpful to use smaller containers, such as ice cube trays or silicone molds, for single-serving portions or in recipes that require smaller amounts of broth.
There are various options available for storing bone broth, including glass jars, plastic containers, silicone molds, or even freezer bags. Each has its advantages and disadvantages, so choose the type of container that best suits your needs and preferences.
It’s essential to keep in mind the practicality of the containers you choose. Ensure that they fit well in your freezer or refrigerator and can be stacked or organized without taking up excessive space.
Now that you know what to look for in storage containers, let’s explore the two main methods of storing homemade bone broth: freezing and refrigerating.
Freezing Homemade Bone Broth
Freezing is one of the most effective methods for storing homemade bone broth, as it helps to maintain its freshness and extends its shelf life. Follow these steps to freeze your bone broth:
- Cool the broth: Before freezing, allow your homemade bone broth to cool completely. You can speed up the cooling process by placing the pot in an ice bath or using a shallow metal container for quicker heat dissipation.
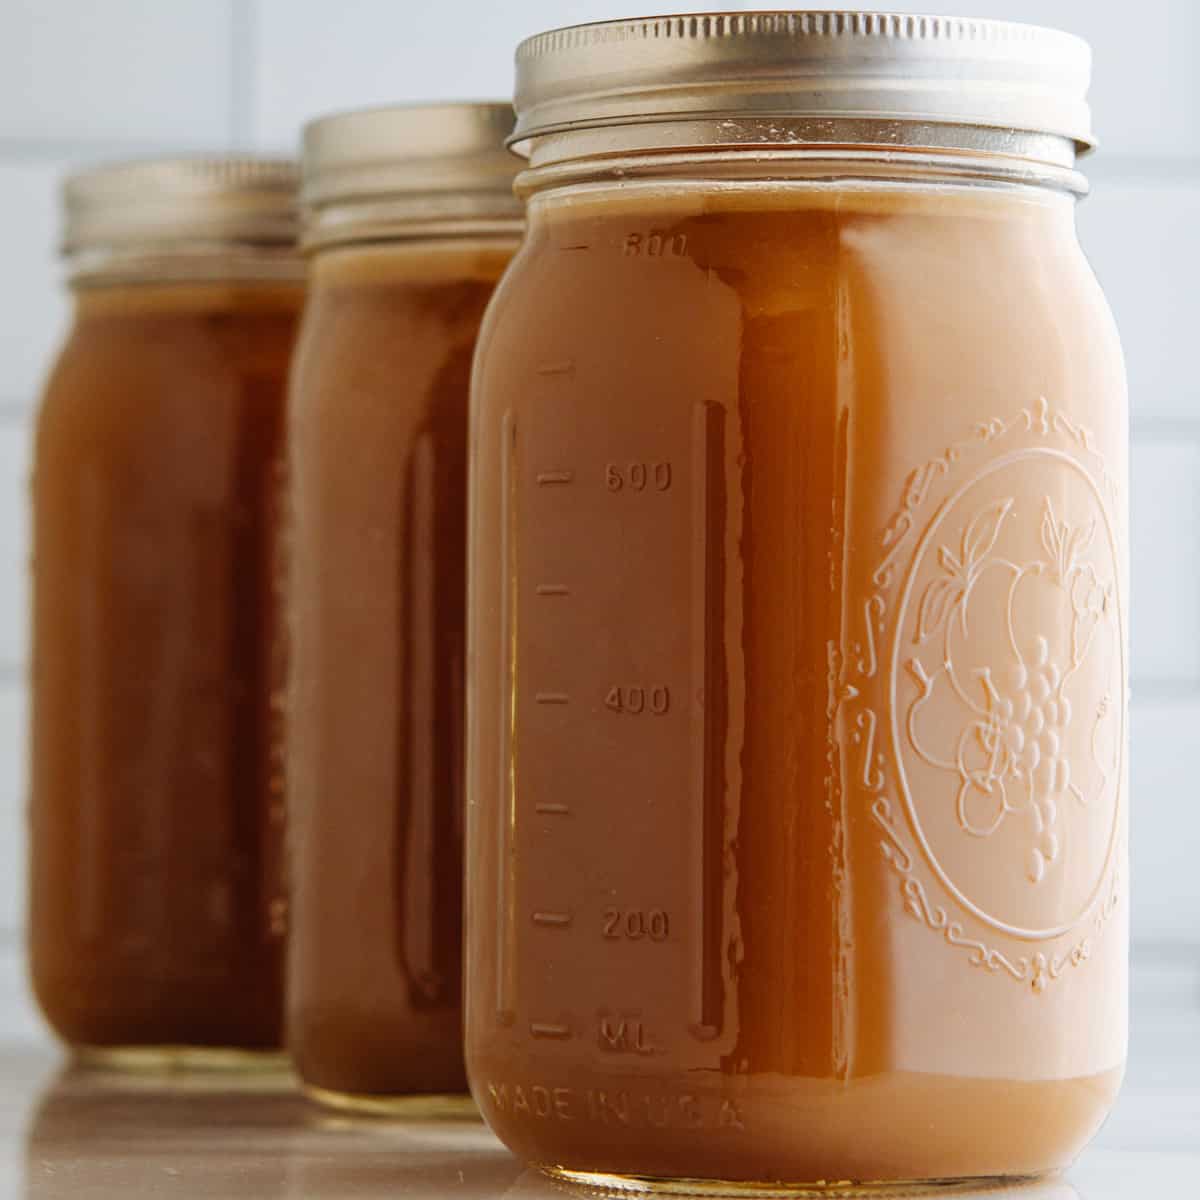
- Choose the right containers: Use airtight, freezer-safe containers or bags to store your bone broth. Leave some headspace in the containers to allow for expansion when freezing.
- Portion control: Consider portioning your bone broth into smaller containers or using ice cube trays or silicone molds for single-serving portions. This way, you can easily thaw only the amount you need without having to thaw the entire batch.
- Label and date: Properly label each container or bag with the date of preparation. This allows you to keep track of the freshness and rotation of your bone broth.
- Freeze: Place the filled containers or bags in the freezer, ensuring they are placed in a flat position to prevent leakage or spills. It’s a good idea to place a tray or baking sheet underneath to provide stability during freezing.
Bone broth can typically be frozen for up to 3 to 4 months while maintaining its quality. However, for the best flavor, it’s ideal to consume it within the first 2 to 3 months.
When you’re ready to use the frozen bone broth, you have a few options for thawing:
- Refrigerator thawing: Transfer the frozen broth from the freezer to the refrigerator and allow it to thaw slowly overnight or for about 24 hours.
- Cold water thawing: If you’re in a hurry, place the frozen container in a leak-proof plastic bag and submerge it in cold water. Change the water every 30 minutes until the broth is thawed.
- Microwave thawing: Use the defrost function on your microwave to thaw the bone broth, following the manufacturer’s instructions. Be cautious not to overheat or cook the broth in the process.
Once thawed, use the bone broth within 3 to 4 days and avoid refreezing it to maintain its quality.
Now that you know how to freeze homemade bone broth, let’s explore the alternative method of storing it in the refrigerator for shorter-term use.
Refrigerating Homemade Bone Broth
If you plan to use your homemade bone broth within a few days, storing it in the refrigerator is a convenient option. Follow these steps to properly refrigerate your bone broth:
- Cool the broth: Allow your homemade bone broth to cool completely before refrigerating it. You can expedite the cooling process by placing the pot in an ice bath or using a shallow metal container.
- Choose the right container: Use an airtight container or jar to store your bone broth in the refrigerator. Ensure that the container is clean and free from any residue that could contaminate the broth.
- Portion control: Consider dividing the bone broth into smaller portions based on your usage. This way, you can take out and warm up only what you need at a given time.
- Label and date: Properly label the container with the date of preparation. This helps you keep track of the freshness and rotation of your bone broth.
- Refrigerate: Place the sealed container of bone broth in the refrigerator right away. Make sure to position it in an area that maintains a consistent temperature, such as the main shelf, rather than the door or near the back where temperatures may vary.
When stored in the refrigerator, bone broth usually stays fresh for 3 to 4 days. It’s important to consume it within this timeframe to ensure its quality and safety.
Before using the refrigerated bone broth, check it for any signs of spoilage, such as an off smell, unusual texture, or cloudy appearance. If any of these signs are present, it’s best to discard the broth to prevent any foodborne illnesses.
Now that you know how to refrigerate your homemade bone broth, let’s move on to the importance of proper labeling and dating.
Store homemade bone broth in airtight containers in the refrigerator for up to 5 days or freeze it for up to 6 months. Label containers with the date for easy tracking.
Read more: How To Make Bone Broth In Slow Cooker
Proper Labeling and Dating
Labeling and dating your homemade bone broth is a crucial step in ensuring its freshness and keeping track of its storage duration. Follow these guidelines for proper labeling and dating:
- Label the container: Clearly label each container of bone broth with the contents, including the type of broth, such as chicken, beef, or vegetable. This prevents confusion and helps you easily identify the broth when you need it.
- Date of preparation: Write down the date when the bone broth was made. This allows you to monitor its freshness and rotation, ensuring that you use the oldest broth first.
- Additional notes: If you have any special notes about the batch of bone broth, such as the type of bones used, cooking time, or seasoning added, you can include those as well. These notes can be helpful if you plan to replicate a specific flavor profile or want to track the success of different variations.
By labeling and dating your bone broth, you can easily manage and organize your inventory, preventing any accidental waste or confusion regarding freshness.
It’s important to note that even with proper refrigeration or freezing, bone broth can still spoil if it is stored beyond its recommended shelf life. Therefore, it’s always a good practice to consume stored bone broth within the suggested time frames.
Now that you understand the importance of labeling and dating, let’s explore some best practices for handling and storing homemade bone broth to ensure its quality and longevity.
Best Practices for Handling and Storing Homemade Bone Broth
To maintain the quality and safety of your homemade bone broth, it’s important to follow these best practices when handling and storing it:
- Strain and skim: Before storing your bone broth, strain it through a fine-mesh sieve to remove any solid particles or impurities. Additionally, skim off any excess fat that rises to the top. This helps to improve the broth’s clarity and prevents the fat from becoming rancid during storage.
- Cool rapidly: Promptly cool your bone broth after cooking to prevent the growth of bacteria. You can use an ice bath or shallow metal container to cool the broth quickly and efficiently. Avoid leaving the broth at room temperature for an extended period, as this can lead to bacterial contamination.
- Divide into small portions: Consider dividing your bone broth into smaller portions before storing. This allows you to thaw or use only the amount you need at a given time without having to thaw the entire batch.
- Avoid temperature fluctuations: Maintain a consistent temperature in your freezer or refrigerator to prevent temperature fluctuations that can compromise the quality and safety of the bone broth. Avoid frequently opening and closing the freezer or refrigerator door to minimize temperature changes.
- Proper storage location: Store your bone broth away from strong-smelling foods in the refrigerator to prevent odor transfer. In the freezer, place the bone broth in an area where it can freeze evenly and quickly.
- Jar storage: If using glass jars for storage, leave enough headspace at the top to allow for expansion during freezing. Additionally, avoid filling the jar to the brim to prevent cracking as the liquid expands during freezing.
- Rotate your stock: As you continue to make more bone broth, it’s important to rotate your stockpile by using the older broth first. This ensures that you always consume bone broth at its peak freshness and flavor.
Following these best practices will help you maintain the integrity and quality of your homemade bone broth throughout its storage period.
Now, let’s explore some tips to extend the shelf life of your homemade bone broth.
Tips for Extended Shelf Life
If you want to extend the shelf life of your homemade bone broth, consider implementing these tips:
- Properly seal containers: Ensure that your storage containers are tightly sealed to prevent air exposure, which can lead to oxidation and spoilage. This is especially crucial if you’re storing broth in the refrigerator.
- Use vacuum sealing: Consider using a vacuum sealer to remove excess air from your storage containers. This helps to minimize oxidation and extend the shelf life of your bone broth.
- Keep broth frozen: If you have a large batch of bone broth that you won’t use within a few days, it’s best to freeze it immediately after cooling. Freezing preserves the quality and freshness of the broth for a longer period.
- Repackage if needed: If you notice that your bone broth has been stored for an extended period and has developed freezer burn or an off taste, consider repackaging it to minimize exposure to air. Transfer the broth to a new container, removing any affected portions.
- Use proper thawing methods: When thawing frozen bone broth, follow the safe thawing methods mentioned earlier in this article (refrigerator thawing, cold water thawing, or microwave thawing). Avoid leaving the broth at room temperature for an extended period, as this can promote bacterial growth.
- Proper hygiene: Maintain good hygiene practices throughout the process of making, storing, and handling bone broth. Ensure that your utensils, containers, and hands are clean to prevent cross-contamination.
- Check for signs of spoilage: Before using or consuming stored bone broth, always inspect it for any signs of spoilage, such as an off smell, unusual texture, or discoloration. If in doubt, it’s best to discard the broth to avoid any potential health risks.
By implementing these tips, you can maximize the shelf life of your homemade bone broth and ensure that it remains safe and enjoyable to use.
Now, let’s wrap up what we’ve learned about storing homemade bone broth.
Conclusion
Learning how to properly store homemade bone broth is essential to maintain its freshness, flavor, and nutritional benefits. Whether you choose to freeze or refrigerate your broth, following best practices is key to ensuring its longevity and quality.
Freezing your bone broth in airtight containers or bags allows you to extend its shelf life for several months while preserving its nutrients. Proper labeling and portioning can help you conveniently thaw and use only the amount you need. On the other hand, refrigerating bone broth is a suitable option for shorter-term storage, typically lasting a few days.
By choosing the right storage containers, cooling your broth properly, and practicing good hygiene, you can maintain the integrity of your bone broth and avoid spoilage. Additionally, implementing tips like vacuum sealing, repackaging, and using proper thawing methods can further extend the shelf life of your broth.
Remember to always check for signs of spoilage before consuming stored bone broth and discard it if there are any doubts about its safety.
Whether you’re a seasoned bone broth enthusiast or just starting out, understanding how to handle and store homemade bone broth will allow you to enjoy its delicious taste and reap its numerous health benefits for months to come. Start making your own bone broth and put these storing tips into practice to savor the rich flavors and nourishing properties of this homemade elixir.
Frequently Asked Questions about How To Store Homemade Bone Broth
Was this page helpful?
At Storables.com, we guarantee accurate and reliable information. Our content, validated by Expert Board Contributors, is crafted following stringent Editorial Policies. We're committed to providing you with well-researched, expert-backed insights for all your informational needs.


0 thoughts on “How To Store Homemade Bone Broth”