Articles
How To Store Brussel Sprouts From The Garden
Modified: February 28, 2024
Learn how to store brussel sprouts from your garden with our informative articles. Whether you prefer freezing, canning, or other methods, we've got you covered.
(Many of the links in this article redirect to a specific reviewed product. Your purchase of these products through affiliate links helps to generate commission for Storables.com, at no extra cost. Learn more)
Introduction
Welcome to our guide on how to store Brussel sprouts from the garden. Brussel sprouts are a delicious and nutritious vegetable that many people enjoy growing in their own backyard. Whether you have a surplus of Brussel sprouts or want to extend their shelf life, proper storage is essential to preserve their flavor and freshness.
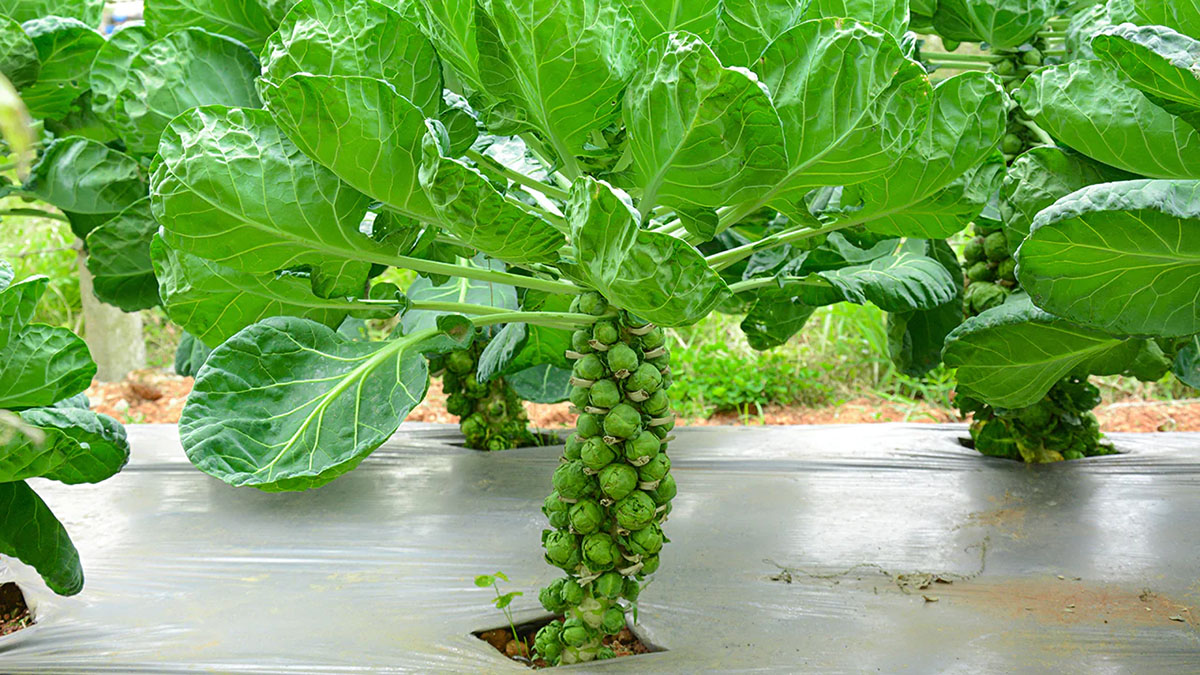
Harvesting Brussel sprouts at the right time is crucial for optimal storage. Typically, Brussel sprouts are ready to harvest when they reach about 1-2 inches in diameter. The sprouts should be firm and compact, with vivid green leaves. Avoid harvesting sprouts that have yellowed leaves or are too large, as they may be overripe and lose their flavor.
Once you’ve harvested your Brussel sprouts, it’s important to sort and clean them before storage. Remove any damaged or bruised sprouts, as they can spoil quickly and affect the quality of the rest. Give the sprouts a gentle rinse under cold water to remove any dirt or debris. Pat them dry with a clean towel or let them air dry before moving on to the next step.
Key Takeaways:
- Properly labeling and dating stored Brussel sprouts is crucial for organization and freshness. Use waterproof labels, rotate stock, and monitor storage time to minimize waste and maximize flavor.
- Blanching and freezing surplus Brussel sprouts ensures long-term availability and preserves their taste and nutrients. Properly label and date frozen containers for convenient year-round use.
Read more: How To Store Brussel Sprouts On The Stalk
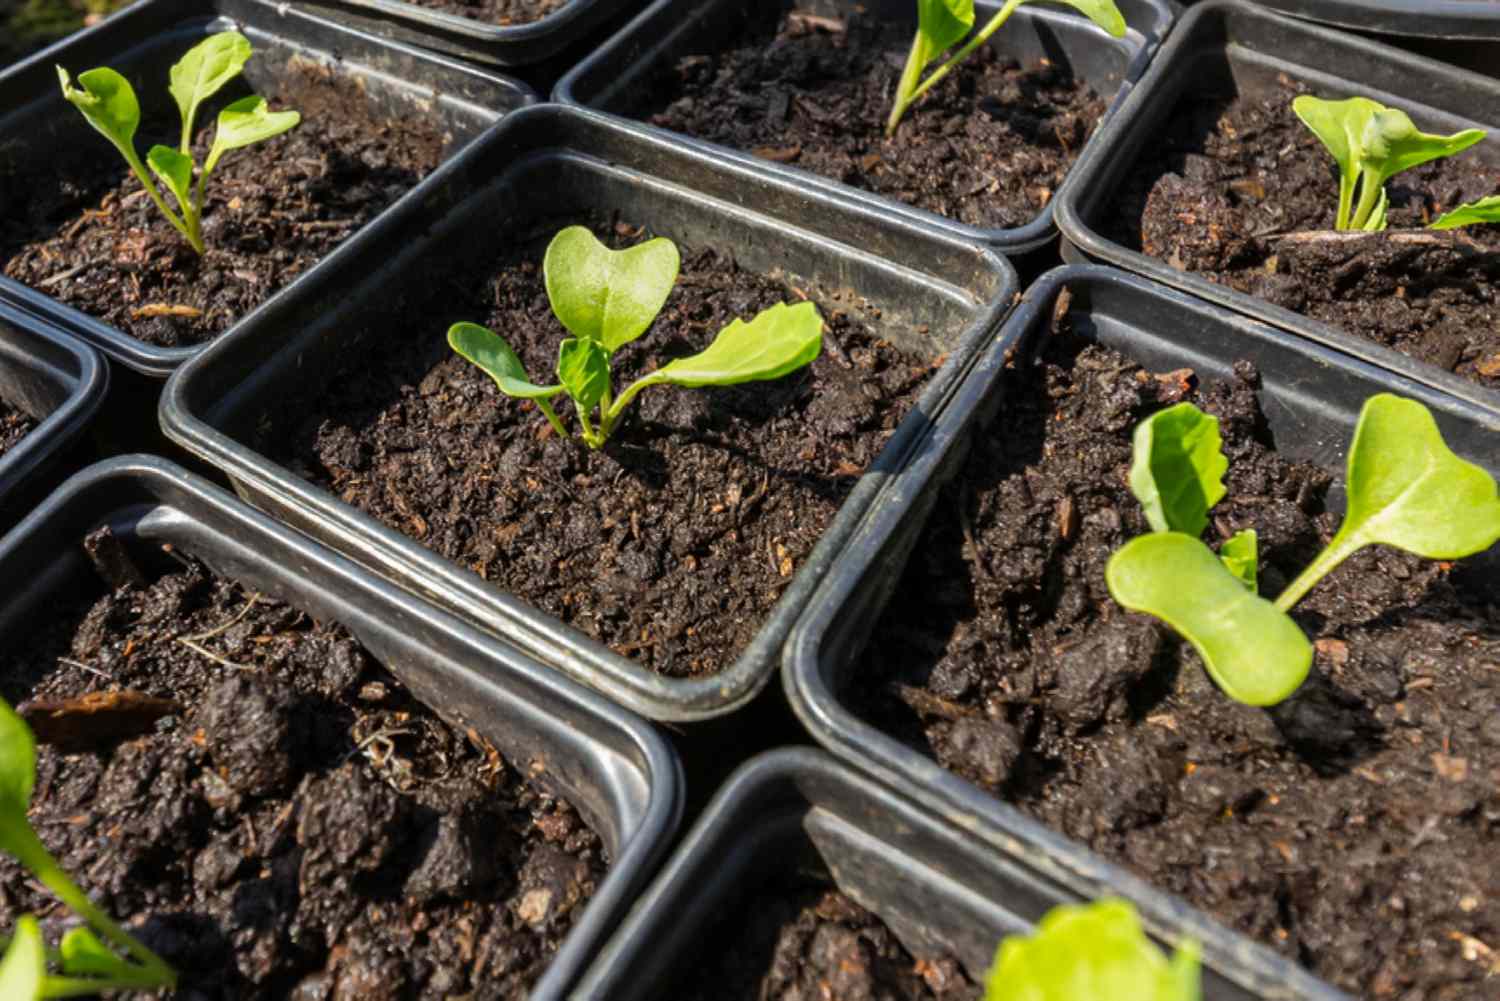
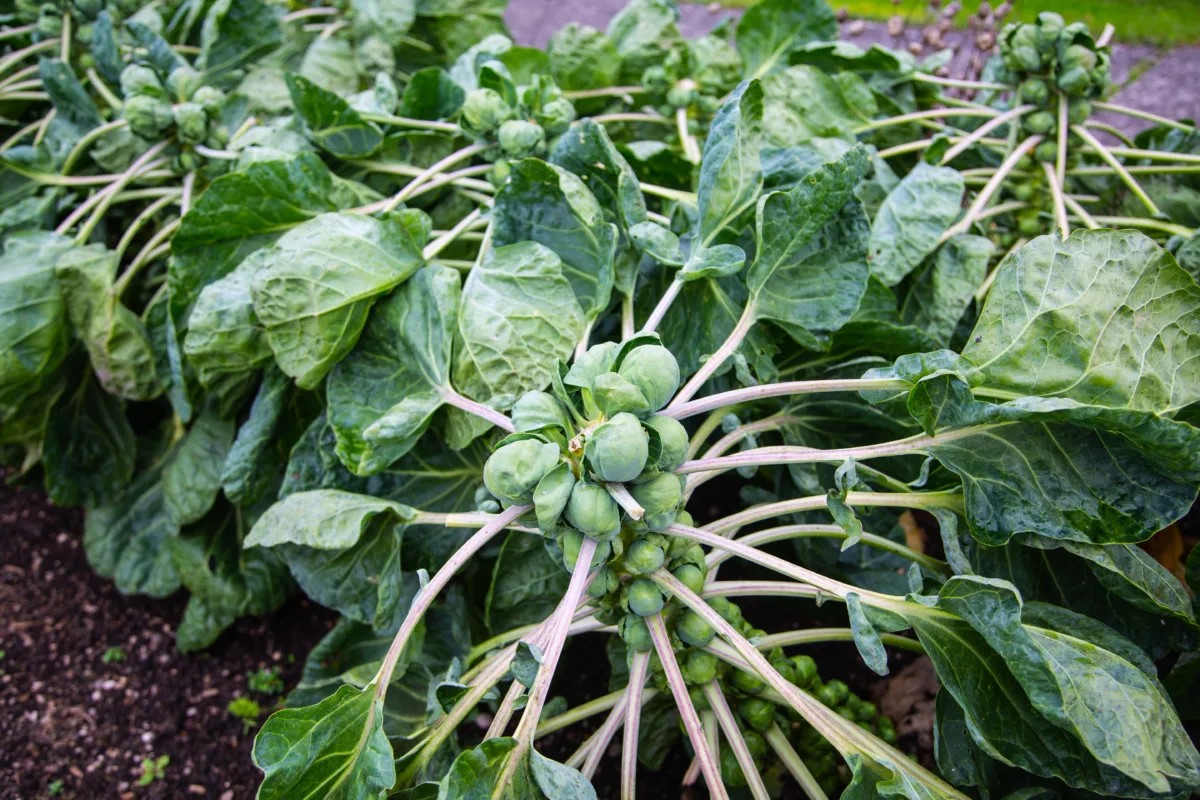
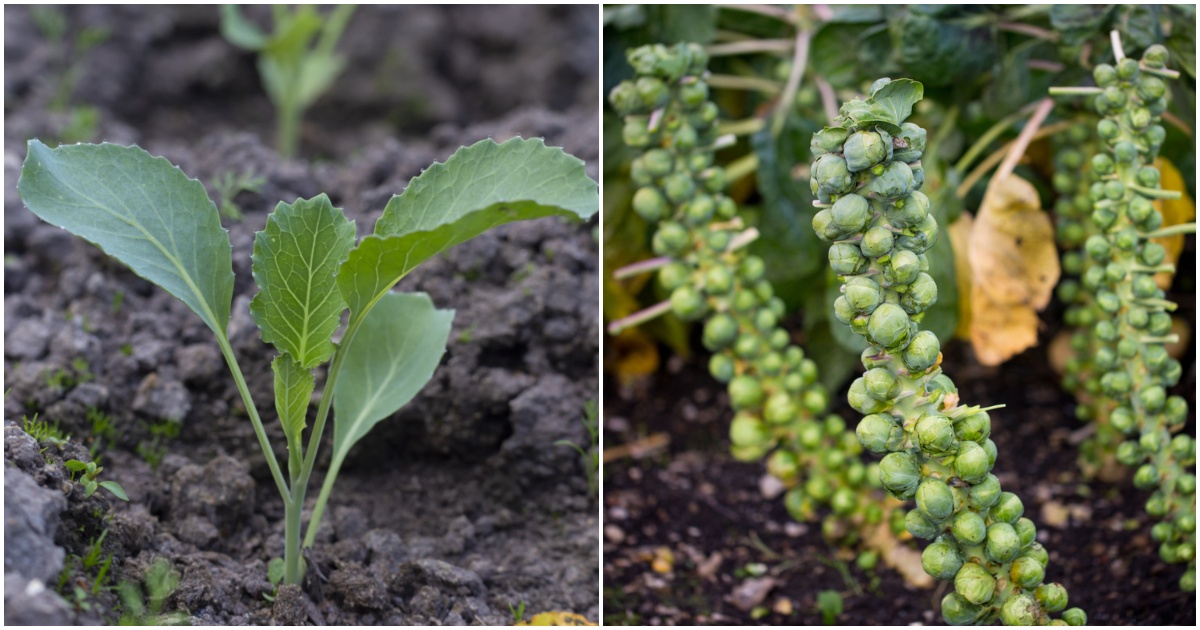
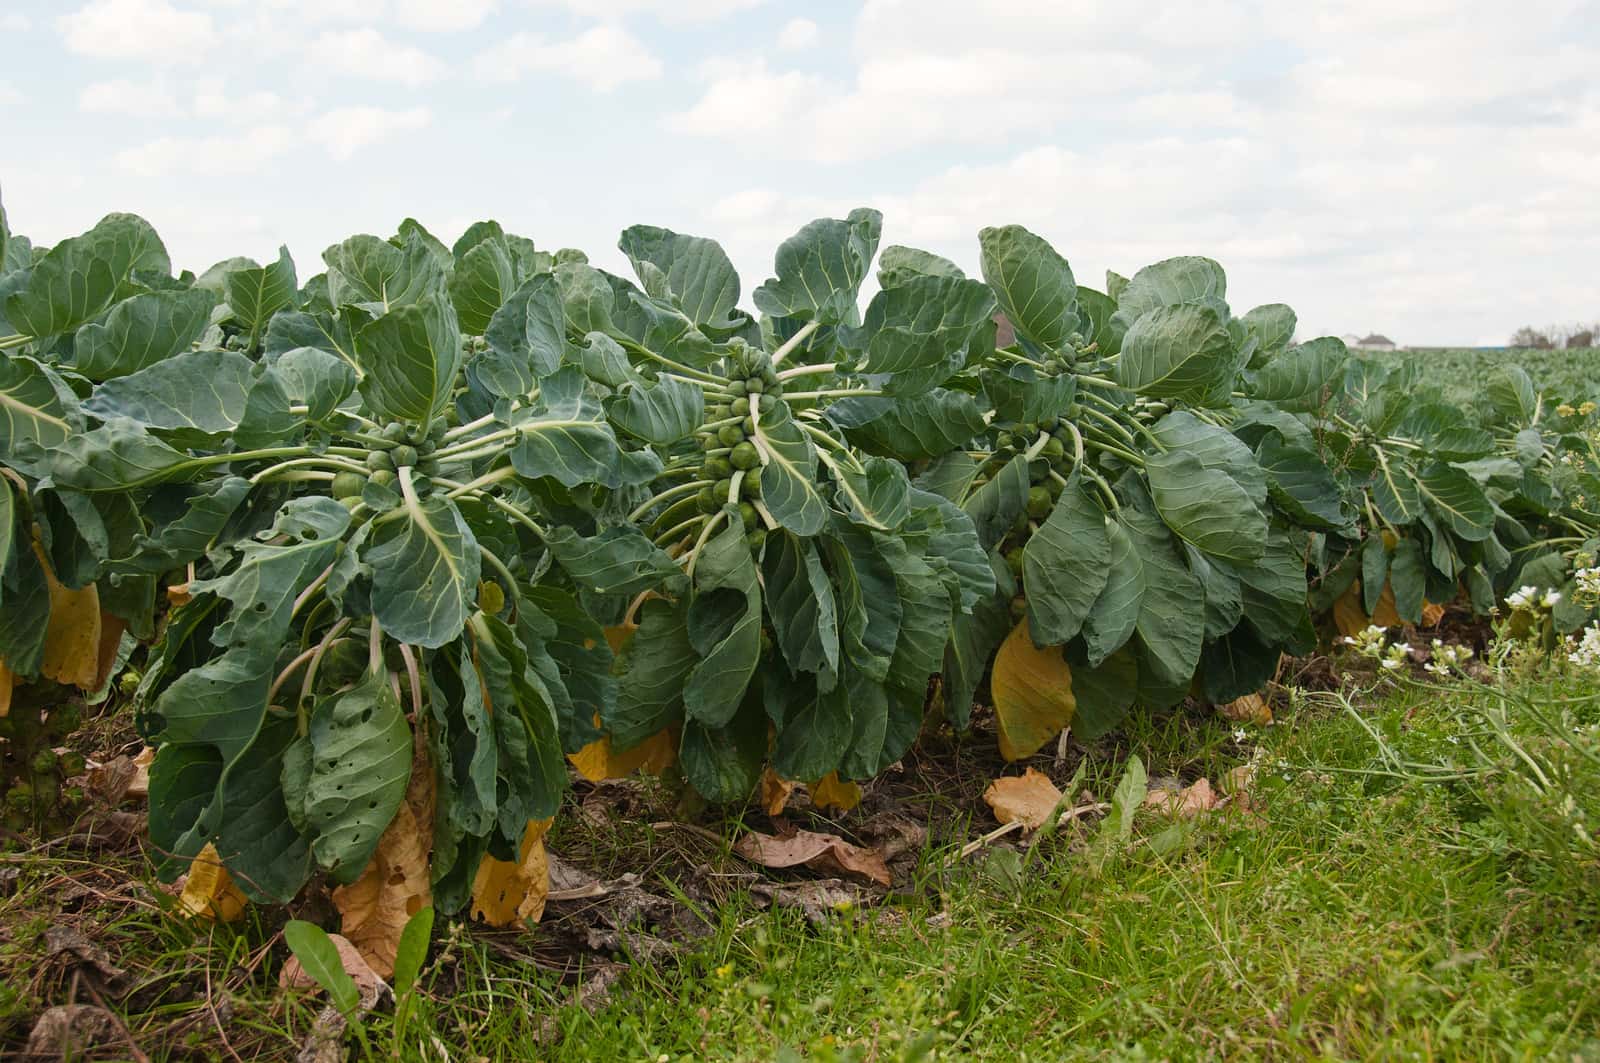
Harvesting Brussel Sprouts
Harvesting Brussel sprouts is an exciting moment for any gardener. These miniature cabbages are packed with flavor and nutrients, and knowing when to harvest them is key to enjoying them at their best. Here are some guidelines to follow when harvesting Brussel sprouts:
- Timing: Brussel sprouts take about 90-100 days to reach maturity from the time of transplanting. The best time to harvest them is when the sprouts are firm, about 1-2 inches in diameter, and have a vibrant green color. Harvesting too early may result in small, underdeveloped sprouts, while waiting too long can cause them to become overripe and lose their flavor.
- Bottom-Up Harvest: Start harvesting Brussel sprouts from the bottom of the stalk, as the lower sprouts mature earlier than the upper ones. Simply snap or cut off the sprouts with a sharp gardening tool or knife. Leave the upper sprouts on the stalk to continue growing and maturing for future harvesting.
- Inspecting the Sprouts: It’s important to examine each sprout before harvesting to ensure its quality. Look for firm, compact sprouts with tightly closed leaves. Avoid harvesting sprouts with yellowed leaves or visible damage, as they may indicate rot or disease. Removing any damaged or inferior sprouts will help maintain the overall quality of your harvest.
- Harvesting Process: To harvest a Brussel sprout, hold the stalk with one hand and use the other hand to snap or cut off the sprout just above the stem. Take care not to damage the neighboring sprouts or the overall structure of the plant. If the sprout doesn’t come off easily, it is likely not yet mature and should be left to grow further.
- Harvesting Continuously: Brussel sprouts can continue to grow and mature even after the initial harvest. To ensure a continuous supply of fresh sprouts, make regular visits to the garden and harvest the mature sprouts as needed. This allows the plant to focus its energy on developing new sprouts for future harvests.
By following these guidelines, you can enjoy a bountiful harvest of Brussel sprouts at their peak of freshness and flavor. Now that you know how to harvest them, it’s time to learn about sorting and cleaning the sprouts before storage.
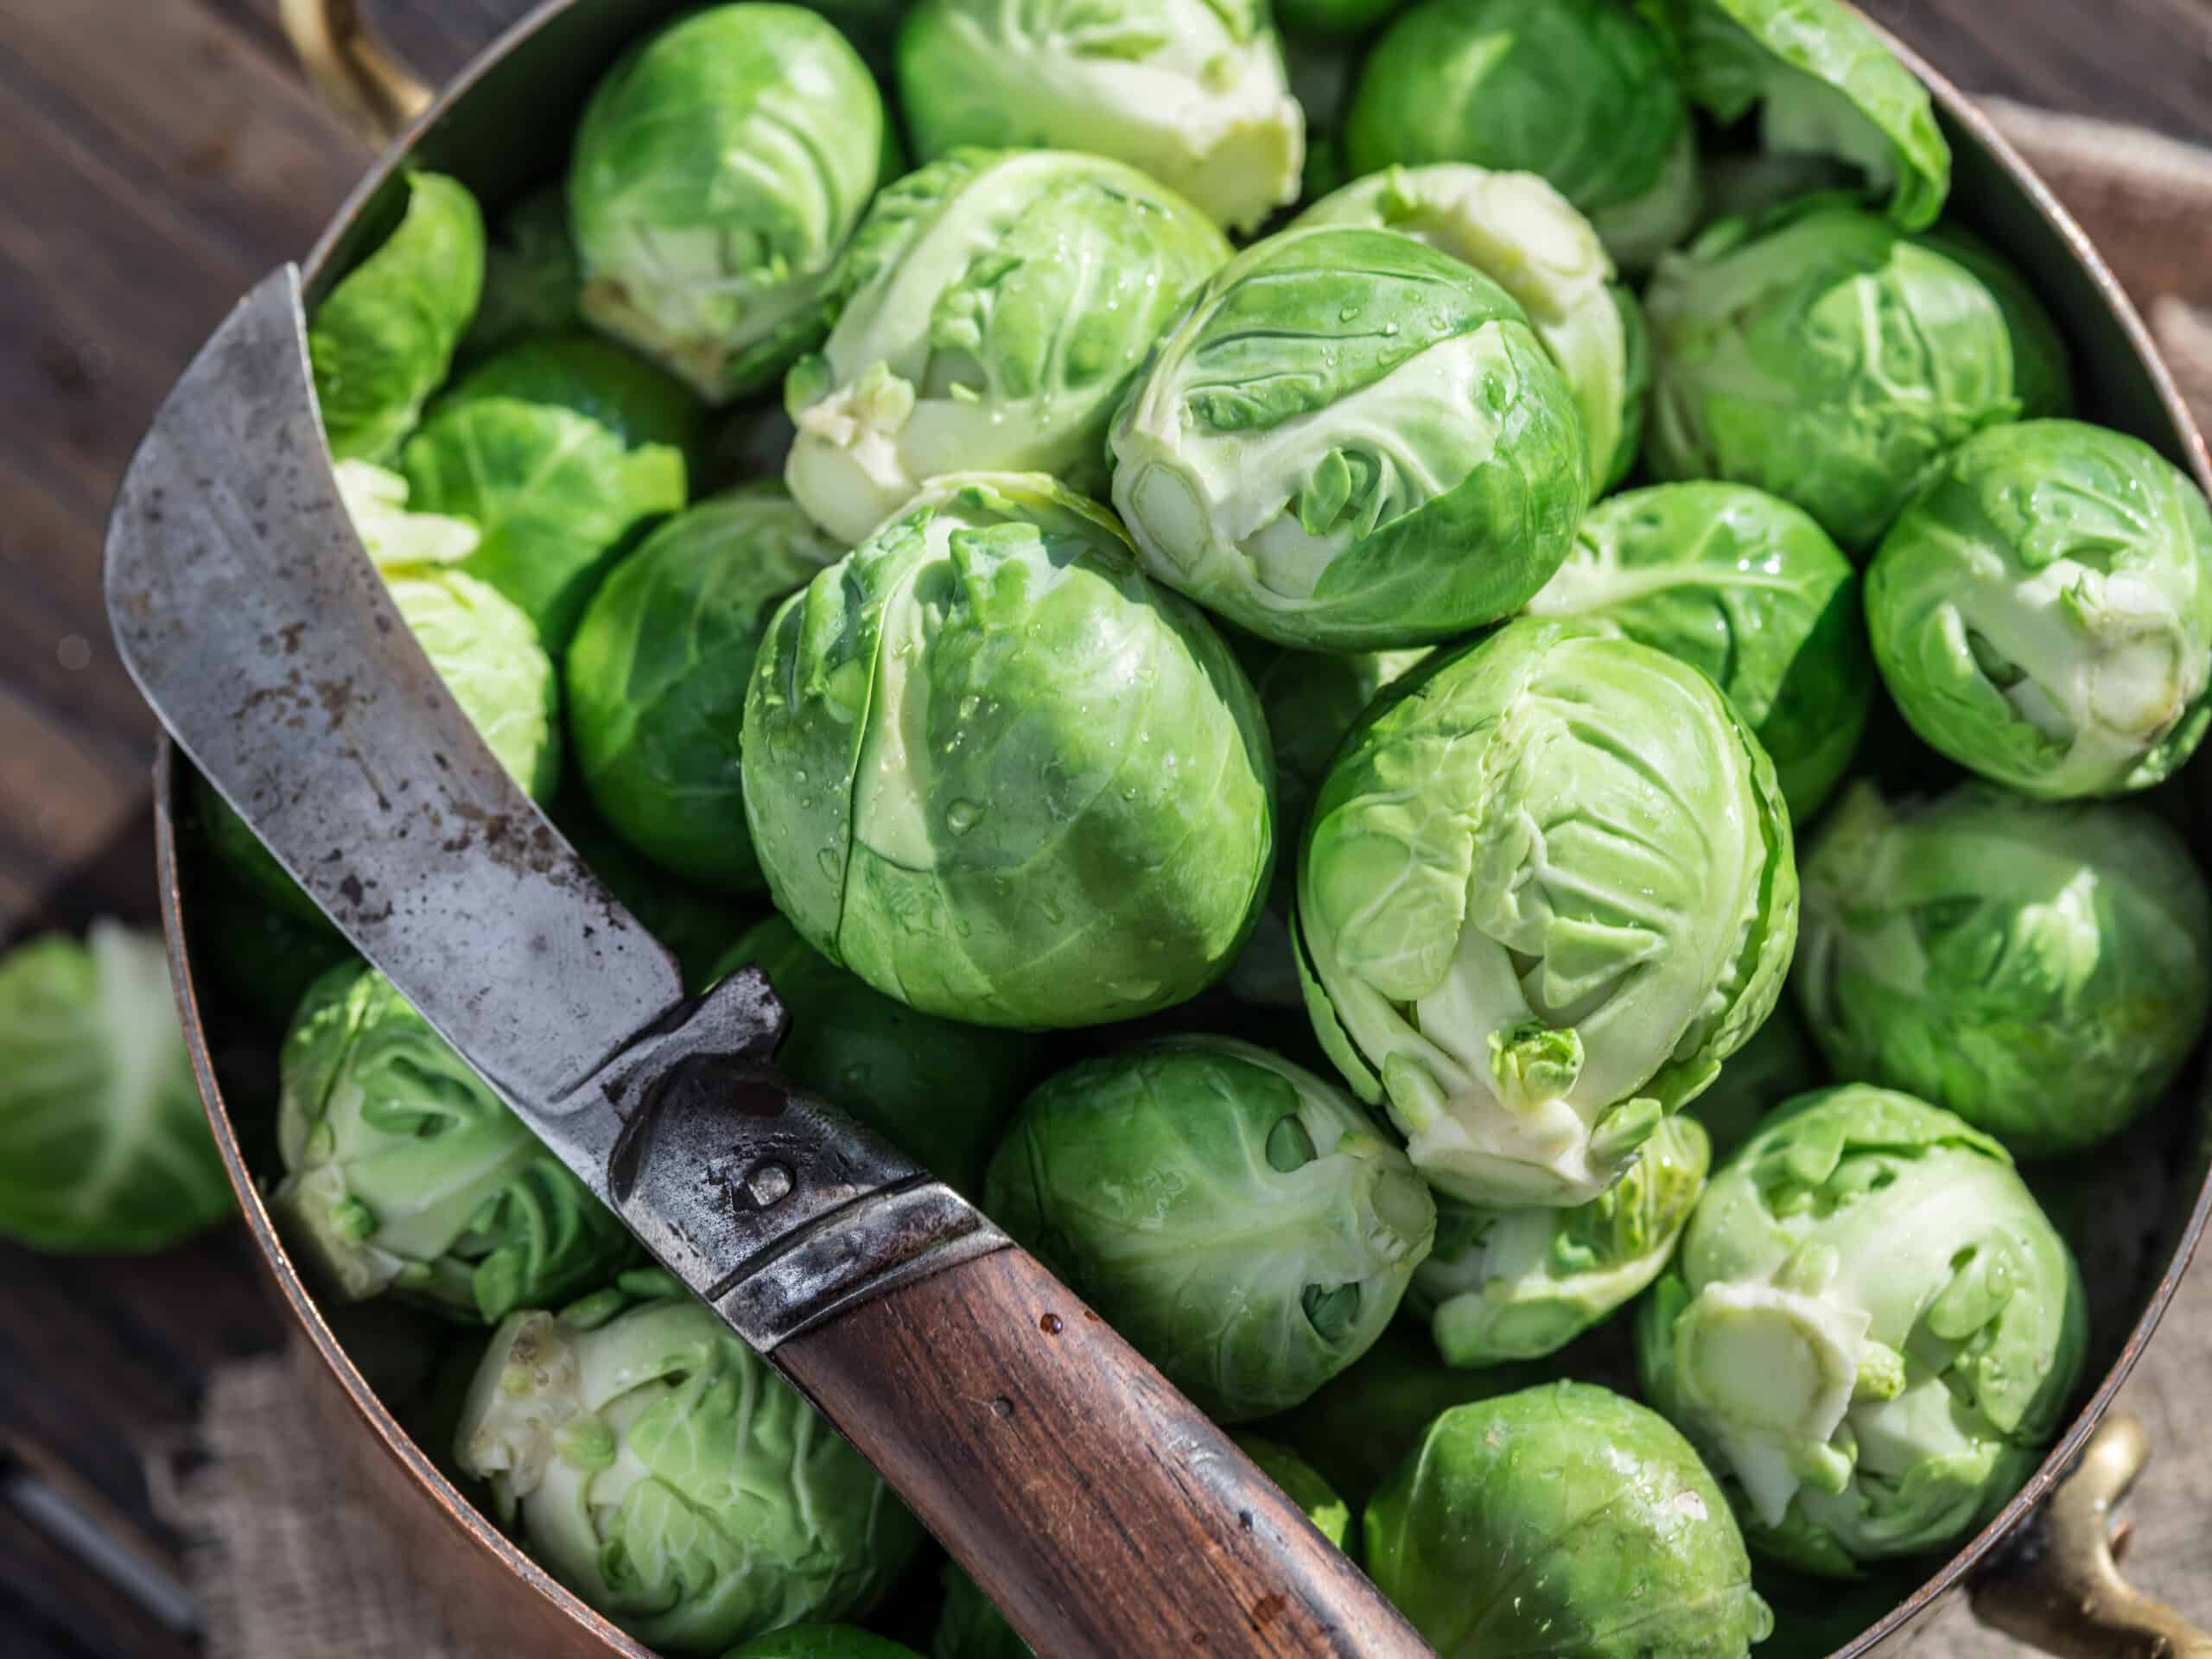
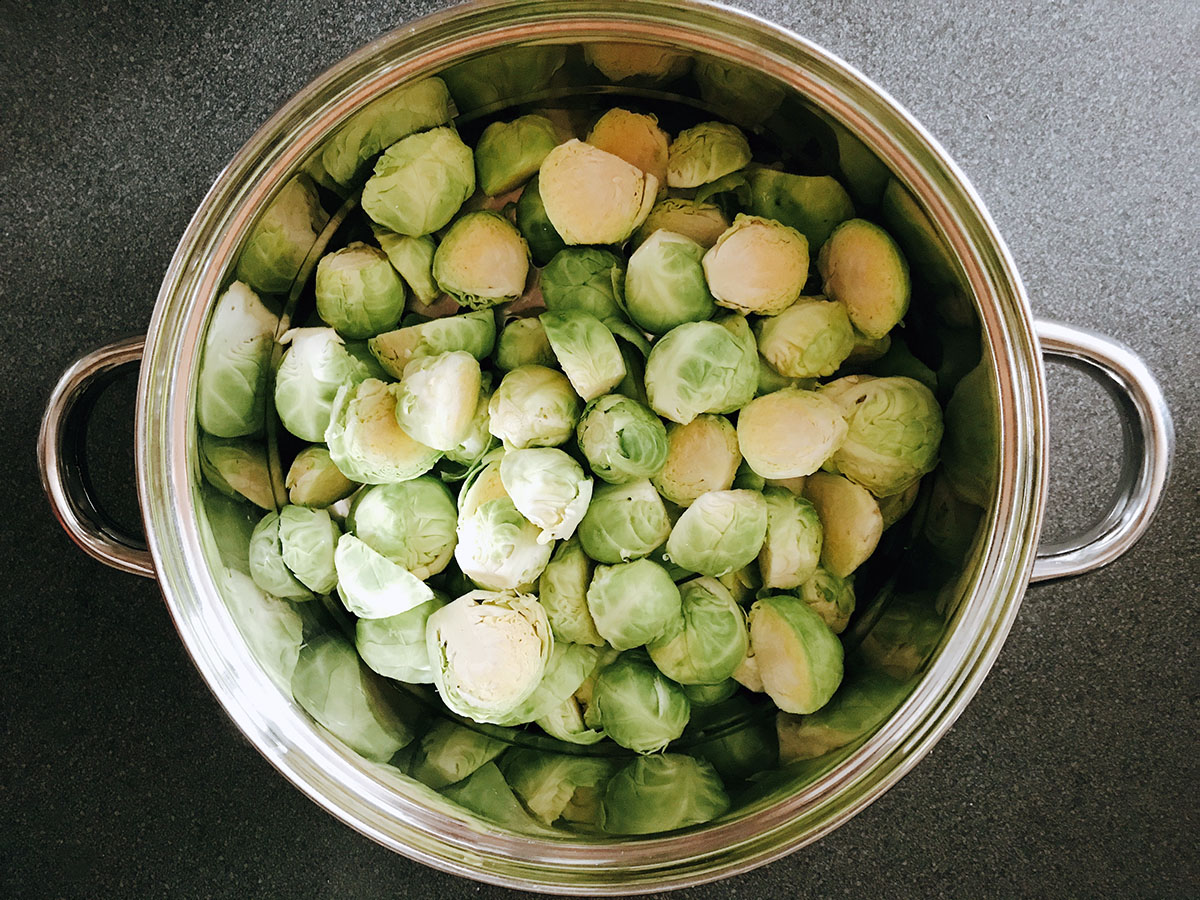
Sorting and Cleaning
After harvesting your Brussel sprouts, it’s important to sort and clean them before storing. This step ensures that you are only storing high-quality sprouts free from any debris or damaged parts. Here’s how to sort and clean your Brussel sprouts:
- Inspecting for Damage: Start by examining each Brussel sprout individually. Look for any signs of damage, such as bruising, discoloration, or decay. Remove any sprouts that show these signs, as they can spoil quickly and affect the quality of the other sprouts.
- Removing Loose Leaves: Brussel sprouts often have loose and outer leaves that can be tough or wilted. Gently peel these leaves off each sprout until you reach the fresher, tightly packed leaves in the center. Removing the outer leaves will not only improve the appearance of the sprouts but also help maintain their freshness during storage.
- Trimming the Stalk: Inspect the bottom of each sprout’s stalk. Sometimes, there may be remnants of the stem or small side shoots that can be removed. Using a sharp knife, trim these extra parts, ensuring a clean and tidy appearance for the sprouts.
- Rinsing the Sprouts: Once you have sorted and trimmed the sprouts, it’s time to give them a gentle rinse. Fill a large bowl or sink with cool water and place the sprouts inside. Swirl them around, allowing the water to remove any dirt or debris that may be clinging to the sprouts. After a brief rinse, remove the sprouts from the water and set them aside to dry.
- Drying the Sprouts: Pat the rinsed Brussel sprouts gently with a clean towel to remove any excess moisture. Alternatively, you can lay them out on a clean kitchen towel or paper towels to air dry. Make sure they are completely dry before moving on to the storage step.
Sorting and cleaning your freshly harvested Brussel sprouts is an essential part of the storage process. This step ensures that only the best-quality sprouts make it into long-term storage, enhancing their taste and extending their shelf life. Now that the sprouts are clean and dry, let’s move on to the different storage containers you can use.
Removing Leaves and Stalks
When it comes to storing Brussel sprouts, removing excess leaves and trimming the stalks is an important step. By doing so, you ensure that only the freshest and most compact parts of the sprouts are stored, prolonging their shelf life and maintaining their quality. Here’s how to properly remove leaves and trim stalks from your Brussel sprouts:
- Preparing the Sprouts: Begin by rinsing the Brussel sprouts under cool running water to remove any dirt or debris. This step helps ensure that the sprouts are clean before you start removing the leaves and trimming the stalks.
- Removing Outer Leaves: Take a sprout in one hand and gently pull away the loose, outer leaves that surround it. These leaves are often discolored, wilted, or damaged, and removing them exposes the fresher leaves underneath. Continue this process for each individual sprout until you have gone through the entire batch.
- Trimming the Stalk: After removing the outer leaves, inspect the bottom of each sprout’s stalk. You may notice small side shoots or remnants of the stem that can be trimmed. Using a sharp knife or kitchen shears, carefully trim these extra parts to ensure a clean and uniform appearance for the sprouts.
- Leaving Inner Leaves Intact: While it’s important to remove the outer leaves, you should leave the inner leaves intact. These tightly packed leaves are the freshest and contain the most flavor. Removing them would cause the sprouts to lose their natural shape and compromise their texture.
- Final Inspection: Once you have removed the outer leaves and trimmed the stalks, give your Brussel sprouts a final inspection. Look for any remaining damaged or discolored leaves, as well as any visible signs of pests or disease. Discard any sprouts that do not meet the desired quality standards.
By removing excess leaves and trimming the stalks, you ensure that only the best parts of the Brussel sprouts are stored. This not only improves their visual appeal but also helps them stay fresher for longer. With the leaves and stalks properly prepared, you’re now ready to choose the right storage containers for your Brussel sprouts.
Storage Containers
When it comes to storing Brussel sprouts, choosing the right storage containers is crucial to maintaining their freshness and preventing spoilage. The containers you use should provide the ideal conditions to keep the sprouts cool, dry, and protected. Here are some options for storing Brussel sprouts:
- Plastic Bags: Plastic bags can be a convenient and affordable option for storing Brussel sprouts. Use resealable bags or zip-lock bags to keep the sprouts protected from air and moisture. Before sealing the bags, squeeze out as much air as possible to minimize the risk of mold or spoilage. Place the bags in the refrigerator vegetable compartment or crisper drawer.
- Airtight Containers: Airtight containers are another excellent option for storing Brussel sprouts. Choose containers made of food-grade plastic or glass with tight-fitting lids. These containers provide a barrier against moisture and humidity while keeping the sprouts well-protected. Label the containers with the date of storage to keep track of freshness.
- Vacuum-Sealed Bags: For long-term storage, vacuum-sealed bags can be an effective choice. Vacuum-sealing removes excess air from the packaging, preventing oxidation and prolonging the shelf life of the sprouts. Place the Brussel sprouts in the bag, close it using a vacuum sealer, and store in the refrigerator or freezer, depending on your plans for preserving them.
- Breathable Bags or Containers: If you prefer a more environmentally friendly option, consider using breathable bags or containers. These allow for proper air circulation while still providing some protection from moisture and light. Choose mesh bags or perforated containers that allow excess moisture to escape, helping to prevent rotting or molding of the sprouts.
Regardless of the storage containers you choose, ensure that they are clean and dry before adding the Brussel sprouts. Avoid overcrowding the containers to maintain airflow and prevent crushing or damage to the sprouts. Now that you know about the different storage options, let’s explore the process of storing Brussel sprouts in the refrigerator.
Read more: How To Store Cut Brussel Sprouts
Storing in the Refrigerator
Storing Brussel sprouts in the refrigerator is a great way to extend their shelf life and keep them fresh for a longer period. The cool temperature and controlled environment of the refrigerator help slow down the natural degradation process of the sprouts. Here’s how to store Brussel sprouts in the refrigerator:
- Preparation: Ensure that the Brussel sprouts have been properly sorted, cleaned, and any excess leaves and stalks have been removed. Make sure they are completely dry before proceeding with the storage process.
- Storage Bags or Containers: Place the prepared Brussel sprouts in storage bags or airtight containers. If using plastic bags, squeeze out as much air as possible before sealing. If using a container, ensure it has a tight-fitting lid to maintain freshness.
- Vegetable Compartment: Store the sealed bags or containers in the refrigerator vegetable compartment or crisper drawer. This compartment provides a slightly higher humidity level and helps keep the sprouts cool and crisp. Avoid storing the sprouts near ethylene-producing fruits, as it can accelerate the ripening process.
- Temperature and Shelf Life: Set your refrigerator to a temperature between 32°F (0°C) and 41°F (5°C), as this range is ideal for storing Brussel sprouts. When stored properly, Brussel sprouts can stay fresh in the refrigerator for up to two weeks.
- Check for Spoilage: Periodically check the stored Brussel sprouts for any signs of spoilage. Discard sprouts that have become mushy, discolored, or emit a foul odor. Removing any spoiled sprouts helps prevent the spread of spoilage to the rest of the batch.
Remember to label the storage bags or containers with the date of storage to keep track of freshness. Storing Brussel sprouts in the refrigerator is a convenient way to enjoy their fresh flavor over an extended period. However, if you have a surplus of Brussel sprouts, or want to preserve them for a longer duration, consider blanching and freezing them. We will explore this process next.
After harvesting, remove any yellowing leaves and store Brussels sprouts in a perforated plastic bag in the refrigerator crisper drawer for up to 2 weeks.
Blanching and Freezing
If you have a surplus of Brussel sprouts or want to store them for an extended period, blanching and freezing is an excellent preservation method. Blanching helps to preserve the color, flavor, and texture of the sprouts, while freezing ensures their long-term storage. Here’s how to blanch and freeze Brussel sprouts:
- Preparing the Sprouts: Start by sorting and cleaning the Brussel sprouts, removing any damaged or discolored ones. Trim the stalks and remove any loose or outer leaves. Rinse the sprouts under cold water to remove any dirt or debris.
- Blanching: Bring a large pot of water to a boil, adding a pinch of salt if desired. Carefully place the Brussel sprouts in the boiling water and blanch for 3-4 minutes. Blanching times may vary depending on the size of the sprouts. The goal is to slightly cook them while retaining their crispness.
- Cooling: After blanching, quickly remove the sprouts from the boiling water and transfer them to a bowl filled with ice water. This process immediately stops the cooking and helps maintain the vibrant green color and firm texture. Let the sprouts cool in the ice water for an equal amount of time as the blanching.
- Draining and Drying: Once cooled, drain the sprouts and pat them dry with a clean towel. It’s important to remove any excess moisture to prevent ice crystal formation during freezing.
- Freezing: Place the blanched and dried Brussel sprouts in freezer-safe bags or airtight containers. Be sure to label them with the date of blanching. Squeeze out as much air as possible from the bags before sealing. If using containers, leave some headspace for expansion during freezing.
- Freezer Storage: Store the bags or containers in the freezer at a temperature below 0°F (-18°C). Brussel sprouts can typically be stored in the freezer for up to 12 months. However, for the best quality, it is recommended to consume them within 6-8 months.
- Thawing and Using: To use the frozen Brussel sprouts, simply remove the desired amount from the freezer and thaw them in the refrigerator overnight. Once thawed, they can be cooked in various ways, such as roasting, steaming, or sautéing, to enjoy their delicious flavor.
Blanching and freezing Brussel sprouts is a great way to preserve their fresh taste and nutritional value for an extended period. This method allows you to enjoy Brussel sprouts all year round, even when they are out of season. Properly storing and labeling them in the freezer ensures that you can easily access them whenever needed.
Storing in the Freezer
If you have a surplus of Brussel sprouts or want to preserve them for a longer period, storing them in the freezer is an excellent option. Freezing Brussel sprouts helps to retain their flavor, texture, and nutritional value. Here’s how to properly store Brussel sprouts in the freezer:
- Preparing the Sprouts: Start by sorting and cleaning the Brussel sprouts, removing any damaged or discolored ones. Trim the stalks and remove any loose or outer leaves. Rinse the sprouts under cold water to remove any dirt or debris.
- Blanching (Optional): Blanching the Brussel sprouts before freezing can help preserve their color and texture. Bring a large pot of water to a boil, add a pinch of salt, and carefully place the sprouts into the boiling water. Blanch them for 3-4 minutes, then transfer them to a bowl of ice water. This stops the cooking process and helps retain their quality.
- Draining and Drying: Whether or not you choose to blanch the sprouts, it’s important to drain them well and pat them dry with a clean towel. Removing excess moisture before freezing helps prevent the formation of ice crystals, which may affect the texture of the sprouts.
- Freezer-Safe Containers: Place the drained and dried Brussel sprouts in freezer-safe bags or airtight containers. Squeeze out as much air as possible from the bags before sealing. If using containers, leave some headspace for expansion during freezing.
- Labeling: Properly label the bags or containers with the date of freezing. This will help you keep track of the storage time and ensure that you use the oldest sprouts first.
- Freezer Storage: Place the containers of Brussel sprouts in the freezer, ensuring they are stored in a single layer if possible. This allows for faster freezing and easier access to individual sprouts later on.
- Storage Time: Brussel sprouts can be stored in the freezer for up to 12 months. However, for the best quality, it is recommended to consume them within 6-8 months.
- Thawing and Using: To use the frozen Brussel sprouts, simply remove the desired amount from the freezer and thaw them in the refrigerator overnight. Once thawed, they can be cooked in various ways, such as roasting, steaming, or sautéing, to enjoy their delicious flavor.
Storing Brussel sprouts in the freezer is a convenient way to have them readily available for future use. Proper storage techniques ensure that the sprouts retain their taste and nutritional value. Whether you choose to blanch the sprouts or freeze them directly, following these steps will help you enjoy the flavors of fresh Brussel sprouts all year round.
Proper Labeling and Dating
Properly labeling and dating your stored Brussel sprouts is essential for organization and ensuring that you use the oldest sprouts first. This practice helps you maintain a well-managed freezer or refrigerator and ensures that you enjoy the best quality sprouts. Follow these guidelines for proper labeling and dating:
- Use Waterproof Labels: When labeling your storage containers or bags, use waterproof labels or markers to prevent smudging or fading. This is especially important for freezer storage, where condensation can occur.
- Write Clear and Legible Labels: Write the contents of the container (Brussel sprouts) and the date of storage on the label. Make sure your handwriting is legible, as it will be important when identifying the sprouts later on.
- Include the Storage Date: The storage date is crucial for managing the freshness and shelf life of the Brussel sprouts. It helps you keep track of how long the sprouts have been stored and allows you to prioritize consumption of the oldest sprouts first.
- Rotate the Stock: When adding newly stored Brussel sprouts to the freezer or refrigerator, make sure to place them behind the older ones. This rotation technique ensures that you use the sprouts in the order of their storage dates, preventing any from being forgotten and going to waste.
- Keep a Record: If you store a variety of vegetables or have different batches of Brussel sprouts, consider keeping a record of the items and dates in a freezer or refrigerator inventory. This can help you easily locate and track the storage time of each batch.
- Monitor Storage Time: Regularly check the labels on your stored Brussel sprouts to monitor their storage time. Refer to the recommended storage times mentioned earlier and make sure to consume the sprouts within the recommended period for the best quality and flavor.
Properly labeling and dating your stored Brussel sprouts ensures that you maintain a well-organized and efficient storage system. It helps you keep track of the freshness of the sprouts and allows you to prioritize their use. By following these guidelines, you can confidently enjoy delicious Brussel sprouts with minimal wastage.
Read more: How To Store Brussel Sprouts In Freezer
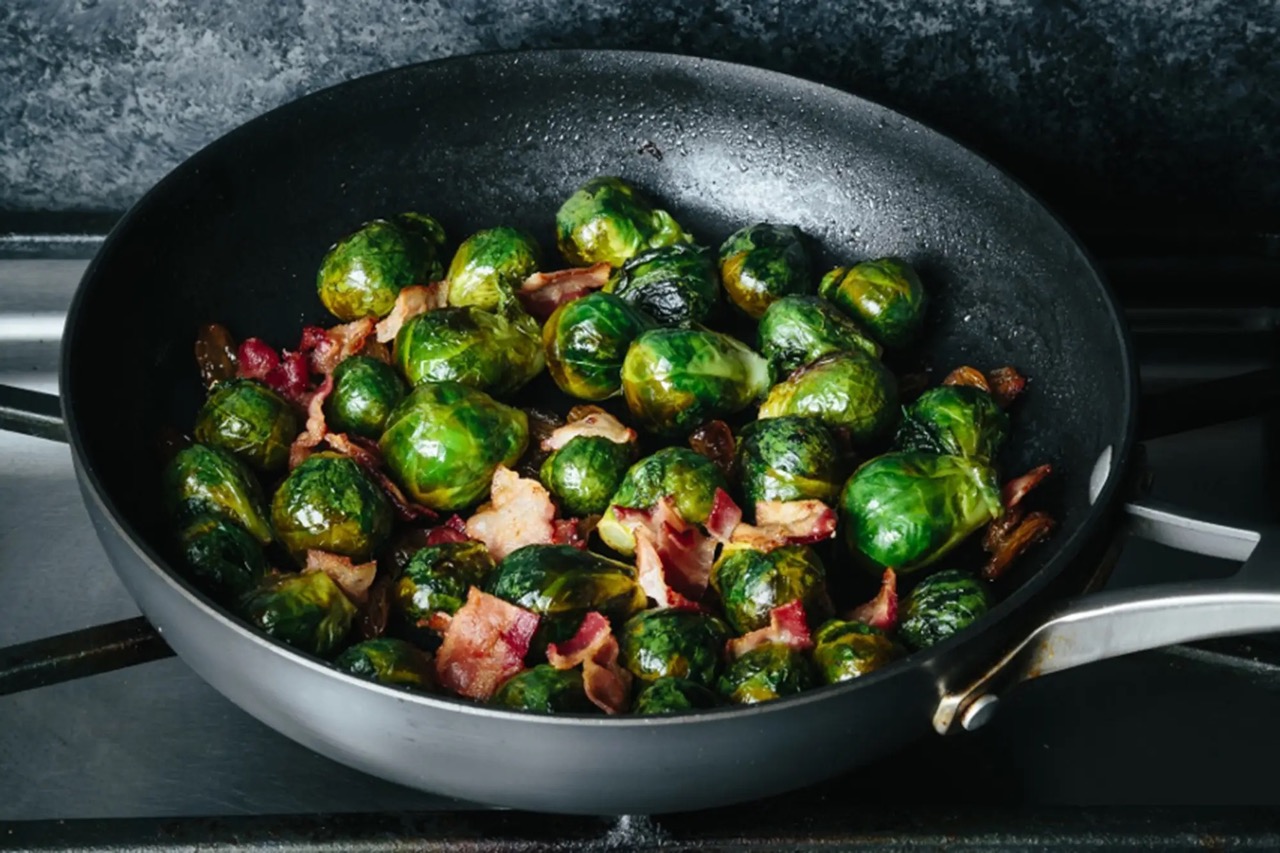
Using Stored Brussel Sprouts
Stored Brussel sprouts can be a versatile ingredient in a variety of dishes, allowing you to enjoy their delicious flavor and nutritional benefits even after they’ve been harvested. Here are some ideas for using your stored Brussel sprouts:
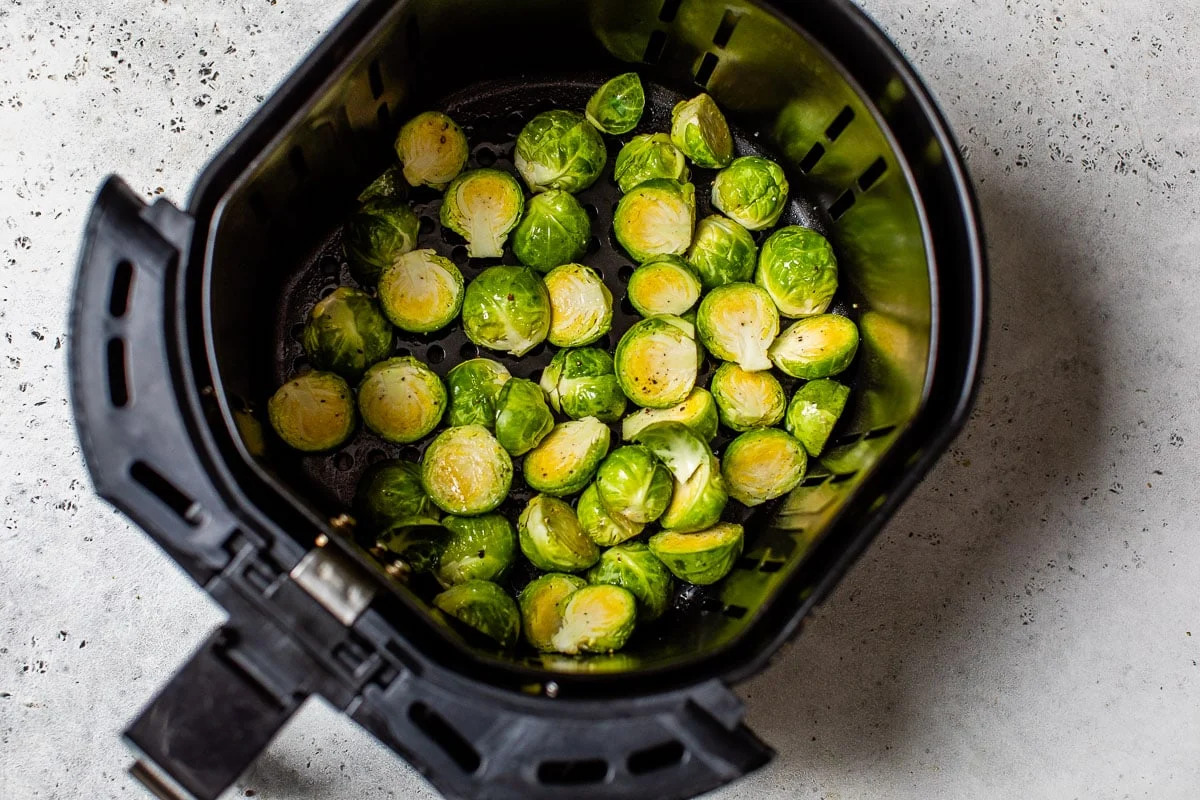
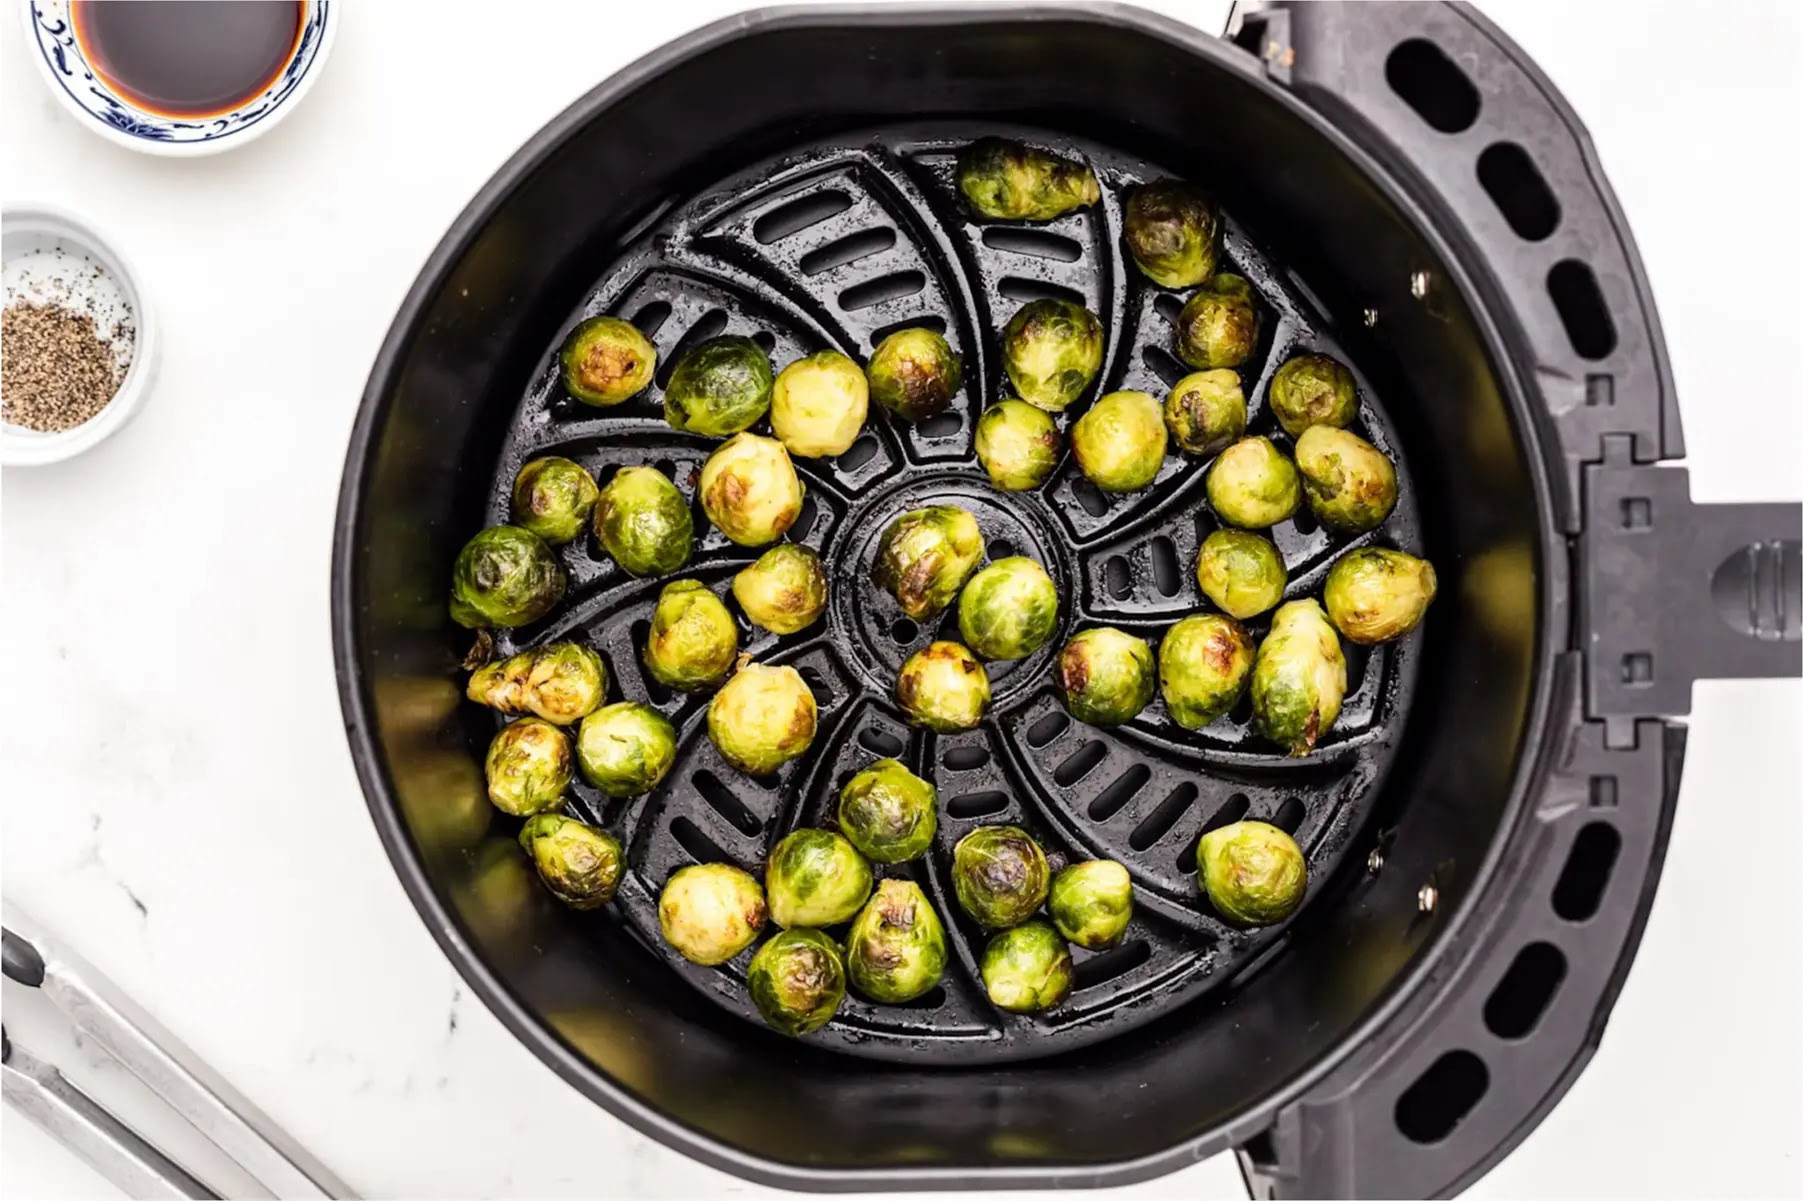
- Roasting: Roasting is a popular way to enhance the flavor and texture of Brussel sprouts. Toss the sprouts in olive oil, season with salt, pepper, and any desired herbs or spices, then spread them out on a baking sheet. Roast in a preheated oven at 400°F (200°C) for about 20-25 minutes, or until they are golden brown and tender.
- Steaming: Steaming Brussel sprouts is a great way to retain their natural goodness and vibrant color. Place the sprouts in a steamer basket over boiling water and steam for 8-10 minutes, or until they are tender but still slightly crisp. Serve as a side dish or include them in salads, stir-fries, or pasta dishes.
- Sautéing: Sautéed Brussel sprouts make a flavorful and quick addition to any dish. Heat some oil or butter in a skillet over medium-high heat, add the sprouts, and cook for 7-10 minutes, tossing them occasionally, until they are caramelized and tender. You can add other ingredients like garlic, onions, or bacon for added flavor.
- Stir-Frying: Brussel sprouts can be a delicious addition to stir-fries. Slice them thinly or halve them, depending on their size, and stir-fry with your choice of vegetables, protein, and sauce. Cook until they are tender-crisp, creating a nutritious and colorful dish.
- Soups and Stews: Adding Brussel sprouts to soups and stews can give them a hearty and nutritious boost. Slice the sprouts or use whole small ones and add them to your favorite soup or stew recipes during the last few minutes of cooking. They will infuse the dish with their distinct flavor and provide a satisfying texture.
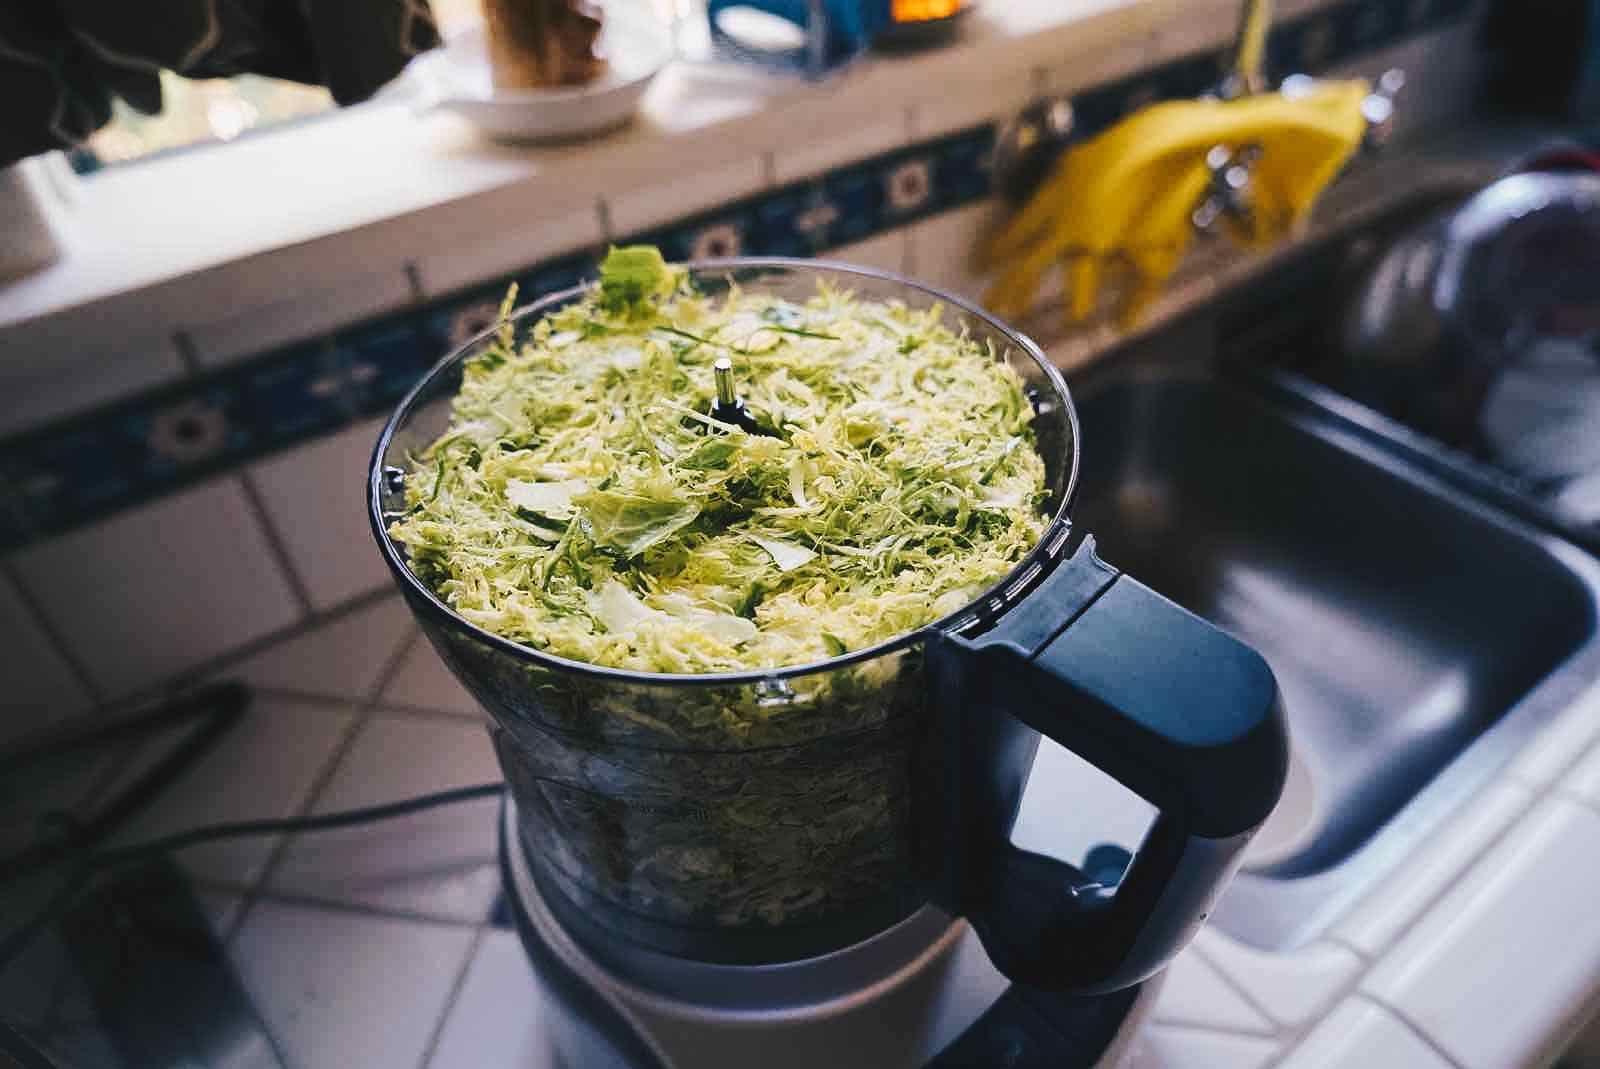
- Salads: Brussel sprouts can be enjoyed raw in salads as well. Shred or thinly slice them and toss them with other fresh vegetables, fruits, nuts, and a tangy dressing for a vibrant and nutritious salad. Massaging the shredded sprouts with the dressing can help soften their texture.
Experiment with different cooking methods and flavor combinations to discover your favorite way to enjoy stored Brussel sprouts. Their versatility makes them a great addition to a variety of dishes, from simple sides to main courses. Get creative in the kitchen and savor the flavors of these delicious and nutritious sprouts.
Tips for Long-Term Storage
Proper storage techniques are key to maintaining the freshness and quality of Brussel sprouts for an extended period. Here are some tips to ensure long-term storage of your Brussel sprouts:
- Choose Fresh and High-Quality Sprouts: Select fresh, firm Brussel sprouts with vibrant green leaves. Avoid sprouts with yellowed or wilted leaves, as they may be past their prime. Choosing high-quality sprouts from the beginning sets the stage for successful long-term storage.
- Sort and Clean Thoroughly: Before storing, sort through the sprouts and remove any damaged, bruised, or discolored ones. Cleaning the sprouts by rinsing them under cool water helps remove dirt and debris, ensuring a cleaner and fresher storage environment.
- Remove Excess Leaves and Trim Stalks: Removing loose and outer leaves, as well as trimming the stalks, helps maintain the sprouts’ quality during storage. Outer leaves can wilt or spoil faster, so removing them allows the inner leaves to stay fresher. Trimming the stalks also keeps the sprouts more compact and uniform in shape.
- Consider Blanching for Long-Term Storage: Blanching Brussel sprouts before storing them in the freezer can help preserve their color, texture, and nutritional value. Blanching involves briefly boiling the sprouts and then submerging them in ice water to halt the cooking process. This extra step can improve the quality of the sprouts during long-term storage.
- Use Proper Storage Containers: Choose appropriate storage containers, such as plastic bags, airtight containers, or vacuum-sealed bags. Ensure that the containers are clean, dry, and properly sealed to prevent moisture, air, and odors from entering.
- Label and Date: Properly label the containers with the contents and the date of storage. This helps you keep track of the storage time and enables you to prioritize the use of the oldest sprouts first.
- Store in Ideal Conditions: Brussel sprouts store best in a cool, dark, and dry environment. If storing in the refrigerator, place them in a vegetable compartment or crisper drawer. If freezing, ensure your freezer is set to a temperature below 0°F (-18°C).
- Rotate and Monitor: Rotate your stock by using the oldest sprouts first and regularly check the labels and condition of stored sprouts. Remove any sprouts that show signs of spoilage promptly to prevent the spread of spoilage to the rest of the batch.
- Keep a Record: Consider keeping a record or inventory of your stored Brussel sprouts. This can help you keep track of the quantity, storage time, and usage, ensuring a well-managed and efficient storage system.
By following these tips, you can maximize the shelf life and quality of your stored Brussel sprouts. Whether you store them in the refrigerator or freezer, proper storage techniques are vital for enjoying fresh and delicious sprouts throughout the year.
Conclusion
Storing Brussel sprouts from the garden is an excellent way to ensure their freshness and enjoy their delicious flavor long after they have been harvested. By following proper storage techniques, you can extend the shelf life of these nutritious vegetables and have them readily available for various culinary adventures.
From the moment of harvesting, it’s crucial to handle the sprouts with care. Harvest them at the right time, sort and clean them thoroughly, and remove any damaged leaves or stalks. These steps set the foundation for successful storage.
Choosing the right storage containers is key to maintaining the freshness and quality of the sprouts. Whether you opt for plastic bags, airtight containers, or vacuum-sealed bags, ensure they are clean, dry, and properly sealed to protect the sprouts from moisture and air.
Depending on your storage needs, you have the option to store Brussel sprouts in the refrigerator or freezer. Properly label and date the containers, and remember to rotate the stock, using the oldest sprouts first. Regularly monitor the sprouts for any signs of spoilage and discard any compromised sprouts to preserve the quality of the remaining batch.
If you find yourself with a surplus of Brussel sprouts, consider blanching and freezing them. Blanching helps to maintain the sprouts’ color, texture, and nutritional value, and freezing ensures their long-term storage. Label and date the frozen containers, and enjoy the convenience of having Brussel sprouts available throughout the year.
When it’s time to enjoy your stored Brussel sprouts, explore various cooking methods, such as roasting, steaming, sautéing, or incorporating them into soups, stews, salads, and stir-fries. Get creative in the kitchen and savor the flavors of these versatile and nutritious vegetables.
In conclusion, storing Brussel sprouts from the garden is a rewarding endeavor that allows you to enjoy their delightful taste and benefits well beyond the harvest season. With proper sorting, cleaning, storage, and utilization techniques, you can make the most of your Brussel sprouts and elevate your culinary creations.
Frequently Asked Questions about How To Store Brussel Sprouts From The Garden
Was this page helpful?
At Storables.com, we guarantee accurate and reliable information. Our content, validated by Expert Board Contributors, is crafted following stringent Editorial Policies. We're committed to providing you with well-researched, expert-backed insights for all your informational needs.


0 thoughts on “How To Store Brussel Sprouts From The Garden”