Articles
How To Store Brussel Sprouts In Mason Jars
Modified: December 7, 2023
Learn how to properly store Brussels sprouts in Mason jars for long-lasting freshness. This comprehensive article provides step-by-step instructions and helpful tips.
(Many of the links in this article redirect to a specific reviewed product. Your purchase of these products through affiliate links helps to generate commission for Storables.com, at no extra cost. Learn more)
Introduction
Brussel sprouts are a delicious and nutritious vegetable. Packed with vitamins, minerals, and fiber, they make a great addition to any meal. However, buying fresh Brussel sprouts in bulk can sometimes lead to having more than you can consume in a short period of time. But fret not! Mason jars can come to the rescue as a perfect storage solution for your surplus Brussel sprouts.
In this article, we will guide you through the process of storing Brussel sprouts in Mason jars. You’ll learn everything from choosing and preparing the sprouts to sterilizing the jars and packing them in a way that ensures the sprouts retain their freshness and flavor for an extended period of time.
So, let’s get started and make the most of those fresh Brussel sprouts!
Key Takeaways:
- Preserve the freshness and flavor of Brussel sprouts by storing them in Mason jars. Follow the steps for choosing, preparing, and packing to enjoy this nutritious vegetable for an extended period.
- Get creative with your stored Brussel sprouts! From roasting to stir-frying, there are endless delicious dishes to explore using this versatile and nutritious ingredient.
Read more: How To Sprout Seeds In A Mason Jar
Choosing and Preparing Brussel Sprouts
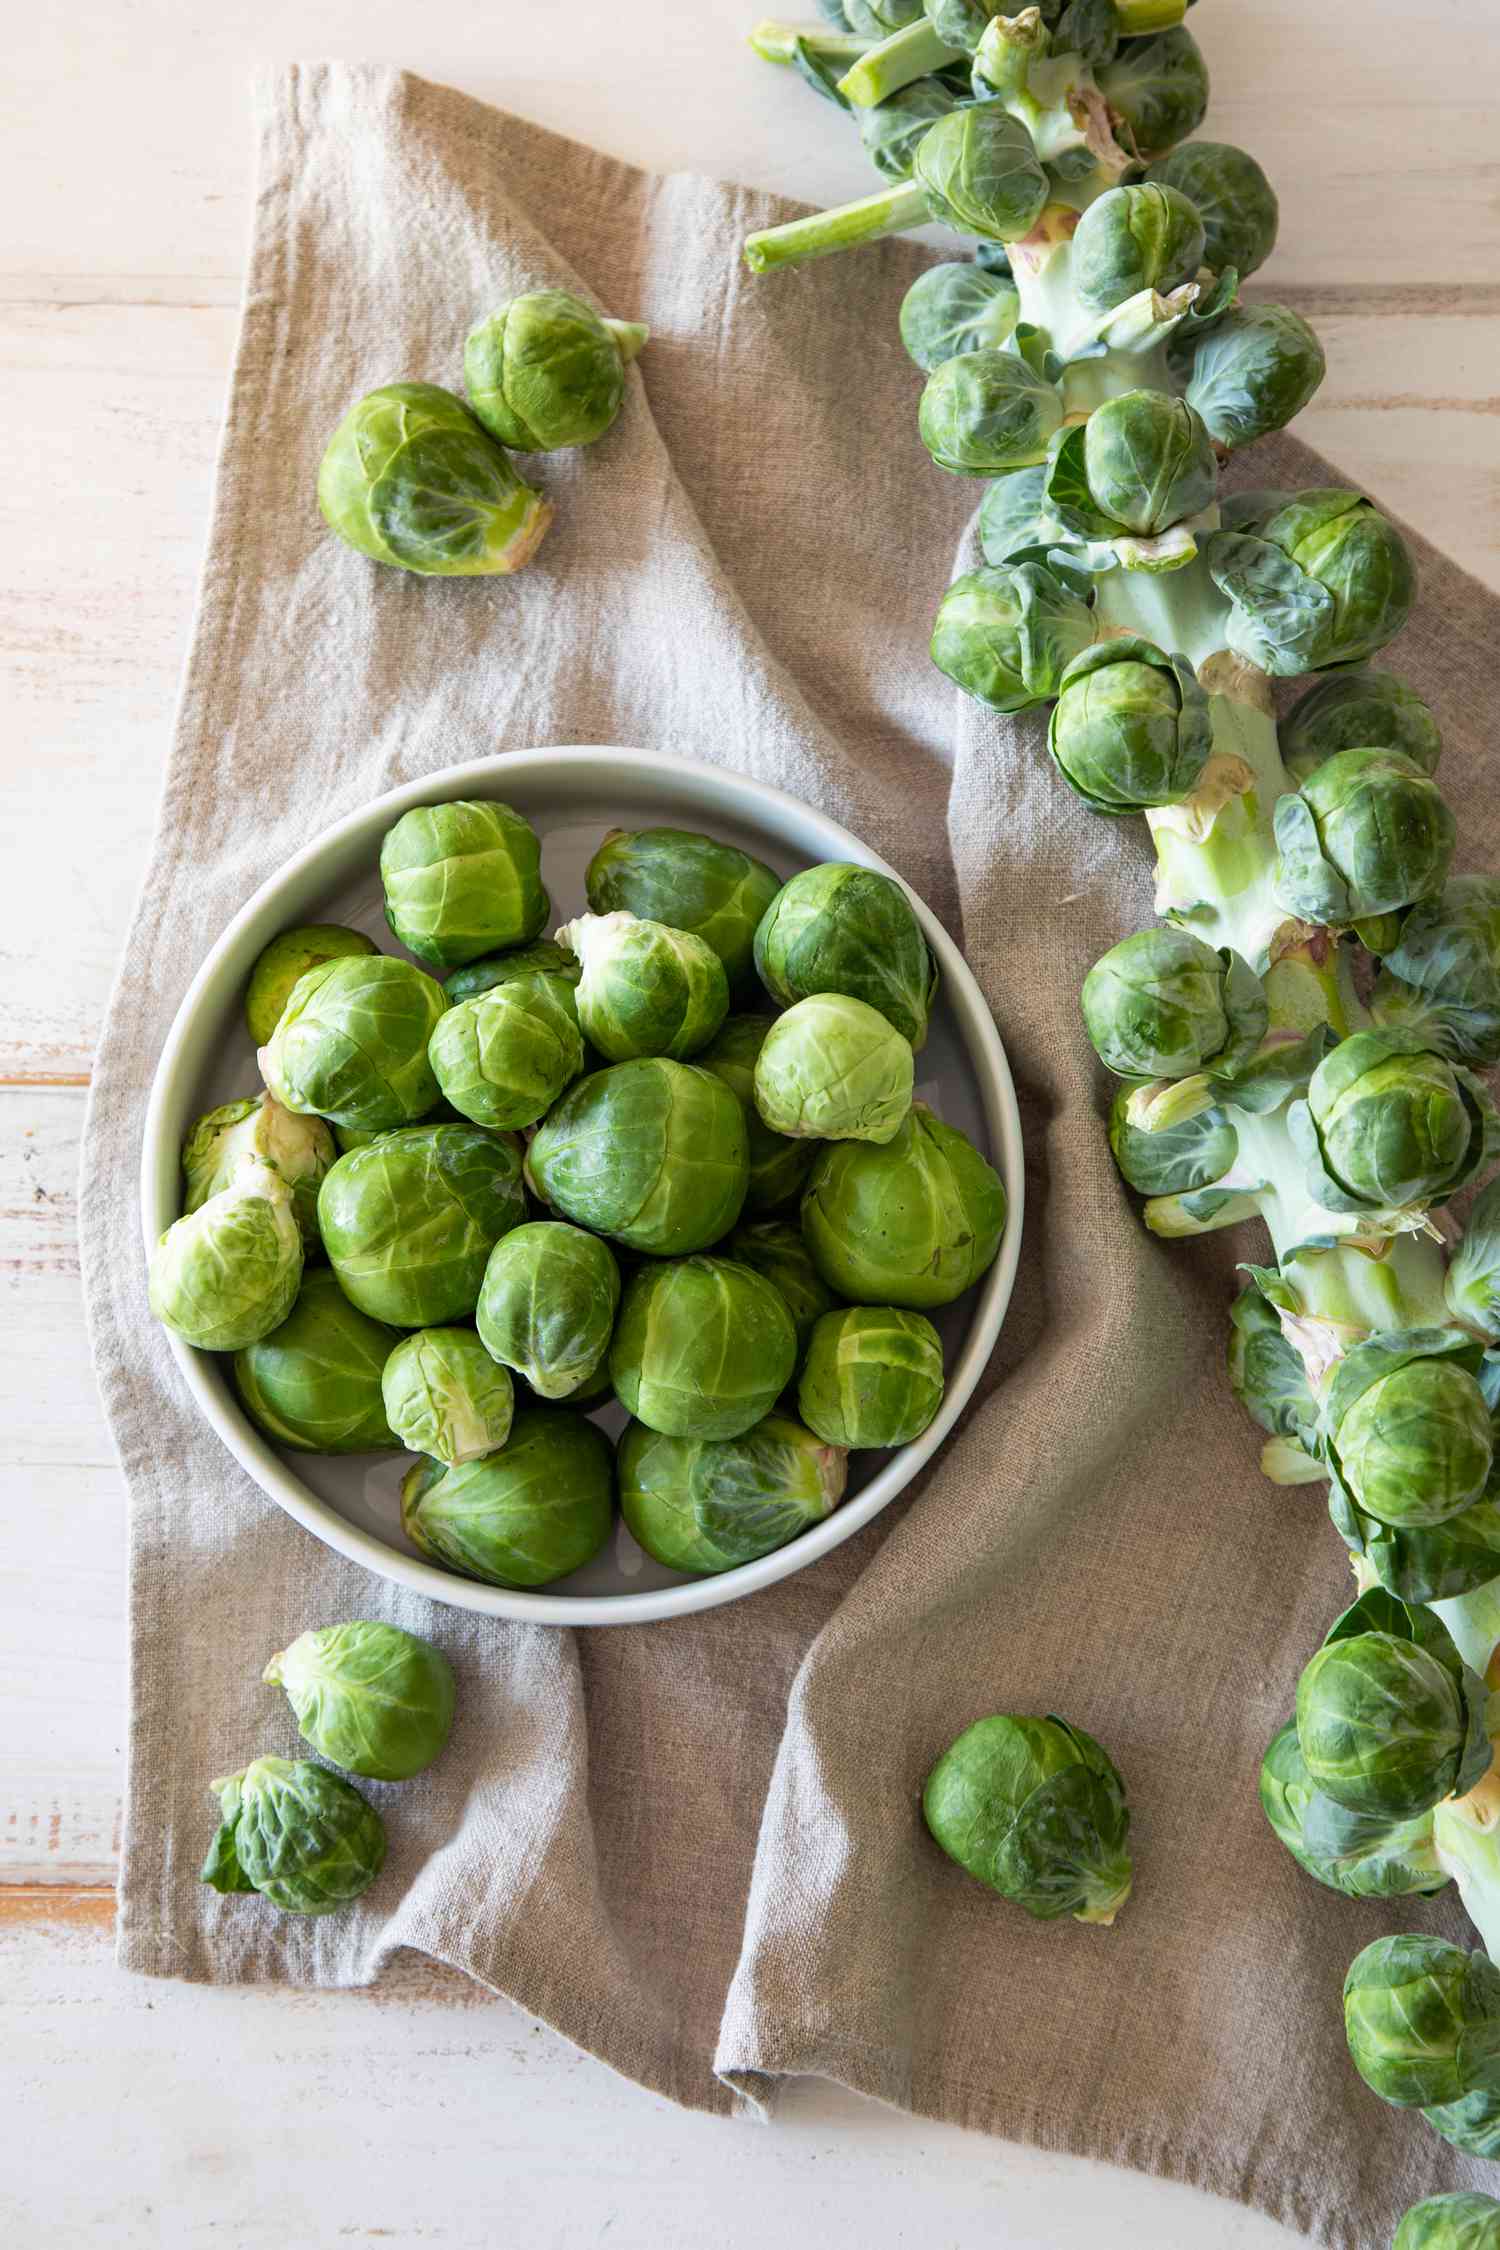
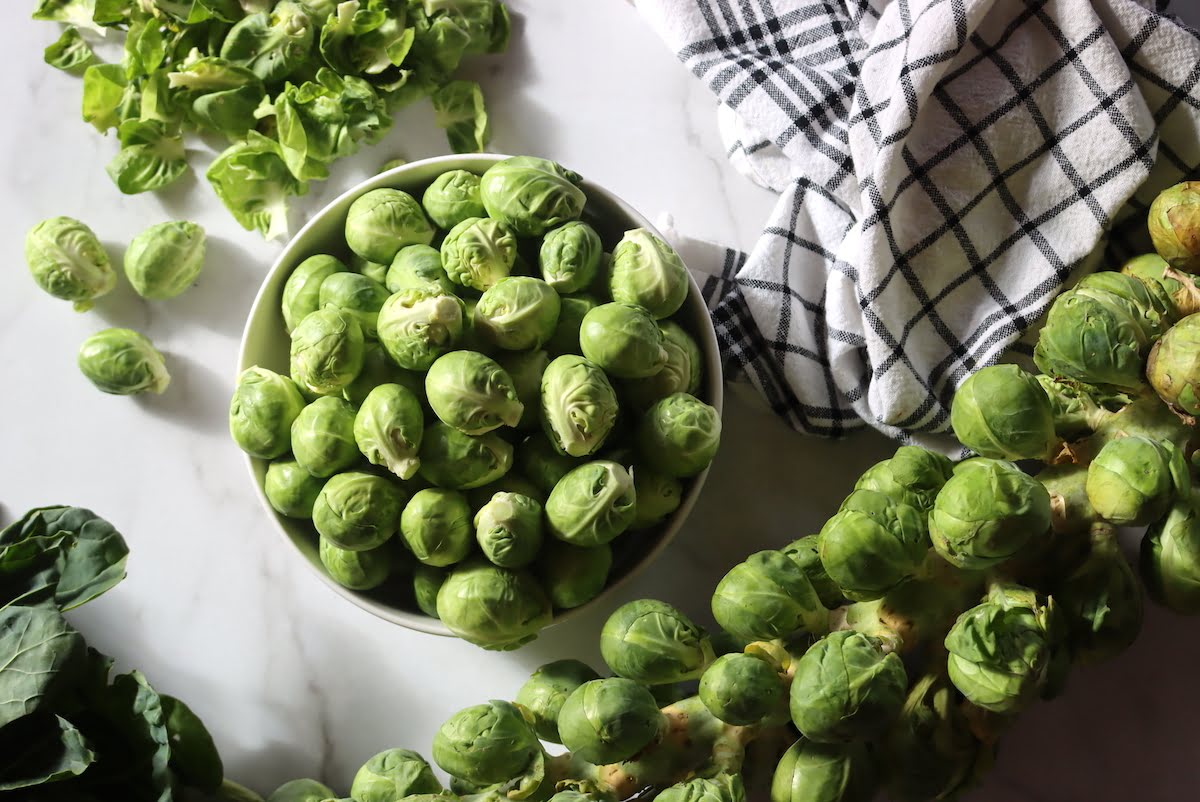
When it comes to choosing Brussel sprouts for storage, it’s important to select fresh, firm sprouts that are free from blemishes or signs of wilting. Look for sprouts that have tight, compact leaves and a vibrant green color. Avoid sprouts that have yellowing leaves or are soft to the touch, as these may not have a long shelf life.
Before storing Brussel sprouts, it’s essential to give them a thorough rinse to remove any dirt or debris. Gently wash the sprouts under cool running water, taking care to remove any outer leaves that may be loose or damaged. Once washed, pat the sprouts dry with a clean kitchen towel or paper towel to remove any excess moisture, as moisture can cause the sprouts to spoil more quickly.
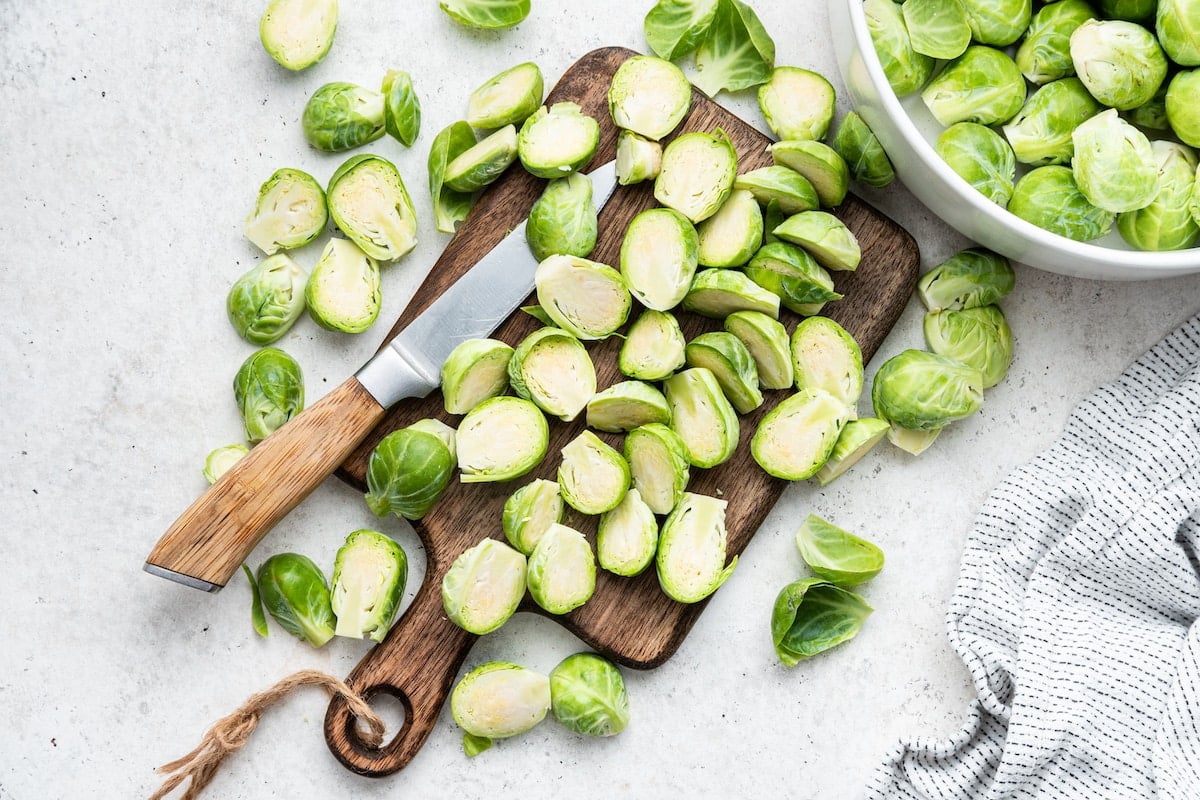
If you have a large quantity of Brussel sprouts, you may find it helpful to trim the stems before storing. Removing the stems can make the sprouts more compact and easier to fit into Mason jars. Use a sharp knife to carefully trim off the tough end of each sprout, creating a flat base that will sit evenly in the jar.
It’s worth noting that Brussel sprouts have a distinctive aroma that can become quite strong when stored. If you find the smell unpleasant, you can reduce it by blanching the sprouts before packing them in jars. Blanching involves briefly boiling the sprouts, which helps to preserve their flavor and aroma while reducing the intensity of the smell.
Now that you have your Brussel sprouts chosen and prepared, let’s move on to preparing the Mason jars for storage.
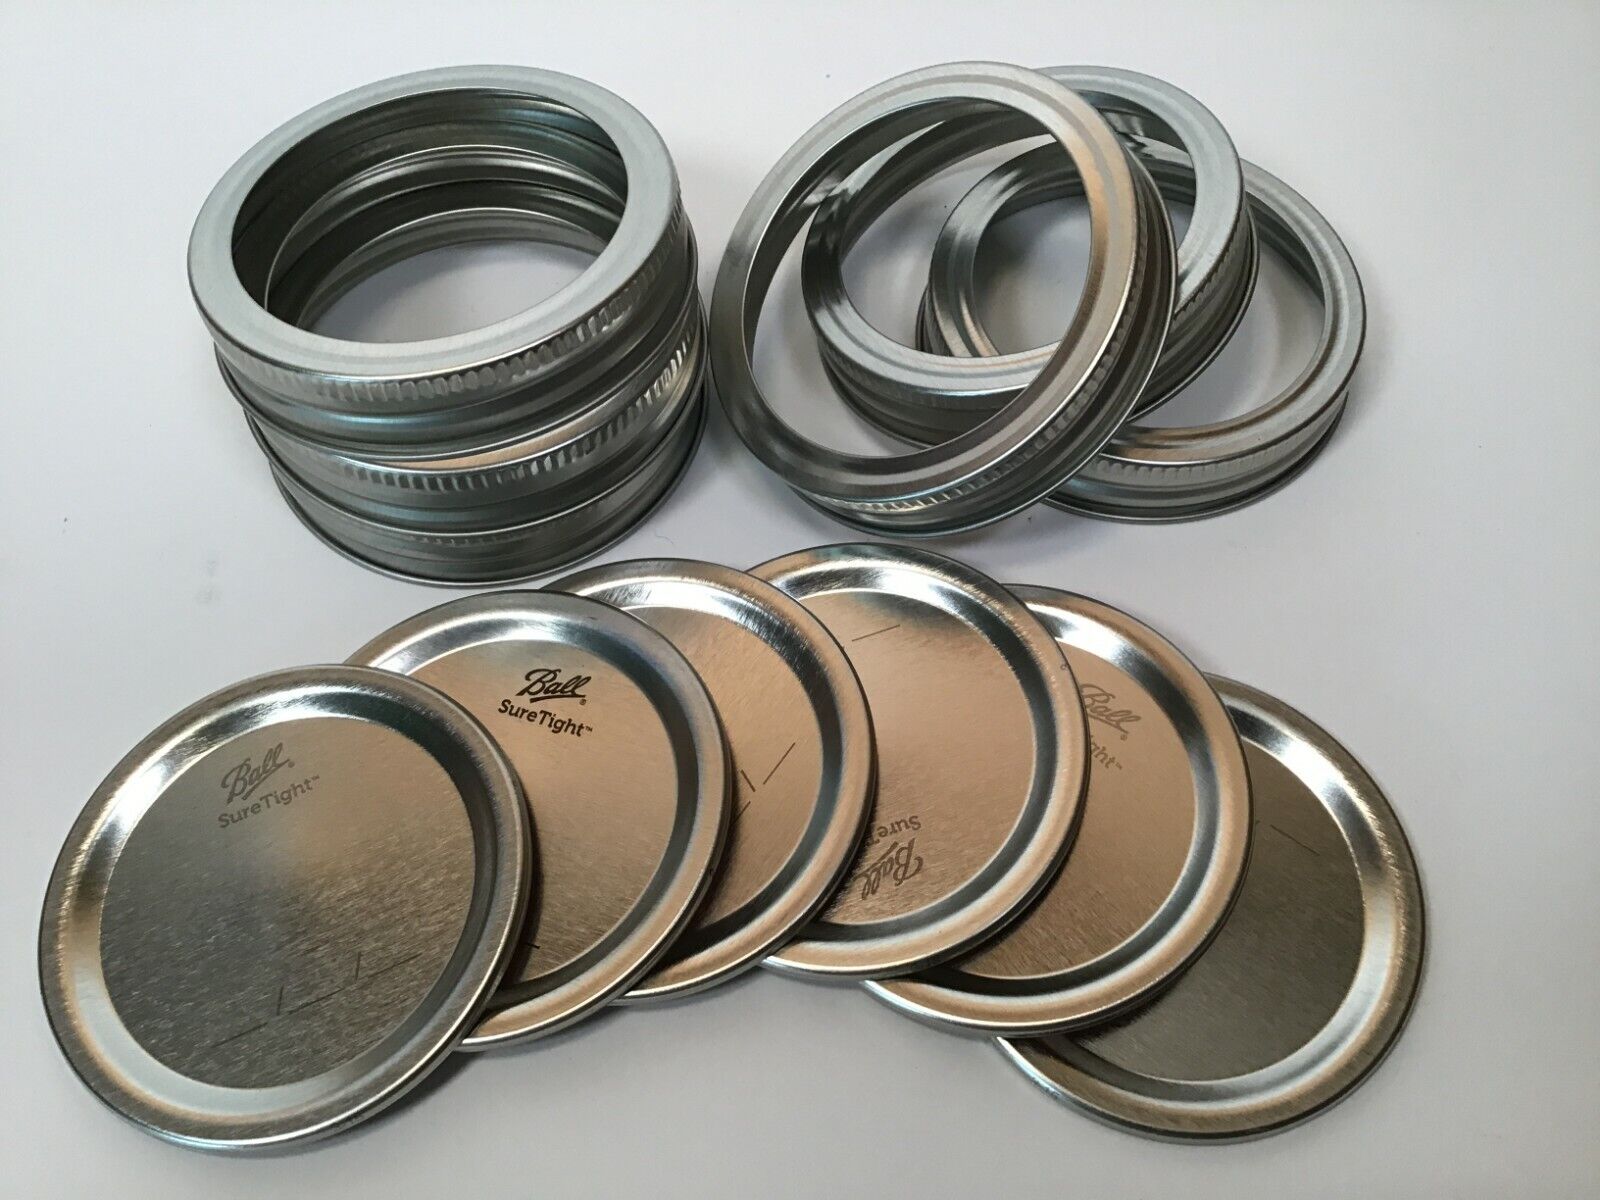
Sterilizing Mason Jars
Before you can store your Brussel sprouts in Mason jars, it’s crucial to ensure that the jars are properly sterilized. Sterilization helps to eliminate any bacteria or contaminants that may affect the quality and safety of your stored food.
Here’s a simple method to sterilize your Mason jars:
- Start by thoroughly washing the jars, lids, and rings with hot, soapy water. Rinse them well to remove any soap residue.
- Place the jars, lids, and rings in a large pot and fill it with enough water to completely submerge them.
- Bring the water to a rolling boil and let the jars, lids, and rings boil for at least 10 minutes.
- Using tongs, carefully remove the jars, lids, and rings from the boiling water and place them on a clean towel to cool.
- Once the jars are cool enough to handle, inspect them for any cracks or defects. Discard any jars that are damaged.
It’s important to note that the lids and rings should not be boiled for more than 10 minutes, as excessive heat can cause the rubber seals to deteriorate. If desired, you can also sterilize the jars in the oven by placing them on a baking sheet and baking at 225°F (107°C) for 10 minutes.
By sterilizing your Mason jars, you create a clean environment for storing your Brussel sprouts, minimizing the risk of spoilage or contamination. With the jars now sterilized and ready, let’s move on to blanching the Brussel sprouts.
Blanching Brussel Sprouts
Blanching Brussel sprouts before storing them in Mason jars can help preserve their flavor and texture while reducing the strong smell often associated with them. This process involves briefly boiling the sprouts and then quickly cooling them down. Here’s a step-by-step guide to blanching Brussel sprouts:
- Fill a large pot with water and bring it to a boil over high heat. You’ll need enough water to completely submerge all the Brussel sprouts.
- While the water is heating up, prepare an ice bath in a large bowl or sink by filling it with cold water and ice cubes. This will be used to rapidly cool down the blanched sprouts.
- Carefully add the Brussel sprouts to the boiling water and let them cook for 3-4 minutes. The sprouts should be tender yet still have a slight crunch.
- Using a slotted spoon or tongs, quickly transfer the blanched sprouts to the ice bath to stop the cooking process. Leave them in the ice bath for about 3-5 minutes to cool them down completely.
- Remove the sprouts from the ice bath and drain them well. Gently pat them dry with a clean kitchen towel or paper towel to remove any excess moisture.
Blanching the Brussel sprouts not only helps to maintain their vibrant green color but also slows down the enzyme activity that can lead to flavor and nutrient loss. It also makes it easier to pack the sprouts into the Mason jars without the risk of them being too compacted or damaged.
Now that your Brussel sprouts are blanched and ready, it’s time to pack them into the Mason jars for storage.
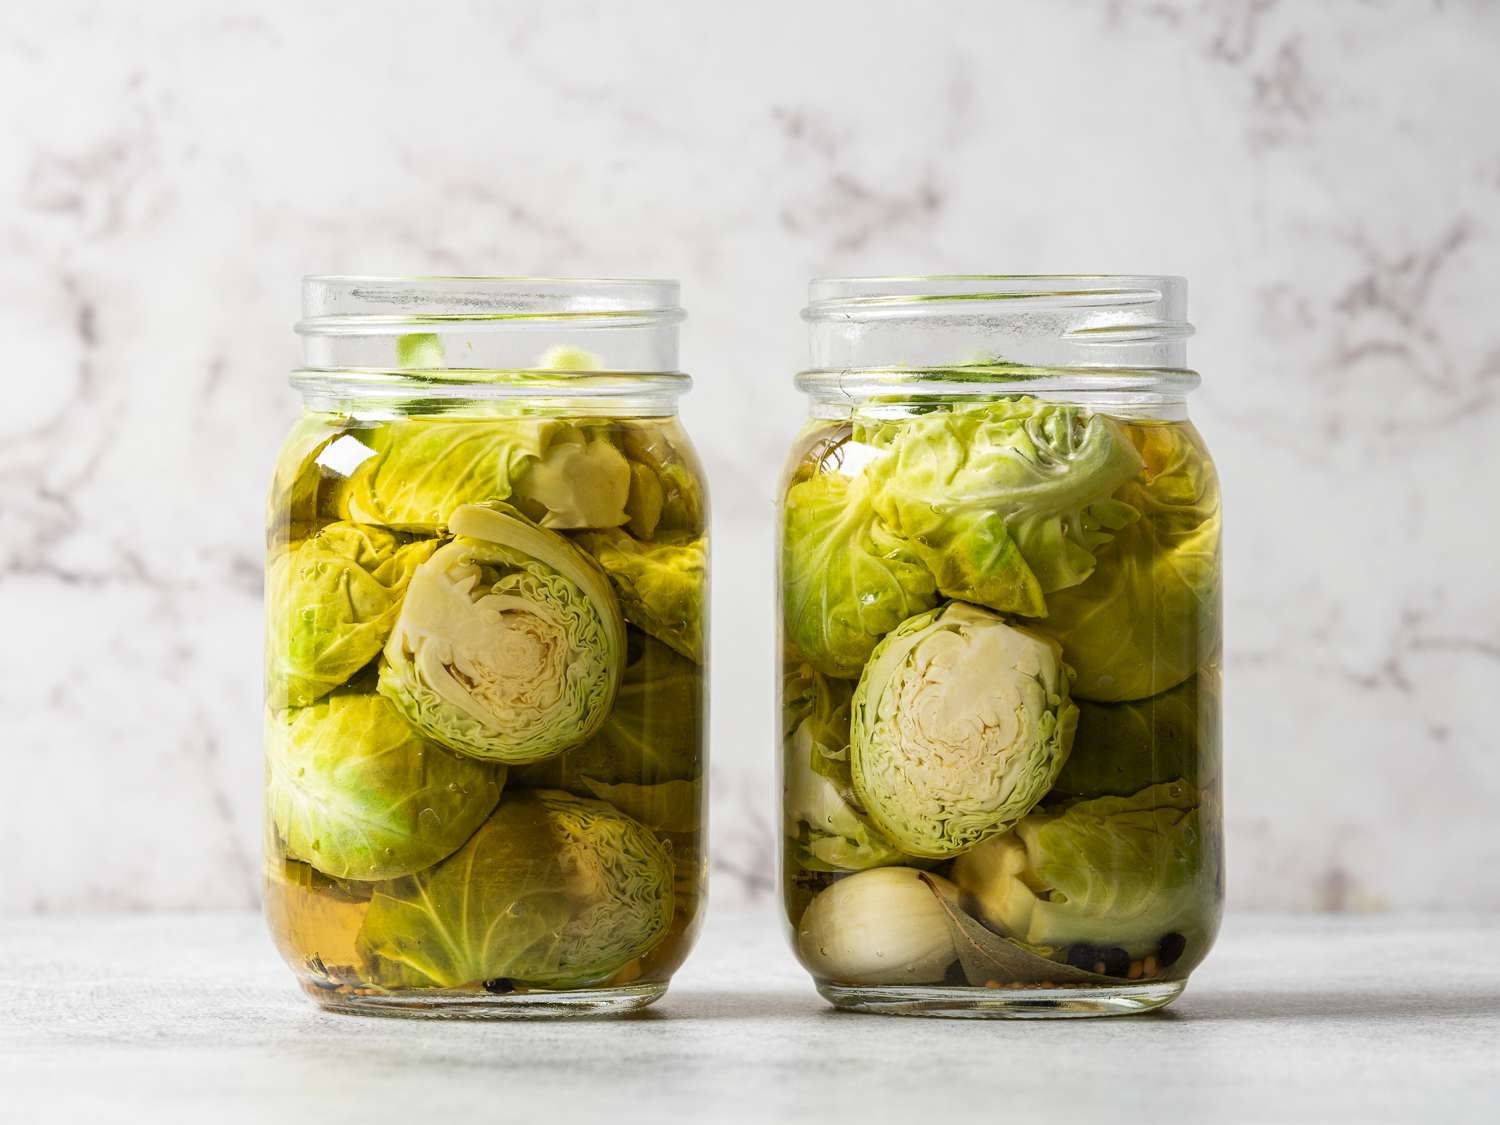
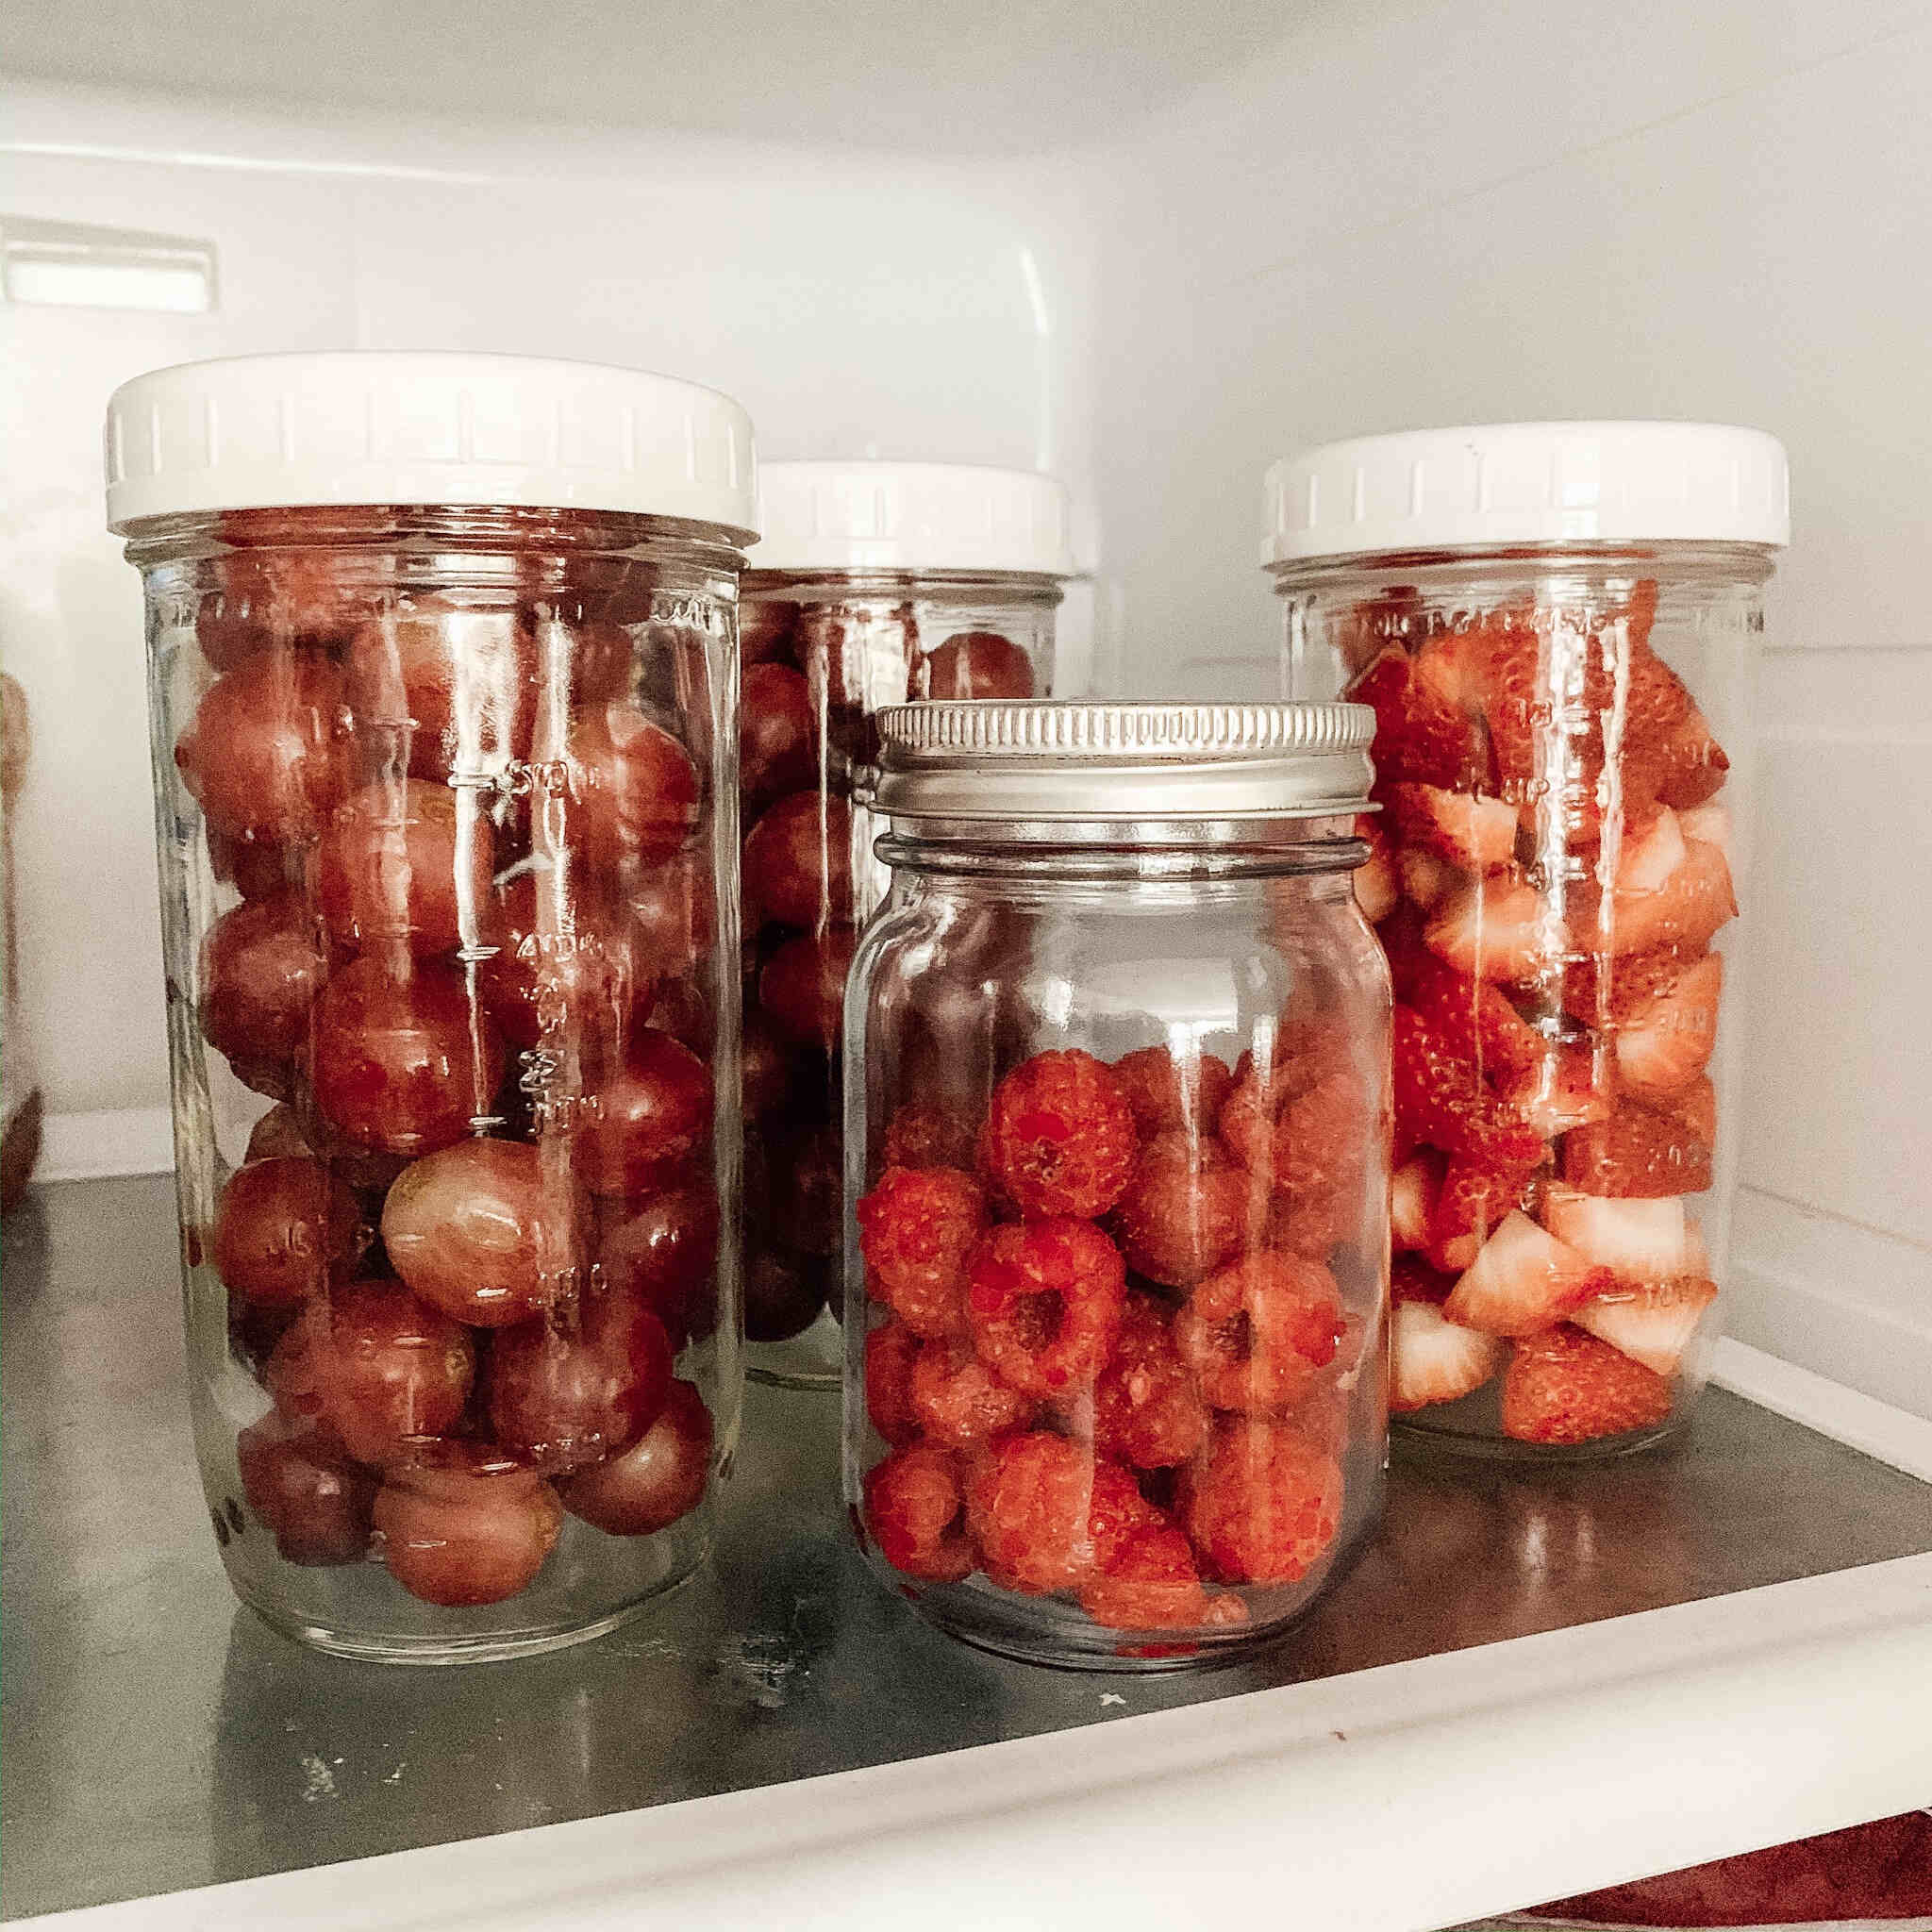
Packing Brussel Sprouts in Mason Jars
Now that you have your blanched Brussel sprouts ready, it’s time to pack them neatly and efficiently into your sterilized Mason jars. Proper packing ensures that the sprouts remain fresh and properly preserved during storage.
Follow these steps to pack the Brussel sprouts in Mason jars:
- Start by gently layering the blanched Brussel sprouts into the jar. Place them in a way that allows for even distribution and minimal air gaps. Be careful not to crush or overcrowd the sprouts, as this may cause them to spoil faster.
- If you have different sizes or batches of sprouts, you can pack them in separate jars to have more control over their storage and usage.
- Continue layering the sprouts, ensuring that each layer is packed tightly but without excessive force. Using a small kitchen tool can help you gently press the sprouts down if necessary.
- Leave a 1-inch (2.5 cm) headspace at the top of the jar to allow for expansion during freezing if you choose to freeze them.
- If you have any leftover blanching liquid or stock that you used, you can pour a small amount over the packed sprouts to help preserve their flavor and moisture.
It’s important to note that you can pack the Mason jars with just the Brussel sprouts, or you can add other ingredients like chopped garlic, herbs, or spices to enhance the flavor. Adding these additional ingredients can infuse the sprouts with aromatic flavors as they are stored.
With the Brussel sprouts neatly packed in the Mason jars, it’s time to add liquid and seasonings for optimal preservation and taste.
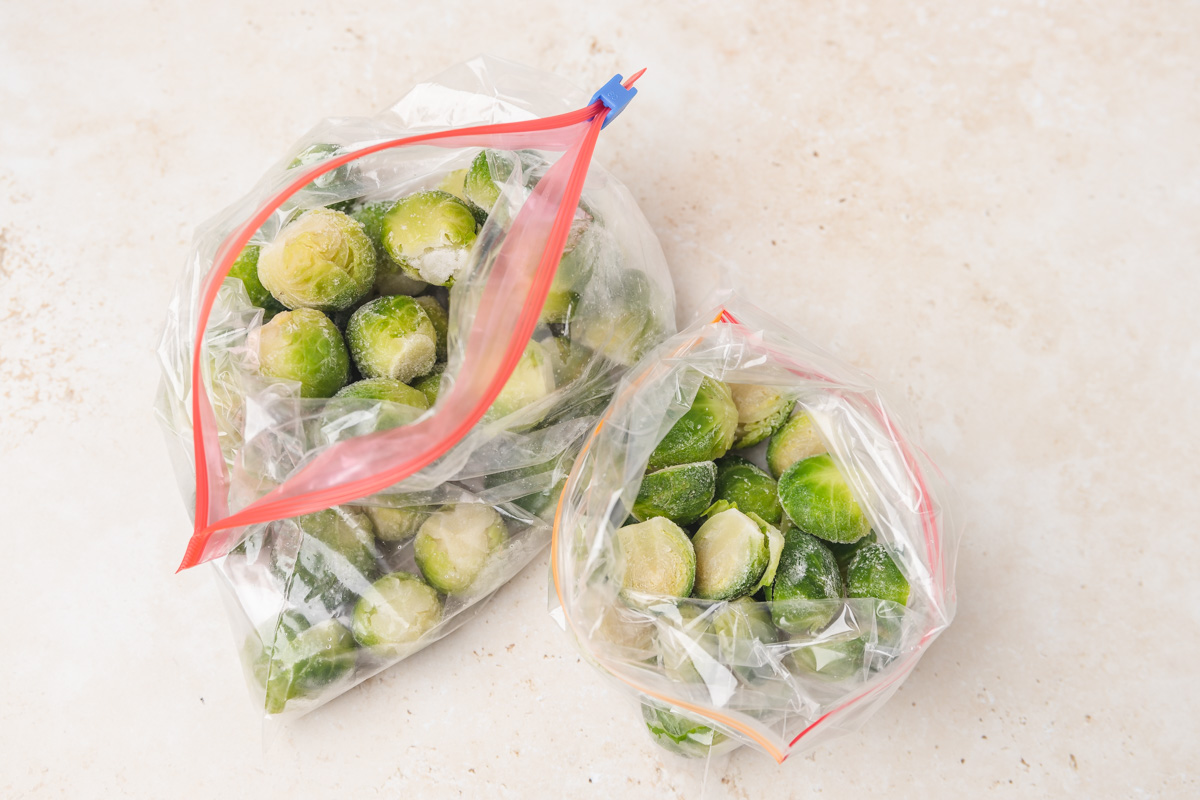
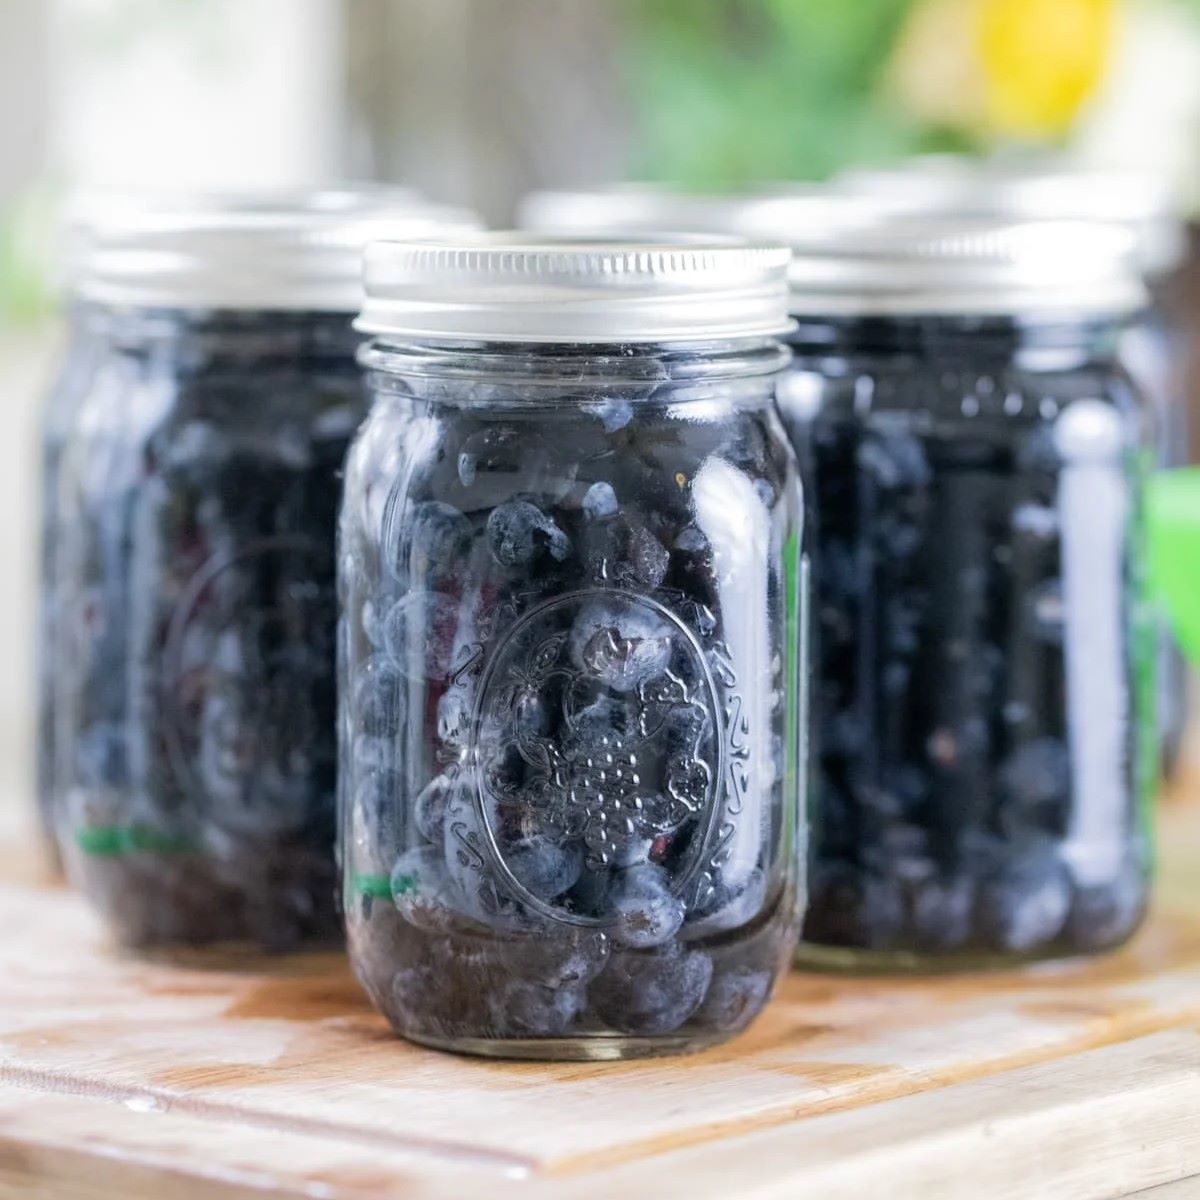
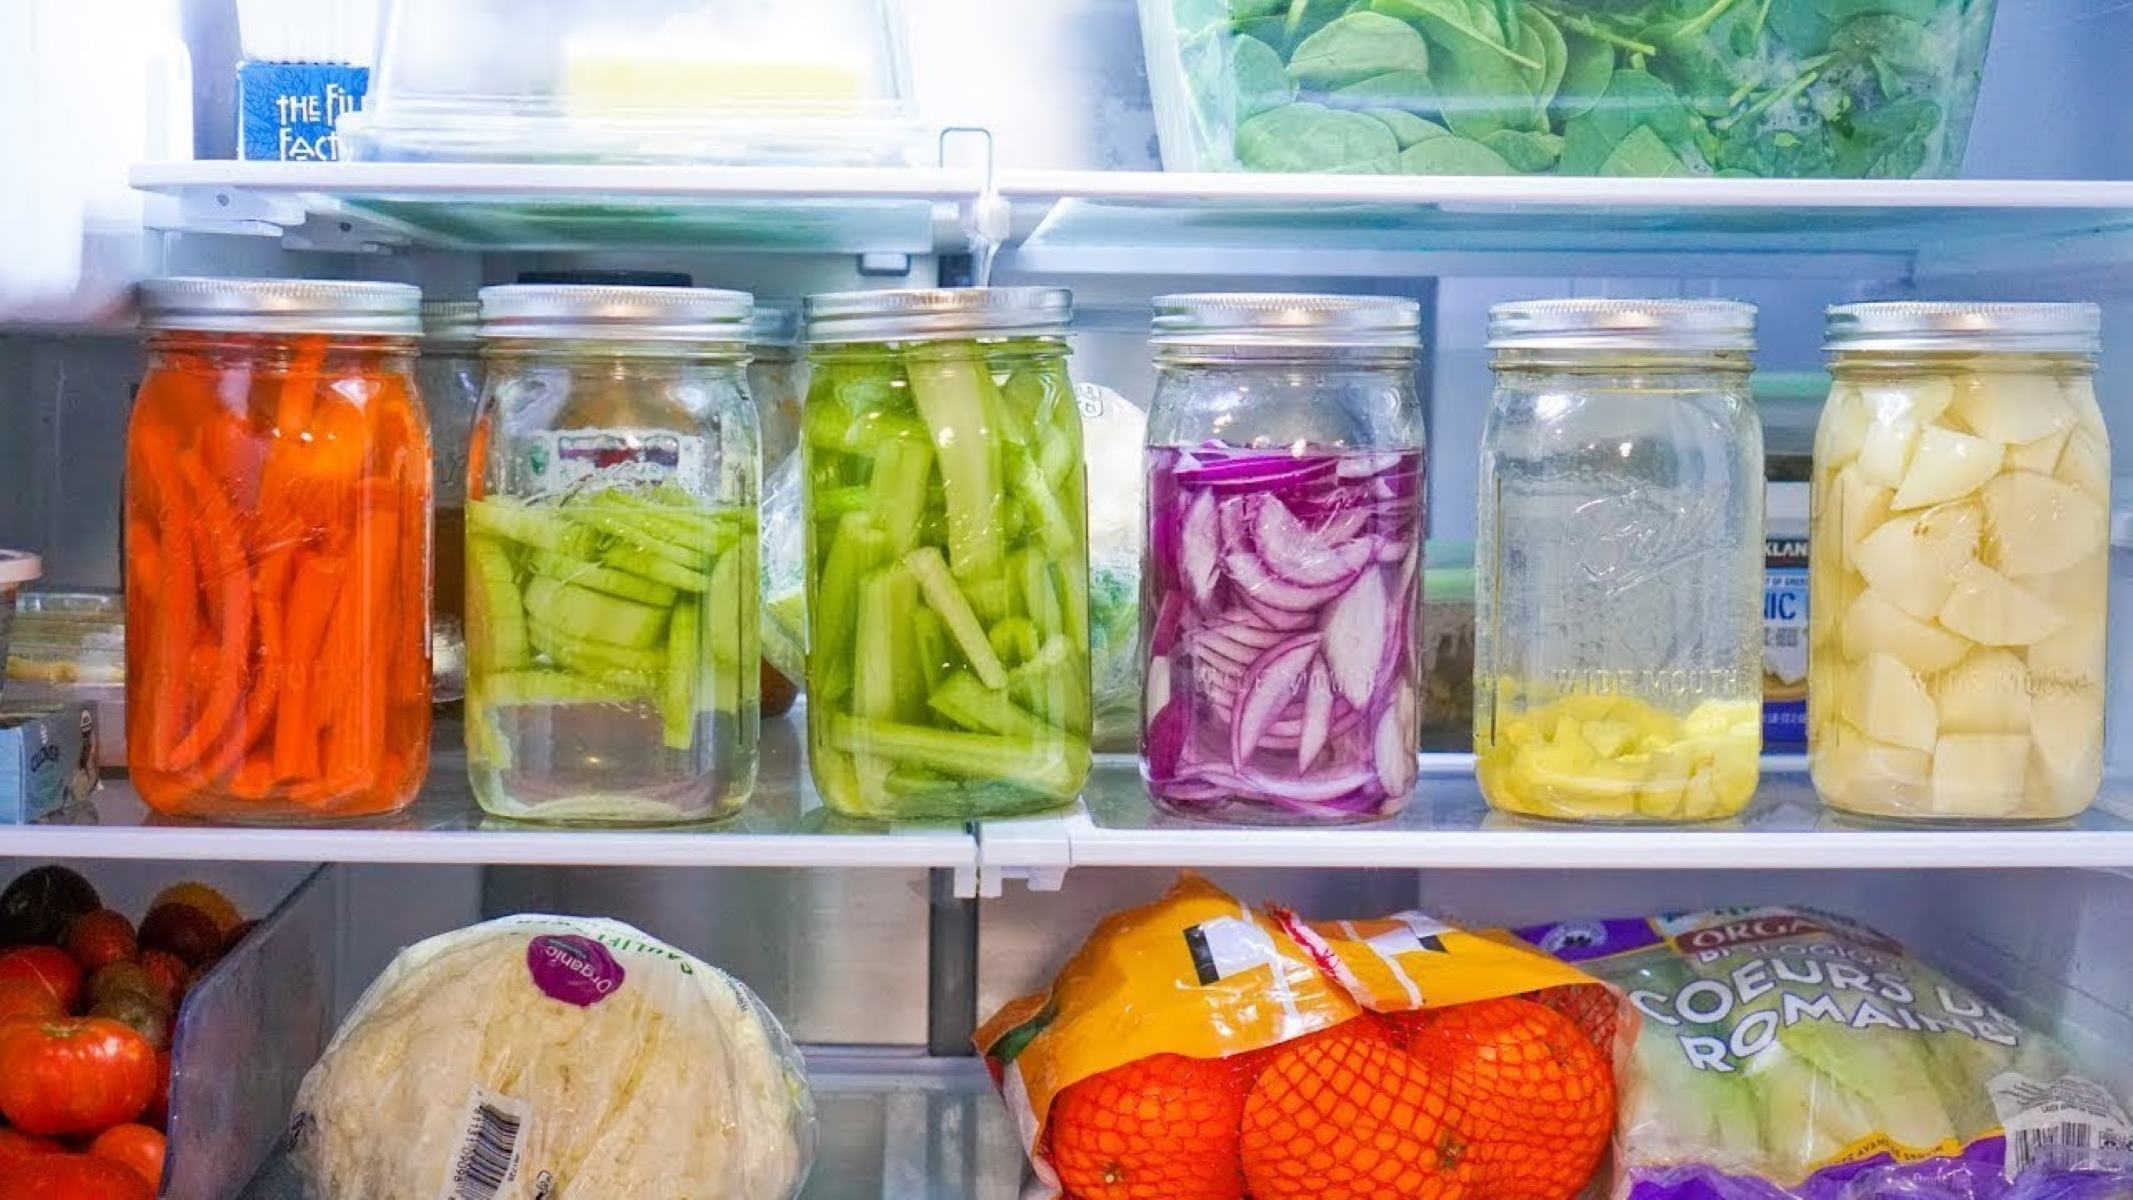
After blanching, store brussel sprouts in mason jars with a tight-fitting lid. Keep them in the refrigerator for up to 5 days for optimal freshness.
Read more: How To Store Brussel Sprouts
Adding Liquid and Seasonings
Once you have packed the Brussel sprouts into the Mason jars, it’s time to add liquid and seasonings to enhance their flavor and ensure optimal preservation. The choice of liquid and seasonings will depend on your personal preference and how you plan to use the stored Brussel sprouts.
Here are a few options for adding liquid and seasonings:
- Water: You can simply add water to cover the Brussel sprouts, ensuring they are fully submerged. This helps maintain their moisture and prevents them from drying out during storage.
- Vinegar: Adding vinegar, such as white wine vinegar or apple cider vinegar, can provide a tangy flavor to the Brussel sprouts. Start by adding a couple of tablespoons of vinegar to each jar and adjust the amount to your taste preferences.
- Broth or Stock: If you prefer a savory flavor, you can use vegetable broth or chicken stock to add depth to the sprouts. Pour enough broth or stock to cover the sprouts, ensuring they are fully immersed.
- Olive Oil: For a rich and flavorful option, you can add a drizzle of olive oil over the packed Brussel sprouts. The oil helps maintain moisture and can add a subtle, yet delicious, taste.
In addition to the liquid, you can also add seasonings to further enhance the flavor of the stored Brussel sprouts. Some popular options include:
- Salt and pepper: Add a pinch of salt and pepper to each jar to enhance the natural flavor of the sprouts.
- Herbs: Fresh or dried herbs like rosemary, thyme, or dill can infuse the sprouts with aromatic flavors.
- Spices: Add a sprinkle of spices like garlic powder, red pepper flakes, or smoked paprika to give the sprouts a kick of flavor.
- Citrus Zest: Grate the zest of a lemon or orange and sprinkle it over the sprouts for a burst of citrusy flavor.
Remember, the choice of liquid and seasonings is flexible, and you can customize them according to your taste preferences. Once the liquid and seasonings are added, it’s time to seal the Mason jars and store them properly for long-lasting freshness.
Sealing and Storing Mason Jars
After packing the Brussel sprouts in Mason jars and adding the desired liquid and seasonings, it’s crucial to properly seal the jars to maintain freshness and prevent spoilage. Here’s how to seal and store your Brussel sprout-filled Mason jars:
- Ensure that the rims of the jars are clean and free from any liquid or debris. This will help create a tight seal.
- Place the sterilized lids on top of the jars, making sure they are centered correctly.
- Screw on the metal rings firmly, but not overly tight. This will ensure a secure seal without damaging the jar.
- Check that all lids are properly sealed by gently pressing down on the center of each lid. If it doesn’t pop back up, the jar is sealed correctly.
- Label the jars with the date of packaging to keep track of their freshness.
- Store the sealed Mason jars in a cool, dark place such as a pantry, cellar, or root cellar. Make sure the area has a consistent temperature and is away from direct sunlight.
If you prefer to extend the shelf life of your Brussel sprouts, you can also store them in the refrigerator. However, keep in mind that refrigeration may cause the sprouts to lose some of their crispness over time.
When stored properly, Brussel sprouts packed in Mason jars can typically stay fresh for up to a week in the fridge and several months in a cool storage area. Remember to check the jars periodically for any signs of spoilage, such as mold or an off-putting odor. If you notice any issues, discard the jar immediately.
Now that you have successfully sealed and stored your Brussel sprouts in Mason jars, you’re well on your way to enjoying them whenever you desire. Let’s explore some helpful tips for optimal storage and usage of your stored Brussel sprouts.
Tips for Optimal Storage
To ensure that your stored Brussel sprouts remain fresh and flavorful for as long as possible, it’s important to follow these helpful tips for optimal storage:
- Keep the jars upright: Store the Mason jars in an upright position to prevent any liquid from leaking or seeping out, which can lead to spoilage.
- Avoid excessive shaking: Try to minimize shaking or moving the jars too much, as this can disturb the contents and potentially cause spoilage or flavor loss.
- Use oldest first: If you have multiple jars with different packing dates, make sure to use the oldest jar first to prevent any Brussel sprouts from going to waste.
- Refrigerate after opening: Once you open a jar of stored Brussel sprouts, transfer any leftovers to a refrigerator and consume them within a few days to maintain their freshness.
- Freezing option: If you want to extend the shelf life further, consider freezing the Brussel sprouts in the Mason jars. Ensure you leave enough headspace in the jar to accommodate expansion during freezing.
- Thawing frozen sprouts: When you’re ready to use the frozen Brussel sprouts, simply transfer the jar from the freezer to the refrigerator and let them thaw overnight. Avoid refreezing previously thawed sprouts.
- Inspect before consuming: Before using the stored sprouts, check for any signs of spoilage, such as discoloration, funky smells, or unusual textures. Discard any jars that show signs of spoilage.
By following these tips, you can maximize the shelf life and enjoyment of your stored Brussel sprouts, ensuring that you have a fresh supply of this delicious vegetable whenever you need it.
Now that you know how to store and preserve Brussel sprouts in Mason jars, let’s explore some creative ways to use your stored sprouts in various dishes!
Using Stored Brussel Sprouts
With your stored Brussel sprouts safely preserved in Mason jars, you have a versatile ingredient ready to be used in a variety of delicious dishes. Here are some creative ways to incorporate your stored sprouts into your meals:
- Roasted Brussel Sprouts: Toss the sprouts with olive oil, salt, and pepper, then spread them on a baking sheet and roast them in the oven until they’re crispy and golden brown. This simple and flavorful side dish pairs well with roasted meats, grilled chicken, or even added to salads.
- Stir-Fried Brussel Sprouts: Heat a wok or skillet with some oil, add your favorite stir-fry ingredients like garlic, ginger, and soy sauce, then toss in the Brussel sprouts. Stir-fry until they are cooked but still have a slight crunch. Serve as a delicious and nutritious side dish or add to stir-fry noodles or rice.
- Sautéed Brussel Sprouts: Heat some oil or butter in a pan, add the Brussel sprouts, and cook them until they are tender. You can enhance the flavor further by adding ingredients like balsamic vinegar, bacon, or Parmesan cheese.
- Brussel Sprout Hash: Chop the Brussel sprouts into smaller pieces and sauté them with diced potatoes, onions, and your choice of protein like bacon or sausage. This hearty and savory dish makes a tasty breakfast or brunch option.
- Brussel Sprout Salad: Slice the Brussel sprouts thinly or shred them and toss them with a tangy vinaigrette dressing. Add other ingredients like dried cranberries, nuts, or cheese to create a refreshing and crunchy salad.
- Brussel Sprout Pasta: Sauté the Brussel sprouts with garlic and olive oil, then toss them with cooked pasta, Parmesan cheese, lemon zest, and a sprinkle of red pepper flakes. This simple yet satisfying pasta dish allows the flavor of the sprouts to shine.
Don’t be afraid to get creative and experiment with different flavor combinations and cooking methods to discover new ways to enjoy your stored Brussel sprouts. Whether you use them as a side dish, in salads, or as a main course ingredient, Brussel sprouts can add a nutritious and delicious element to your meals.
So, get inspired and start cooking with your stored Brussel sprouts to enjoy their amazing flavor and nutritional benefits!
Read more: How To Store Brussel Sprouts In The Fridge
Conclusion
Storing Brussel sprouts in Mason jars is a great way to preserve their freshness and quality while ensuring you have a readily available supply for your meals. Following the proper steps, from choosing and preparing the sprouts to blanching and packing them into jars, ensures that the sprouts remain flavorful and nutritious for an extended period of time.
Sterilizing the Mason jars before packing is crucial to maintain the integrity of the stored sprouts. Adding liquid and seasonings provides extra flavor and helps preserve their moisture. Properly sealing the jars and storing them in a cool, dark place or the refrigerator ensures they stay fresh and ready to use.
By utilizing the stored Brussel sprouts, you can create a wide range of tasty dishes, such as roasted sprouts, stir-fries, sautés, salads, and more. The versatility of Brussel sprouts allows you to explore different flavor profiles and experiment with various cooking methods.
Remember to inspect the jars before using the stored sprouts and discard any that show signs of spoilage. Using the oldest jars first ensures you can enjoy the sprouts while they are still at their best quality.
So, whether you’re looking for a nutritious side dish, a main course ingredient, or a flavorful addition to your favorite recipes, the stored Brussel sprouts in Mason jars have got you covered. Enjoy the convenience and freshness that come with having these delectable vegetables readily available in your pantry.
Start storing your Brussel sprouts in Mason jars today and savor the taste and benefits of this wonderful vegetable!
Frequently Asked Questions about How To Store Brussel Sprouts In Mason Jars
Was this page helpful?
At Storables.com, we guarantee accurate and reliable information. Our content, validated by Expert Board Contributors, is crafted following stringent Editorial Policies. We're committed to providing you with well-researched, expert-backed insights for all your informational needs.

0 thoughts on “How To Store Brussel Sprouts In Mason Jars”