Articles
How To Store Brussel Sprouts Long Term
Modified: January 6, 2024
Find out the best methods for storing brussel sprouts long term with our informative articles. Keep your fresh produce lasting as long as possible.
(Many of the links in this article redirect to a specific reviewed product. Your purchase of these products through affiliate links helps to generate commission for Storables.com, at no extra cost. Learn more)
Introduction
Brussels sprouts are a delicious and nutritious vegetable that can be enjoyed in a variety of dishes. Whether you love them roasted, sautéed, or even raw, there’s no denying the versatility of Brussels sprouts in the kitchen.
But what if you have a surplus of Brussels sprouts and want to enjoy them for an extended period of time? That’s where long-term storage comes in. By properly storing Brussels sprouts, you can keep them fresh and flavorful for weeks, or even months, allowing you to enjoy their goodness long after they’ve been harvested.
In this article, we will guide you through the process of storing Brussels sprouts long term. We’ll cover everything from choosing the freshest sprouts to different methods of preservation, such as refrigeration, freezing, canning, and dehydrating. By following these tips and techniques, you’ll be able to stock up on Brussels sprouts and enjoy them throughout the year.
So if you’re ready to extend the shelf life of your Brussels sprouts and ensure that you always have a supply of this nutritious vegetable on hand, let’s dive in and learn how to store Brussels sprouts long term!
Key Takeaways:
- Properly storing Brussels sprouts long term allows you to enjoy their deliciousness beyond the harvest season, saving money, reducing waste, and adding variety to your meals while preserving their nutritional benefits.
- By choosing the freshest sprouts, handling them with care, and utilizing various storage methods like refrigeration, freezing, canning, or dehydrating, you can savor the flavor and goodness of Brussels sprouts throughout the year.
Read more: How To Store Cut Brussel Sprouts
Why Store Brussels Sprouts Long Term
There are several reasons why you might want to consider storing Brussels sprouts long term. Firstly, by preserving a large batch of Brussels sprouts, you can take advantage of seasonal abundance and enjoy this tasty vegetable even when it’s out of season.
Another reason to store Brussels sprouts for the long term is to save money. Buying Brussels sprouts in bulk when they are in season and affordable allows you to take advantage of lower prices. Plus, you can avoid the fluctuating prices that often come with buying fresh produce out of season.
Additionally, by preserving Brussels sprouts, you can reduce food waste. It’s common for vegetables to spoil before we have a chance to use them, leading to unnecessary waste. By storing Brussels sprouts long term, you can ensure that none of this nutritious vegetable goes to waste.
Furthermore, having a supply of Brussels sprouts on hand allows you to diversify your meals and add variety to your diet. Whether you’re using them in stir-fries, salads, or as a side dish, having preserved sprouts available means you can easily incorporate them into your cooking whenever you want.
Finally, by storing Brussels sprouts long term, you can enjoy the nutritional benefits of this cruciferous vegetable throughout the year. Brussels sprouts are packed with vitamins, minerals, and antioxidants that support overall health and well-being. By preserving them, you can ensure that you always have access to their nutritional goodness.
Now that we understand the benefits of storing Brussels sprouts long term, let’s explore how to choose the freshest sprouts for storage and the different methods of preservation.
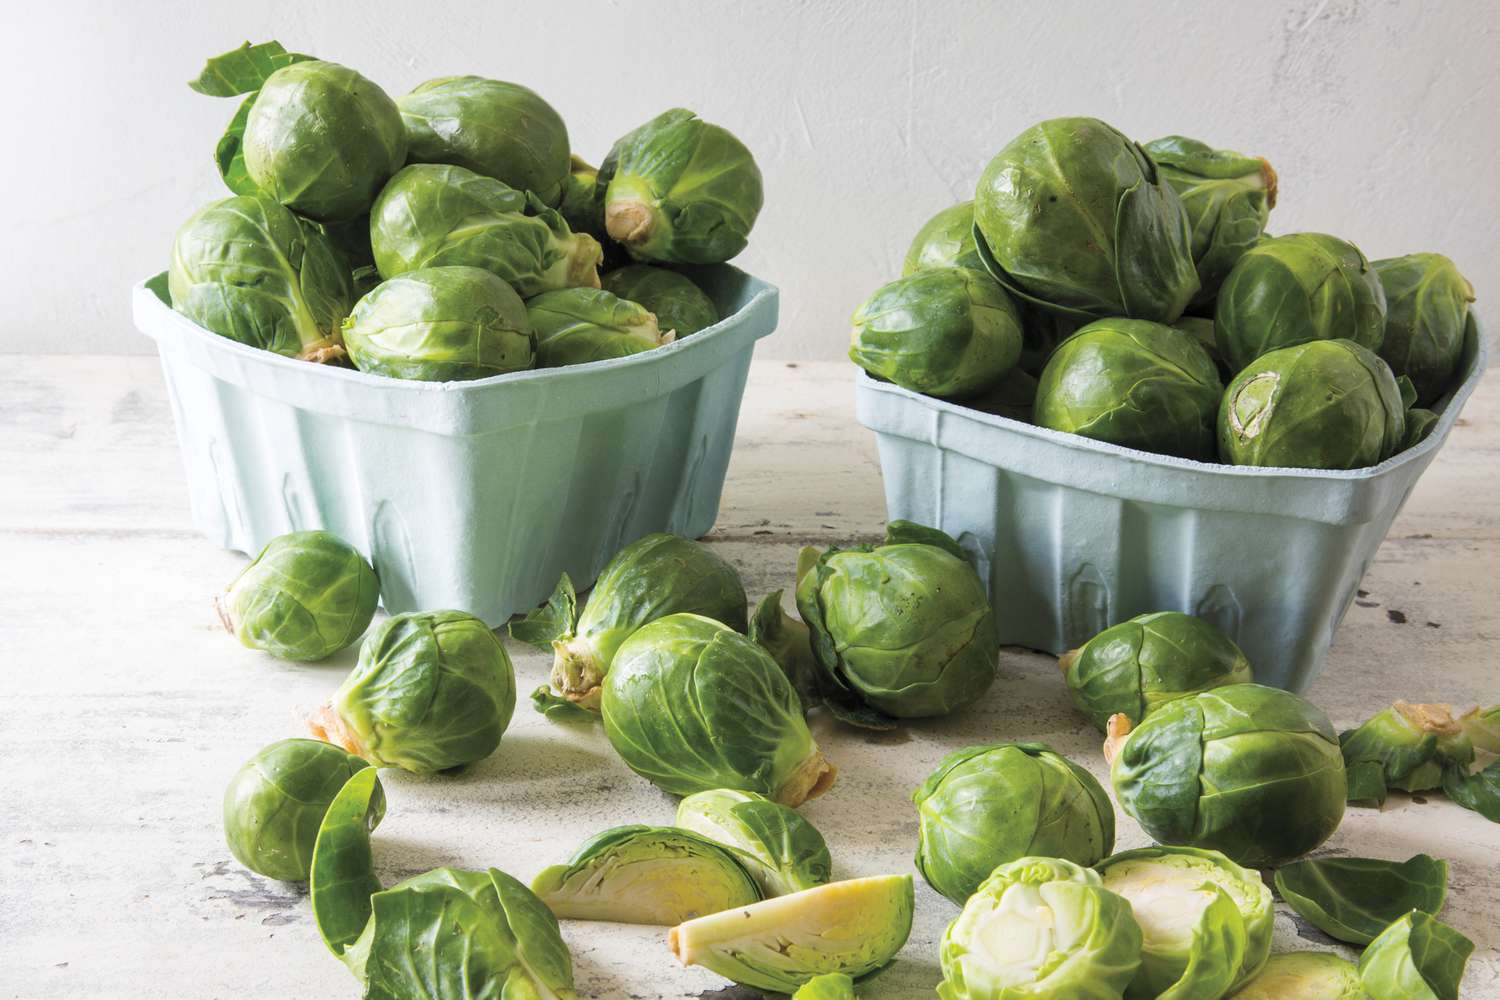
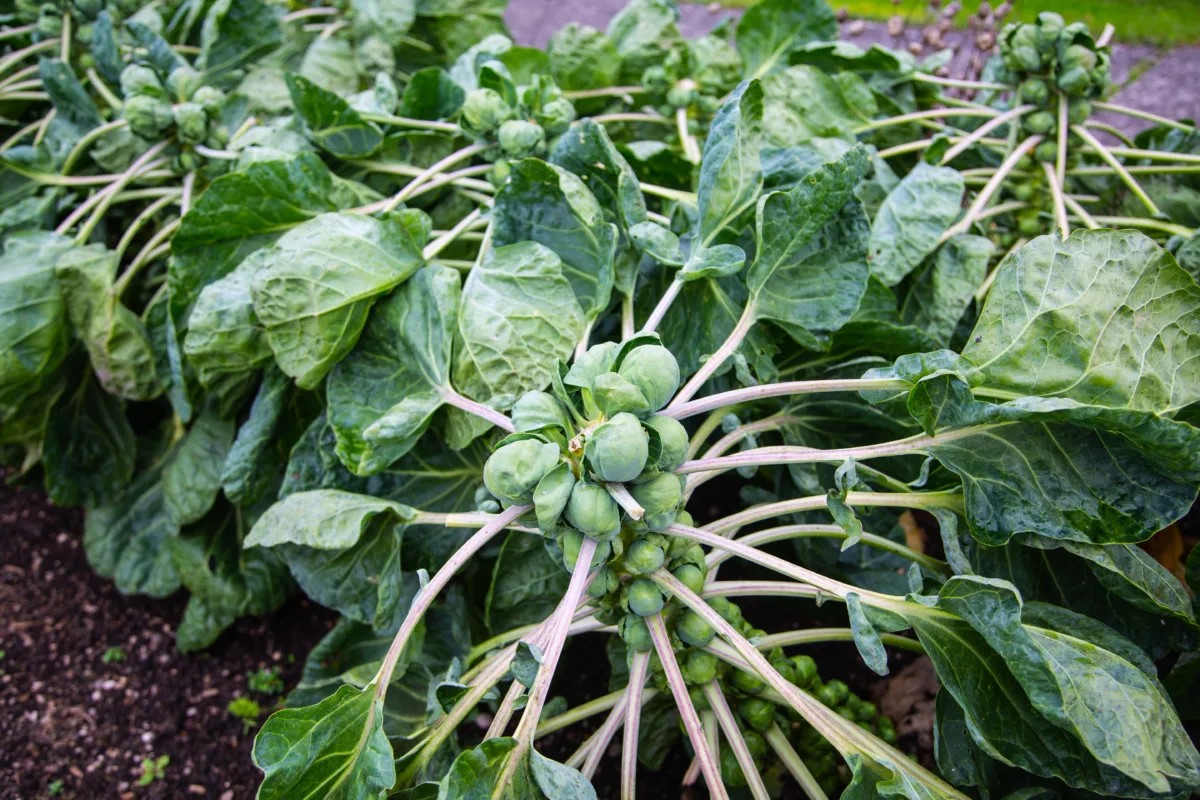
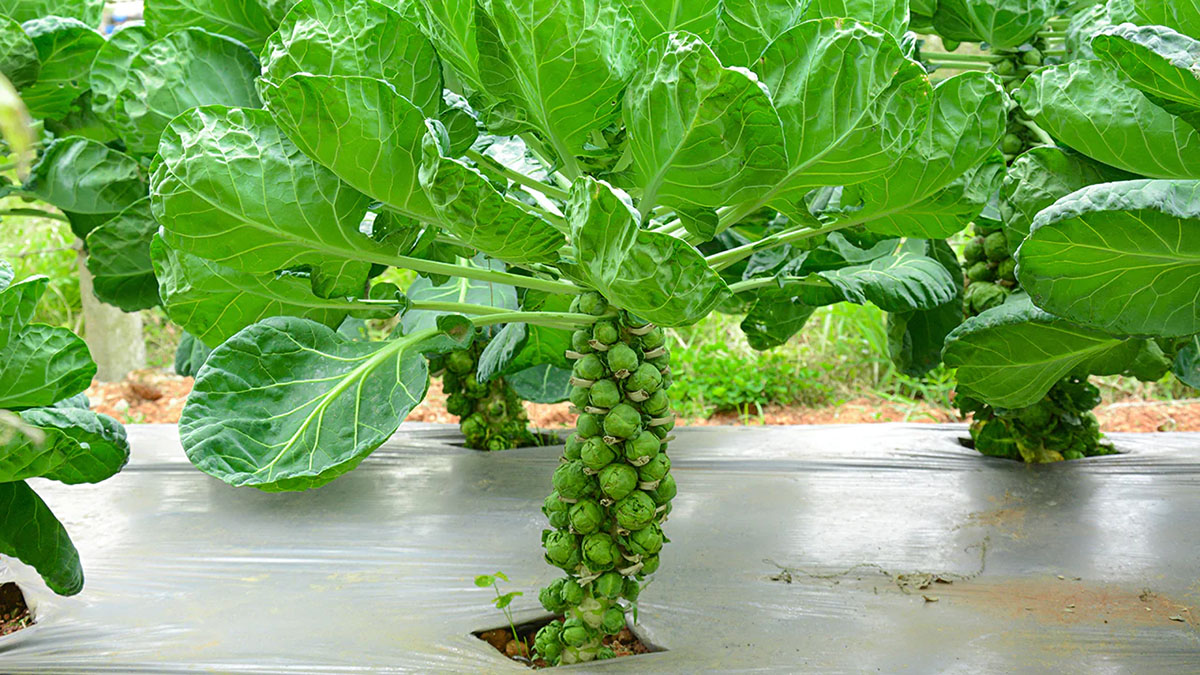
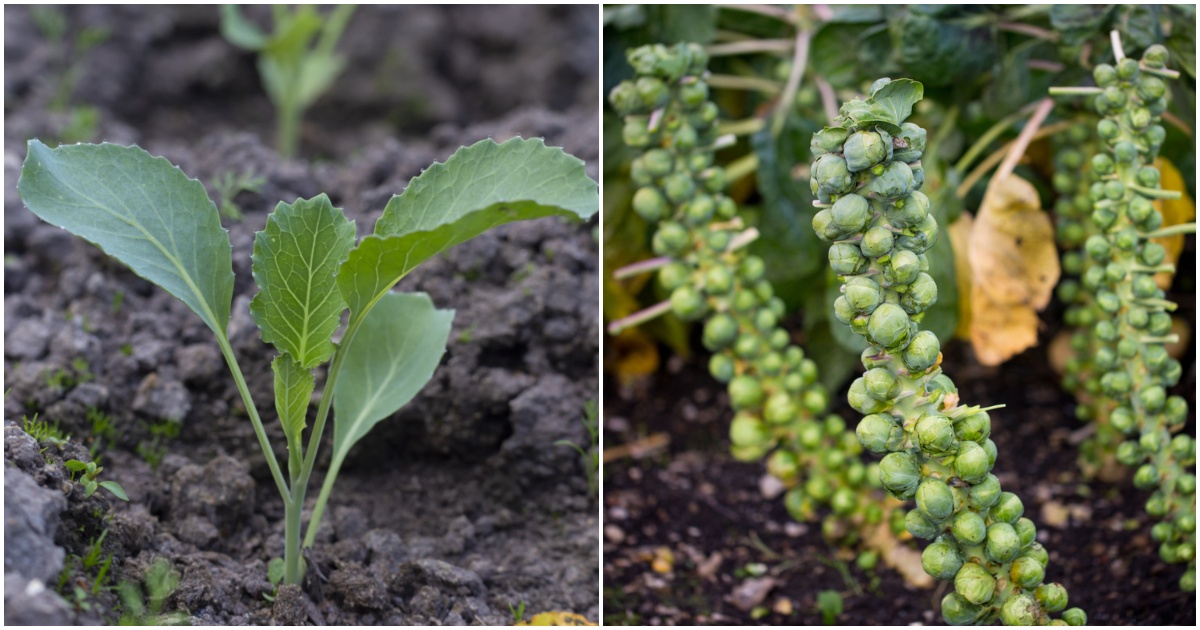
Choosing Fresh Brussels Sprouts
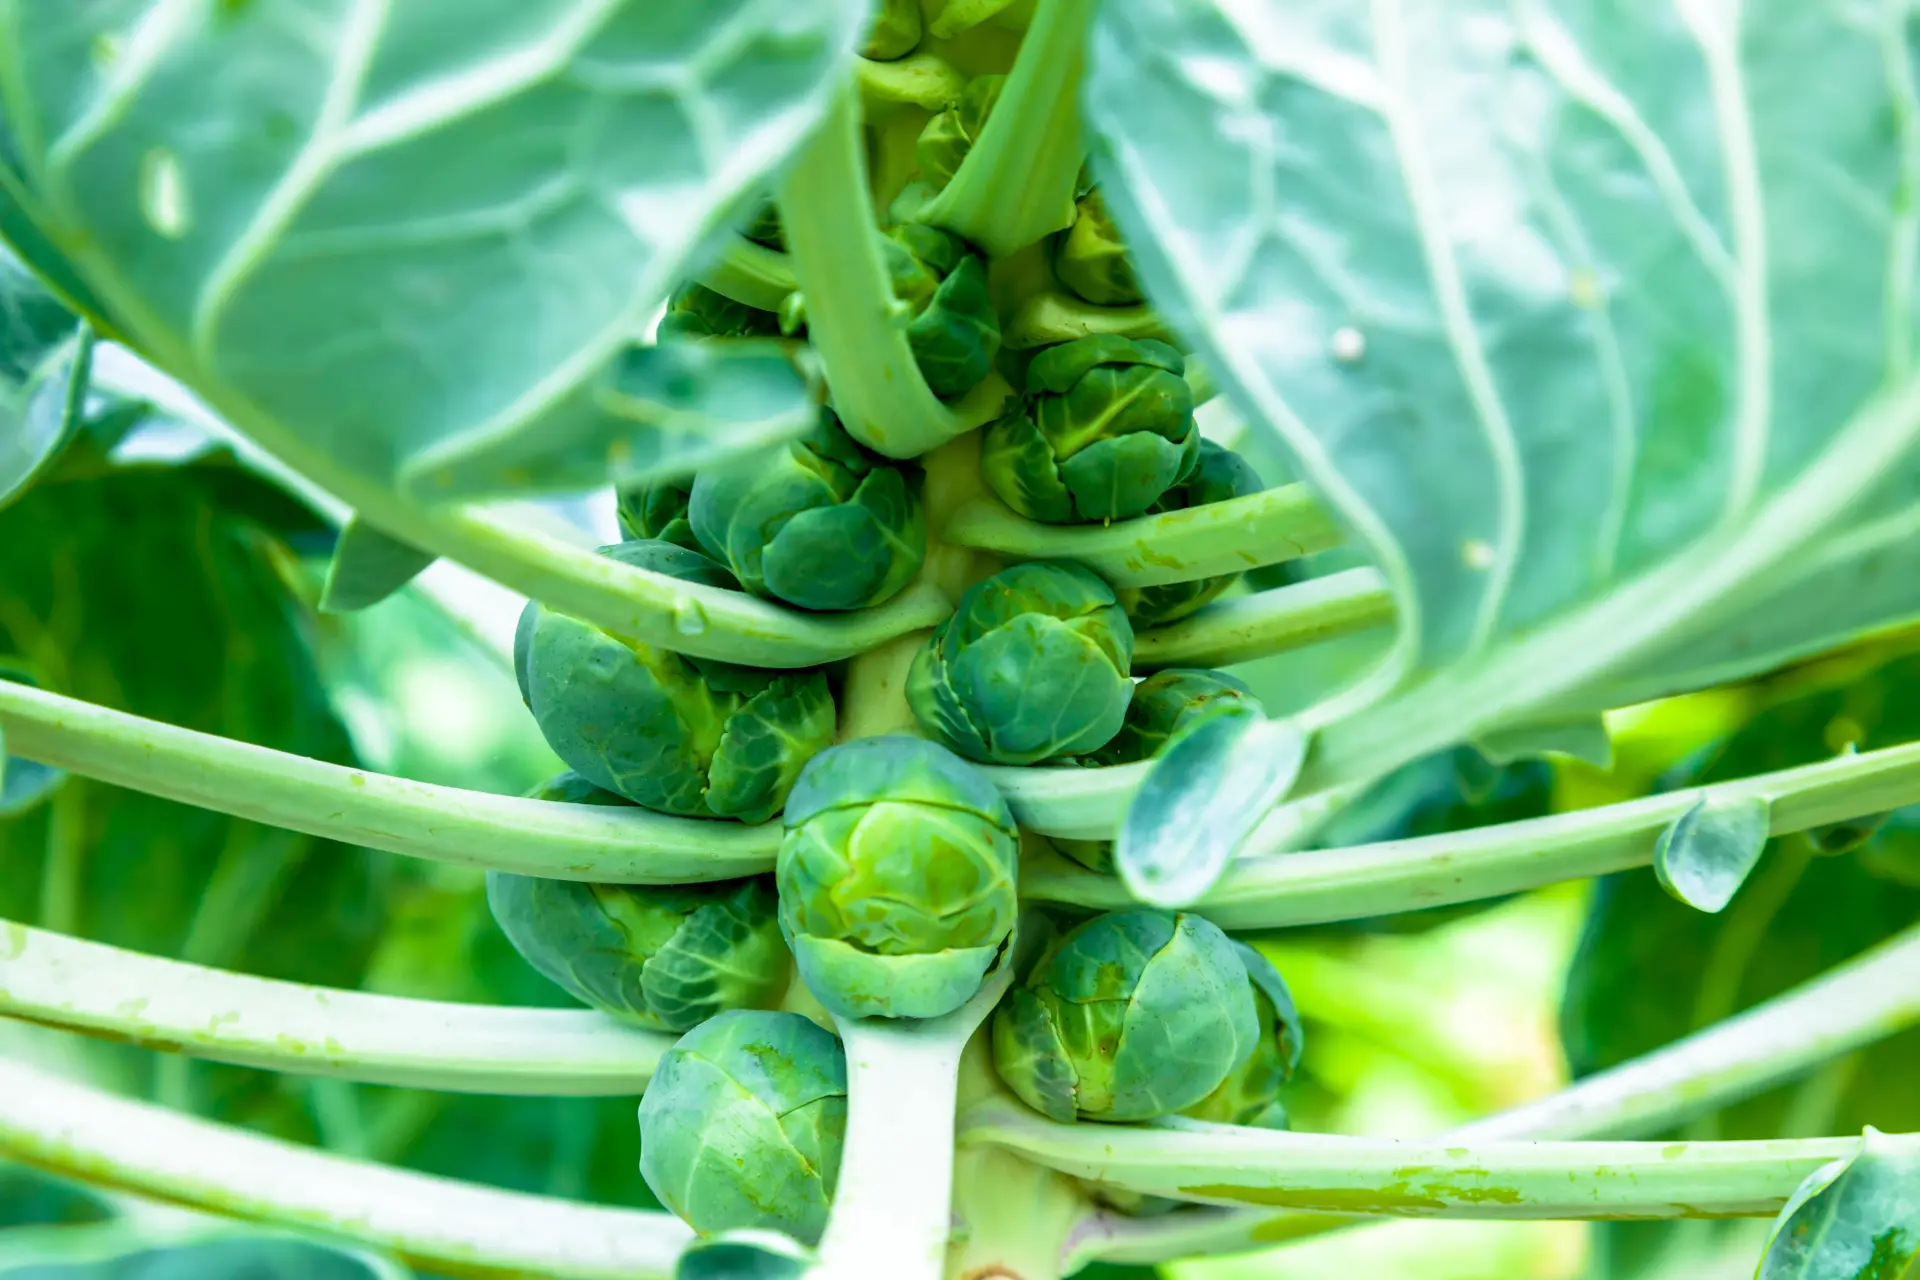
When it comes to storing Brussels sprouts, selecting the freshest ones is key. This ensures that the sprouts have the best flavor and will last longer in storage. Here are some tips to help you choose the freshest Brussels sprouts:
- Look for firm and compact sprouts: Opt for Brussels sprouts that feel firm to the touch and have tightly packed leaves. Avoid any sprouts that feel soft or have loose or yellowed leaves, as these may indicate that they are past their prime.
- Check for bright green color: Fresh Brussels sprouts should have a vibrant green color. Avoid sprouts that have a dull or yellowish hue, as this can be a sign of age or spoilage.
- Choose medium-sized sprouts: While Brussels sprouts come in various sizes, medium-sized sprouts tend to have the best flavor and texture. Look for sprouts that range from 1 to 1.5 inches in diameter.
- Avoid sprouts with spots or blemishes: Examine the surface of the sprouts and avoid any that have spots or blemishes, as these can be an indication of damage or decay.
- Inspect the stem: The stem of the Brussels sprouts should be fresh and crisp. Avoid sprouts with dried or woody stems, as this can affect their quality.
It’s important to note that Brussels sprouts can be purchased on the stalk or pre-packaged in a bag or container. Both options can be fresh, but buying them on the stalk allows for a longer shelf life since they are still connected to their root system. However, packaged Brussels sprouts are a convenient option if you don’t need a large quantity or if the stalks are not available.
By following these guidelines, you’ll be able to choose the freshest Brussels sprouts for storage. Remember, the quality of the sprouts you start with will greatly affect the longevity and taste of the preserved sprouts. With your fresh Brussels sprouts in hand, let’s move on to the next step: preparing them for storage.
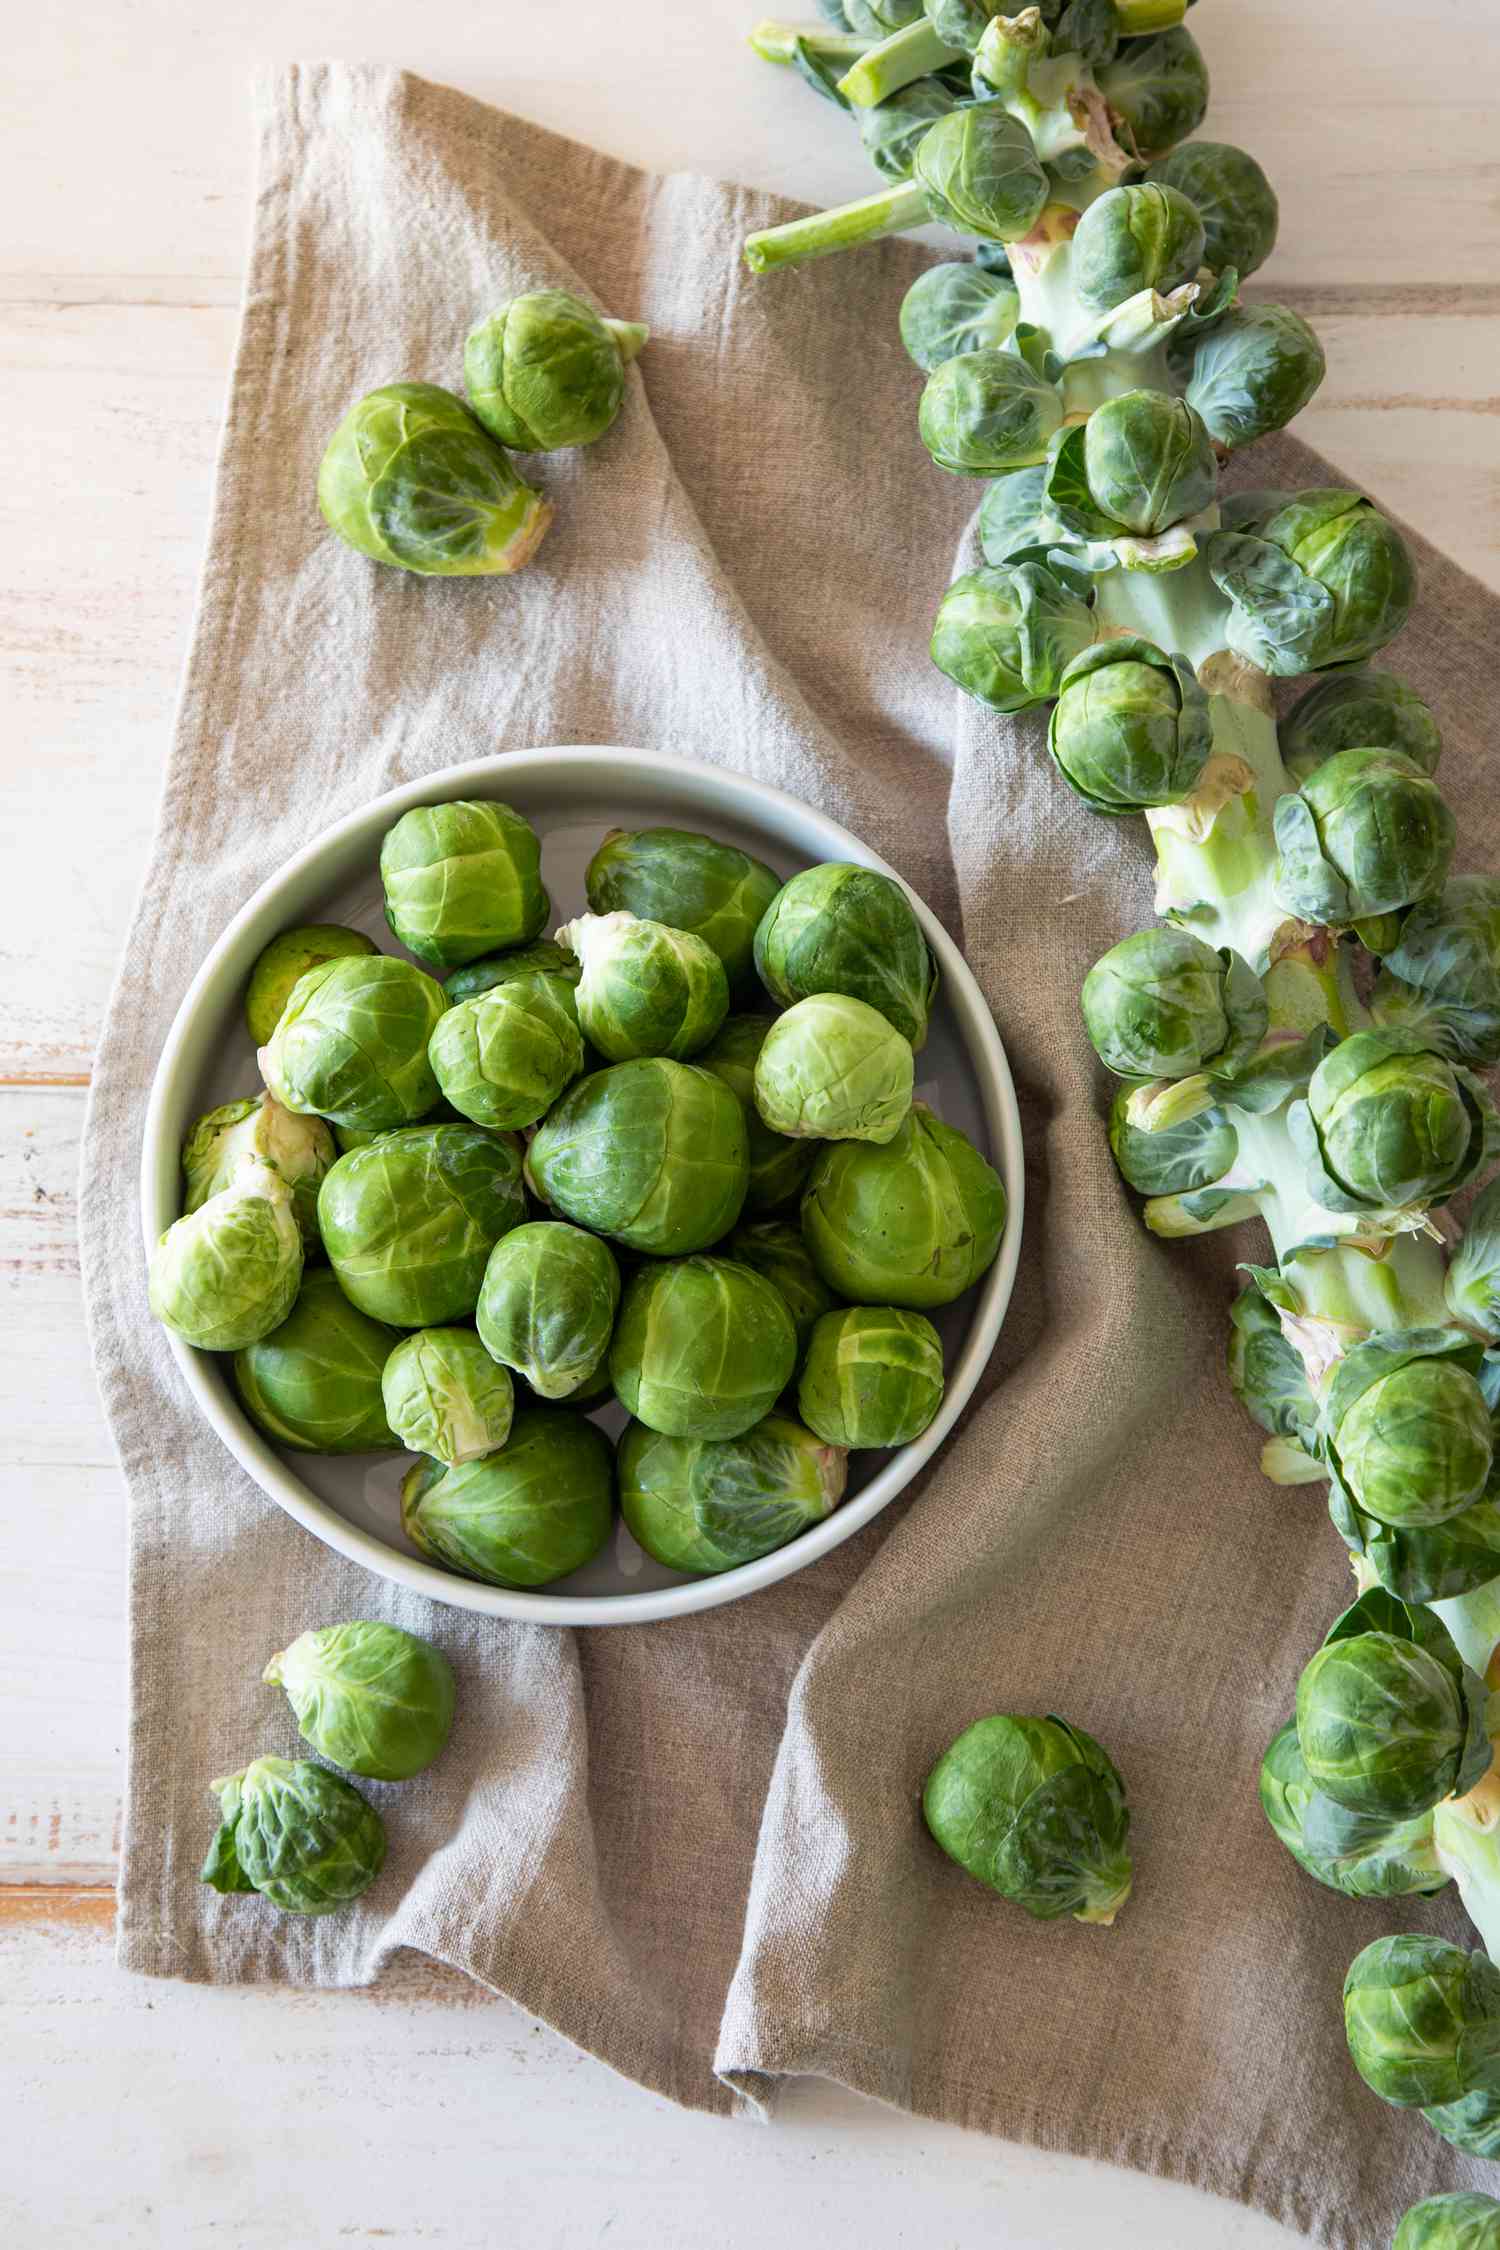
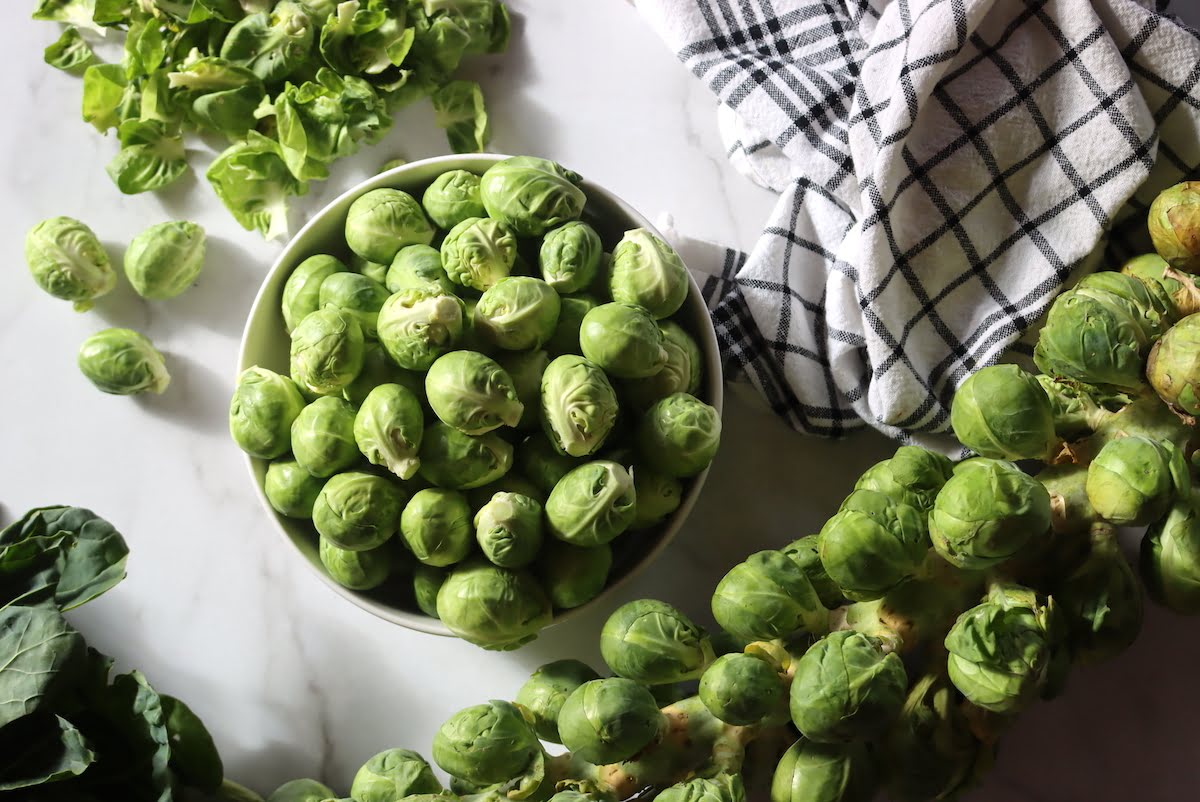
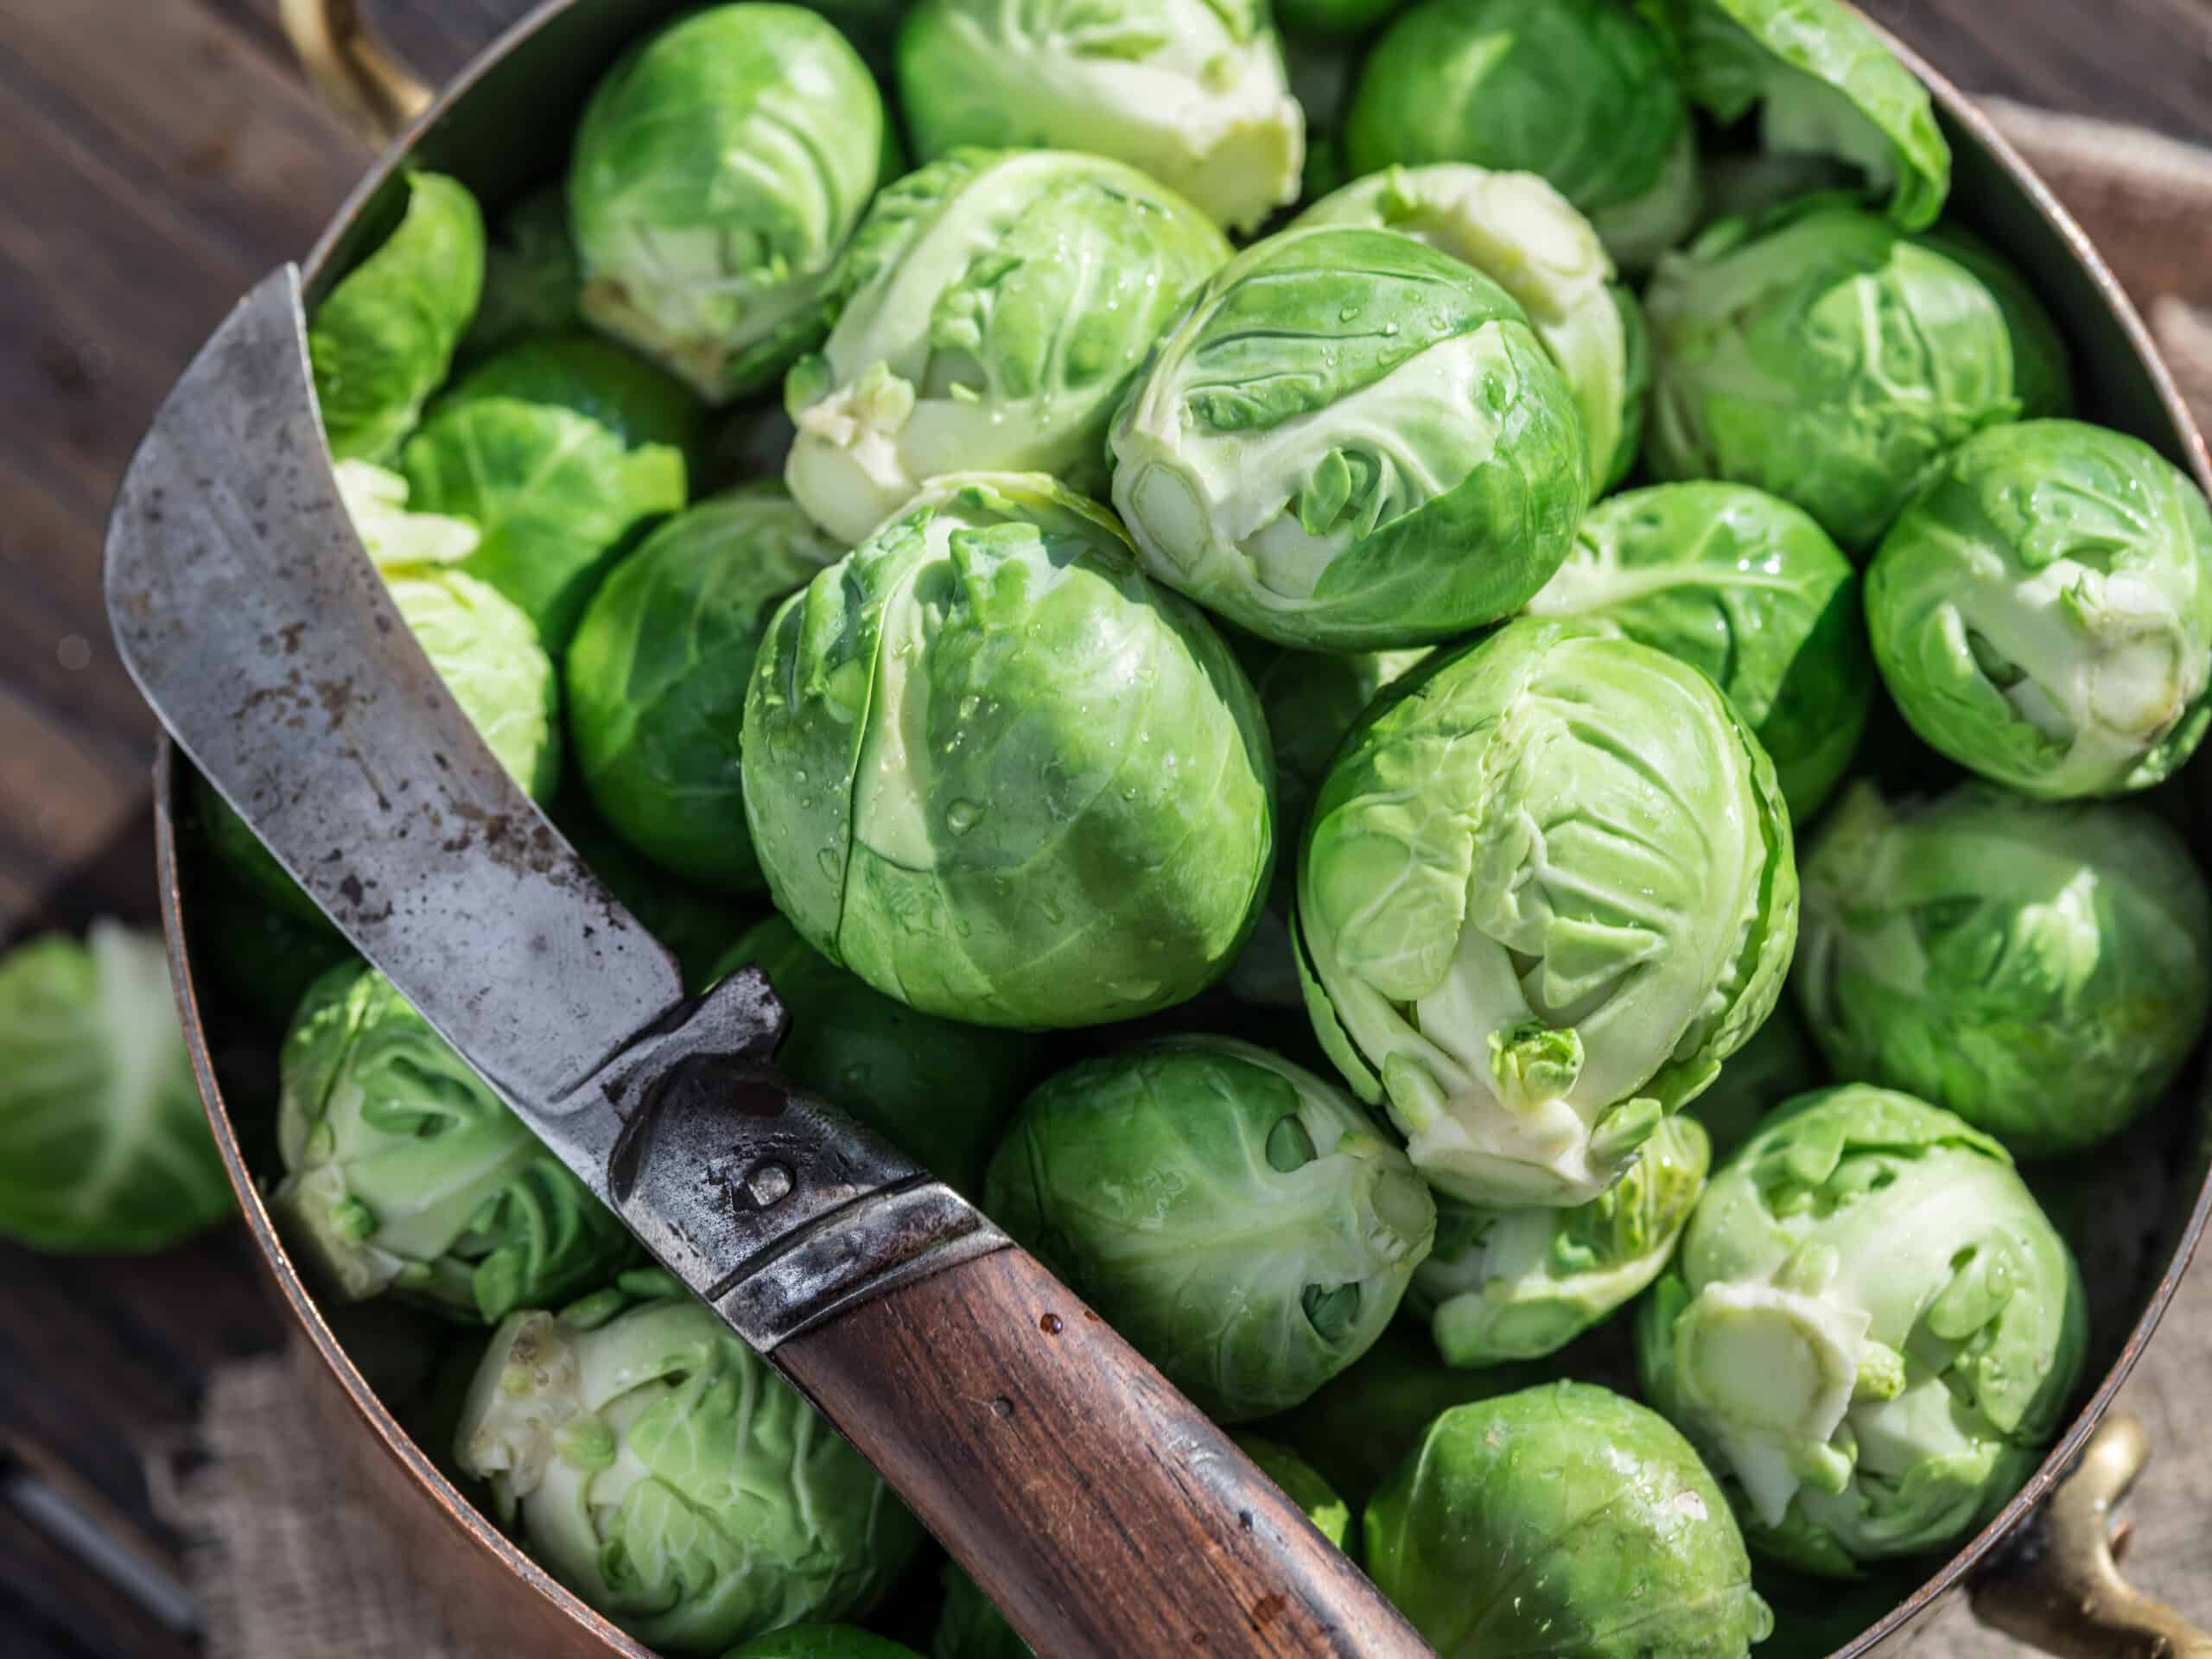
Preparing Brussels Sprouts for Storage
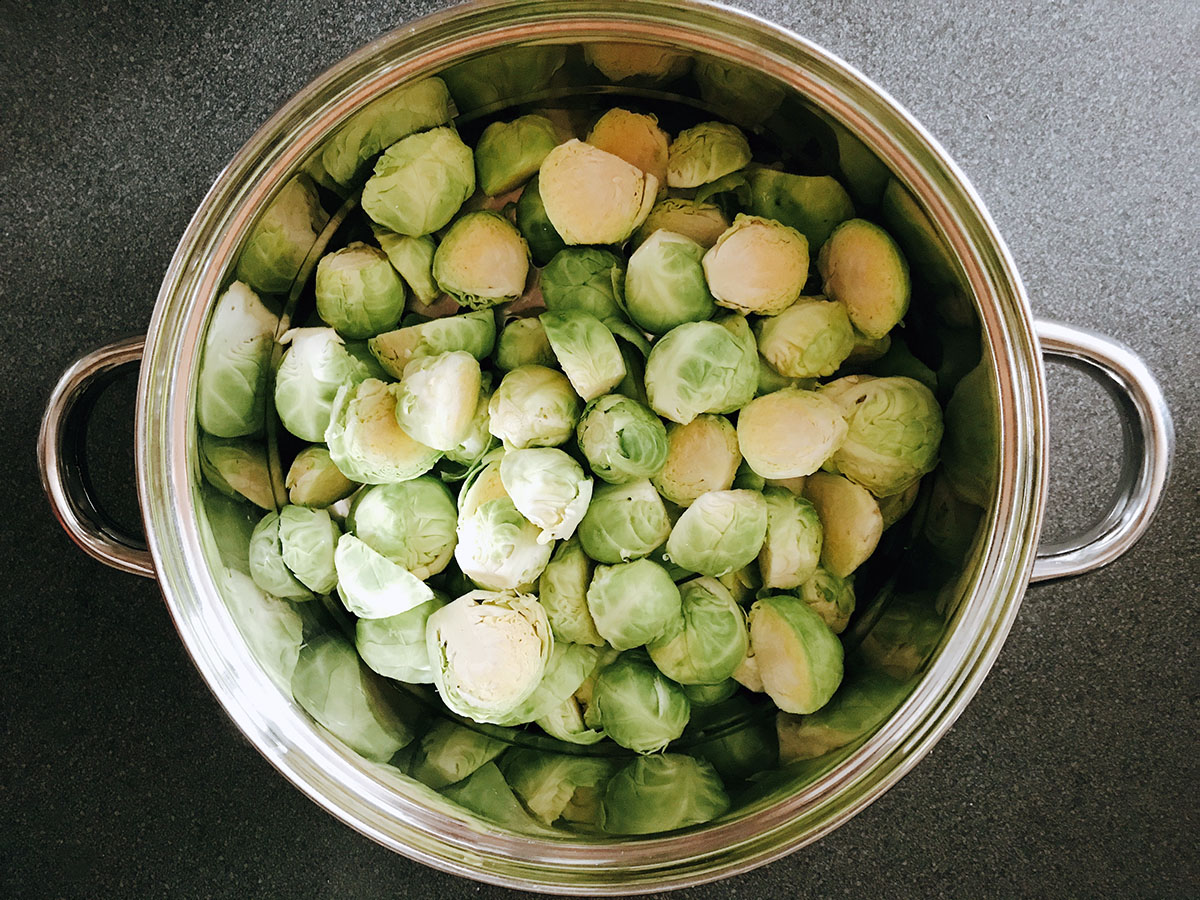
Before you can store Brussels sprouts long term, it’s important to properly prepare them. Taking the time to prepare the sprouts will help extend their shelf life and ensure that they retain their flavor and quality. Here are the steps to prepare Brussels sprouts for storage:
- Trim the stems: Start by removing any discolored or damaged outer leaves. Cut off the stem end of each sprout, about 1/4 inch from the base. This will help the sprouts cook evenly and prevent the development of off-flavors during storage.
- Wash the sprouts: Give the Brussels sprouts a thorough rinse under cool running water. This will help remove any dirt or debris that may be hiding in the leaves or crevices of the sprouts.
- Dry the sprouts: After washing, pat the Brussels sprouts dry with a clean kitchen towel or paper towels. Excess moisture can lead to spoilage, so be sure to remove as much water as possible.
- Optional: Blanch the sprouts (for freezing or canning): If you plan to freeze or can your Brussels sprouts, blanching them beforehand can help preserve their texture and color. To blanch, bring a pot of water to a boil and immerse the sprouts in the boiling water for about 3 minutes. Immediately transfer them to an ice bath to stop the cooking process. Drain well before proceeding with the chosen preservation method.
Once the Brussels sprouts are prepared, you are now ready to store them using various methods, depending on your preference and the available resources. Refrigeration, freezing, canning, and dehydrating are all viable options for long-term storage. Each method has its own advantages and considerations, which we will explore in the following sections.
Now that you have your properly prepared Brussels sprouts, let’s delve into the various methods of long-term storage, starting with refrigeration.
Method 1: Storing Brussels Sprouts in the Refrigerator
Refrigeration is one of the easiest and most common methods of storing Brussels sprouts for the short term. By keeping them in the refrigerator, you can extend their freshness for up to a couple of weeks. Here’s how to store Brussels sprouts in the refrigerator:
- Choose an airtight container or plastic bag: Place the Brussels sprouts in a clean, airtight container or a plastic bag. This helps to maintain their freshness and prevent them from drying out.
- Do not wash the sprouts: It’s important to note that you should not wash the Brussels sprouts before refrigerating them. Moisture can speed up their deterioration, so it’s best to leave them unwashed until you’re ready to use them.
- Store in the crisper drawer: The crisper drawer in your refrigerator provides a slightly higher humidity level, which helps to keep the sprouts from drying out. Place the container or bag of Brussels sprouts in the crisper drawer, away from any ethylene-producing fruits, as these can cause the sprouts to spoil faster.
- Check regularly: It’s a good idea to check on your stored Brussels sprouts every few days. Remove any sprouts that show signs of decay or mold to prevent them from affecting the others.
It’s important to note that while refrigeration can help extend the shelf life of Brussels sprouts, it is still a relatively short-term storage method. If you want to store Brussels sprouts for longer periods, freezing, canning, or dehydrating may be more suitable options, which we’ll explore in the following sections.
Now that you know how to store Brussels sprouts in the refrigerator, let’s move on to Method 2: freezing.
To store Brussels sprouts long term, remove any yellowing leaves, place them in a perforated plastic bag, and store in the crisper drawer of the refrigerator. They should stay fresh for up to 3 weeks.
Read more: How To Store Brussel Sprouts In The Fridge
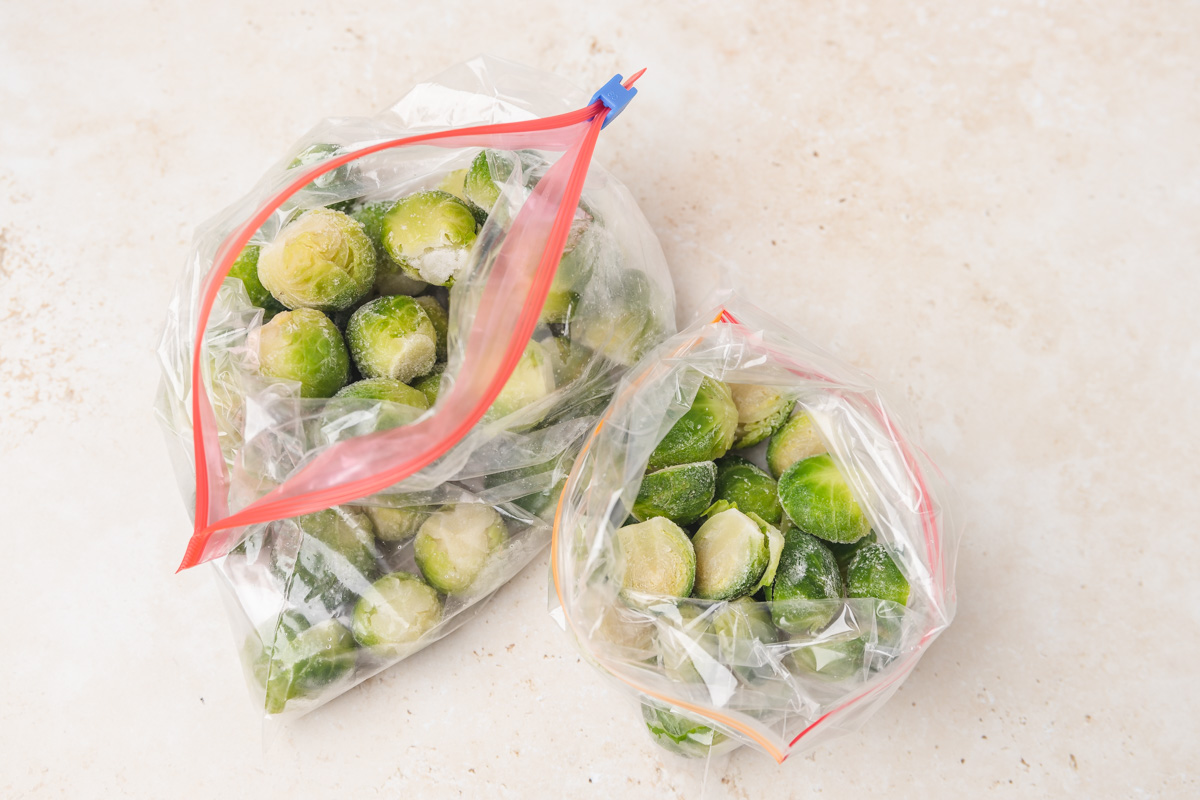
Method 2: Freezing Brussels Sprouts
Freezing Brussels sprouts is a great option if you want to store them for an extended period. Freezing helps to preserve the flavor, texture, and nutritional value of the sprouts. Here’s how to freeze Brussels sprouts:
- Blanch the sprouts: Start by blanching the Brussels sprouts to help retain their color, texture, and nutrients. Bring a large pot of water to a boil, then carefully add the sprouts. Blanch small sprouts for about 3 minutes, and larger sprouts for about 4-5 minutes. Immediately transfer them to an ice bath to halt the cooking process.
- Drain and dry the sprouts: Once the sprouts have cooled down, drain them thoroughly and pat them dry using a clean kitchen towel or paper towels. Removing excess moisture helps to prevent ice crystals from forming during freezing.
- Package for freezing: Divide the Brussels sprouts into portion sizes that you’re likely to use in recipes. You can either use freezer-safe bags or airtight containers. Squeeze out as much air as possible from the bags before sealing them. If using containers, leave a bit of headspace to allow for expansion during freezing.
- Label and freeze: Don’t forget to label the bags or containers with the date of freezing. Place them in the freezer, ensuring they lie flat in a single layer until they are frozen solid. Once frozen, you can stack the packages to save space.
- Use within 8-12 months: Brussels sprouts can typically be kept in the freezer for 8 to 12 months and still maintain good quality. However, for the best taste and texture, it’s recommended to use them within the first 6 months.
When you’re ready to use the frozen Brussels sprouts, there’s no need to thaw them beforehand. Simply remove the desired amount from the freezer and cook them directly in your recipe. Freezing may slightly alter the texture of the sprouts, making them slightly softer, but they will still be flavorful and nutritious.
Now that you know how to freeze Brussels sprouts, let’s explore Method 3: canning.
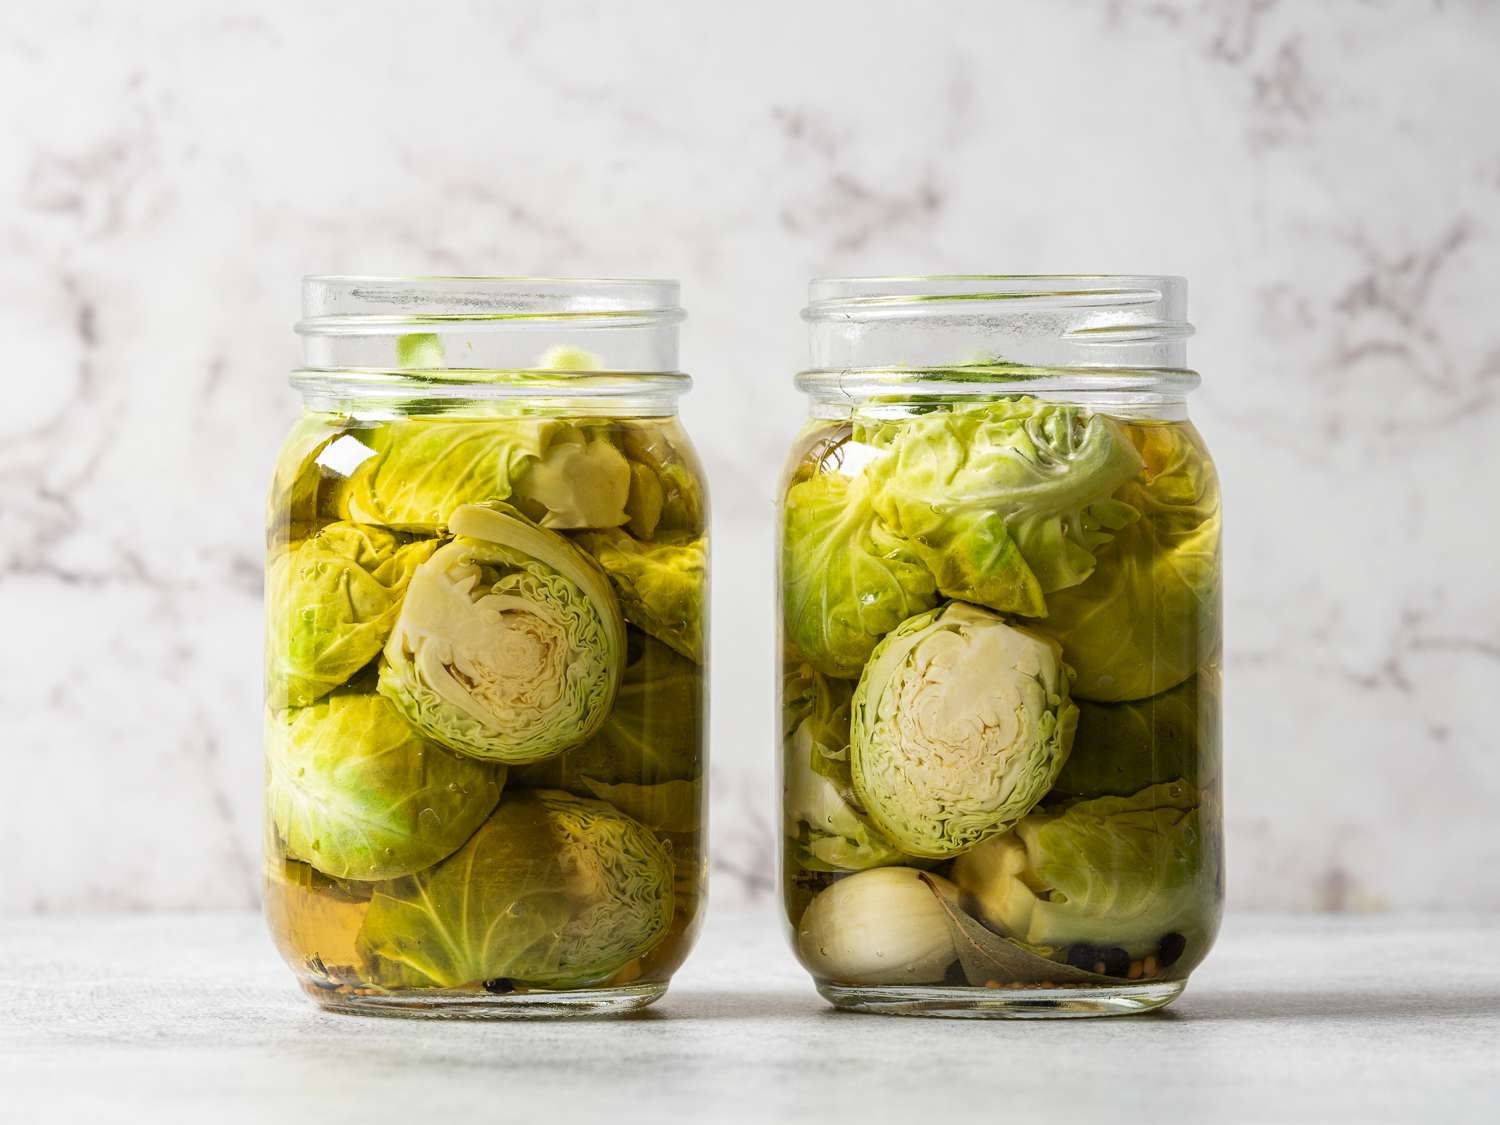
Method 3: Canning Brussels Sprouts
Canning Brussels sprouts is a fantastic way to preserve them for long-term storage. By canning, you can enjoy the flavor and texture of fresh Brussels sprouts throughout the year. Follow these steps to can Brussels sprouts:
- Prepare the sprouts: Start by trimming the stems and removing any damaged outer leaves. Wash the sprouts thoroughly and blanch them in boiling water for about 3 minutes. Then, transfer them to an ice bath to cool rapidly.
- Prepare the jars and lids: Sterilize your canning jars and lids according to the manufacturer’s instructions. Keeping everything clean and sanitized is crucial to prevent any bacterial contamination.
- Pack the jars: Drain the cooled Brussels sprouts and pack them tightly into the sterile jars, leaving about an inch of headspace at the top. You can add a little salt or spices to the jars for added flavor if desired.
- Cover with boiling water: Fill each jar with boiling water, again leaving an inch of headspace. Ensure that the sprouts are fully covered, and remove any air bubbles by gently tapping the jars or using a utensil to release them.
- Seal and process the jars: Wipe the jar rims clean, place the lids on top, and tighten the rings. Process the jars in a pressure canner according to the recommended time and pressure for your altitude.
- Cool and store: Once the canning process is complete, carefully remove the jars from the canner and place them on a towel-lined countertop. Allow them to cool completely. As they cool, you’ll hear the satisfying “pop” of the lids sealing, indicating a successful preservation.
- Label and store: Don’t forget to label each jar with the date and contents. Store the sealed jars in a cool, dark place. Properly canned Brussels sprouts can last for up to a year or even longer.
When you’re ready to enjoy the canned Brussels sprouts, simply open a jar, drain the liquid, and prepare them according to your preferred recipe. Canned Brussels sprouts can be a convenient addition to soups, stews, stir-fries, and more.
Now that you know how to can Brussels sprouts, let’s move on to Method 4: dehydrating.
Method 4: Dehydrating Brussels Sprouts
Dehydrating Brussels sprouts is an excellent way to preserve them for long-term storage while retaining their nutritional value. Dehydrated sprouts can be used in soups, stews, salads, or even as a crunchy snack. Here’s how to dehydrate Brussels sprouts:
- Prepare the sprouts: Trim the stems and remove any damaged outer leaves. Wash the sprouts thoroughly and dry them completely using a clean kitchen towel or paper towels.
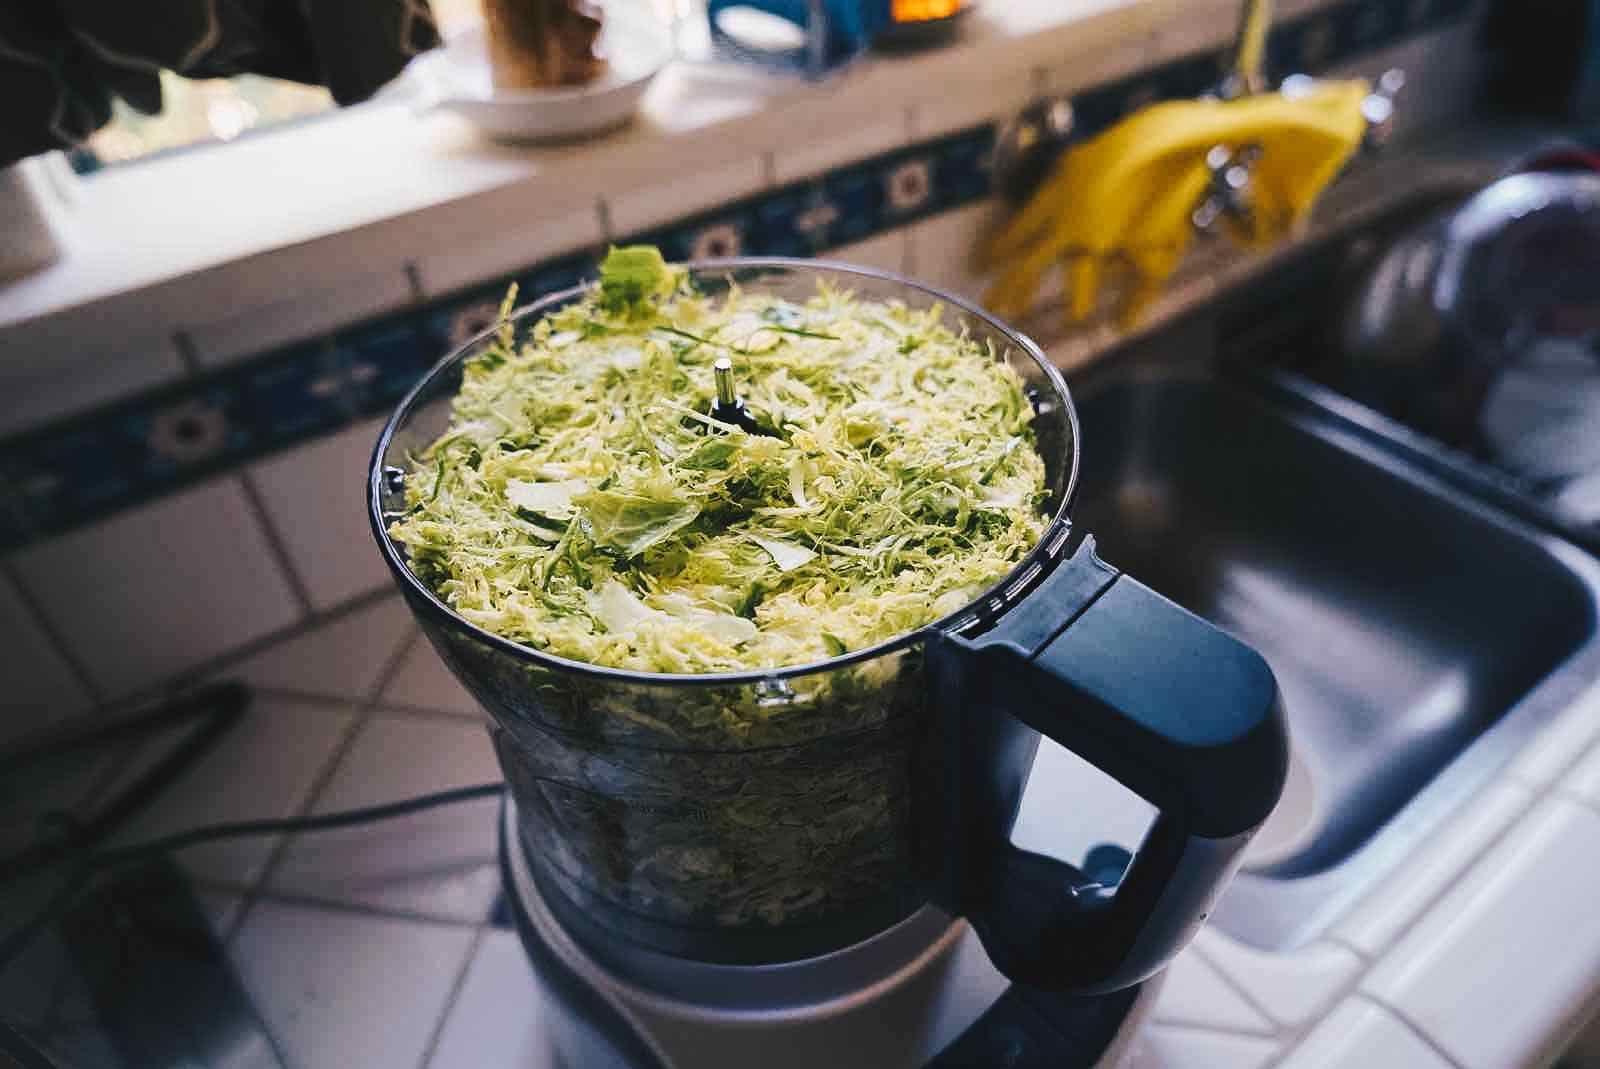
- Slice the sprouts: Slice the Brussels sprouts into thin, uniform slices. You can use a sharp knife or a mandoline slicer for this process. Keep in mind that thinner slices will dehydrate more quickly and evenly.
- Pre-treat the sprouts (optional): To help maintain the color and flavor of the sprouts, you can pre-treat them by blanching in boiling water for about 3 minutes, followed by an ice bath to cool rapidly. However, pre-treatment is optional and not necessary for successful dehydration.
- Arrange the slices on a dehydrator tray: Place the sliced Brussels sprouts in a single layer on the dehydrator trays, ensuring that they don’t overlap. This allows for proper airflow and even drying.
- Dehydrate the sprouts: Set your dehydrator to a temperature of around 125-135°F (52-57°C) and let the sprouts dry for 8-12 hours. The exact drying time will depend on the thickness of the slices and the moisture content of the sprouts. Check periodically to ensure they are completely dry and crispy.
- Test for dryness: To test if the sprouts are fully dehydrated, remove a few pieces and let them cool. If they are crunchy and there is no moisture or elasticity, they’re ready. If they feel slightly soft or chewy, they need more drying time.
- Cool and store: Once fully dehydrated, let the Brussels sprouts cool completely before transferring them to an airtight container or a resealable bag. Store them in a cool, dark place away from sunlight and moisture.
- Rehydrate as needed: When you’re ready to use the dehydrated Brussels sprouts, soak them in water for about 10-15 minutes to rehydrate before incorporating them into your recipe.
Dehydrated Brussels sprouts can be stored for several months to a year if properly dried and stored. They make a tasty and nutritious addition to various dishes, adding a unique flavor and texture.
Now that you know how to dehydrate Brussels sprouts, let’s move on to some general tips for successful long-term storage.
Tips for Successful Long-Term Storage
To ensure that your Brussels sprouts stay fresh and flavorful during long-term storage, consider these helpful tips:
- Choose the freshest sprouts: Always start with the freshest Brussels sprouts you can find. Look for firm, compact sprouts with a vibrant green color and no signs of damage or decay.
- Handle with care: Handle Brussels sprouts gently to avoid bruising or damaging them. Even small injuries can lead to spoilage during storage.
- Store at the proper temperature: Different storage methods require different temperatures. Refrigeration is best at around 32-40°F (0-4°C), freezing at 0°F (-18°C), canning at room temperature (around 70-75°F or 21-24°C), and dehydrating at a low and consistent temperature.
- Keep them dry: Moisture can lead to the growth of mold and bacteria, causing spoilage. Ensure that the sprouts are completely dry before storing them, and avoid any exposure to moisture during storage.
- Protect from light: Brussels sprouts are sensitive to light, which can degrade their quality and flavor. Store them in opaque containers or bags, or keep them in a dark pantry or cupboard.
- Monitor for spoilage: Regularly check on your stored Brussels sprouts for any signs of spoilage, such as mold, off odors, or sliminess. Remove any affected sprouts immediately to prevent further contamination.
- Rotate your stock: If you have multiple batches of stored Brussels sprouts, make sure to use the older ones first to prevent waste. Label your containers or bags with the date of storage for easy identification.
- Experiment with recipes: Long-term storage allows you to enjoy Brussels sprouts throughout the year, so get creative with different recipes. From roasting to sautéing, stir-frying to adding them to soups or salads, there are endless ways to incorporate preserved Brussels sprouts into your meals.
By following these tips, you can maximize the shelf life and quality of your stored Brussels sprouts, allowing you to savor their deliciousness long after the harvest season.
Now that you’re equipped with the knowledge of successful long-term storage, it’s time to start preserving Brussels sprouts and enjoy them throughout the year!
Read more: How To Store Brussel Sprouts
Conclusion
Storing Brussels sprouts long term is a great way to enjoy this nutritious vegetable beyond its harvest season. Whether you choose to refrigerate, freeze, can, or dehydrate them, proper storage techniques will help preserve their flavor, texture, and nutritional value.
By choosing the freshest Brussels sprouts and properly preparing them for storage, you can extend their shelf life and minimize waste. Refrigeration is ideal for short-term storage, while freezing allows you to preserve Brussels sprouts for months. Canning provides a long-lasting option, and dehydrating offers a versatile and crunchy way to enjoy them year-round.
Remember to follow specific guidelines for each storage method, such as blanching before freezing or canning, and properly packaging and sealing your preserved Brussels sprouts. Regularly check on your stored sprouts and discard any that show signs of spoilage to keep the batch fresh.
With your stored Brussels sprouts, you can now explore a variety of recipes and add this nutritious vegetable to your meals throughout the year. Whether you’re roasting them as a side dish, adding them to stews and soups, or incorporating them into salads or stir-fries, the possibilities are endless.
So, stock up on fresh Brussels sprouts when they’re in season, follow the appropriate storage methods, and get ready to enjoy the taste and benefits of Brussels sprouts long after their peak season. Happy preserving and happy cooking!
Frequently Asked Questions about How To Store Brussel Sprouts Long Term
Was this page helpful?
At Storables.com, we guarantee accurate and reliable information. Our content, validated by Expert Board Contributors, is crafted following stringent Editorial Policies. We're committed to providing you with well-researched, expert-backed insights for all your informational needs.
0 thoughts on “How To Store Brussel Sprouts Long Term”