Articles
How To Store Brussel Sprouts In Freezer
Modified: December 7, 2023
Discover the best way to store Brussels sprouts in the freezer with our helpful guide. Follow our step-by-step instructions to keep your articles fresh for longer!
(Many of the links in this article redirect to a specific reviewed product. Your purchase of these products through affiliate links helps to generate commission for Storables.com, at no extra cost. Learn more)
Introduction
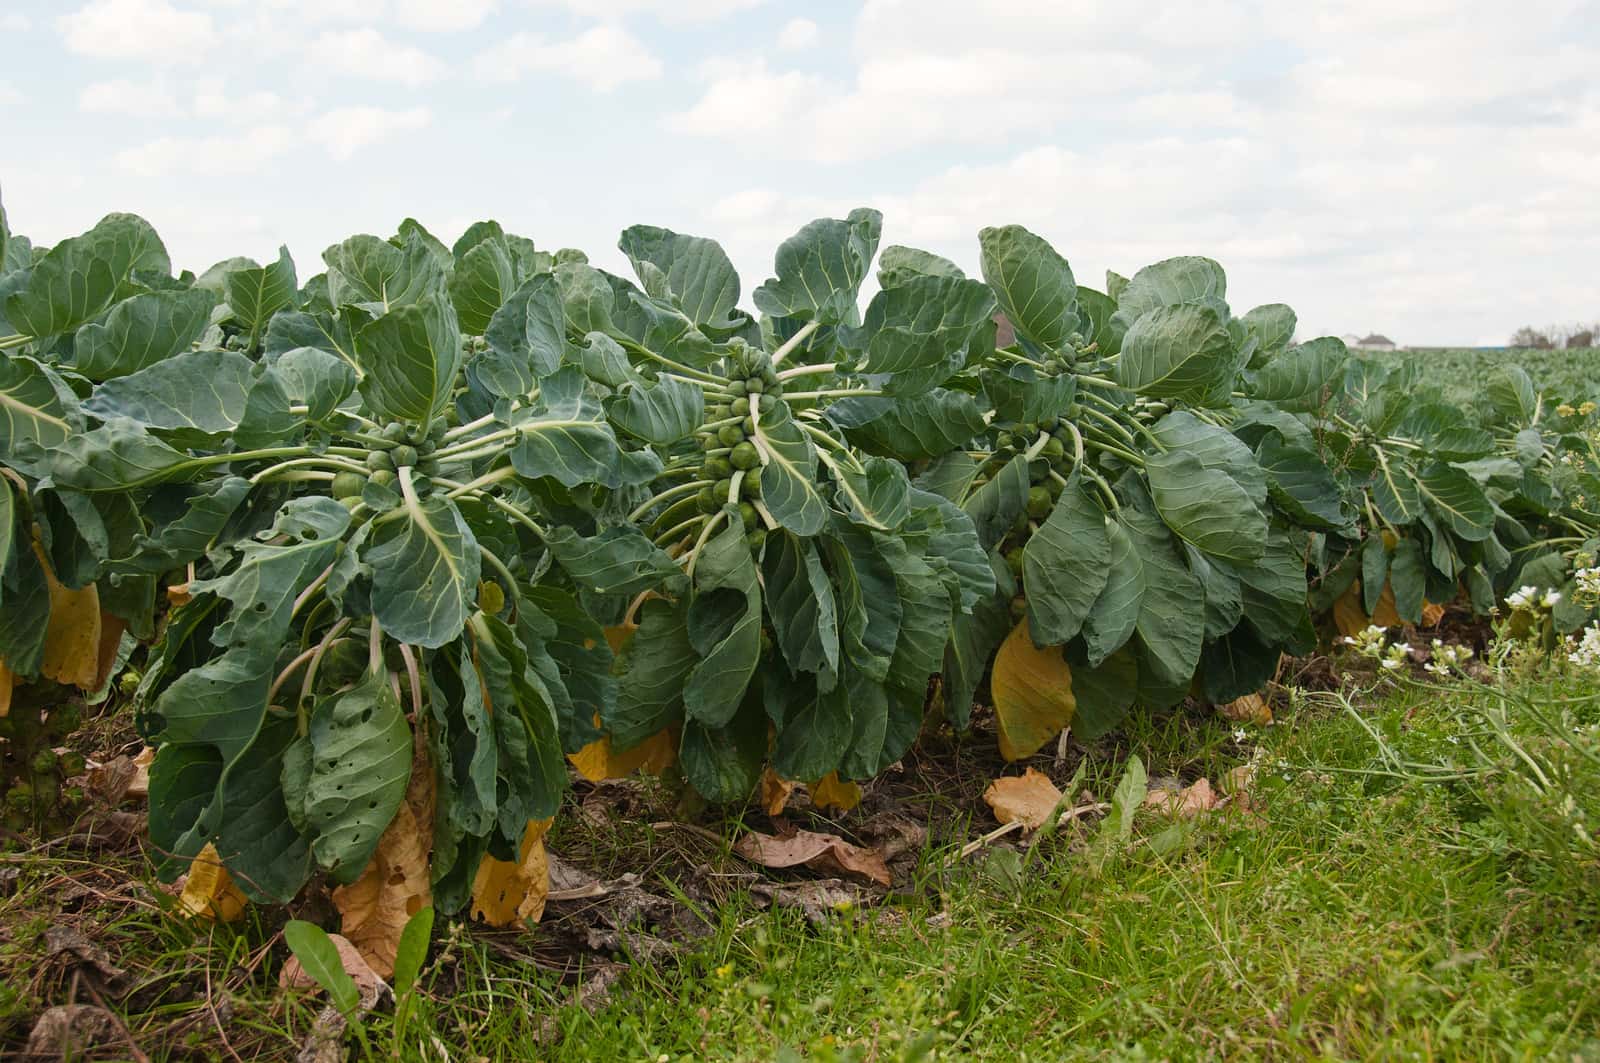
Brussel sprouts are a delicious and nutritious vegetable that can be enjoyed year-round. Whether you have a surplus of fresh brussel sprouts from your garden or you’ve bought them in bulk from the store, freezing them is a great way to preserve their flavor and quality. Freezing brussel sprouts allows you to enjoy them even when they’re out of season, and it’s a convenient option for those looking to meal prep or stock up on vegetables.
In this article, we’ll guide you through the process of storing brussel sprouts in the freezer. We’ll cover the steps from washing and blanching the brussel sprouts to packaging and storing them in the freezer. Additionally, we’ll provide tips on how to properly thaw and use the frozen brussel sprouts to ensure they retain their taste and texture.
By following these steps, you can extend the shelf life of your brussel sprouts and have a supply of this nutritious vegetable at your disposal whenever you need it. Let’s get started with the first step: washing the brussel sprouts.
Key Takeaways:
- Preserve the flavor and quality of brussel sprouts year-round by following simple steps to wash, blanch, and freeze. Enjoy convenience and nutrition with properly stored frozen brussel sprouts in your favorite recipes.
- Extend the shelf life of brussel sprouts by freezing them using the proper techniques. From washing to thawing, ensure optimal taste and texture for a convenient and nutritious addition to your meals.
Read more: How To Store Brussel Sprouts On The Stalk
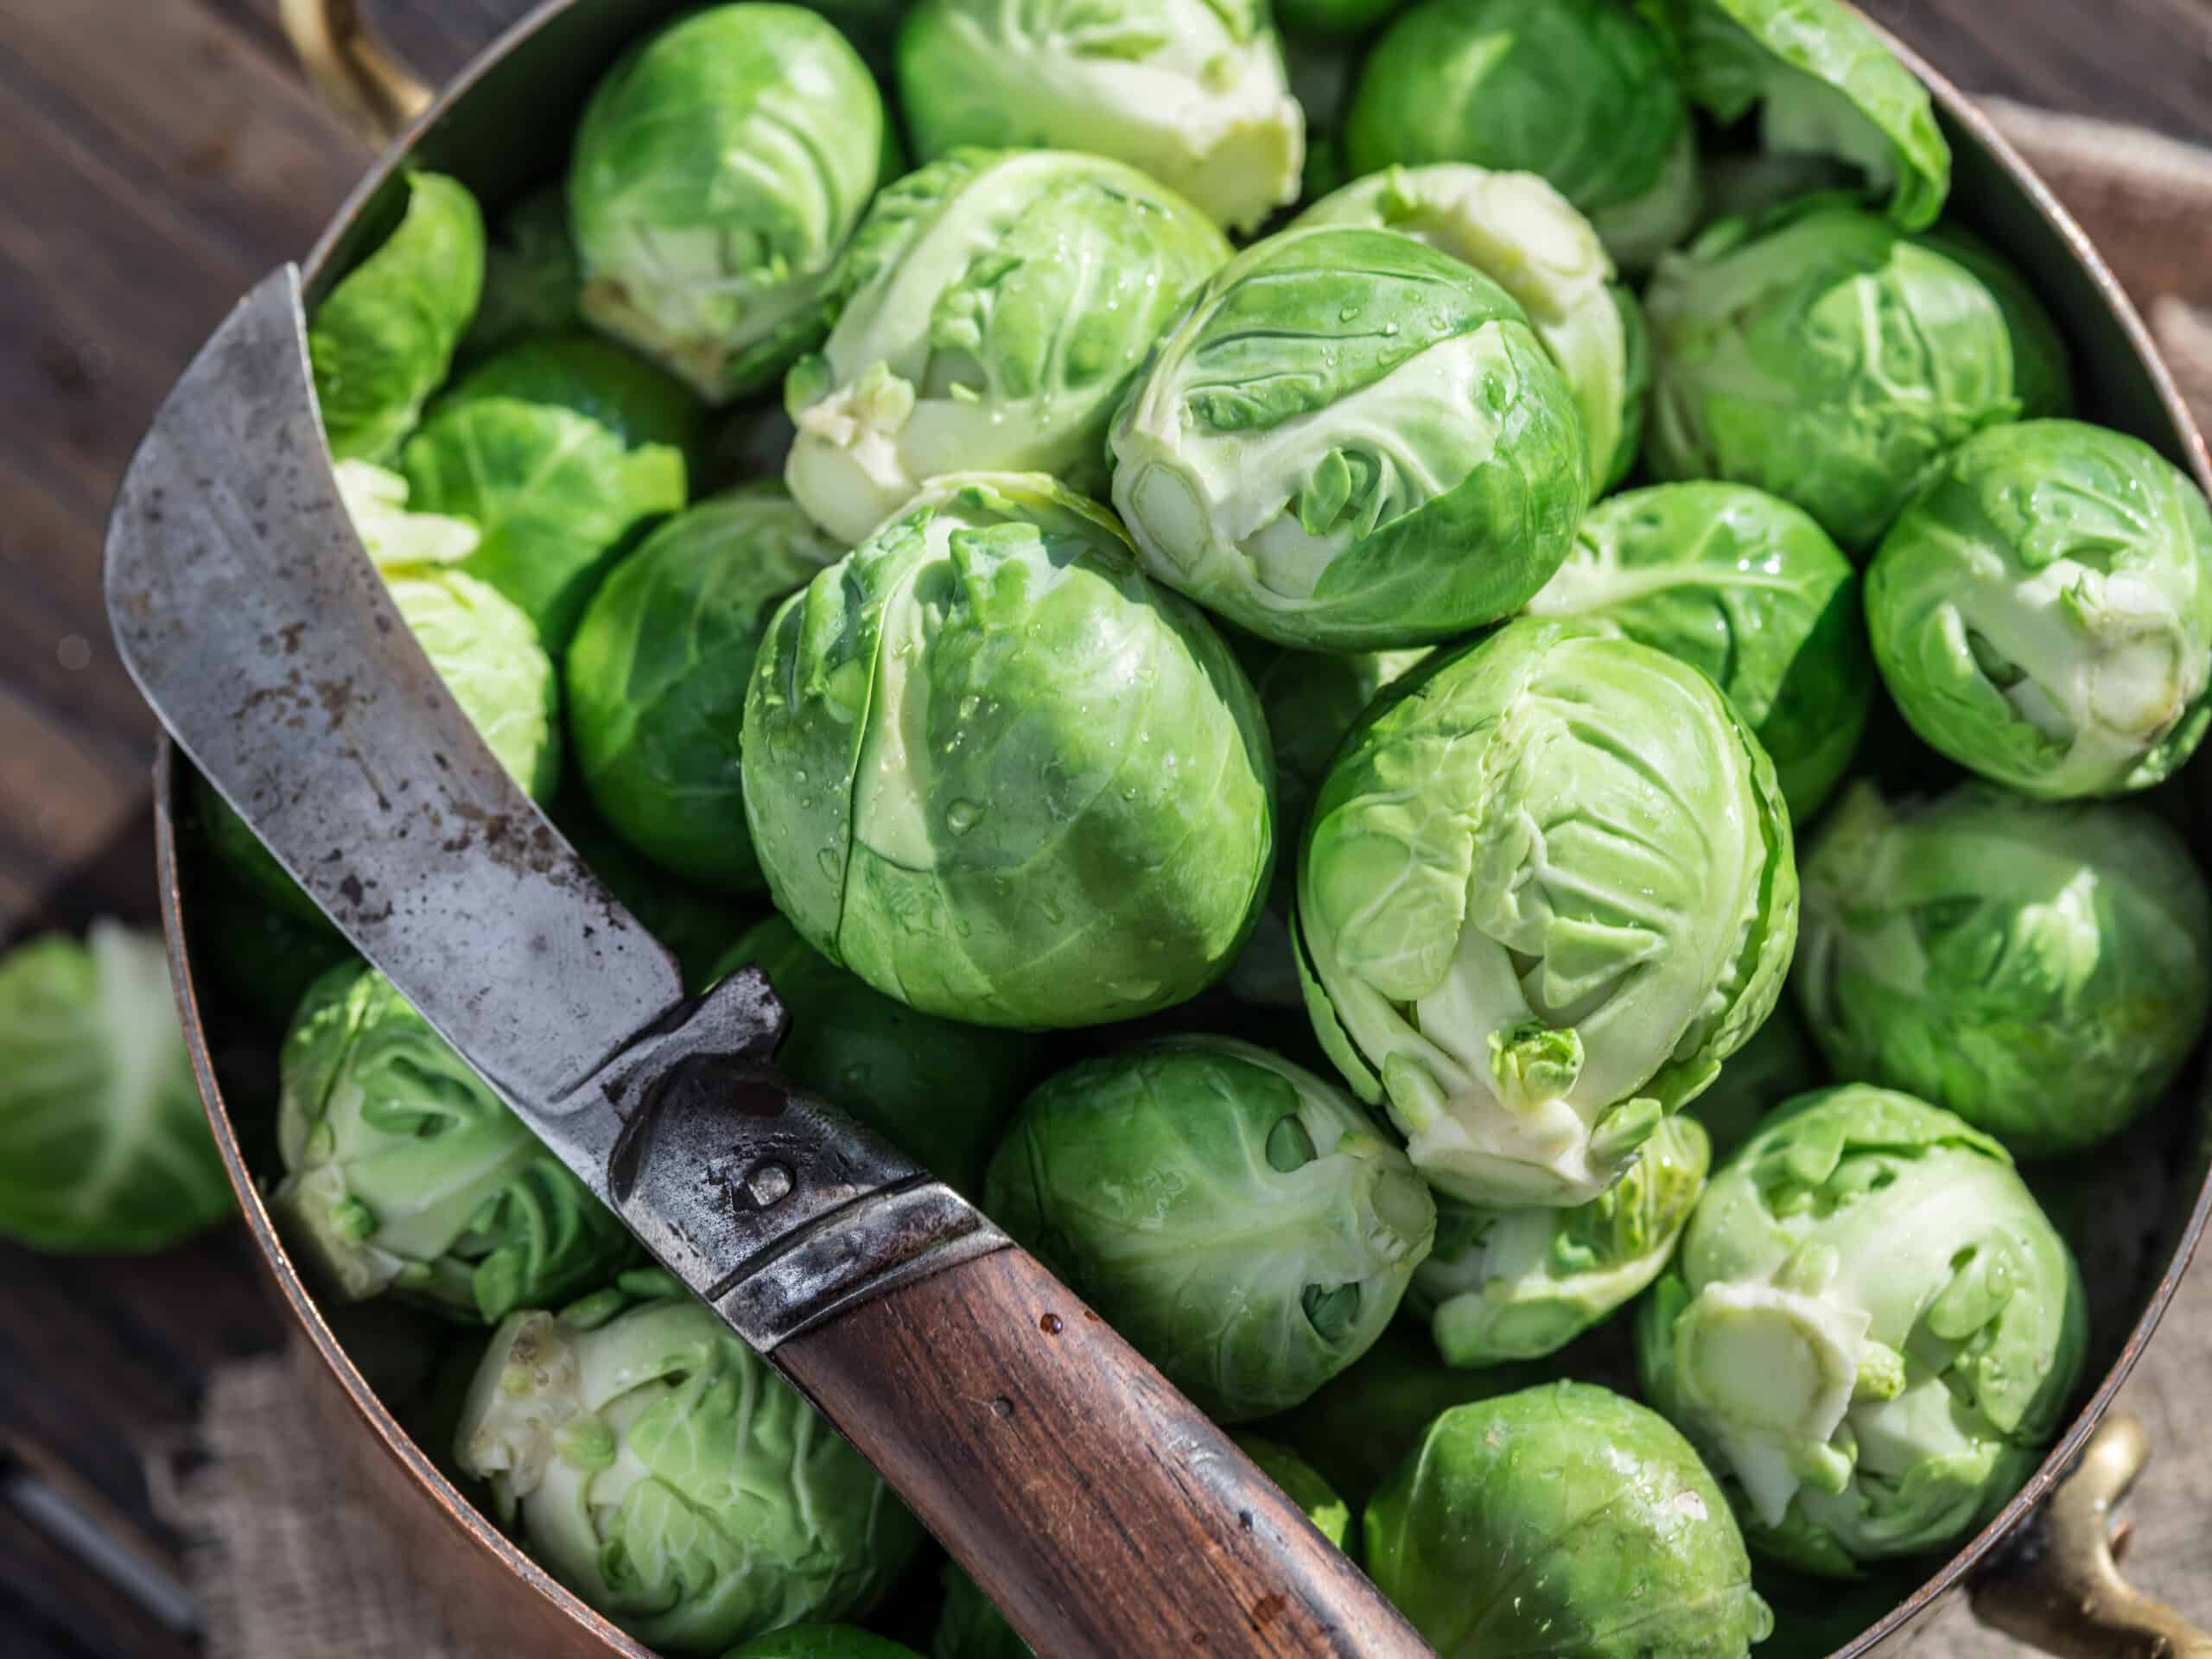
Step 1: Washing the Brussel Sprouts
Before freezing your brussel sprouts, it’s essential to properly wash them to remove any dirt or debris that may be present. Here’s a simple step-by-step guide on how to wash brussel sprouts:
- Start by filling a large bowl or sink with cold water. Make sure the container is big enough to accommodate the brussel sprouts.
- Take each brussel sprout and remove any outer leaves that are damaged or discolored.
- Place the brussel sprouts in the water and give them a gentle swirl to loosen any dirt or debris. You can also use a vegetable brush to lightly scrub the surface of the brussel sprouts if needed.
- Let the brussel sprouts soak in the water for a few minutes to allow any dirt to settle at the bottom of the container.
- Gently lift the brussel sprouts out of the water and transfer them to a colander or strainer. Rinse them under cold running water to remove any remaining dirt or soap residue.
- Once the brussel sprouts are thoroughly washed, pat them dry with a clean kitchen towel or paper towels. Make sure they are completely dry before moving on to the next step.
Washing the brussel sprouts not only helps remove any impurities but also ensures that they freeze evenly. Additionally, it’s important to note that the brussel sprouts should be washed just before freezing, rather than in advance, to maintain their freshness and quality.
Now that your brussel sprouts are clean and ready, let’s move on to the next step: blanching the brussel sprouts.
Step 2: Blanching the Brussel Sprouts
Blanching is an essential step before freezing brussel sprouts as it helps to preserve their color, texture, and flavor. Blanching involves partially cooking the brussel sprouts in boiling water, followed by a quick plunge into ice water to stop the cooking process. Here’s how you can blanch your brussel sprouts:
- Fill a large pot with water and bring it to a rolling boil over high heat.
- In the meantime, prepare a bowl of ice water by filling it with cold water and adding ice cubes. This will be used to shock the brussel sprouts after blanching.
- Once the water reaches a boil, carefully drop the brussel sprouts into the pot. Make sure not to overcrowd the pot; the brussel sprouts should have enough space to cook evenly.
- Allow the brussel sprouts to boil for about 3-4 minutes. The exact cooking time may vary depending on the size of the brussel sprouts. They should be tender when pierced with a fork but still retain a slight crunch.
- While the brussel sprouts are cooking, fill a large bowl with ice-cold water.
- Using a slotted spoon or a pair of tongs, quickly transfer the cooked brussel sprouts from the boiling water to the ice water bath. This stops the cooking process and helps to retain their vibrant green color.
Keep the brussel sprouts in the ice water bath for about 3-4 minutes to ensure they are completely cooled. This step also helps to lock in their texture and nutrients.
After blanching and cooling, the brussel sprouts are ready for the next step in the freezing process. Let’s move on to step 3: cooling and draining the brussel sprouts.
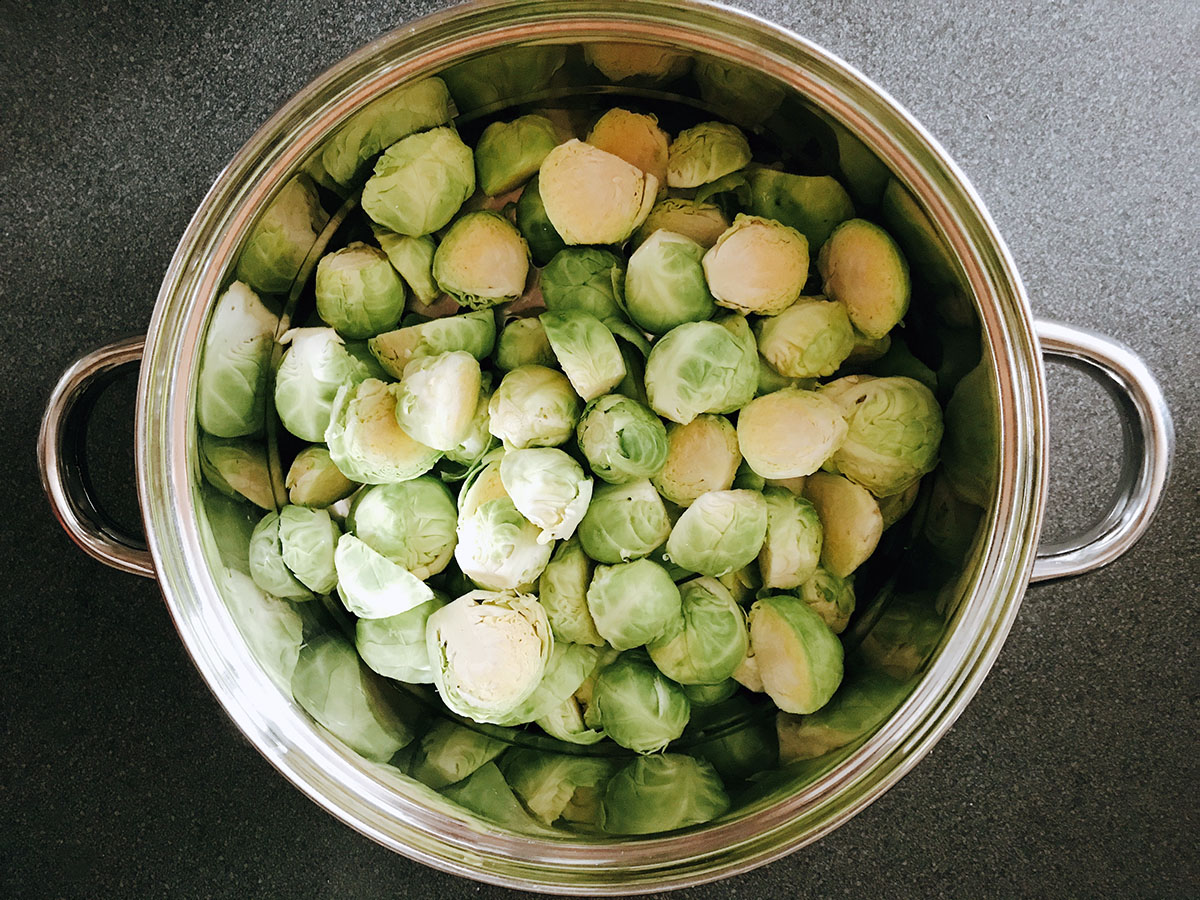
Step 3: Cooling and Draining the Brussel Sprouts
Once the brussel sprouts have been blanched and cooled in the ice water bath, it’s important to properly drain them before freezing. This step helps to remove excess moisture, which can lead to freezer burn and negatively impact the texture of the brussel sprouts. Follow these steps to cool and drain the brussel sprouts:
- Remove the brussel sprouts from the ice water bath and place them on a clean kitchen towel or a layer of paper towels.
- Gently pat the brussel sprouts dry with the towel, absorbing any excess moisture. You can also let them air-dry for a few minutes to ensure they are completely dry.
- Inspect the brussel sprouts to make sure there are no remaining ice crystals or water droplets on them. Any moisture left on the brussel sprouts can cause them to stick together in the freezer.
- For optimal results, you can spread the brussel sprouts out on a baking sheet or tray lined with a clean kitchen towel or parchment paper. This allows for better airflow and further ensures the brussel sprouts are dry before packaging them.
Cooling and draining the brussel sprouts prior to freezing helps to prevent ice crystals from forming and maintains their quality during the freezing process. Once the brussel sprouts are dry, it’s time to move on to step 4: packaging them for freezing.
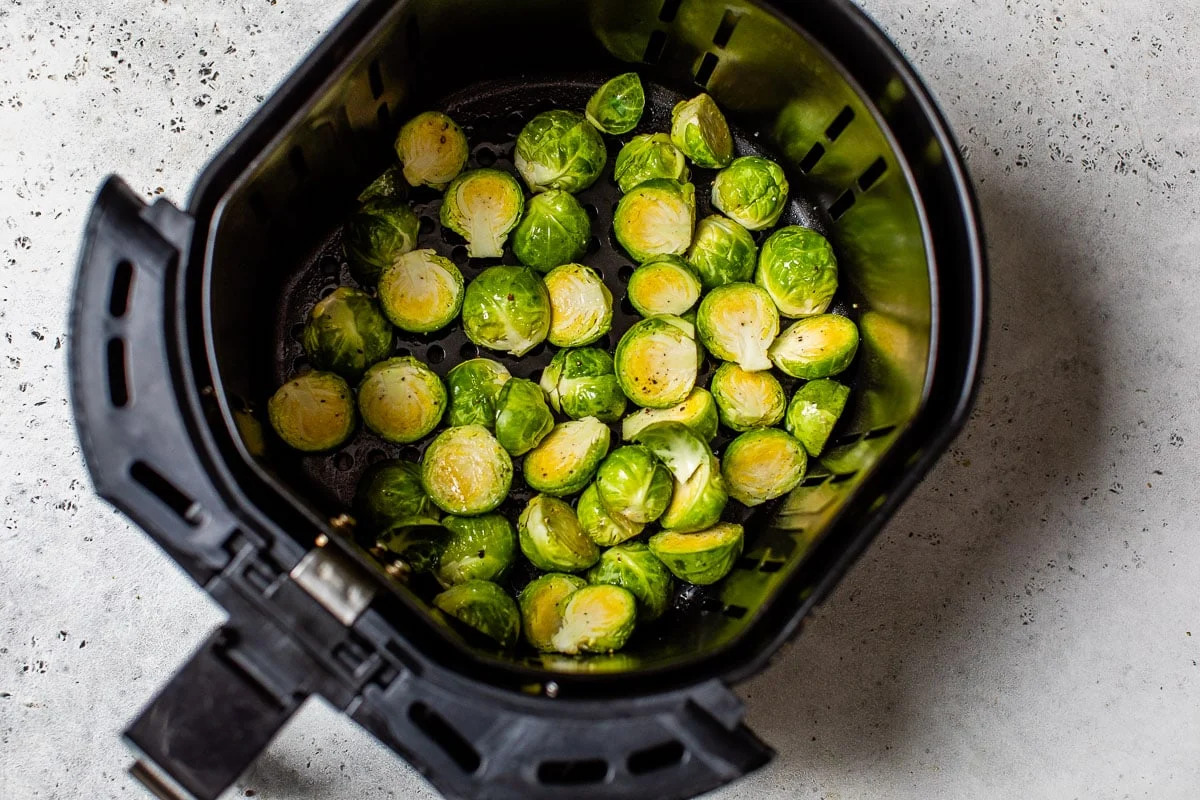
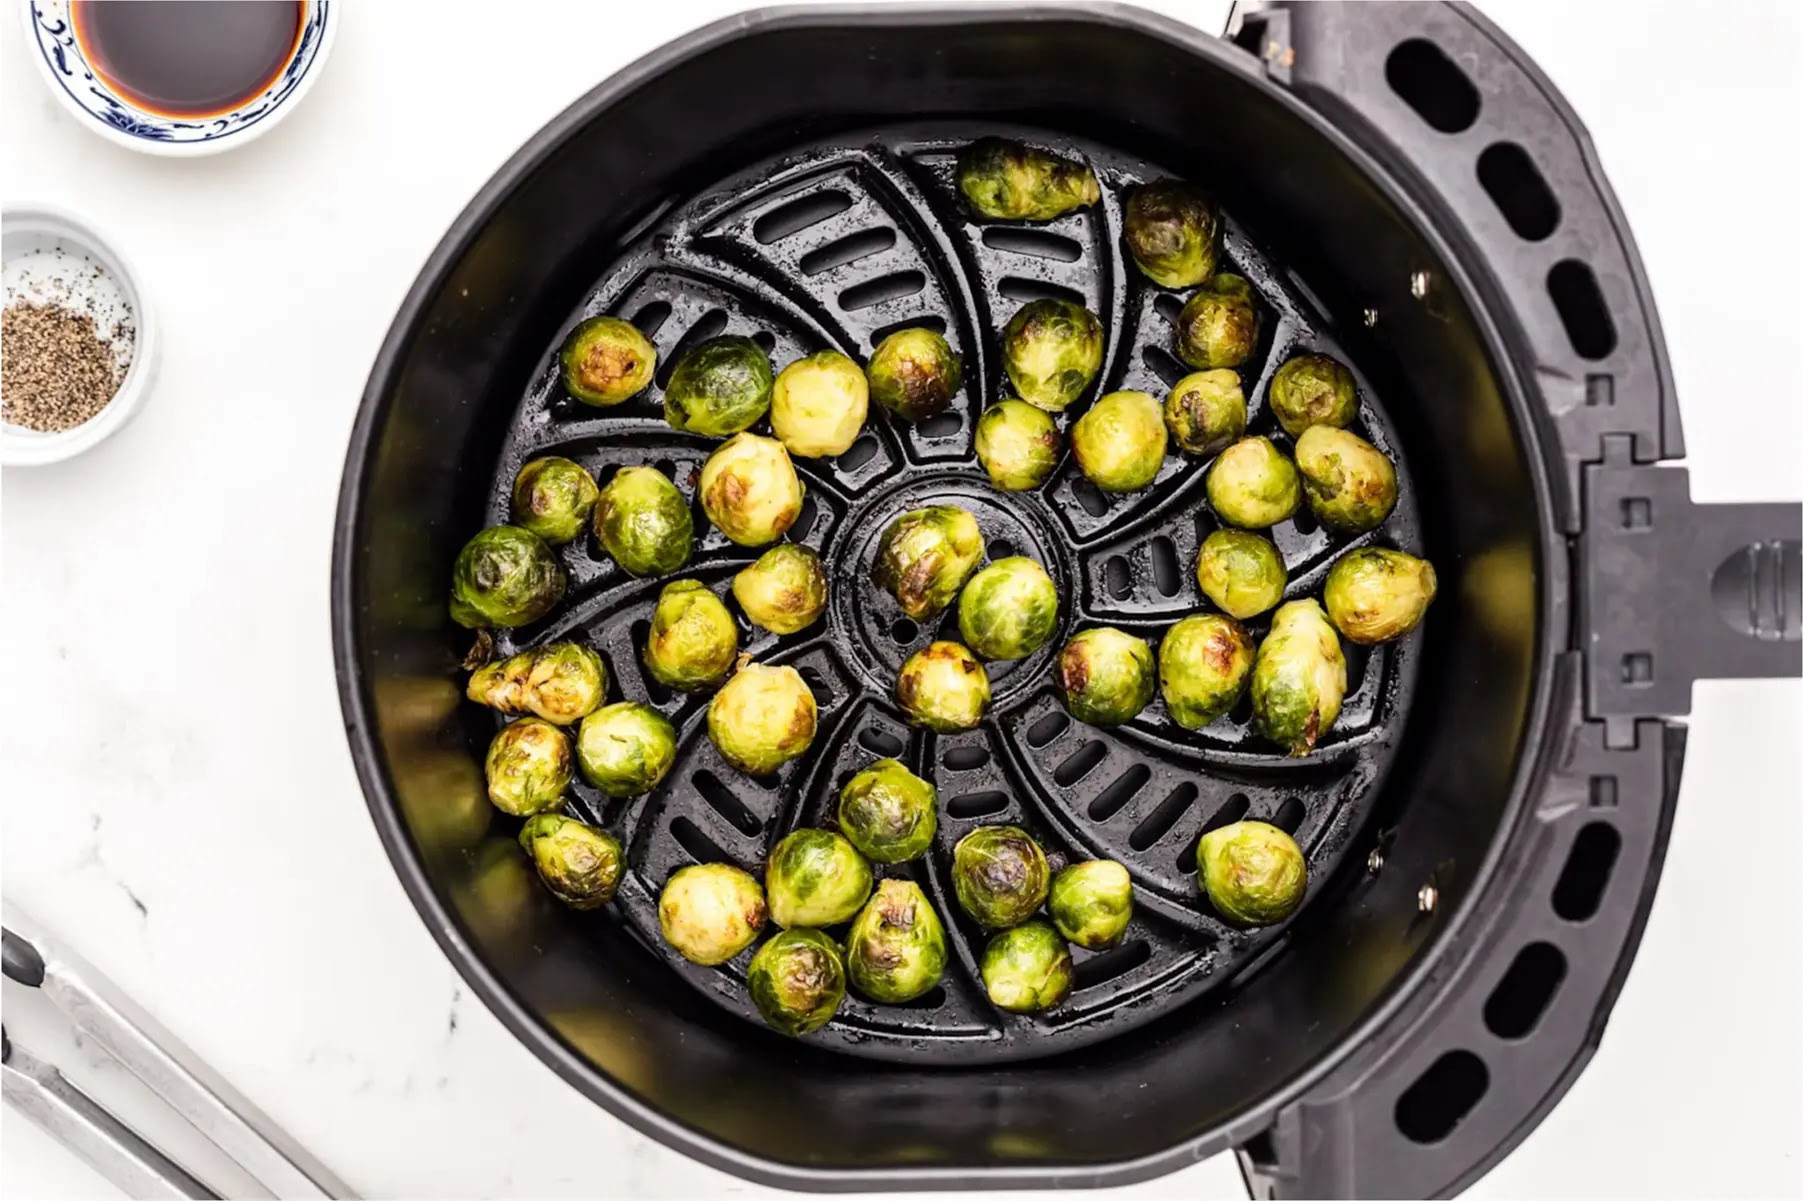
To store Brussels sprouts in the freezer, first blanch them in boiling water for 3 minutes, then transfer to an ice bath to stop the cooking process. Once cooled, pat them dry and place in airtight freezer bags, removing as much air as possible before sealing. Label with the date and store in the freezer for up to 12 months.
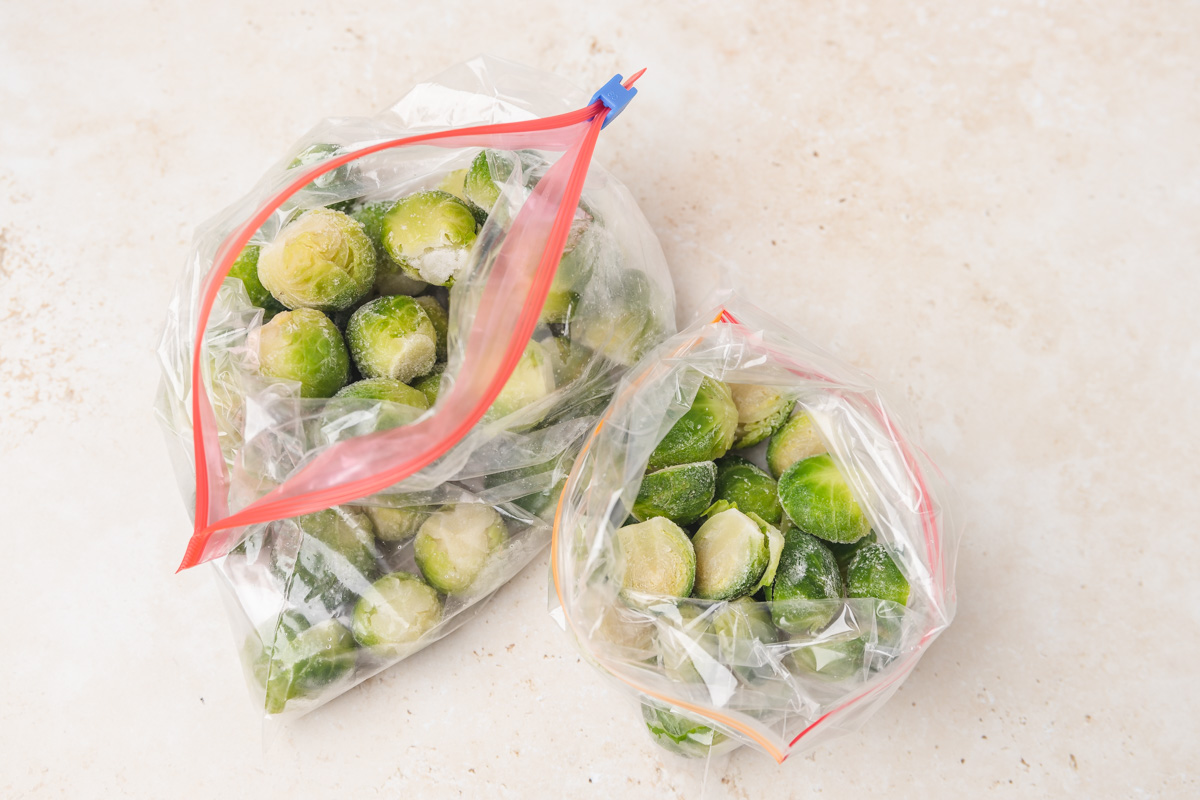
Step 4: Packaging the Brussel Sprouts for Freezing
Proper packaging is crucial when it comes to freezing brussel sprouts. It helps to protect them from freezer burn, preserves their flavor and texture, and allows for easy portioning when it’s time to use them. Follow these steps to package your brussel sprouts for freezing:
- Prepare your chosen freezer-safe containers or bags. You can use freezer bags, airtight containers, or vacuum-sealed bags specifically designed for freezing vegetables. Make sure they are clean and dry before use.
- If you’re using freezer bags, leave some headspace at the top to allow for expansion as the brussel sprouts freeze. If using containers, ensure they are sealable and airtight.
- Divide the cooled and drained brussel sprouts into smaller portions, depending on your needs. This allows for more flexibility when thawing and using the brussel sprouts later.
- Place the brussel sprouts into the chosen containers or bags, ensuring they are properly sealed to prevent any air or moisture from entering.
- If using freezer bags, remove as much air as possible from them before sealing. You can either use a straw to suck out the air or gently press down on the bag while sealing it to minimize air pockets.
- Label the containers or bags with the current date, so you can keep track of the freezing time. This is especially helpful if you have multiple batches of brussel sprouts in the freezer.
Proper packaging is essential to maintain the quality and taste of the brussel sprouts while they’re frozen. Once the brussel sprouts are securely packaged, it’s time to move on to the next step: storing them in the freezer.
Read more: How To Store Cut Brussel Sprouts
Step 5: Storing the Brussel Sprouts in the Freezer
Now that your brussel sprouts are properly packaged, it’s time to store them in the freezer. Follow these steps to ensure that they remain fresh and retain their quality:
- Choose a suitable spot in your freezer where the temperature remains constant and doesn’t fluctuate too much. This helps to maintain the brussel sprouts’ quality during their time in the freezer.
- Ensure that the freezer temperature is set to 0°F or below. Freezing at this temperature prevents the growth of bacteria and helps to preserve the flavor and nutritional value of the brussel sprouts.
- If you have multiple containers or bags of brussel sprouts, try to arrange them in a single layer or stack them neatly to maximize space efficiency. This allows for better airflow and ensures more even freezing.
- Avoid placing hot or warm containers of brussel sprouts directly into the freezer, as this can raise the temperature and potentially affect the freezing process.
- Once stored in the freezer, it’s important to avoid constantly opening and closing the freezer door, as this can cause temperature fluctuations. Only access the freezer when necessary.
- Remember to keep track of the storage time. Brussel sprouts can typically be stored in the freezer for up to 12 months, but for the best quality, it’s recommended to consume them within 8-10 months.
By following these steps, you can ensure that your brussel sprouts are stored properly and maintain their flavor, texture, and nutritional value while in the freezer. When it’s time to use them, move on to step 6 for thawing and using the frozen brussel sprouts.
Step 6: Thawing and Using the Frozen Brussel Sprouts
When you’re ready to use the brussel sprouts you’ve stored in the freezer, it’s important to properly thaw them before cooking. Follow these steps to thaw and use the frozen brussel sprouts:
- Remove the desired amount of frozen brussel sprouts from the freezer. Keep in mind that thawed brussel sprouts should be used within a few days and not refrozen.
- There are a few methods you can use to thaw the brussel sprouts:
- Refrigerator Thawing: Place the frozen brussel sprouts in a bowl or container and let them thaw in the refrigerator overnight. This is the recommended method as it allows for gradual thawing while maintaining the quality of the brussel sprouts.
- Cold Water Thawing: If you need to thaw the brussel sprouts more quickly, you can place them in a sealed bag and submerge them in cold water. Change the water every 30 minutes to ensure it remains cold. This method typically takes 1-2 hours depending on the size of the brussel sprouts.
- Once the brussel sprouts are thawed, drain any excess water that may have accumulated during the thawing process.
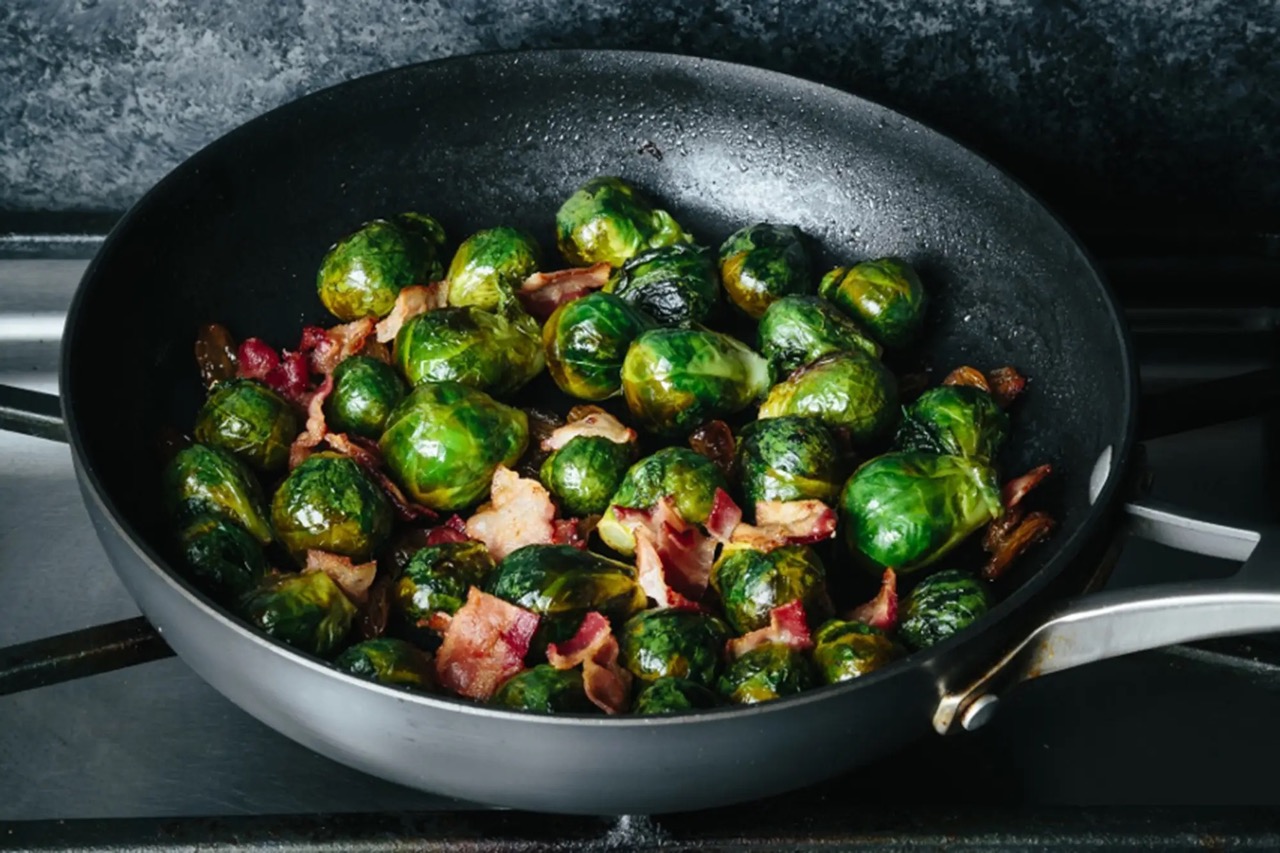
- Now, the brussel sprouts are ready to be used in your favorite recipes. You can sauté them, roast them, steam them, or add them to soups and stir-fries. They can be used as a side dish, added to salads, or incorporated into various main courses.
- Remember to adjust the cooking time accordingly since thawed brussel sprouts will require less time to cook compared to fresh ones.
Thawing the brussel sprouts properly ensures that they are safe to consume and allows for optimal taste and texture in your dishes. Enjoy the convenience of having frozen brussel sprouts on hand and experiment with different recipes to make the most of this versatile vegetable!
By following these steps, you can effectively store brussel sprouts in the freezer while maintaining their taste, texture, and nutritional value. Whether you’re looking to preserve a bumper crop of brussel sprouts from your garden or stock up on this versatile vegetable, freezing them ensures that you can enjoy them year-round. Remember to follow the recommended guidelines for thawing and using the frozen brussel sprouts, and you’ll be able to incorporate them into your meals easily and conveniently.
So go ahead and freeze those brussel sprouts without worry. With a little preparation and the right techniques, you can extend their shelf life and savor their deliciousness whenever you please!
Conclusion
Freezing brussel sprouts is an excellent way to preserve their flavor, texture, and nutritional value, allowing you to enjoy this nutritious vegetable throughout the year. By following the steps outlined in this article, you can confidently store brussel sprouts in the freezer and have them readily available for your favorite recipes.
From washing and blanching to packaging and freezing, each step plays a crucial role in maintaining the quality of the brussel sprouts. Properly washing the brussel sprouts ensures that they are free from dirt and debris, while blanching helps preserve their color and texture. Cooling and draining the brussel sprouts eliminates excess moisture, preventing freezer burn. Packaging them in appropriate containers or bags and storing them in a freezer at the recommended temperature further safeguards their quality.
When you’re ready to use the frozen brussel sprouts, be sure to thaw them properly using either the refrigerator or cold water method. Once thawed, you can incorporate them into various dishes and savor their deliciousness. Whether you sauté them, roast them, or add them to your favorite recipes, the frozen brussel sprouts will add a burst of flavor and nutritional goodness to your meals.
Remember to label the containers or bags with the date of freezing and consume the brussel sprouts within the recommended storage time. This ensures that you’re using them at their best quality and flavor.
By following these steps and guidelines, you can confidently freeze brussel sprouts and enjoy their taste and nutritional benefits at any time. So the next time you find yourself with a surplus of brussel sprouts, don’t hesitate to freeze them and extend their shelf life. With a well-stocked freezer, you’ll always have a versatile and healthy vegetable at your fingertips.
So, go ahead and embark on the journey of freezing brussel sprouts, knowing that you’re preserving their goodness and ensuring that you have access to this delightful vegetable whenever you need it!
Frequently Asked Questions about How To Store Brussel Sprouts In Freezer
Was this page helpful?
At Storables.com, we guarantee accurate and reliable information. Our content, validated by Expert Board Contributors, is crafted following stringent Editorial Policies. We're committed to providing you with well-researched, expert-backed insights for all your informational needs.

0 thoughts on “How To Store Brussel Sprouts In Freezer”