Articles
How To Store Bulbs Until Fall
Modified: December 7, 2023
Learn the best techniques to store bulbs until fall with these informative articles. Ensure your bulbs stay healthy and ready for planting next season.
(Many of the links in this article redirect to a specific reviewed product. Your purchase of these products through affiliate links helps to generate commission for Storables.com, at no extra cost. Learn more)
Introduction
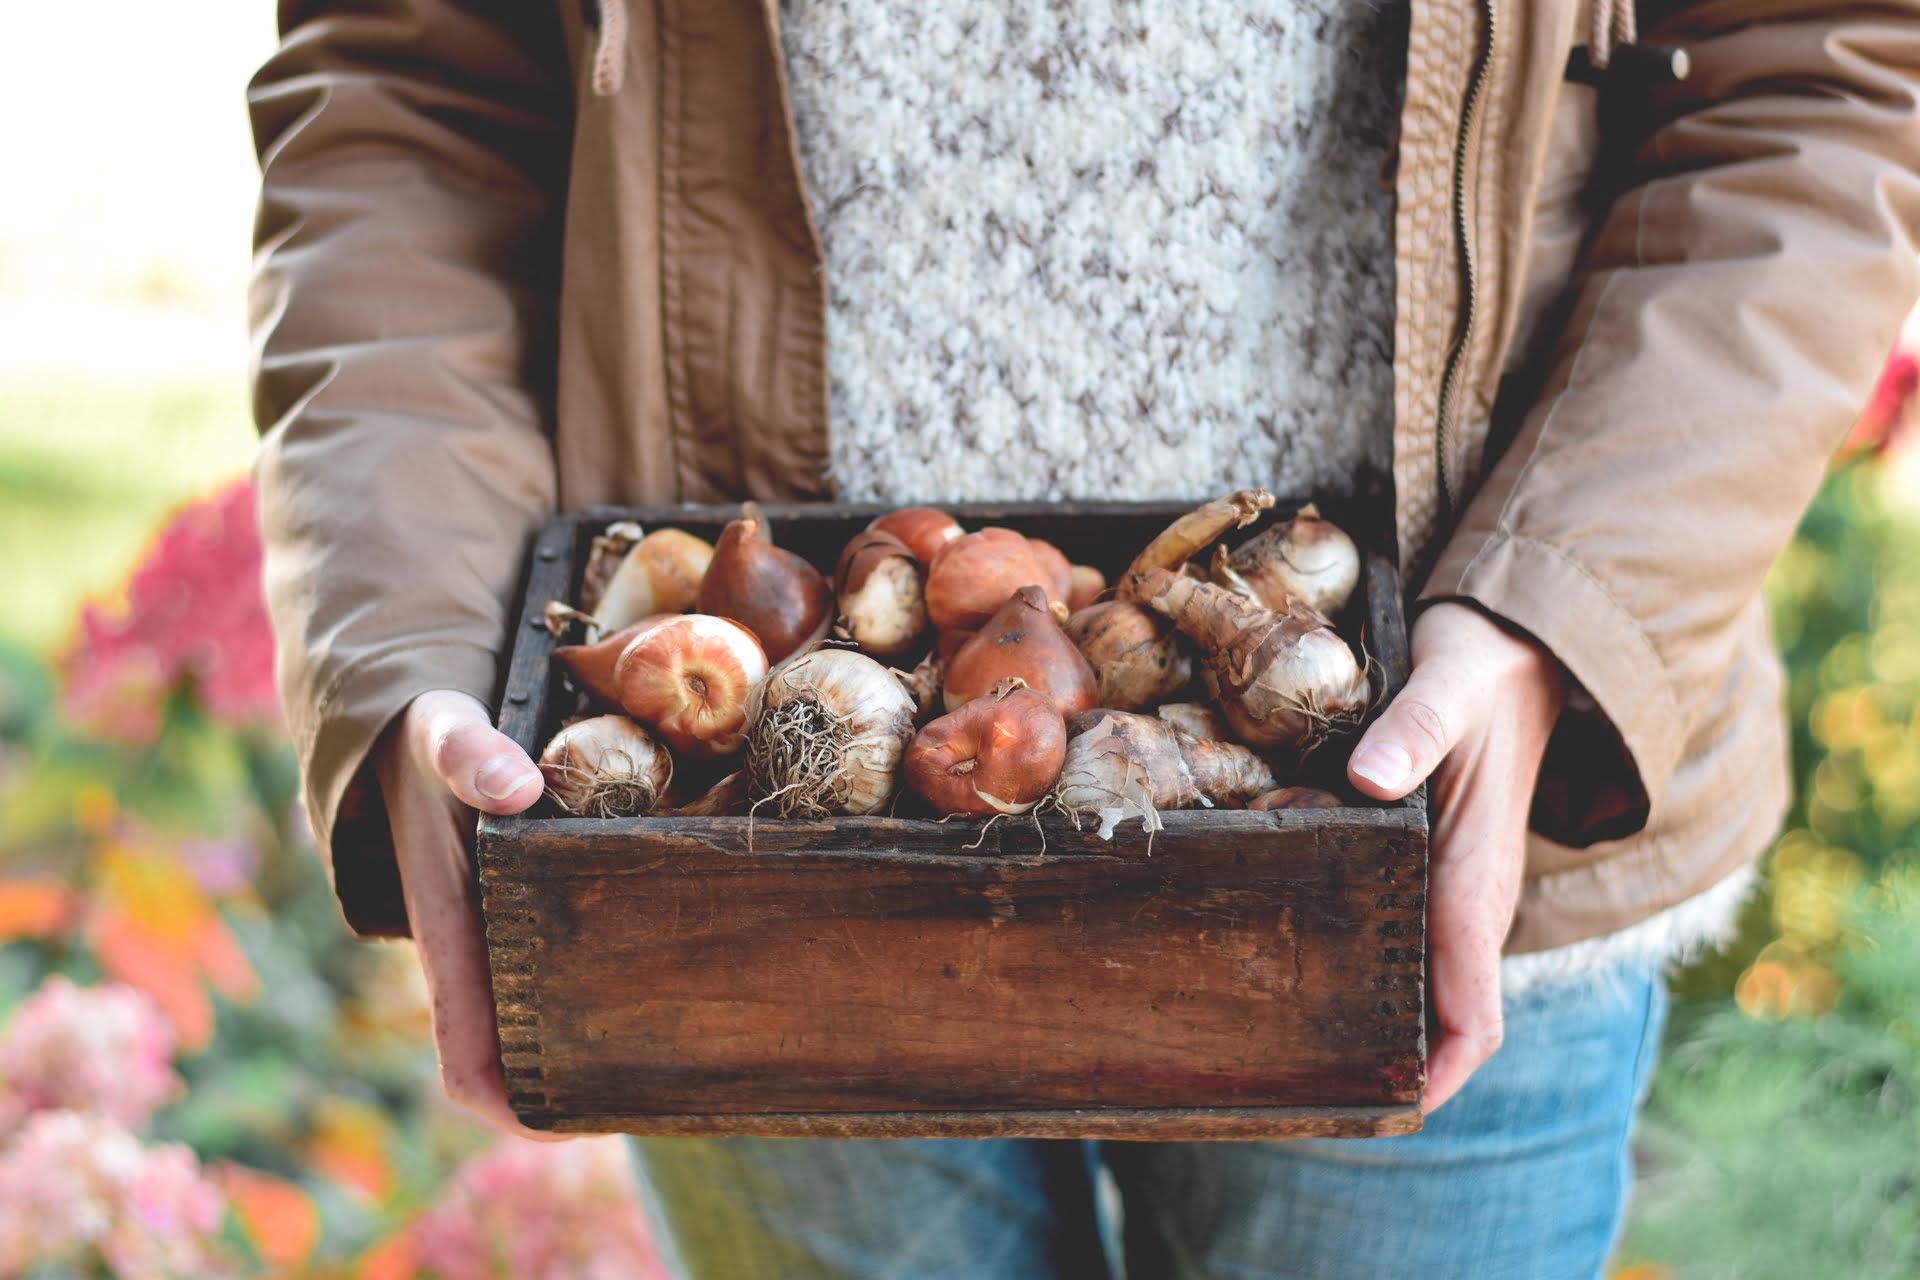
As gardeners, we often find ourselves with an abundance of bulbs after the blooming season. Whether it’s daffodils, tulips, or lilies, storing these bulbs properly is essential to ensure their survival and bloom in the following season. Properly storing bulbs until fall requires the right techniques and conditions to maintain their quality and viability.
In this article, we will guide you through the process of storing bulbs until fall. We will discuss how to choose the right bulbs, prepare them for storage, select an appropriate storage location, and provide step-by-step instructions for storing bulbs in containers or in the ground. Additionally, we will cover how to monitor and care for the bulbs during storage and prepare them for planting in the fall.
By following the tips and guidelines outlined in this article, you’ll be able to preserve the health and vitality of your bulbs, ensuring a stunning display of flowers in the next growing season.
Key Takeaways:
- Choose healthy, mature bulbs for storage to ensure vibrant blooms. Research specific requirements for each variety before preparing them for storage.
- Whether storing bulbs in containers or in the ground, monitor and care for them diligently to ensure a successful planting season.
Read more: How To Store Tulip Bulbs Until Fall
Choosing the Right Bulbs
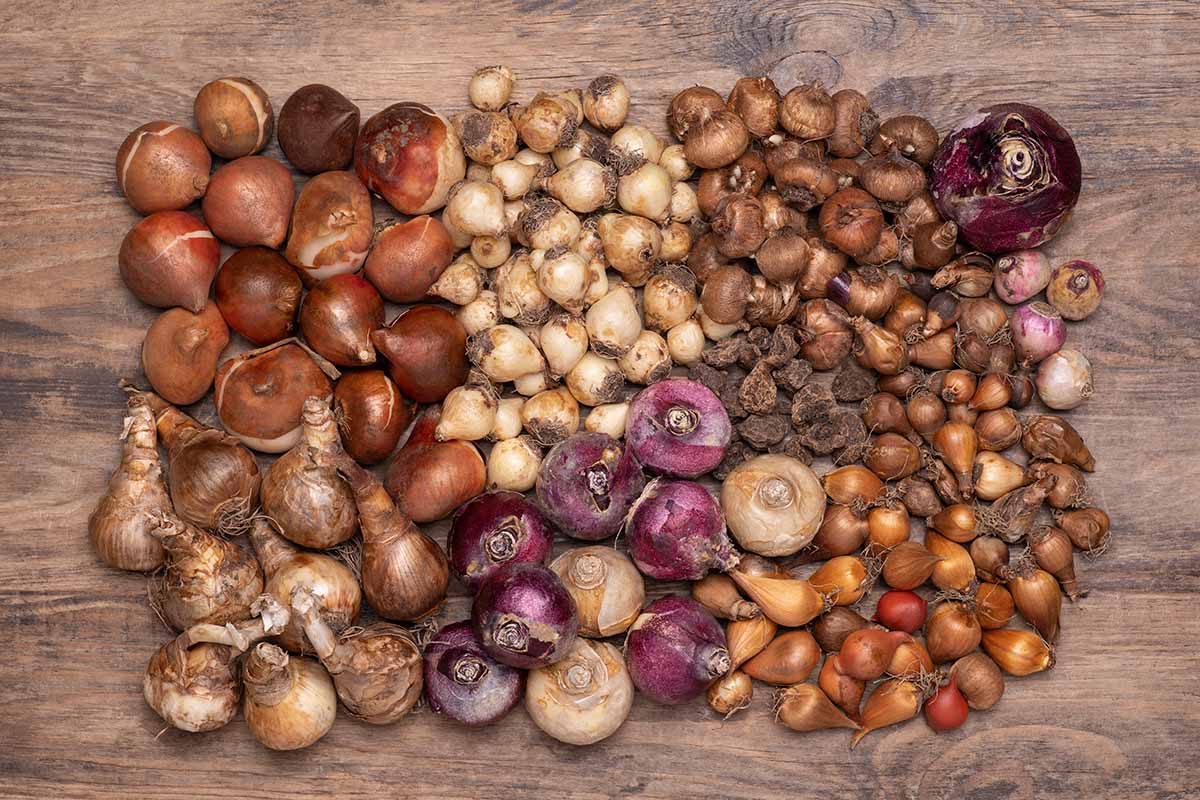
When it comes to storing bulbs until fall, it’s important to start with high-quality bulbs. Here are some factors to consider when choosing the right bulbs for storage:
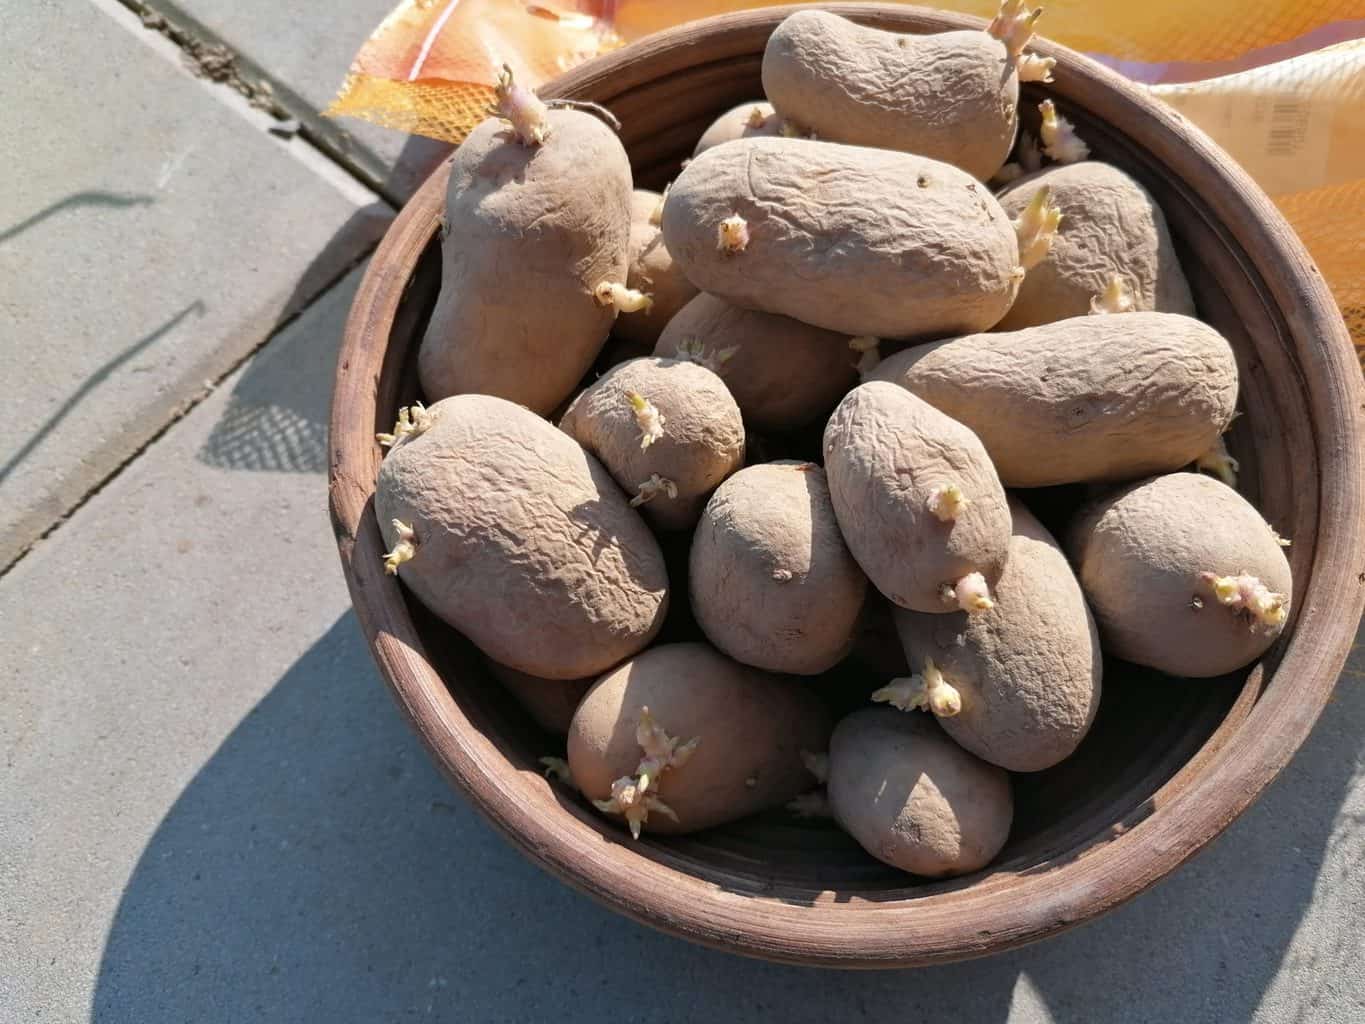
- Choose healthy bulbs: Look for bulbs that are firm and free from any signs of decay or damage. Avoid bulbs with soft spots, mold, or mildew.
- Select mature bulbs: Mature bulbs have a higher chance of surviving the storage period and producing healthy flowers in the next season. Avoid bulbs that are too small or underdeveloped.
- Consider the bloom time: Different bulb varieties have different bloom times. If you want a continuous display of flowers, choose bulbs that bloom at different times, so you can stagger their planting in the fall.
- Research specific storage requirements: Some bulbs, like tulips and daffodils, can be stored easily, while others, such as gladiolus or dahlias, have more specific storage requirements. Make sure you are familiar with the specific needs of the bulbs you are planning to store.
It’s worth mentioning that not all bulbs are suitable for storing until fall. Some bulbs, like snowdrops and crocuses, are best planted immediately after purchase. Before deciding to store bulbs, check the specific recommendations for each type of bulb to ensure success.
By carefully selecting the right bulbs for storage, you’ll increase your chances of successful storage and vibrant blooms in the following season.
Preparing the Bulbs for Storage
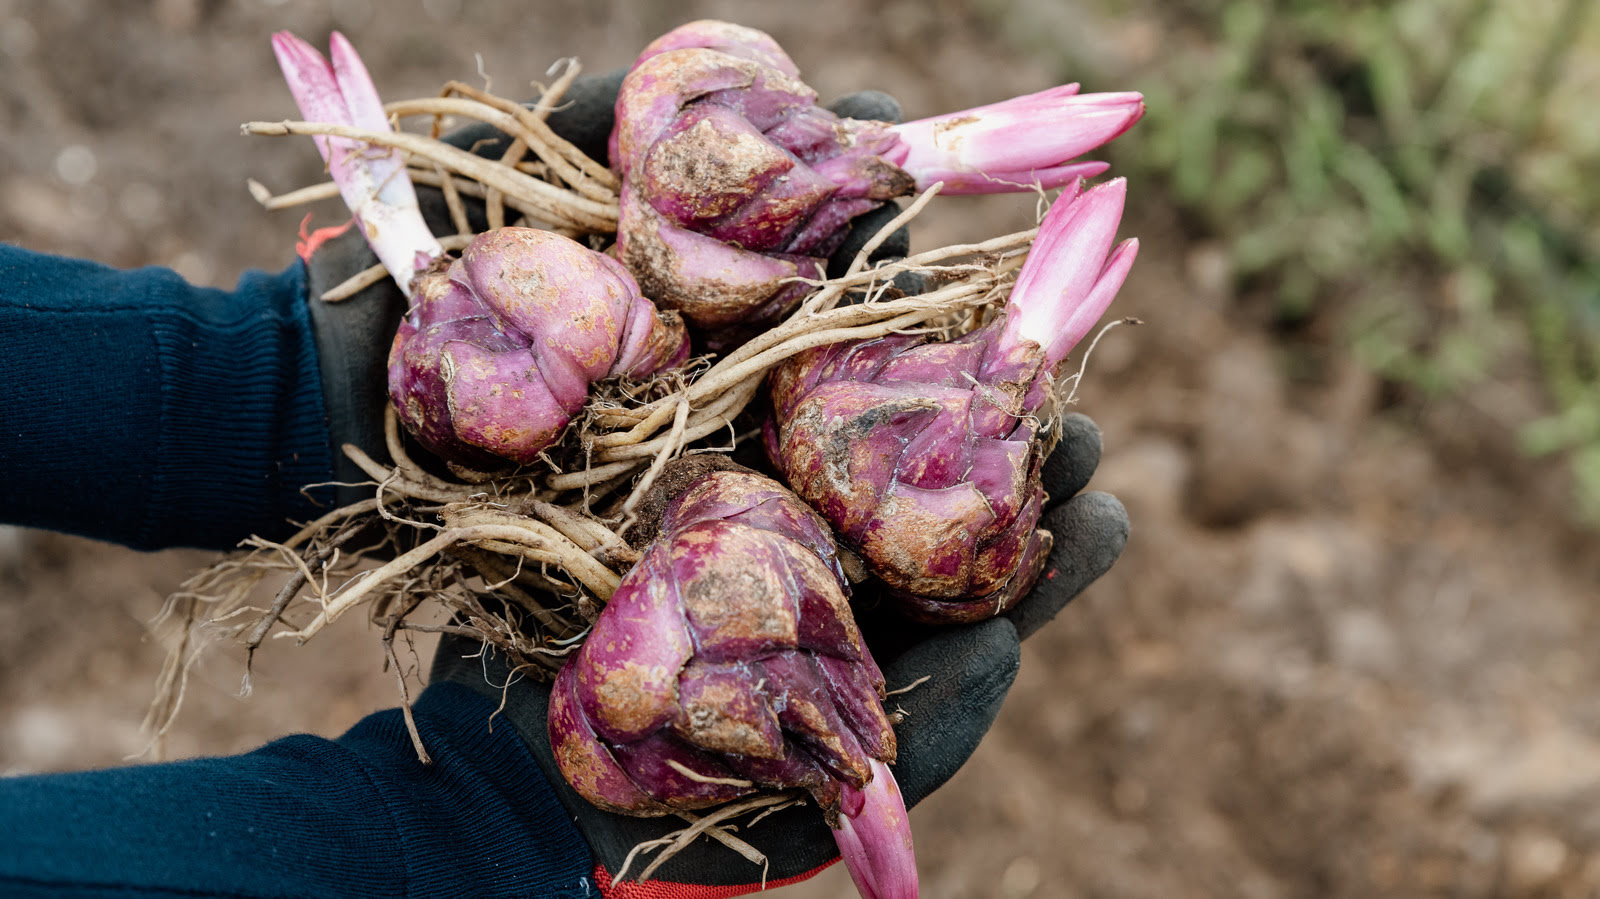
Properly preparing bulbs for storage is crucial to ensure their health and viability during the dormant period. Here are the steps to follow when preparing bulbs for storage:
- Trimming: Start by trimming any foliage or stems from the bulbs. This helps prevent the growth of bacteria or fungi during storage. Leave a short stem, if possible, to make it easier to handle the bulbs.
- Drying: Allow the bulbs to dry completely before storing them. Place them in a well-ventilated area or spread them out on a tray or newspaper. This drying period helps prevent rot and disease development.
- Cleaning: Gently brush off any excess soil or debris from the bulbs. Avoid washing them, as excess moisture can lead to rotting. If necessary, use a soft brush or cloth to remove stubborn dirt.
- Inspect for damage: Take the time to inspect each bulb thoroughly for any signs of damage, disease, or pests. Discard any bulbs that show signs of rot, mold, or infestation to prevent spreading to other bulbs.
- Treating for pests and diseases: If you notice any signs of pests or diseases on the bulbs, you can treat them with a mild fungicide or insecticide specifically designed for bulbs. Follow the instructions on the product label carefully.
Properly preparing the bulbs before storage reduces the risk of rot, disease, and pest infestation. By taking these steps, you’ll ensure that your bulbs remain healthy and ready for planting when the time comes.
Selecting the Storage Location
Choosing the right storage location for your bulbs is critical to their survival and longevity. Here are some factors to consider when selecting the storage location:
- Temperature: Bulbs generally require cool temperatures during storage to maintain their dormancy. Look for a storage location that remains consistently cool but above freezing. Ideal temperatures range from 35°F to 45°F (2°C to 7°C).
- Humidity: The storage area should have moderate humidity levels to prevent excessive drying or mold growth. Aim for a relative humidity level of around 60% to 70%. You can place a humidity meter in the storage area to monitor and adjust if necessary.
- Light exposure: Bulbs should be stored in a dark location to mimic their natural dormancy period. Exposure to light can trigger premature sprouting, which can weaken the bulbs. Avoid storing bulbs in areas with direct sunlight or artificial light sources.
- Air circulation: Proper air circulation is important to prevent the buildup of moisture and the growth of mold or bacteria. Make sure the storage area has adequate ventilation to promote airflow.
- Pest control: Choose a storage location that is free from pests like rodents or insects. These pests can damage or consume the bulbs during storage. Consider using barriers or traps to prevent infestations.
When selecting the storage location, consider areas such as a basement, cellar, or garage that meet the temperature, humidity, light exposure, and airflow requirements. Ensure that the storage area is clean and dry before placing the bulbs inside.
By carefully selecting an appropriate storage location, you’ll provide the optimal conditions for your bulbs to remain in dormancy and emerge healthy when the planting season arrives.
Storing Bulbs in Containers
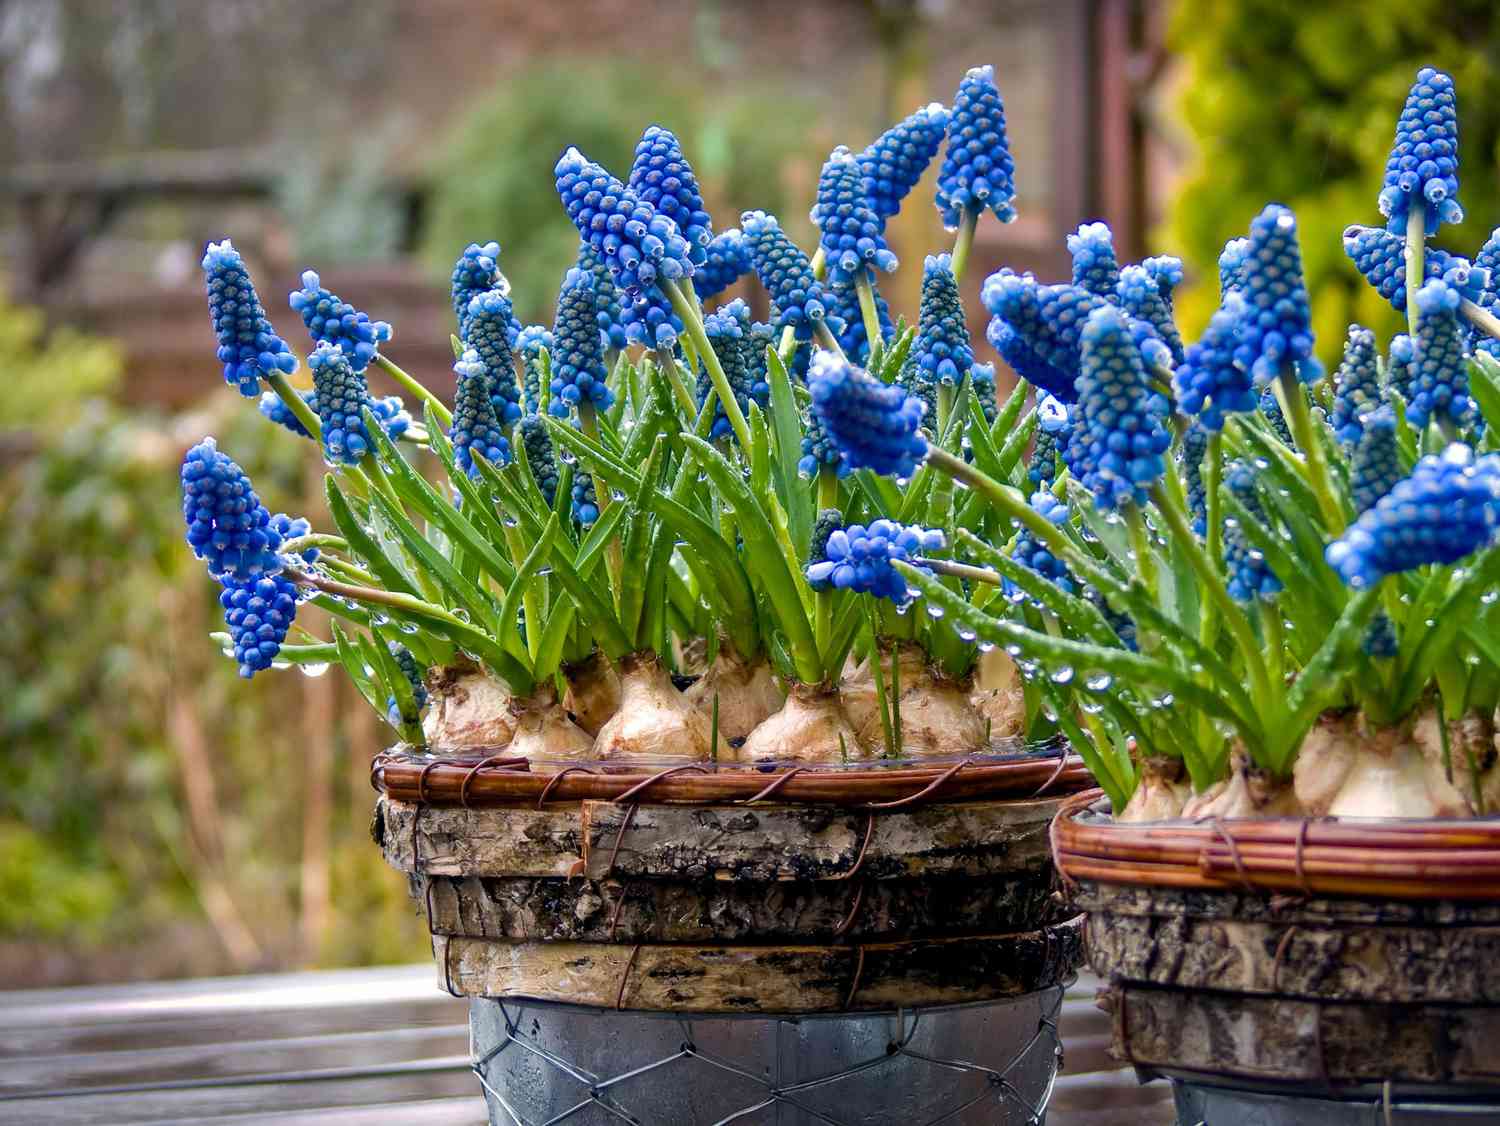
Storing bulbs in containers is a convenient option, especially if you have limited outdoor space or want more control over the storage conditions. Here’s how to store bulbs in containers:
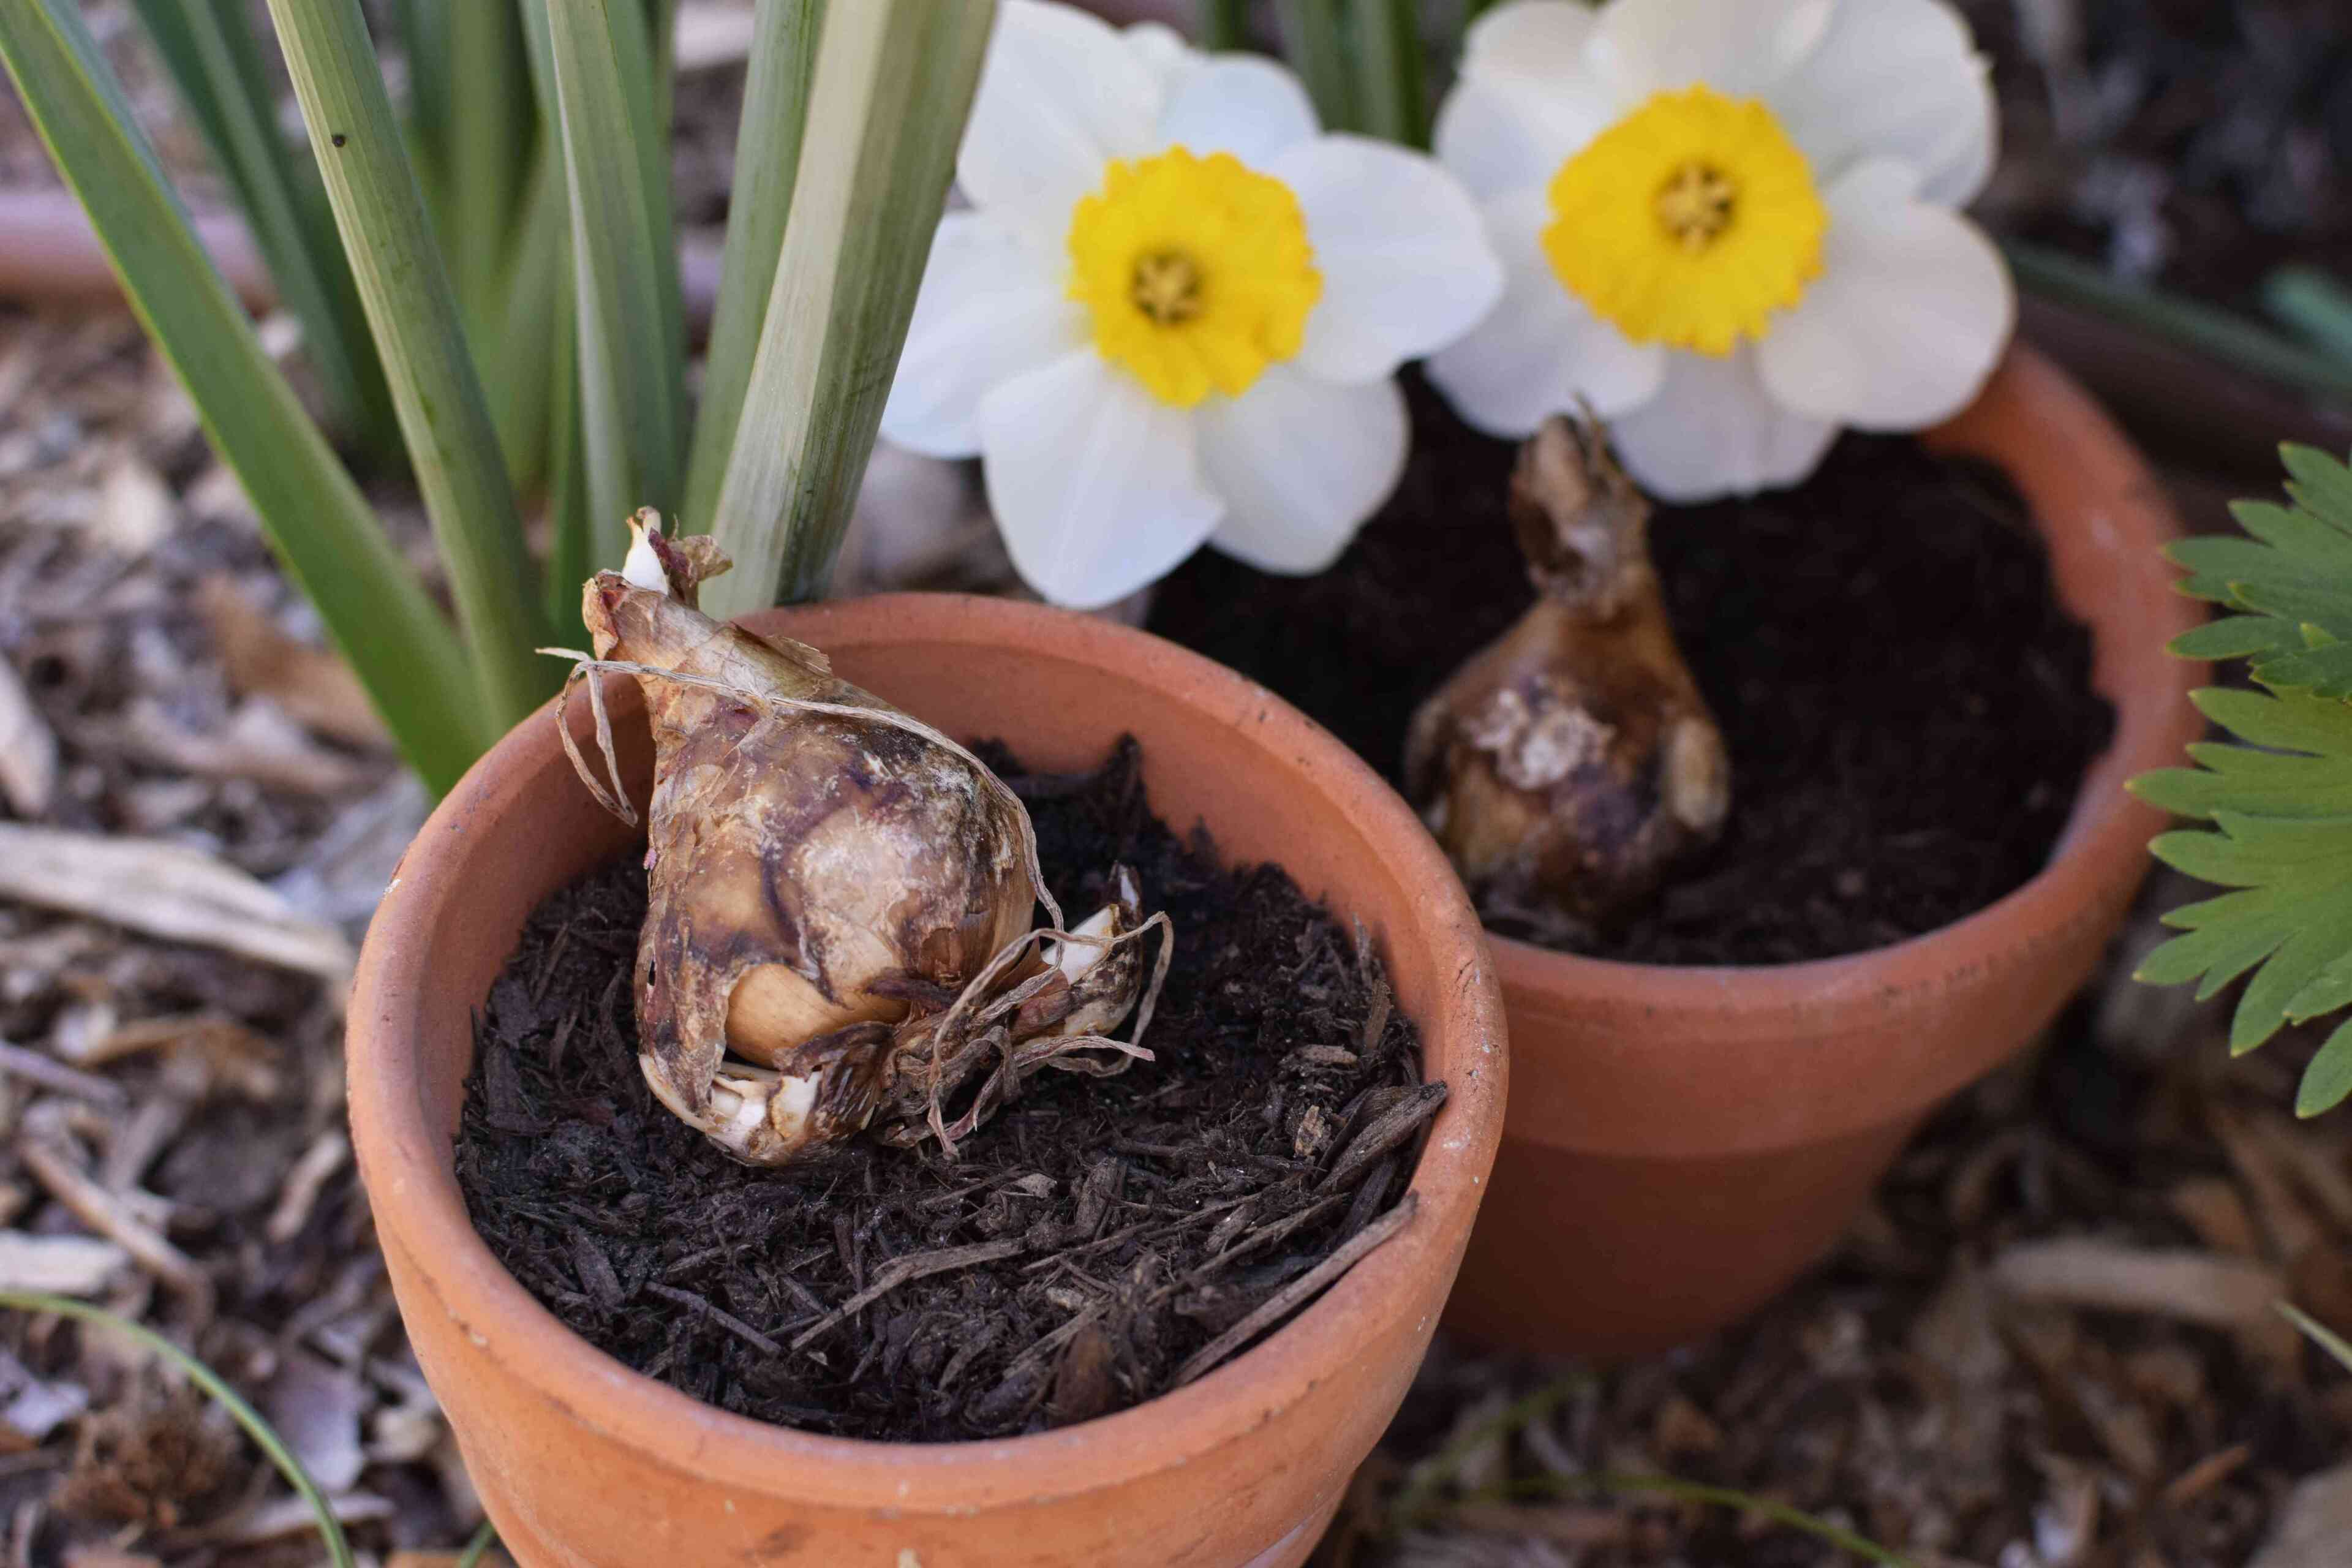
- Select suitable containers: Choose containers that are clean, dry, and have good drainage. Clay pots or plastic containers with drainage holes are ideal. Make sure the containers are large enough to accommodate the bulbs without overcrowding.
- Prepare the containers: Fill the bottom of the containers with a layer of potting soil or a well-draining medium. Place the bulbs on top, leaving some space between each bulb. Cover the bulbs with more soil, leaving about an inch of space from the top of the container.
- Label the containers: It’s essential to label the containers with the type of bulbs stored and the date of storage. This will help you identify them easily when the time comes for planting.
- Water the bulbs: After planting the bulbs in the containers, water them lightly to settle the soil and provide some moisture. Be careful not to overwater, as excessive moisture can lead to rotting.
- Place the containers in the storage location: Move the containers to the selected storage location. Ensure that the temperature, humidity, light exposure, and airflow conditions are suitable for bulb storage.
- Monitor and maintain: Regularly check the containers for any signs of rot or mold. If necessary, remove any affected bulbs promptly to prevent the spread of disease. Keep an eye on the moisture levels and adjust watering if needed.
Storing bulbs in containers provides a controlled environment and makes it easier to monitor their condition. Remember to check them periodically during the storage period to ensure they remain healthy.
When the planting season arrives, you can transfer the bulbs directly from the containers to the ground or to larger planting pots, making the process seamless and efficient.
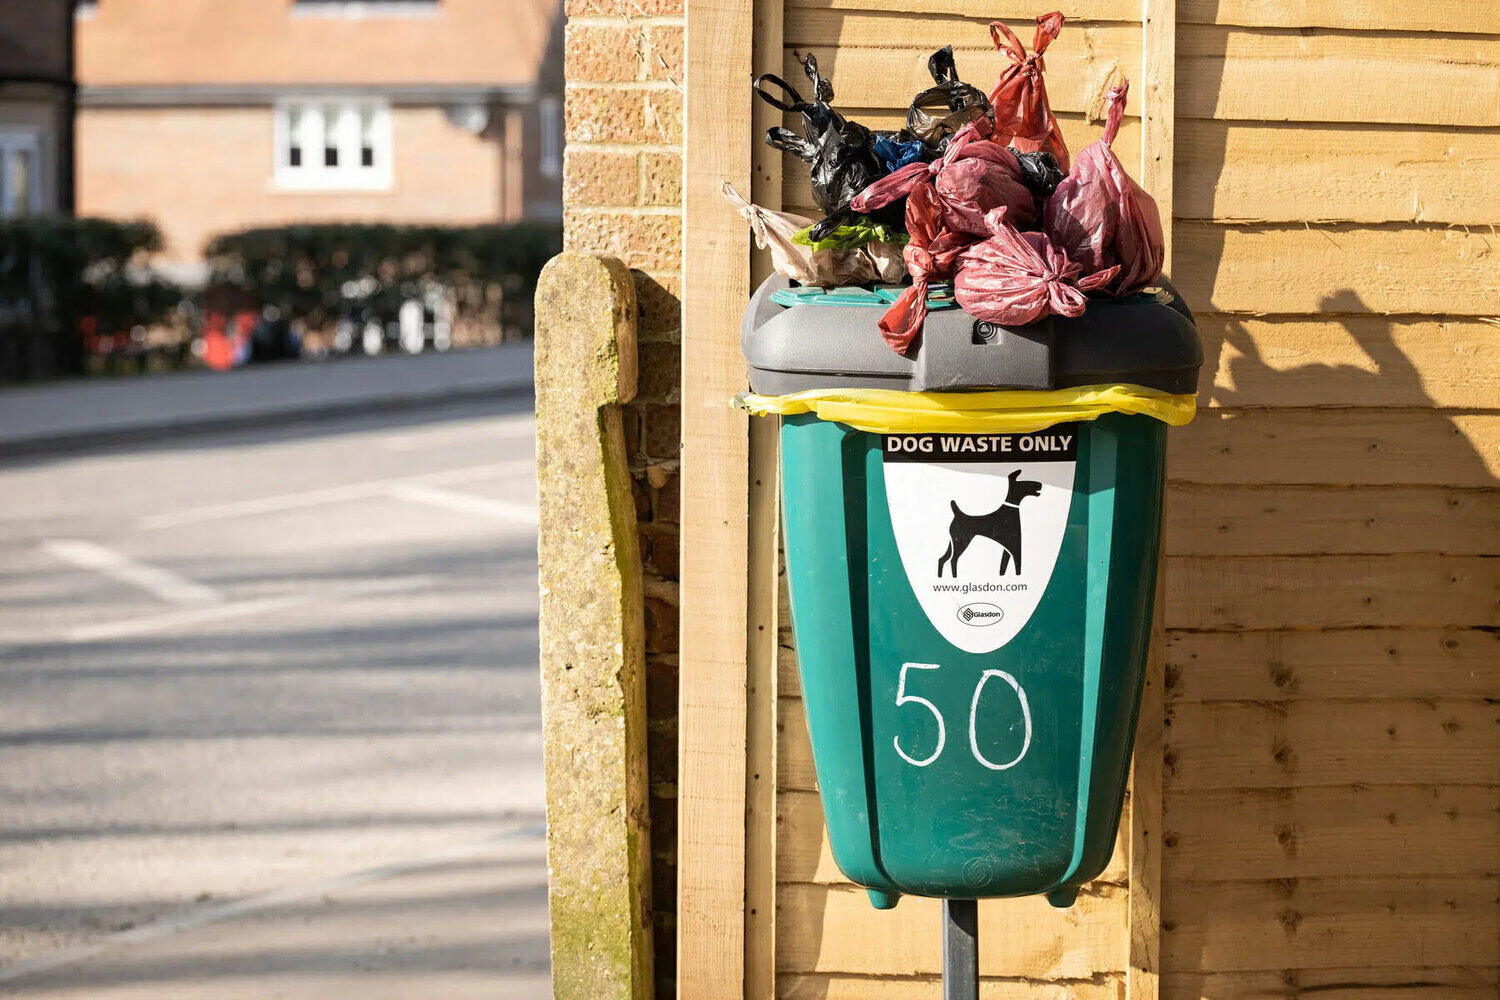
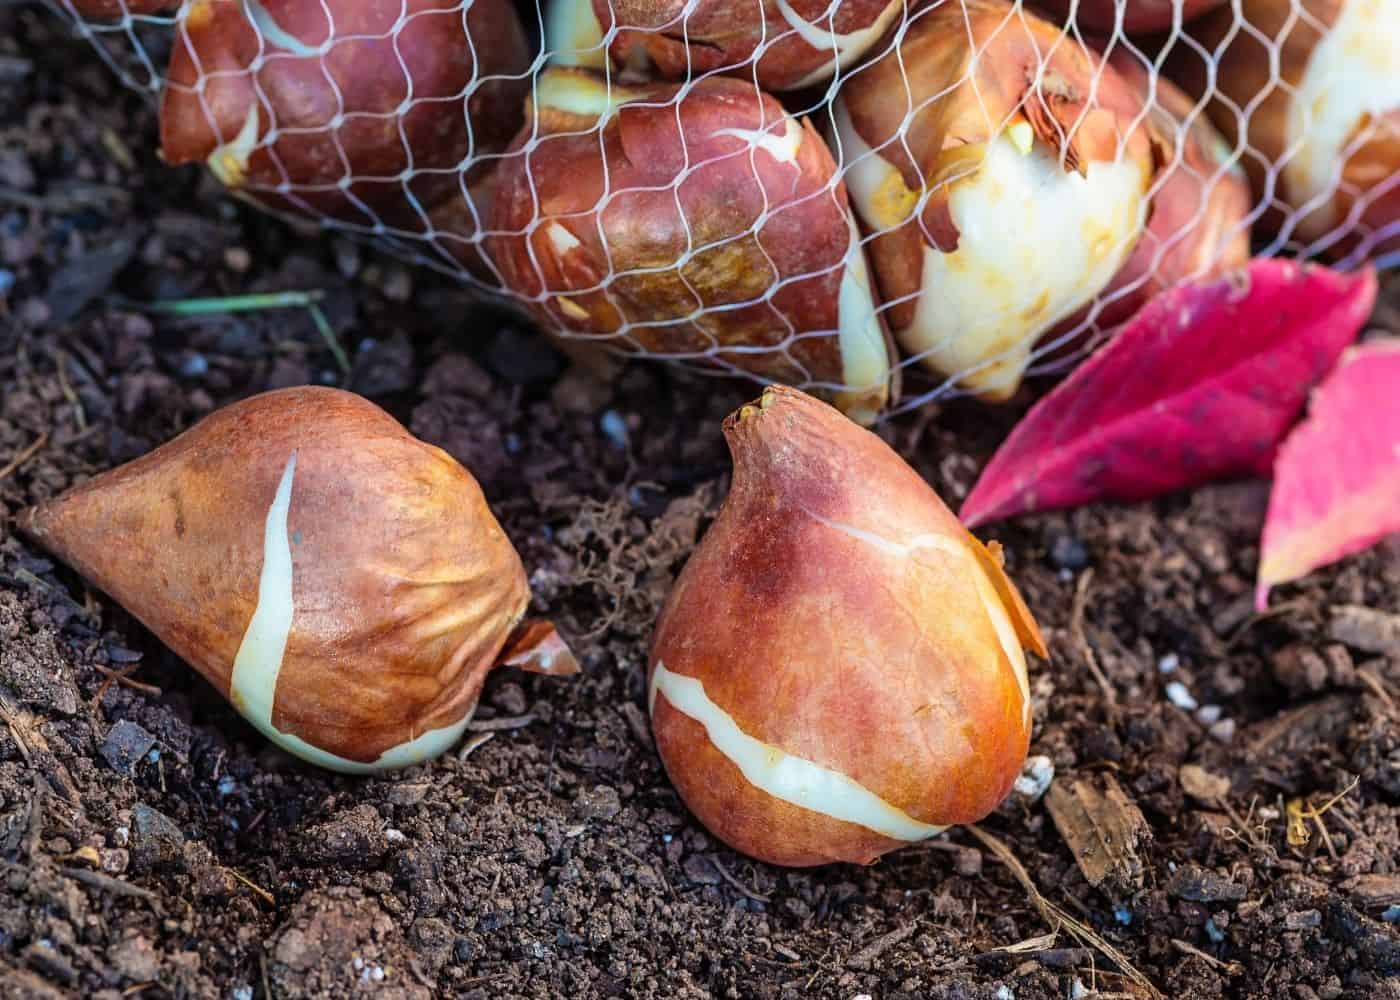
Store bulbs in a cool, dry place with good air circulation, such as a paper bag or mesh bag. Check for any signs of rot or mold regularly and discard any affected bulbs to prevent spreading.
Read more: How To Store Bulbs Until Planting
Storing Bulbs in the Ground
Another option for storing bulbs until fall is to plant them directly in the ground. This method is particularly suitable for bulbs that require a period of chill or stratification. Here’s how to store bulbs in the ground:
- Choose a suitable location: Select a part of your garden or flower bed where the bulbs will be undisturbed and receive adequate sunlight. Ensure that the soil is well-draining to prevent rotting.
- Prepare the soil: Before planting, prepare the soil by removing weeds, rocks, and other debris. Loosen the soil and amend it with organic matter or compost to improve its fertility and drainage.
- Plant the bulbs: Dig holes in the soil to the appropriate depth for each type of bulb. Check the packaging or reference guides for specific planting depths. Place the bulbs in the holes with the pointed ends facing upward. Space the bulbs according to the recommended distance for each variety.
- Cover and protect: Once the bulbs are planted, cover them with soil and gently firm it around them. Apply a layer of mulch, such as straw or wood chips, to help insulate the bulbs and protect them from extreme temperatures.
- Monitor and maintain: During the storage period, periodically check the area for signs of pests, diseases, or excess moisture. Remove any weeds that may compete with the bulbs for nutrients and water.
- Water sparingly: Only water the bulbs if the soil becomes extremely dry. Bulbs in the ground typically require less watering during storage compared to potted bulbs.
Storing bulbs in the ground provides a natural environment for them to go through the dormant period. However, it’s important to note that this method may not be suitable for all types of bulbs. Check the specific requirements for each bulb variety before opting for this storage method.
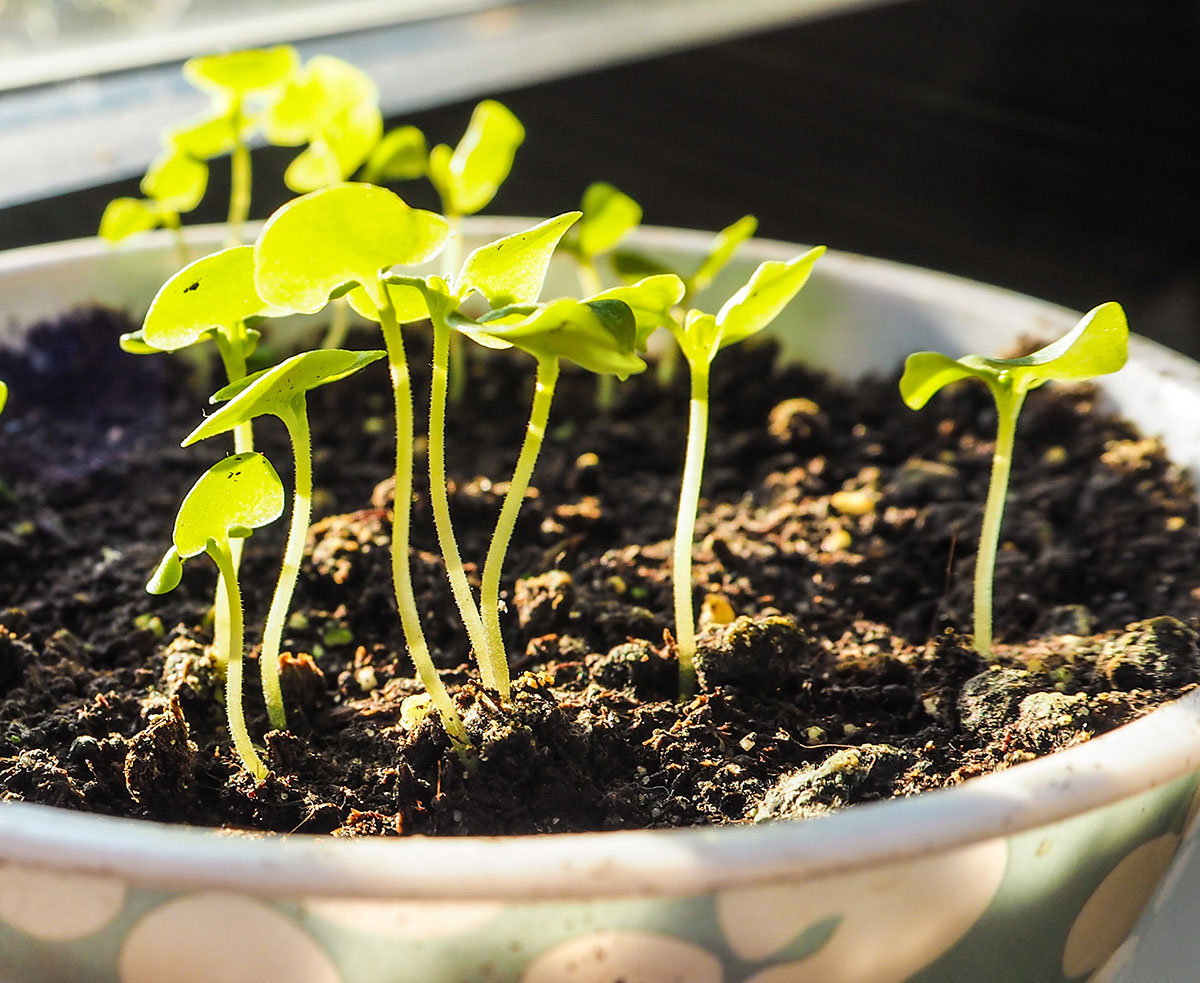
When the planting time arrives in the fall, the bulbs will already be in the ground, making the transition from storage to growth seamless. Simply remove the mulch and allow the bulbs to emerge and bloom.
Monitoring and Care during Storage
Proper monitoring and care are essential to ensure the health and viability of bulbs during the storage period. Here are some tips for monitoring and caring for bulbs during storage:
- Regular inspections: Check the stored bulbs periodically to ensure they are free from rot, mold, or pest infestations. Discard any bulbs that show signs of damage or disease to prevent spreading to other bulbs.
- Adjusting moisture levels: Bulbs need a certain level of moisture during storage, but excessive moisture can lead to rotting. If the storage area becomes too humid, consider using a dehumidifier or placing moisture-absorbing materials, such as silica gel packets, in the vicinity.
- Temperature control: Monitor the temperature in the storage area to ensure it remains within the recommended range for bulb storage. Avoid drastic temperature fluctuations, as they can disrupt the dormancy of the bulbs.
- Air circulation: Ensure that the storage area has adequate airflow to prevent the buildup of moisture and the growth of mold or bacteria. If necessary, use fans or open windows periodically to promote ventilation.
- Protection from pests: Regularly inspect the storage area for any signs of pest activity. Use natural pest deterrents or traps to prevent pest infestations. Avoid using chemical pesticides near the stored bulbs, as they may damage the bulbs or affect their viability.
- Organizing and labeling: Keep the stored bulbs well-organized and labeled to easily identify the type and planting time when the fall comes. This will help you plan and prepare for the upcoming planting season.
By actively monitoring and providing necessary care during storage, you can prevent potential issues and ensure the bulbs remain in optimal condition. With proper attention, your stored bulbs will be ready to flourish when the planting season arrives.
Preparing Bulbs for Planting in the Fall
As the fall planting season approaches, it’s time to prepare your stored bulbs for planting. Follow these steps to ensure they are ready for a successful growing season:
- Inspect the bulbs: Before planting, carefully examine the stored bulbs for any signs of damage or disease. Discard any bulbs that appear unhealthy or have visible rot or mold. This will prevent the spread of problems to the rest of your garden.
- Soak the bulbs (if necessary): Some bulb varieties benefit from a pre-planting soak in water. This is especially true for larger bulbs such as amaryllis or lilies. Follow the specific instructions for each bulb variety, as over-soaking can cause damage.
- Prep the planting area: Prepare the planting area by removing weeds and loosening the soil. Incorporate organic matter like compost to improve drainage and nutrient content of the soil.
- Plant at the appropriate depth: Each type of bulb has a recommended planting depth. Refer to the specific guidelines for each variety to ensure proper planting. As a general rule, plant bulbs at a depth that is two to three times their own height.
- Spacing and arrangement: Consider the desired arrangement and spacing of the bulbs. Cluster bulbs together for a more concentrated display or space them out for a more natural look. Follow the recommended spacing guidelines provided with the bulbs.
- Water and mulch: After planting the bulbs, thoroughly water the area to settle the soil and ensure good soil-to-bulb contact. Apply a layer of mulch to help regulate soil temperature, retain moisture, and suppress weeds.
- Monitor and maintain: Regularly check the newly planted bulbs for moisture, especially during dry periods. Water them as needed, but be cautious not to overwater, as excessive moisture can lead to bulb rot.
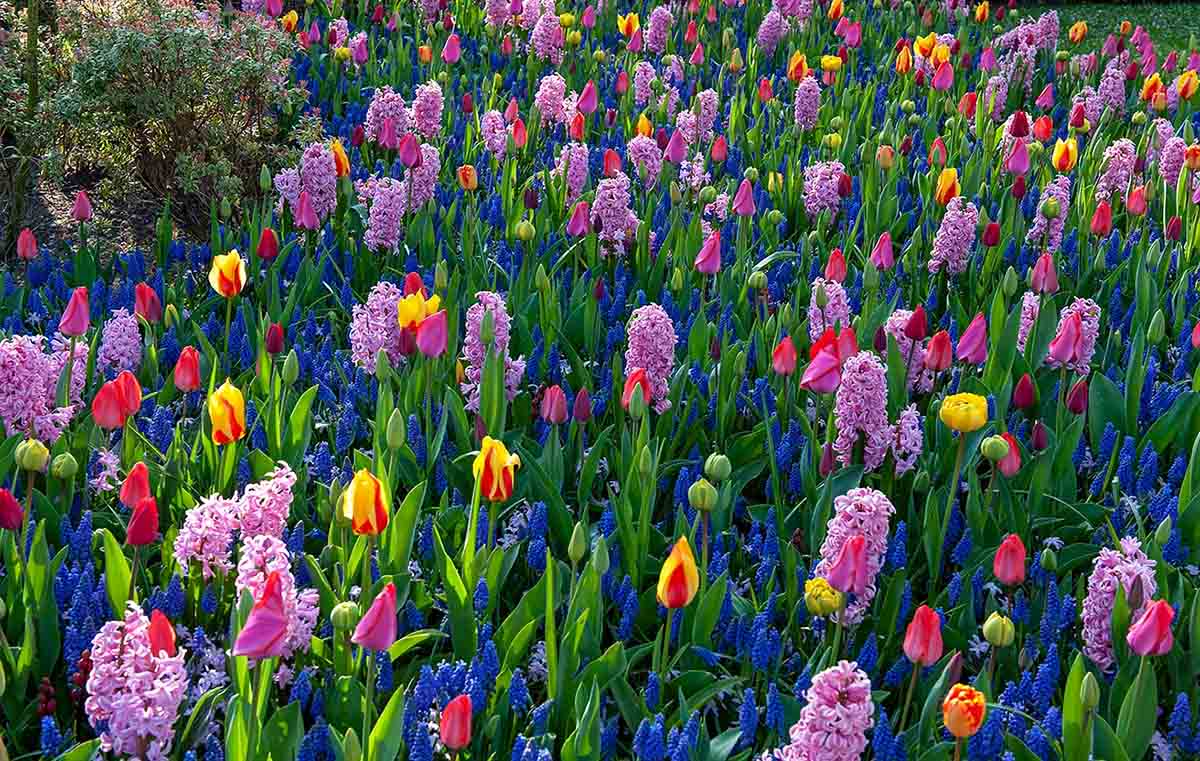
By properly preparing the bulbs for planting and following the recommended planting guidelines, you give them the best chance to establish roots and thrive. With proper care and maintenance throughout the growing season, you can look forward to a colorful and vibrant display of flowers in the upcoming spring.
Conclusion
Storing bulbs until fall doesn’t have to be daunting. With the right techniques and proper care, you can preserve the health and vitality of your bulbs, ensuring a beautiful display of flowers in the next season. Here’s a recap of the important points we’ve covered:
Choosing the right bulbs is crucial. Select healthy, mature bulbs that are suitable for storage. Research the specific requirements of each variety before deciding to store them.
Preparing the bulbs for storage involves trimming, drying, cleaning, and inspecting for any damage or pests. Treat any issues accordingly to maintain bulb health.
Selecting the storage location is key. Opt for a cool, dark, and well-ventilated area with moderate humidity. Protect the bulbs from pests and ensure proper airflow.
If storing bulbs in containers, choose suitable containers with good drainage. Label the containers and monitor moisture levels. Store them in the chosen location and regularly check for any signs of rot or disease.
Storing bulbs in the ground can be an alternative method. Choose a sunny location with well-draining soil. Protect the bulbs with mulch and monitor them regularly for any issues.
During storage, it’s important to monitor the bulbs and check for signs of rot, mold, or pests. Keep humidity levels in check, maintain proper temperatures, and ensure adequate air circulation.
When preparing bulbs for planting in the fall, inspect them for damage, soak them if necessary, and prepare the planting area accordingly. Plant the bulbs at the appropriate depth, spacing them as recommended.
Finally, remember to provide proper care and maintenance throughout the growing season. Water the bulbs as needed and monitor their progress.
By following these guidelines, you’ll be well-equipped to store your bulbs successfully and enjoy a stunning display of flowers when the planting season arrives. Happy gardening!
Frequently Asked Questions about How To Store Bulbs Until Fall
Was this page helpful?
At Storables.com, we guarantee accurate and reliable information. Our content, validated by Expert Board Contributors, is crafted following stringent Editorial Policies. We're committed to providing you with well-researched, expert-backed insights for all your informational needs.

0 thoughts on “How To Store Bulbs Until Fall”