Articles
How To Store Bulbs After They Bloom
Modified: January 19, 2024
Explore our informative articles on how to properly store bulbs after they bloom to ensure they thrive in future seasons. Learn the best techniques and tips for bulb storage.
(Many of the links in this article redirect to a specific reviewed product. Your purchase of these products through affiliate links helps to generate commission for Storables.com, at no extra cost. Learn more)
Introduction
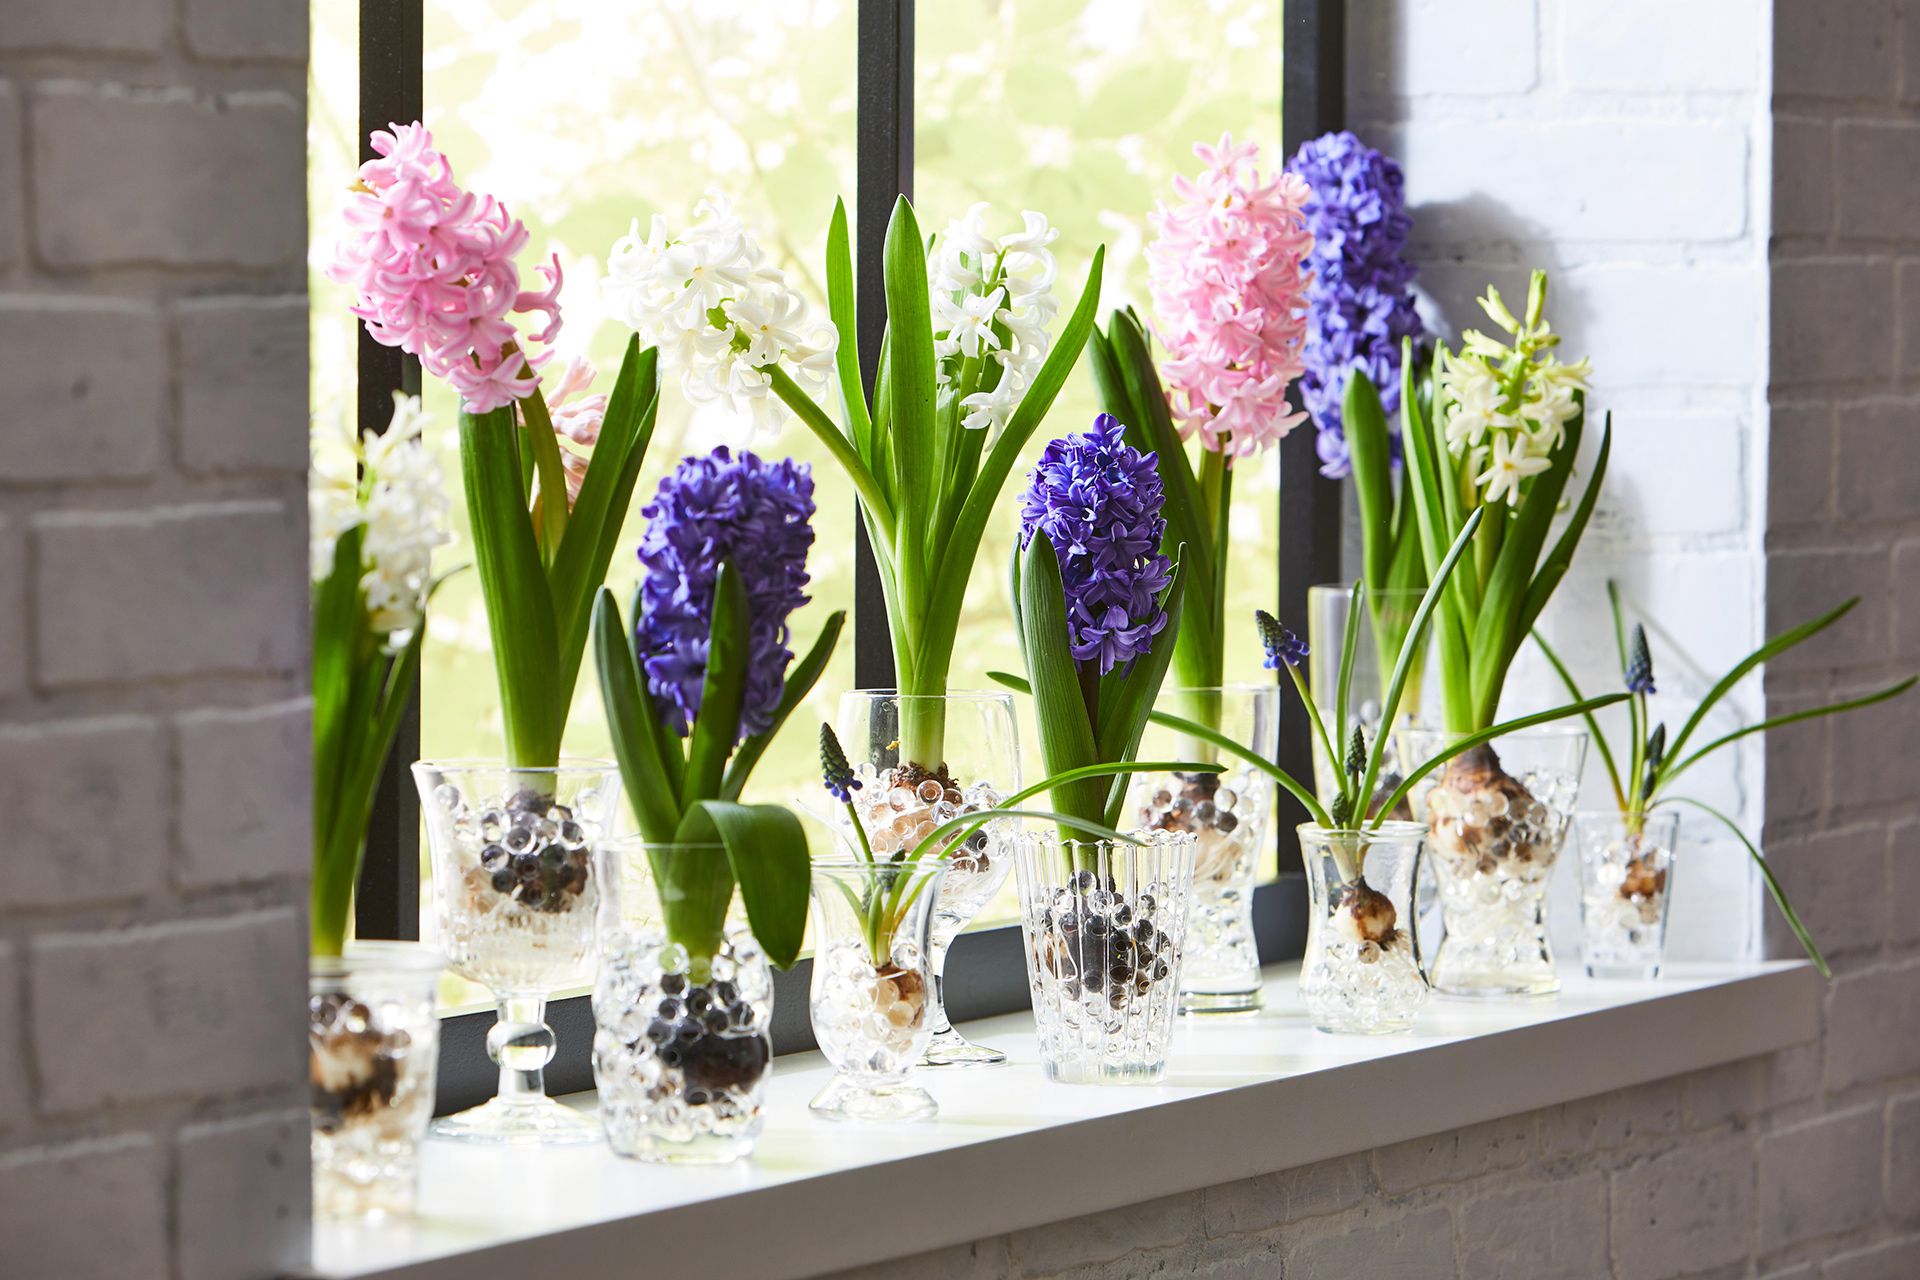
After the beautiful bloom of your bulbs, you may be wondering what to do with them next. Storing bulbs properly is essential to ensure their survival and to enjoy their beauty again in future seasons. Whether you have tulips, daffodils, or hyacinths, taking the time to store your bulbs correctly will ensure that they stay healthy and ready to flourish again.
There are many reasons why it is important to store bulbs after they bloom. Firstly, bulbs need a period of dormancy to rest and recharge. Storing them correctly allows them to go through this natural cycle, which is vital for their long-term health. Secondly, storing bulbs also allows you to control their environment, protecting them from extreme temperatures and moisture, which can lead to damage or rot. Lastly, storing bulbs gives you the opportunity to divide and propagate them, creating even more beautiful blooms for your garden.
In this article, we will explore the best practices for storing bulbs, including choosing the right storage location, preparing the bulbs for storage, selecting the appropriate containers, monitoring and maintaining the stored bulbs, and when and how to replant them. We will also provide tips for prolonging the lifespan of stored bulbs. So, let’s dive in and learn how to properly store your bulbs after they bloom.
Key Takeaways:
- Properly storing bulbs after they bloom is crucial for their survival, future growth, and continued beauty in your garden. Following best practices, such as choosing the right storage location, preparing the bulbs for storage, and monitoring their condition, is essential for preserving their longevity and ensuring successful blooms in the seasons to come.
- By following guidelines for proper storage conditions, monitoring and maintaining stored bulbs, and replanting them at the appropriate time and in the proper manner, you can prolong the lifespan of your bulbs and maximize their future blooming potential. With care and attention, your stored bulbs will continue to bring joy and beauty to your garden for many seasons to come.
Read more: How To Store Tulips After They Bloom
Why it’s important to store bulbs after they bloom
Storing bulbs after they bloom is crucial for their survival and future growth. Here are a few reasons why it’s important to store bulbs:
- Rest and rejuvenation: Bulbs, like many plants, have a natural cycle of growth and dormancy. After they bloom, bulbs need to go through a period of rest to replenish their energy reserves and prepare for the next growing season. Storing bulbs allows them to go through this dormant phase, which is vital for their long-term health and future blooms.
- Protection from harsh conditions: Extreme temperatures, excess moisture, and other environmental factors can be detrimental to bulb health. By storing bulbs in a controlled environment, such as in a cool and dry location, you can protect them from these harsh conditions. This helps prevent issues like rotting, freezing, or drying out, which can damage the bulbs and hinder their ability to grow and bloom again.
- Opportunity for division and propagation: Storing bulbs not only gives you a chance to preserve their health but also provides an opportunity for division and propagation. Many bulb varieties multiply over time, producing offsets or “baby bulbs” that can be separated and replanted. This allows you to multiply your bulb collection and create more stunning displays in the future.
- Continuity and variety: Storing bulbs after they bloom ensures continuity in your garden’s aesthetic and allows you to enjoy a variety of blooms throughout the seasons. By storing and replanting bulbs, you can have a consistent display of flowers year after year, enhancing the overall beauty and appeal of your garden.
By recognizing the importance of storing bulbs after they bloom, you can take the necessary steps to care for these valuable plants and ensure their longevity. In the next sections, we will delve into the best practices for storing bulbs and how to maintain their health during the storage period.
Best practices for storing bulbs
Proper storage of bulbs is essential for their well-being, ensuring that they remain healthy and ready for future blooming seasons. Here are some best practices for storing bulbs:
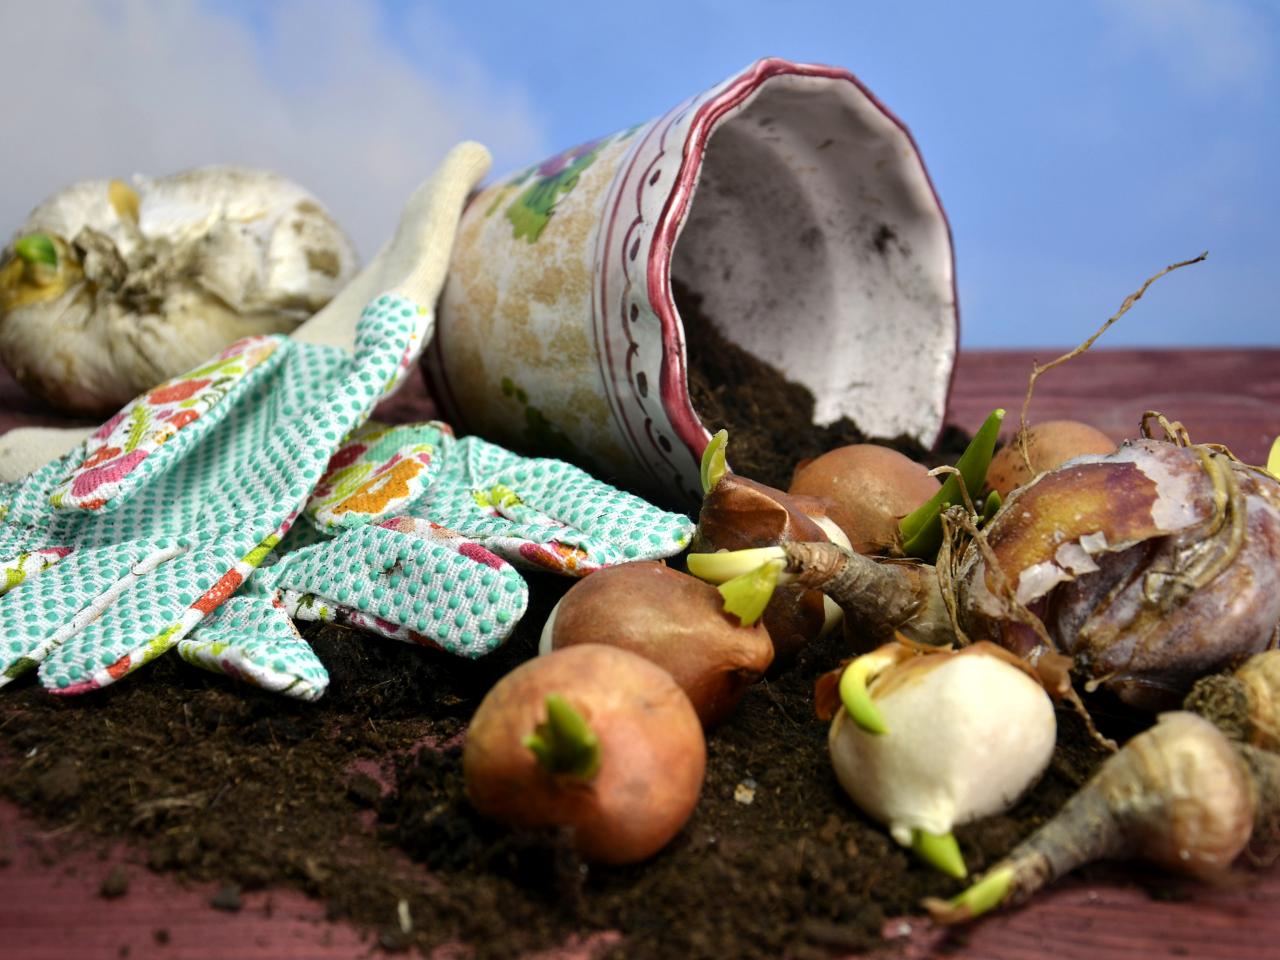
- Clean and inspect: Before storing your bulbs, make sure to gently brush off any excess dirt or debris. Inspect the bulbs for any signs of damage or disease. Discard any bulbs that are soft, moldy, or visibly diseased, as these can infect other bulbs during storage.
- Dry thoroughly: It is crucial to allow the bulbs to dry thoroughly before storing them. This helps prevent rotting and fungal growth during storage. After cleaning, place the bulbs in a dry and well-ventilated area for a few days to ensure they are completely dry.
- Select an appropriate storage location: Bulbs require cool and dry conditions for storage. Choose a location that is dark, well-ventilated, and maintains a consistent temperature between 40-50°F (4-10°C). Avoid storing bulbs in areas prone to extreme temperature fluctuations or excessive humidity, such as basements or attics.
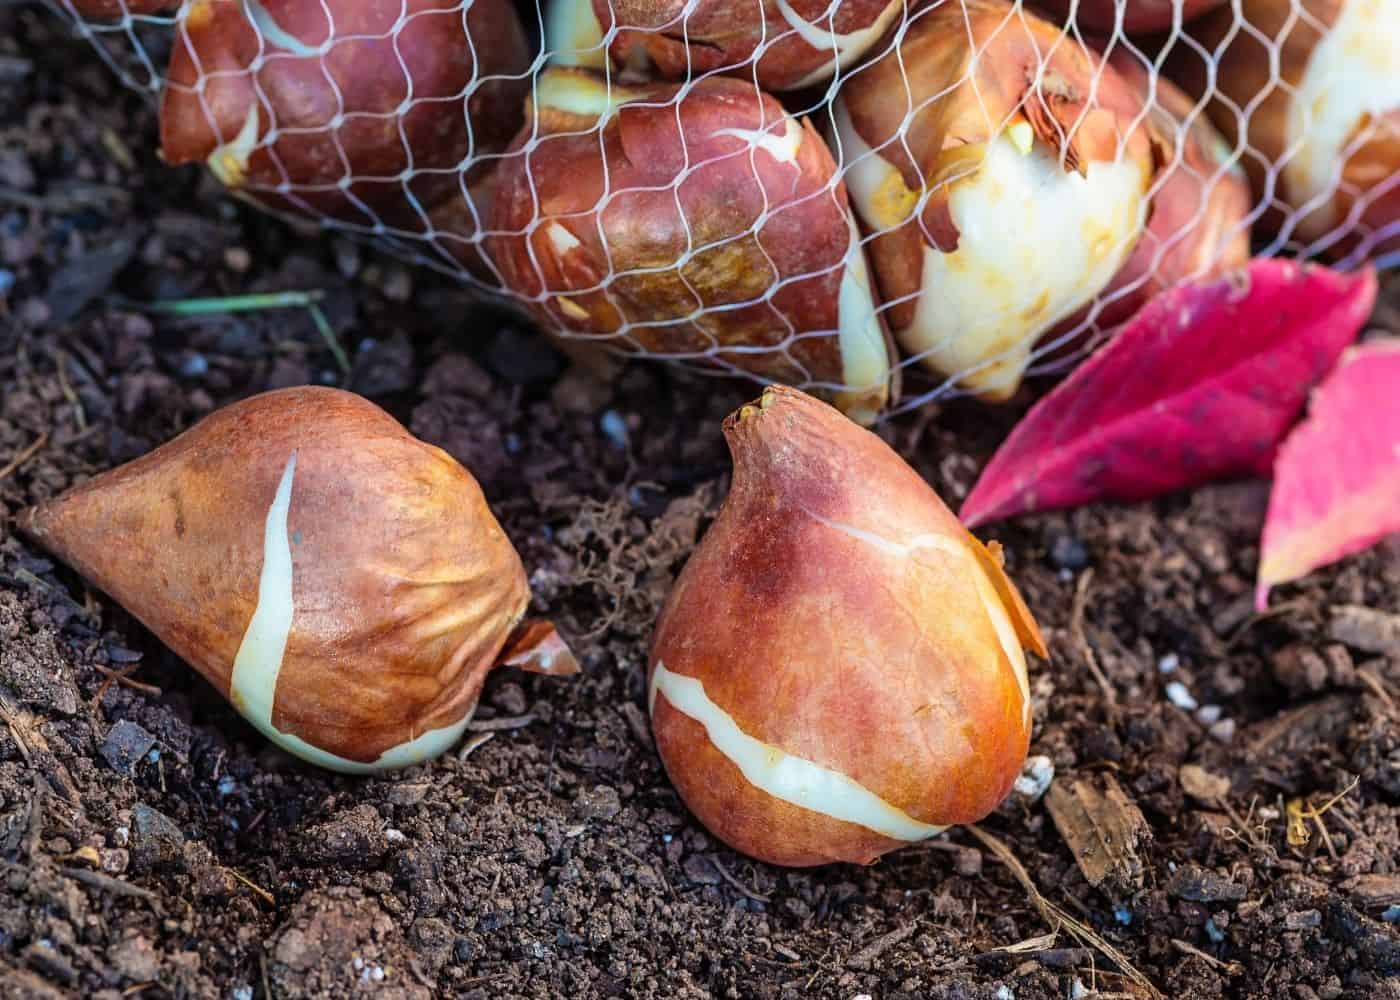
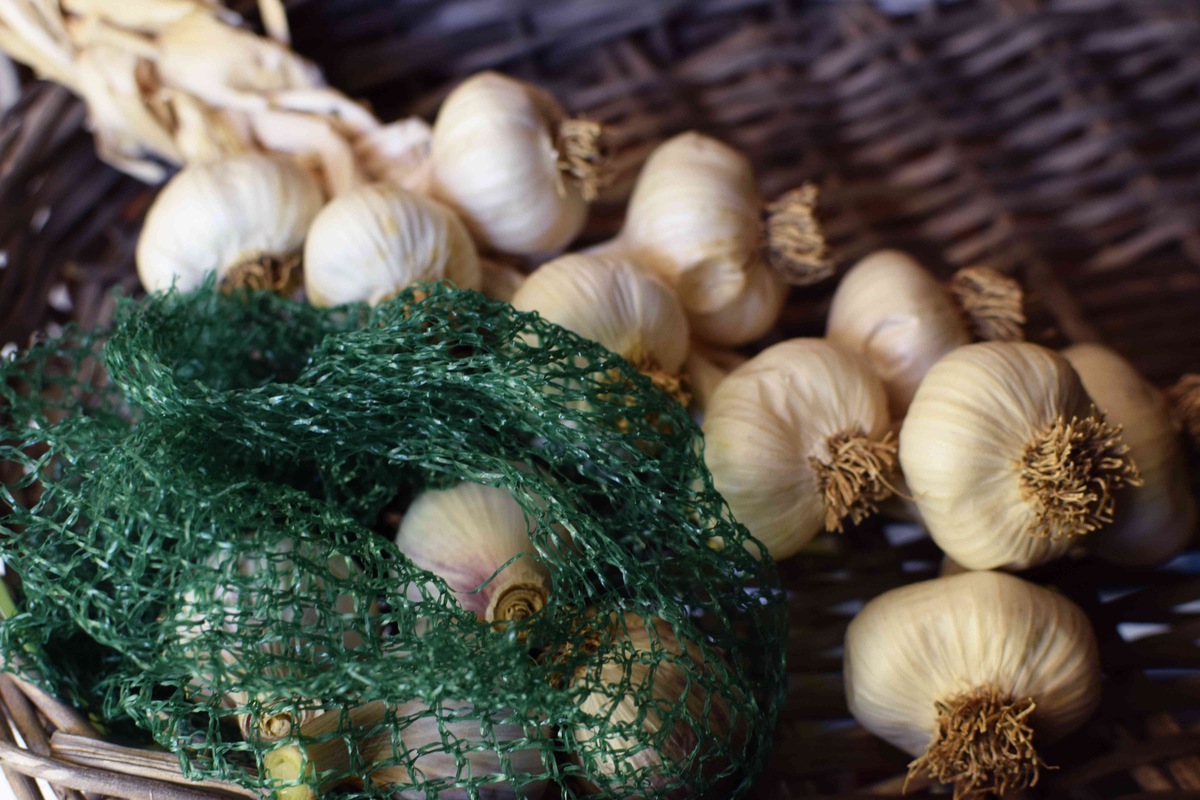
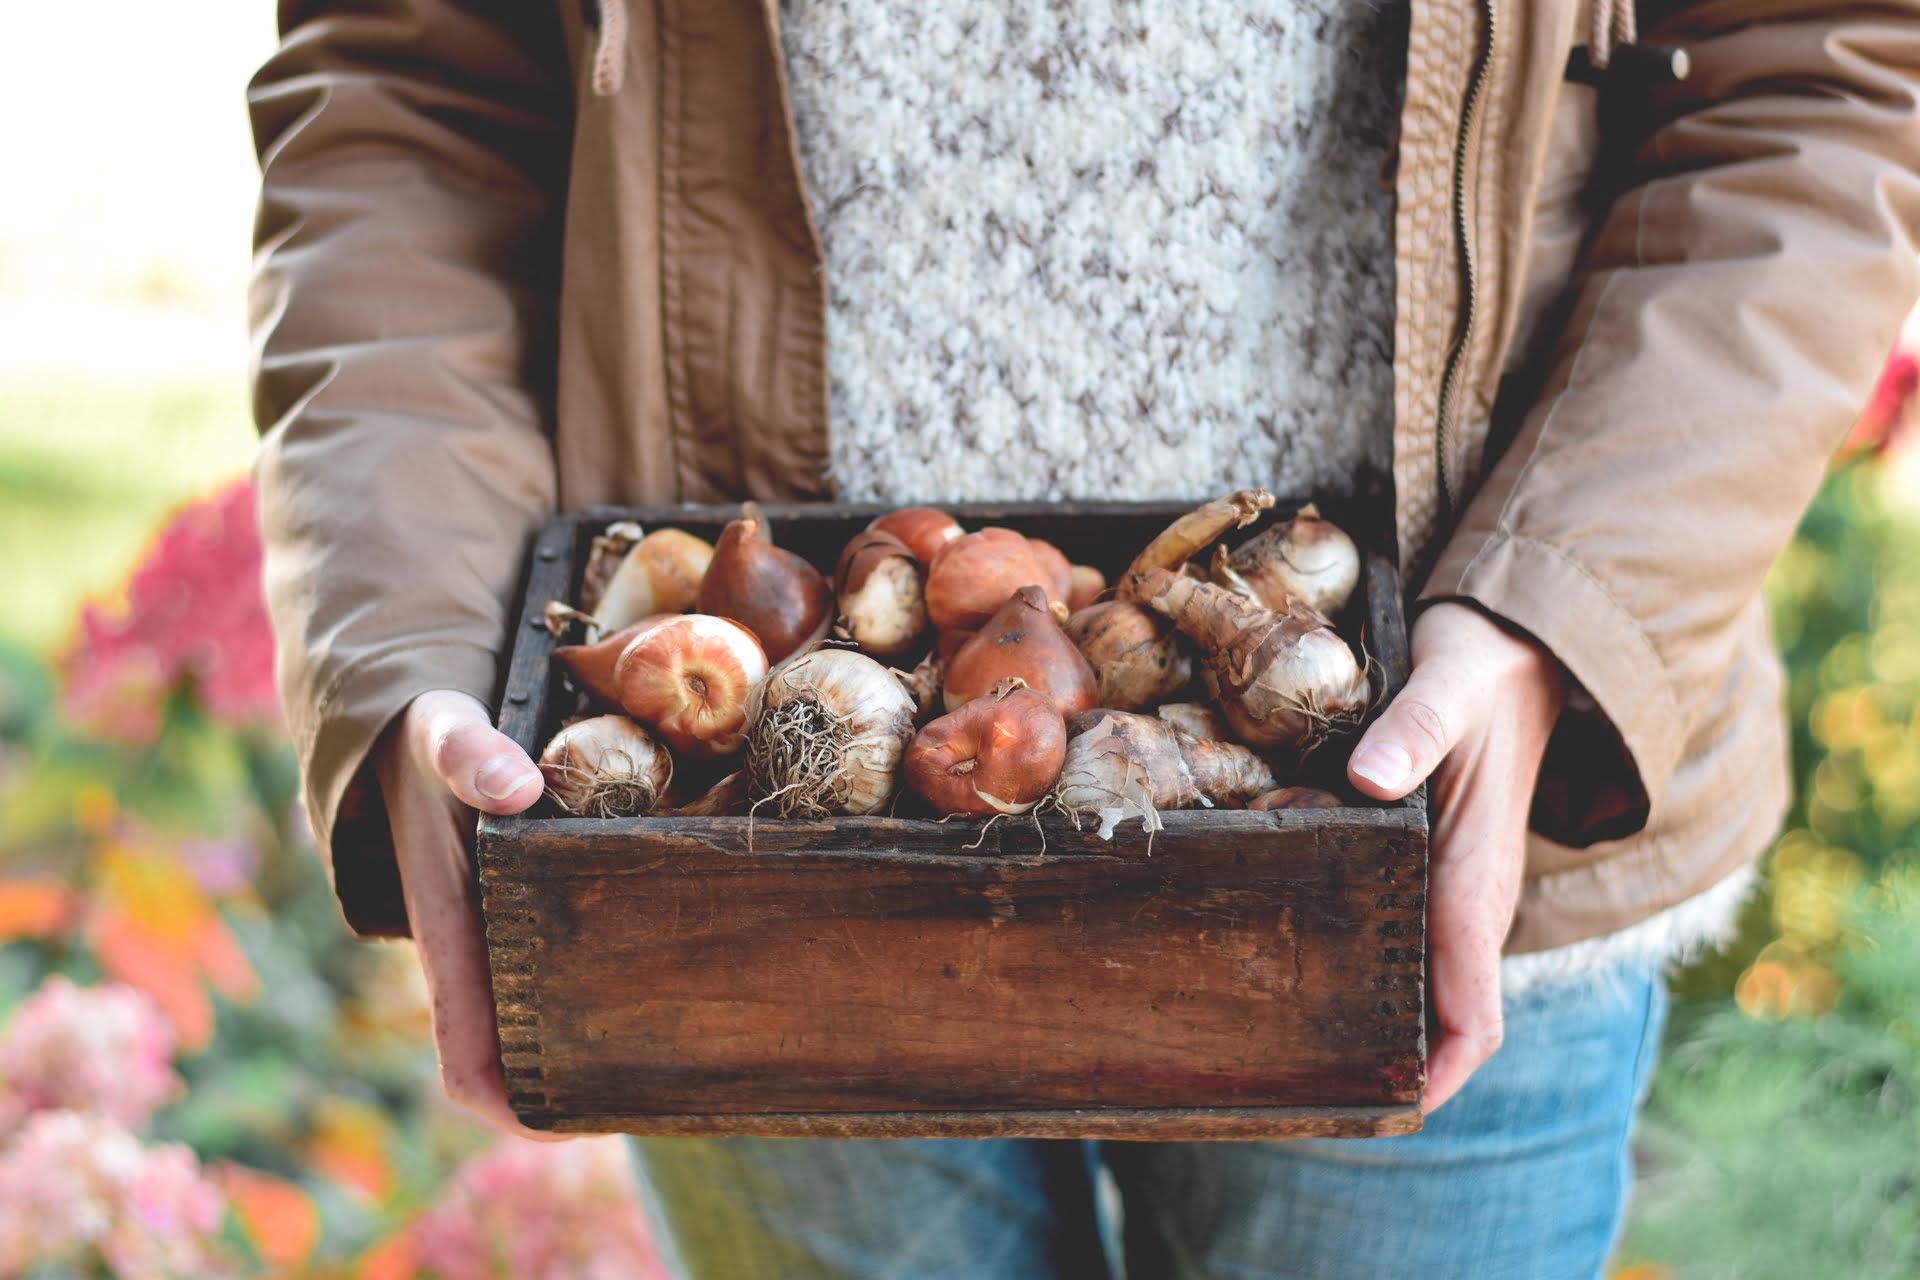
- Use suitable containers: Select the right containers for storing your bulbs. Opt for breathable containers, such as mesh bags or wooden crates, which allow for proper air circulation. Avoid using plastic bags as they can retain moisture and promote rotting. Label the containers to identify the specific bulb varieties inside.
- Add a moisture-absorbing material: To prevent excess moisture buildup, place a layer of moisture-absorbing material, such as silica gel packets or dry peat moss, at the bottom of the storage containers. This helps to absorb any residual moisture and maintain the bulbs’ dry state during storage.
- Store bulbs separately: It is advisable to store different bulb varieties separately. This prevents cross-contamination and reduces the risk of spreading diseases or pests from one type of bulb to another. Place each variety in its own labeled container.
- Regularly monitor and inspect: Check on your stored bulbs periodically to ensure they are in good condition. Remove any bulbs that show signs of rotting or disease to prevent the spread to other bulbs. Also, check for any pests and take appropriate measures to control them if necessary.
- Avoid extreme temperatures: Keep bulbs away from extreme temperatures, as they can cause damage. Avoid storing bulbs near heaters, direct sunlight, or any location that experiences freezing temperatures.
By following these best practices, you can ensure that your bulbs remain in optimal condition during the storage period. In the next sections, we will explore different types of containers suitable for storing bulbs and discuss how to monitor and maintain stored bulbs for long-term success.
Choosing the right storage location
When it comes to storing bulbs after they bloom, selecting the appropriate storage location is crucial. The right storage environment will help maintain the bulbs’ quality and prevent damage. Here are some factors to consider when choosing the right storage location for your bulbs:
- Temperature: Bulbs require a cool storage environment to remain dormant and survive during their resting period. The ideal temperature range for most bulbs is between 40-50°F (4-10°C). Avoid storing bulbs in locations prone to extreme temperature fluctuations, such as garages or close to heating sources.
- Moisture: Moisture is the enemy of stored bulbs, as it can lead to rot or fungal growth. Look for a dry storage area with low humidity levels. Avoid storing bulbs in damp basements or areas with water leaks. Additionally, ensure good air circulation to prevent condensation and excess moisture buildup.
- Light: Bulbs need to be stored in a dark environment to maintain their dormancy. Exposure to light can trigger premature growth or sprouting, which can weaken the bulbs. Find a location with minimal light exposure, such as a closet or a designated storage area without windows.
- Ventilation: Proper air circulation is essential to prevent the buildup of moisture and reduce the risk of fungal diseases. Look for a storage location with good ventilation, allowing fresh air to circulate around the stored bulbs.
- Pests: Choose a storage area that is free from pests. Some pests, like rodents and insects, can damage or feed on bulbs during storage. Ensure that the storage location is properly sealed to prevent any unwanted visitors from accessing the stored bulbs.
- Convenience: Consider the accessibility and convenience of the storage location. You may need to periodically check on the bulbs or retrieve specific varieties for replanting. Select a location that is easily accessible and allows you to monitor and maintain stored bulbs efficiently.
By choosing the right storage location for your bulbs, you can provide an optimal environment that promotes their dormancy and prolongs their lifespan. In the next section, we will discuss how to prepare the bulbs for storage to ensure their well-being during the dormant period.
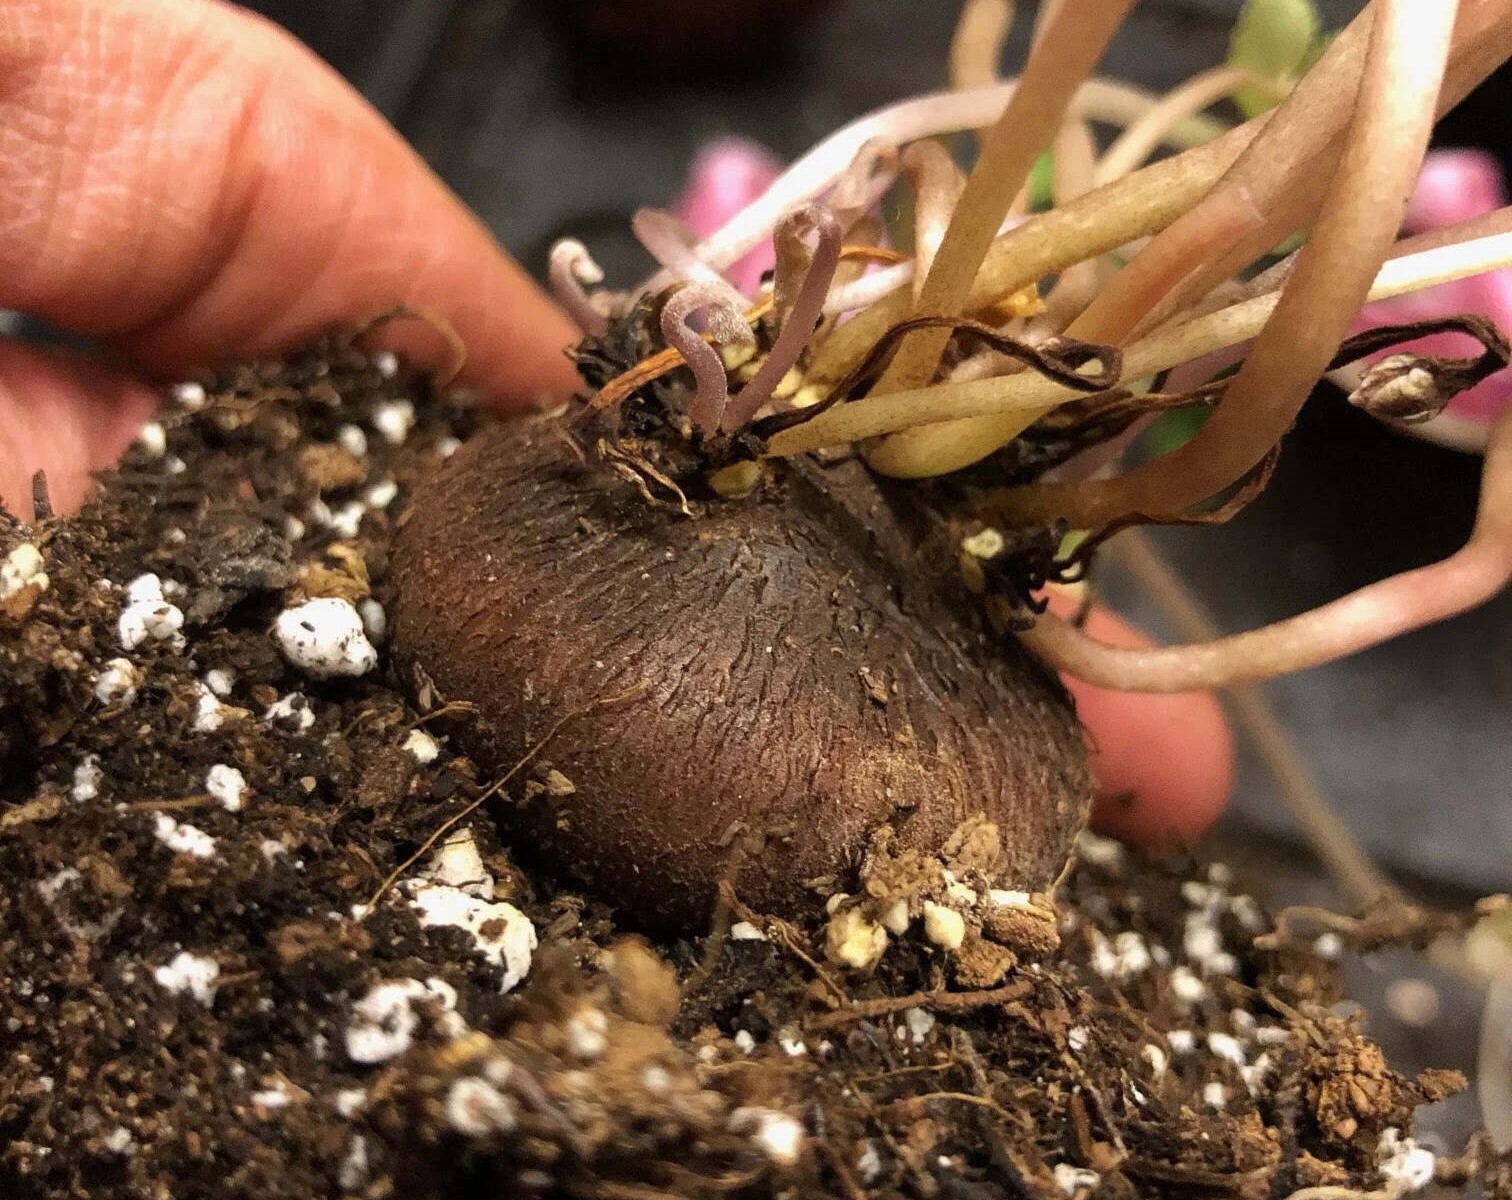
Preparing bulbs for storage
Before storing bulbs after they bloom, it’s important to properly prepare them to ensure their health and vitality during the storage period. Here are some essential steps to follow when preparing bulbs for storage:
- Clean the bulbs: Start by gently removing any excess soil or debris from the bulbs. Use a soft brush or your fingers to carefully clean the bulbs without causing damage. Cleaning the bulbs helps prevent the spread of diseases and pests during storage.
- Inspect for damage: Take the time to carefully inspect each bulb for any signs of damage, disease, or pest infestation. Discard any bulbs that are soft, moldy, or have visible rot or blemishes. These unhealthy bulbs can infect the other bulbs during storage, so it’s best to remove them.
- Air drying: After cleaning, allow the bulbs to air dry in a cool and shaded area. This step is crucial to remove any remaining moisture on the surface of the bulbs. Make sure the bulbs are completely dry before storing them, as moisture can lead to rot during the storage period.
- Remove foliage: Trim off the foliage or leaves from the bulbs, leaving only the stems attached. This helps divert the energy back into the bulb, promoting storage and dormancy. Removing the foliage also reduces the risk of disease or fungal growth during storage.
- Cure tender bulbs: Some bulb varieties, such as dahlias or gladioli, benefit from a curing process before storage. Allow these tender bulbs to dry in a warm and well-ventilated area for a few weeks after digging them up. Once cured, you can remove any excess soil and prepare them for storage.
- Label the bulbs: To avoid confusion when it’s time to replant the bulbs, label them with the variety and color (if applicable). This helps you keep track of the different bulbs during storage and ensures you plant them in the desired locations when the time comes.
- Separate bulb sizes: If you have bulbs of different sizes, consider separating them before storage. Larger bulbs generally produce bigger and stronger blooms, so you may want to keep them separated for better organization during replanting.
By following these steps, you can ensure that your bulbs are properly prepared for storage, promoting their longevity and ensuring their health during the dormant period. In the next section, we will explore different types of containers suitable for storing bulbs and how to monitor and maintain them to preserve their quality.
After bulbs have finished blooming, allow the foliage to die back naturally before cutting it off. Store the bulbs in a cool, dry place until the next planting season.
Read more: How To Store Bulbs After Flowering
Storing bulbs in different types of containers
Choosing the right container for storing bulbs is crucial to maintain their health and prevent damage during the storage period. Here are some different types of containers that are suitable for storing bulbs:
- Mesh bags: Mesh bags are an excellent choice for storing bulbs. They allow for proper air circulation, which helps prevent rot and keeps the bulbs dry. The mesh material also allows you to see the bulbs inside without opening the bag, making it easy to identify different varieties.
- Wooden crates or boxes: Wooden crates or boxes are an attractive and natural option for bulb storage. Their breathable nature allows for airflow, while the sturdy construction provides protection for the bulbs. Make sure the crates or boxes have sufficient ventilation holes to ensure proper air circulation.
- Cardboard boxes: Cardboard boxes are a budget-friendly option for bulb storage. They provide some breathability and can be easily labeled to identify the bulb varieties inside. However, cardboard is not as durable as other materials, so choose sturdy boxes and handle them with care.
- Paper bags: If you’re looking for a simple and affordable storage option, paper bags can work well. Make sure the bags are clean and dry before placing the bulbs inside. Keep in mind that paper bags don’t offer as much protection as other containers, so handle them with care to avoid crushing or damaging the bulbs.
- Plastic or lidded containers: Plastic containers with lids can be used for storing bulbs, but they should be used with caution. While they offer protection from moisture and pests, they can also trap excess moisture inside, leading to the risk of bulb rot. If using plastic containers, make sure to add ventilation holes for airflow.
Regardless of the container you choose, there are some general guidelines to follow when storing bulbs:
- Ensure the containers are clean and dry before placing the bulbs inside.
- Label the containers to identify the bulb varieties and colors.
- Avoid overcrowding the bulbs in the containers, as this can lead to damage or rot.
- Store each bulb variety separately to prevent cross-contamination.
- Choose a storage location that maintains a consistent temperature and humidity level.
- Periodically check on the bulbs to monitor their condition and remove any diseased or rotting bulbs.
By selecting the right container and following these guidelines, you can ensure that your bulbs remain in optimal condition during storage. In the next section, we will discuss how to monitor and maintain stored bulbs to maximize their longevity.
Monitoring and maintaining stored bulbs
Monitoring and maintaining stored bulbs are crucial steps to ensure their health and longevity during the storage period. Here are some important tips to help you properly monitor and maintain your stored bulbs:
- Regular checks: Periodically check on your stored bulbs to monitor their condition. This can be done every few weeks or at least once a month. Inspect the bulbs for any signs of rot, disease, or pest infestation. Remove any bulbs that show signs of damage to prevent the spread of issues to other bulbs.
- Adjust temperature and humidity: If you notice that the storage location is too warm or humid, take steps to adjust the conditions. You can move the containers to a cooler area or use a dehumidifier to reduce excess moisture. Maintaining the right temperature and humidity helps preserve the bulbs’ health during storage.
- Manage pest control: Keep an eye out for any signs of pests in your storage area. Common pests that can infest stored bulbs include mice, rats, and insects. If you notice any pests, take appropriate measures to control them, such as using traps or natural repellents. Preventing pest infestations will help protect the stored bulbs from damage.
- Inspect and replace containers: Over time, containers may deteriorate or accumulate dirt, which can affect the stored bulbs. Regularly inspect the containers for any signs of damage or contamination. If necessary, replace old or damaged containers with clean and suitable alternatives to ensure the bulbs are stored in a healthy environment.
- Monitor temperature fluctuations: Keep an eye on the temperature in the storage area to ensure it remains consistent. Extreme temperature fluctuations can harm the bulbs and disrupt their dormancy. Avoid placing the bulbs near heaters, direct sunlight, or areas prone to temperature fluctuations, such as garages or basements.
- Air circulation: Proper air circulation is essential for maintaining the health of stored bulbs. Make sure the storage area has adequate ventilation to prevent the buildup of excess moisture and reduce the risk of fungal growth. Good air circulation helps keep the bulbs dry and reduces the chances of rotting.
- Replenish moisture-absorbing materials: If you are using moisture-absorbing materials, such as silica gel packets or dry peat moss, make sure to replace or replenish them periodically. These materials help absorb any excess moisture and maintain the dry condition of the bulbs during storage.
By actively monitoring and maintaining your stored bulbs, you can ensure they remain in optimal condition and are ready for successful replanting when the time comes. In the next section, we will discuss when and how to replant the stored bulbs for their next blooming cycle.
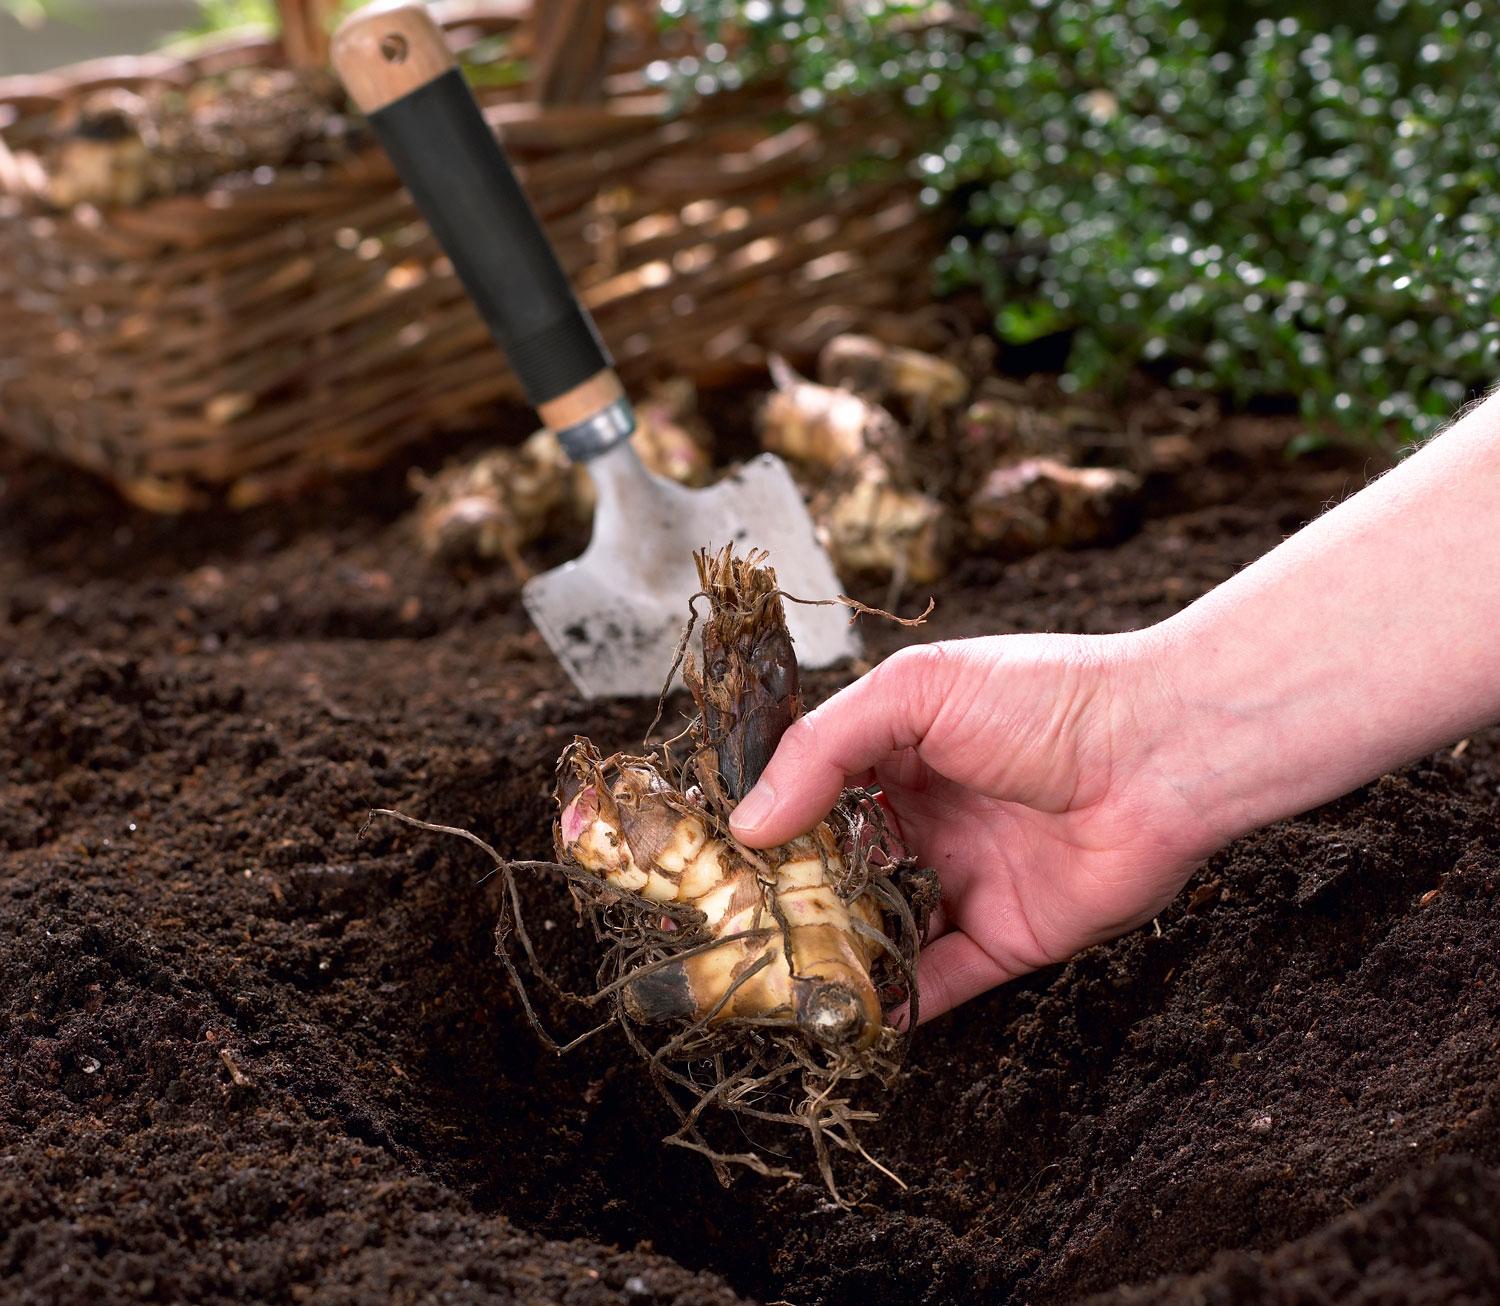
When and how to replant stored bulbs
Knowing when and how to replant stored bulbs is crucial to ensure their successful growth and blooming in the next season. Here are some guidelines to help you determine the right time and the proper method for replanting stored bulbs:
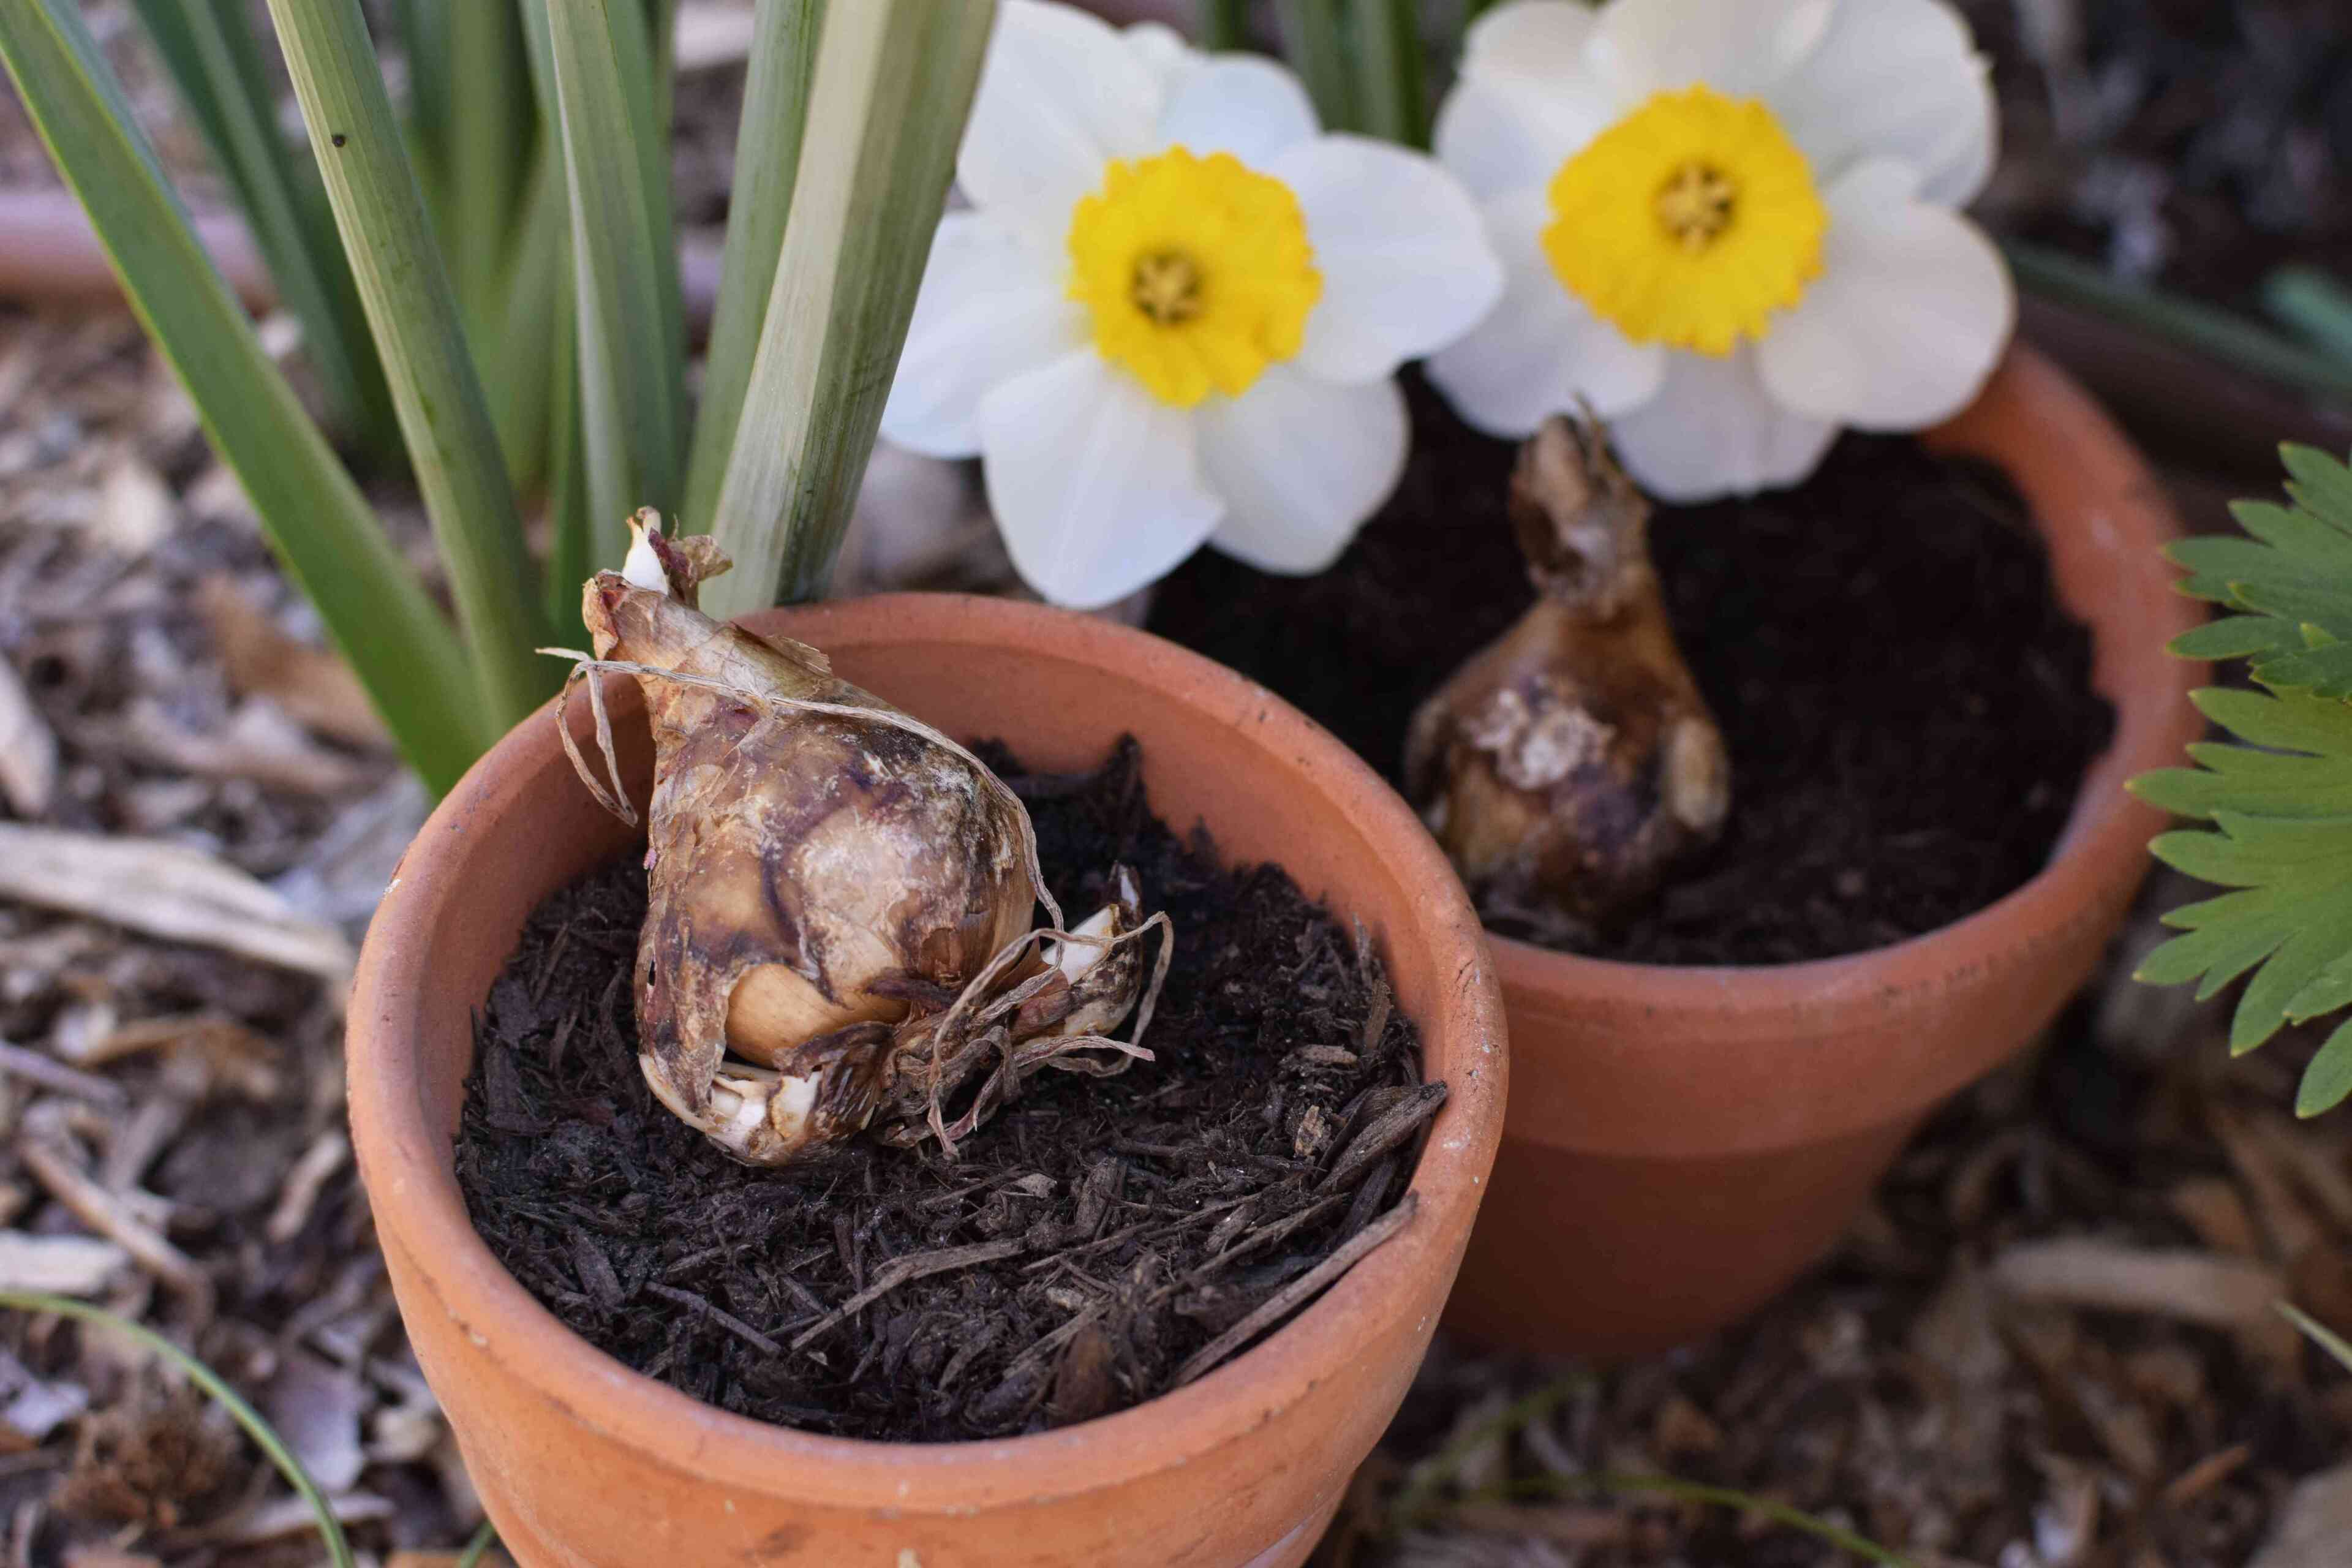
- Timing: The timing for replanting bulbs varies depending on the specific flower variety and your climatic zone. As a general rule, most bulbs should be replanted in the fall, before the ground freezes. This allows the bulbs to establish roots and go through the necessary chilling period in winter. However, some bulbs, like summer-flowering bulbs, may need to be replanted in the spring after the danger of frost has passed.
- Prepare the planting area: Before replanting, prepare the planting area by removing any weeds, loosening the soil, and adding compost or organic matter to improve drainage and fertility. Bulbs prefer well-drained soil, so make sure the planting area has good drainage and is in a location that receives adequate sunlight for the specific bulb variety.
- Dig holes: Dig individual holes for each bulb, following the recommended planting depth and spacing for the specific variety. As a general rule, the planting depth should be approximately 2-3 times the height of the bulb. Place the bulbs in the holes, pointed side up, and cover them with soil, gently firming it around the bulb.
- Water after planting: After planting the bulbs, water the area thoroughly to settle the soil and provide moisture for the bulbs’ initial growth. Avoid overwatering, as excessive moisture can lead to rotting. Once the bulbs start growing, continue to water them regularly, especially during dry periods, to ensure proper establishment and growth.
- Add mulch: Adding a layer of organic mulch, such as straw or wood chips, can help regulate soil temperature, conserve moisture, and prevent weed growth. Mulching also provides some protection against frost during the colder months. Apply a layer of mulch around the planted bulbs but avoid covering the bulbs themselves.
- Monitor and care for the bulbs: Once the bulbs are replanted, continue to monitor and care for them throughout their growth cycle. Provide regular watering, especially during dry spells. Remove any weeds that compete with the bulbs for nutrients and sunlight. Apply fertilizer according to the specific needs of the bulb variety to promote healthy growth and blooms.
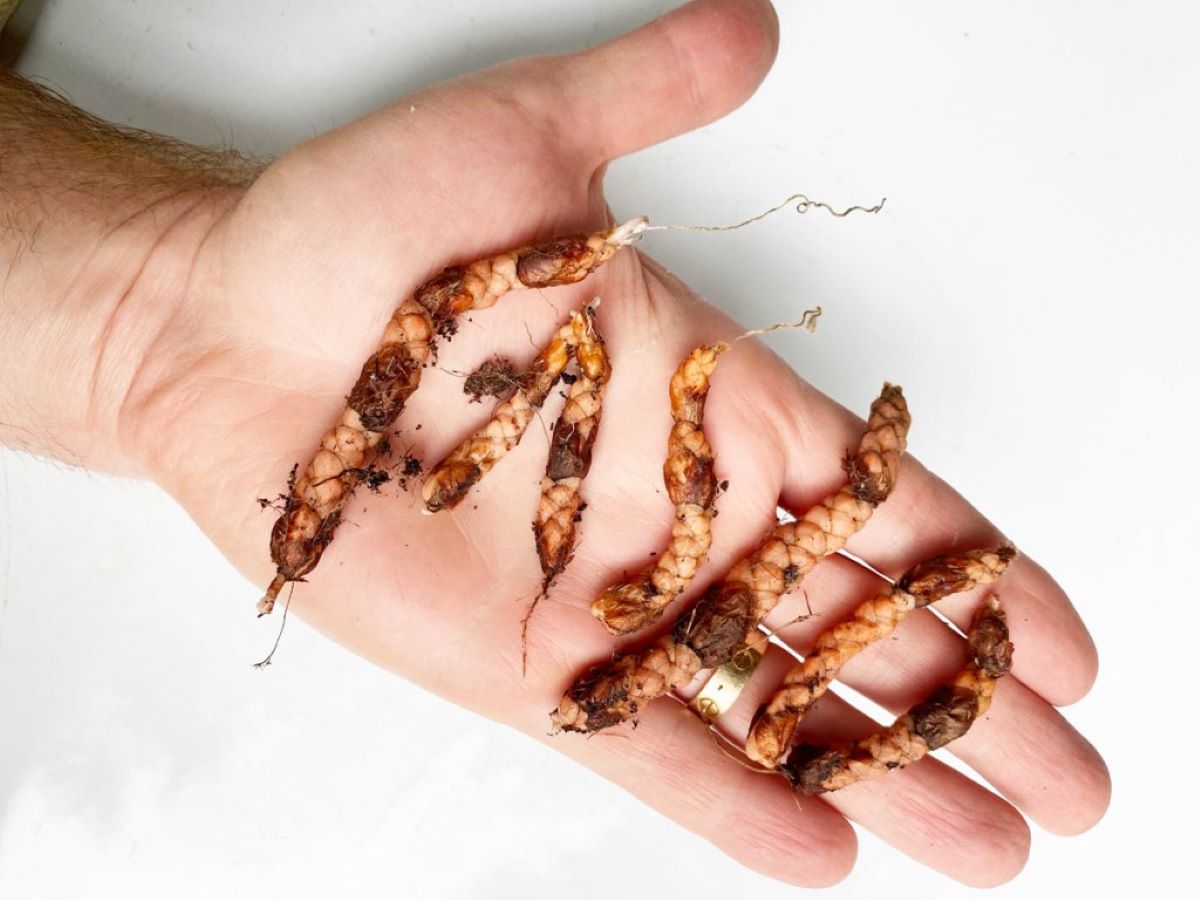
- Divide and propagate: Replanting stored bulbs also presents an opportunity to divide and propagate the bulbs. Over time, bulbs may multiply and produce offsets or smaller bulbs around the main bulb. In the replanting process, you can separate these offsets and replant them in new locations or share them with other gardening enthusiasts.
By following these guidelines, you can replant your stored bulbs at the appropriate time and in the proper manner, giving them the best chance for successful growth and blooming in the following season. In the final section, we will provide some tips for prolonging the lifespan of stored bulbs.
Tips for prolonging the lifespan of stored bulbs
To ensure the longevity of your stored bulbs and maximize their future blooming potential, here are some helpful tips to follow:
- Proper storage conditions: Maintain the recommended storage conditions of cool temperatures, low humidity, and good air circulation. Avoid storing bulbs in areas prone to extreme temperature fluctuations or excess moisture.
- Inspect and remove damaged bulbs: Regularly inspect your stored bulbs and discard any that show signs of rot, disease, or damage. Removing unhealthy bulbs helps prevent the spread of issues and protects the remaining bulbs.
- Monitor moisture levels: Ensure that your stored bulbs remain dry throughout the storage period. Check the moisture-absorbing materials, if used, and replace them as needed. Excess moisture can lead to rotting, so it’s crucial to maintain a dry storage environment.
- Label and organize: Properly label your stored bulbs to identify their variety and color (if applicable). Keep them organized based on variety, blooming time, or other preferences. This will help you easily locate and replant them when the time comes.
- Avoid prolonged storage: To maintain the bulb’s vitality, avoid storing them for extended periods. Ideally, bulbs should be replanted within a year. If you must store them longer, ensure they are in optimal conditions and periodically check their condition.
- Prevent pest infestations: Keep your storage area clean and free from pests. Regularly inspect for any signs of pests and take appropriate measures to prevent infestations. Keep the storage containers properly sealed to protect the bulbs from rodents, insects, and other pests.
- Rotate and replant: To prevent the depletion of soil nutrients and the risk of disease buildup, consider rotating your bulb plantings. Avoid planting bulbs in the same location year after year. Instead, alternate planting areas or enrich the soil with compost or organic matter before replanting.
- Proper handling and transportation: When storing or transporting bulbs, handle them with care to avoid bruising or damaging the delicate structures. Prevent crushing or mishandling that may weaken the bulbs and reduce their future blooming potential.
- Consult bulb-specific guidelines: Different bulb varieties have specific needs and preferences. Refer to the specific guidelines for each type of bulb to ensure you provide the optimal conditions for their storage and future growth.
By following these tips, you can prolong the lifespan of your stored bulbs and increase the chances of successful blooms for years to come. Remember to always handle the bulbs with care and provide them with the right conditions and care to maintain their health and vitality.
With these practices and tips in mind, you can confidently store your bulbs after they bloom and ensure their well-being until the next blooming season. Happy gardening!
Read more: What To Do With Mums After They Bloom
Conclusion
Storing bulbs after they bloom is essential for their survival, future growth, and continued beauty in your garden. By following the best practices outlined in this article, you can ensure that your bulbs remain healthy and ready to flourish in the seasons to come. From choosing the right storage location to preparing the bulbs for storage, selecting suitable containers, and monitoring their condition, every step plays a vital role in preserving the bulbs’ longevity.
Proper storage conditions, including cool temperatures, low humidity, and good air circulation, are key factors in maintaining the health of stored bulbs. Regularly inspecting and removing damaged bulbs helps prevent the spread of diseases or pests, while monitoring moisture levels and using appropriate storage materials ensures a dry environment for the bulbs. Labeling and organizing the bulbs, avoiding prolonged storage, preventing pest infestations, and handling the bulbs with care are additional measures to ensure their optimal preservation.
When the time comes to replant the stored bulbs, make sure to follow the appropriate timing and planting techniques specific to each variety. Prepare the planting area, dig holes to the proper depth, and provide adequate water and care as they establish themselves in their new surroundings. Dividing and propagating the bulbs can also help increase your bulb collection and create even more spectacular displays in your garden.
Remember to consult bulb-specific guidelines for any special care requirements, as different bulbs may have specific needs. By following these guidelines, you can prolong the lifespan of your stored bulbs, maximize their blooming potential, and enjoy their beauty for many seasons to come.
So, take the time to properly store your bulbs after they bloom and reap the rewards of vibrant, colorful blooms year after year. With a little effort and care, your stored bulbs will continue to bring joy and beauty to your garden, enhancing the overall charm of your outdoor space.
Frequently Asked Questions about How To Store Bulbs After They Bloom
Was this page helpful?
At Storables.com, we guarantee accurate and reliable information. Our content, validated by Expert Board Contributors, is crafted following stringent Editorial Policies. We're committed to providing you with well-researched, expert-backed insights for all your informational needs.


0 thoughts on “How To Store Bulbs After They Bloom”