Articles
How To Store Tulip Bulbs Until Fall
Modified: October 31, 2024
Learn how to store tulip bulbs and keep them safe until fall. Read our articles for expert tips and techniques to ensure successful bulb storage.
(Many of the links in this article redirect to a specific reviewed product. Your purchase of these products through affiliate links helps to generate commission for Storables.com, at no extra cost. Learn more)
Introduction
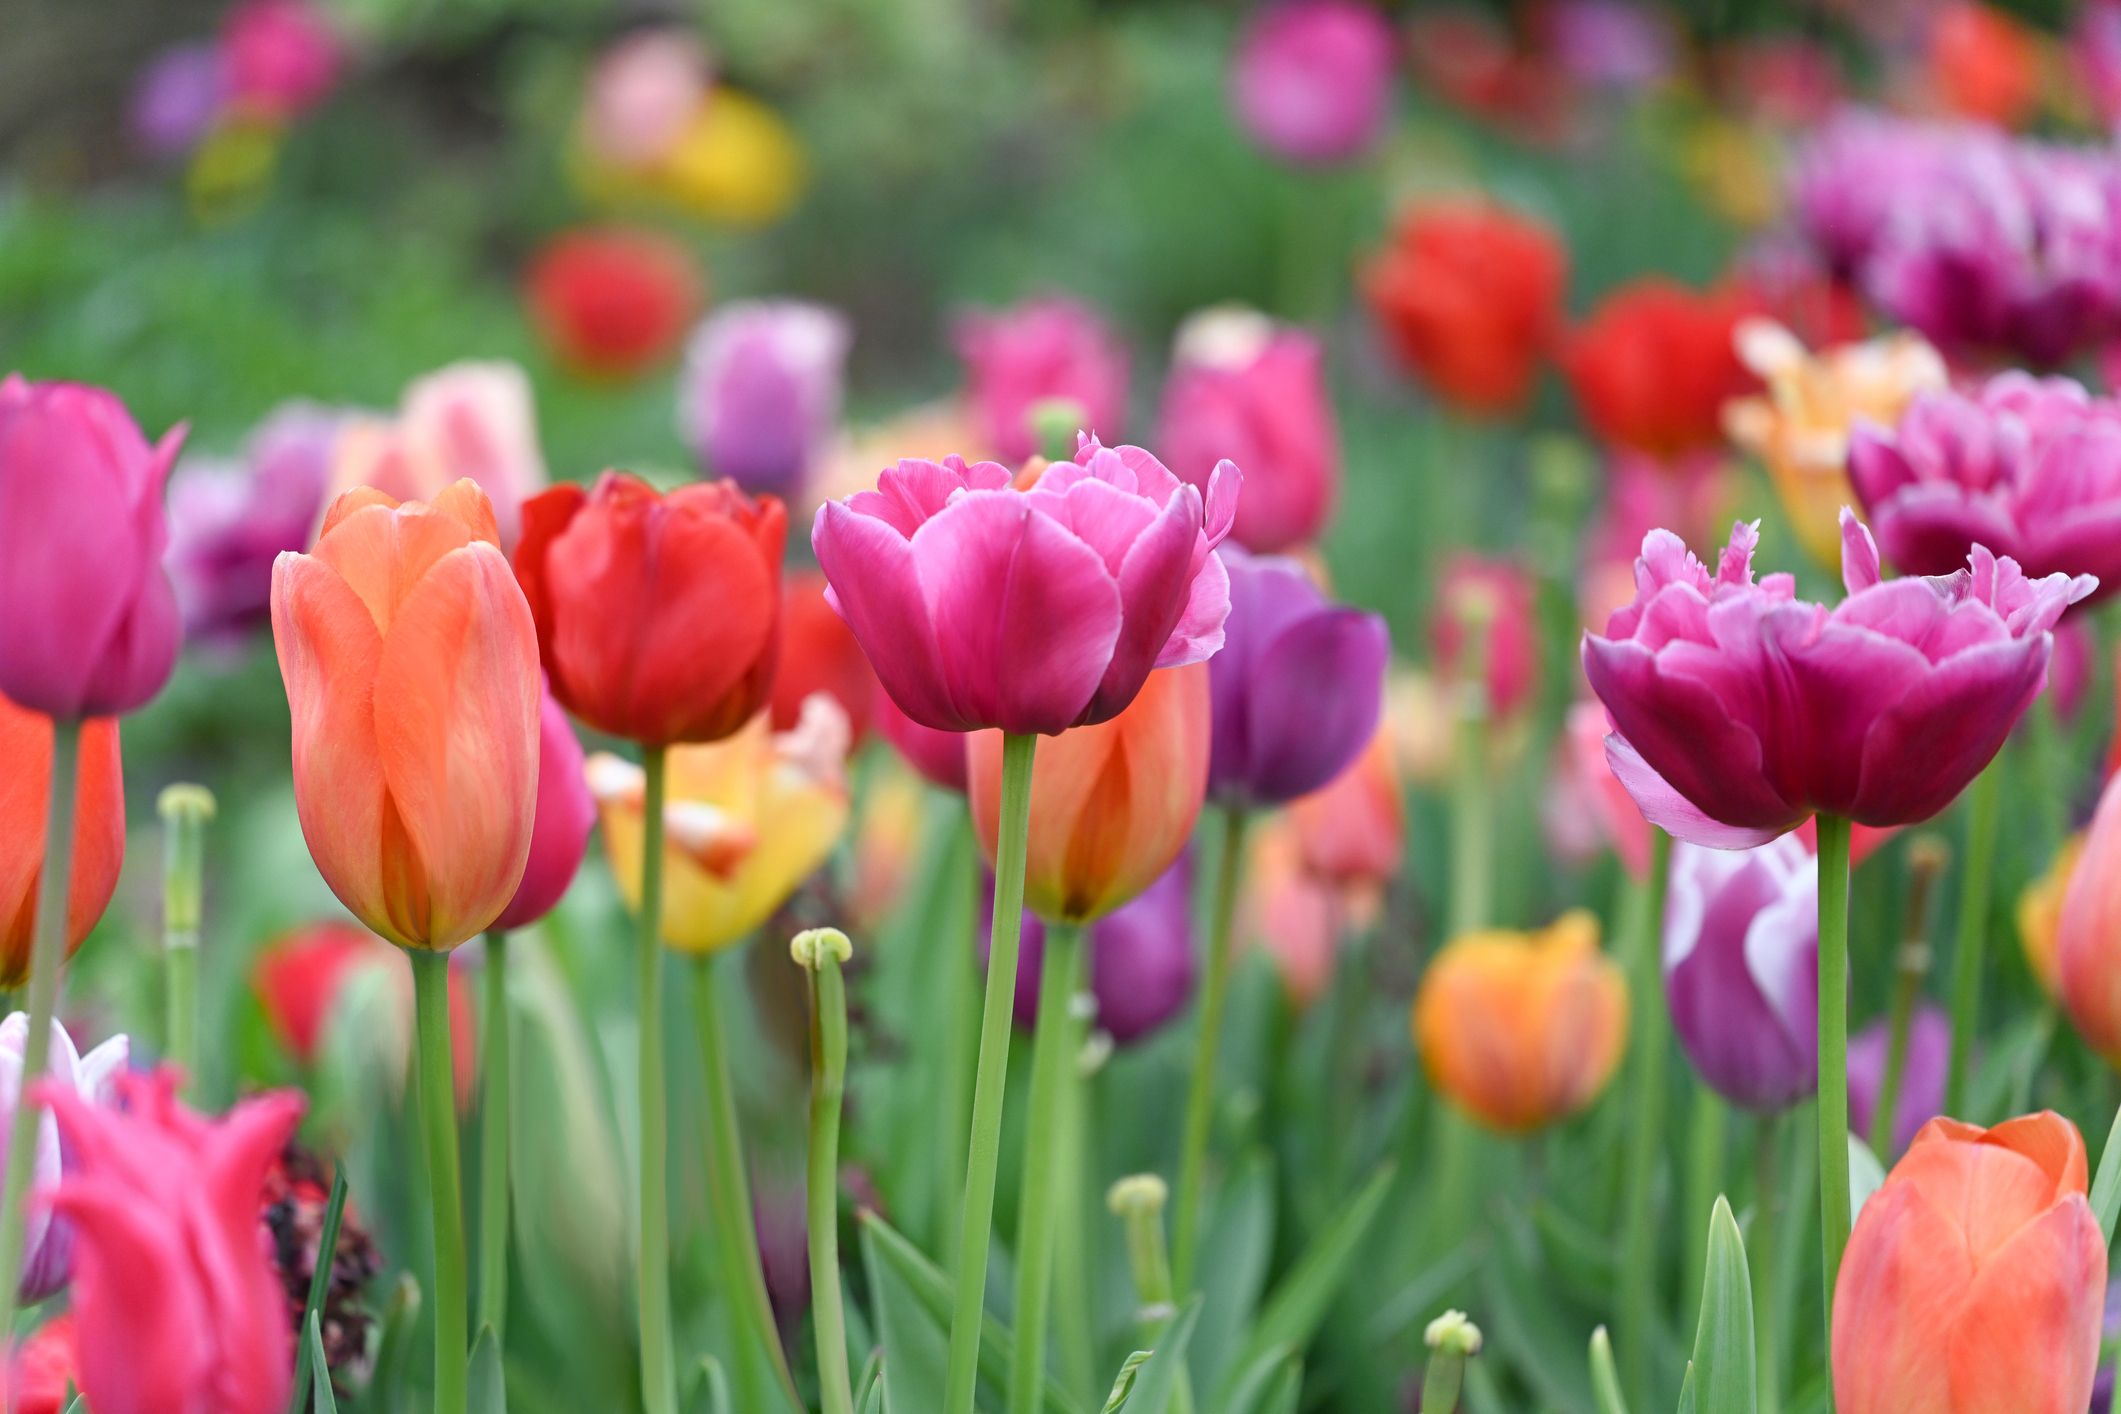
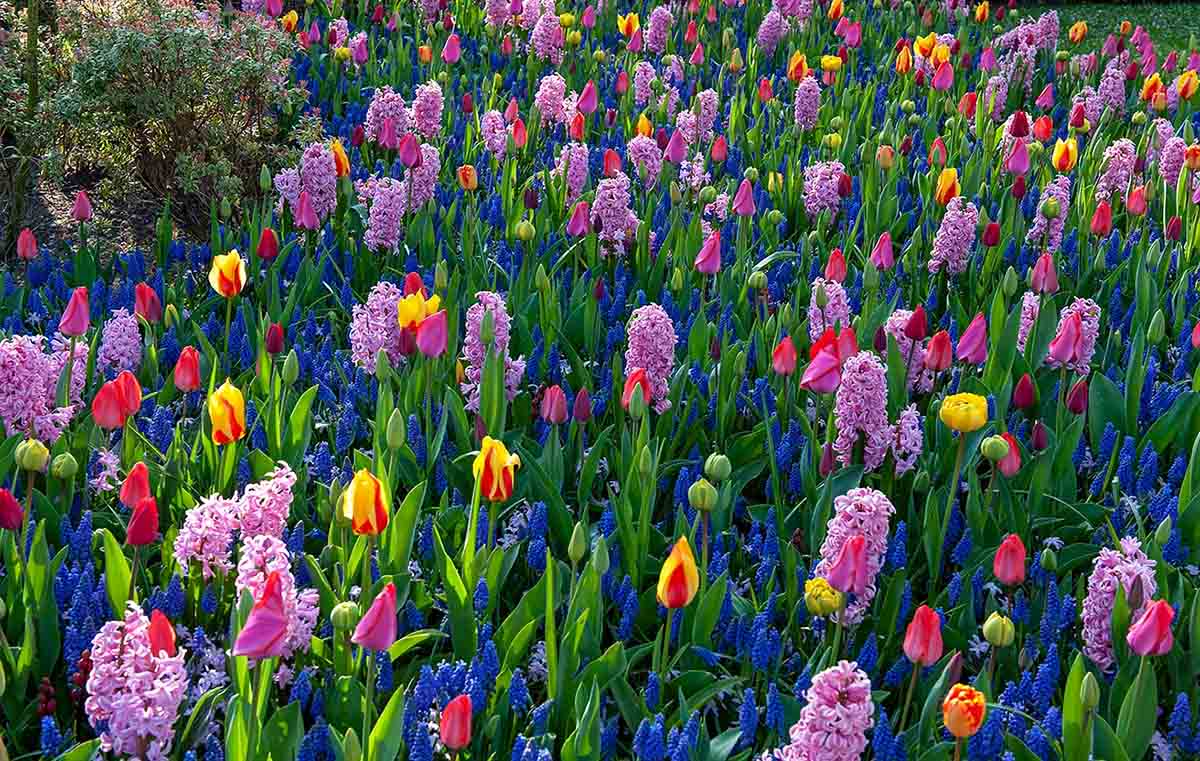
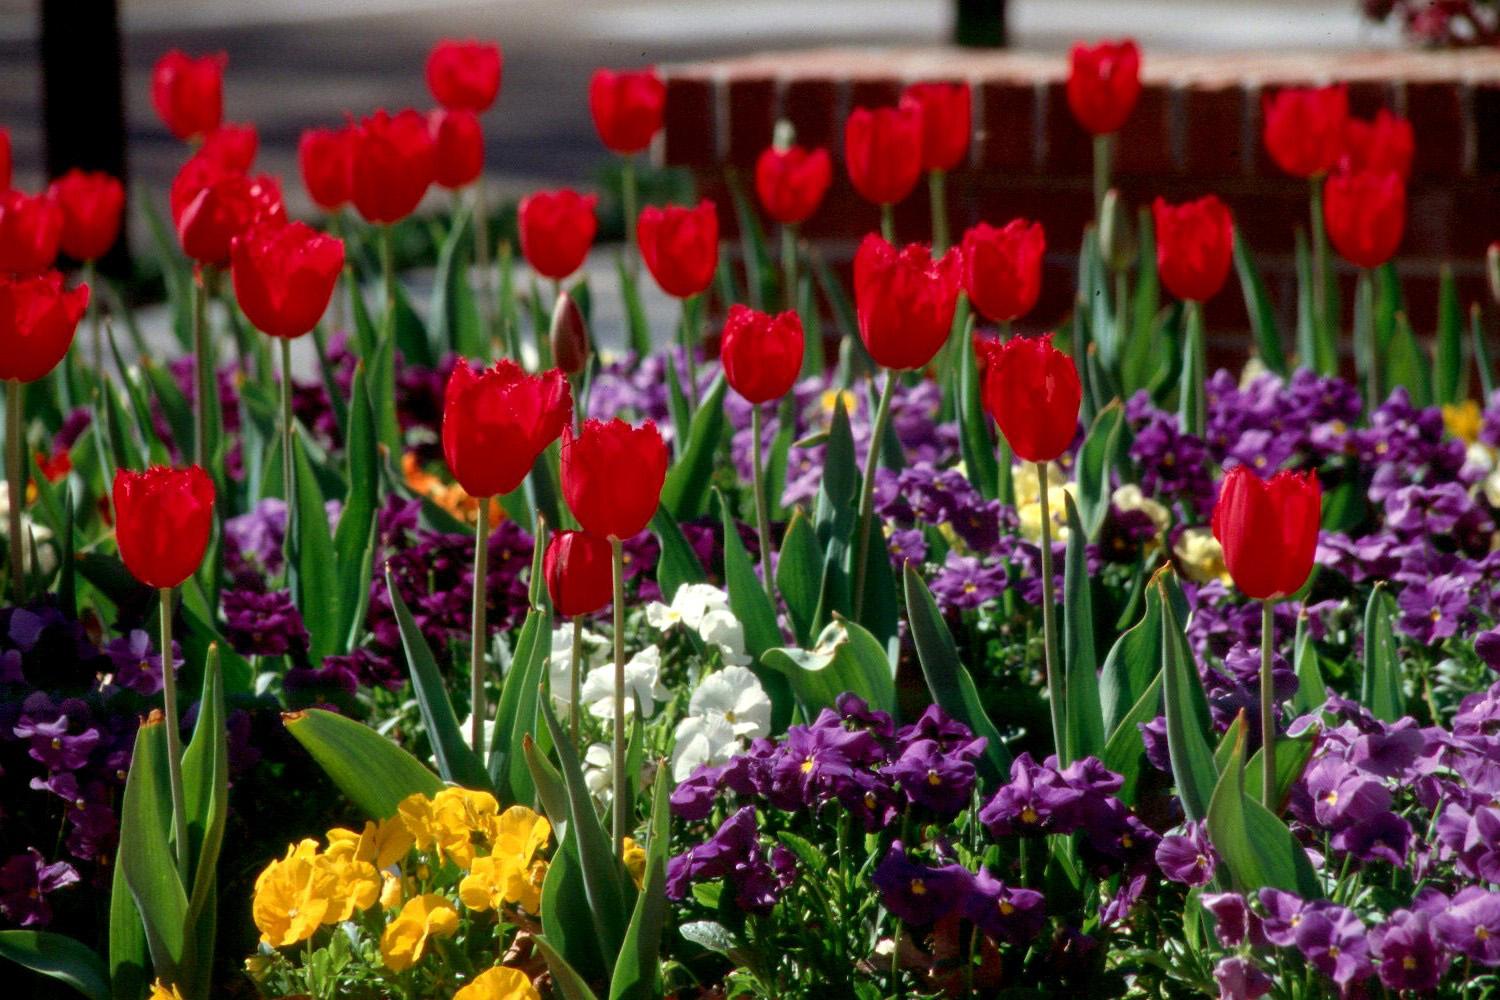
Tulips are beloved flowers that bloom in a variety of vibrant colors, adding beauty and elegance to any garden. To ensure that you can enjoy a breathtaking display of tulips year after year, proper storage of tulip bulbs is essential. Storing tulip bulbs until fall is crucial to protect them from harsh weather conditions and maximize their chances of thriving when planted again.
Whether you have purchased tulip bulbs for an extended blooming season or have decided to save bulbs from your own garden, the process of storing them until fall requires careful attention and planning. By following a few simple steps, you can ensure the health and vitality of your tulip bulbs and be rewarded with a stunning display of flowers in the coming seasons.
Key Takeaways:
- Properly storing tulip bulbs until fall is crucial for vibrant blooms. Choose high-quality bulbs, prepare them, and select the right storage location for healthy and successful growth.
- Monitoring storage conditions, preventing diseases, and transplanting bulbs in the fall ensures a beautiful display of tulips. Take care to store and care for your bulbs for stunning results.
Read more: How To Store Tulip Bulbs In The Refrigerator
Choosing and Preparing Your Tulip Bulbs
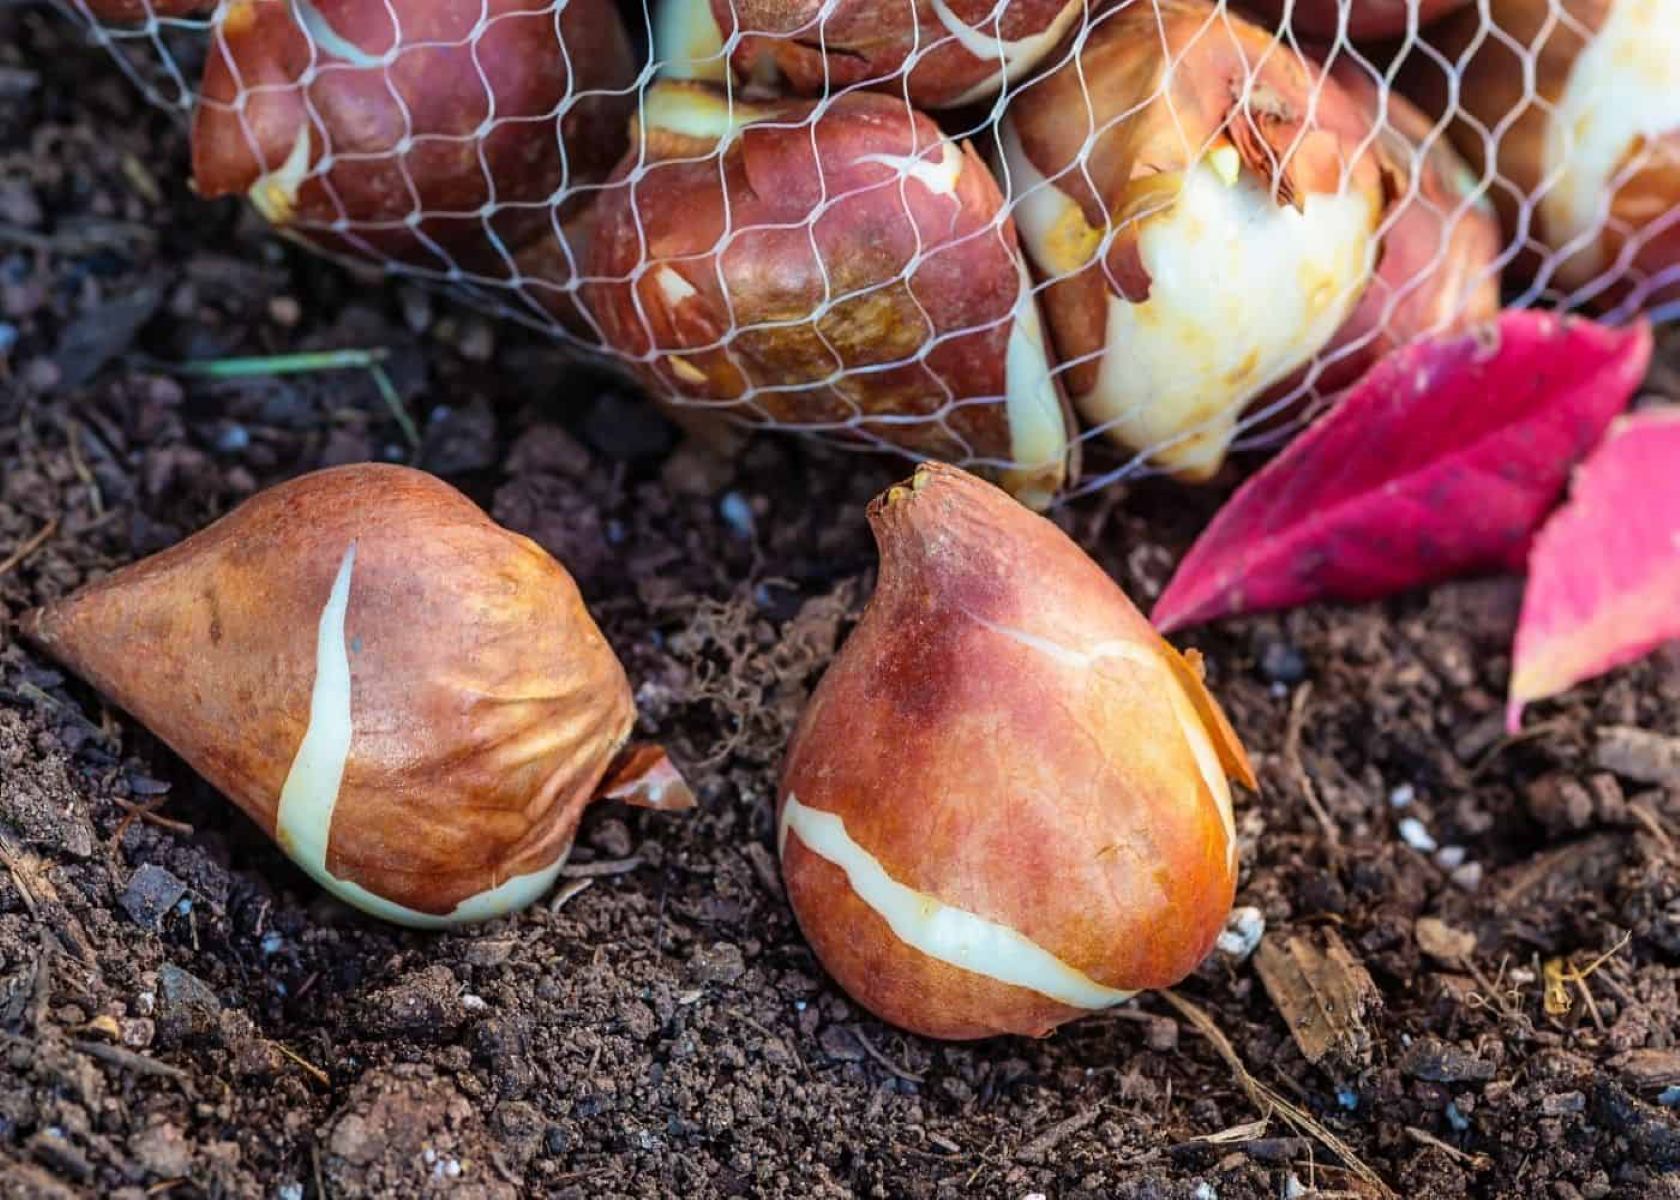
When it comes to storing tulip bulbs until fall, it is important to start with high-quality bulbs. Look for bulbs that are firm, plump, and free from any signs of rot or disease. Choose bulbs that are large in size, as they tend to produce bigger and more robust flowers.
Before storing your tulip bulbs, it is crucial to prepare them properly. Start by removing any excess soil or debris from the bulbs. Gently brush off any dirt using a soft brush or cloth. Do not wash the bulbs with water, as excess moisture can cause them to rot during storage.
Next, carefully inspect the bulbs for any signs of damage or disease. Discard any bulbs that are soft, squishy, or have visible mold or rot. It is essential to store only healthy bulbs to ensure successful growth and blooming in the future.
Once you have selected your tulip bulbs and prepared them for storage, you are ready to move on to the next step in the process: selecting the right storage location.
Selecting the Right Storage Location
Choosing the correct storage location for your tulip bulbs is crucial to their survival and successful growth. The ideal storage location should be cool, dark, and dry, with a consistent temperature between 45°F (7°C) and 55°F (13°C). This range ensures that the bulbs remain dormant without freezing or becoming too warm.
Avoid storing tulip bulbs in areas that are subject to extreme temperature fluctuations, such as garages or attics, as this can damage the bulbs. Instead, opt for a basement, cellar, or a cool and dry room in your home. Make sure that the storage area is well-ventilated to prevent the buildup of excess moisture, which can lead to bulb rot.
In addition to the temperature and humidity considerations, it is essential to keep the bulbs away from direct sunlight. Exposure to light can trigger premature growth in the bulbs, resulting in weak and stunted plants. Store the bulbs in a dark and enclosed space, such as a cupboard or a box.
It is also worth noting that the storage location should be free from rodents and pests. These critters can damage or eat the bulbs, which can significantly impact their viability. Consider using rodent deterrents, such as mothballs or peppermint oil, to keep pests away from the storage area.
By selecting the right storage location, you provide your tulip bulbs with the ideal environment for maintaining their dormant state and ensuring healthy growth when the time comes to plant them again.
Preparing the Storage Containers
Once you have chosen the perfect storage location for your tulip bulbs, it is important to prepare the storage containers to ensure the bulbs are properly protected during their dormant period. Here are some steps to follow when preparing the storage containers:
- Clean the containers: Before using any containers for storing your bulbs, make sure they are clean and free from any dirt or debris. Wash the containers with mild soap and warm water, then rinse thoroughly to remove any residue.
- Ensure proper drainage: Tulip bulbs can be susceptible to rot if excess moisture collects in the storage containers. To prevent this, ensure that your containers have proper drainage holes at the bottom. This will allow any excess moisture to drain out and keep the bulbs dry.
- Use breathable containers: It is recommended to use mesh bags or paper bags to store your tulip bulbs. These types of containers allow for good airflow, helping to prevent the build-up of moisture and the growth of mold or fungus.
- Avoid plastic bags: While plastic bags might seem convenient, they can trap moisture and create a humid environment that promotes rot. It is best to avoid using plastic bags for storing tulip bulbs.
- Label the containers: To keep track of different varieties of tulip bulbs or bulbs with different planting requirements, it is important to label the storage containers. Use waterproof markers or labels and include the variety name, color, and any specific instructions.
By properly preparing the storage containers, you will create an environment that promotes the dormant state of the bulbs and prevents any damage or disease during their storage period. This will ensure healthy and robust tulip blooms in the future.
Timing the Storage Process
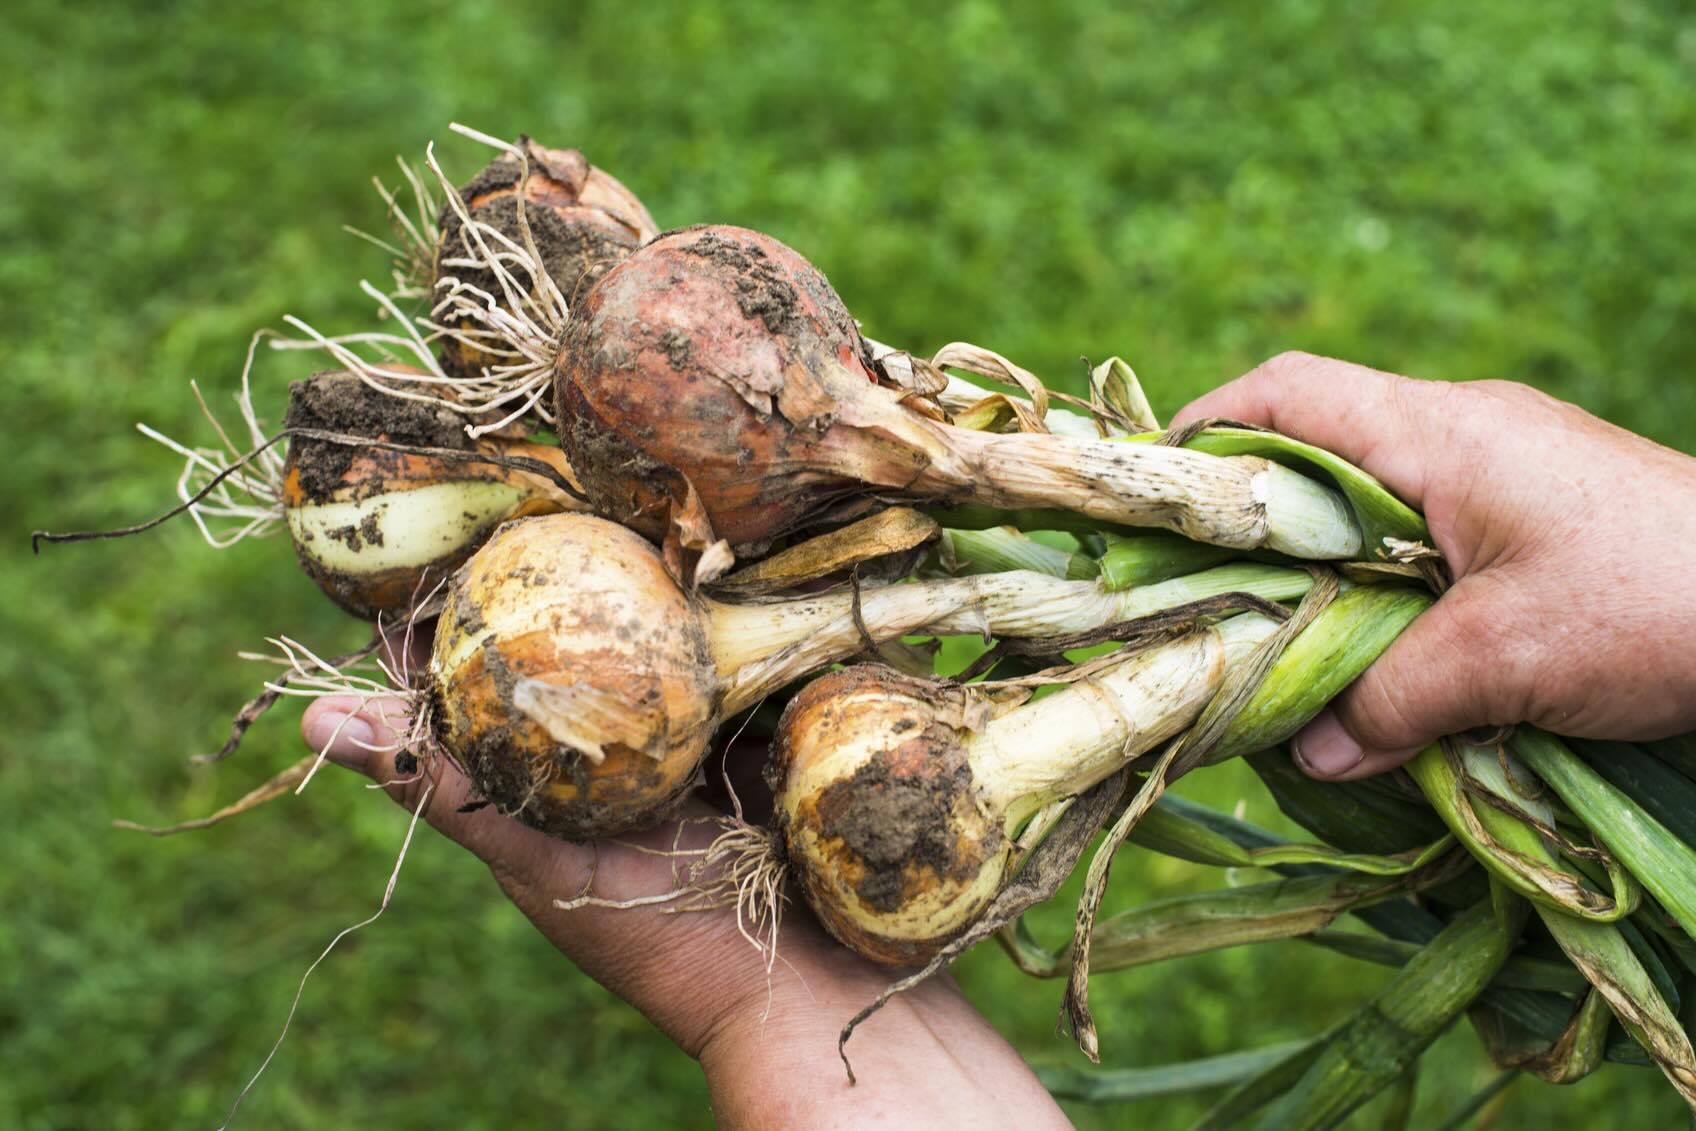
Timing is an essential factor when it comes to storing tulip bulbs until fall. The storage period should typically begin after the tulip flowers have finished blooming and the foliage has started to turn yellow or brown. This usually occurs in late spring or early summer, depending on the specific variety of tulip.
It is important to allow the foliage to fully mature before storing the bulbs. During this period, the foliage continues to gather energy for the bulbs to support their growth in the next blooming season. If the foliage is cut back too early, the bulbs may not receive enough nutrients, resulting in weak and stunted growth.
Once the foliage has turned yellow or brown, carefully remove it without damaging the bulb. Gently lift the bulbs from the soil using a garden fork or trowel, taking care not to break or bruise them. Shake off any excess soil and trim any remaining roots, leaving about an inch of the stem attached to the bulb.
After preparing the bulbs, let them dry for a few days in a cool and shady spot. This allows the outer skin of the bulb to toughen, minimizing the risk of rot during storage. Once the bulbs are dry, you can proceed with the storage process.
It is important to note that tulip bulbs are typically stored for a period of 8 to 12 weeks before planting them again in the fall. This duration allows the bulbs to go through a necessary dormant period, mimicking their natural cycle in the ground. Keep track of the storage period to ensure the bulbs are not stored for too long, as this may cause them to lose viability.
By timing the storage process correctly, you give your tulip bulbs the opportunity to rest and rejuvenate, setting the stage for a spectacular display of blooms in the next growing season.
Read more: How To Store Tulip Bulbs Before Planting
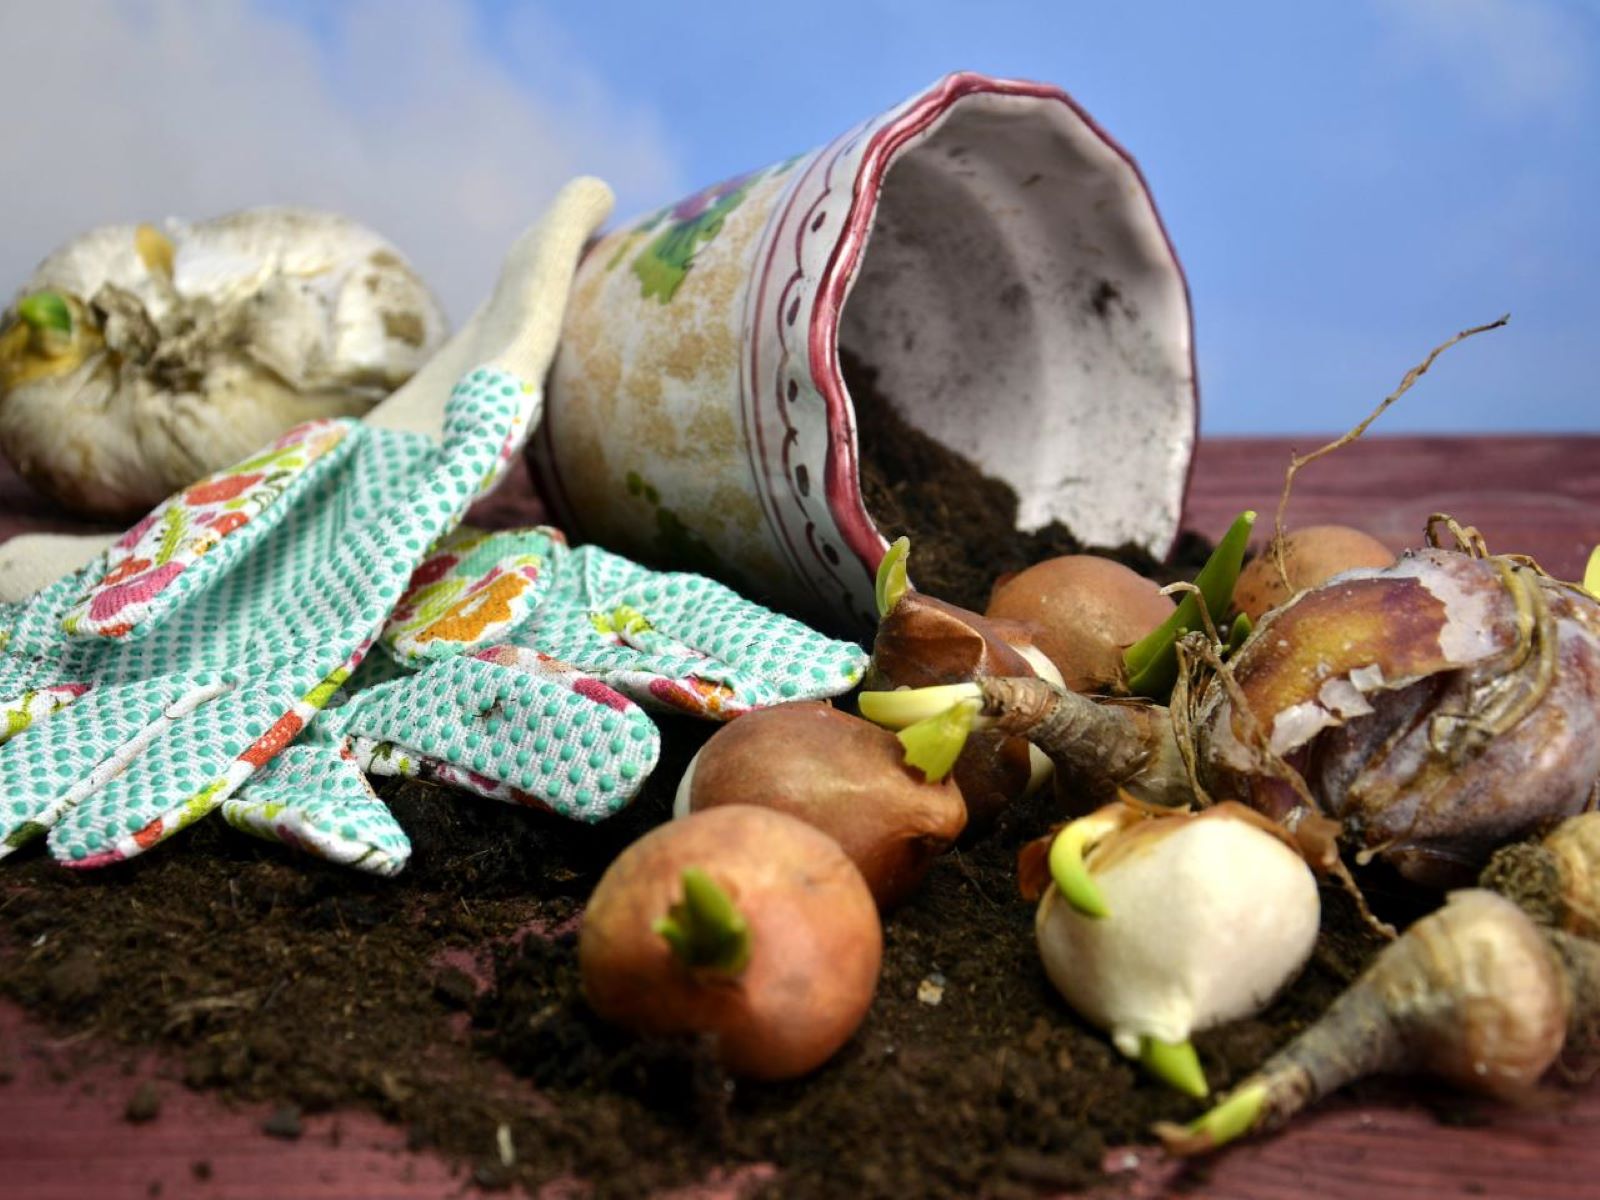
Cleaning and Drying the Bulbs
Before storing your tulip bulbs until fall, it is important to clean and dry them properly. Cleaning the bulbs helps remove any dirt, debris, or potential pathogens that may be present. Drying the bulbs ensures that they can be stored in a dry environment without the risk of rot.
To clean your tulip bulbs, start by gently removing any excess soil or debris. You can use your hands or a soft brush to lightly brush off the dirt. Avoid washing the bulbs with water, as excessive moisture can lead to rot during storage. If there are any stubborn clumps of soil, you can carefully knock them off or use a cloth to remove them.
Once the bulbs have been cleaned, it is crucial to allow them to dry completely. Place the bulbs in a single layer on a tray or a mesh rack in a well-ventilated and shaded area. Avoid exposing the bulbs to direct sunlight, as this can cause premature sprouting. Allow the bulbs to dry for a week or two until the outer skin becomes dry and papery.
During the drying process, it is important to periodically check the bulbs for any signs of rot or mold. If you notice any bulbs with soft spots or visible signs of decay, discard them immediately to prevent the spread of disease to other bulbs.
It is worth noting that some gardeners prefer to dust the bulbs with a fungicide or bulb dusting powder before drying. This can help prevent fungal diseases during storage. If you choose to use a fungicide, make sure to follow the manufacturer’s instructions and apply it sparingly to avoid any potential adverse effects.
By cleaning and drying your tulip bulbs properly, you create a clean and dry environment that minimizes the risk of rot and disease during storage. This helps ensure the bulbs remain healthy and ready for planting when the fall season arrives.
Inspecting and Discarding Damaged Bulbs
Before storing your tulip bulbs until fall, it is essential to carefully inspect them for any signs of damage or disease. Discarding damaged bulbs ensures that only healthy bulbs are stored, increasing the chances of successful growth and blooming in the future.
Start by examining each bulb closely. Look for any soft or mushy spots, which indicate rot or decay. If you find bulbs with these symptoms, it is crucial to discard them immediately. These diseased bulbs can spread pathogens to other bulbs during storage, affecting their viability and overall health.
Inspect the bulbs for any visible mold or fungus growth as well. Moldy bulbs should also be discarded to prevent the spread of disease. Mold can damage the outer layers of the bulb and compromise its ability to sprout and grow.
Additionally, check for any physical damage to the bulbs, such as cuts, bruises, or punctures. These wounds can provide entry points for pathogens, leading to rot. Discard any bulbs with significant physical damage to ensure the storage environment remains disease-free.
It is worth mentioning that some bulbs may naturally have smaller offsets or bulblets attached. These offsets can be gently removed and stored separately if they are of sufficient size and appear healthy. This allows you to propagate new tulips from these offsets in the future.
By inspecting and discarding damaged bulbs, you ensure that only healthy and viable bulbs are stored until fall. This proactive measure helps prevent the spread of disease and promotes the growth of vibrant and successful tulips when the planting season arrives.
After the tulip bulbs have finished blooming, allow the foliage to die back naturally. Once the foliage has turned yellow and withered, carefully dig up the bulbs and store them in a cool, dry place until fall planting.
Organizing and Labeling the Bulbs
Proper organization and labeling of your stored tulip bulbs are vital for easy retrieval and identification when it’s time to plant them in the fall. Taking the time to organize and label your bulbs ensures that you can keep track of different varieties and planting requirements, leading to a more successful and organized gardening experience.
To begin, gather all the tulip bulbs that you plan to store. Sort them based on their variety or color, grouping similar bulbs together. This will help you easily differentiate between different types of tulips during the planting process.
Next, prepare labels to attach to the storage containers or bags. You can use waterproof markers, plant labels, or even masking tape to write down the necessary information. Include details such as the variety name, color, planting depth, and any specific instructions or notes.
Attach the labels to the respective storage containers or bags, ensuring that they are secure and won’t get misplaced during the storage period. This step will save you time and effort when it comes to identifying and selecting the appropriate bulbs for planting in the fall.
If you have a large collection of tulip bulbs, consider creating a catalog or spreadsheet to keep track of the different varieties, planting dates, and any other relevant details. This will serve as a handy reference guide and assist you in planning and organizing your future tulip garden.
By organizing and labeling your stored tulip bulbs, you establish a clear system for identifying and retrieving bulbs when the planting season arrives. This level of organization contributes to a more efficient and enjoyable gardening experience, enabling you to make the most of your tulip collection.
Storing the Bulbs in a Cool and Dry Place
After inspecting and organizing your tulip bulbs, it’s time to store them in a cool and dry place until fall. Creating the proper storage conditions is crucial to ensure the bulbs remain healthy and dormant during their resting period. Here are some guidelines for storing tulip bulbs:
Choose a storage location that is cool and dry, with a consistent temperature between 45°F (7°C) and 55°F (13°C). Extremes in temperature can negatively impact the bulbs’ viability and lead to early sprouting or rot. Avoid storing the bulbs in areas subject to drastic temperature fluctuations, such as garages or sheds.
Place the bulbs in breathable containers, such as mesh bags or paper bags, rather than airtight plastic containers. These containers allow for proper airflow and help prevent the build-up of excess moisture, reducing the risk of rot and fungal diseases. Label the containers to easily identify the different varieties and colors.
Store the bulbs away from direct sunlight to prevent premature sprouting. Exposure to light can signal the bulbs to start growing, resulting in weaker and smaller plants. Keep the storage area dark or cover the containers with a light-proof cloth or paper if necessary.
Keep the storage area well-ventilated to prevent the accumulation of moisture. Good air circulation helps maintain a dry environment and reduces the chance of mold or fungal growth. Avoid storing the bulbs in humid spaces, such as basements prone to dampness or areas near water sources.
Regularly check on the bulbs throughout the storage period. Inspect for any signs of rot or decay and remove any damaged bulbs. If you notice any bulbs starting to sprout prematurely, consider planting them rather than storing them further.
By storing your tulip bulbs in a cool and dry place, you provide the ideal conditions for them to remain dormant and healthy until the fall planting season. This ensures that your bulbs will have the best chance of producing beautiful and vibrant flowers in the upcoming growing season.
Read more: How To Store Tulip Bulbs Over Winter
Monitoring the Bulb Storage Conditions
While storing tulip bulbs in a cool and dry place is essential, it is equally important to regularly monitor the storage conditions to ensure that the bulbs remain in optimal conditions. Monitoring helps detect any potential issues early on and allows you to take necessary actions to maintain the health and viability of the bulbs. Here are some key aspects to monitor:
Temperature: Keep an eye on the temperature of the storage area. Use a thermometer to regularly check that the temperature remains within the recommended range of 45°F (7°C) to 55°F (13°C). Fluctuations or extremes in temperature can negatively impact the bulbs’ dormancy and overall health.
Humidity: Check the humidity levels in the storage area. Excess moisture can lead to bulb rot and the growth of mold or fungus. Use a hygrometer to measure the humidity and ensure that it is kept within an optimal range of around 50% to 60%. If the humidity gets too high, you may need to improve ventilation or use a dehumidifier.
Air Circulation: Ensure that there is sufficient air circulation in the storage area. Good air movement helps prevent the build-up of excess moisture and creates an environment less favorable for fungal growth. Keep the storage area well-ventilated and consider using a fan to enhance air circulation if needed.
Light Exposure: Regularly check that the storage area remains dark or shielded from light. Exposure to light can trigger the bulbs to start sprouting prematurely. Cover containers with a light-proof cloth or paper to maintain darkness and minimize the risk of early growth.
Inspect the Bulbs: Periodically inspect the stored tulip bulbs for any signs of damage, disease, or pest infestation. Discard any bulbs showing signs of rot, mold, or physical damage. Promptly address any issues to prevent the spread of disease and ensure the health of the remaining bulbs.
By regularly monitoring the storage conditions, you can intervene promptly if any issues arise and make the necessary adjustments to maintain an optimal environment for the bulbs. This proactive approach will help ensure the best chances for successful growth and vibrant blooms when it’s time to plant your tulip bulbs in the fall.
Tips for Preventing Bulb Diseases and Pests
Preventing bulb diseases and pests is essential to ensure the health and vitality of your stored tulip bulbs. By implementing some preventive measures, you can minimize the risk of common issues that can damage or compromise the bulbs. Here are some tips to help keep your bulbs disease and pest-free:
1. Select healthy bulbs: Start with high-quality bulbs that are free from any signs of damage or disease. Inspect the bulbs carefully before storing them to ensure they are in good condition and free from rot or mold.
2. Clean and sterilize tools: When lifting, dividing, or handling bulbs, make sure to clean and sterilize your tools. This helps prevent the spread of bacteria, fungi, or pests from one bulb to another. Use a solution of 10% bleach or rubbing alcohol to sterilize your tools.
3. Proper spacing and planting: Give your tulip bulbs enough space to grow by planting them at the recommended depth and spacing. Crowded bulbs are more susceptible to diseases and may have poor airflow, which can encourage fungal growth.
4. Remove and discard diseased plants: If you notice any signs of disease or pests on your tulip plants, promptly remove and discard them. This prevents the spread of the issue to other bulbs and reduces the overall risk of infestation.
5. Practice crop rotation: Avoid planting tulip bulbs in the same location year after year. Crop rotation helps break the cycle of diseases and pests that may be specific to tulips. Wait at least three years before replanting tulips in the same spot.
6. Implement good drainage: Ensure that your planting area has good drainage to prevent excess moisture and waterlogging around the bulbs. Bulbs sitting in moist soil for extended periods are more prone to rot and fungal diseases.
7. Remove dead foliage: After your tulips have bloomed and the foliage has yellowed, carefully remove and dispose of the dead foliage. This helps eliminate potential hiding spots for pests and reduces the risk of disease transmission.
8. Monitor and treat for pests: Regularly inspect your stored bulbs for any signs of pests such as aphids, mites, or bulb flies. If you notice any infestations, treat them promptly with appropriate insecticides or natural pest control methods. Follow the instructions on the product labels carefully.
9. Provide proper ventilation: Ensure that your storage area has good ventilation to prevent the build-up of excess moisture and stagnant air. This reduces the risk of fungal diseases in the stored bulbs.
By following these tips, you can greatly reduce the likelihood of bulb diseases and pests. Maintaining a healthy environment for your stored tulip bulbs will contribute to their successful growth and vibrant blooms when you plant them in the fall.
Transplanting Stored Tulip Bulbs in the Fall
After spending the summer in storage, your tulip bulbs are now ready to be transplanted in the fall. Proper handling and planting techniques will ensure their successful growth and a beautiful display of blooms in the coming spring. Here are some steps to follow when transplanting your stored tulip bulbs:
1. Select the planting location: Choose a location in your garden that receives full or partial sunlight, depending on the requirements of the specific tulip variety you are planting. Make sure the soil is well-draining to prevent waterlogged conditions that can lead to bulb rot.
2. Prepare the soil: Before planting, prepare the soil by removing any weeds, rocks, or debris. Loosen the soil with a garden fork or tiller to ensure good root penetration and drainage. If necessary, amend the soil with organic matter, such as compost, to improve its fertility and structure.
3. Dig the planting holes: Dig individual planting holes for each tulip bulb. The depth of the hole should be approximately three times the height of the bulb. Space the holes according to the recommended spacing for the specific tulip variety you are planting.
4. Place and orient the bulbs: Carefully place each tulip bulb into its designated hole with the pointed end facing upwards. It’s important to orient the bulb correctly to ensure proper growth. If you are unsure about the orientation, plant the bulb on its side, and it will naturally correct itself as it grows.
5. Backfill and firm the soil: Gently backfill the holes with the loosened soil, ensuring that the bulbs are covered to the recommended depth. Lightly firm the soil around the bulbs to provide stability and good soil-to-bulb contact.
6. Water thoroughly: After planting, water the newly planted bulbs thoroughly. This helps settle the soil around the bulbs and provides them with the necessary moisture to initiate root growth. Avoid overwatering, as excessive moisture can lead to bulb rot.
7. Mulch the area: Consider applying a layer of organic mulch, such as straw or shredded bark, around the planted bulbs. Mulch helps regulate soil temperature, conserves moisture, and suppresses weed growth. Ensure that the mulch is not directly piled on top of the bulbs to prevent rot.
8. Mark the planting areas: To avoid mistakenly disturbing or damaging the newly planted bulbs during other gardening activities, mark the planting areas with stakes or plant markers. This will help you locate and care for the bulbs during their growing period.
9. Provide ongoing care: Throughout the fall and winter, monitor the soil moisture and water the bulbs as needed, particularly during dry periods. Protect the planted area from excessive foot traffic or heavy machinery that could damage the bulbs.
By following these guidelines, you can successfully transplant your stored tulip bulbs in the fall, ensuring their proper growth and a beautiful bloom in the spring. With proper care throughout the growing season, you’ll be able to enjoy the vibrant colors and delicate beauty of your tulips once again.
Conclusion
Storing tulip bulbs until fall is an essential step in ensuring the health and vitality of these beautiful flowers for years to come. By following the proper techniques for choosing, preparing, and storing the bulbs, you can maximize their chances of successful growth and stunning blooms in the future. Throughout this article, we have discussed various aspects of tulip bulb storage, from selecting the right bulbs to transplanting them in the fall. Let’s recap the key points:
Choosing high-quality bulbs that are firm and free from damage or disease is crucial. Preparing the bulbs by cleaning and drying them properly helps prevent rot during storage. Selecting the right storage location, one that is cool, dark, and well-ventilated, ensures the bulbs remain dormant and healthy. Preparing the storage containers with proper drainage and using breathable materials helps prevent excess moisture and promotes good airflow. Timing the storage process by allowing the foliage to mature and storing the bulbs for the recommended 8 to 12 weeks is important for their dormancy. Inspecting and discarding damaged bulbs, as well as organizing and labeling the bulbs, helps maintain order and identify different varieties. Monitoring the bulb storage conditions, including temperature, humidity, light exposure, and air circulation, ensures that the bulbs remain in optimal conditions. Implementing preventive measures to prevent bulb diseases and pests reduces the risk of damage or infestation. Finally, transplanting the stored tulip bulbs in the fall, following proper planting techniques and providing ongoing care, sets the stage for a beautiful display of tulips in the spring.
By taking the time and care to store your tulip bulbs properly, you are investing in the future beauty of your garden. The vibrant colors and elegant blooms of tulips are worth the effort. So, whether you’re a seasoned gardener or a beginner, make sure to follow these guidelines and enjoy the rewards of a stunning tulip display year after year.
Frequently Asked Questions about How To Store Tulip Bulbs Until Fall
Was this page helpful?
At Storables.com, we guarantee accurate and reliable information. Our content, validated by Expert Board Contributors, is crafted following stringent Editorial Policies. We're committed to providing you with well-researched, expert-backed insights for all your informational needs.

0 thoughts on “How To Store Tulip Bulbs Until Fall”