Articles
How To Store Canna Bulbs
Modified: December 7, 2023
Learn the proper way to store canna bulbs in this informative article. Keep your bulbs safe and ready for the next planting season.
(Many of the links in this article redirect to a specific reviewed product. Your purchase of these products through affiliate links helps to generate commission for Storables.com, at no extra cost. Learn more)
Introduction
Welcome to our guide on how to store canna bulbs! Canna bulbs are a popular choice among gardeners for their vibrant blooms and lush foliage. These tropical plants require protection during the winter months when temperatures drop, making proper storage essential to ensure their survival and success in the following growing season.
By following the steps outlined in this article, you will learn how to effectively store canna bulbs, allowing you to enjoy their beauty year after year. Whether you have just finished the growing season and need to prepare your bulbs for winter storage or are planning ahead for next year’s planting, this guide will provide you with the knowledge and techniques necessary to keep your canna bulbs healthy and ready for spring.
In this comprehensive article, we will discuss the importance of understanding canna bulbs, choosing the right storage location, preparing the bulbs for storage, digging them up, cleaning and drying them, inspecting and treating for any issues, packaging them properly, and monitoring and caring for the bulbs throughout the storage period. We will also share some tips for successful canna bulb storage to help you optimize the chances of successful regrowth in the next growing season.
Whether you are a seasoned gardener or just beginning your journey into the world of canna bulbs, this guide will provide you with valuable information and practical tips to ensure the longevity and vitality of your beloved canna plants. So, let’s get started and dive into the wonderful world of canna bulb storage!
Key Takeaways:
- Proper storage of canna bulbs is crucial for their survival and regrowth. Understanding their nature, choosing the right storage location, and thorough preparation are key to ensuring their health and longevity.
- Regular monitoring, proper packaging, and following helpful tips are essential for successful canna bulb storage. With attention to detail and care, you can look forward to vibrant blooms and lush foliage in the next growing season.
Read more: How To Store Cannas Over Winter
Understanding Canna Bulbs
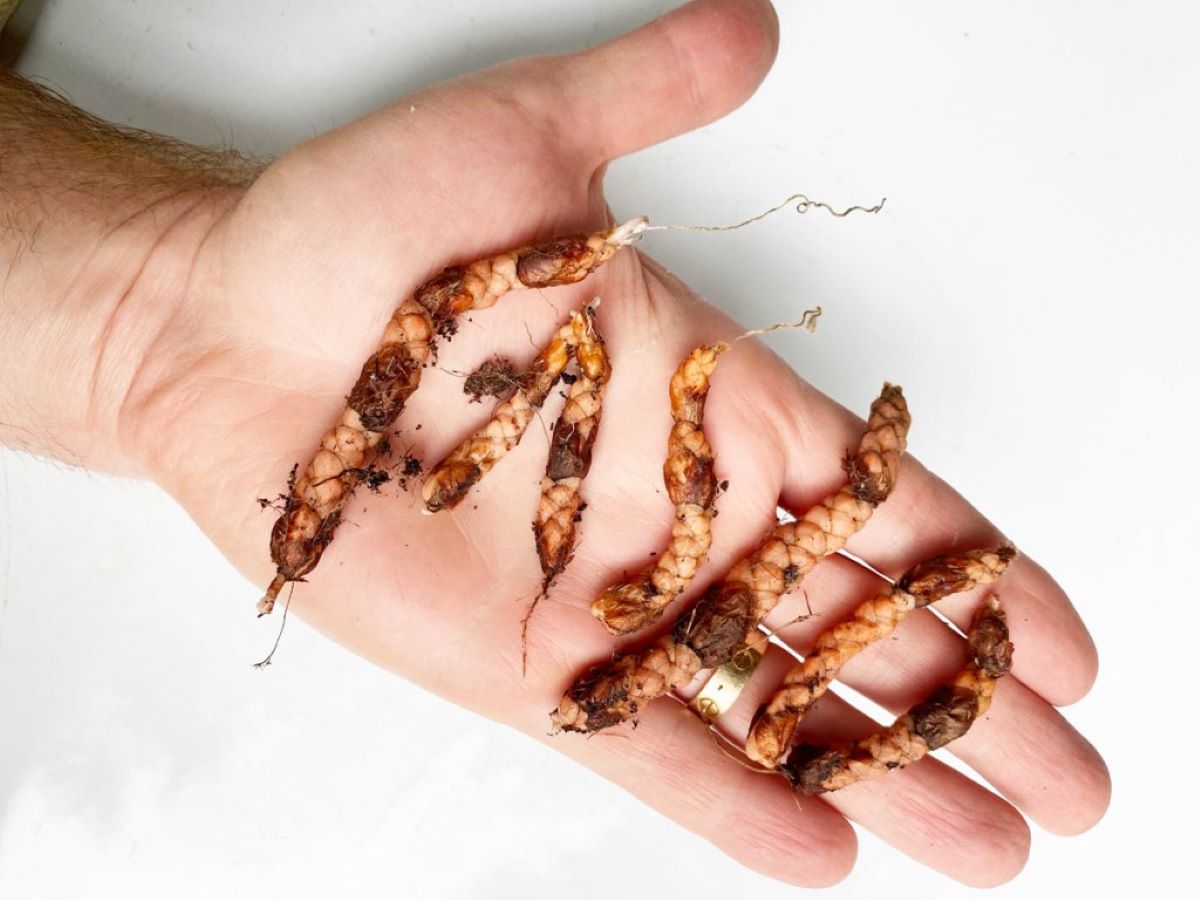
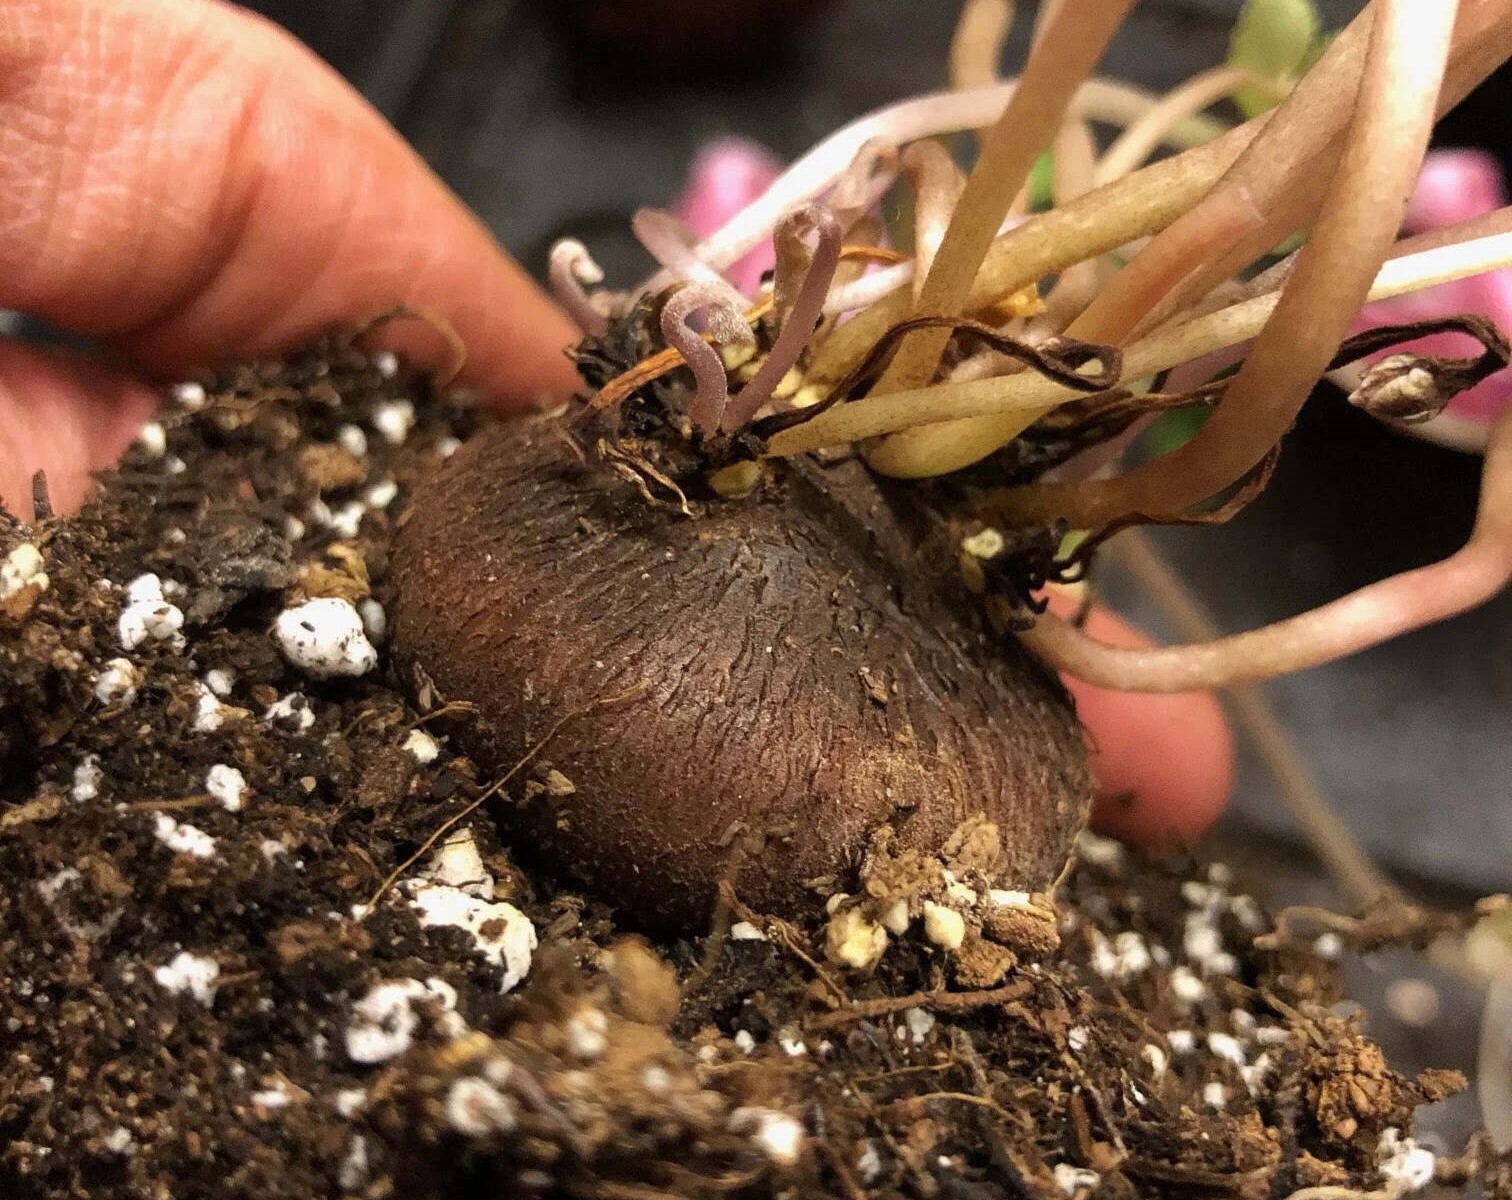
Before diving into the process of storing canna bulbs, it’s important to have a clear understanding of what they are and how they grow. Canna bulbs, also known as rhizomes, are thick underground stems that store nutrients and energy for the plant. These bulbs are the powerhouse of the canna plant, fueling its growth and providing it with the resources it needs to produce stunning flowers.
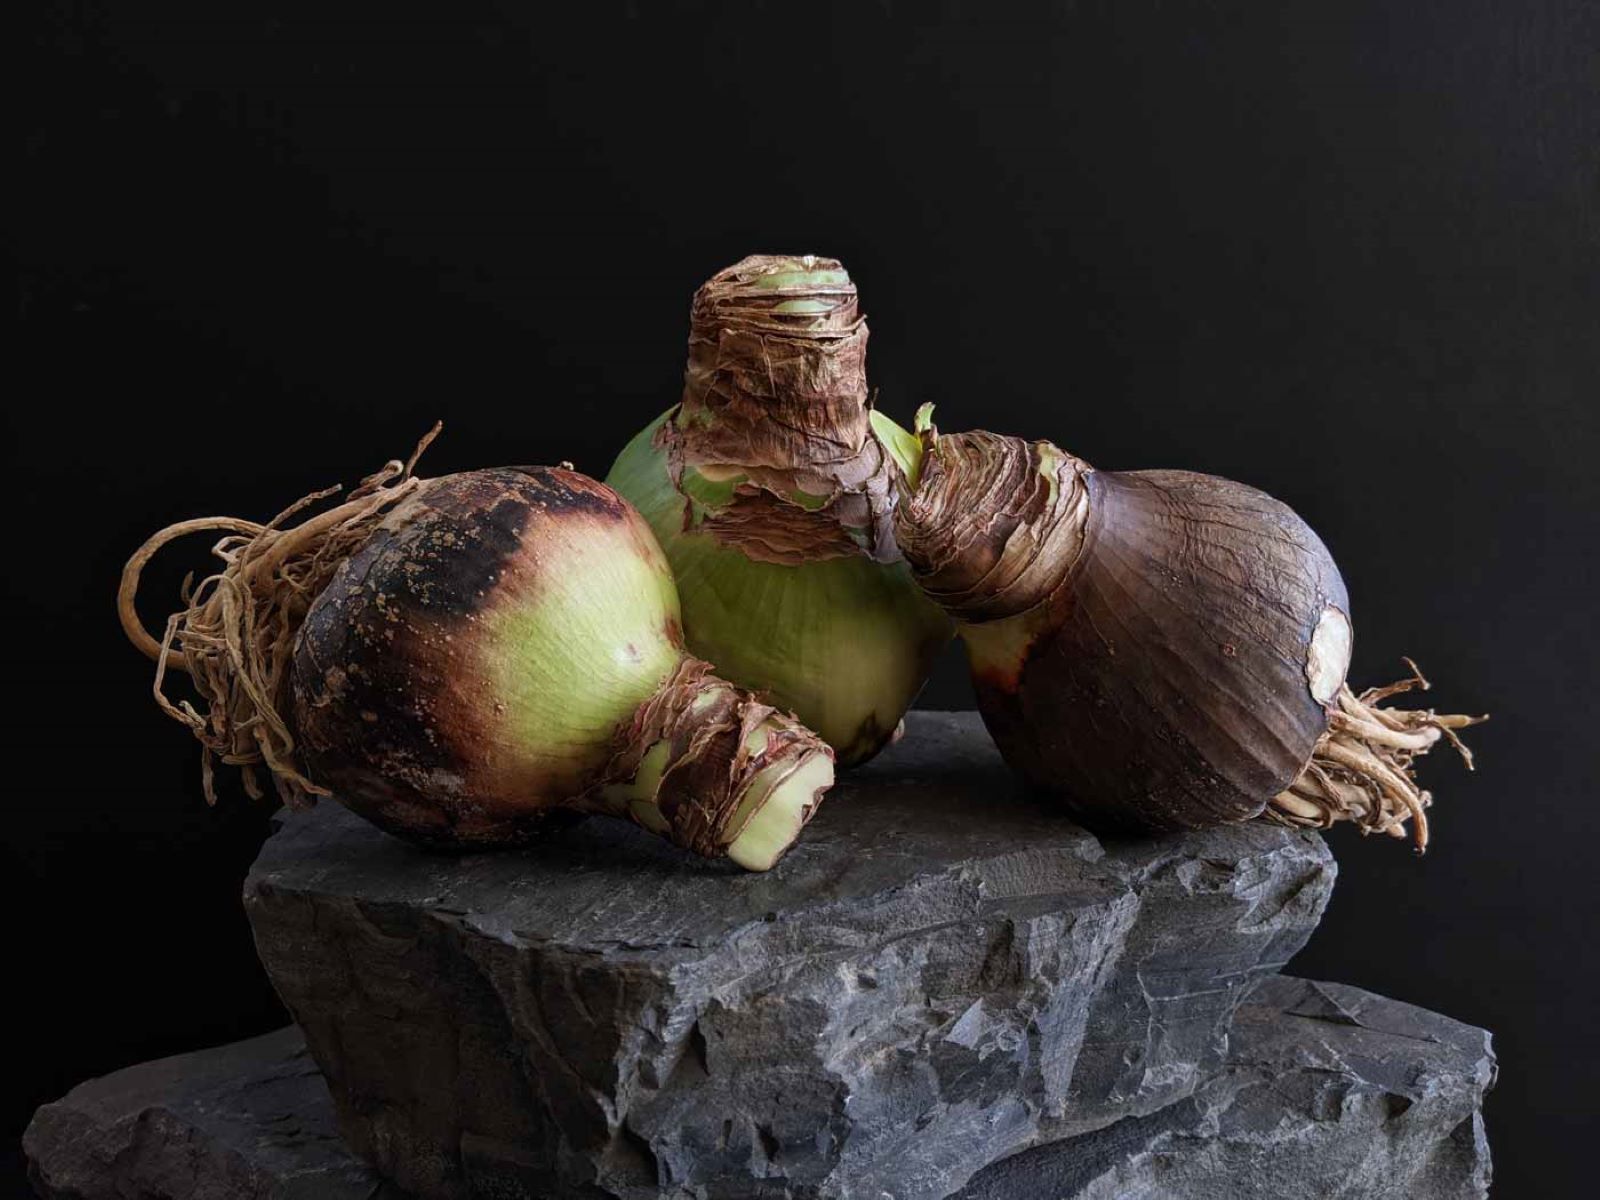
Canna bulbs come in a variety of shapes, sizes, and colors. The bulbs themselves can range from small and round to large and elongated. They are usually brown or tan in color, with a papery outer layer that protects the bulb from external elements.
Canna bulbs thrive in warm climates and require a well-draining soil to prevent waterlogging. These tropical plants are typically grown as perennials in areas with mild winters but can also be grown as annuals in colder regions. They prefer full sun but can tolerate light shade, making them a versatile choice for many gardeners.
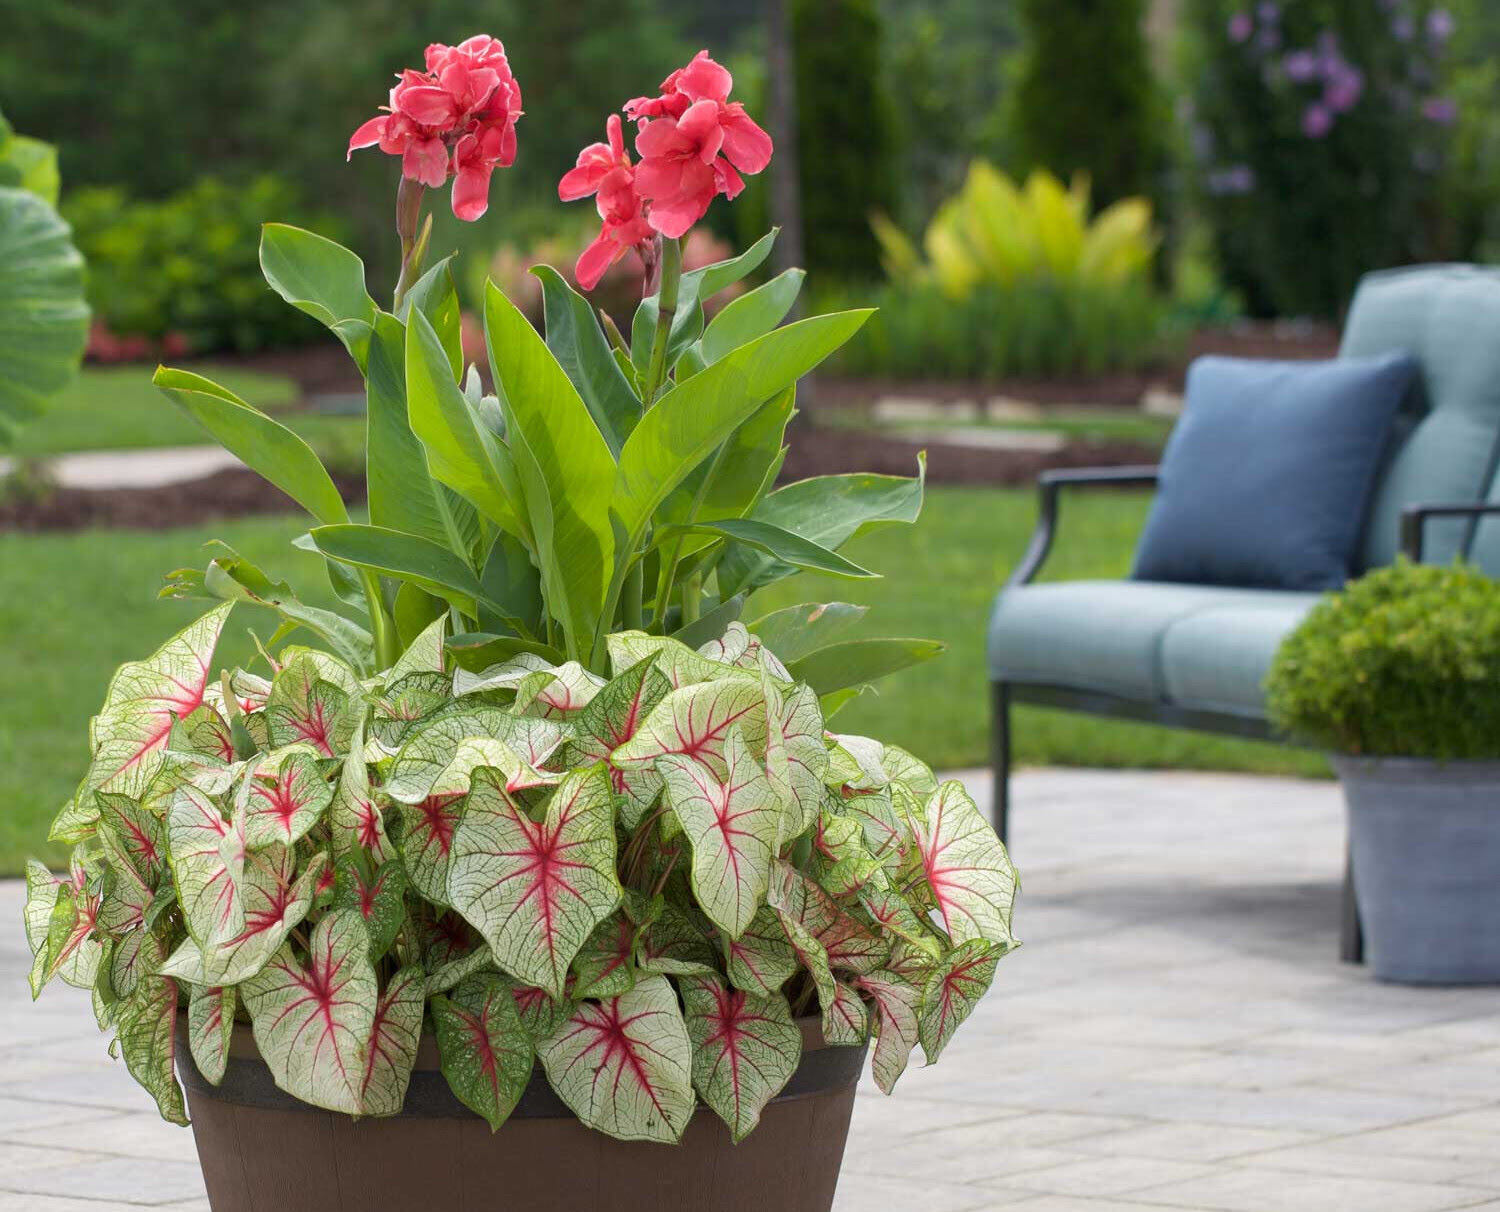
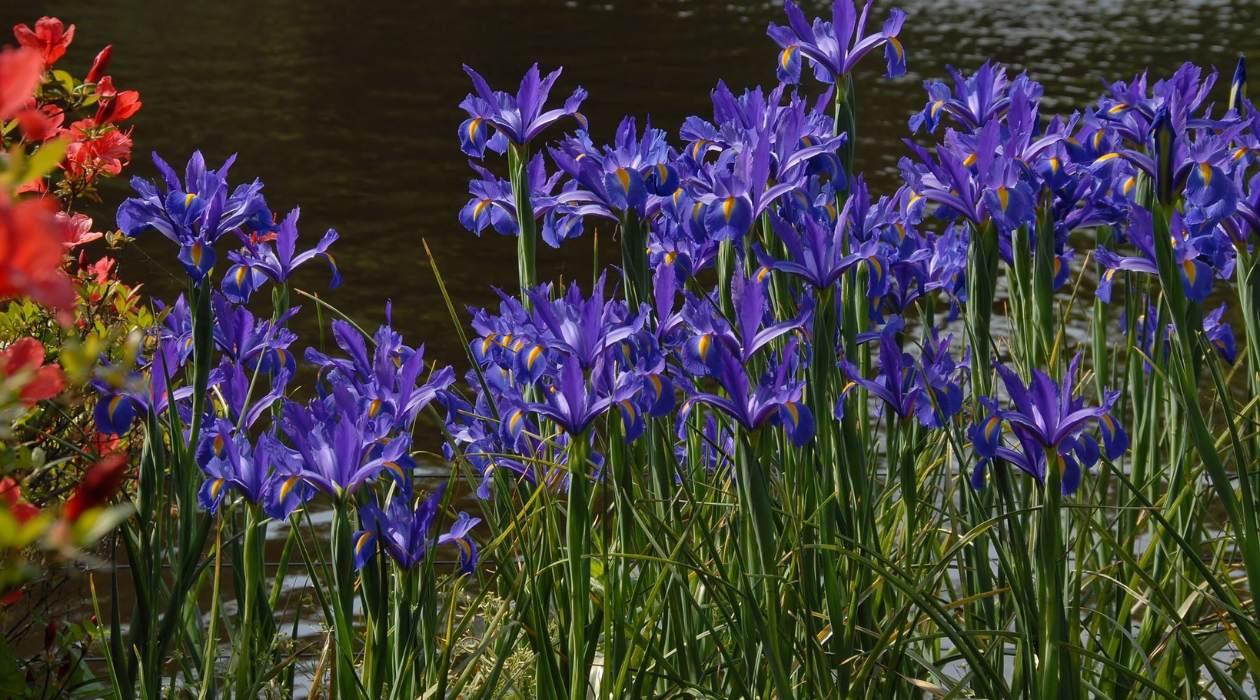
One of the most appealing aspects of canna bulbs is their ability to produce large, showy flowers in a wide range of colors, including red, orange, yellow, pink, and even bi-color combinations. The foliage of the canna plant is also highly ornamental, with large, paddle-shaped leaves that add a striking tropical element to garden landscapes.
When it comes to storing canna bulbs, it’s important to understand that these bulbs are relatively robust and can withstand a certain amount of neglect. However, providing them with optimal storage conditions will greatly increase their chances of survival and regrowth in the next growing season.
Now that we have a good grasp of what canna bulbs are and their growing requirements, let’s move on to the next step: choosing the right storage location.
Choosing the Right Storage Location
When it comes to storing canna bulbs, choosing the right storage location is crucial for their long-term survival. The ideal storage location should be cool, dry, and dark, with stable temperatures throughout the storage period.
Look for a location that maintains a temperature between 45°F (7°C) and 55°F (13°C). Avoid storing the bulbs in areas that experience extreme temperature fluctuations or are prone to high humidity levels, as this can lead to rot and mold.
The storage area should also be well-ventilated to prevent the build-up of moisture. Good air circulation will help to keep the bulbs dry and deter the growth of fungi and bacteria. If possible, consider using a fan or opening a window to promote airflow in the storage space.
In addition to temperature and ventilation, it’s important to keep the canna bulbs away from direct sunlight. Exposure to sunlight can cause the bulbs to dry out and lose their vitality. Therefore, choose a storage location that is dark or shielded from any sources of light.
Furthermore, keep the bulbs away from areas that may be accessed by rodents or pests. These critters can damage or consume the bulbs, jeopardizing their chances of survival. Consider using wire mesh or storage containers with secure lids to prevent any unwanted visitors.
Some gardeners find success in storing canna bulbs in basements, garages, or crawl spaces. Others choose to use insulated boxes, coolers, or even unused refrigerators to create an optimal storage environment. Choose the option that best suits your available space and resources.
By selecting the right storage location for your canna bulbs, you are setting the foundation for their successful storage and future regrowth. Now that you have your storage area ready, let’s move on to the next step: preparing the canna bulbs for storage.
Preparing Canna Bulbs for Storage
Before storing canna bulbs, it’s important to prepare them properly to ensure their health and viability during the storage period. Preparing the bulbs involves a few essential steps to clean, inspect, and treat them for any potential issues.
The first step in preparing canna bulbs for storage is to gently remove any excess soil or debris clinging to the bulbs. You can do this by carefully brushing off the soil or rinsing them with water. Be sure not to damage the bulb or remove any scales in the process.
Next, inspect each bulb carefully for signs of damage, disease, or pests. Look for soft spots, rot, or any unusual discoloration. If you come across any damaged bulbs, consider discarding them to prevent the spread of diseases or pests to other bulbs.
If you notice any pests on the bulbs, such as aphids or spider mites, you can gently wipe them off or use a mild insecticidal soap to control the infestation. Avoid using harsh chemicals that can harm the bulbs or the environment.
After cleaning and inspecting the bulbs, it’s a good idea to allow them to dry naturally. Place them in a well-ventilated area with good air circulation, but away from direct sunlight. The drying process helps to remove excess moisture and prevent fungal growth during storage.
While the bulbs are drying, take this opportunity to label them. Use a permanent marker or attach small tags to each bulb to indicate the variety or color. This will make it easier for you to identify them when it’s time to plant them again in the future.
Once the canna bulbs are dry and labeled, they are ready to be packaged for storage. We’ll discuss the proper packaging techniques in the next section.
By properly preparing your canna bulbs for storage, you are setting them up for a successful dormancy period and ensuring their health when it comes time to replant them. Now that the bulbs are clean, inspected, and dry, let’s move on to the next step: digging up the canna bulbs.
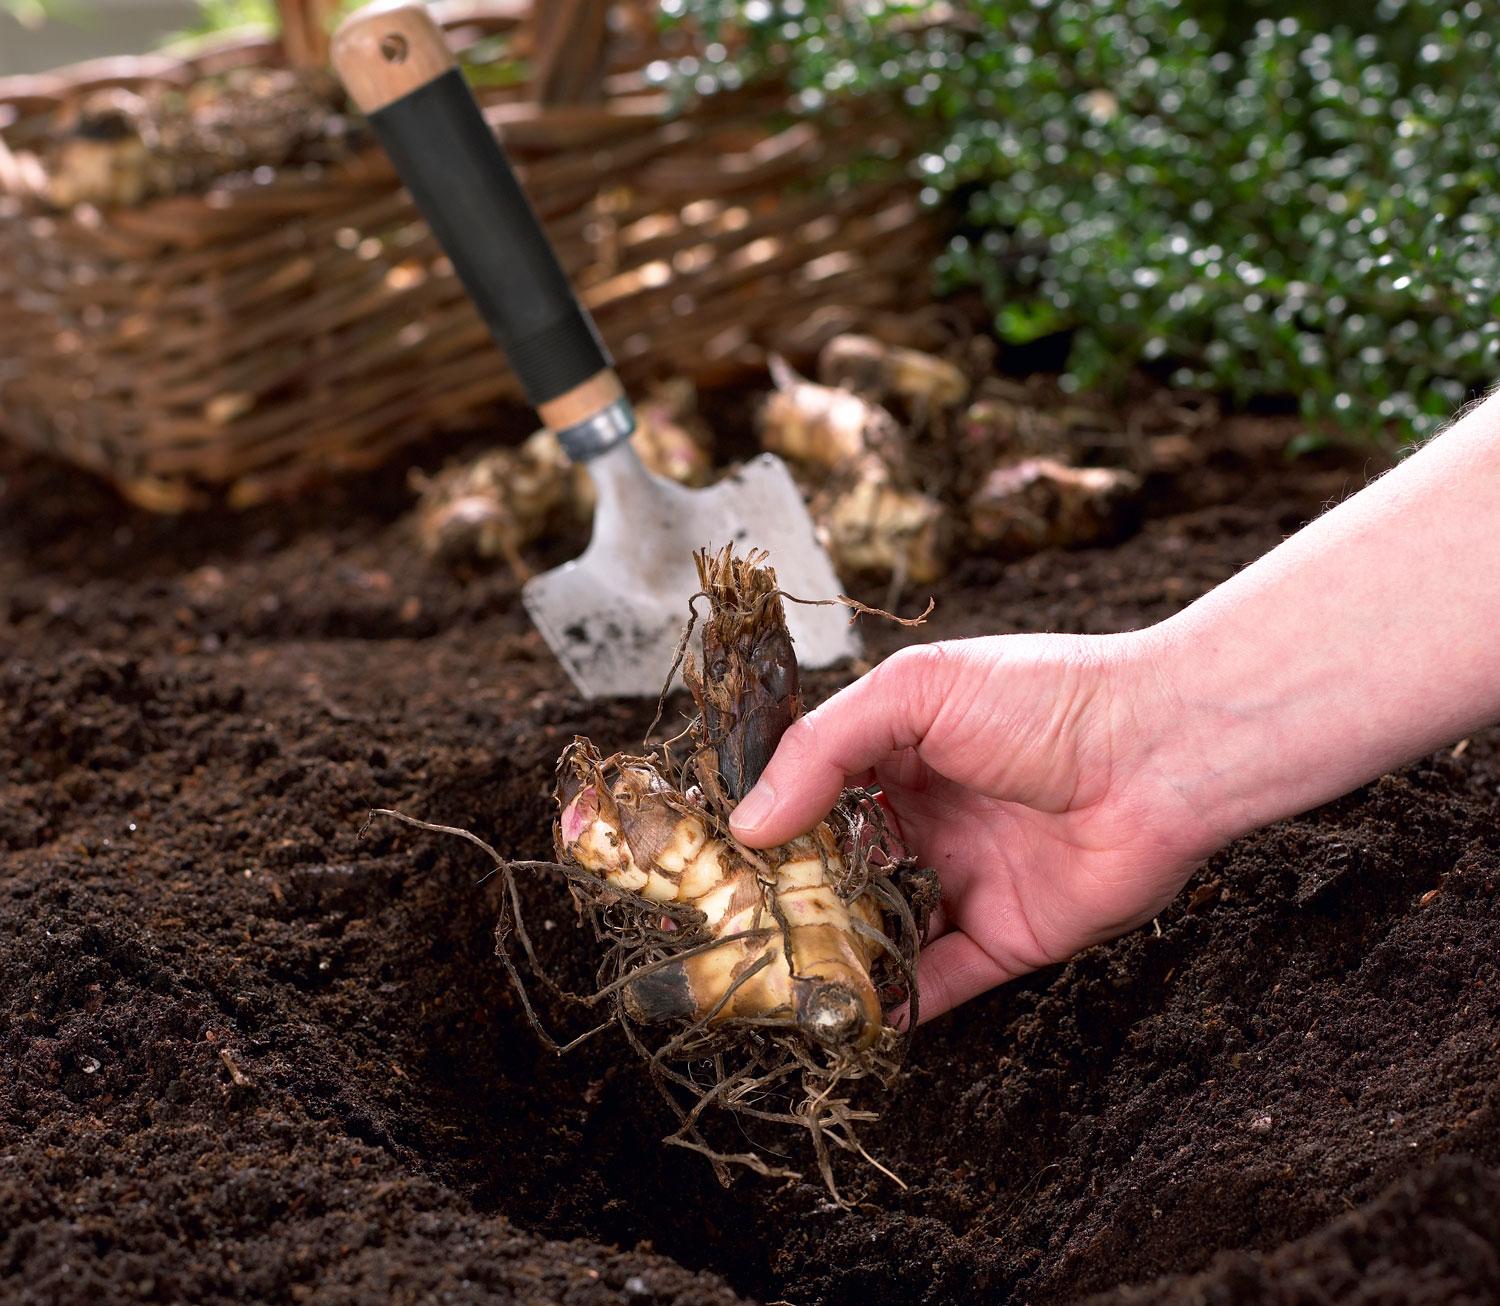
Digging Up Canna Bulbs
When it comes time to store canna bulbs for the winter, it’s essential to know the proper technique for digging up the bulbs from the ground. This process should be done carefully to avoid damaging the bulbs and ensure their successful storage.
The best time to dig up canna bulbs is after the first frost in your area or when the foliage begins to turn yellow and die back. This indicates that the bulbs have entered their dormant phase and are ready to be removed from the ground.
To dig up the canna bulbs, start by cutting back the foliage to a few inches above the ground. This step helps to reduce the bulkiness of the plant and makes it easier to handle during the digging process.
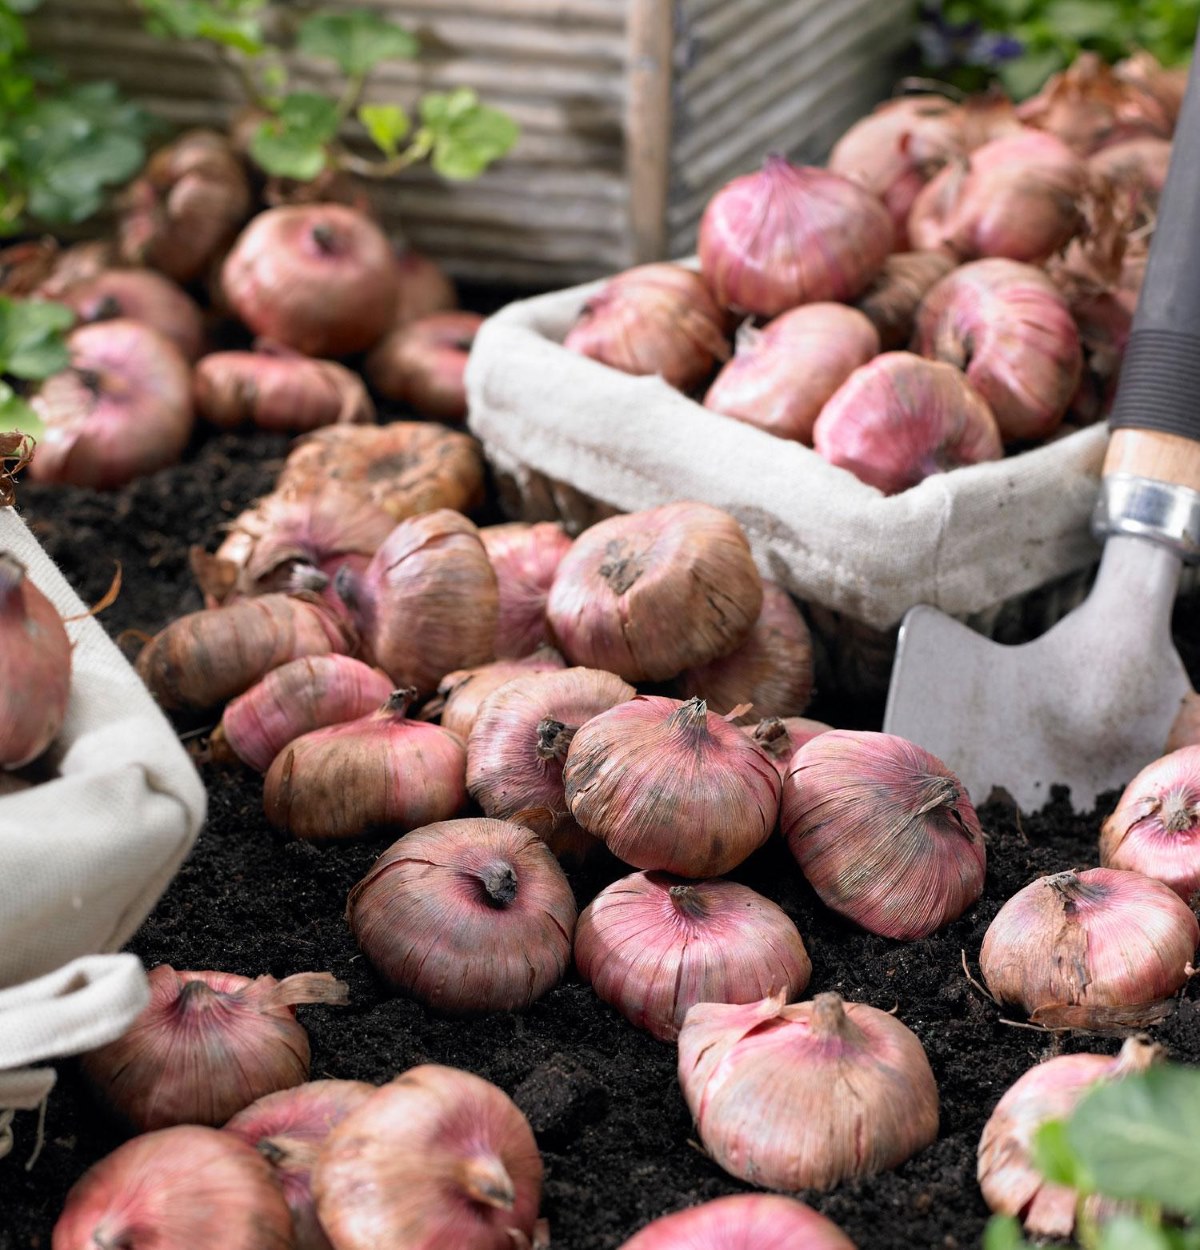
Using a garden fork or spade, carefully loosen the soil around the base of the plant. Insert the fork or spade a few inches away from the stem to avoid damaging the bulbs. Gently lift the clump of bulbs and soil from the ground, being careful not to break or separate the bulbs.
Once the clump of bulbs is lifted, use your hands to gently separate the individual bulbs from one another. Be cautious not to damage the rhizomes or break any shoots that may have already started to form. If there are any small bulbs or offsets attached to the main bulb, you can also separate them at this time.
Inspect each bulb again during this process to ensure that they are healthy and free from damage or disease. Remove any remaining soil or debris from the bulbs and set them aside for cleaning and drying.
Remember to label each bulb as you separate them, especially if you have different varieties or colors. This step will help you keep track of the bulbs when it’s time to replant them.
By following these steps to dig up your canna bulbs, you can safely remove them from the ground and proceed to the next stage of preparing them for storage.
Now that the bulbs are separated and ready for cleaning and drying, let’s move on to the next step: cleaning and drying canna bulbs.
Read more: How To Store Canna Lily Seeds
Cleaning and Drying Canna Bulbs
After digging up canna bulbs from the ground, it is important to clean and dry them thoroughly before storing. Cleaning the bulbs helps to remove any remaining soil or debris, while drying them prevents the growth of fungi and bacteria during storage.
To clean canna bulbs, begin by gently removing any loose soil or debris by hand or using a soft brush. Avoid scrubbing or using excessive force, as this can damage the bulbs. If necessary, you can rinse the bulbs with water to remove stubborn dirt, but be sure to let them dry completely before proceeding.
Once the bulbs are cleaned, it is crucial to let them dry completely. Place the bulbs in a cool, well-ventilated area away from direct sunlight. You can use a drying rack or simply lay them out on a newspaper or a clean surface. Ensure that the bulbs are spread out and not touching each other to promote airflow.
Allow the bulbs to dry naturally for about a week or two, depending on the humidity level in your area. During this time, check the bulbs regularly for any signs of moisture or rot. If you notice any soft spots or signs of decay, remove those bulbs to prevent the spread of disease to the others.
Proper drying is crucial to prevent the bulbs from rotting during storage. If the bulbs are not dried thoroughly, they may become susceptible to fungal infections, which can lead to decay and ultimately the death of the bulbs.
Once the canna bulbs are completely dry, you can proceed to the next step of inspecting and treating them for any issues before packaging them for storage.
By cleaning and drying canna bulbs properly, you are ensuring their health and longevity during the storage period. So, make sure to take the time to clean and dry the bulbs thoroughly before moving on to the next steps.
Now that the bulbs are cleaned and dried, let’s explore the next crucial step: inspecting and treating canna bulbs for any issues before storage.
After digging up canna bulbs in the fall, let them dry for a few days. Store in a cool, dry place (around 40-50°F) in peat moss or sawdust to prevent rot. Check periodically for any signs of mold or decay.
Inspecting and Treating Canna Bulbs
Before storing canna bulbs, it is essential to inspect them thoroughly for any signs of disease, pests, or damage. Identifying and addressing these issues before storage will help ensure the health and success of the bulbs during their dormant period.
Start by examining each bulb individually for any visible signs of disease or rot. Look for soft or mushy spots, discoloration, or any unusual growth on the bulbs. If you come across any bulbs with these symptoms, it is best to discard them to prevent the spread of disease to other healthy bulbs.
In addition to disease, check for any signs of pest infestation. Look for insects, such as aphids or spider mites, that may be present on the bulbs or in the surrounding soil. If you spot any pests, consider treating the bulbs with a mild insecticidal soap or organic pest control methods to eliminate the infestation before storage.
If you notice any small offsets or bulbs attached to the main bulb, inspect them separately as well. Sometimes these smaller bulbs can be prone to disease or pests, so it is important to examine them closely. Treat or discard any offsets that show signs of damage or infestation.
Once you have inspected the bulbs, you may want to consider taking preventative measures to protect them during storage. Some gardeners choose to dust the bulbs with a fungicide powder or dip them in a mixture of water and hydrogen peroxide. These treatments help to inhibit the growth of fungi and bacteria that can cause decay during storage.
However, it is important to note that these treatments are optional and should be used with caution. Always follow the instructions on the product label and use appropriate safety precautions when applying any chemicals to the bulbs.
By thoroughly inspecting and treating canna bulbs for any issues before storage, you are taking proactive steps to ensure their health and minimize the risk of disease or pest problems during the dormant period.
Now that the bulbs have been inspected and treated, it’s time to proceed to the next step: packaging the canna bulbs for storage.
Packaging Canna Bulbs for Storage
Proper packaging plays a crucial role in ensuring the longevity and health of canna bulbs during storage. By following these steps, you can package your bulbs in a way that provides protection from moisture, pests, and other potential hazards.
First, prepare the packaging material. You can use a variety of options, such as paper bags, mesh bags, or even old nylon stockings. These materials allow for proper air circulation while keeping the bulbs contained.
Before placing the bulbs in the packaging, consider adding a layer of dry peat moss, vermiculite, or wood shavings at the bottom. This helps absorb excess moisture and provides additional insulation for the bulbs.
Next, arrange the canna bulbs in a single layer inside the packaging. Avoid overcrowding or stacking the bulbs, as this could lead to increased moisture retention and potential bulb damage. Leave some space between the bulbs to allow for air circulation.
If you have different varieties or colors of canna bulbs, it’s a good idea to separate them into different packages or label them within the packaging. This will make it easier to identify specific bulbs when it’s time to replant them.
Once the bulbs are in place, you can add another layer of the chosen packing material on top. This helps provide an extra buffer and protection for the bulbs during storage.
Seal the packaging securely to prevent any moisture or pests from entering. You can use twist ties, rubber bands, or even tape to ensure a tight seal. Double-check that the packaging is sealed properly to keep the bulbs safe.
After packaging, store the canna bulbs in a cool, dry, and dark location. Remember to avoid extreme temperature fluctuations and high humidity areas, as these can negatively impact the stored bulbs.
Periodically check on the bulbs during the storage period to ensure there are no signs of decay, pests, or moisture accumulation. If you notice any issues, take appropriate actions to address them promptly.
By properly packaging canna bulbs for storage, you are providing them with the necessary protection and conditions for successful dormancy. Now that the bulbs are securely packaged, let’s move on to the next step: storing canna bulbs.
Storing Canna Bulbs
Proper storage is essential to ensure the health and vitality of canna bulbs during their dormant period. Follow these guidelines to store your canna bulbs in a way that maximizes their chances of surviving and thriving until the next growing season.
Once the canna bulbs are securely packaged, find a suitable storage location that meets the necessary criteria. As mentioned earlier, the ideal storage area should be cool, dry, dark, and well-ventilated. Aim for a consistent temperature between 45°F (7°C) and 55°F (13°C) throughout the storage period.
Basements, garages, and crawl spaces are often suitable options for storing canna bulbs. These areas typically provide the cool temperatures and controlled environments required for successful storage. Avoid storing the bulbs near appliances or areas prone to temperature fluctuations.
Place the packaged canna bulbs in the chosen storage area, making sure they are protected from any potential sources of moisture, pests, and direct light. Keep the bulbs away from areas that are accessed by rodents or insects, as they can cause damage or contaminate the bulbs.
During the storage period, it’s important to periodically check on the bulbs to ensure that they remain in good condition. Remove any bulbs that show signs of decay, rot, or pests to prevent the spread of problems to the rest of the stored bulbs.
Avoid disturbing the bulbs unnecessarily during storage. Excessive handling can potentially damage the bulbs or disrupt their dormancy, which can affect their regrowth in the next growing season.
As the storage period nears its end, start planning for the next planting season. Make a note of when you will need to retrieve the stored canna bulbs and begin the process of preparing them for planting. This preparation typically involves cleaning, inspecting, and treating the bulbs before planting them in the spring.
By following these storage guidelines, you are providing the necessary conditions for canna bulbs to remain healthy and viable during their dormant period. With proper storage, you can look forward to beautiful blooms and lush foliage in the upcoming growing season.
Now that you have successfully stored the canna bulbs, let’s move on to the next step: monitoring and caring for the stored bulbs during their dormancy period.
Read more: How To Plant Canna Lily Seeds
Monitoring and Caring for Stored Canna Bulbs
While canna bulbs are in storage, it’s important to periodically monitor and care for them to ensure their health and viability during the dormancy period. By following these guidelines, you can give your stored canna bulbs the attention they need to thrive when it’s time to replant them.
Regularly inspect the stored bulbs for any signs of decay, rot, or pest infestations. Check for soft spots, mold, or any unusual discoloration. If you notice any issues, promptly remove the affected bulbs to prevent further spread of disease or pests.
Ensure that the storage area remains cool, dry, and well-ventilated throughout the dormancy period. Avoid exposing the bulbs to extreme temperature fluctuations or high humidity. Monitor the temperature and humidity levels in the storage area to maintain optimal conditions for the bulbs.
If you live in an area with harsh winters or have experienced an extended period of cold weather, you may want to consider protecting the stored bulbs from extreme cold. Insulate the packaging with additional layers of newspaper, bubble wrap, or other protective materials to provide additional insulation.
Check the bulbs for any signs of dehydration during storage. If they appear shriveled or dry, you can lightly mist them with water to help rehydrate them. However, be careful not to overwater, as excess moisture can lead to rot.
Occasionally inspect the packaging for any signs of damage or deterioration. If you notice any tears or holes, consider resealing or replacing the packaging to safeguard the bulbs from potential pests or moisture intrusion.
As the storage period nears its end, start preparing for the upcoming planting season. Plan ahead by gathering the necessary tools, pots, and soil for transplanting the stored canna bulbs. Take note of the recommended planting time for your specific region.
About a month before the intended planting date, gently remove the canna bulbs from storage and allow them to acclimate to room temperature. Inspect the bulbs again for any signs of damage or impurities before proceeding with the planting process.
By monitoring and caring for the stored canna bulbs, you are ensuring their health and increasing the chances of successful regrowth in the next growing season. With proper care, you can look forward to a vibrant display of beautiful canna plants.
Now that you know how to monitor and care for the stored bulbs, it’s time to explore some additional tips for successful canna bulb storage.
Tips for Successful Canna Bulb Storage
To optimize the success of storing canna bulbs and ensure their health and viability for future growth, consider following these helpful tips:
- Choose healthy bulbs: Prioritize storing bulbs that are healthy and free from any signs of disease or damage. Healthy bulbs have a higher chance of surviving and thriving during storage.
- Label bulbs: Use labels or markers to identify different varieties or colors of canna bulbs. This makes it easier to organize and categorize the bulbs when it’s time for replanting.
- Avoid using plastic bags: Plastic bags can trap moisture and lead to the growth of mold or rot. Opt for breathable packaging materials, such as paper bags or mesh bags, to allow for proper air circulation.
- Store bulbs upright: If possible, store canna bulbs in an upright position rather than horizontally. This helps prevent moisture from settling near the base of the bulbs, reducing the risk of rot.
- Inspect bulbs regularly: Regularly check the stored bulbs for any signs of decay, pests, or moisture accumulation. Promptly address any issues to prevent further damage or spread of problems.
- Avoid exposure to chemicals: Keep canna bulbs away from areas where chemicals, such as pesticides or fertilizers, are stored. Chemical exposure can be harmful to the bulbs and negatively affect their viability.
- Avoid storing near fruits: Canna bulbs produce a small amount of ethylene gas, which can accelerate the ripening process of fruits. To prevent premature ripening or spoilage, store canna bulbs separately from fruits.
- Maintain proper airflow: Ensure that there is adequate ventilation in the storage area. Good airflow helps prevent the build-up of excess moisture and reduces the risk of mold or fungal growth.
- Don’t overcrowd: Avoid overcrowding the bulbs in the storage containers. Give each bulb enough space to allow for proper air circulation and reduce the chances of rot or disease.
- Keep a storage log: Consider keeping a record of the storage conditions, including the storage location, temperature, and humidity levels. This allows you to track the success of storage and make adjustments if needed.
By implementing these tips, you can maximize the chances of successful canna bulb storage and enjoy a vibrant display of healthy plants in the upcoming growing season. After all, proper storage is key to preserving the vitality and beauty of canna bulbs.
Now that you have a comprehensive understanding of canna bulb storage and the best practices involved, you are well-equipped to successfully store and care for your canna bulbs. Happy gardening!
Conclusion
Storing canna bulbs is a critical step in ensuring the health, longevity, and successful regrowth of these beautiful tropical plants. By following the guidelines and tips outlined in this comprehensive guide, you are equipped with the knowledge and techniques necessary to store canna bulbs successfully.
Understanding the nature of canna bulbs and their growing requirements is the first step in providing them with the right storage conditions. Choosing a suitable storage location that is cool, dark, dry, and well-ventilated is crucial for their overall health and survival during the dormant period.
Preparing canna bulbs for storage requires cleaning, inspecting, and drying them, ensuring they are free from debris, disease, and pests. By taking the time to inspect and treat any issues, you are giving the bulbs the best chance for a successful storage period.
Properly packaging the canna bulbs in breathable materials and separating them by variety or color helps maintain their integrity and makes it easier to identify them come planting time. Storing the bulbs in a stable environment and periodically monitoring their condition is essential for their well-being during dormancy.
As the storage period comes to an end, carefully prepare and acclimate the bulbs for planting. With proper care and attention, you can look forward to the vibrant blossoms and lush foliage of canna plants in the next growing season.
Remember to keep a storage log and make note of any adjustments or improvements that can be made for future storage periods. Each year presents an opportunity to refine your storage techniques and enhance the success of canna bulb storage.
By following these steps and incorporating the tips provided, you can enjoy the beauty and splendor of canna plants year after year. With proper storage, care, and a little bit of gardening expertise, your canna bulbs will thrive, delighting you with their stunning display in your garden.
So, roll up your sleeves, gather your canna bulbs, and embark on this exciting journey of storing and caring for these remarkable plants. The reward of vibrant, colorful blooms will be well worth the effort. Happy gardening!
Frequently Asked Questions about How To Store Canna Bulbs
Was this page helpful?
At Storables.com, we guarantee accurate and reliable information. Our content, validated by Expert Board Contributors, is crafted following stringent Editorial Policies. We're committed to providing you with well-researched, expert-backed insights for all your informational needs.

0 thoughts on “How To Store Canna Bulbs”