Articles
How To Store Carrots In A Root Cellar
Modified: August 27, 2024
Learn how to store carrots in a root cellar with our informative articles. Preserve the freshness and extend the shelf life of your carrots easily.
(Many of the links in this article redirect to a specific reviewed product. Your purchase of these products through affiliate links helps to generate commission for Storables.com, at no extra cost. Learn more)
Introduction
Storing carrots in a root cellar is a time-honored tradition that not only preserves their freshness but also enhances their flavor and nutritional value. A root cellar provides the ideal conditions for carrots to remain crisp and juicy for an extended period of time, ensuring that you can enjoy this versatile vegetable long after the harvest season has passed.
In this article, you will learn about the benefits of storing carrots in a root cellar, the process of choosing the right carrots for storage, how to harvest and prep them for optimal preservation, setting up a root cellar, and tips for checking their quality over time and using them in various recipes.
By following these guidelines, you can enjoy the sweetness and crunch of freshly harvested carrots well into the winter months, allowing you to savor the taste of your hard work in the garden year-round.
Key Takeaways:
- Storing carrots in a root cellar prolongs their shelf life, preserves their quality and nutritional value, reduces waste, and provides convenient access to this versatile vegetable year-round.
- Proper selection, harvesting, prepping, and storage in a well-designed root cellar are essential for maximizing the longevity and flavor of homegrown carrots. Enjoy them in a variety of delicious dishes throughout the year.
Read more: Root Cellar How To Build
Benefits of Storing Carrots in a Root Cellar
Storing carrots in a root cellar offers numerous benefits that go beyond simply keeping them fresh. Here are some of the advantages of using a root cellar for carrot storage:
- Prolonged shelf life: Carrots stored in a root cellar can last for months, allowing you to enjoy them well into the winter season. This is particularly valuable if you have a bountiful carrot harvest and want to make the most of your produce.
- Preservation of quality: Root cellars provide the perfect environment to maintain the crispness, juiciness, and flavor of carrots. The cool and humid conditions prevent them from drying out or becoming rubbery, ensuring that you can enjoy the same delicious taste as when they were freshly harvested.
- Nutritional value retention: Carrots are loaded with essential vitamins and minerals, and storing them in a root cellar helps preserve their nutritional content. The controlled temperature and humidity levels in a root cellar minimize nutrient loss, allowing you to reap the maximum health benefits from your stored carrots.
- Cost savings: By storing your own carrots, you can save money by reducing your reliance on store-bought vegetables. It also allows you to take advantage of the abundance during the harvest season, avoiding price spikes when carrots are out of season.
- Reduced waste: Storing carrots in a root cellar helps reduce food waste as it allows you to utilize the entire harvest effectively. Instead of the excess carrots spoiling or needing to be given away, you can store them and enjoy them gradually over an extended period.
- Convenience: Having a stash of carrots in your root cellar provides convenient access to this versatile vegetable whenever you need it. You can easily retrieve carrots for cooking, juicing, or snacking without the need for frequent grocery store visits.
Overall, storing carrots in a root cellar is a practical and rewarding practice that allows you to preserve the quality and nutritional value of this humble vegetable while enjoying the convenience and cost savings of having a bountiful supply at your fingertips.
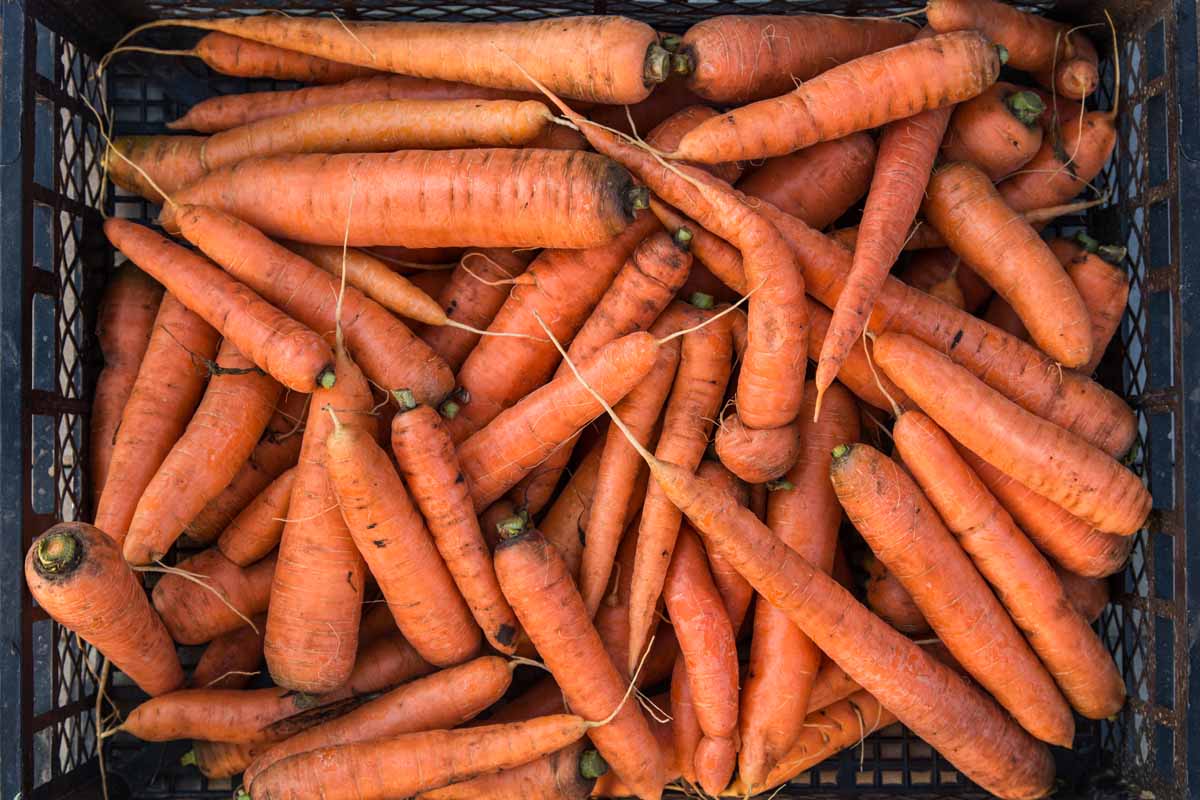
Choosing the Right Carrots for Storage
When it comes to storing carrots in a root cellar, selecting the right ones at harvest time is crucial. Here are some considerations to keep in mind when choosing carrots for long-term storage:
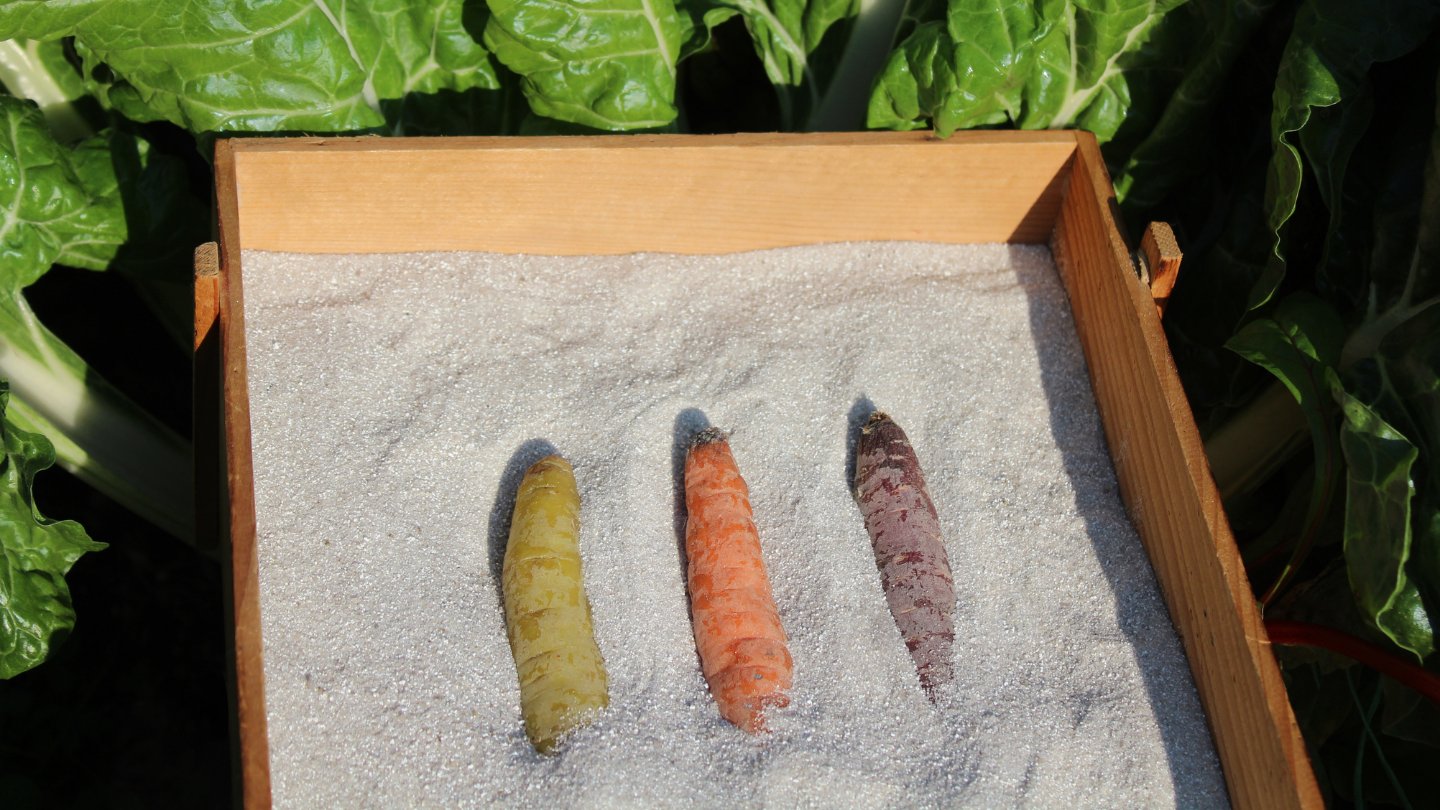
- Select mature carrots: Choose carrots that have reached full maturity before harvesting them for storage. Look for carrots that are fully colored, firm, and have a healthy appearance. Immature or damaged carrots are more prone to spoilage and should be consumed fresh instead.
- Avoid blemished or deformed carrots: Carrots with cuts, bruises, or deformities are more susceptible to rot and should not be stored. These imperfections provide entry points for bacteria or fungi, compromising the storage quality of the entire batch.
- Opt for thick carrots: Thicker carrots tend to store better than thin ones. Their larger size provides more moisture, which helps keep them hydrated during the storage period. Additionally, thick carrots are less likely to shrivel or become limp over time.
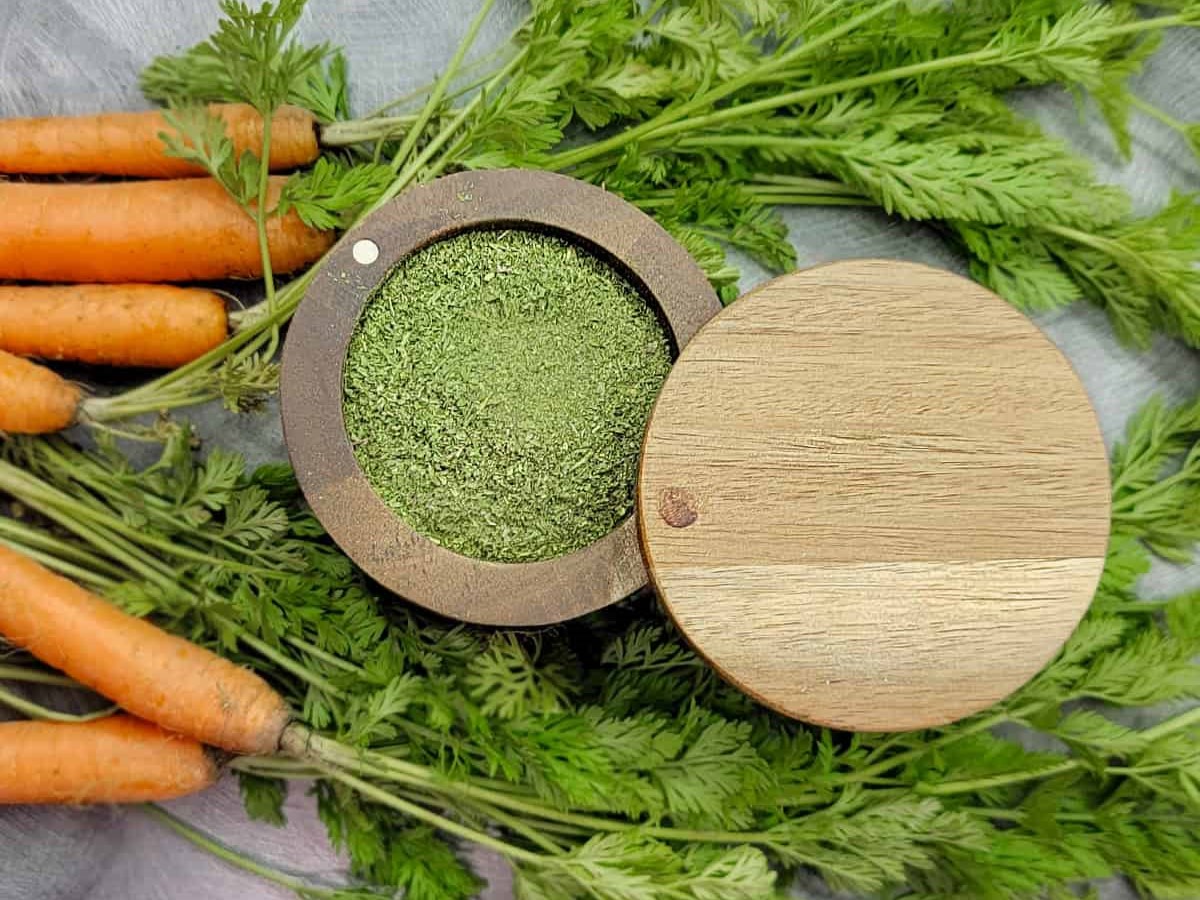
- Remove carrot tops: Before storing carrots, remove the green tops. Carrot greens continue to draw moisture and nutrients from the roots, causing the carrots to deteriorate faster. Snip off the tops, leaving about an inch of the stem intact.
- Consider storage varieties: Some carrot varieties are specifically bred for long-term storage. Look for varieties such as “Nantes,” “Chantenay,” or “Danvers,” which are known for their excellent storage capabilities.
- Sort carrots by size: If you have carrots of varying sizes, it’s a good idea to sort them before storage. Larger carrots tend to have a longer shelf life, so you can use those first and save the smaller ones for later consumption.
By carefully selecting mature, undamaged, and properly trimmed carrots, you can greatly improve their chances of staying fresh and delicious during their time in the root cellar. Remember, the quality of the carrots you initially choose will directly impact their storage life and overall enjoyment.
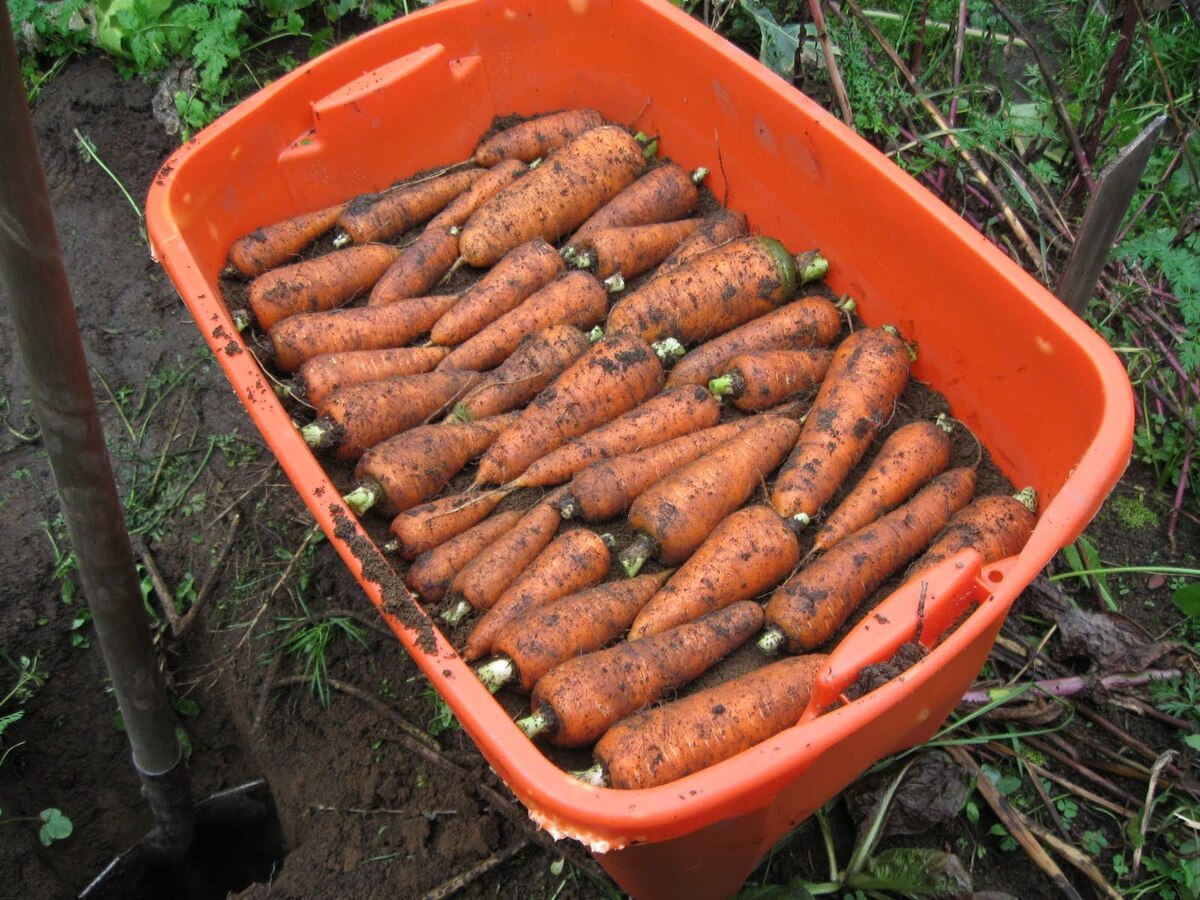
Harvesting Carrots for Storage
Proper harvesting techniques are essential to ensure that your carrots are in optimal condition for storage in a root cellar. Here are the steps to follow when harvesting carrots:
- Timing is key: Carrots are typically ready for harvest when they have reached their mature size, which is usually around 60 to 80 days after planting, depending on the variety. Check the seed packet or plant tag for specific guidance.
- Loosen the soil: Before harvesting, gently loosen the soil around the carrots using a garden fork or a spade. Be cautious not to damage the carrots in the process.
- Gently pull or lift: To remove the carrots from the ground, hold the leafy green tops close to the base and gently pull or lift them straight out. If the soil is compacted, you may need to use a spading fork to lift the carrots without causing damage.
- Inspect for damage: As you harvest each carrot, inspect it for any signs of damage or disease. Discard any carrots that are cracked, split, or show signs of rot. It’s important to only store carrots that are in good condition.
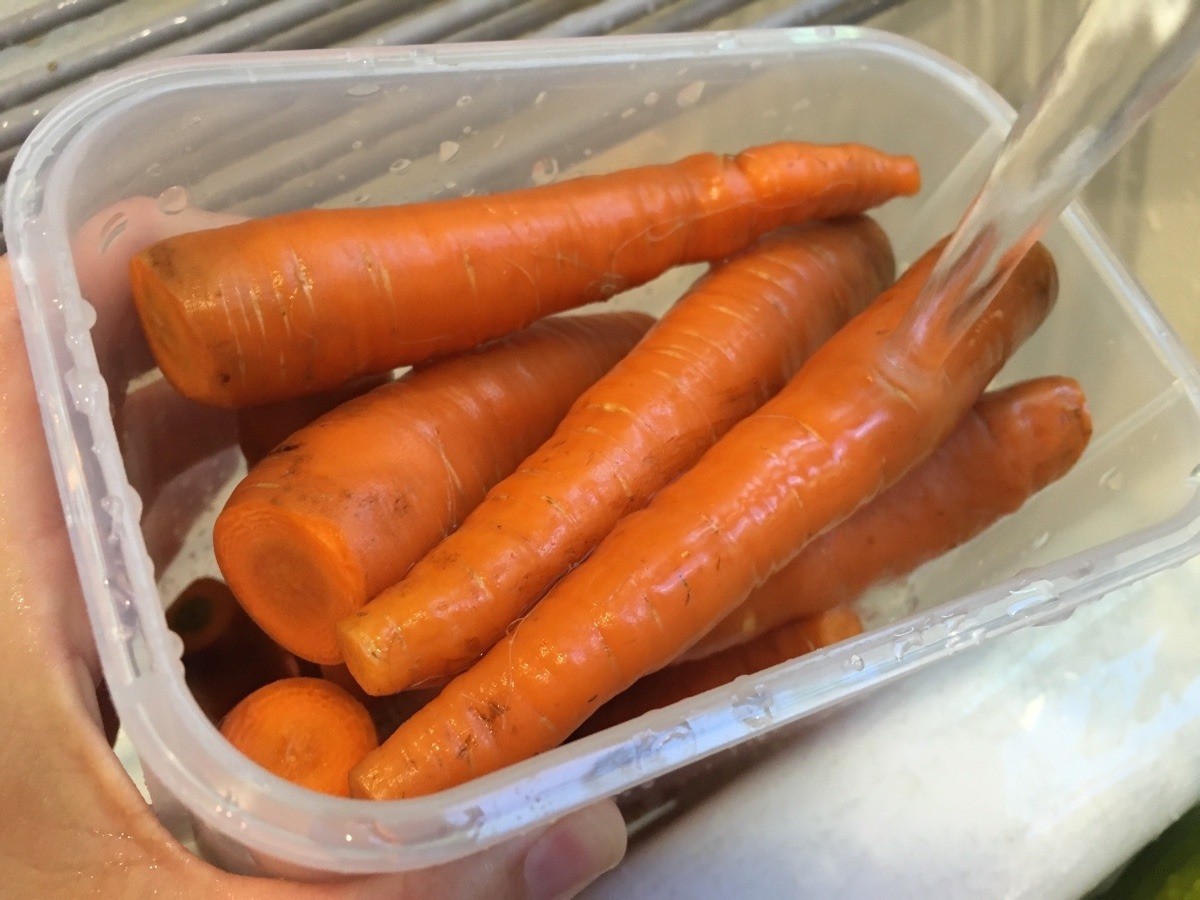
- Brush off excess soil: Gently brush off any excess soil clinging to the carrots. Avoid washing them as the moisture can promote spoilage during storage.
- Trim the tops: As mentioned earlier, trim the green tops of the carrots, leaving about an inch of stem intact. This helps prevent moisture loss and prolongs the storage life of the carrots.
- Handle with care: Handle the harvested carrots delicately to avoid bruising or damaging them. Rough handling can lead to premature spoilage or storage issues down the line.
By following these steps, you can ensure that your harvested carrots are fresh, undamaged, and ready for long-term storage in your root cellar. Proper harvesting techniques contribute to the overall quality and longevity of your stored carrots, allowing you to enjoy their delicious flavor for an extended period.
Prepping Carrots for Storage
To maximize the shelf life and quality of your stored carrots, proper preparation is essential. Here are the steps to follow when prepping carrots for storage:
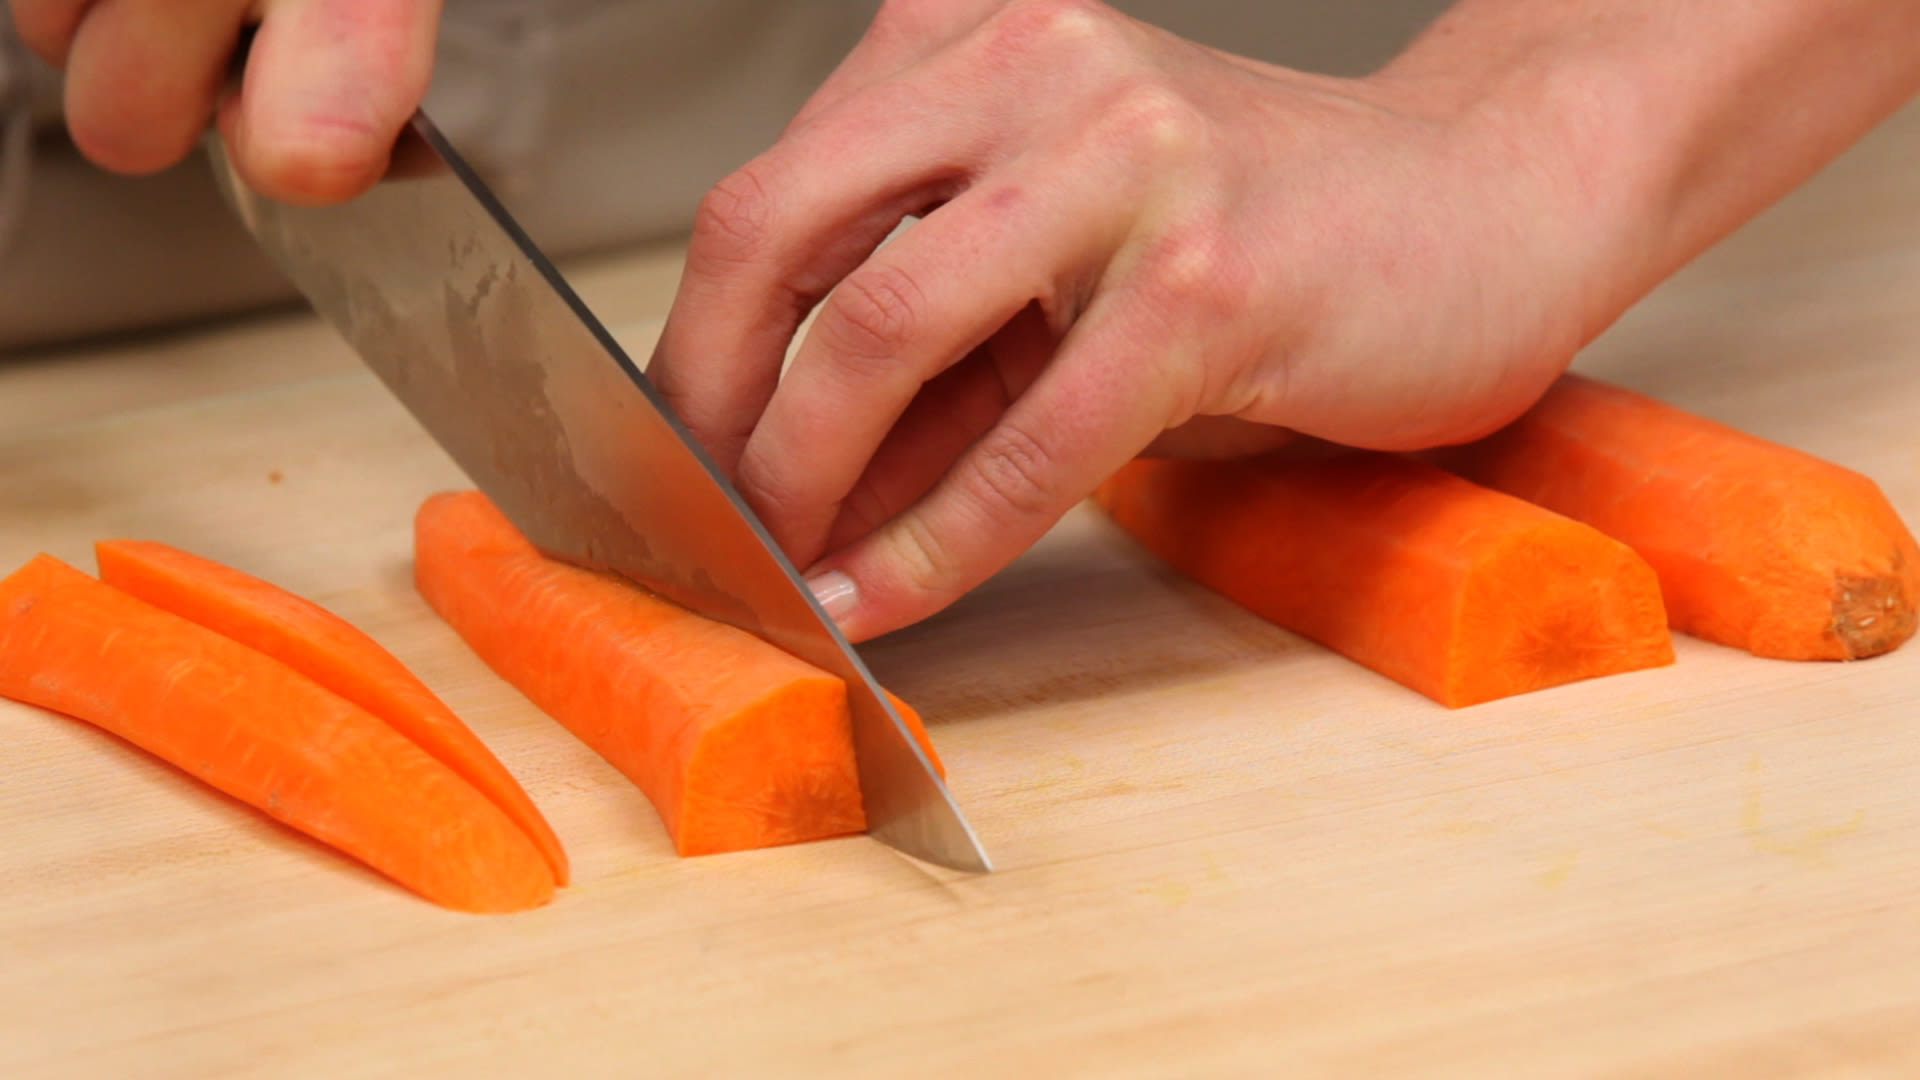
- Trim excess foliage: Start by cutting off the remaining green tops of the carrots, leaving about an inch of stem. This prevents the tops from drawing moisture and nutrients from the roots, prolonging the storage life.
- Remove dirt and debris: Gently brush off any excess dirt or debris from the carrots. Avoid washing them at this stage to prevent introducing excess moisture, which can lead to spoilage.
- Inspect for damage: Before storing, carefully examine each carrot for any signs of damage or disease. Discard any carrots that are bruised, cracked, or show any signs of rot. Storing only healthy carrots ensures that they stay fresh and flavorful.
- Sort by size: If you have carrots of varying sizes, consider sorting them before storage. This allows you to use larger carrots first, as they tend to have a longer shelf life, while saving smaller ones for later.
- Choose storage containers: Select suitable containers for storing the carrots in the root cellar. Opt for breathable options such as crates, mesh bags, or wooden boxes. Avoid using airtight or plastic containers, as they can trap moisture and promote rot.
- Add moisture if necessary: If your root cellar tends to be dry, you can add some moisture to maintain the humidity levels. Place a damp cloth or paper towel at the bottom of the storage container to provide a slightly humid environment for the carrots.
- Layer the carrots: Arrange the carrots in a single layer in the container, making sure they are not touching each other. This helps prevent the spread of any potential rot or mold if one carrot spoils. You can separate the layers with straw or newspaper for added insulation.
- Store in a cool and dark location: Lastly, transfer the prepared carrots to a cool, dark, and well-ventilated root cellar. The ideal temperature for storing carrots is around 32-40°F (0-4°C) with a humidity level of 90-95%. Check the root cellar periodically to ensure the conditions remain optimal.
By following these steps, you can ensure that your carrots are properly prepped and ready for successful storage in a root cellar. Taking the time to prepare them correctly will help preserve their freshness and flavor, allowing you to enjoy homegrown carrots throughout the winter months.
To store carrots in a root cellar, make sure to remove the green tops to prevent moisture loss from the roots. Store the carrots in a cool, dark, and humid environment to keep them fresh for an extended period.
Read more: How To Make A Root Cellar In Your Basement
Setting Up the Root Cellar
A well-designed root cellar provides the ideal environment for storing carrots and other root vegetables. Here are the key factors to consider when setting up your root cellar:
- Location: Choose a cool, dark, and well-ventilated area for your root cellar. An underground location, such as a basement or cellar, is ideal as it naturally maintains a cool and consistent temperature. If you don’t have an underground space, you can create a root cellar-like environment in a cool corner of your basement or a dedicated space in your garage.
- Temperature control: The ideal temperature for a root cellar is around 32-40°F (0-4°C). Install a thermometer to monitor the temperature regularly and make necessary adjustments if needed. Insulate the space to help maintain a consistent temperature, especially in regions with extreme weather conditions.
- Humidity: High humidity levels are important for vegetable storage. Aim for a humidity level of 90-95% in your root cellar. You can increase humidity by placing a pan of water or damp towels in the cellar or using a humidifier if necessary.
- Ventilation: Proper ventilation is essential to prevent the build-up of ethylene gas, which can cause vegetables to spoil quickly. Install vents or use a fan to maintain air circulation in the root cellar.
- Shelving and storage containers: Use sturdy and well-ventilated shelves or racks to hold your stored carrots. Avoid direct contact between the carrots and the floor or walls of the root cellar. Consider using crates, mesh bags, or wooden boxes for storing the carrots, as they allow for air circulation.
- Lighting: Keep the root cellar as dark as possible, as exposure to light can cause carrots and other root vegetables to sprout prematurely. Use low-light or motion-sensor lighting if necessary for easy access when retrieving the stored carrots.
- Pest prevention: Take measures to keep rodents, insects, and other pests out of your root cellar. Seal any cracks or openings, and consider using traps or natural deterrents to protect your stored produce.
- Monitoring and maintenance: Regularly inspect the root cellar for any signs of spoilage, mold, or decay. Remove any damaged or rotting vegetables promptly to prevent the spread of spoilage. Check the temperature and humidity levels regularly, making adjustments as needed.
By setting up your root cellar with careful consideration for temperature, humidity, ventilation, and other factors, you can create an optimal storage environment for your carrots. This will help preserve their freshness and quality, allowing you to enjoy homegrown carrots throughout the storage season.
Storing Carrots in the Root Cellar
Storing carrots in a root cellar requires proper organization and maintenance to ensure their long-term freshness. Here are the steps to follow when storing carrots in your root cellar:
- Prepare the carrots: Before storing, make sure the carrots are properly prepped by trimming the tops, removing any dirt, and inspecting for damage. Sort them by size if necessary.
- Choose storage containers: Select breathable containers such as crates, mesh bags, or wooden boxes for storing the carrots. Avoid airtight or plastic containers, as they can trap moisture and lead to spoilage.
- Layer the carrots: Arrange the carrots in a single layer in the storage containers, ensuring that they are not touching each other. This prevents the spread of any potential rot or mold in case one carrot spoils.
- Add insulation: If desired, you can add a layer of straw or newspaper between the carrot layers for added insulation and moisture control. This helps maintain a stable environment for the carrots.
- Place in the root cellar: Transfer the containers of carrots to your root cellar, ensuring it is cool, dark, and well-ventilated with a temperature between 32-40°F (0-4°C) and humidity around 90-95%. Stack the containers on shelves or racks, keeping them off the floor.
- Regularly check and rotate: Periodically inspect the carrots for any signs of spoilage or decay. Remove any damaged carrots promptly to prevent the spread of spoilage. Additionally, rotate the containers periodically to ensure even airflow and exposure to the cellar’s environment.
- Monitor temperature and humidity: Keep an eye on the temperature and humidity levels in the root cellar, making adjustments as necessary. Use a thermometer and hygrometer to measure and maintain optimal conditions.
- Avoid exposure to light: Darkness is essential for proper carrot storage, as exposure to light can cause carrots to develop a bitter taste and premature sprouting. Keep the root cellar as dark as possible, covering any windows or using low-light or motion-sensor lighting for retrieval.
- Check regularly: Regularly check on the stored carrots, especially during the first few weeks. Monitor their quality and remove any carrots that show signs of spoilage, ensuring that only the freshest ones remain in storage.
By following these steps and maintaining the proper storage conditions in your root cellar, you can store carrots for an extended period, preserving their freshness and flavor throughout the storage season. With careful attention to maintenance and rotation, you can enjoy your homegrown carrots well into the winter months.
Checking Carrots for Spoilage
Regularly checking your stored carrots is an important part of root cellar management to ensure that none of them have spoiled. Here are the steps to follow to check carrots for spoilage:
- Inspect visually: Examine the stored carrots carefully, looking for any visible signs of spoilage. Look out for soft spots, mold growth, shriveling, or discoloration. Discard any carrots that show these signs, as they can contaminate the rest of the batch.
- Sniff for unusual odors: Give the carrots a gentle sniff to detect any off or foul odors. If you notice a strong, unpleasant smell coming from the carrots, it is an indication of spoilage. Remove any spoiled carrots immediately.
- Feel for texture: Gently squeeze the carrots to check for firmness. Healthy stored carrots should feel firm and solid. If they feel soft, mushy, or have a spongy texture, they might be spoiled and should be discarded.
- Check for moisture: Excess moisture is a breeding ground for mold and decay. Inspect the containers and carrots for any signs of excessive moisture or condensation. Wipe away any moisture and ensure proper ventilation in the root cellar.
- Monitor temperature and humidity: Regularly monitor the temperature and humidity levels in the root cellar to ensure they remain within the optimal range. Fluctuations in temperature or humidity can promote spoilage or dehydration of the stored carrots.
- Rotate the containers: Regularly rotate the containers of carrots within the root cellar to ensure proper airflow and exposure to the cellar’s environment. This helps prevent any moisture buildup or uneven aging of the carrots.
- Keep records: Maintain a record of the storage time and inspected condition of the carrots. This will help you track their freshness and identify any patterns of spoilage, allowing you to make adjustments to your storage techniques as needed.
By regularly checking your stored carrots for spoilage and promptly removing any affected ones, you can ensure that the rest of the batch remains fresh and free from contamination. Monitoring the storage conditions and following proper root cellar management practices will help maximize the longevity and quality of your stored carrots.
Using Stored Carrots
Stored carrots from your root cellar can be used in a variety of delicious and nutritious dishes. Here are some ideas for utilizing your stored carrots:
- Roasted carrots: Roasting brings out the natural sweetness of carrots. Simply toss them in olive oil, season with salt and pepper, and roast in the oven until tender and caramelized. Serve as a side dish or use them as a flavorful addition to salads and grain bowls.
- Carrot soup: Simmer your stored carrots with other vegetables and broth to create a comforting and nourishing carrot soup. Blend the cooked mixture until smooth, season with spices or herbs, and enjoy a warm bowl of homemade goodness.
- Carrot cakes and muffins: Grate your stored carrots and incorporate them into baked goods such as carrot cakes, muffins, or bread. The carrots add moisture, sweetness, and nutritional value to these treats.
- Carrot juice or smoothies: Make use of your carrots in refreshing drinks by juicing them or adding them to smoothies. Carrot juice is packed with vitamins and antioxidants, while adding carrots to smoothies adds a natural sweetness and vibrant color.
- Carrot salads: Shred or slice your stored carrots to make vibrant and crunchy salads. Combine them with other fresh vegetables, nuts, seeds, and your favorite dressing for a refreshing and nutritious meal.
- Stir-fries and sautés: Slice or julienne your carrots to use them in stir-fries and sautés. The natural sweetness and crunch of carrots adds a pop of color and flavor to your savory dishes.
- Pickled or fermented carrots: Preserve your stored carrots by pickling or fermenting them. This not only extends their shelf life but also introduces tangy and complex flavors, making them a great addition to sandwiches, salads, and charcuterie boards.
- Carrot slaw: Grate your stored carrots and combine them with cabbage, dressing, and other vegetables to create a vibrant and refreshing coleslaw. It pairs perfectly with grilled meats or as a topping for tacos and sandwiches.
These are just a few ideas for using your stored carrots, but the culinary possibilities are endless. Experiment with different recipes and get creative in the kitchen to enjoy the flavor, nutrition, and versatility of your homegrown carrots throughout the year.
Read more: How To Store Strawberry Roots
Conclusion
Storing carrots in a root cellar is a wonderful way to extend their freshness, preserve their flavor, and ensure a steady supply of this versatile vegetable throughout the year. By following the proper guidelines for selecting, harvesting, prepping, and storing carrots, you can maximize their shelf life and enjoy the many benefits they offer.
A root cellar provides the ideal environment of cool temperatures, high humidity, and proper ventilation that helps carrots stay crisp, juicy, and full of nutrients. With the right storage conditions and routine maintenance, your carrots can last for months, allowing you to savor the taste of your homegrown harvest long after the growing season has ended.
From roasted dishes to soups, salads, baked goods, and even pickled delights, there are countless ways to incorporate your stored carrots into delicious recipes that bring a burst of flavor and nutrition to your meals. The versatility of carrots makes them an essential ingredient in the kitchen.
As you delve into the world of root cellar storage and the art of preserving carrots, remember to regularly check your stored carrots for spoilage and make any necessary adjustments to maintain the ideal storage conditions. By practicing proper root cellar management and monitoring, you can ensure that your stored carrots remain fresh and enjoyable to use.
So embrace the tradition of storing carrots in a root cellar, and savor the rewards of your hard work in the garden throughout the year. From roasted delights to vibrant salads and nourishing soups, your stored carrots will continue to bring delight to your table with their sweet flavor and nutritional goodness.
Enjoy the taste of nature’s harvest, even when the snow falls, with the bountiful supply of carrots stored in your root cellar.
Frequently Asked Questions about How To Store Carrots In A Root Cellar
Was this page helpful?
At Storables.com, we guarantee accurate and reliable information. Our content, validated by Expert Board Contributors, is crafted following stringent Editorial Policies. We're committed to providing you with well-researched, expert-backed insights for all your informational needs.

0 thoughts on “How To Store Carrots In A Root Cellar”