Home>Garden Essentials>How To Grow Chili Peppers From Seeds
Garden Essentials
How To Grow Chili Peppers From Seeds
Modified: August 17, 2024
Learn how to grow chili peppers from seeds in your garden and enjoy fresh, spicy harvests. Follow our step-by-step guide for successful pepper cultivation.
(Many of the links in this article redirect to a specific reviewed product. Your purchase of these products through affiliate links helps to generate commission for Storables.com, at no extra cost. Learn more)
Introduction
Welcome to the wonderful world of chili peppers! Whether you’re an avid gardener or simply looking to add a kick to your meals, growing chili peppers from seeds is a rewarding and exciting endeavor. Not only can you enjoy the satisfaction of cultivating your own plants, but you’ll also have a fresh supply of fiery peppers to add flavor to your favorite dishes.
Chili peppers come in a wide variety of shapes, sizes, colors, and heat levels, making it a versatile and captivating plant to grow. From the mild and fruity flavors of bell peppers to the intense heat of habaneros and ghost peppers, there’s a chili pepper to suit every taste and culinary preference.
In this article, we’ll guide you through the process of growing chili peppers from seeds, from selecting the right seeds to harvesting the bountiful peppers. So roll up your sleeves, grab your gardening tools, and let’s get started on this spicy adventure!
Key Takeaways:
- Growing chili peppers from seeds involves selecting the right seeds based on heat level, flavor, and growth habit, preparing the soil with proper drainage and pH levels, and providing ideal growing conditions for healthy plant development.
- Harvesting chili peppers at the right stage of ripeness ensures optimal flavor and texture. Store or preserve the peppers for future use, and get creative with recipes to enjoy the vibrant and fiery flavors of homegrown chili peppers.
Read more: How To Grow Peppers From Seed
Selecting the Right Chili Pepper Seeds
When it comes to growing chili peppers, selecting the right seeds is crucial for a successful and enjoyable gardening experience. Here are some factors to consider when choosing your chili pepper seeds:
- Heat Level: Chili peppers range in heat from mild to extremely hot. Consider your tolerance for heat and the purpose for which you’ll be using the peppers. If you prefer milder flavors, opt for varieties like bell peppers or jalapenos. For those seeking a fiery kick, try habaneros, Carolina Reapers, or ghost peppers.
- Flavor Profile: Different chili peppers offer a wide array of flavors, from sweet and fruity to smoky and earthy. Consider the flavors that will complement your culinary creations the best. For example, Anaheim peppers are mild and slightly sweet, while chipotle peppers have a smoky and rich flavor.
- Growth Habit: Chili pepper plants can vary in size and shape. Some are compact and bushy, while others grow as tall vines. Take into account the space you have available for gardening and select seeds that match the desired growth habit.
- Growing Season: Chili peppers have different growing seasons, ranging from quick-maturing varieties that produce peppers within a few months to longer-season varieties that require more patience. Consider your climate and the length of your growing season to choose seeds that will thrive in your region.
- Sourcing Seeds: Look for reputable seed suppliers or nurseries that offer a wide selection of chili pepper seeds. Seek out organic and non-GMO options to ensure the highest quality seeds for your garden.
Once you’ve identified the ideal chili pepper seeds for your needs, it’s time to move on to the next step: preparing the soil. Creating the right environment for your chili pepper plants will set the stage for healthy growth and abundant harvest. Let’s dive into the details of soil preparation in the next section.
Preparing the Soil
Preparing the soil is a crucial step in successful chili pepper cultivation. The right soil composition provides the necessary nutrients and drainage for healthy plant growth. Here’s how to get your soil ready for planting:
- Choose the Right Location: Chili peppers thrive in well-draining soil and require at least 6-8 hours of direct sunlight each day. Select a location in your garden or patio that receives ample sunlight and has good air circulation.
- Test the Soil: Before planting, it’s essential to test the soil pH. Chili peppers prefer a slightly acidic soil with a pH level between 6.0 and 7.0. You can purchase a soil testing kit from your local garden center or send a sample to a professional lab for analysis.
- Amend the Soil: Depending on the results of the soil test, you may need to amend the soil to adjust the pH level. If the soil is too acidic, add lime to raise the pH. If it’s too alkaline, add sulfur or peat moss to lower the pH. Follow the recommended application rates for the amendments and mix them thoroughly into the soil.
- Improve Drainage: Chili peppers dislike waterlogged soil, so it’s crucial to ensure proper drainage. If your soil has a heavy clay texture that retains water, amend it with organic matter such as compost, well-rotted manure, or perlite. These amendments will improve the soil structure and promote optimal drainage.
- Clear the Area: Remove any weeds, rocks, or debris from the planting area. Weeds can compete with chili pepper plants for nutrients and space, so eliminating them before planting is essential.
- Loosen the Soil: Use a garden fork or tiller to loosen the soil in the planting area. This will create a friable and well-aerated environment for the chili pepper roots to penetrate easily.
Once the soil is prepared, it’s time to move on to the exciting part – planting your chili pepper seeds. We’ll walk you through the steps in the next section.
Planting Chili Pepper Seeds
Now that you have prepared the soil, it’s time to plant your chili pepper seeds. Follow these steps to ensure successful germination and healthy plant growth:
- Timing: The timing of planting chili pepper seeds is crucial. It is best to start seeds indoors 8-10 weeks before the last expected frost date in your area. This will give your plants plenty of time to grow and establish before transplanting them outdoors.
- Containers: Use small seedling trays or pots with drainage holes to sow your chili pepper seeds. Fill the containers with a high-quality seed-starting mix or a well-draining potting mix.
- Sowing the Seeds: Make small indentations in the soil about ¼ inch deep and place one or two chili pepper seeds in each indentation. Cover the seeds lightly with soil, ensuring they are not buried too deep.
- Moisture: Keep the soil consistently moist, but avoid overwatering, as it can lead to fungal diseases. Use a spray bottle or a gentle watering can to moisten the soil without disturbing the seeds.
- Warmth: Chili pepper seeds require warm temperatures to germinate. Place the seed trays or pots in a warm location, such as on top of a heat mat or near a sunny window.
- Germination: Chili pepper seeds usually germinate within 7-14 days. Once the seedlings emerge, move them to a location with bright, indirect light or under grow lights. Maintain a temperature of around 70-80°F (21-27°C) to encourage healthy growth.
- Thinning: If multiple seeds germinate in one container, thin out the weaker seedlings and leave only the strongest one. This will prevent overcrowding and ensure each plant has enough space to develop.
As the chili pepper seedlings continue to grow, it’s essential to provide them with the ideal growing conditions. In the next section, we’ll delve into the specifics of creating the perfect environment for your plants to thrive.
Providing the Ideal Growing Conditions
Once your chili pepper seedlings have emerged, it’s important to provide them with the ideal growing conditions to ensure healthy and robust plant development. Here are some key factors to consider:
- Temperature: Chili peppers are warm-season plants and thrive in temperatures ranging from 70-90°F (21-32°C). Maintain a consistent temperature within this range to promote optimal growth. Avoid exposing the plants to cold drafts or extreme temperature fluctuations.
- Light: Chili pepper plants require abundant sunlight to grow and produce peppers. Place them in a location that receives at least 6-8 hours of direct sunlight each day. If growing indoors, use grow lights to supplement the natural light.
- Humidity: While chili peppers can tolerate a range of humidity levels, a moderate humidity of around 50-60% is ideal for their growth. Use a humidifier or mist the plants occasionally to increase humidity, especially in dry indoor environments.
- Air Circulation: Good air circulation is crucial in preventing fungal diseases and promoting healthy plant growth. If growing indoors, use a fan to simulate gentle air movement. Outdoors, ensure that the chili pepper plants are not overcrowded and have enough space between them.
- Fertilization: Chili pepper plants are heavy feeders and require regular fertilization to thrive. Use a balanced fertilizer or one specifically formulated for vegetables. Follow the instructions on the fertilizer packaging for the correct application rate and frequency.
- Support and Trellising: Some chili pepper varieties, especially tall-growing ones, benefit from support and trellising. Stake the plants or use a trellis system to prevent them from toppling over under the weight of the growing peppers.
- Regular Pruning: Pruning is beneficial for chili pepper plants as it promotes branching and increases airflow. Pinch back the growing tips when the plants are about 6-8 inches tall to encourage bushier growth.
- Weed Control: Keep the area around your chili pepper plants weed-free. Weeds can compete with the plants for nutrients and water, hindering their growth. Mulching around the base of the plants can help suppress weed growth and retain soil moisture.
By providing optimal growing conditions, you’ll ensure that your chili pepper plants thrive and produce a bountiful harvest. However, just like any other plants, chili peppers are susceptible to pests and diseases. In the next section, we’ll discuss how to manage common issues that may arise during the growing season.
To grow chili peppers from seeds, start them indoors in small pots with well-draining soil. Keep the soil consistently moist and place the pots in a warm, sunny spot. Once the seedlings have grown a few inches tall, transplant them into larger pots or into the garden.
Read more: How To Grow Pepper Plants From Seeds
Watering and Fertilizing
Watering and fertilizing are important aspects of chili pepper care that directly impact plant growth, fruit development, and overall health. Providing the right amount of water and nutrients will help your plants thrive and produce delicious peppers. Here’s what you need to know:
Watering:
- Consistent Moisture: Chili peppers require consistent moisture, but overwatering can lead to root rot and other issues. Water the plants deeply, providing enough water to saturate the root zone, and allow the soil to dry out slightly between waterings.
- Watering Frequency: The frequency of watering will depend on various factors such as climate, container size, and soil type. As a general guideline, water your chili pepper plants when the top inch of soil feels dry to the touch.
- Avoid Waterlogging: Ensure proper drainage to avoid waterlogging. If growing in containers, make sure they have drainage holes. In the garden, amend the soil with organic matter to enhance drainage.
- Watering Techniques: Water at the base of the plants, avoiding wetting the leaves. Drip irrigation or a soaker hose can be effective in delivering water directly to the root zone without causing foliage diseases.
- Consistent Moisture: Watering regularly and consistently is important for chili pepper plants, especially during hot and dry weather. Avoid periods of drought stress, as this can result in blossom drop and reduced yield.
Fertilizing:
- Choose the Right Fertilizer: Use a balanced fertilizer or one specifically formulated for vegetables. Look for fertilizers with a higher phosphorus (P) and potassium (K) content to promote flower and fruit development.
- Application Timing: Start fertilizing your chili pepper plants when they are about 4-6 weeks old and have a few sets of true leaves. Apply fertilizer every 4-6 weeks throughout the growing season.
- Follow Package Instructions: Read and follow the instructions on the fertilizer packaging for the correct application rate and method. Over-fertilizing can lead to nutrient imbalances and damage to the plants.
- Consider Organic Options: Organic fertilizers, such as compost, worm castings, or fish emulsion, are great choices for feeding chili pepper plants. They provide slow-release nutrients and improve soil health.
- Top-Dressing Method: As an alternative to liquid fertilizers, you can use the top-dressing method. Sprinkle a layer of compost or well-rotted manure around the base of the plants, then lightly work it into the soil.
- Monitor Plant Response: Watch for signs of nutrient deficiencies, such as yellowing leaves or slow growth. Adjust your fertilization routine accordingly to meet the plants’ needs.
Proper watering and fertilizing will help sustain healthy chili pepper plants and maximize fruit production. However, it’s important to keep an eye out for potential pests and diseases that can impact the well-being of your plants. We’ll address pest and disease management in the next section.
Managing Pests and Diseases
While chili peppers are generally hardy plants, they can still be susceptible to pests and diseases that can affect their growth and yield. By implementing preventive measures and promptly addressing any issues, you can protect your chili pepper plants and ensure a healthy harvest. Here are some common pests and diseases to watch out for:
Pests:
- Aphids: These small, soft-bodied insects can cluster on the underside of leaves and cause stunted growth. Use insecticidal soap or a strong spray of water to remove them. Ladybugs and lacewings are natural predators that can help control aphid populations.
- Spider Mites: These tiny pests can cause yellowing leaves and webbing on the plants. Regularly spray the leaves with water to discourage spider mites, and consider introducing predatory mites to combat the infestation.
- Whiteflies: These small, flying insects feed on plant sap and can cause leaves to yellow and become distorted. Yellow sticky traps and insecticidal soaps can help control whitefly populations.
- Caterpillars: Some caterpillars, such as the tomato hornworm, can feed on chili pepper leaves and cause significant damage. Handpick the caterpillars or use organic caterpillar control products to manage them.
- Snails and Slugs: These mollusks can munch on chili pepper leaves and fruit. Handpick them in the early morning or evening when they are most active, or use organic slug pellets or barriers to protect your plants.
Diseases:
- Fungal Diseases: Common fungal diseases that affect chili pepper plants include powdery mildew, leaf spot, and various types of fruit rot. To prevent these diseases, ensure proper air circulation, avoid overhead watering, and remove infected plant material. Fungicidal sprays may be used if necessary.
- Bacterial Diseases: Bacterial diseases like bacterial leaf spot and bacterial wilt can cause wilting, yellowing, and necrosis of leaves. There are no effective treatments for bacterial diseases, so prevention is key. Avoid overhead watering, rotate crops, and plant disease-resistant varieties.
- Viral Diseases: Viruses, such as tomato mosaic virus and pepper vein mosaic virus, can affect chili peppers and stunt their growth. Prevention involves controlling the vectors, such as aphids, and promptly removing and destroying infected plants.
Regularly inspect your chili pepper plants for signs of pests or diseases. Early detection and quick action can make a significant difference in managing and controlling these issues. Remember to follow organic and environmentally-friendly pest and disease management practices whenever possible. With proper care and vigilance, you can enjoy a fruitful chili pepper harvest.
Now comes the most exciting part of growing chili peppers – the harvest! In the final section, we’ll discuss the best practices for harvesting chili peppers at the peak of their flavor and how to enjoy the fruits of your gardening labor.
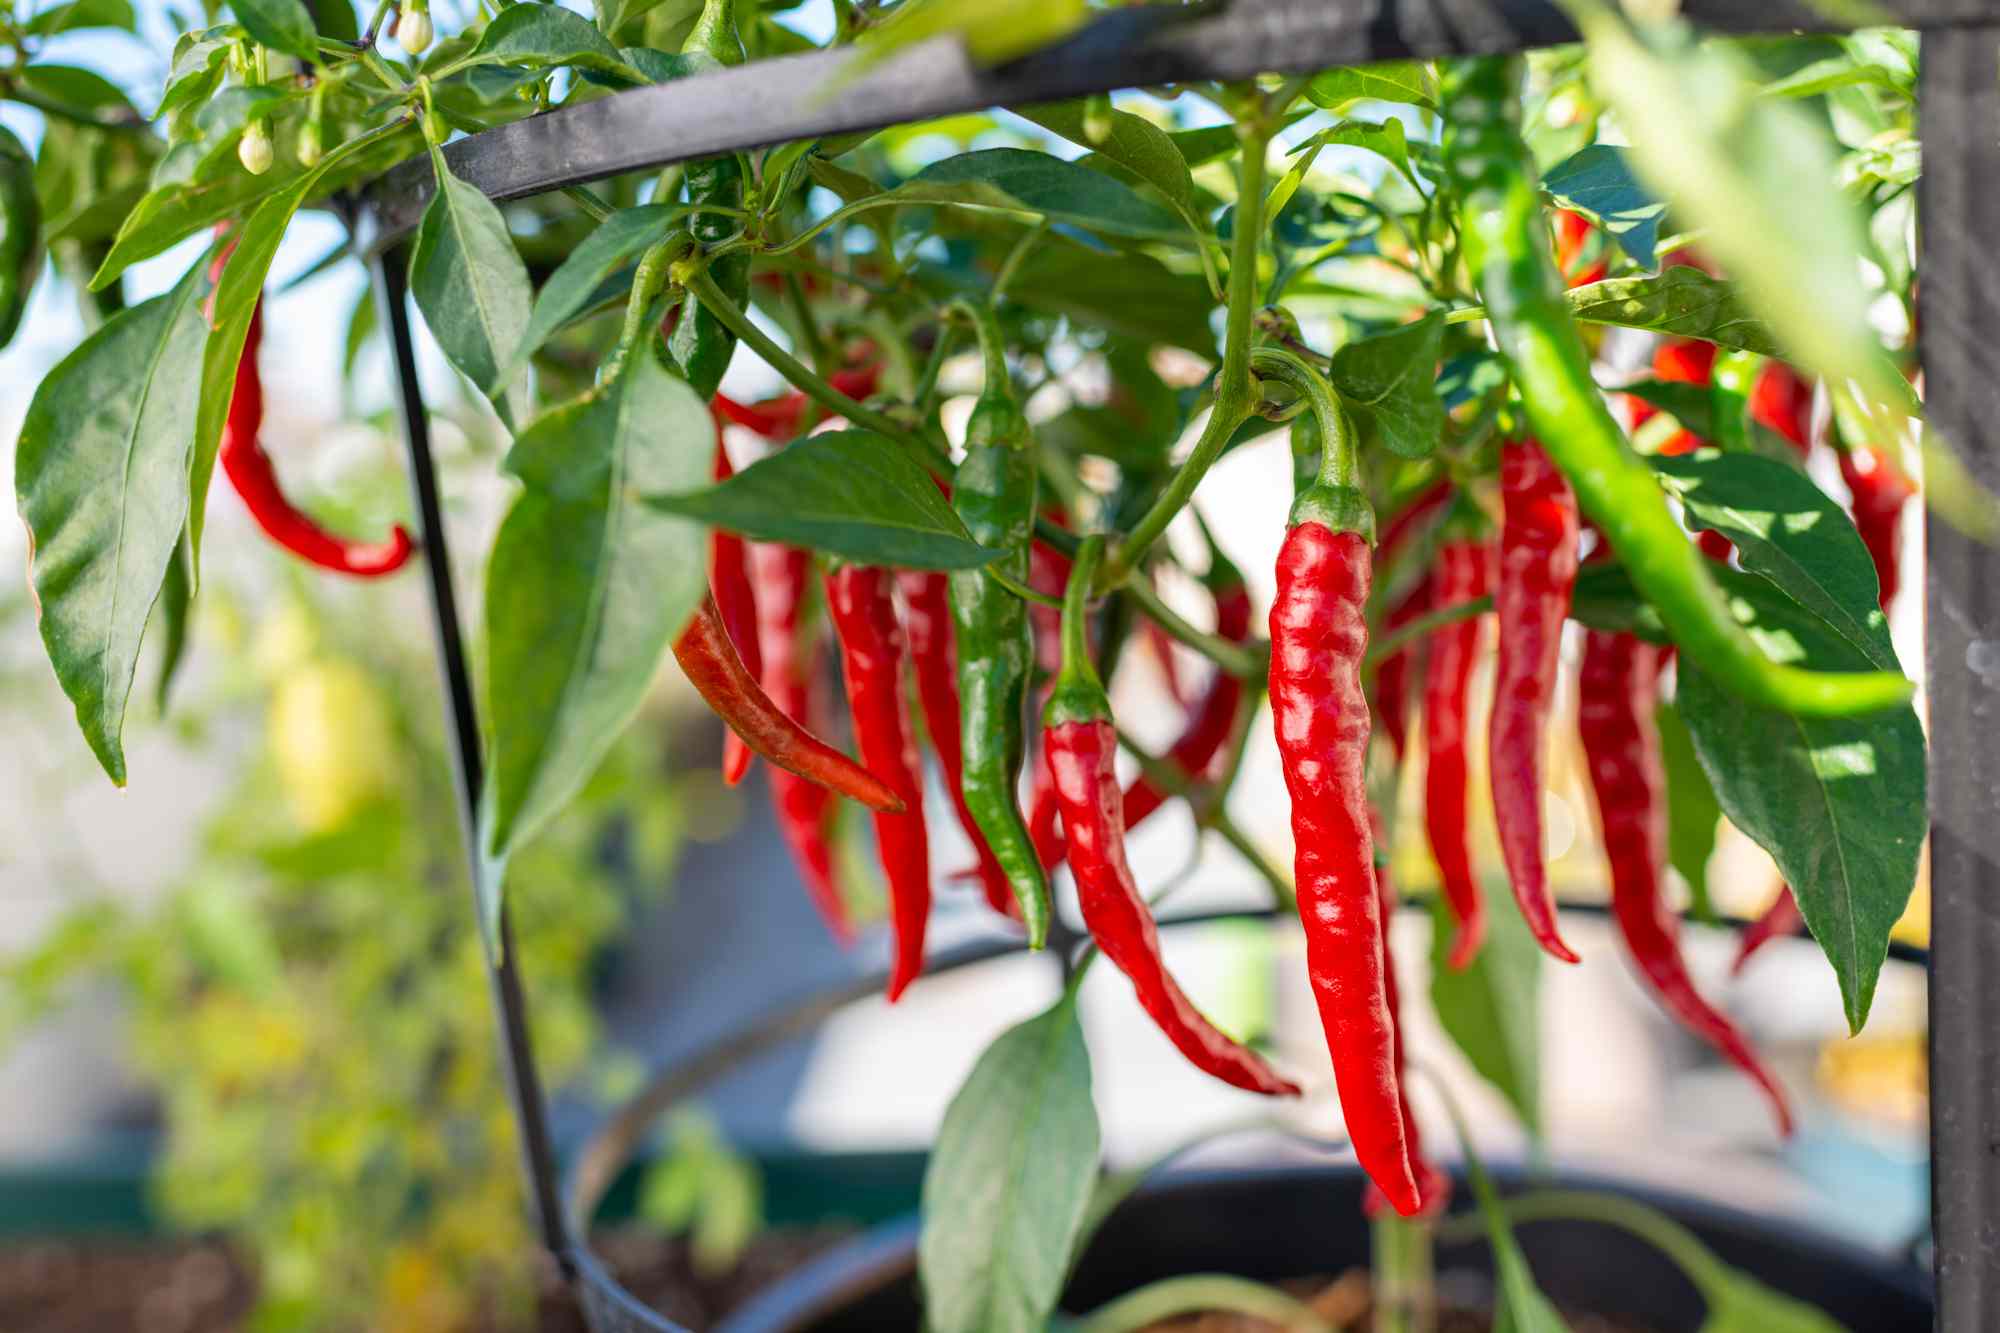
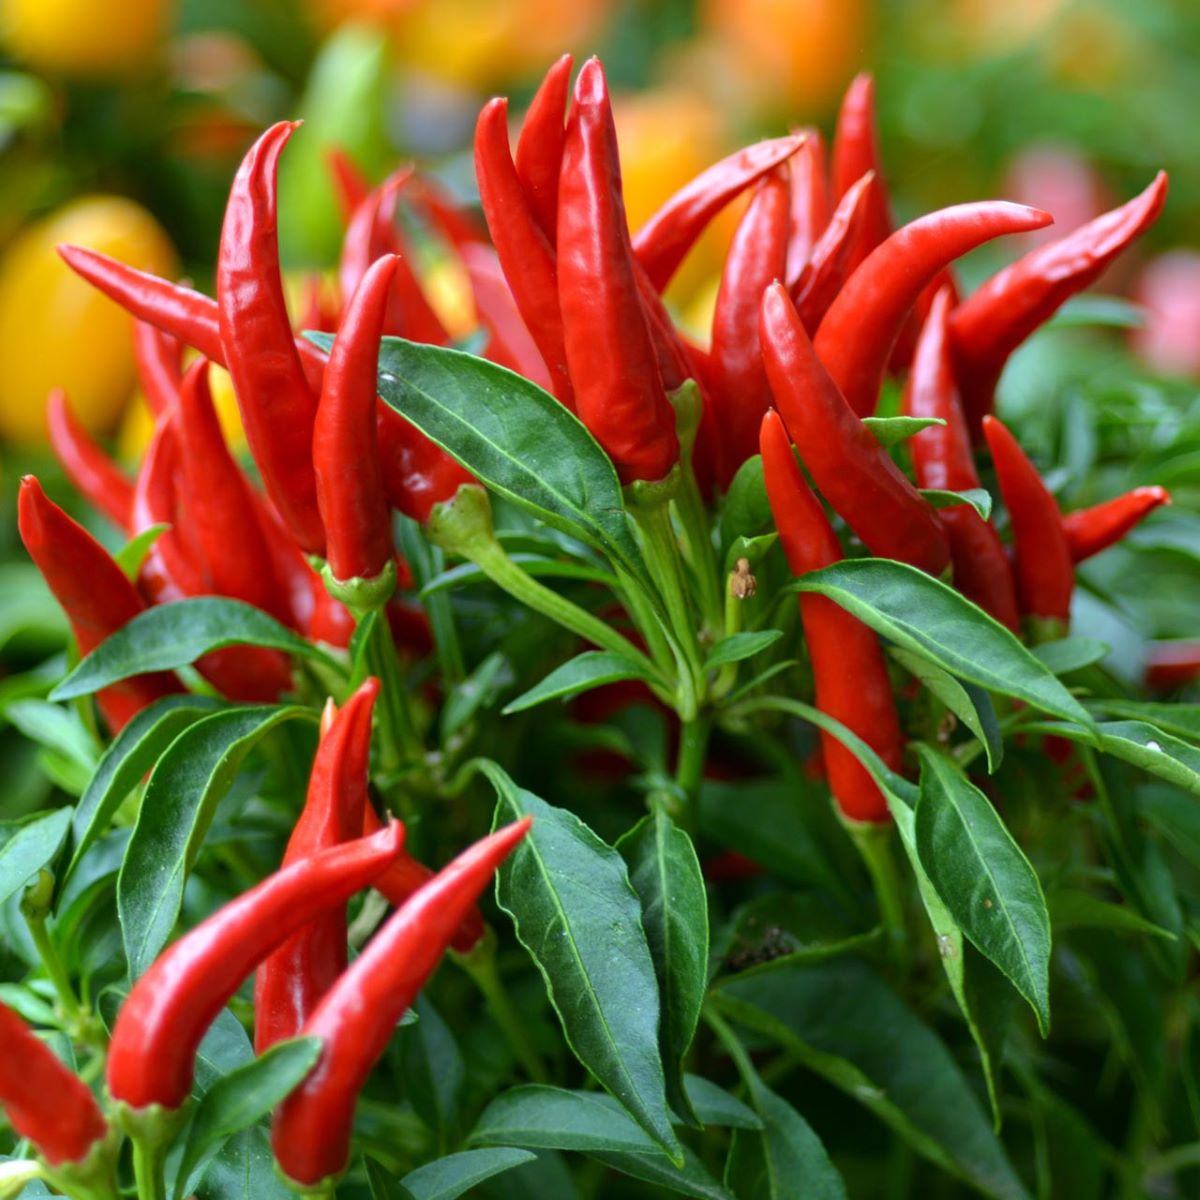
Harvesting Chili Peppers
The moment you’ve been waiting for has arrived – it’s time to harvest your chili peppers! Harvesting at the right time ensures optimal flavor, texture, and heat levels. Here’s what you need to know about harvesting chili peppers:
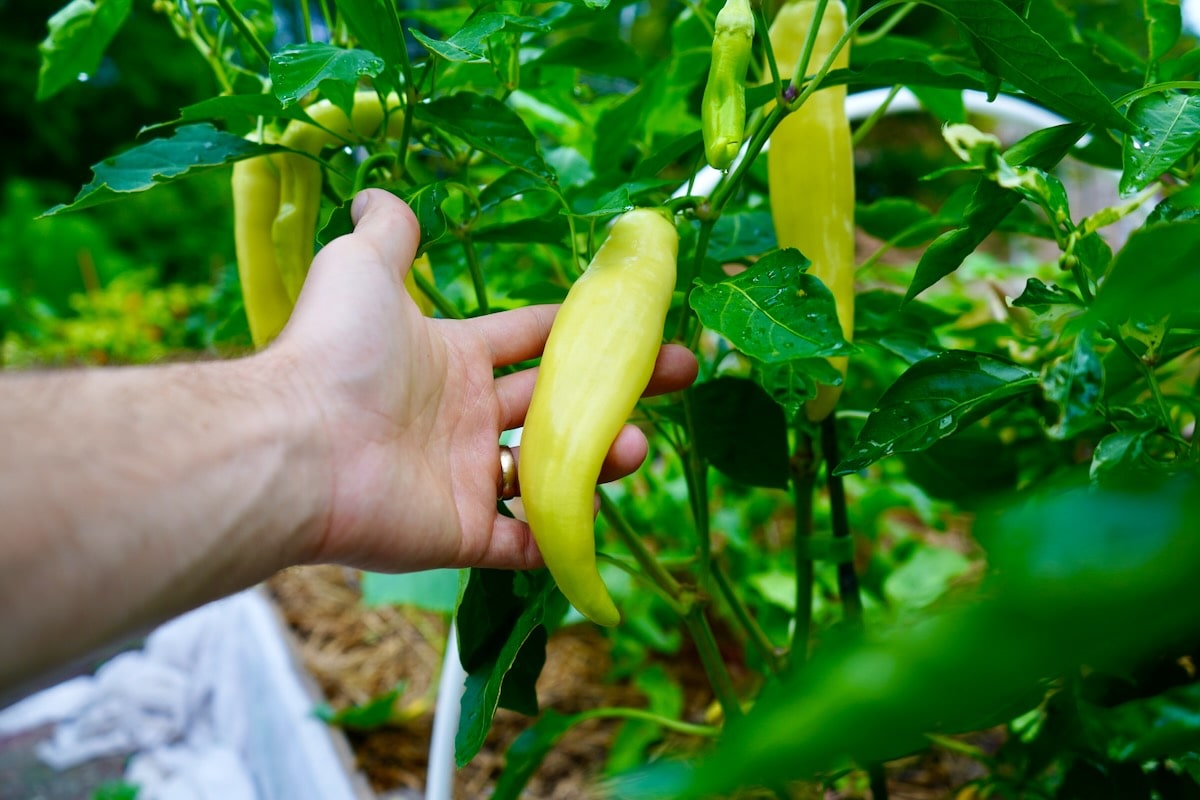
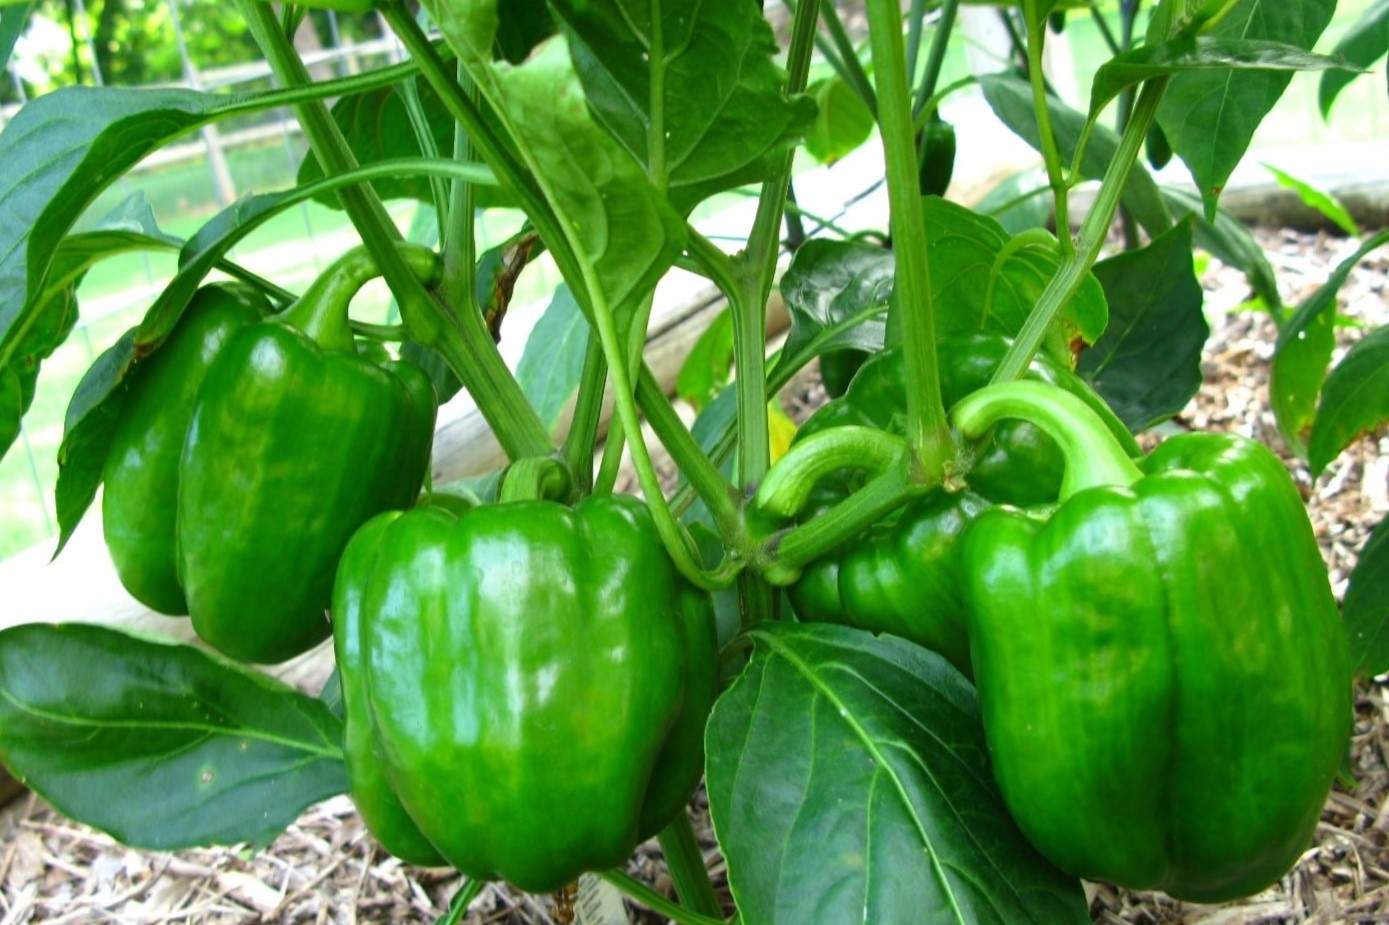
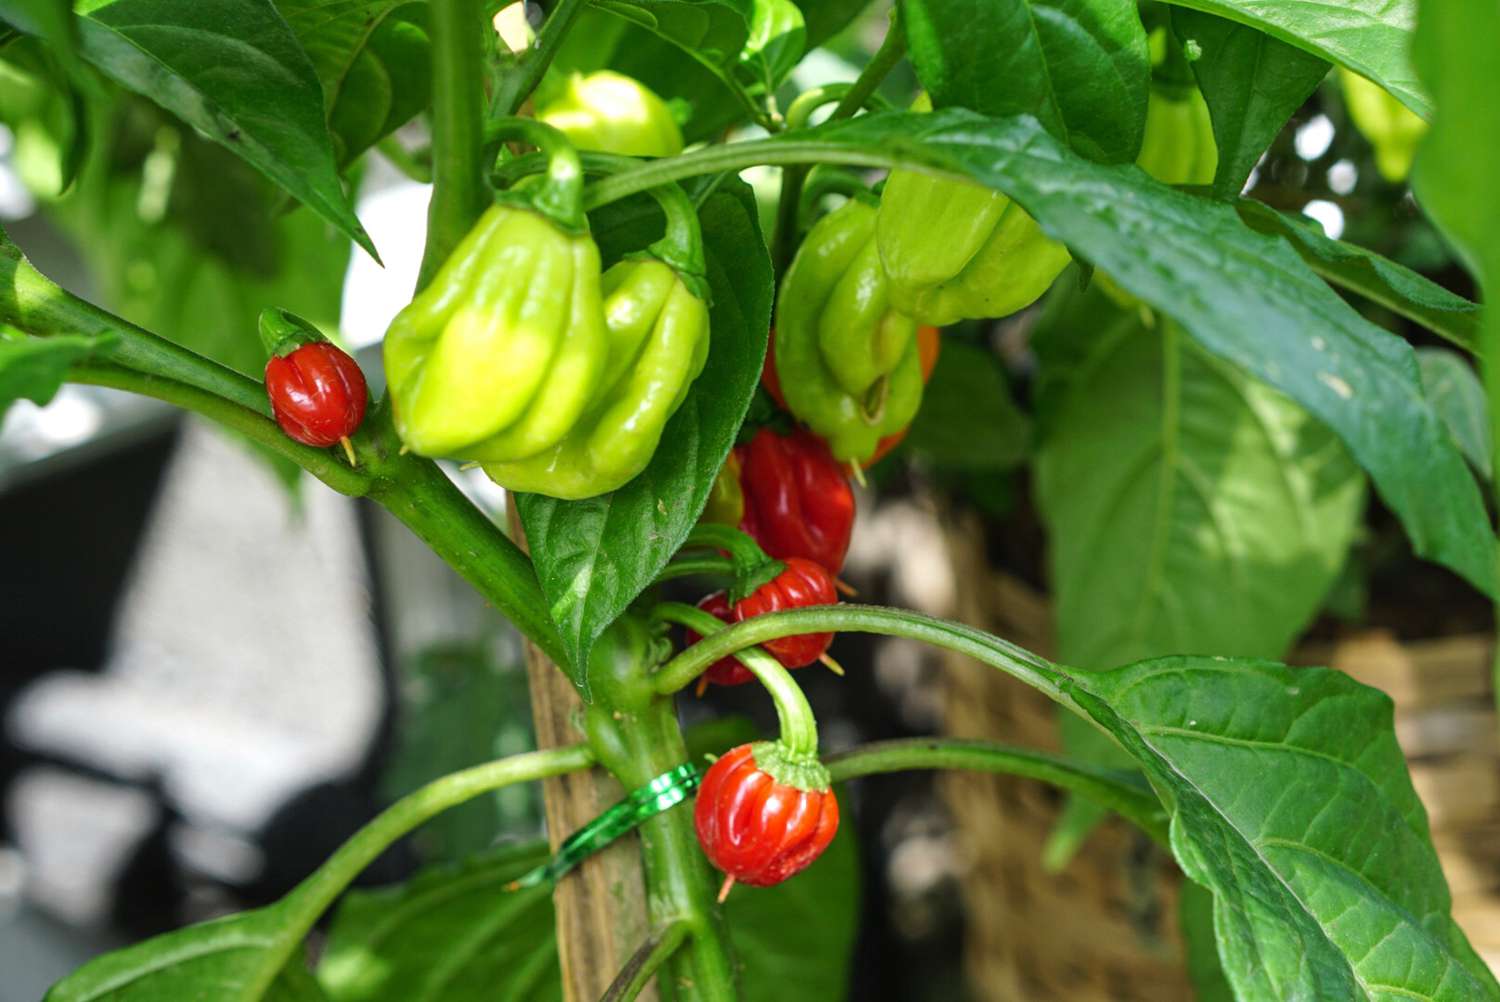
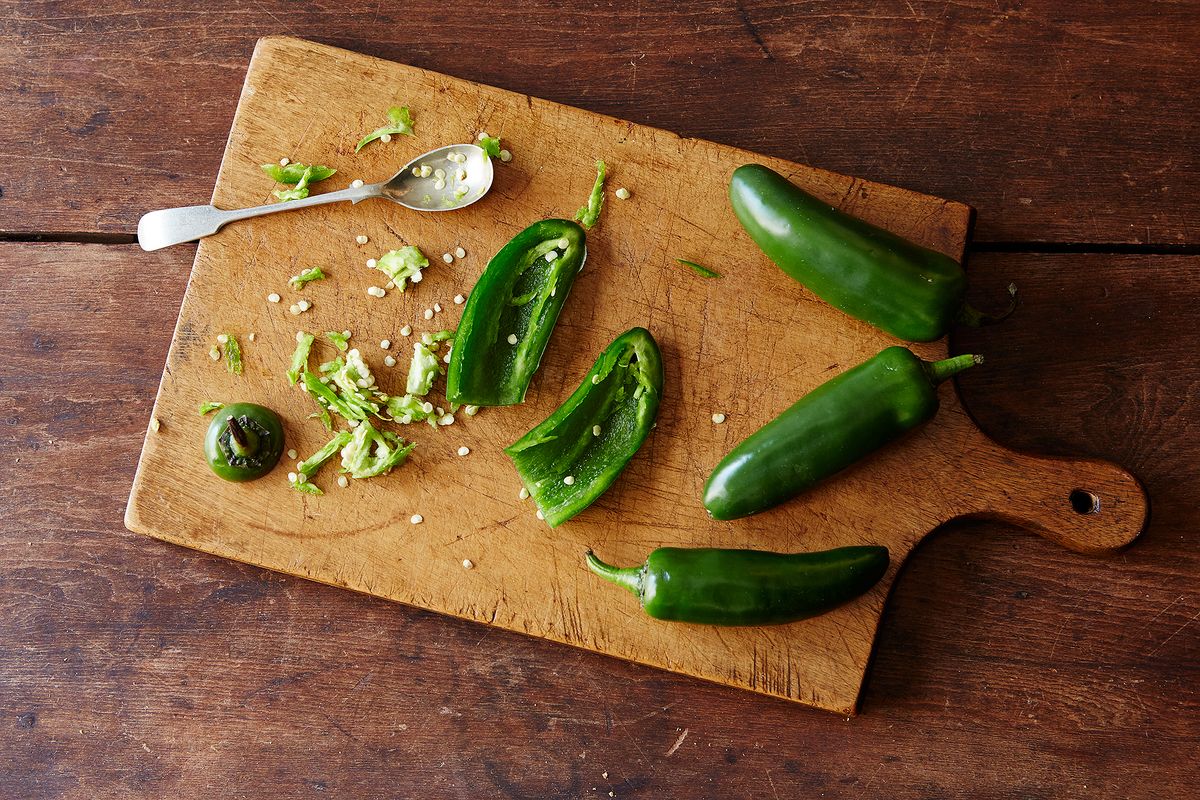
- Ripeness: Chili peppers can be harvested at various stages of maturity, depending on your preference. Green chili peppers are typically harvested when they are still immature and have a crisp, tangy flavor. If you prefer a sweeter taste, allow the peppers to ripen fully to their mature color, whether it’s red, yellow, orange, or any other hue specific to the variety you are growing.
- Texture: As chili peppers mature, they become softer and develop a smoother skin. You can use both mature and immature chili peppers in your culinary creations, but keep in mind that the texture may vary. Some chili peppers, like jalapenos, are commonly used when still green and firm, while others, like cayenne peppers, are preferred when fully ripe and softer.
- Timing: Harvest chili peppers regularly once they reach the desired size and color. Leaving mature peppers on the plant for too long can cause them to become overripe, resulting in a less desirable flavor and potentially attracting pests.
- Tools: To harvest chili peppers, you can simply use your hands or a pair of sharp garden scissors or pruners. Gently grasp the stem of the pepper and twist it until it separates from the plant. Avoid pulling or yanking, as this can damage the plant.
- Storage: Fresh chili peppers can be used immediately or stored for future use. To extend their shelf life, keep them in a cool, dry place or store them in the refrigerator in a breathable container or bag. Properly stored peppers can stay fresh for several weeks.
- Preservation: If you have an abundant pepper harvest, there are various preservation methods you can explore. You can dry chili peppers by hanging them in a well-ventilated area or using a food dehydrator. Another option is to pickle or ferment them to enhance their flavors and extend their shelf life.
Now that you have harvested your chili peppers, it’s time to enjoy them in your favorite recipes! From salsas and hot sauces to stir-fries and stuffed peppers, the culinary possibilities are endless. Experiment with different flavors and heat levels to find your perfect chili pepper creations.
With this comprehensive guide, you are now equipped with the knowledge and skills to successfully grow, harvest, and savor the vibrant and fiery flavors of chili peppers. So get out there, get your hands dirty, and embark on a spicy gardening adventure!
Oh, and don’t forget to save some seeds from your favorite chili pepper varieties for next year’s planting. Happy gardening!
Conclusion
Congratulations on completing this comprehensive guide to growing chili peppers from seeds! By now, you should have a solid understanding of the steps involved in cultivating these fiery and flavorful plants. From selecting the right chili pepper seeds to providing ideal growing conditions, managing pests and diseases, and ultimately harvesting the fruits of your labor, you are well-equipped to embark on your own spicy gardening journey.
Growing chili peppers can be a rewarding and enjoyable experience. Not only do you get to witness the transformation from seeds to thriving plants, but you also have the pleasure of harvesting your very own homegrown peppers to enhance your culinary creations.
Remember to choose chili pepper seeds that suit your heat tolerance and flavor preferences. Prepare the soil adequately, ensuring proper drainage and pH levels. Provide the right amount of water, sunlight, and nutrients to promote healthy growth. Keep a watchful eye for any signs of pests and diseases, and take prompt action to manage them. And when the time comes, harvest your chili peppers at the optimal stage of ripeness to enjoy their vibrant flavors and fiery heat.
Whether you have a sprawling garden or a small balcony, growing chili peppers is a versatile endeavor that can be tailored to your available space. Get creative and experiment with different chili pepper varieties to spice up your meals and add a kick to your favorite dishes.
Remember, gardening is a continuous learning process. Each season presents an opportunity to refine your techniques, try new chili pepper varieties, and expand your gardening knowledge. Embrace the journey and relish in the joys of nurturing plants from seeds to a harvest that reflects your dedication and green thumb.
So, grab your gardening tools and immerse yourself in the world of chili peppers. Enjoy the excitement of watching your plants flourish, the satisfaction of harvesting your peppers, and the culinary adventures that await. Happy gardening, and may your harvest be abundant and delightfully spicy!
Frequently Asked Questions about How To Grow Chili Peppers From Seeds
Was this page helpful?
At Storables.com, we guarantee accurate and reliable information. Our content, validated by Expert Board Contributors, is crafted following stringent Editorial Policies. We're committed to providing you with well-researched, expert-backed insights for all your informational needs.


0 thoughts on “How To Grow Chili Peppers From Seeds”