
Articles
How To Store Chocolate Covered Bananas
Modified: October 18, 2024
Discover the best way to store chocolate covered bananas with these helpful articles. Learn how to keep them fresh and delicious for longer.
(Many of the links in this article redirect to a specific reviewed product. Your purchase of these products through affiliate links helps to generate commission for Storables.com, at no extra cost. Learn more)
Introduction
Welcome to the delightful world of chocolate covered bananas! These delicious treats are the perfect combination of sweet and creamy, and make for a wonderful snack or dessert. Whether you’re planning a party, looking for a fun activity to do with the kids, or simply craving a tasty treat, chocolate covered bananas are a fantastic choice.
In this article, we will guide you through the process of making and storing chocolate covered bananas. We’ll cover everything from selecting the right bananas and preparing the chocolate coating, to the best way to dip and store your creations. So, grab your apron and get ready to indulge in this irresistible treat!
Key Takeaways:
- Choose ripe, firm bananas for the perfect chocolate covered treat. Experiment with slicing methods and chocolate flavors to create a personalized and delightful snack or dessert.
- Properly store chocolate covered bananas in the refrigerator or freezer to maintain their freshness. Get creative with toppings and enjoy this irresistible treat for days to come!
Read more: How To Store Chocolate Covered Pretzels
Choosing the Right Bananas
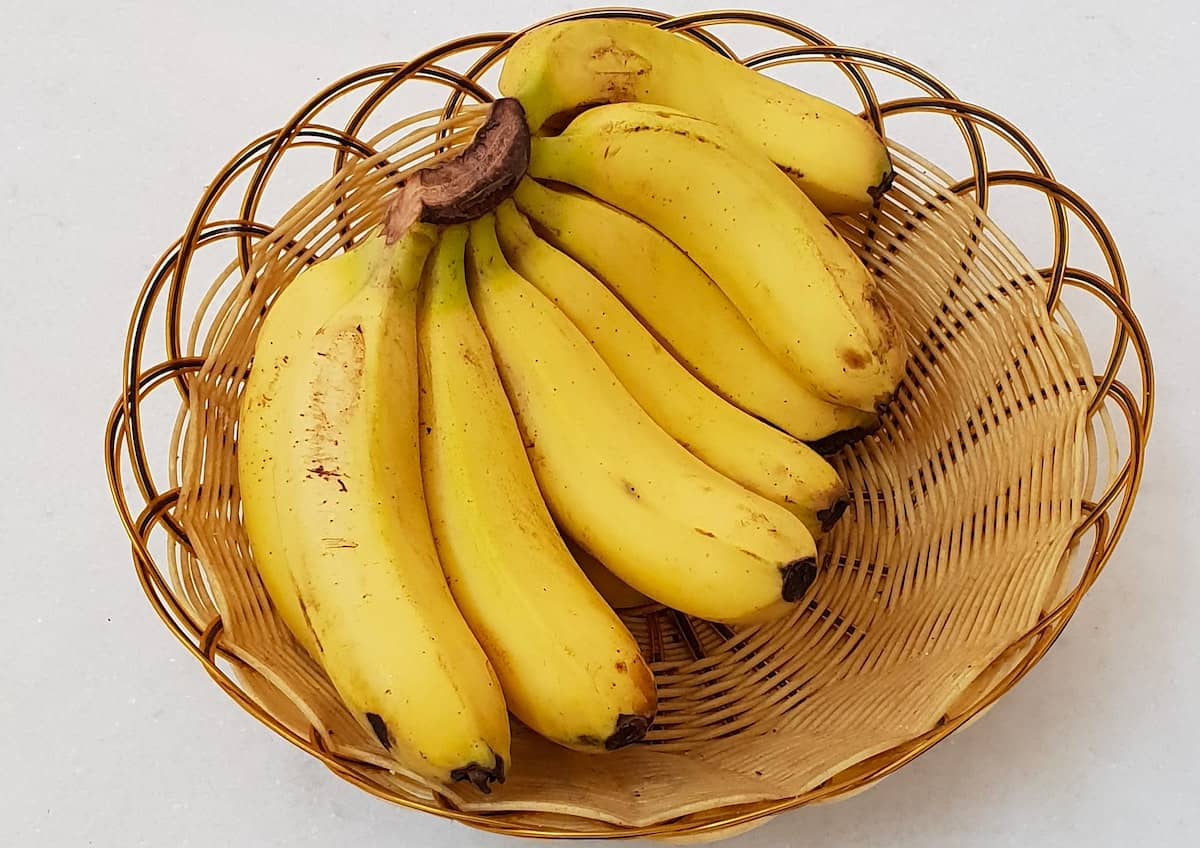
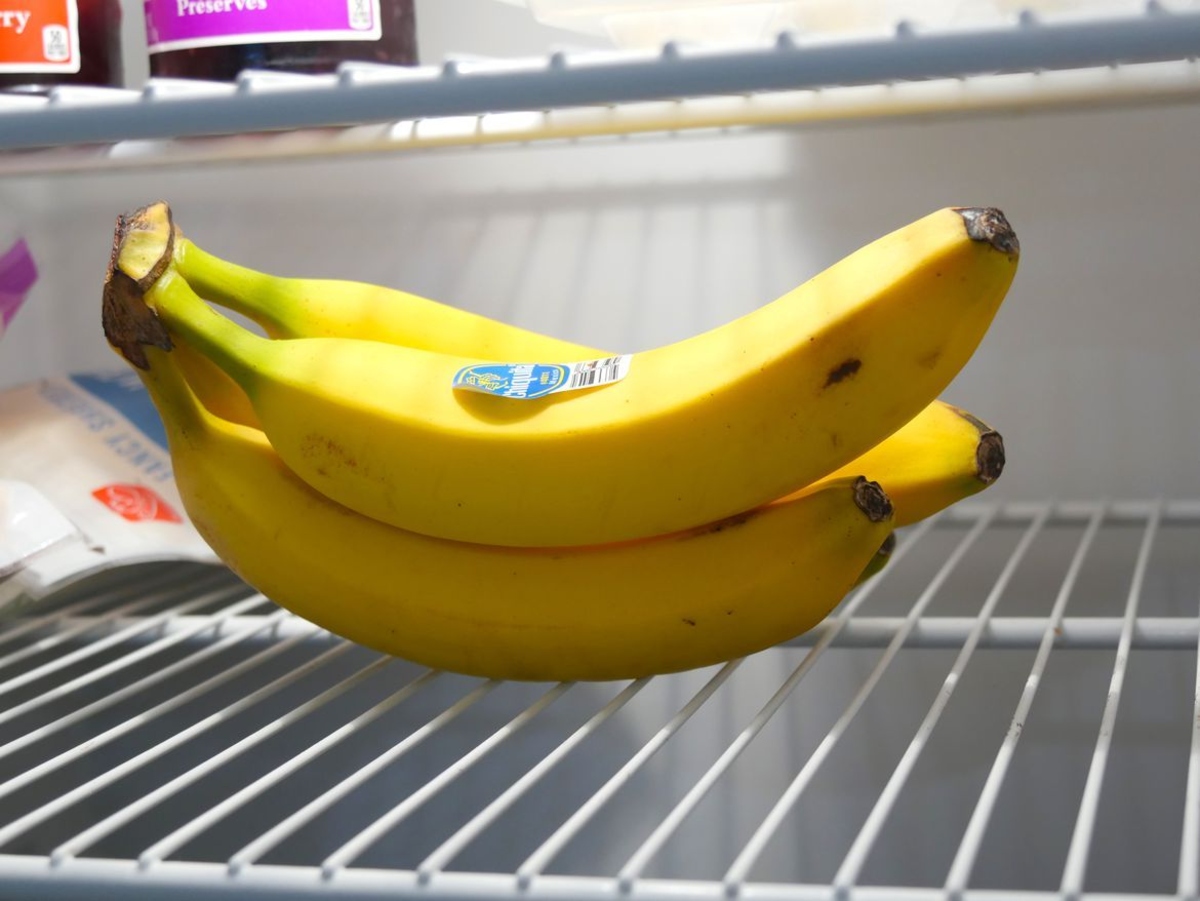
When it comes to making chocolate covered bananas, selecting the right bananas is key. You want to choose bananas that are ripe but not overly ripe. Look for bananas that are yellow and firm, with little to no brown spots on the skin. These bananas will provide the perfect balance of sweetness and texture for your chocolate covered treats.
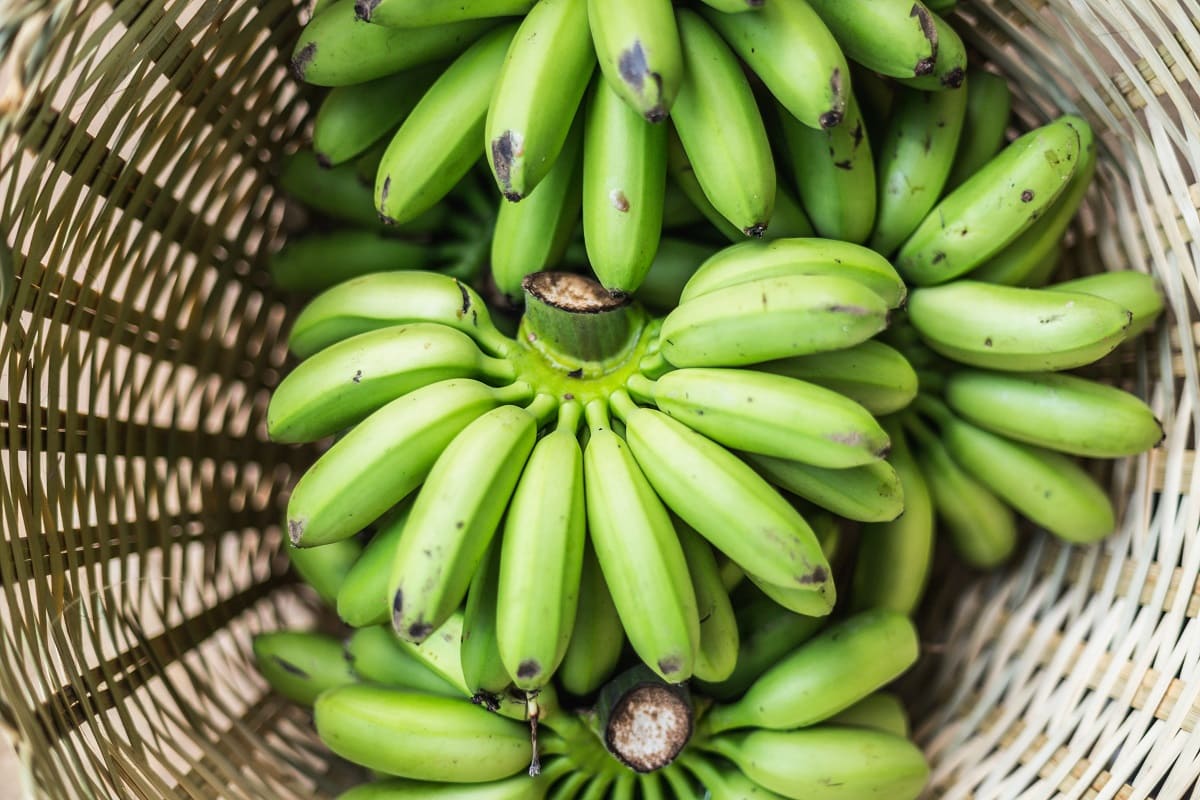
Avoid using bananas that are too green, as they will not have the desired level of ripeness and may taste slightly bitter. On the other hand, bananas that are too ripe and mushy might not hold up well during the dipping process.
Size is also something to consider when choosing your bananas. Remember that you’ll be dipping them in chocolate, so smaller-sized bananas are generally easier to handle and dip. However, if you prefer larger bananas, go for it! Just keep in mind that they may require a bit more chocolate to fully coat.
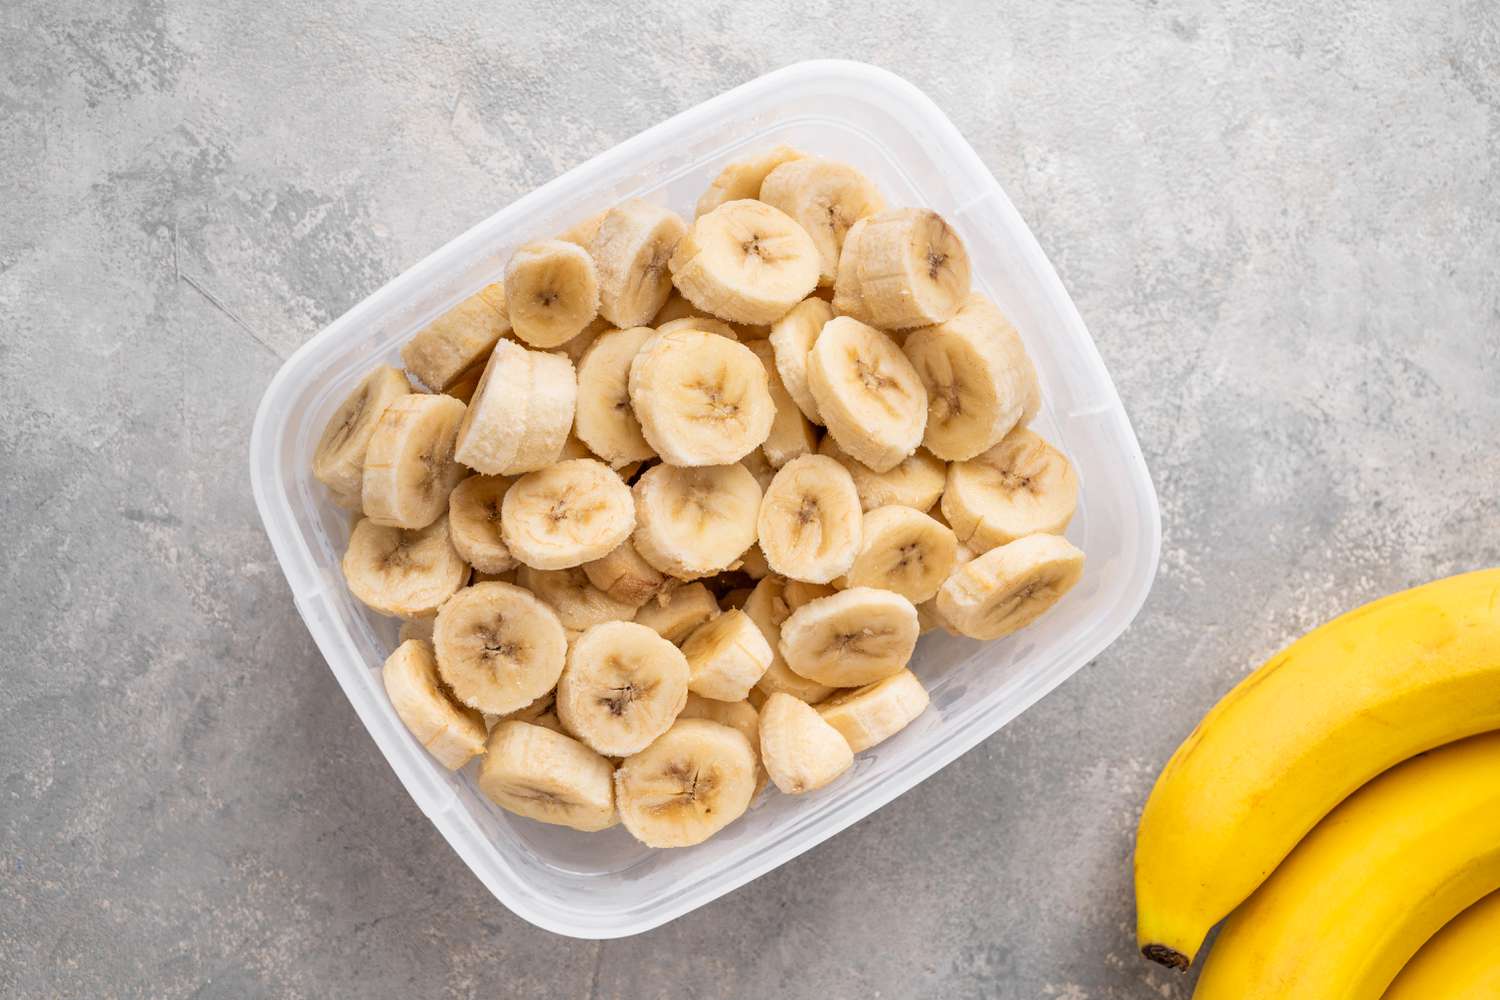
In addition to considering the ripeness and size of the bananas, it’s also important to consider the thickness of the banana slices. You can choose to slice the bananas into thin rounds or cut them into larger chunks. Thinner slices are great for bite-sized treats, while larger chunks are perfect for sharing or adding to other desserts.
Feel free to experiment and find the slicing method that works best for you. Ultimately, the choice of bananas is a personal preference, so have fun and get creative with your selection!
Preparing the Chocolate Coating
Now that you have selected the perfect bananas, it’s time to prepare the chocolate coating. The type of chocolate you use will greatly affect the taste and texture of your chocolate covered bananas, so choose wisely.
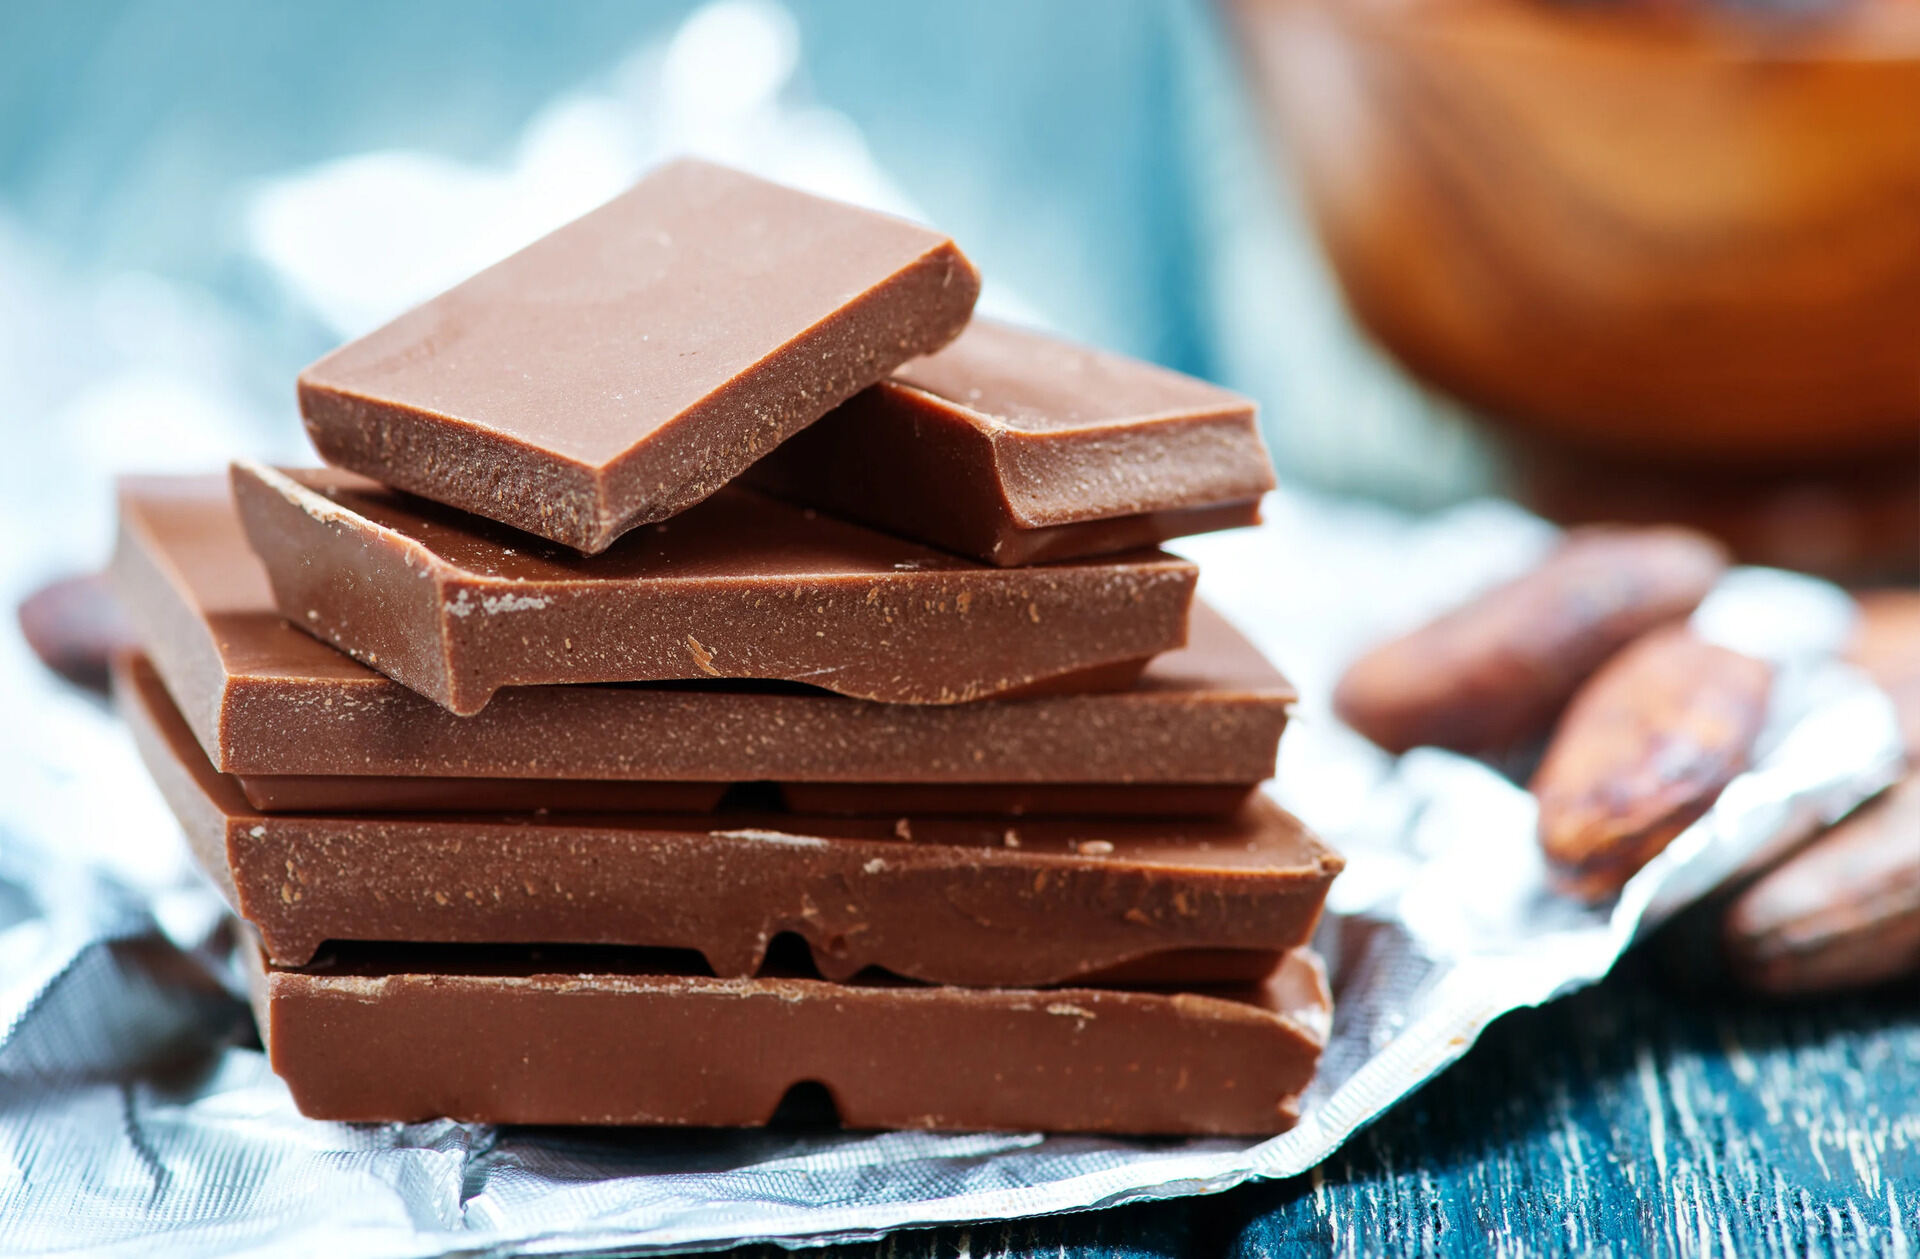
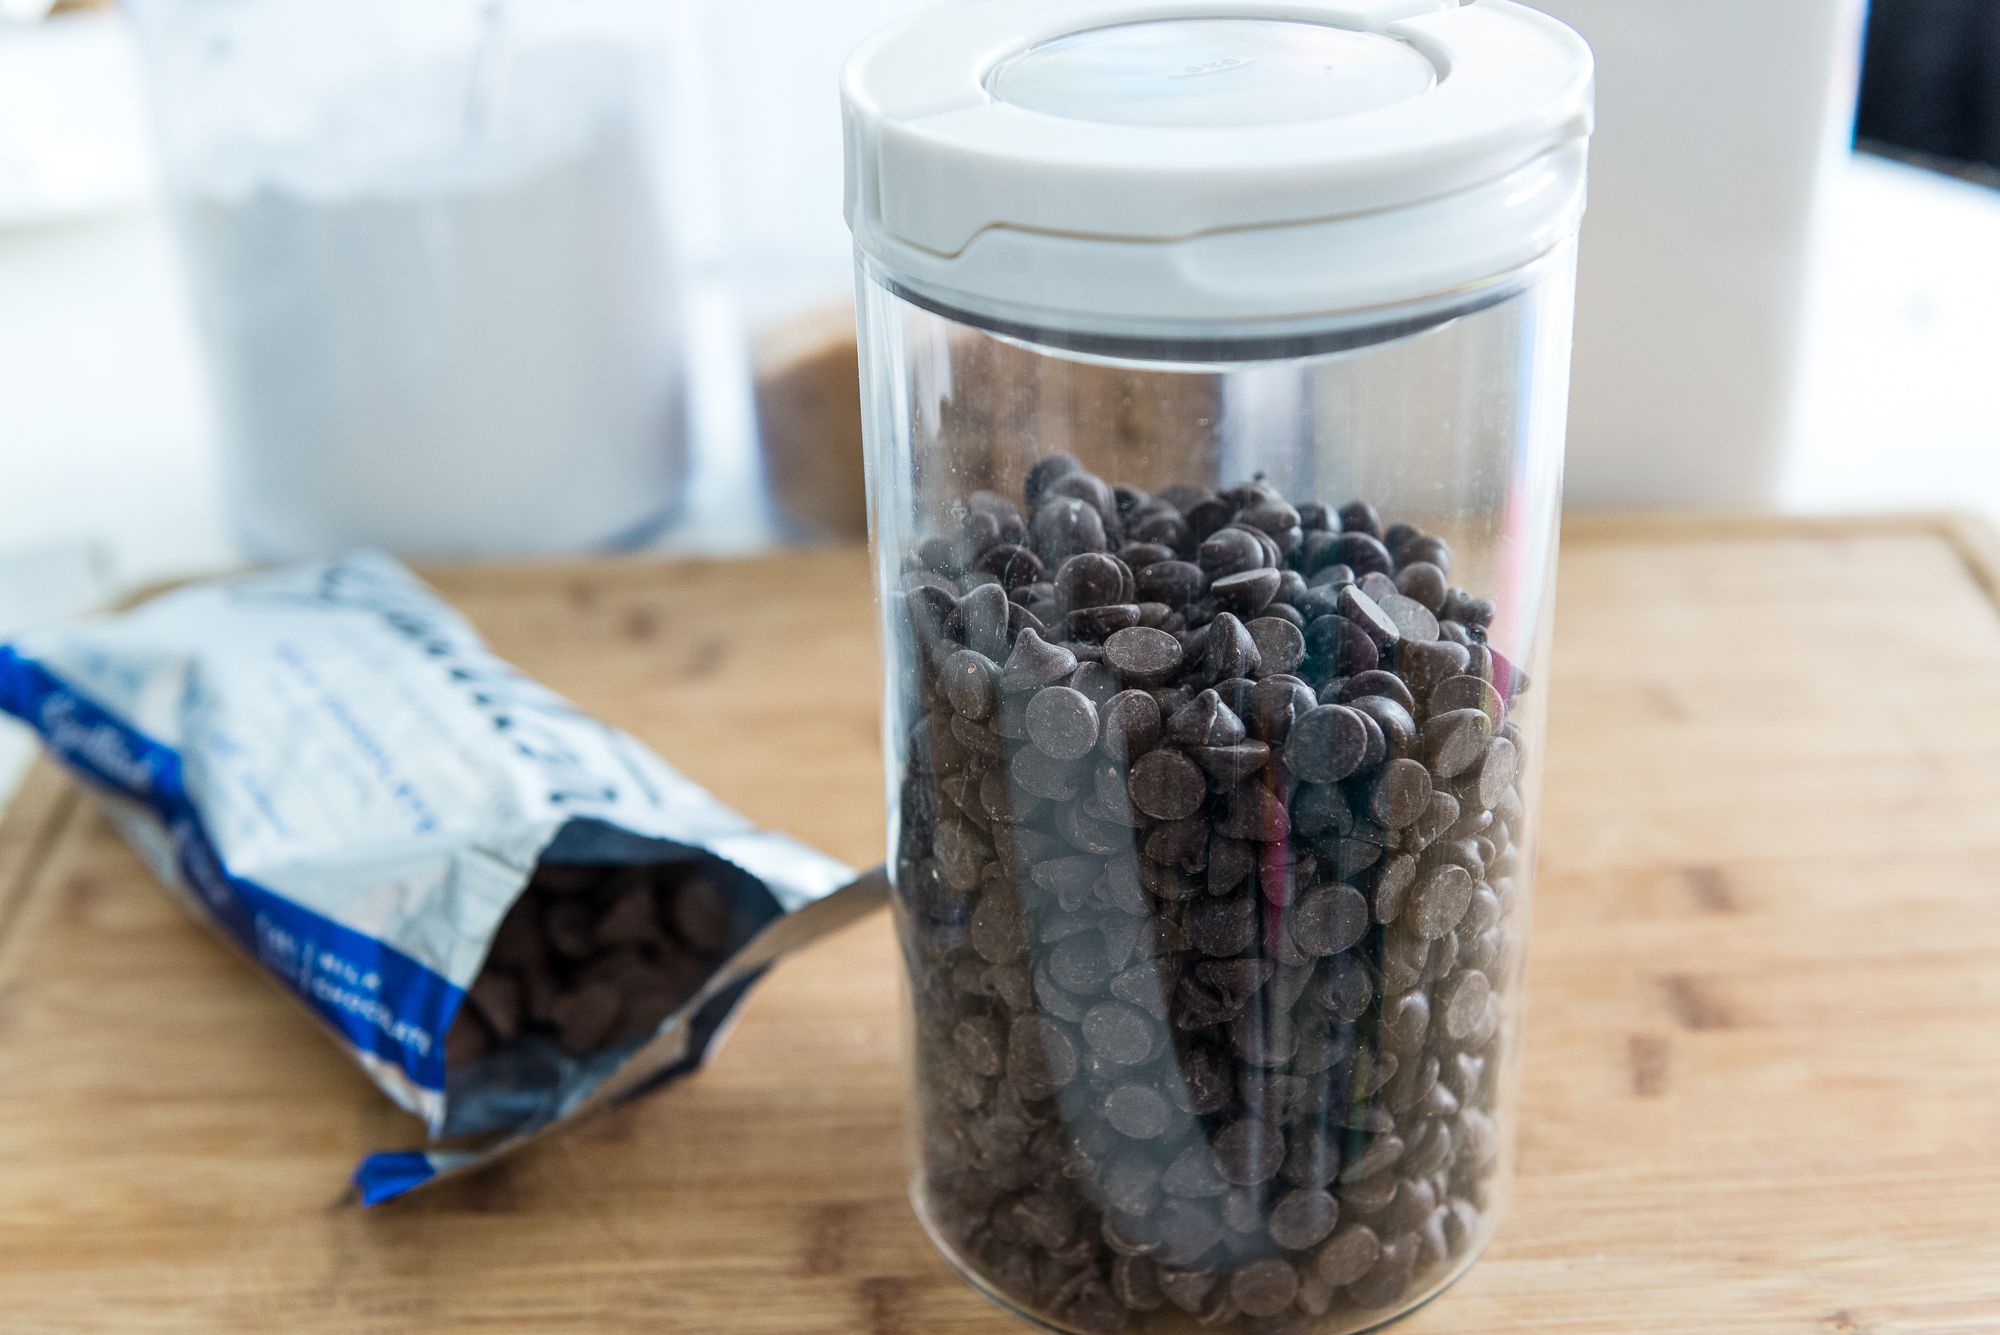
You have a few options when it comes to the type of chocolate to use. You can opt for high-quality chocolate bars or chocolate chips, both of which will melt smoothly and create a velvety coating. Dark, milk, or white chocolate are all excellent choices, depending on your personal preference.
To prepare the chocolate coating, start by chopping the chocolate into small, even pieces. This will help it melt more quickly and evenly. Place the chocolate in a heatproof bowl and set it aside.
Next, you’ll need to decide whether you want to add any additional flavors or ingredients to the chocolate coating. For a simple and classic chocolate flavor, no additives are necessary. However, if you want to get creative, you can try adding a pinch of sea salt, a sprinkle of cinnamon, or even a few drops of vanilla extract to enhance the taste.
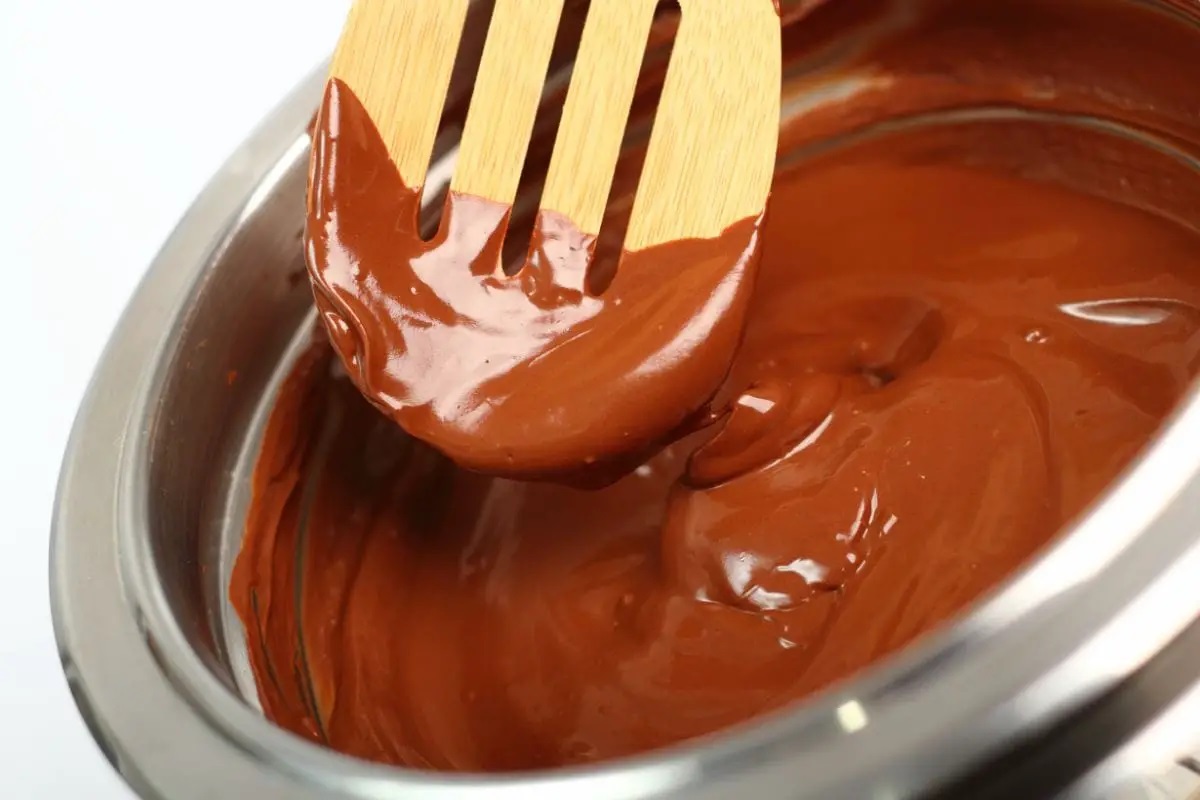
Once you’ve decided on any additional flavors, it’s time to melt the chocolate. You can melt the chocolate using a double boiler method or in the microwave. For the double boiler method, fill a saucepan with water and bring it to a simmer. Place the bowl of chocolate on top of the saucepan, making sure it doesn’t touch the water. Stir the chocolate until it melts completely and becomes smooth.
If you’re using the microwave, microwave the chocolate in short bursts of 15-20 seconds, stirring between each interval, until the chocolate is fully melted. Be careful not to overheat the chocolate as it can seize and become lumpy.
Once the chocolate is melted and smooth, it’s ready to be used for dipping the bananas. But remember, the chocolate will start to thicken as it cools, so work quickly and efficiently to ensure a smooth dipping process.
Now that your chocolate coating is prepared, it’s time to move on to dipping the bananas and creating your chocolate covered delights!
Dipping the Bananas
Dipping the bananas in the chocolate coating is where the real fun begins! Follow these steps to ensure that your chocolate covered bananas turn out perfectly:
1. Prepare the bananas: Start by peeling the ripe bananas and slicing them into your desired shape. If you prefer smaller bite-sized pieces, slice the bananas into thin rounds. For larger chunks, cut the bananas into larger pieces. Make sure the slices are evenly sized for consistent dipping.
2. Set up your dipping station: Line a baking sheet or tray with parchment paper or a silicone mat. This will prevent the chocolate-covered bananas from sticking and makes for easy cleanup afterward.
3. Dip the bananas: Take one banana slice at a time and carefully dip it into the prepared chocolate coating. Use a fork or a skewer to hold onto the banana while dipping, allowing any excess chocolate to drip off. Rotate the banana gently to ensure that all sides are evenly coated.
4. Optional: Add toppings or decorations: While the chocolate is still wet, you can sprinkle your favorite toppings onto the chocolate-covered banana slices. You can use crushed nuts, sprinkles, shredded coconut, or even a drizzle of caramel or melted white chocolate. Get creative and customize your chocolate covered bananas to your liking.
5. Place the dipped bananas on the prepared baking sheet: Once dipped and decorated, place each chocolate-covered banana slice onto the lined baking sheet, spacing them apart so they don’t touch each other. This will allow them to set without sticking together.
6. Repeat the process: Continue dipping all the banana slices until they are all covered in chocolate. If needed, reheat the chocolate coating slightly to maintain the desired consistency for dipping.
7. Allow the chocolate-covered bananas to set: Once all the bananas are dipped, place the baking sheet in the refrigerator for about 15-20 minutes, or until the chocolate is firm and set. This will ensure that the chocolate coating holds its shape and gives you that satisfying snap when you bite into your chocolate covered bananas.
Now that your chocolate covered bananas are dipped and set, it’s time to move on to preparing the drying area and storing your delicious treats.
Store chocolate covered bananas in an airtight container in the refrigerator to prevent the chocolate from melting and the bananas from browning. Place wax paper between layers to prevent sticking.
Setting up the Drying Area
After dipping the bananas in the chocolate coating, it’s important to properly set up a drying area to ensure that your chocolate covered bananas dry and firm up properly. Follow these steps to set up the ideal drying area:
1. Clear a flat surface: Choose a clean and dry area in your kitchen or workspace where you can leave the chocolate covered bananas to dry. Clear off any clutter and make sure the surface is clean and free from any moisture.
2. Use parchment paper or a baking rack: Line the surface with parchment paper or place a baking rack on top. This will prevent the chocolate covered bananas from sticking to the surface and allow air circulation for even drying.
3. Space the bananas apart: Place the dipped bananas onto the parchment paper or baking rack, ensuring that they are not touching each other. This will prevent them from sticking together and allow the chocolate coating to dry evenly on all sides.
4. Find a cool and dry spot: Temperature and humidity can affect the drying process, so choose a spot that is cool and dry. Avoid placing the drying area in direct sunlight or near any source of heat, as this can cause the chocolate to melt or soften.
5. Allow enough drying time: The drying time for chocolate covered bananas can vary depending on the room temperature and humidity levels. Generally, it takes about 30 minutes to 1 hour for the chocolate to fully dry and harden. You can gently touch the chocolate coating to check if it feels firm and dry.
Remember, patience is key during the drying process. Rushing can cause the chocolate coating to become messy and lose its smoothness. Allow the chocolate covered bananas enough time to dry completely before moving on to the next step.
Once the chocolate covered bananas have dried and firmed up nicely, it’s time to store them properly to maintain their freshness and deliciousness.
Read more: How To Store Chocolate Covered Oreos
Storing the Chocolate Covered Bananas
Properly storing your chocolate covered bananas will help maintain their freshness and prevent them from melting or becoming too soft. Here are some guidelines to follow when storing your delectable treats:
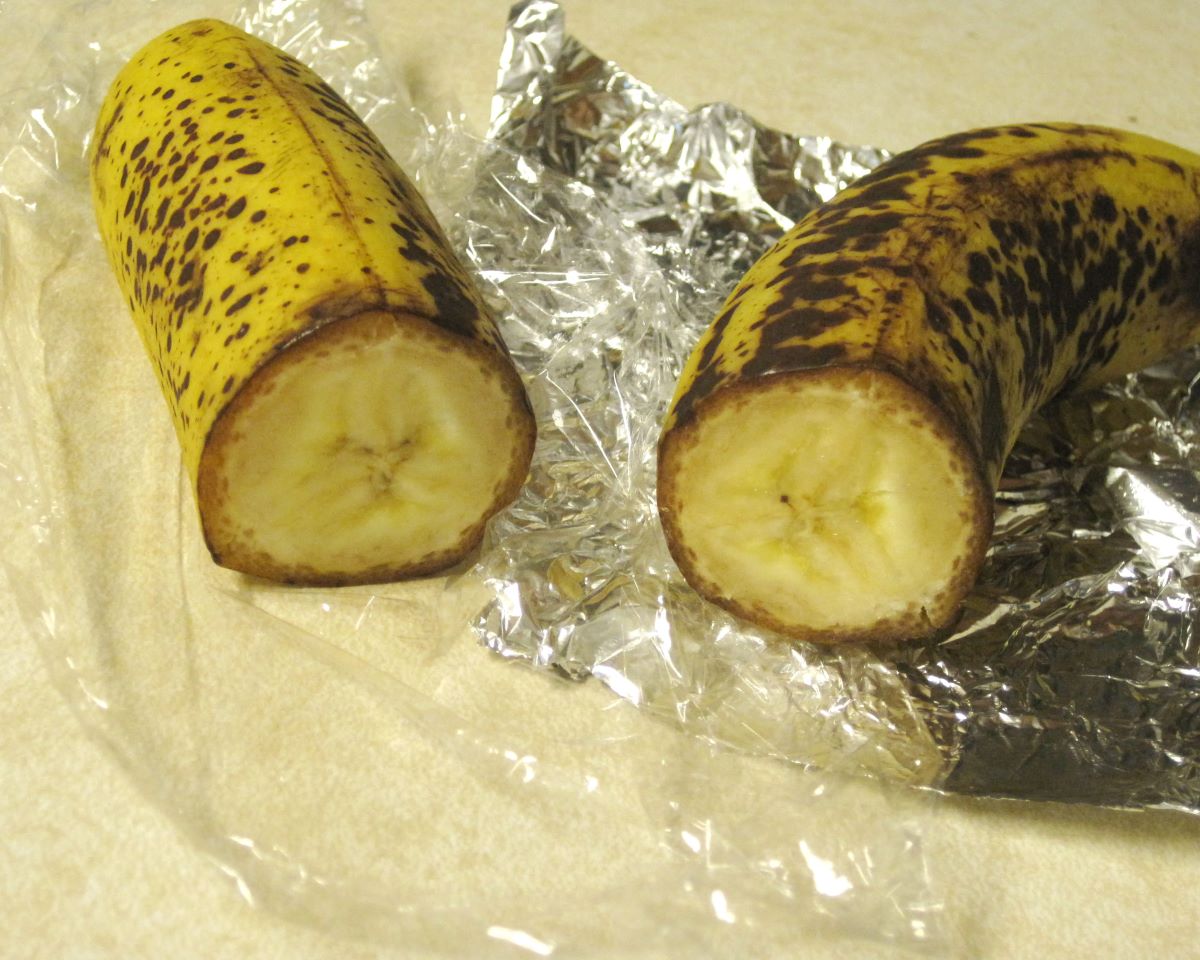
1. Refrigeration: It is recommended to store chocolate covered bananas in the refrigerator. The cool temperature will help preserve the texture of the chocolate coating and prevent it from melting. Place the chocolate covered bananas in an airtight container or wrap them tightly with plastic wrap to keep them fresh.
2. Layering: If you need to stack multiple layers of chocolate covered bananas in a container, place a layer of parchment paper or wax paper between each layer. This will prevent them from sticking together and preserve their appearance.
3. Timing: Ideally, consume the chocolate covered bananas within 2-3 days of making them. While they may last longer, the bananas can start to brown and lose their freshness over time.
4. Freezing: If you want to extend the shelf life of your chocolate covered bananas, you can freeze them. Place them in a single layer on a baking sheet and freeze until firm. Once frozen, transfer them to a freezer-safe bag or container. They can be stored in the freezer for up to 2 months. When ready to enjoy, allow them to thaw in the refrigerator before serving.
5. Enjoying at room temperature: Before serving, it’s best to let the chocolate covered bananas come to room temperature. This will allow the banana to soften slightly, making them easier to bite into and enhancing the overall taste and texture.
Remember that extreme heat and direct sunlight can cause the chocolate coating to melt, so always store your chocolate covered bananas in a cool place. Avoid leaving them out at room temperature for extended periods, especially in warm weather.
By following these storage tips, you can enjoy your homemade chocolate covered bananas for an extended period and savor their deliciousness whenever the craving strikes.
Tips and Variations
Here are some additional tips and variations to take your chocolate covered bananas to the next level:
1. Experiment with different chocolate flavors: While traditional milk, dark, and white chocolate are great choices, don’t be afraid to try other flavors like flavored chocolates or even vegan chocolate options. You can also mix different types of chocolate together for a unique flavor combination.
2. Add a crunchy coating: For an extra layer of texture, roll your chocolate covered bananas in crushed nuts, toasted coconut, or graham cracker crumbs. This will add a delightful crunch to every bite.
3. Drizzle with additional toppings: After the chocolate coating has dried, drizzle melted white or dark chocolate over the bananas for an elegant touch. You can also drizzle caramel sauce, peanut butter, or Nutella for added decadence.
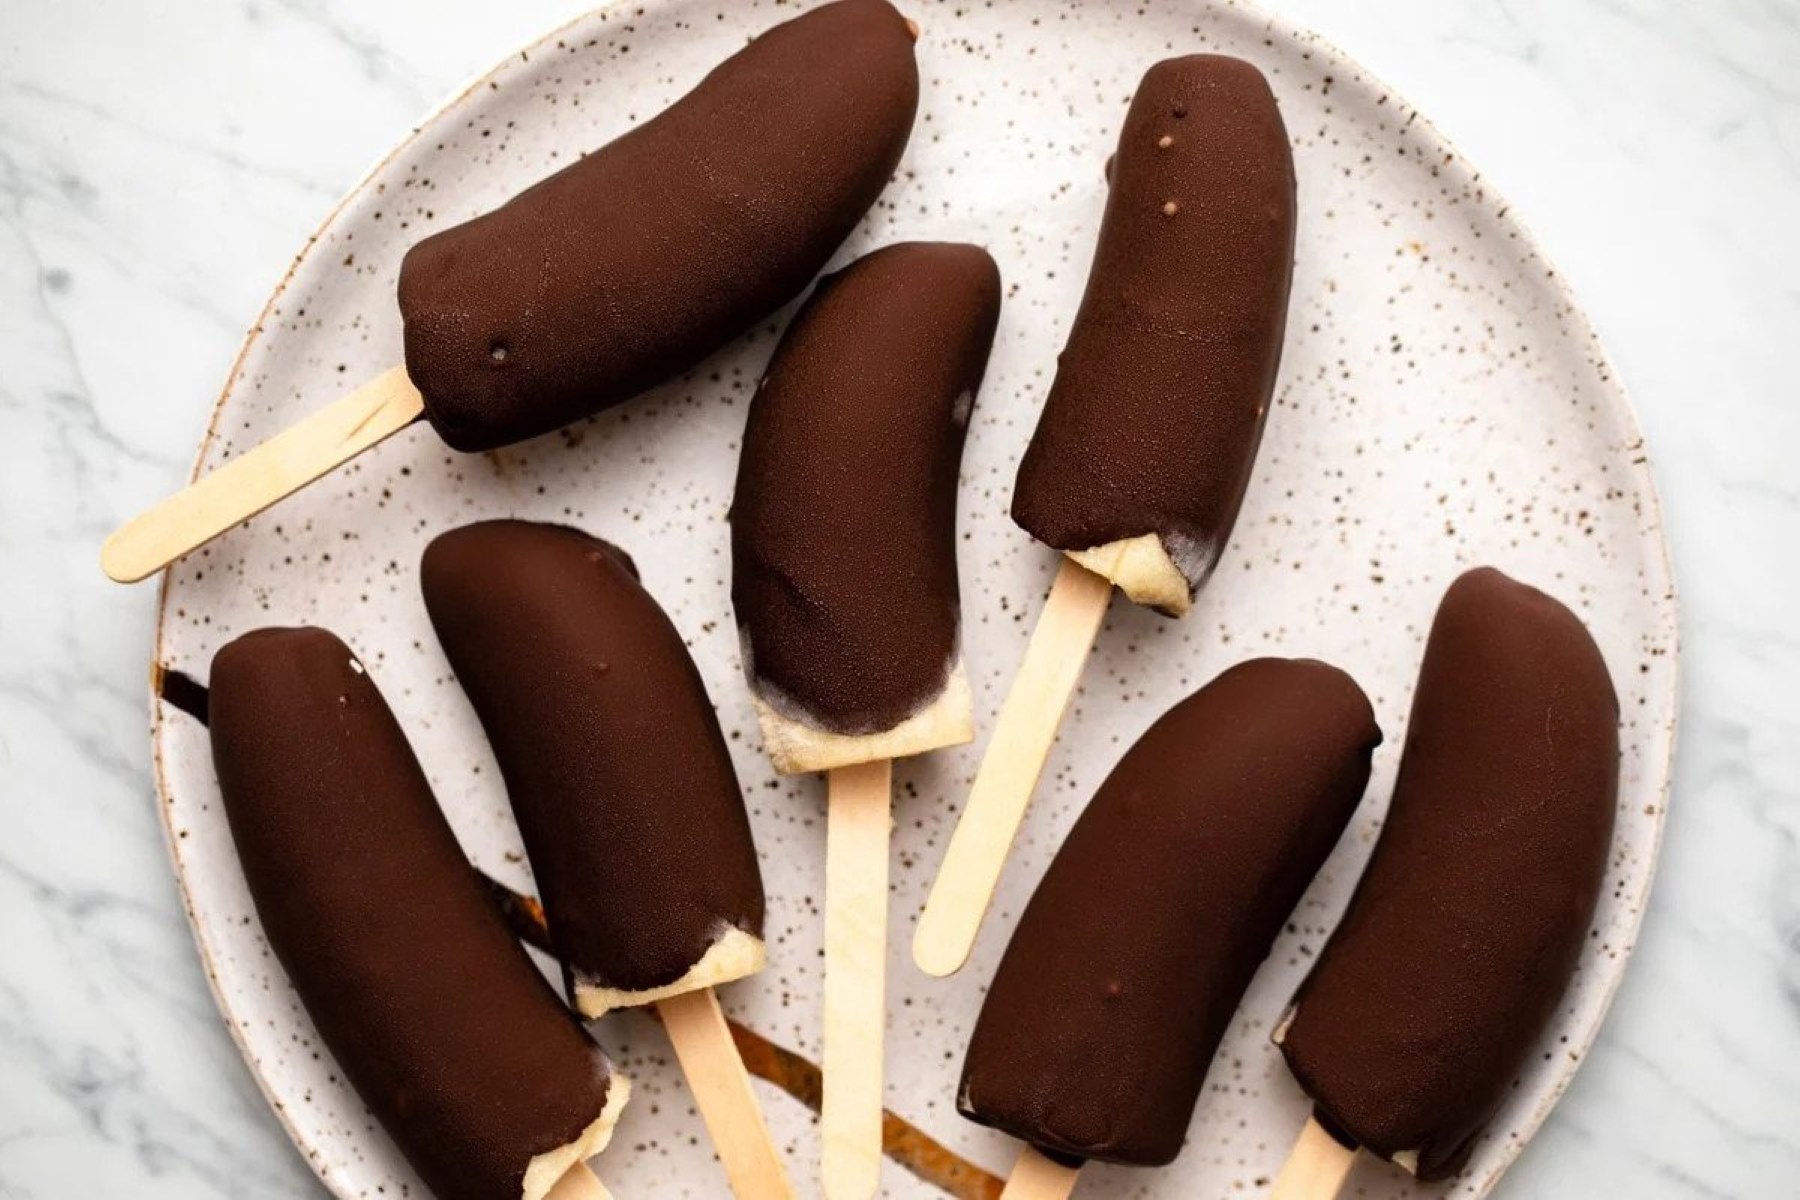
4. Insert popsicle sticks: Instead of slicing the bananas, insert popsicle sticks into whole bananas and dip them into the chocolate coating. This turns them into easy-to-hold and enjoyable chocolate covered banana popsicles.
5. Make them a party treat: Skewer the chocolate dipped bananas on mini skewers or lollipop sticks and arrange them in a decorative bowl or foam block to create a stunning centerpiece for parties or events.
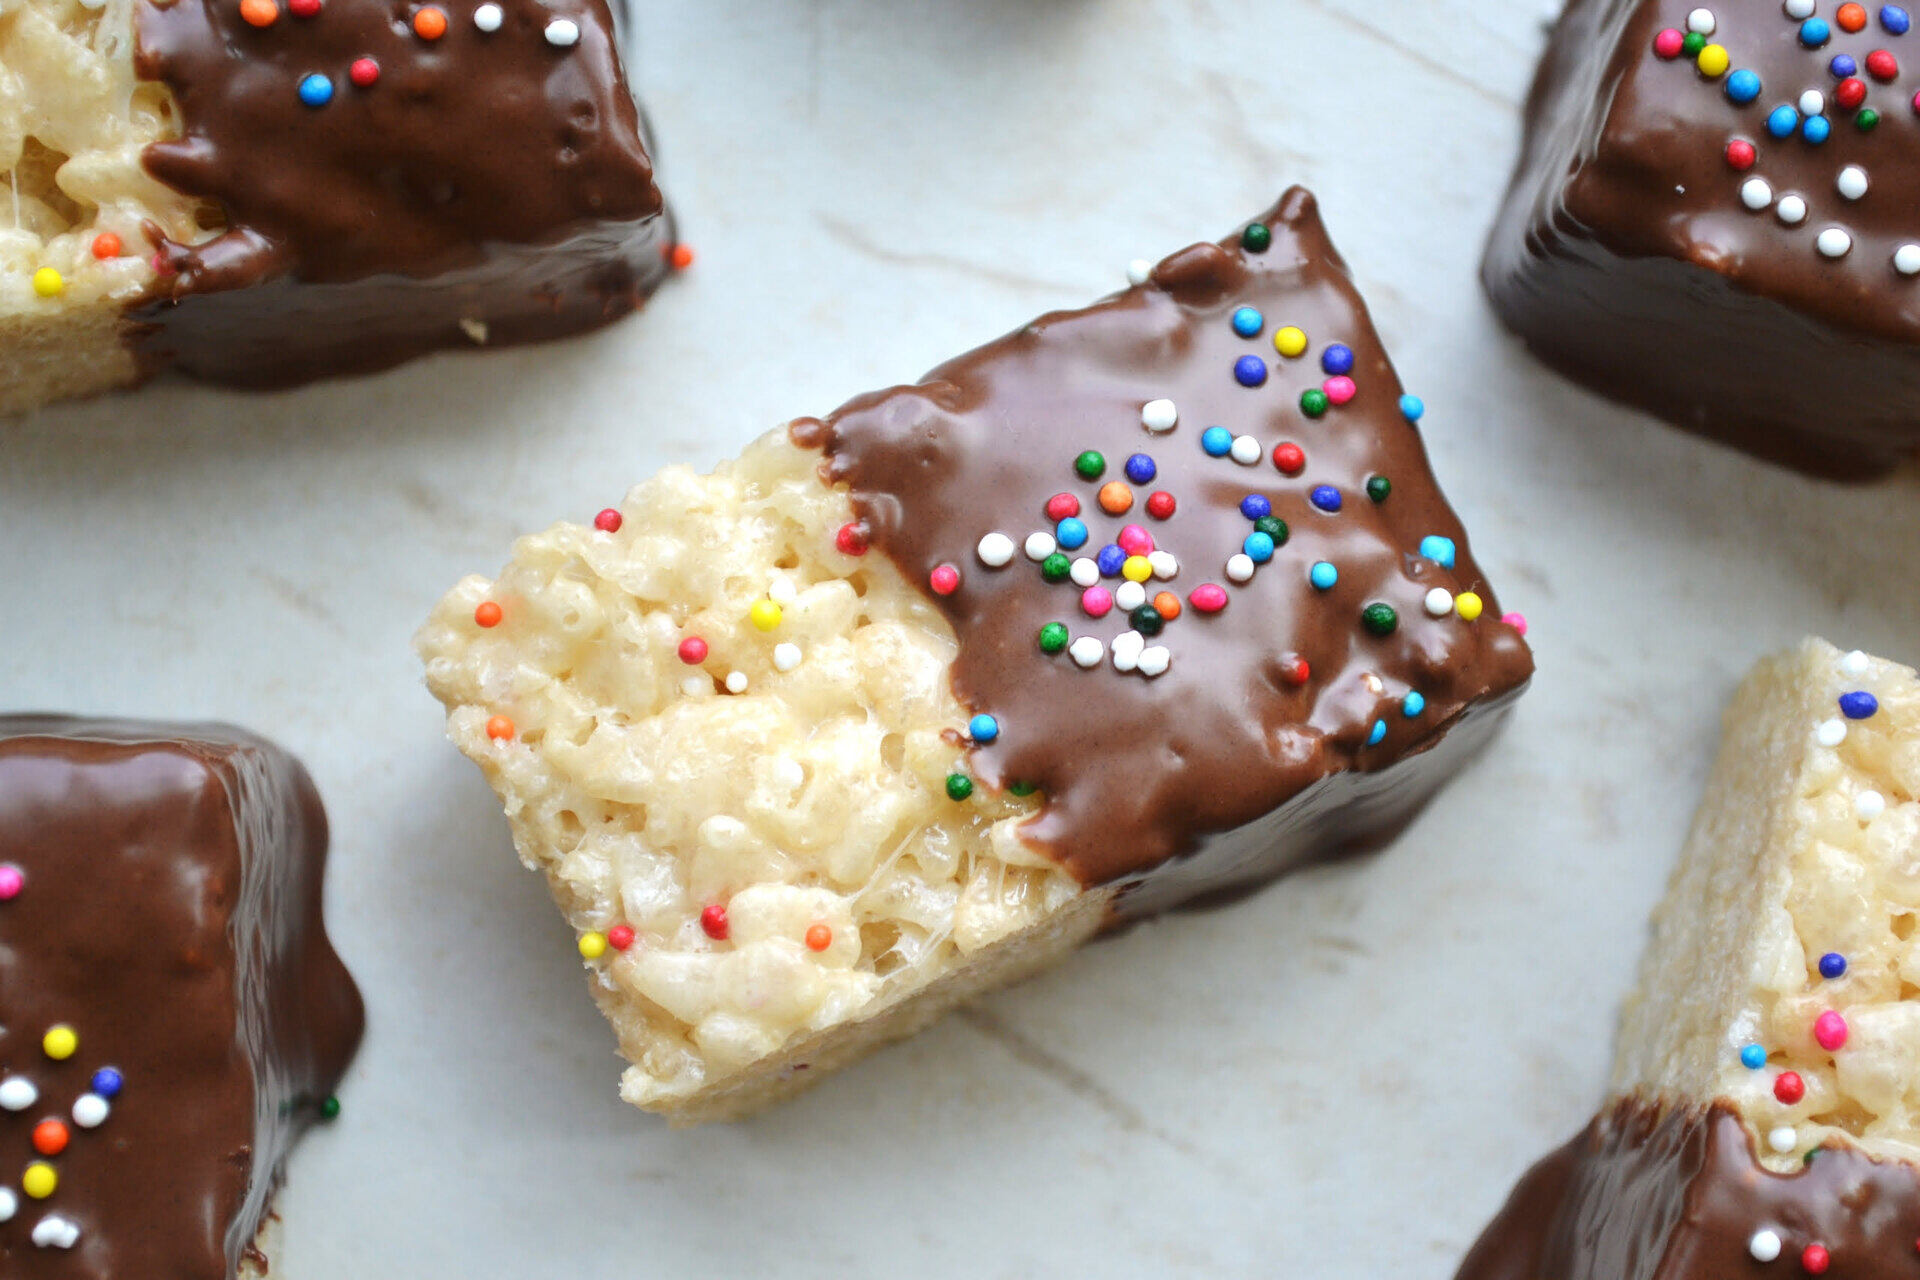
6. Get creative with toppings: Don’t limit yourself to just nuts and coconut. Try sprinkling colorful sprinkles, mini chocolate chips, crushed cookies, or even edible flowers on top of the chocolate dipped bananas for a vibrant and visually appealing treat.
7. Serve with a side of dipping sauce: Whip up a quick and easy dipping sauce like salted caramel, chocolate ganache, or fruit puree to serve alongside your chocolate covered bananas. It adds an extra burst of flavor and allows your guests to customize their treats.
8. Make them a healthier treat: Use dark chocolate with a high cocoa percentage and sprinkle chia seeds, hemp hearts, or dried fruit on top of the chocolate coating for a healthier twist.
Remember, the possibilities are endless when it comes to creating variations of chocolate covered bananas. Let your imagination run wild and have fun experimenting with different flavors and toppings!
Conclusion
Congratulations! You have successfully learned how to make and store delicious chocolate covered bananas. This delightful treat is not only easy to make, but also customizable to suit your preferences and creative flair.
By choosing the right bananas and preparing a smooth and flavorful chocolate coating, you can create a delectable treat that will please any chocolate lover. Whether you’re enjoying them as a snack, serving them at parties, or giving them as gifts, chocolate covered bananas are sure to be a hit.
Remember to take your time and have fun while dipping and decorating your bananas. Setting up a proper drying area and storing your chocolate covered bananas correctly will ensure that they stay fresh and maintain their irresistible texture.
Feel free to explore different variations by experimenting with various chocolate flavors, toppings, and even serving them with dipping sauces. Let your creativity shine and tailor your chocolate covered bananas to suit your unique taste and preferences.
So, the next time you’re craving a sweet and enticing treat, reach for a chocolate covered banana. Indulge in the creamy chocolate coating and enjoy the blend of flavors and textures that will surely satisfy your cravings.
Now, gather your ingredients and get ready to embark on a delightful journey of making your very own chocolate covered bananas. Enjoy the process and savor every bite of these irresistible treats. Happy dipping!
Frequently Asked Questions about How To Store Chocolate Covered Bananas
Was this page helpful?
At Storables.com, we guarantee accurate and reliable information. Our content, validated by Expert Board Contributors, is crafted following stringent Editorial Policies. We're committed to providing you with well-researched, expert-backed insights for all your informational needs.



0 thoughts on “How To Store Chocolate Covered Bananas”