Articles
How To Store Chocolate Covered Pretzels
Modified: February 23, 2024
Discover the best way to store chocolate covered pretzels with our helpful articles. Keep your treats fresh and delicious for longer!
(Many of the links in this article redirect to a specific reviewed product. Your purchase of these products through affiliate links helps to generate commission for Storables.com, at no extra cost. Learn more)
Introduction
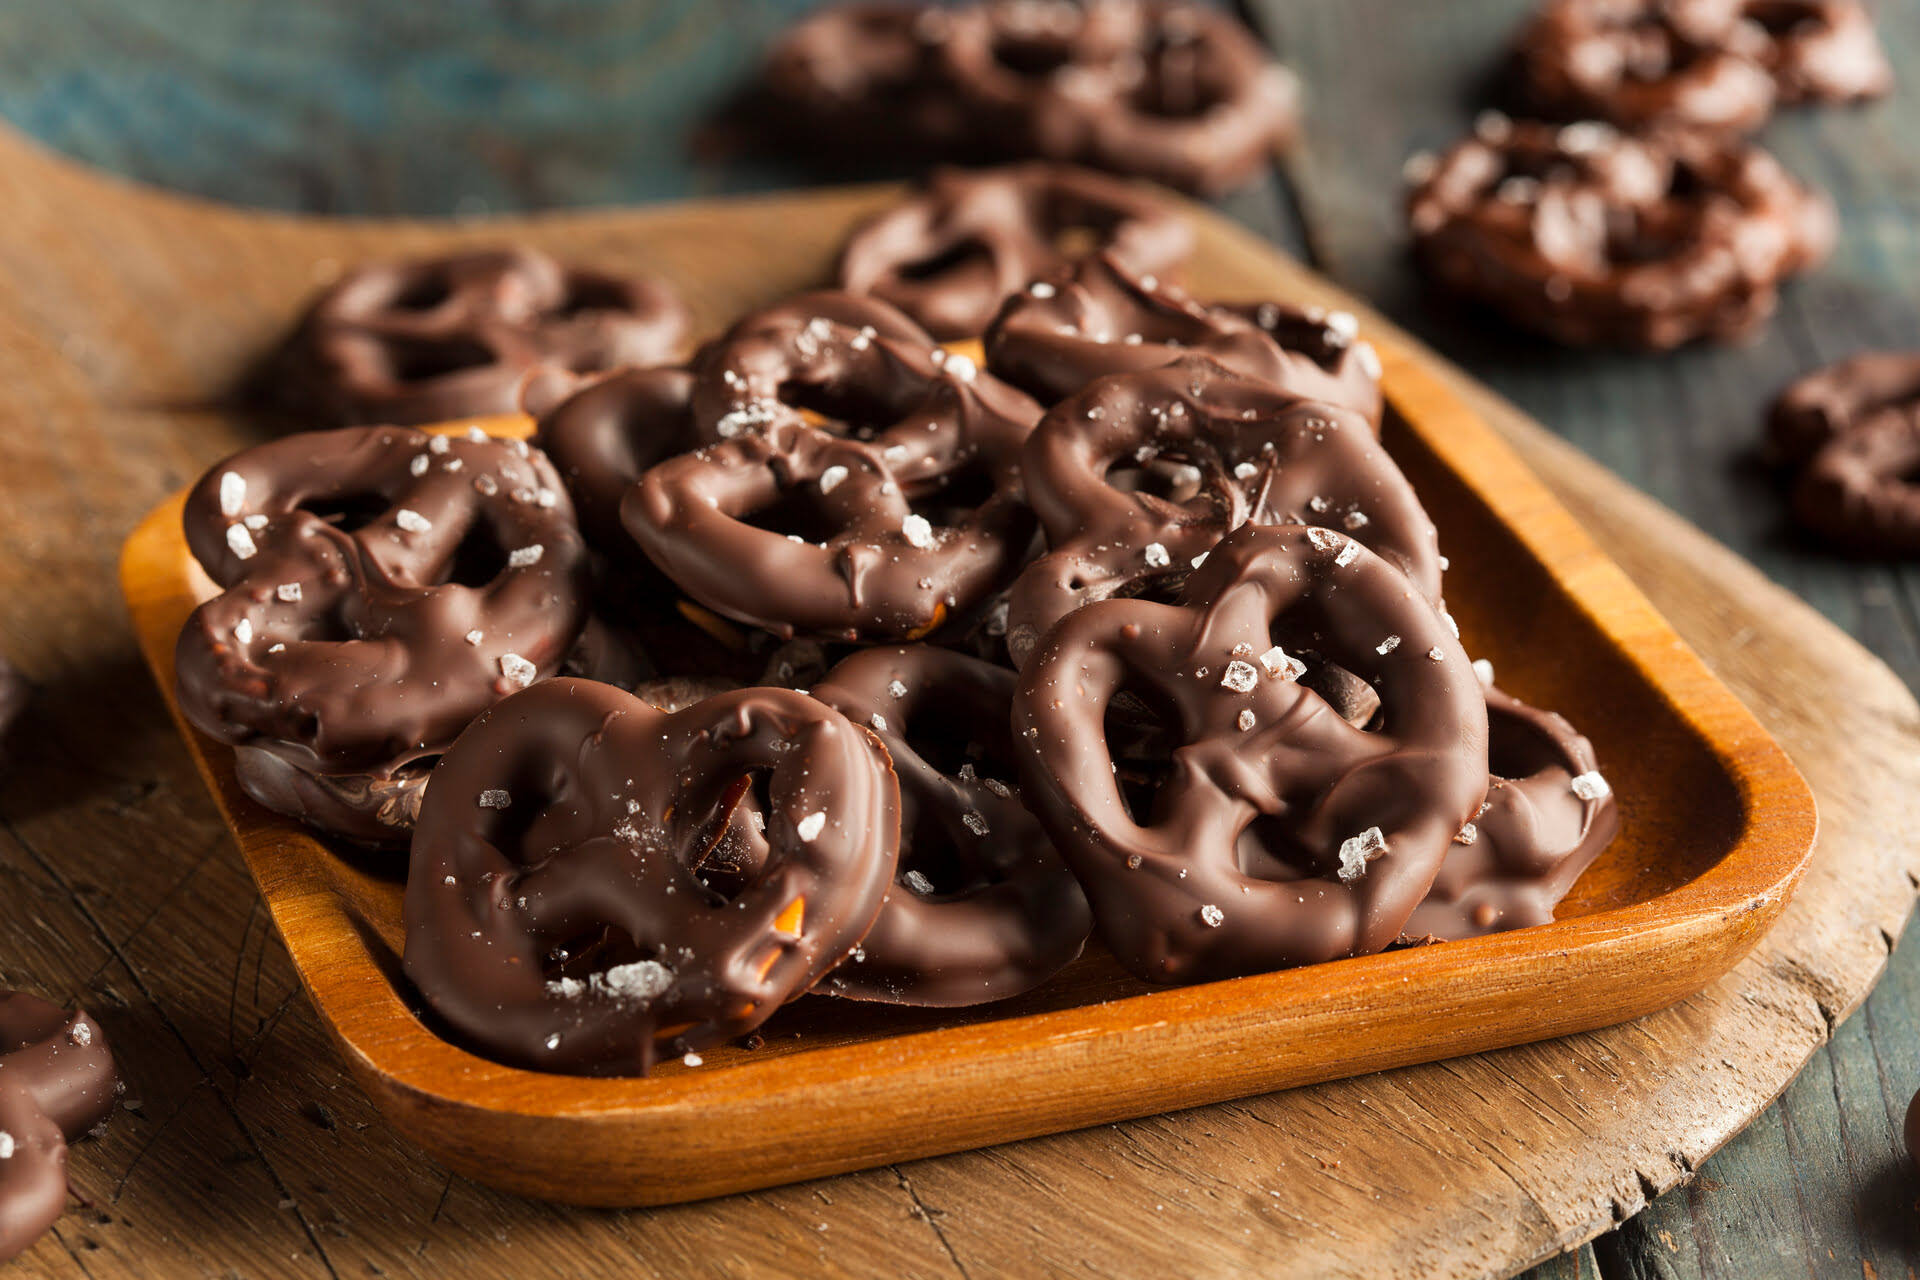
Welcome to the delicious world of homemade chocolate covered pretzels! These delightful treats are the perfect combination of sweet and salty, making them a favorite snack for many. Whether you’re making them for a party, as a gift, or just to satisfy your cravings, learning how to store chocolate covered pretzels is essential to maintaining their flavor and freshness.
When it comes to making chocolate covered pretzels, the process is relatively simple. You melt the chocolate, dip the pretzels, and let them cool. However, knowing how to properly store them is crucial to preserve their quality and ensure they stay delectable for as long as possible.
In this article, we will guide you through the steps of making chocolate covered pretzels while providing tips on how to store them. So, let’s delve into the world of chocolatey goodness!
Key Takeaways:
- Master the art of making and storing chocolate covered pretzels to enjoy delightful homemade treats. Get creative with toppings, experiment with different chocolates, and impress your loved ones with your culinary skills!
- Properly store your chocolate covered pretzels in a cool, dry place to maintain their freshness and delicious taste. With the right storage, these delectable treats can last for up to two weeks, ensuring you can savor them for longer.
Read more: How To Store Chocolate Covered Bananas
Ingredients
Before we dive into the process of making chocolate covered pretzels, let’s gather all the necessary ingredients. Here’s what you’ll need:
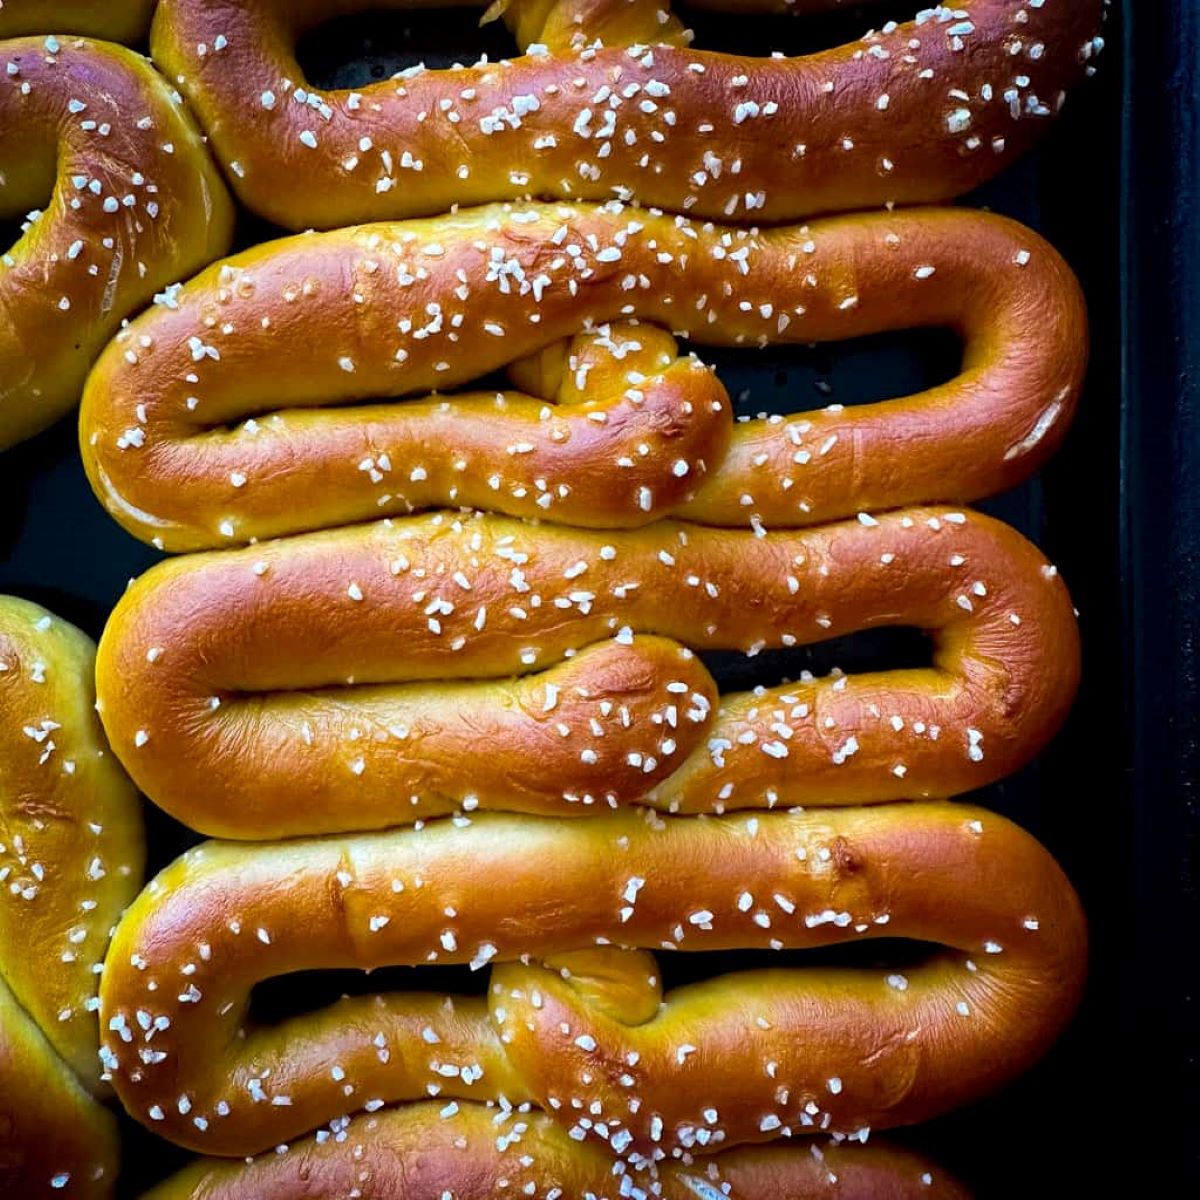
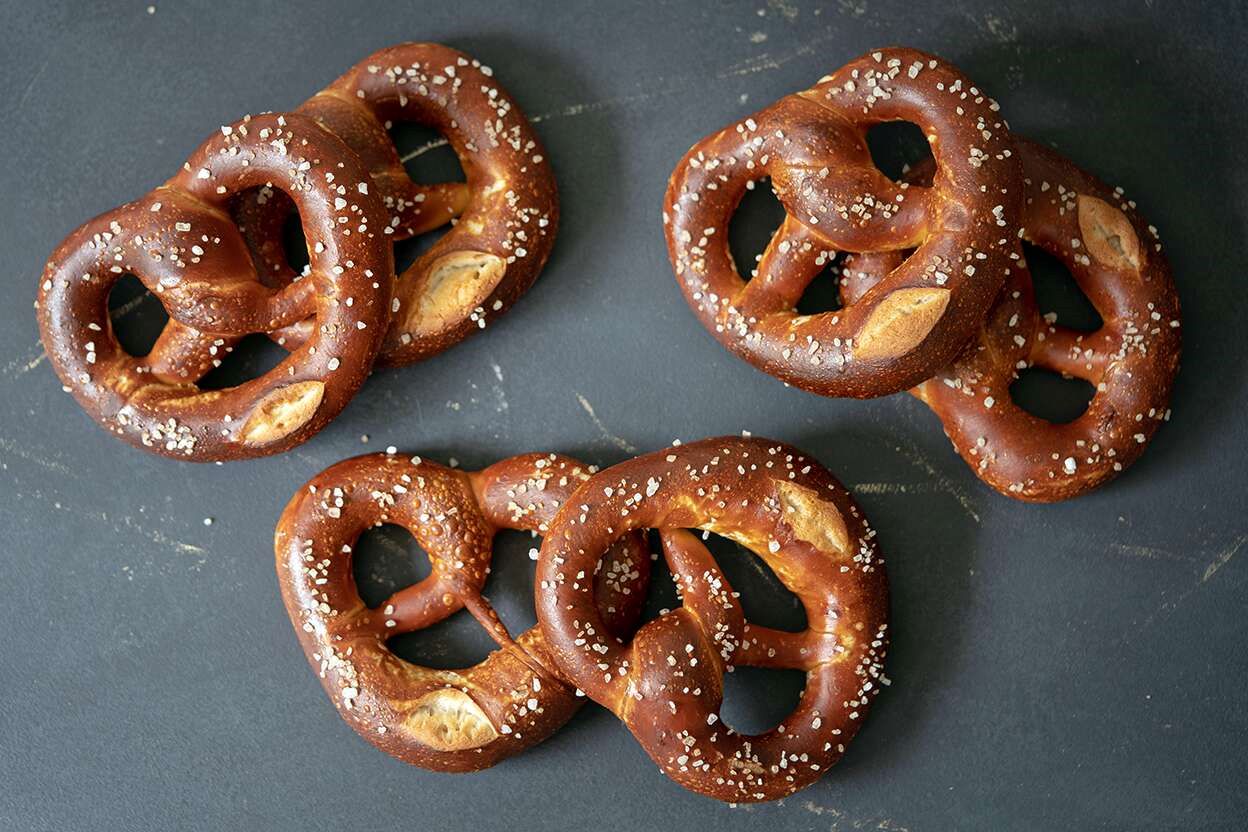
- 1 bag of pretzels (choose your favorite shape: twists, rods, or mini pretzels)
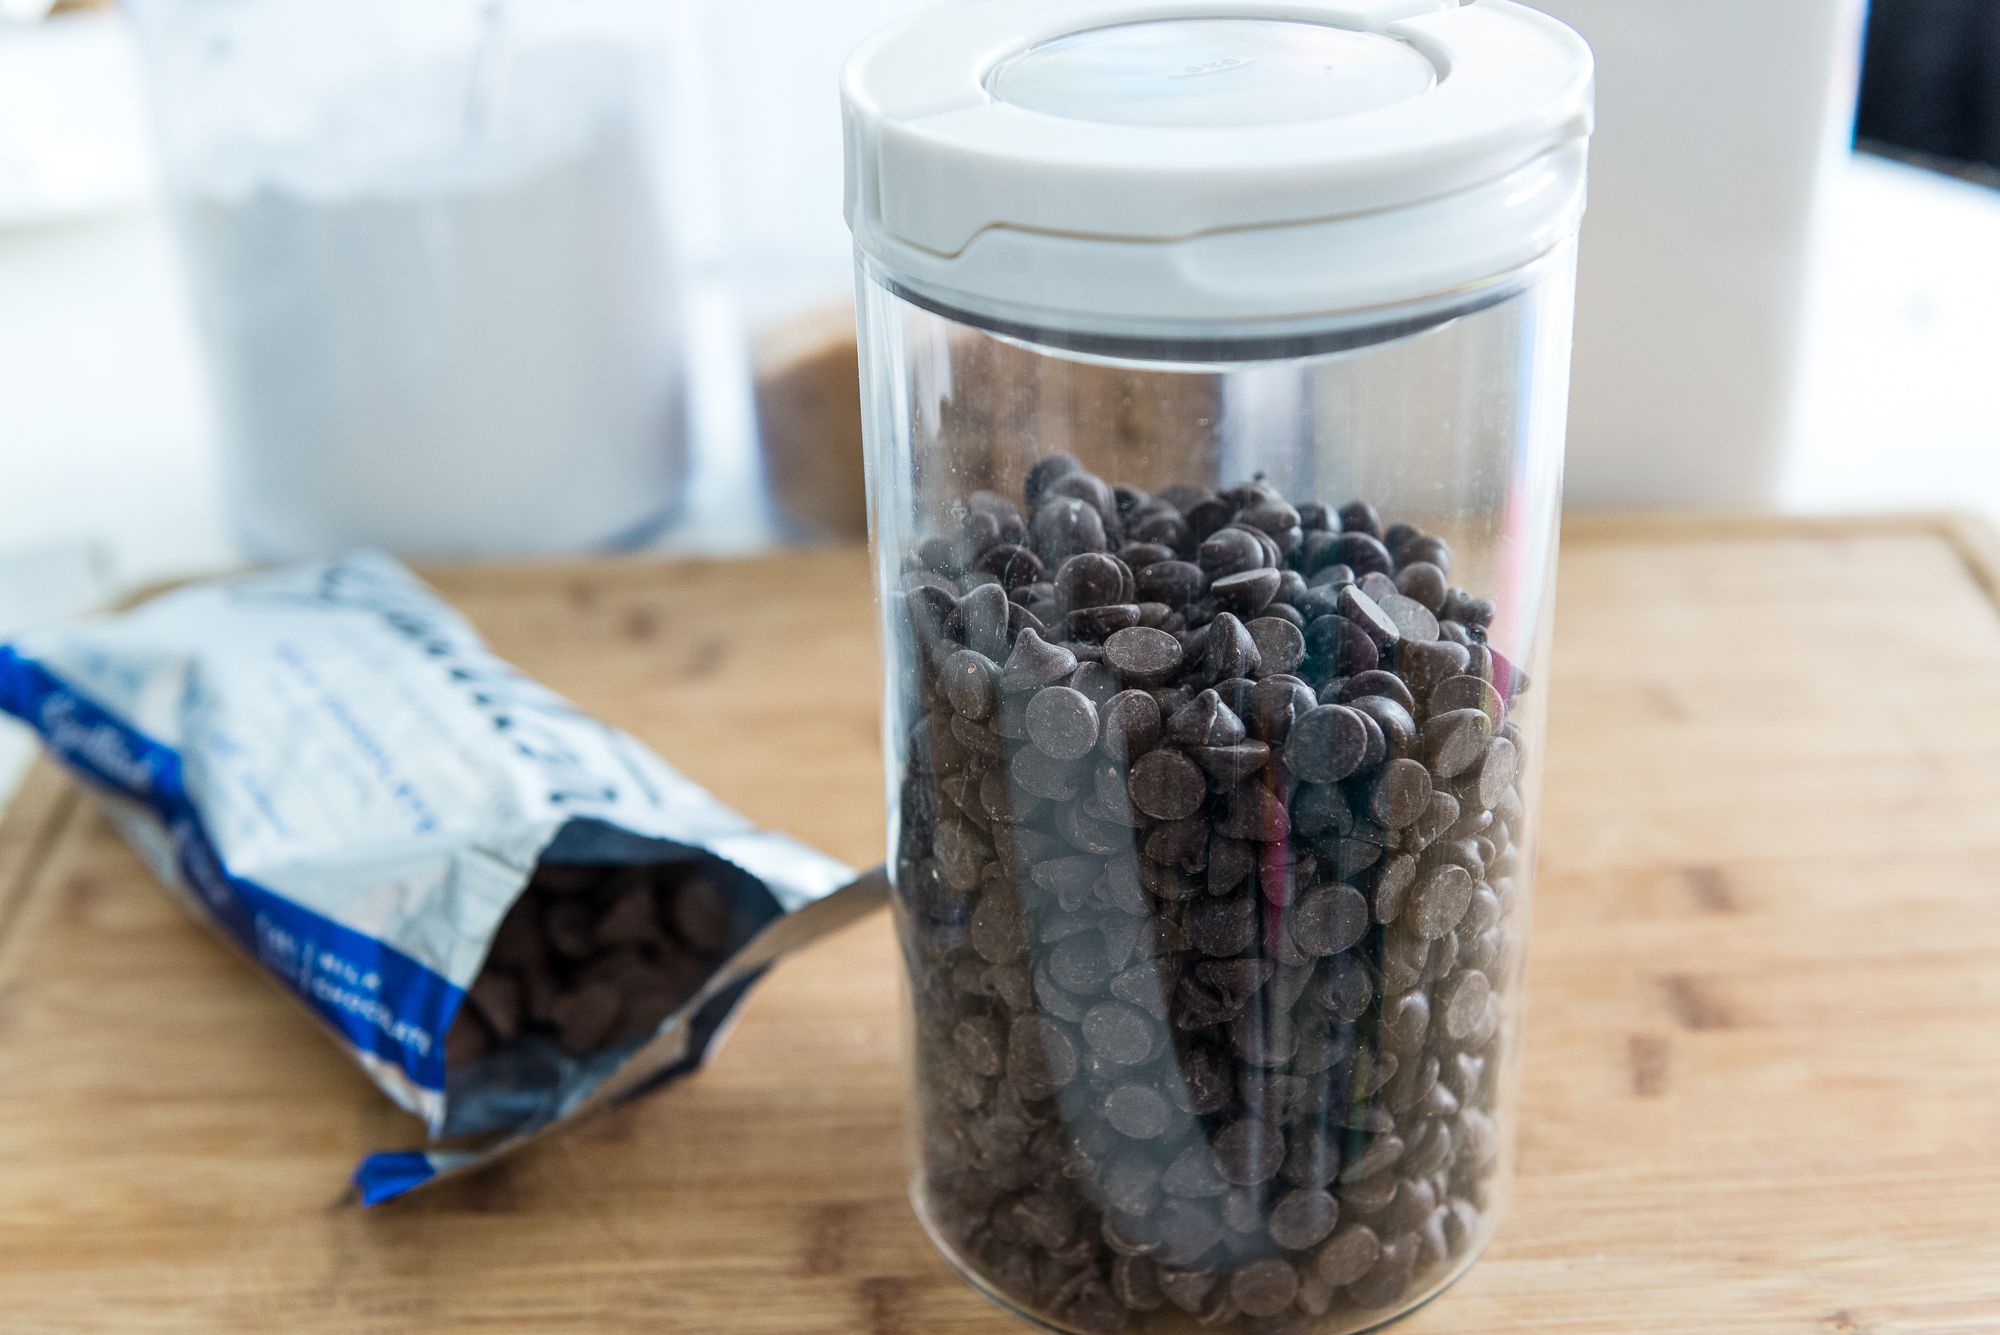
- 12 ounces of chocolate or candy melts (milk, dark, or white chocolate – the choice is yours!)
- Assorted toppings (optional) such as sprinkles, crushed nuts, coconut flakes, or sea salt
That’s it! With just a handful of ingredients, you can create a delightful batch of chocolate covered pretzels. Feel free to get creative with the toppings and mix different types of chocolates to cater to your taste preferences.
Equipment Needed
Now that we have our ingredients ready, let’s gather the necessary equipment to make the perfect chocolate covered pretzels. Here’s what you’ll need:
- Double boiler or microwave-safe bowl
- Heatproof spatula or spoon
- Parchment paper or silicone baking mat
- Baking sheet or tray
- Tongs or a fork for dipping
- Optional: Wax paper or cooling rack
The equipment needed for making chocolate covered pretzels is relatively straightforward and can usually be found in most kitchens. The double boiler or microwave-safe bowl will be used for melting the chocolate, while the heatproof spatula or spoon will help you stir and mix it smoothly.
Using parchment paper or a silicone baking mat will provide a non-stick surface for the pretzels to cool on, and a baking sheet or tray will hold the pretzels while they set. Tongs or a fork will come in handy for dipping the pretzels into the melted chocolate, ensuring they are evenly coated.
If you want your chocolate covered pretzels to have a nice, even coating, you may also consider using wax paper or a cooling rack to allow any excess chocolate to drip off before they fully set.
With these simple tools at your disposal, you’ll be well-equipped to create beautiful and delicious chocolate covered pretzels in no time!
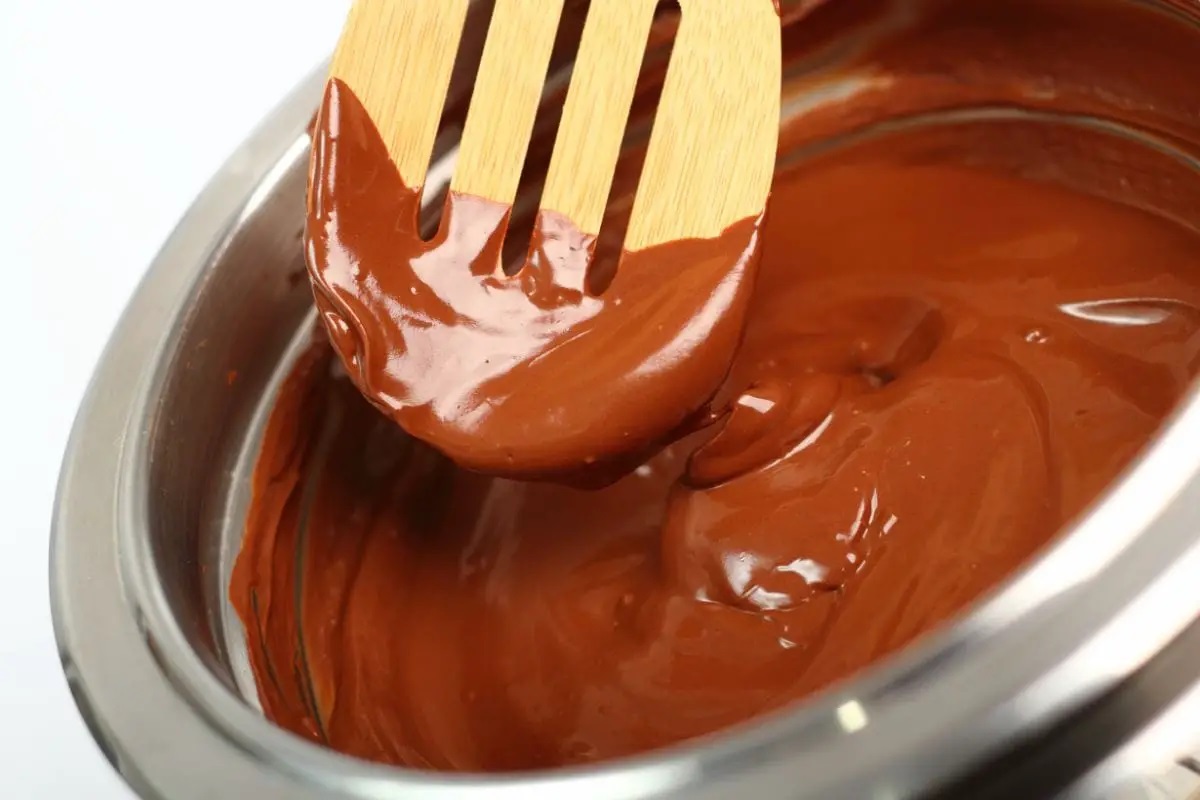
Step 1: Melting the Chocolate
The first step in creating perfect chocolate covered pretzels is melting the chocolate. There are two common methods to melt chocolate: using a double boiler or using a microwave. Let’s explore both methods:
Double Boiler Method:
- Fill a saucepan with a couple of inches of water and bring it to a simmer over medium heat.
- Place a heatproof bowl on top of the saucepan, making sure the bottom of the bowl does not touch the water.
- Add the chocolate or candy melts to the bowl and stir occasionally with a heatproof spatula or spoon until fully melted and smooth.
Read more: How To Store Chocolate Covered Oreos
Microwave Method:
- Place the chocolate or candy melts in a microwave-safe bowl.
- Heat the chocolate in short intervals of 15-20 seconds, stirring well after each interval. Be careful not to overheat the chocolate, as it can easily scorch.
- Continue microwaving and stirring until the chocolate is completely melted and has a smooth consistency.
Whether you choose the double boiler or microwave method, it’s important to melt the chocolate slowly and stir frequently to prevent overheating and ensure a smooth texture.
Once the chocolate is melted and smooth, you’re ready to move on to the next step: dipping the pretzels!
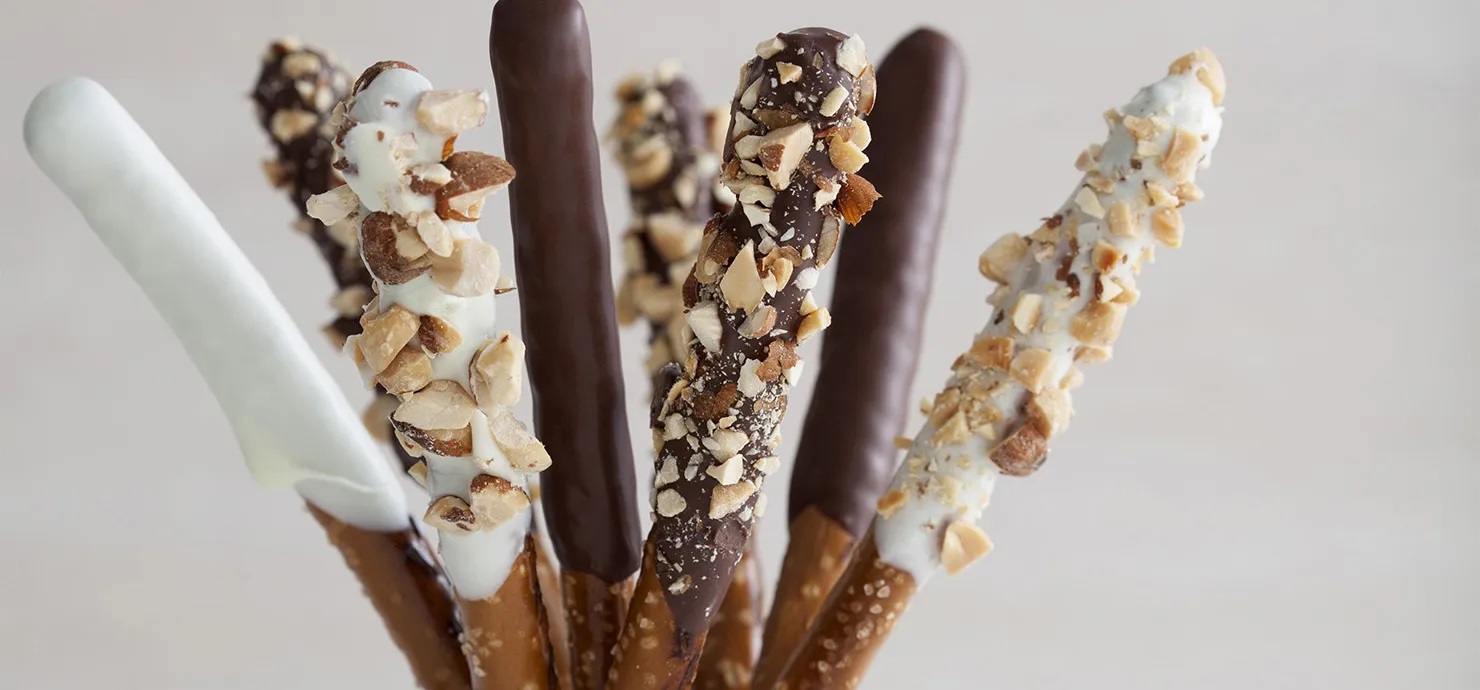
Step 2: Dipping the Pretzels
Now that you have your melted chocolate ready, it’s time to dip the pretzels! This step requires a bit of finesse, but with a little practice, you’ll become a pro in no time. Follow these simple steps:
- Prepare a baking sheet or tray lined with parchment paper or a silicone baking mat.
- Using a pair of tongs or a fork, carefully pick up a pretzel and dip it into the melted chocolate. Make sure the pretzel is fully coated with chocolate.
- Gently shake off any excess chocolate by tapping the tongs or fork against the side of the bowl.
- Place the chocolate-covered pretzel onto the prepared baking sheet or tray.
- Repeat the process with the remaining pretzels, making sure to leave some space between them on the tray.
As you dip the pretzels, you may find it helpful to swirl the pretzel in the chocolate to ensure full coverage. If you prefer, you can also lay the pretzel flat on the tines of a fork and dip it, using a spoon to pour chocolate over the top.
Remember, the key to successful dipping is working efficiently and keeping the chocolate at a consistent temperature. If the chocolate begins to thicken, you can reheat it gently using the double boiler or microwave method.
Once all the pretzels are dipped in chocolate and placed on the tray, it’s time to move on to the optional step of adding toppings!
Store chocolate covered pretzels in an airtight container at room temperature, away from direct sunlight and heat sources. If you need to stack them, place a layer of parchment paper between each layer to prevent sticking.
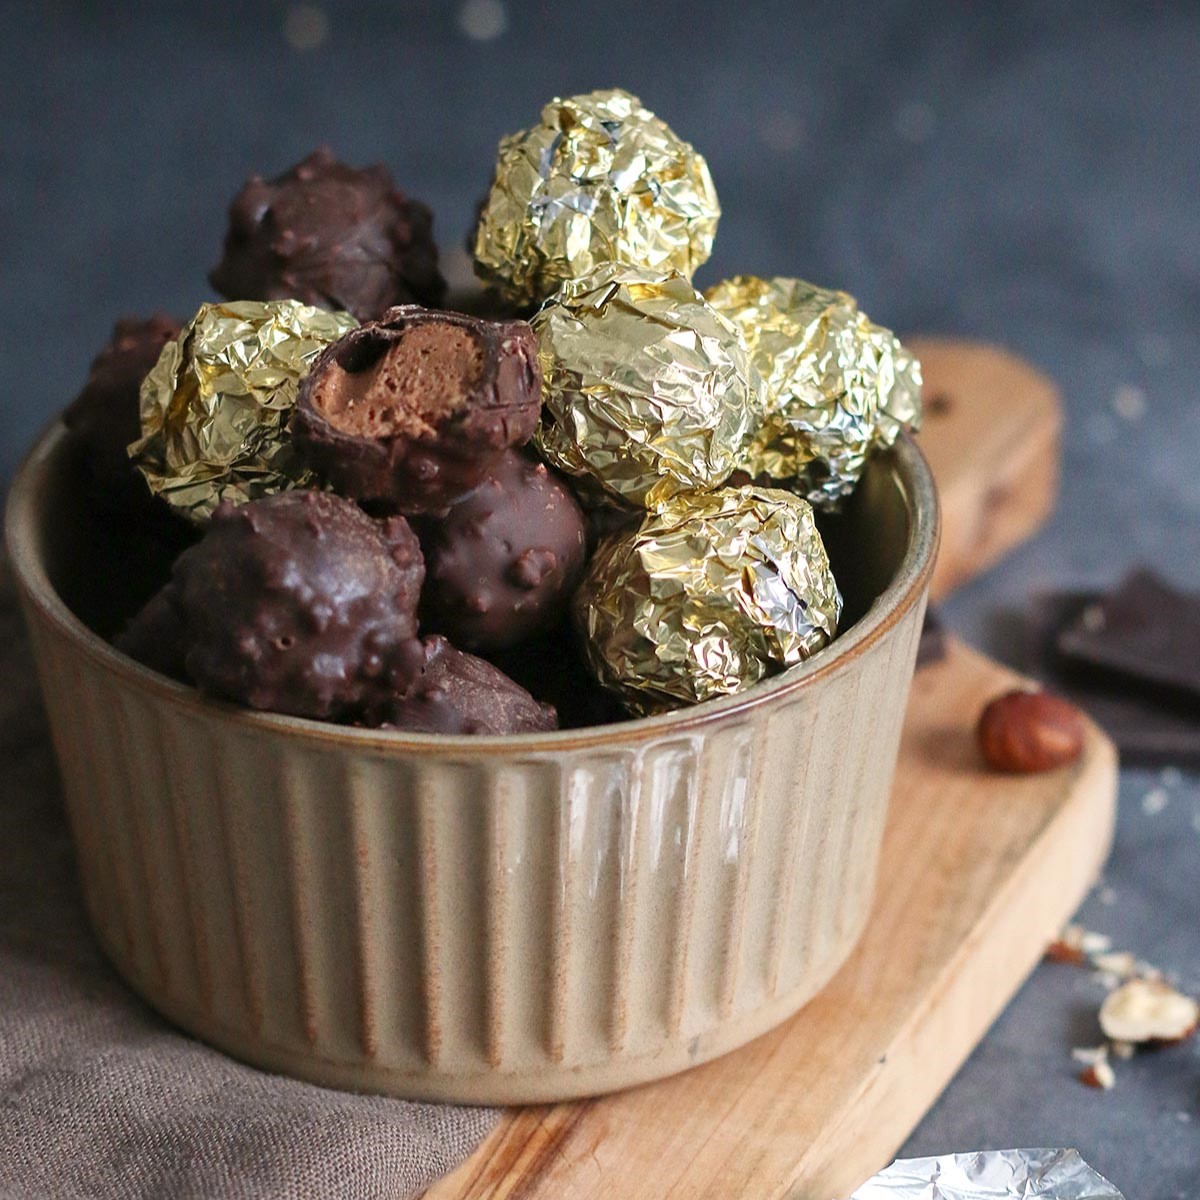
Step 3: Adding Toppings (Optional)
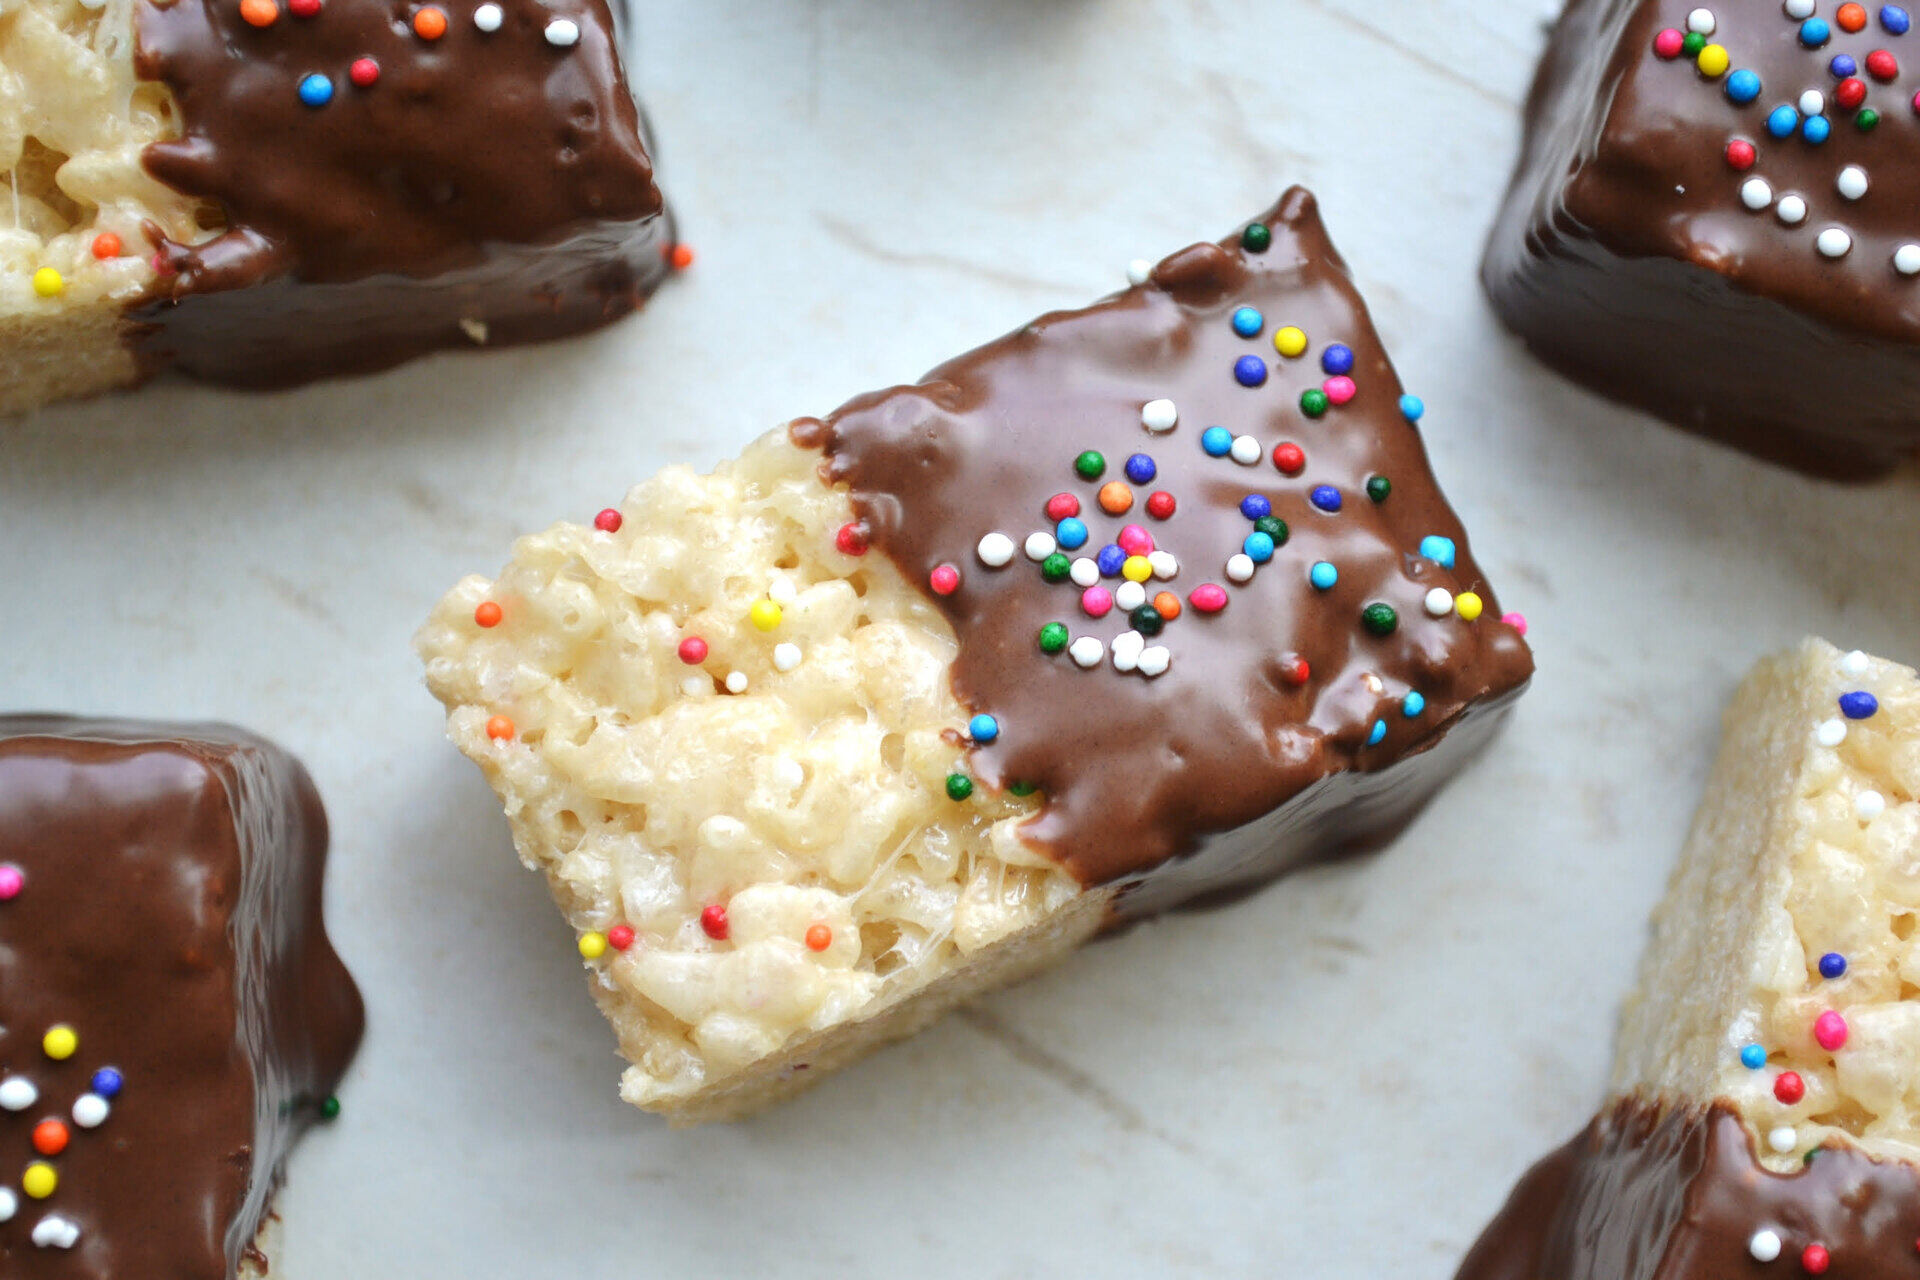
Adding toppings to your chocolate covered pretzels is a fun and creative way to customize them and add extra flavor and texture. Here’s how you can take your pretzels to the next level by incorporating toppings:
- Prepare a selection of toppings such as sprinkles, crushed nuts, coconut flakes, or sea salt.
- While the chocolate on the pretzels is still wet, sprinkle or gently press the toppings onto the pretzels.
- Feel free to mix and match different toppings to create unique combinations.
- As you add the toppings, you can gently press them into the chocolate to ensure they stick.
- Once you’ve added the desired toppings, let the chocolate-covered pretzels sit undisturbed until the chocolate is completely set.
Remember to work quickly when adding toppings, as the chocolate will start to harden once it cools. Feel free to get creative and experiment with different flavors and textures. You can even try drizzling some additional melted chocolate over the tops of the toppings to create a decorative effect.
Adding toppings is an optional step, but it can elevate the visual appeal and taste of your chocolate covered pretzels. Once you’re satisfied with the toppings, it’s time to move on to the final step: cooling and storing!
Step 4: Cooling and Storing the Chocolate Covered Pretzels
After you’ve finished adding toppings to your chocolate covered pretzels, it’s important to let them cool and set before storing them. Follow these steps to ensure your treats maintain their freshness:
- Place the baking sheet or tray with the chocolate covered pretzels in the refrigerator or let them cool at room temperature until the chocolate is fully set. This usually takes about 30 minutes to an hour.
- Once the chocolate is firm and no longer tacky to the touch, carefully remove the pretzels from the baking sheet or tray.
- Transfer the chocolate covered pretzels to an airtight container or storage bag. Ensure the container is large enough to accommodate the pretzels without causing them to break.
- Store the pretzels in a cool, dry place away from direct sunlight and strong odors. A pantry or cupboard works well for this.
Proper storage is key to keeping your chocolate covered pretzels fresh and maintaining their flavor. When stored correctly, they can last for up to two weeks.
If you’re making larger batches or want to give them as gifts, you can layer the pretzels in the storage container with parchment or wax paper in between each layer. This helps prevent them from sticking together and protects them from any moisture or humidity.
It’s important to note that chocolate covered pretzels are best enjoyed within a week of making them. Over time, the pretzels may start to lose their crispness, but they will still be delicious.
And there you have it! You now know how to store your delectable chocolate covered pretzels, ensuring they stay fresh and enjoyable for as long as possible.
Enjoy your homemade treats and impress your family and friends with these delightful snacks!
Read more: How To Store Chocolate Covered Apples
Conclusion
Congratulations! You’ve successfully learned how to make and store irresistible chocolate covered pretzels. These sweet and salty treats are not only easy to make but also a delight to share and enjoy.
By following the simple steps outlined in this article, you can create a batch of perfectly coated pretzels that are sure to impress. From melting the chocolate to adding toppings and cooling, each step plays a crucial role in achieving the desired result.
Remember, practice makes perfect. Don’t be discouraged if your first attempt doesn’t turn out exactly as you envisioned. With each batch you make, you’ll become more familiar with the process and develop your own techniques.
When it comes to storing your homemade chocolate covered pretzels, remember to keep them in a cool, dry place away from direct sunlight and strong odors. Proper storage will help maintain their freshness and preserve their delicious taste.
Whether you’re making chocolate covered pretzels for a party, as a gift, or simply to satisfy your cravings, these treats are a crowd-pleaser. The combination of smooth, creamy chocolate and crunchy, salty pretzels is hard to resist.
So go ahead, make a batch of chocolate covered pretzels, and enjoy the delightful flavors they have to offer. Get creative with toppings, experiment with different chocolate types, and share the joy with your loved ones.
Now that you have mastered the art of making and storing chocolate covered pretzels, it’s time to put your skills to the test. Whip up a batch, indulge in their deliciousness, and let your taste buds savor this delightful treat!
Frequently Asked Questions about How To Store Chocolate Covered Pretzels
Was this page helpful?
At Storables.com, we guarantee accurate and reliable information. Our content, validated by Expert Board Contributors, is crafted following stringent Editorial Policies. We're committed to providing you with well-researched, expert-backed insights for all your informational needs.


0 thoughts on “How To Store Chocolate Covered Pretzels”