Home>Articles>How To Store Chocolate Covered Rice Krispie Treats
Articles
How To Store Chocolate Covered Rice Krispie Treats
Modified: December 7, 2023
Learn how to properly store your delicious chocolate covered Rice Krispie treats to keep them fresh and tasty for longer with these helpful articles.
(Many of the links in this article redirect to a specific reviewed product. Your purchase of these products through affiliate links helps to generate commission for Storables.com, at no extra cost. Learn more)
Introduction
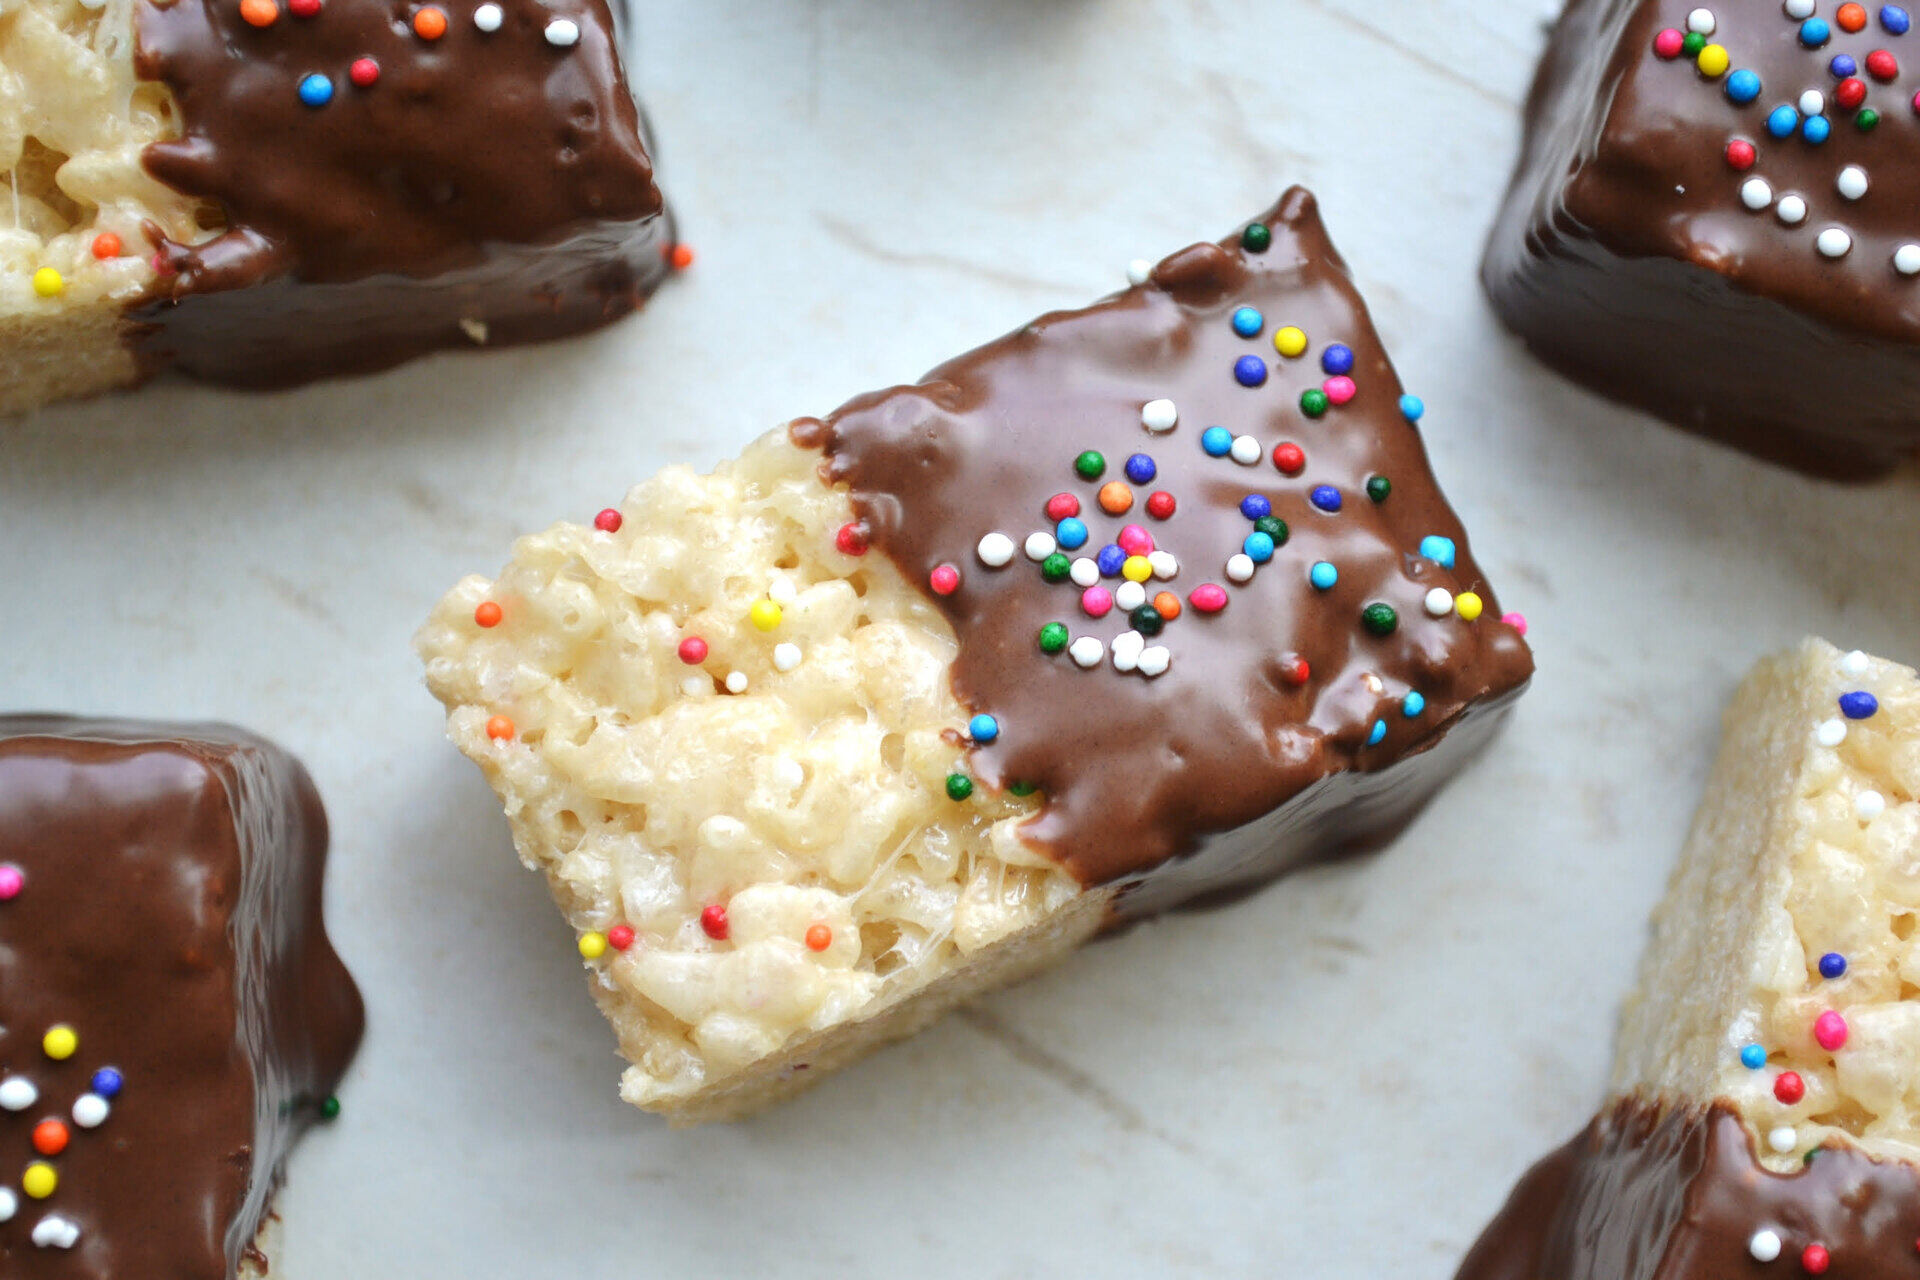
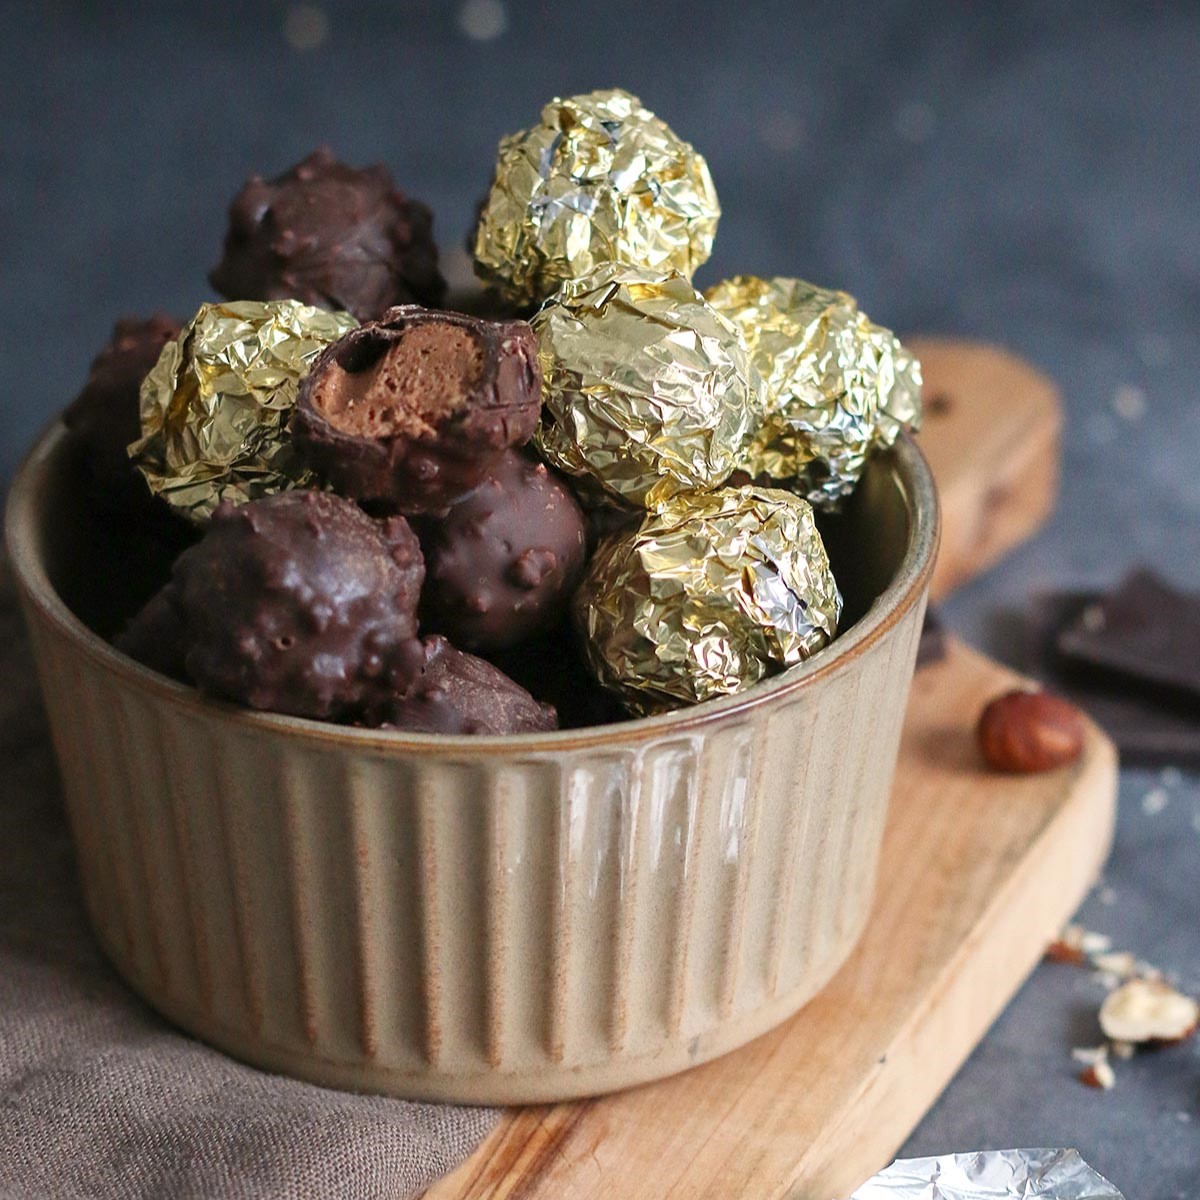
Chocolate covered Rice Krispie treats are a delightful and indulgent treat that combines the sweet crunch of Rice Krispies with the rich, creamy taste of chocolate. Whether you are making them for a special occasion, as a gift, or simply to satisfy your own cravings, knowing how to store them properly will ensure that they stay fresh and delicious for as long as possible.
In this article, we will guide you through the process of making and storing chocolate covered Rice Krispie treats, providing you with helpful tips and tricks along the way. From making the perfect Rice Krispie base to dipping them in decadent chocolate and keeping them fresh, we’ve got you covered.
So, let’s dive into the wonderful world of chocolate covered Rice Krispie treats and discover how to store them to preserve their taste and texture.
Key Takeaways:
- Indulge in the delightful combination of Rice Krispies and chocolate with these easy-to-make and store chocolate covered treats. Get creative with flavors and toppings for a personalized touch!
- Ensure the freshness and deliciousness of your chocolate covered Rice Krispie treats by storing them at room temperature in an airtight container. Avoid refrigeration to maintain their irresistible texture and flavor.
Read more: How To Store Rice Krispie Treats
Ingredients
Before you start making your chocolate covered Rice Krispie treats, make sure you have all the necessary ingredients on hand. Here’s what you’ll need:
- 4 cups of Rice Krispies cereal
- 3 tablespoons of unsalted butter
- 1 package (10 ounces) of mini marshmallows
- 1 teaspoon of vanilla extract
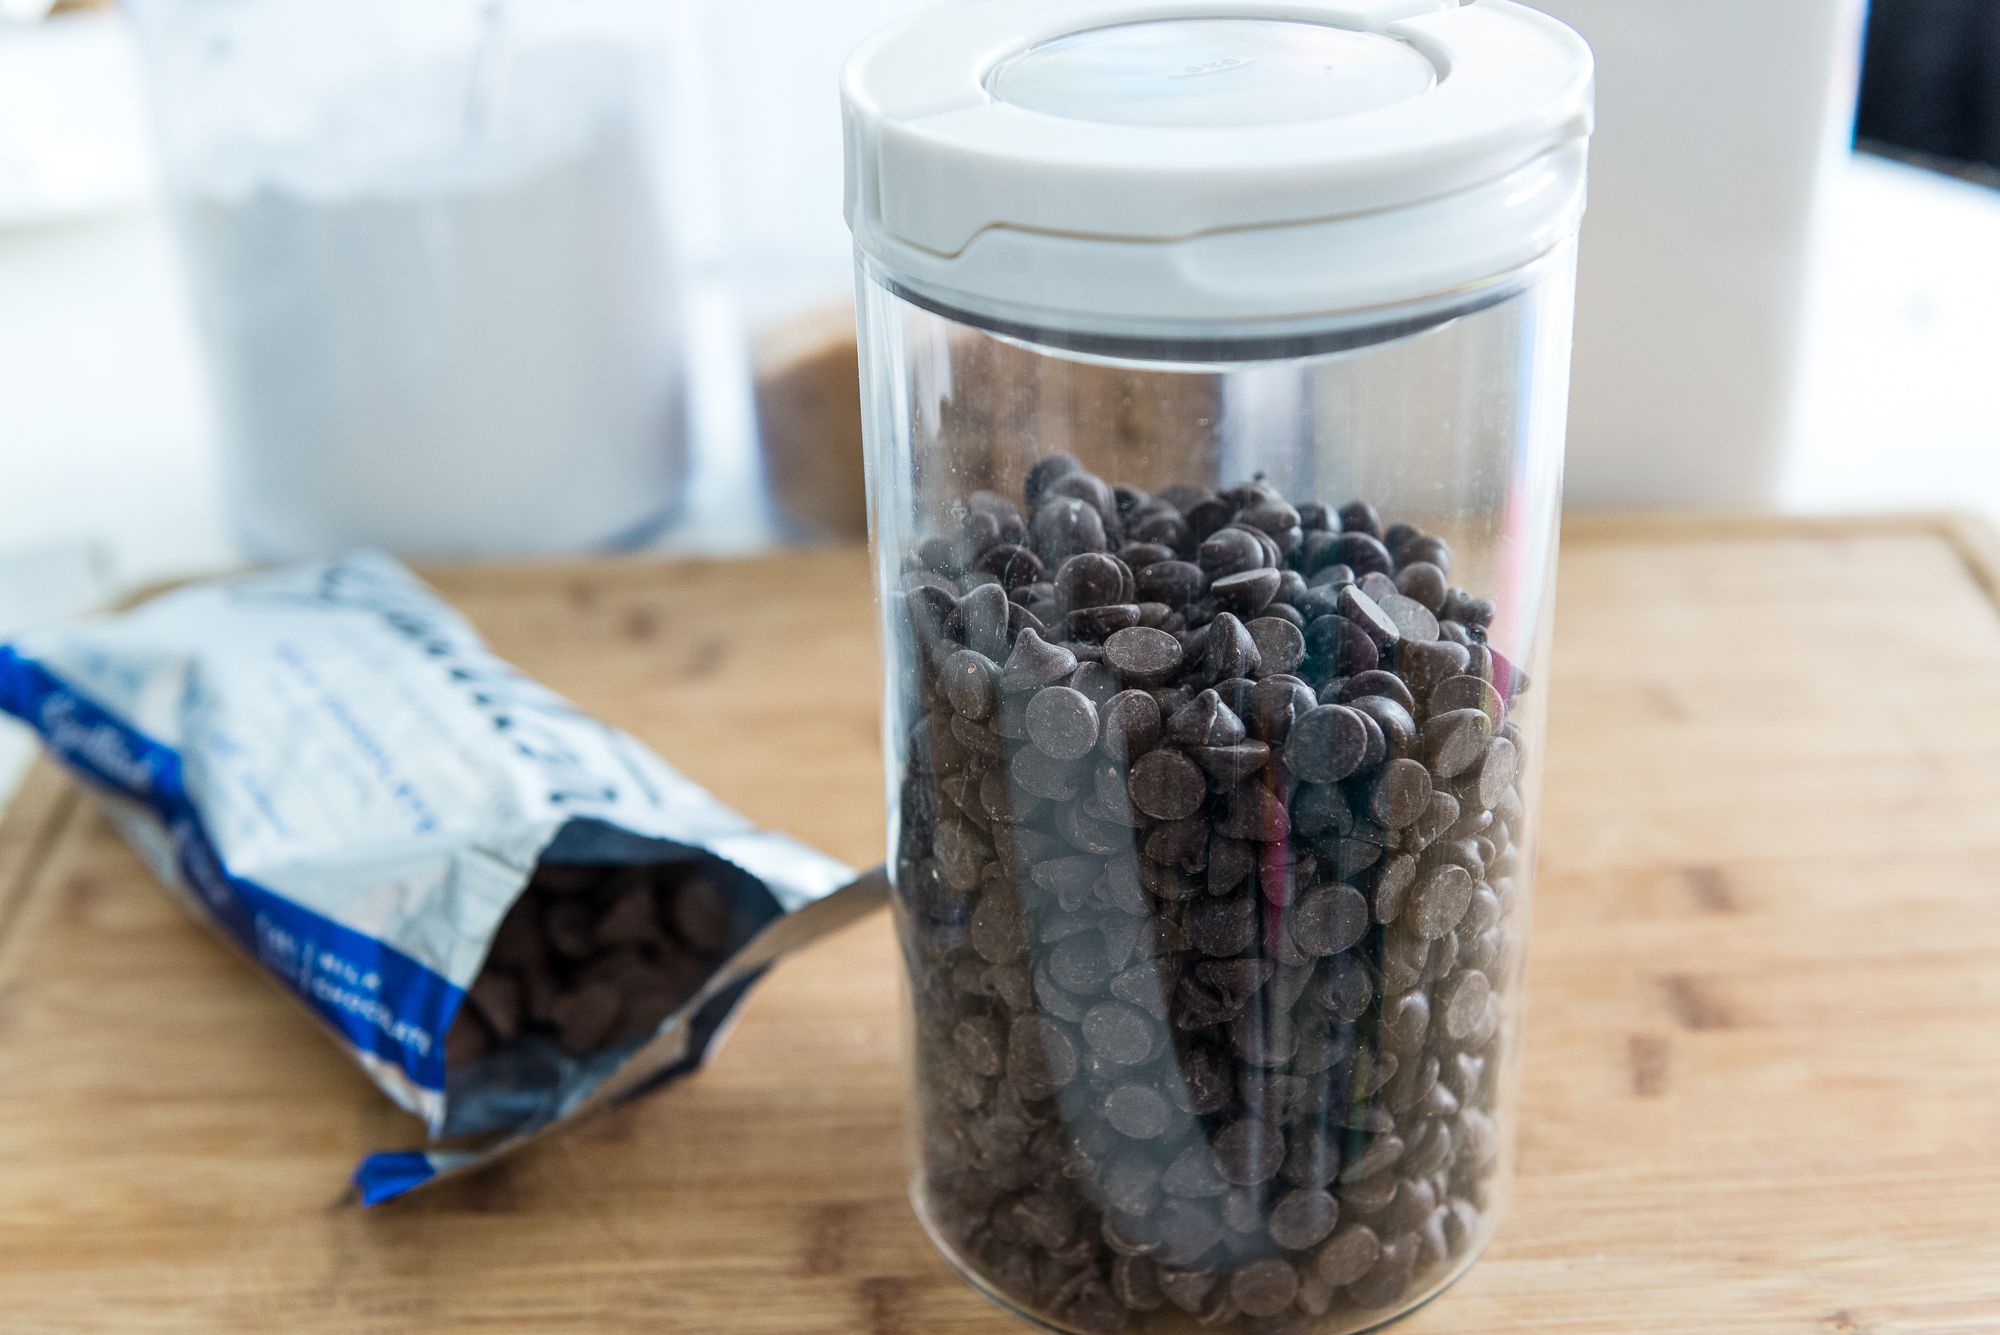
- 12 ounces of chocolate (milk, dark, or semi-sweet), chopped or chocolate chips
- Sprinkles or other toppings (optional)
Feel free to get creative with your ingredients! You can try using different types of chocolate or mix in some additional add-ins like chopped nuts, dried fruits, or even caramel for an extra special twist.
Remember, the quality of your ingredients can greatly impact the final taste of your chocolate covered Rice Krispie treats, so opt for fresh, high-quality ingredients whenever possible.
Equipment Needed
To successfully make and store chocolate covered Rice Krispie treats, you will need the following equipment:
- Large mixing bowl
- Medium-sized saucepan
- Wooden spoon or spatula
- 9×9-inch baking pan or dish
- Parchment paper or aluminum foil
- Heatproof bowl
- Spoon or fork for dipping
- Wire cooling rack
- Airtight container or storage bags
Make sure your utensils and equipment are clean and dry before you begin. Using parchment paper or aluminum foil to line your baking pan will make it easier to remove the Rice Krispie treats once they have set.
Having a wire cooling rack will help the treats cool and set evenly, allowing any excess chocolate to drip away. Airtight containers or storage bags will keep your chocolate covered Rice Krispie treats fresh and prevent them from becoming stale or losing their texture.
Now that you have all your ingredients and equipment ready, let’s move on to the steps of making and storing these delicious treats!
Step 1: Making the Rice Krispie Treats
The first step in preparing your chocolate covered Rice Krispie treats is making the base with the Rice Krispies cereal. Follow these simple instructions:
- In a medium-sized saucepan, melt the butter over low heat.
- Add the mini marshmallows to the saucepan and stir until they are completely melted and well combined with the butter.
- Remove the saucepan from heat and stir in the vanilla extract.
- Add the Rice Krispies cereal to the saucepan and gently fold it in until all the cereal is evenly coated with the marshmallow mixture.
Make sure to work quickly during this step, as the marshmallow mixture will start to harden as it cools. You want to ensure that the cereal is well coated before it becomes too sticky to work with.
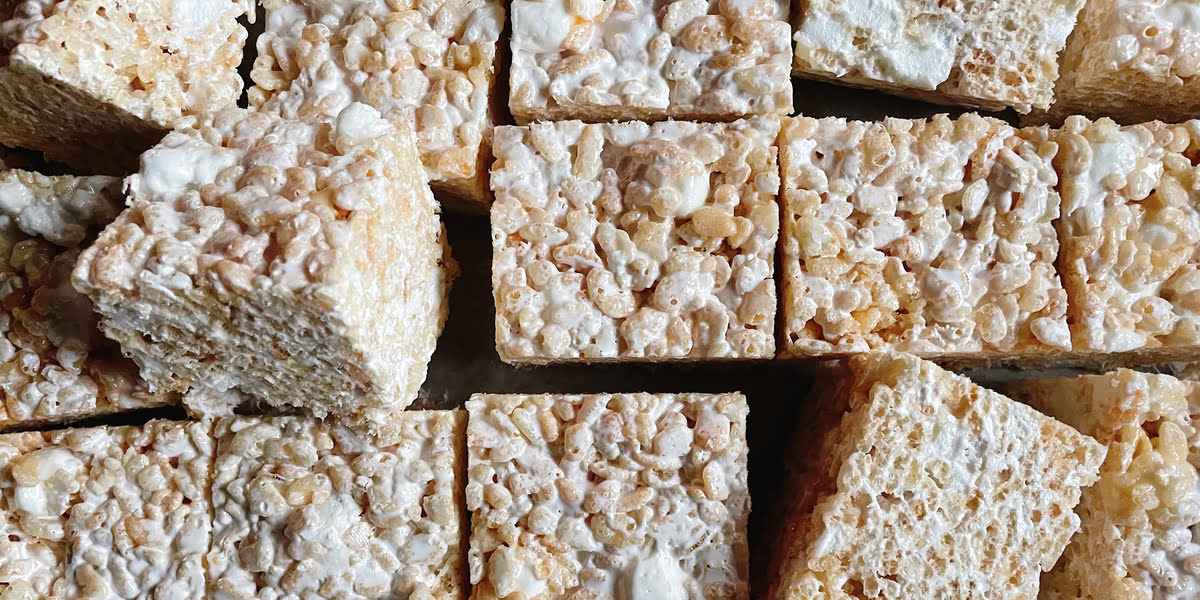
Once the Rice Krispie mixture is well combined, transfer it to a 9×9-inch baking pan or dish lined with parchment paper or aluminum foil. Use a spatula or your hands (lightly greased with butter or cooking spray) to press the mixture firmly and evenly into the pan.
Allow the Rice Krispie treats to cool and set for about 30 minutes before moving on to the next step. This will ensure that they hold their shape and can be easily dipped in chocolate without falling apart.
Now that your Rice Krispie treats are ready, it’s time to prepare the chocolate coating for that extra touch of indulgence!
Store chocolate covered rice krispie treats in an airtight container at room temperature. Layer them with parchment paper to prevent sticking together. Avoid storing in the refrigerator as it can cause the chocolate to sweat.
Step 2: Preparing the Chocolate Coating
Now that your Rice Krispie treats have set, it’s time to prepare the delicious chocolate coating. Follow these steps to get the perfect chocolatey goodness:
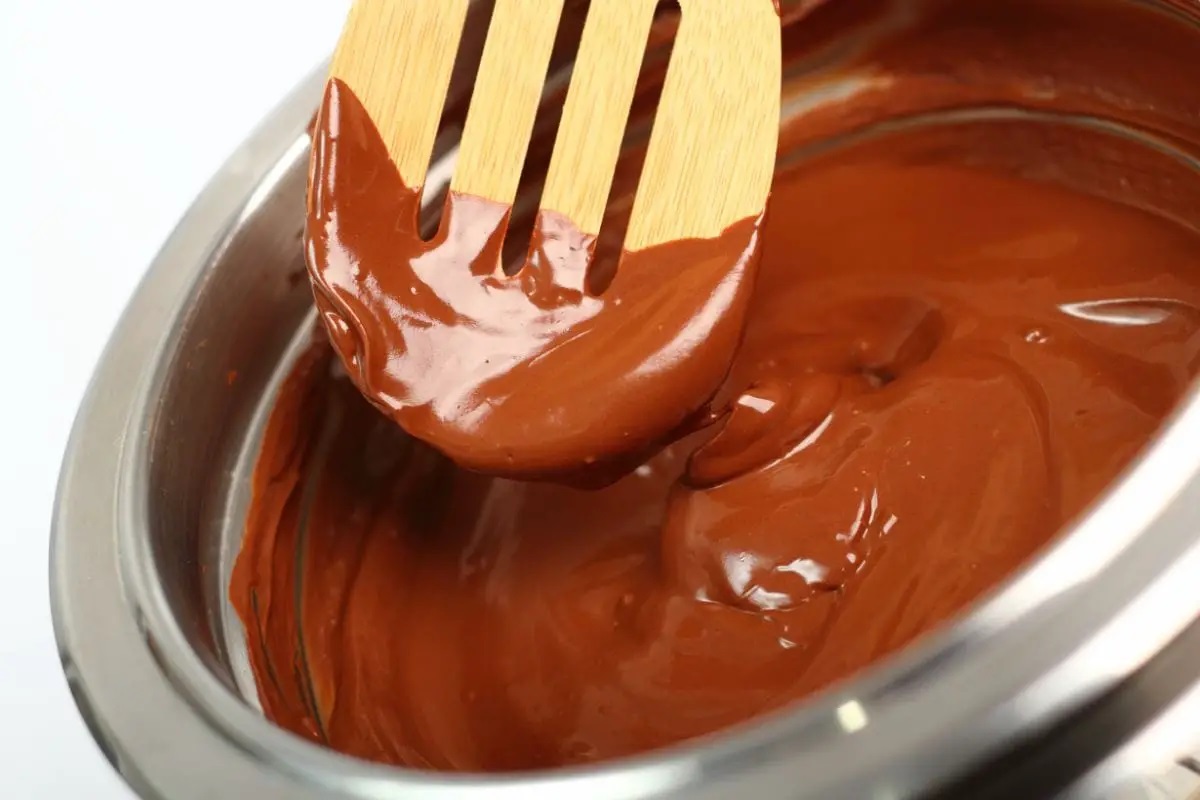
- Place a heatproof bowl over a saucepan filled with an inch or two of simmering water. Make sure the bottom of the bowl does not touch the water.
- Add the chopped chocolate or chocolate chips to the bowl and stir occasionally with a wooden spoon or spatula until melted and smooth.
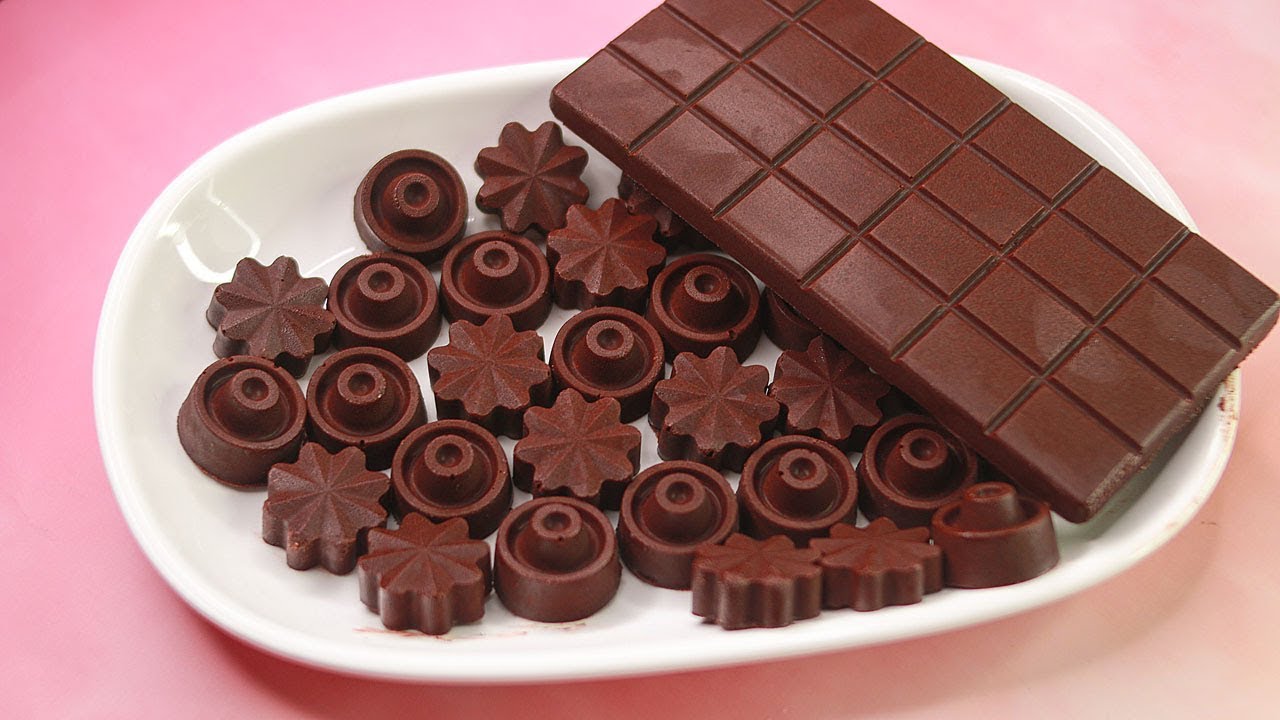
- Once the chocolate has fully melted, remove the bowl from the heat and let it cool for a few minutes. This will ensure that the chocolate is not too hot when you dip the Rice Krispie treats.
You can use any type of chocolate you prefer: milk, dark, or semi-sweet. Feel free to experiment with different flavors and brands to find your favorite combination.
If you want to add a bit of extra flair to your chocolate coating, you can also melt some white chocolate or colored candy melts to drizzle over the dipped Rice Krispie treats.
Once your chocolate coating is ready, it’s time to move on to the next step of dipping the Rice Krispie treats!
Read more: How To Store Homemade Rice Krispie Treats
Step 3: Dipping the Rice Krispie Treats in Chocolate
Now comes the fun part – dipping your Rice Krispie treats into the luscious melted chocolate. Follow these steps to coat them evenly:
- Take one Rice Krispie treat and carefully dip it into the melted chocolate, using a spoon or fork to fully coat it on all sides. You can also use a toothpick to hold the treat while dipping.
- Gently tap the utensil against the edge of the bowl to remove any excess chocolate, allowing it to drip back into the bowl.
- Place the dipped Rice Krispie treat onto a wire cooling rack to allow the chocolate to set. If desired, sprinkle some decorations like sprinkles or crushed nuts on top immediately after dipping, while the chocolate is still wet.
- Repeat the dipping process with the remaining Rice Krispie treats until all of them are coated in chocolate.
Be sure to work efficiently during this step, as the chocolate will start to harden as it cools. If needed, you can reheat the chocolate slightly over a double boiler to maintain a smooth and workable consistency.
Allow the chocolate coated Rice Krispie treats to cool and set completely on the wire cooling rack. This usually takes about 1 to 2 hours, depending on the room temperature and thickness of the chocolate coating.
Once the chocolate is firm and set, it’s time to move on to the final step of cooling and storing these delectable treats!
Step 4: Cooling and Storing the Chocolate Covered Rice Krispie Treats
After dipping and decorating your Rice Krispie treats in chocolate, it’s important to properly cool and store them to maintain their freshness and texture. Follow these steps:
- Once the chocolate coating has fully set, carefully transfer the chocolate covered Rice Krispie treats to an airtight container or storage bags. Make sure they are placed in a single layer to prevent any sticking or breakage.
- If you have multiple layers of treats, place a sheet of parchment paper between each layer to prevent them from sticking together.
- Store the treats in a cool, dry place away from direct sunlight or heat sources, such as the countertop or pantry. Ideally, they should be kept at room temperature.
- The chocolate covered Rice Krispie treats can stay fresh for up to 5-7 days when stored properly. However, they are often so delicious that they don’t last that long!
Keep in mind that extreme temperatures can affect the texture and quality of the treats. Avoid storing them in the refrigerator, as the moisture can cause the Rice Krispie treats to become soggy.
If you’re making these treats ahead of time or want to store them for a longer period, you can also freeze them. Place the cooled treats in an airtight container or freezer bags and store them in the freezer for up to 2-3 months.
To thaw the frozen treats, simply remove them from the freezer and let them sit at room temperature for about 30 minutes to an hour.
Now you can enjoy your delicious chocolate covered Rice Krispie treats any time you crave a sweet and crunchy treat!
Conclusion
Congratulations! You have successfully learned how to make and store chocolate covered Rice Krispie treats. These delectable treats combine the nostalgic crunch of Rice Krispies with the irresistible allure of chocolate, making them a crowd-pleasing dessert for any occasion.
By following the step-by-step instructions in this article, you are now equipped with the knowledge to create these treats from scratch. From making the perfect Rice Krispie base to getting the chocolate coating just right, you have all the tools to indulge in this delightful treat.
Remember to use high-quality ingredients, such as fresh marshmallows and your favorite type of chocolate, to ensure the best flavor and texture. Don’t be afraid to get creative and experiment with different flavors, toppings, and decorations to make your chocolate covered Rice Krispie treats truly unique.
When it comes to storing these delectable treats, remember to keep them in an airtight container or storage bags at room temperature. Avoid refrigerating them, as it can alter the texture and make them less enjoyable. If you need to store them for a longer period, freezing is a great option.
Now that you have mastered the art of making and storing chocolate covered Rice Krispie treats, you can share them with friends and family, give them as gifts, or simply enjoy them as a well-deserved indulgence. So go ahead, treat yourself and others to these irresistible treats!
Happy baking and happy snacking!
Frequently Asked Questions about How To Store Chocolate Covered Rice Krispie Treats
Was this page helpful?
At Storables.com, we guarantee accurate and reliable information. Our content, validated by Expert Board Contributors, is crafted following stringent Editorial Policies. We're committed to providing you with well-researched, expert-backed insights for all your informational needs.


0 thoughts on “How To Store Chocolate Covered Rice Krispie Treats”