Articles
How To Store Corn On The Cob With Husk
Modified: February 23, 2024
Learn how to store corn on the cob with husk in this informative article. Follow these simple steps to keep your corn fresh and delicious for longer.
(Many of the links in this article redirect to a specific reviewed product. Your purchase of these products through affiliate links helps to generate commission for Storables.com, at no extra cost. Learn more)
Introduction
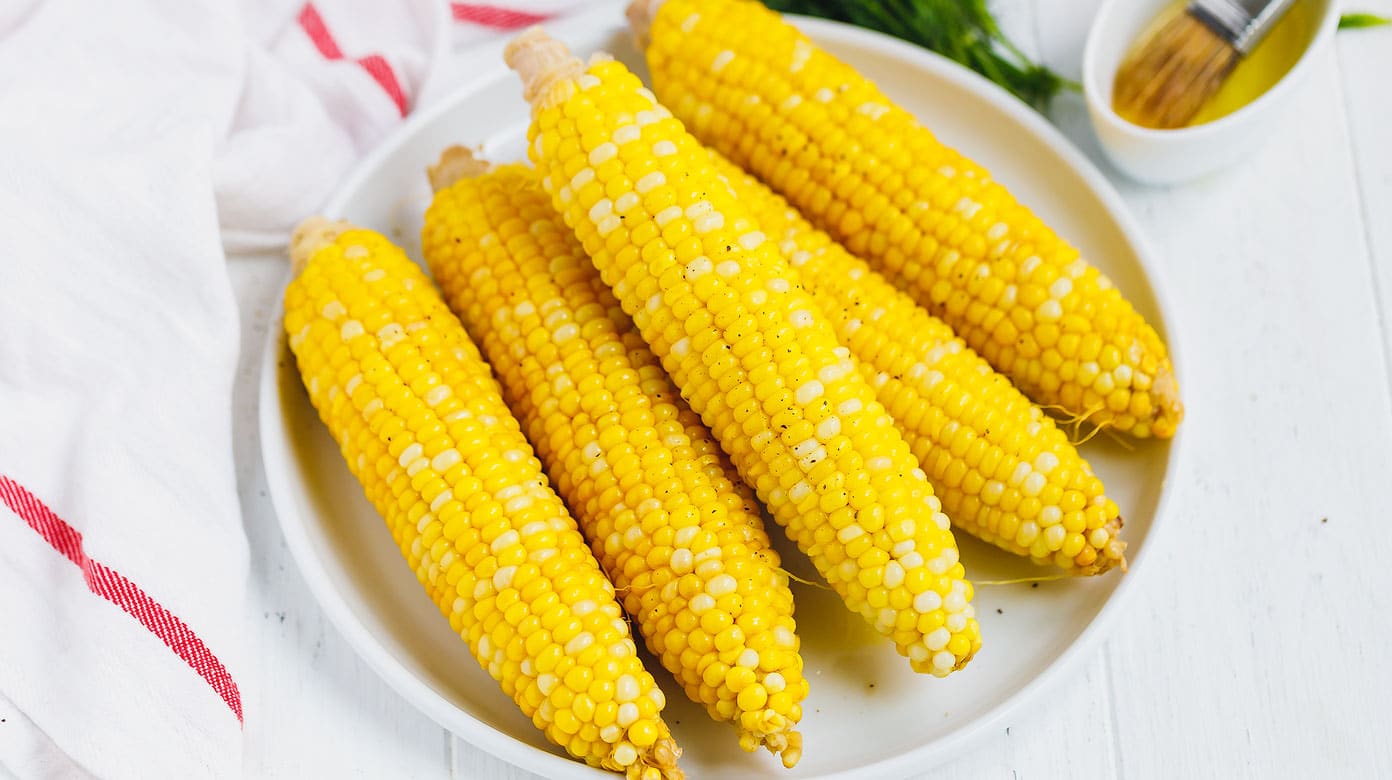
Welcome to our guide on how to store corn on the cob with husk! Corn on the cob is a delicious and versatile vegetable that is enjoyed by many people around the world. Whether you grow your own corn or buy it fresh from a local market, properly storing it will help you to preserve its flavor and texture for longer.
Storing corn on the cob with husk has several advantages. The husk acts as a natural barrier, locking in moisture and preventing the corn from drying out. It also provides a protective layer that helps to maintain the corn’s bright color and natural sweetness. Additionally, storing corn with husk helps to minimize exposure to air, which can accelerate the process of spoilage.
In this article, we will guide you through the step-by-step process of storing corn on the cob with husk, ensuring that you can enjoy delicious corn even after its peak season.
Key Takeaways:
- Preserve the freshness and flavor of corn by storing it with husk. Retain moisture, prevent browning, and enjoy sustainable, eco-friendly storage that keeps corn delicious long after its peak season.
- Choose, prepare, wrap, store, and check for freshness to ensure the best quality corn. Enjoy the natural sweetness and juiciness of corn on the cob with husk for up to 5-7 days.
Read more: How To Store Corn On The Cob Without Husk
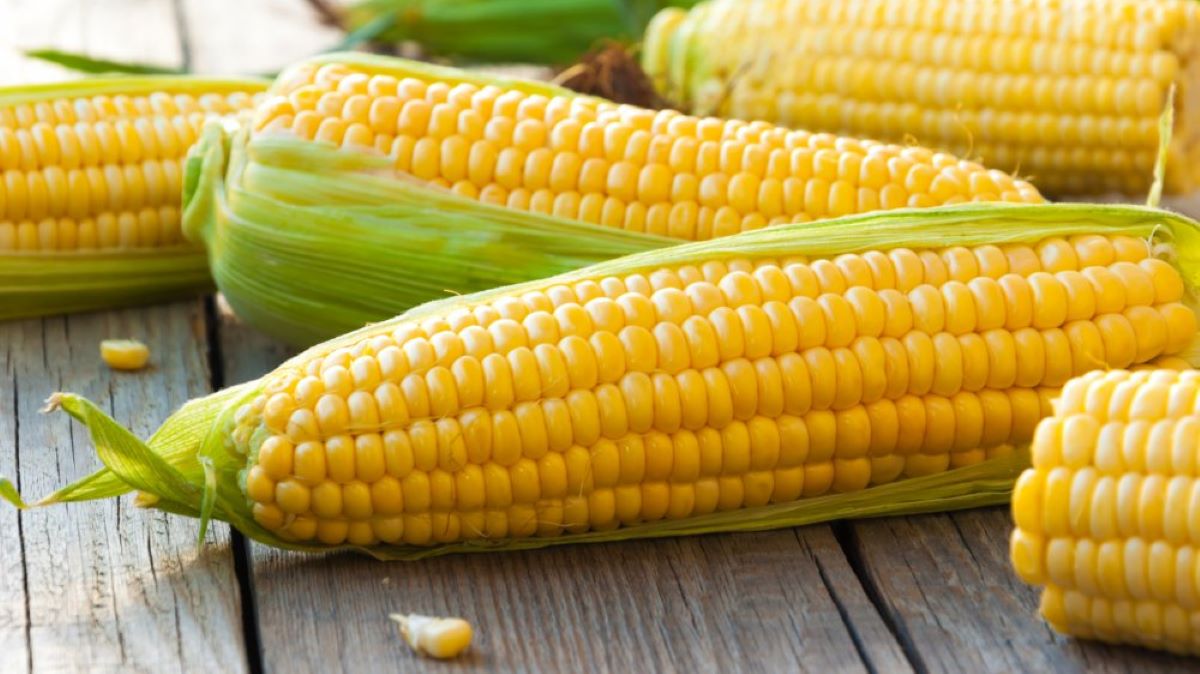
Why Store Corn on the Cob with Husk?
Storing corn on the cob with husk offers numerous benefits that contribute to maintaining the freshness and flavor of the corn. Here are several reasons why you should consider storing corn with its husk intact:
1. Retains Moisture: The husk of the corn acts as a natural protective barrier, preventing the loss of moisture. This helps to keep the corn kernels plump and juicy, enhancing their texture when cooked.
2. Preserves Flavor: When corn is stored with its husk, it helps to preserve the natural flavors of the corn. The husk keeps the aroma and taste locked in, ensuring that the corn stays sweet and delicious.
3. Minimizes Exposure to Air: One of the main reasons for the deterioration of corn is exposure to air. Storing corn on the cob with husk minimizes contact with air, slowing down the oxidation process and preventing the corn from becoming dry and tasteless.
4. Prevents Browning: Corn contains enzymes that, when exposed to air, can cause browning and a loss of freshness. By keeping the husk intact, you create a protective barrier that prevents the enzymes from reacting with the air, maintaining the vibrant yellow color of the corn.
5. Provides Natural Protection: The husk acts as a physical shield, protecting the corn from dirt, insects, and other external contaminants that can compromise its quality. This natural protection helps to extend the shelf life of the corn.
6. Sustainable Option: Storing corn on the cob with husk is an eco-friendly choice. By using the natural packaging provided by the husk, you can avoid the need for plastic wraps or containers, reducing waste and promoting sustainability.
By storing corn on the cob with husk, you can ensure that you enjoy the freshest and most flavorful corn possible. The next sections will outline the step-by-step process to help you store corn with its husk intact.
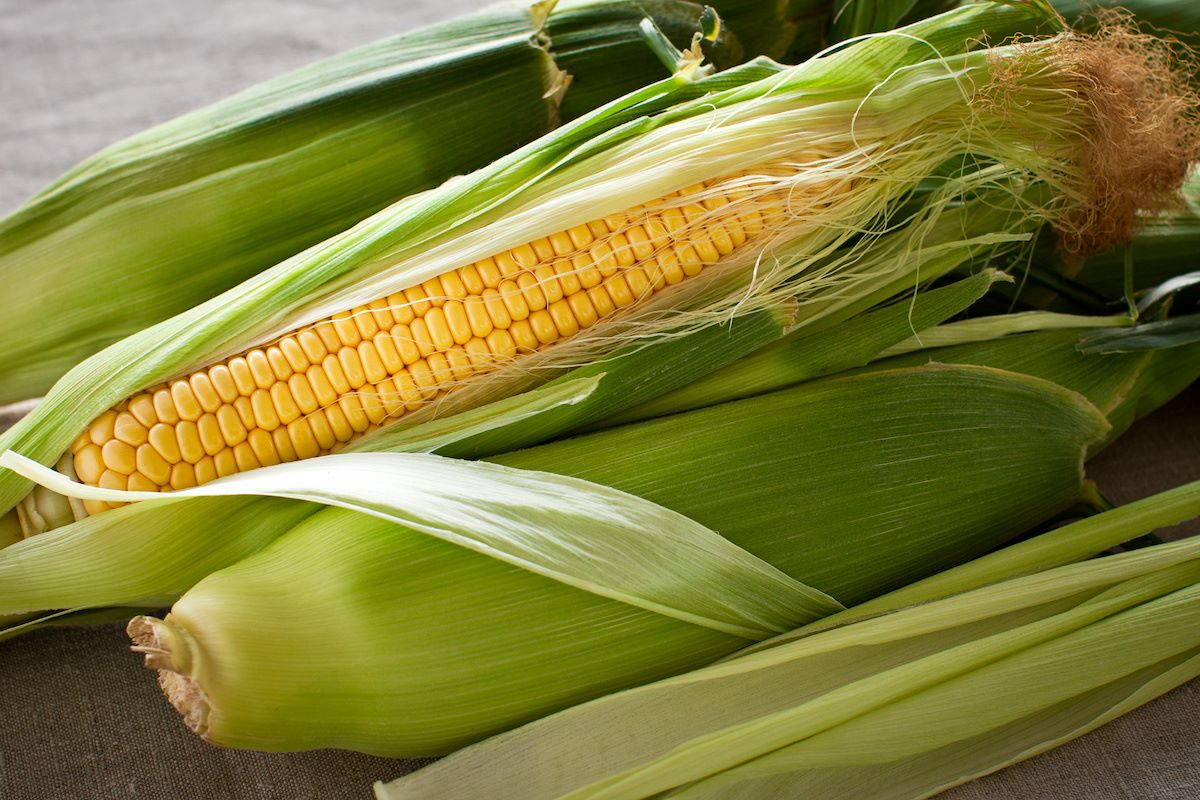
Step 1: Choosing Fresh Corn
When it comes to storing corn on the cob with husk, selecting fresh corn is crucial. Here are some tips to help you choose the best ears of corn:
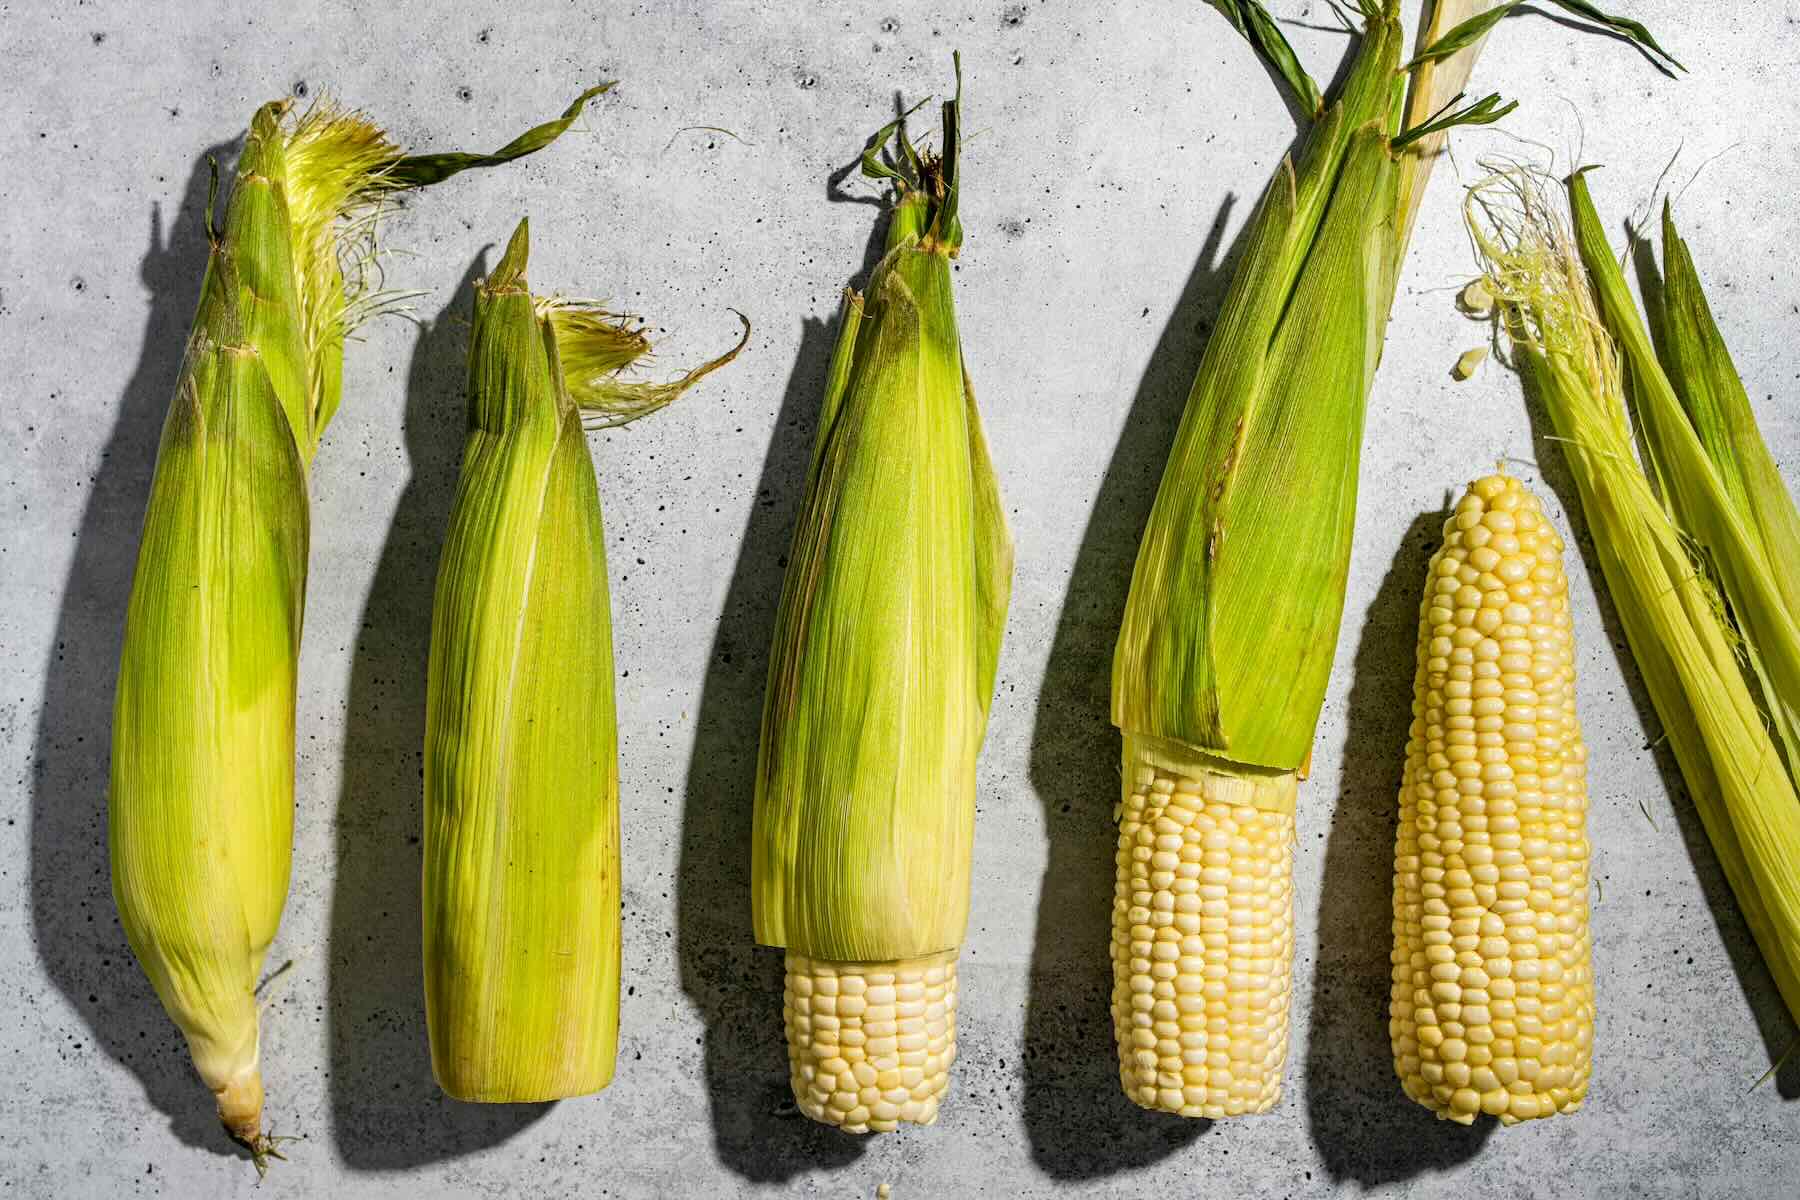
1. Look for Fresh, Green Husks: Inspect the husks of the corn. They should be vibrant green, tightly wrapped, and free from blemishes or signs of decay. Avoid husks that are dry, discolored, or have visible mold.
2. Feel for Plump Kernels: Gently squeeze the corn through the husk. The kernels should feel plump and firm, indicating that the corn is fresh and juicy. Avoid ears of corn with soft or shriveled kernels.
3. Check the Silk: Lift a small section of the husk and examine the silk. Fresh corn will have silky strands that are moist and light yellow or pale golden in color. Avoid corn with dry, brown, or blackened silk.
4. Inspect the Stem: The stem of the corn should be moist and free from mold or slimy residue. If the stem looks dry or shows signs of decay, it may indicate that the corn is past its prime.
5. Size Matters: The size of the corn is a matter of personal preference. Some people prefer smaller, more tender ears of corn, while others enjoy larger, more substantial ones. Choose the size that suits your preferences and recipe requirements.
6. Seasonal Considerations: Keep in mind that corn is a seasonal vegetable, with peak freshness during the summer months. If possible, choose locally grown corn from farmers’ markets or grocery stores that prioritize fresh, seasonal produce.
By carefully selecting fresh and high-quality corn, you lay the foundation for successful storage and enjoyable corn on the cob. With your fresh ears of corn in hand, let’s move on to the next step: preparing the corn for storage.
Step 2: Preparing the Corn for Storage
Properly preparing the corn before storage is essential to maintain its freshness and quality. Follow these steps to ensure your corn is ready for storing:
1. Remove any damaged husks: Start by inspecting the husks of the corn. Remove any husks that are damaged, discolored, or showing signs of decay. Cutting off the damaged portion of the husk will help to prevent the spread of spoilage.
2. Leave the inner husks intact: While removing the damaged husks, make sure to keep the inner layers of the husk intact. These layers will provide an additional protective barrier for the corn as it is stored.
3. Gently peel back the remaining husks: Carefully peel back the remaining intact husks from the top of the ear of corn, exposing the corn kernels. Be cautious not to completely remove the husks; they should remain attached at the base of the ear.
4. Remove the silk: Once the husks are peeled back, remove the silk from the corn. Run your hands or a soft brush along the length of the corn to remove any excess silk. Be thorough but gentle, taking care not to damage the kernels.
5. Rinse the corn: Rinse the corn briefly under cool running water to remove any remaining silk or debris. Be careful not to soak the corn in water, as excess moisture can lead to spoilage.
6. Pat dry: After rinsing, gently pat the corn dry with a clean kitchen towel or paper towels. Removing excess moisture will help to prevent the growth of bacteria and maintain the quality of the corn.
By following these steps, you ensure that the corn is properly prepared for storage. With the corn cleaned and ready, we can proceed to the next step: wrapping the corn with its husk.
Store corn on the cob with husk in the refrigerator for up to 3 days. Keep it in the crisper drawer to maintain freshness. Avoid removing the husk until ready to use.
Step 3: Wrapping the Corn With Husk
Wrapping the corn with its husk is a crucial step in storing it properly. The husk acts as a protective layer, keeping the corn fresh and flavorful. Follow these steps to wrap the corn with its husk:
1. Gather the husks: Bring the peeled-back husks back up around the corn, covering the kernels completely. Make sure the husks are neatly arranged and overlap each other to create a tight seal. If the husks are dry or difficult to wrap, you can mist them lightly with water to add moisture.
2. Secure the husks: Use kitchen twine or a strip of the husk to tie the husks together at the top of the corn, creating a neat bundle. This will help to hold the husks in place and prevent them from unravelling during storage.
3. Optional: Soak the husks: If you prefer, you can soak the wrapped corn in cold water for 10-15 minutes. This can help to add moisture and improve the overall freshness of the corn. However, be cautious not to soak it for too long, as excessive moisture can lead to spoilage.
4. Repeat for each ear of corn: Repeat the wrapping process for each ear of corn you intend to store. Ensure that each ear is tightly wrapped and securely tied with the husks.
5. Optional: Use aluminum foil: For extra protection, you can wrap each ear of corn with a layer of aluminum foil after wrapping it with the husk. The foil will help to further seal in moisture and prevent the corn from drying out.
By carefully wrapping the corn with its husk, you create a protective barrier that maintains the moisture and freshness of the corn. Next, we will explore how to store the wrapped corn effectively.
Read more: How To Store Corn In The Husk
Step 4: Storing the Corn
Proper storage is essential to maintain the quality and freshness of the wrapped corn. Follow these steps to store the corn effectively:
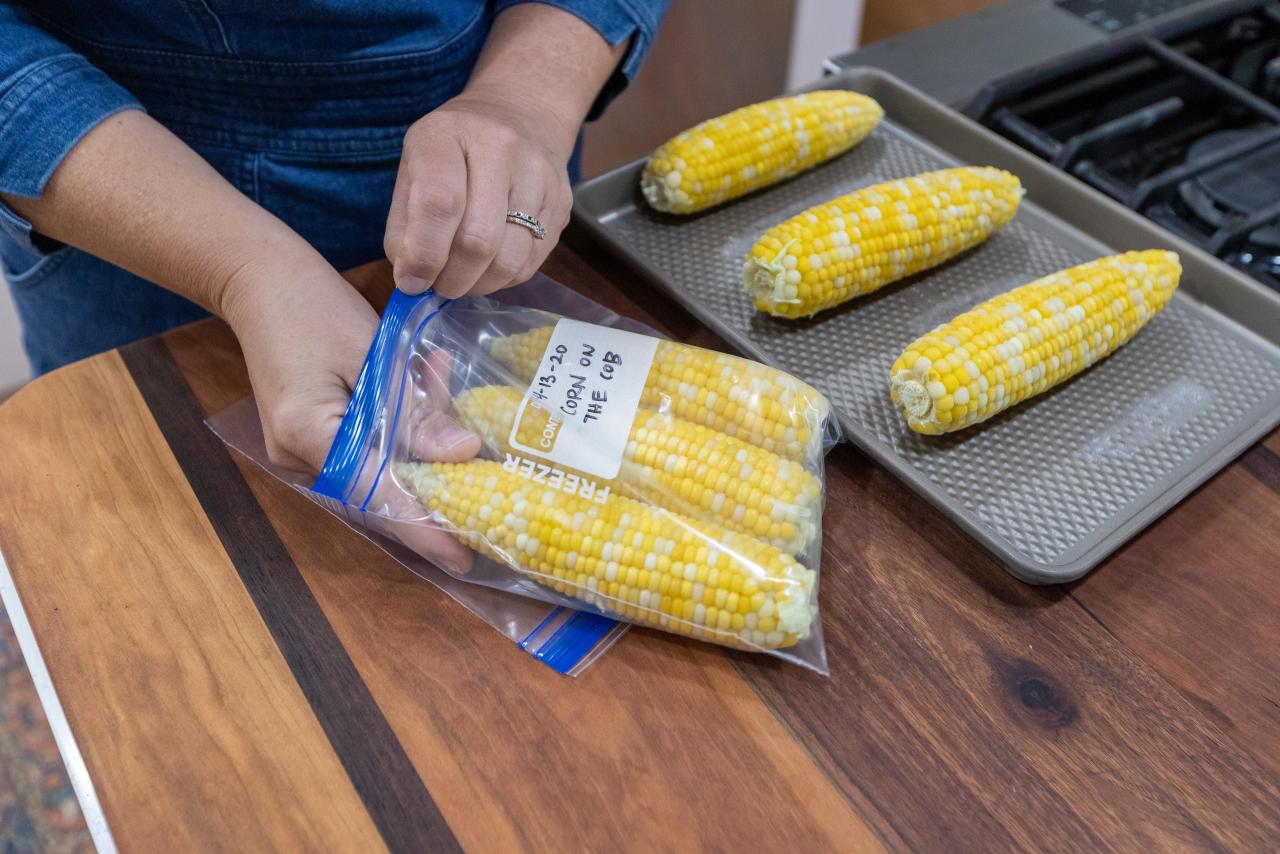
1. Refrigeration: Store the wrapped corn in the refrigerator to keep it cool and slow down the ripening process. Place the wrapped ears of corn in a resealable plastic bag or airtight container to prevent them from drying out and absorbing odors from other foods.
2. Temperature: Set the refrigerator temperature to around 32°F to 40°F (0°C to 4°C) to ensure optimal storage conditions for the corn. Avoid placing the corn near the freezer compartment, as it may cause freezing and affect the texture of the corn.
3. Shelf life: The wrapped corn can be stored in the refrigerator for up to 5-7 days. It’s best to consume the corn as soon as possible to enjoy its peak flavor and freshness.
4. Transparent container: If using a transparent container, store the corn away from direct light, as exposure to light can promote the breakdown of certain nutrients and affect the quality of the corn.
5. Avoid stacking: Place the wrapped corn in a single layer to avoid excessive pressure on the ears, which can lead to bruising and loss of quality.
6. Avoid washing: It’s important not to wash the corn before storing it, as excess moisture can promote spoilage. Instead, it’s recommended to rinse the corn just before cooking or consuming.
By following these storage guidelines, you can prolong the freshness and quality of the corn on the cob. With proper storage, you can enjoy delicious corn even after its peak season.
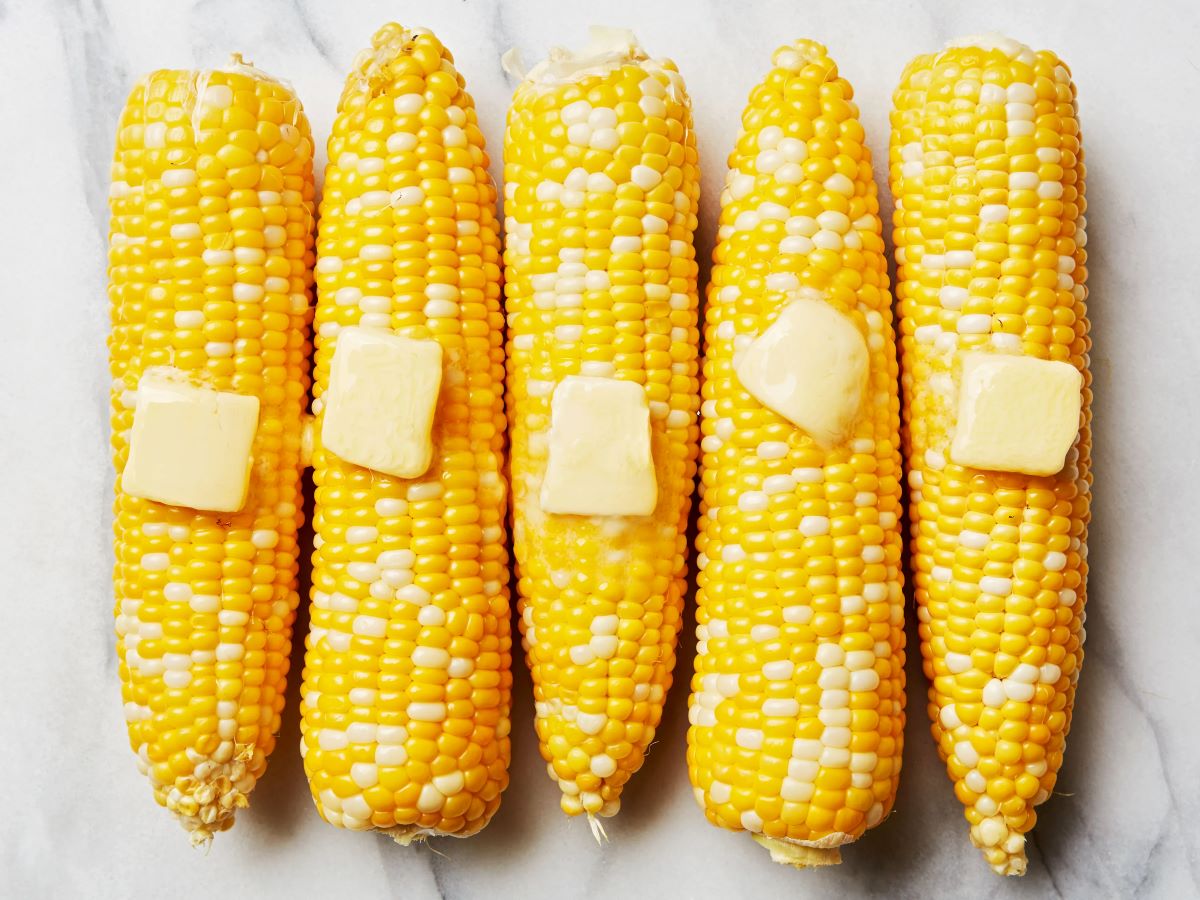
Step 5: Checking for Freshness
Before cooking or consuming the stored corn, it’s important to check for freshness to ensure it is still in good condition. Here are some indicators to look for when checking the freshness of the corn:
1. Husk appearance: Inspect the husk of the corn. It should still have a vibrant green color and be tightly wrapped around the kernels. If the husk looks dry, discolored, or shows signs of mold, it may indicate that the corn has spoiled.
2. Kernel plumpness: Gently press your fingertip against a few kernels. They should feel firm and plump. If the kernels feel mushy or shriveled, it could be a sign that the corn has lost its freshness.
3. Aroma: Take a whiff of the corn. Fresh corn typically has a sweet, slightly grassy aroma. If it has a sour or unpleasant smell, it’s best to discard it as it may be spoiled.
4. Mold or discoloration: Check for any visible signs of mold or discoloration on the kernels. Mold can develop in humid conditions and may indicate spoilage. Discolored or darkened kernels may also be a sign of deterioration.
5. Slimy texture: Gently touch the corn kernels with your fingers. They should feel slightly moist but not sticky or slimy. A slimy texture can indicate bacterial growth and spoilage.
6. Taste test: If everything looks and smells fine, you can also taste a small portion of the cooked corn. Fresh corn should have a naturally sweet and crisp taste. If it tastes off or has an unpleasant flavor, it’s best to discard it.
By checking for these freshness indicators, you can ensure that the corn is still safe to consume and enjoy. If you notice any signs of spoilage or doubt the freshness of the corn, it’s better to err on the side of caution and discard it to avoid any potential health risks.
Conclusion
Storing corn on the cob with husk is a simple and effective way to maintain its freshness and flavor. By following the steps outlined in this guide, you can ensure that your corn stays delicious and ready to enjoy, even after its peak season. Here’s a recap of the steps:
1. Choose fresh corn by looking for vibrant green husks, plump kernels, and fresh silk.
2. Prepare the corn by removing damaged husks, keeping the inner layers intact, and rinsing it gently.
3. Wrap the corn with its husk tightly, securing it with twine or a strip of husk.
4. Store the wrapped corn in the refrigerator at a temperature between 32°F to 40°F (0°C to 4°C).
5. Check the corn for freshness by inspecting the husk, feeling the kernels, and smelling for any off odors.
6. If the corn passes the freshness check, it can be cooked or consumed.
Remember, fresh corn is at its best when consumed as soon as possible. Aim to enjoy the stored corn within 5-7 days for optimal flavor and quality.
By utilizing these storage techniques, you can prolong the shelf life of corn and enjoy its natural sweetness and juiciness long after the harvesting season. Storing corn with its husk not only preserves its flavor but also reduces waste and promotes sustainability.
So the next time you come across fresh corn on the cob, follow this guide to store it with husk and savor the taste of summertime whenever you desire. Happy corn storing and bon appétit!
Frequently Asked Questions about How To Store Corn On The Cob With Husk
Was this page helpful?
At Storables.com, we guarantee accurate and reliable information. Our content, validated by Expert Board Contributors, is crafted following stringent Editorial Policies. We're committed to providing you with well-researched, expert-backed insights for all your informational needs.


0 thoughts on “How To Store Corn On The Cob With Husk”