Articles
How To Store Boiled Corn On The Cob
Modified: February 28, 2024
Learn the best way to store boiled corn on the cob in this helpful article. Keep your corn fresh and ready to enjoy for days!
(Many of the links in this article redirect to a specific reviewed product. Your purchase of these products through affiliate links helps to generate commission for Storables.com, at no extra cost. Learn more)
Introduction
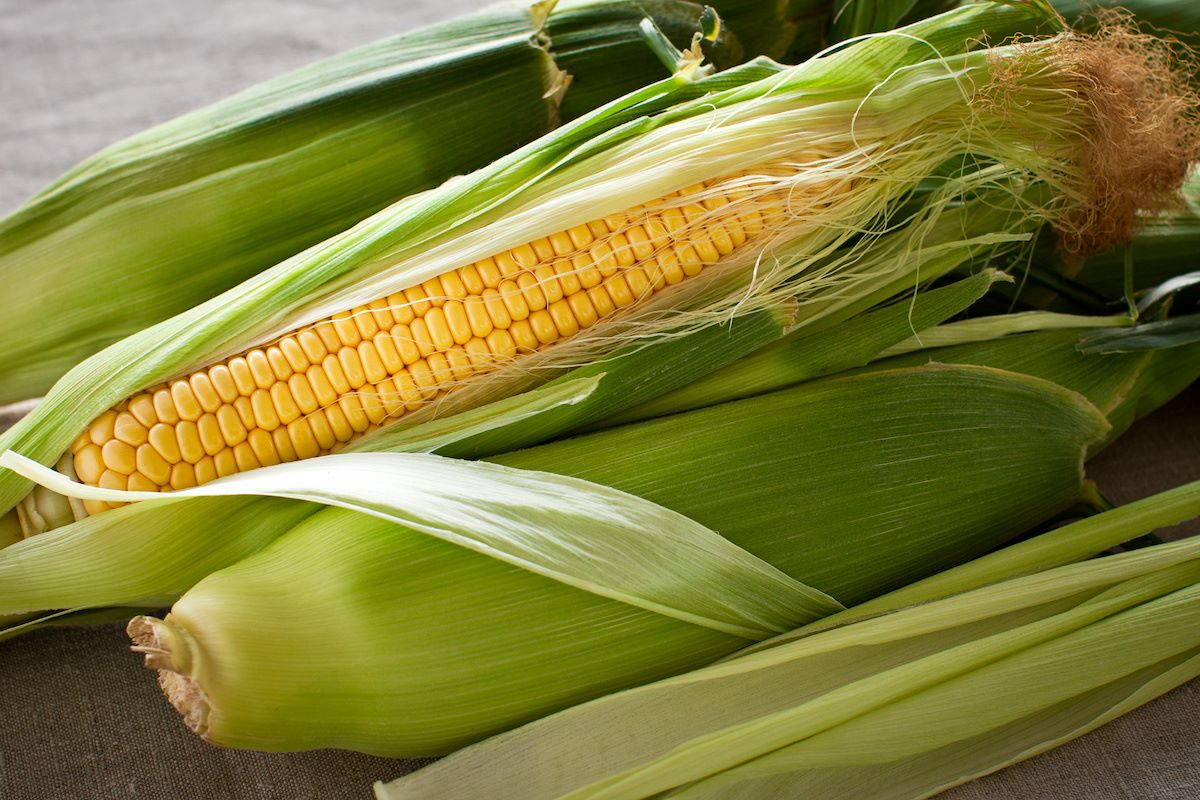
Welcome to the wonderful world of boiled corn on the cob! Whether you’ve just picked some fresh corn from the farm or you simply love the taste of this delicious summertime treat, knowing how to store boiled corn on the cob is essential. By properly storing and preserving your corn, you can enjoy its delectable sweetness for an extended period of time.
In this article, we’ll outline a step-by-step process to help you store boiled corn on the cob effectively, whether you plan on refrigerating or freezing it. By following these simple instructions, you’ll be able to savor the flavors of summer even when the season has come to an end.
So let’s get started and discover the secrets to preserving the taste and texture of your favorite boiled corn on the cob!
Key Takeaways:
- Preserve the taste of summer by properly storing boiled corn on the cob. Follow simple steps to cool, remove, package, and refrigerate or freeze your corn for extended enjoyment.
- Extend the shelf life of boiled corn on the cob by mastering the art of freezing. Blanch, pre-freeze, and package the corn for long-term storage, then thaw and cook to savor its delicious flavor year-round.
Read more: How To Store Corn On The Cob
Step 1: Cooling the Boiled Corn
After boiling the corn on the cob to perfection, the first step in storing it is to cool it down. Cooling the corn helps to prevent it from becoming overcooked and losing its natural sweetness. Here’s how you can effectively cool boiled corn:
- Remove the corn from the boiling water using tongs or a slotted spoon, and place it gently onto a clean plate or tray.
- Allow the corn to cool at room temperature for about 10-15 minutes. This cooling process will make it easier to handle and package the corn without the risk of burning yourself.
While cooling the corn, it’s important to avoid leaving it out for too long, as this can encourage the growth of bacteria. It’s best to move on to the next steps of storing the corn as soon as it has cooled down enough to handle safely.
Now that your corn has cooled down, it’s time to move on to the next step: removing the corn from the cob.
Step 2: Removing the Corn from the Cob
Removing the corn from the cob is an important step in the process of storing boiled corn on the cob. By removing the kernels from the cob, you can create more space-efficient packaging options and make the corn easier to eat. Here’s how you can easily remove the corn from the cob:
- Place the cooled corn cob upright on a cutting board. Holding it firmly at the top, use a sharp knife to carefully slice downward, removing the kernels from the cob. Start from the top of the cob and continue cutting downwards until all the kernels are removed. Repeat this process for each cob.
- Alternatively, you can use a corn stripper to easily and quickly remove the kernels from the cob. Simply place the stripper over the top of the cob, press down firmly, and slide it down the length of the cob. The kernels will be cleanly and efficiently removed.
Once you have removed the corn kernels from the cob, you can choose to keep them as a whole or further break them down for a more versatile use. You can use a knife to cut the kernels into smaller pieces or pulse them in a food processor for a rough cornmeal texture.
Now that you have successfully removed the corn from the cob, it’s time to move on to the next step: packaging the corn for storage.
Step 3: Packaging the Corn
Now that you have removed the corn from the cob, it’s time to properly package it for storage. Packaging the corn correctly will help maintain its flavor, texture, and freshness. Here are a few options for packaging the corn:
- Plastic bags or containers: One of the simplest ways to package corn is by using airtight plastic bags or containers. These will help keep the corn fresh and prevent any moisture from getting in. Place the corn kernels into the bag or container, and make sure to remove any excess air before sealing it tightly.
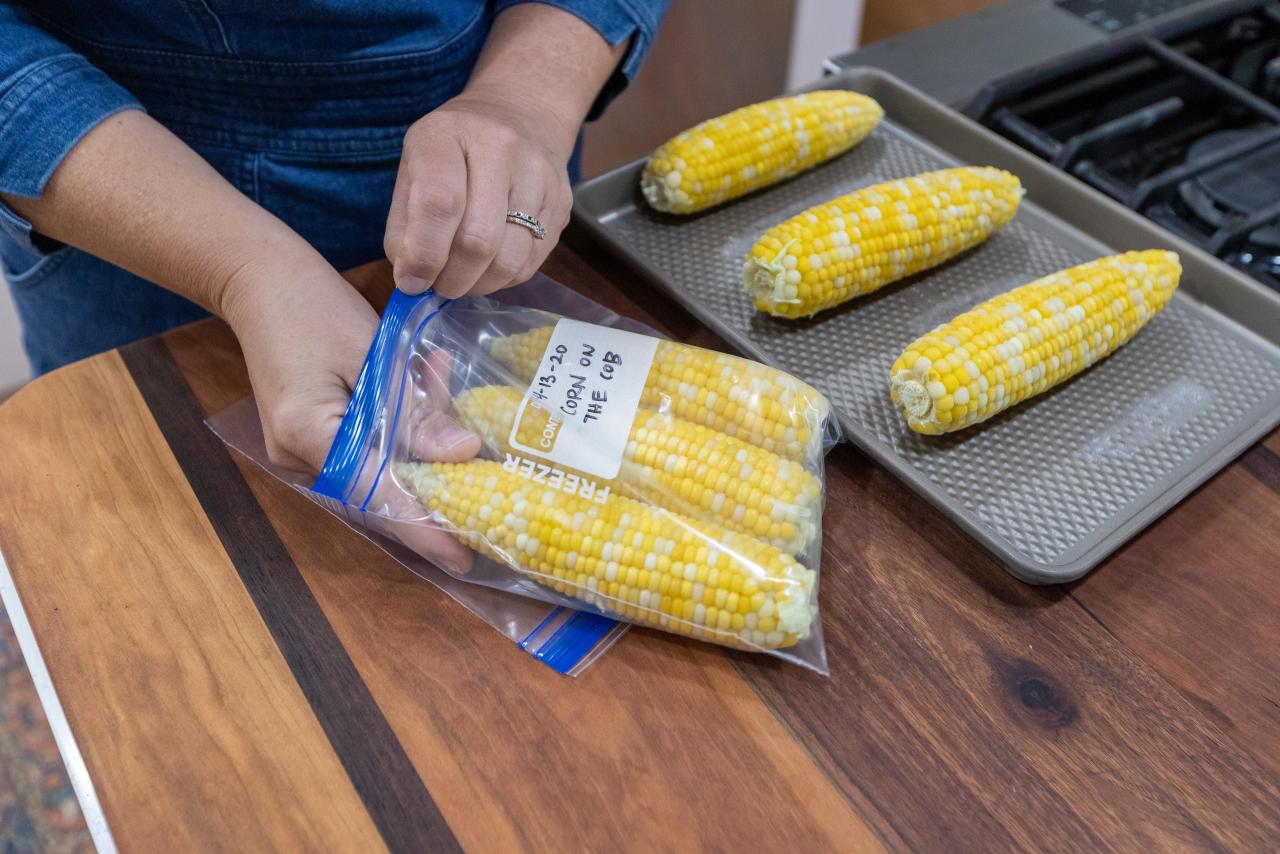
- Freezer-safe bags: If you plan on freezing the corn, it’s important to use freezer-safe bags. These bags are designed to withstand the low temperatures and prevent freezer burn. Fill the bags with the corn, removing any excess air, and seal them tightly. Don’t forget to label the bags with the date for easy reference.
- Mason jars: Another option for packaging corn is using mason jars. These sturdy glass jars provide an airtight seal and are great for storing smaller portions of corn. Be sure to leave some headspace at the top of the jar to account for expansion during freezing.
- Vacuum sealer: If you have a vacuum sealer, you can use it to remove all the air from the packaging, ensuring the longest possible shelf life for your corn. Simply place the corn in a vacuum-sealer bag, follow the instructions for your specific machine, and seal the bag tightly.
Regardless of the packaging method you choose, it’s important to label each package with the date of storage. This will help you keep track of its freshness and easily identify the corn when you’re ready to use it.
Now that the corn is securely packaged, let’s move on to the next step: storing the corn in the refrigerator.
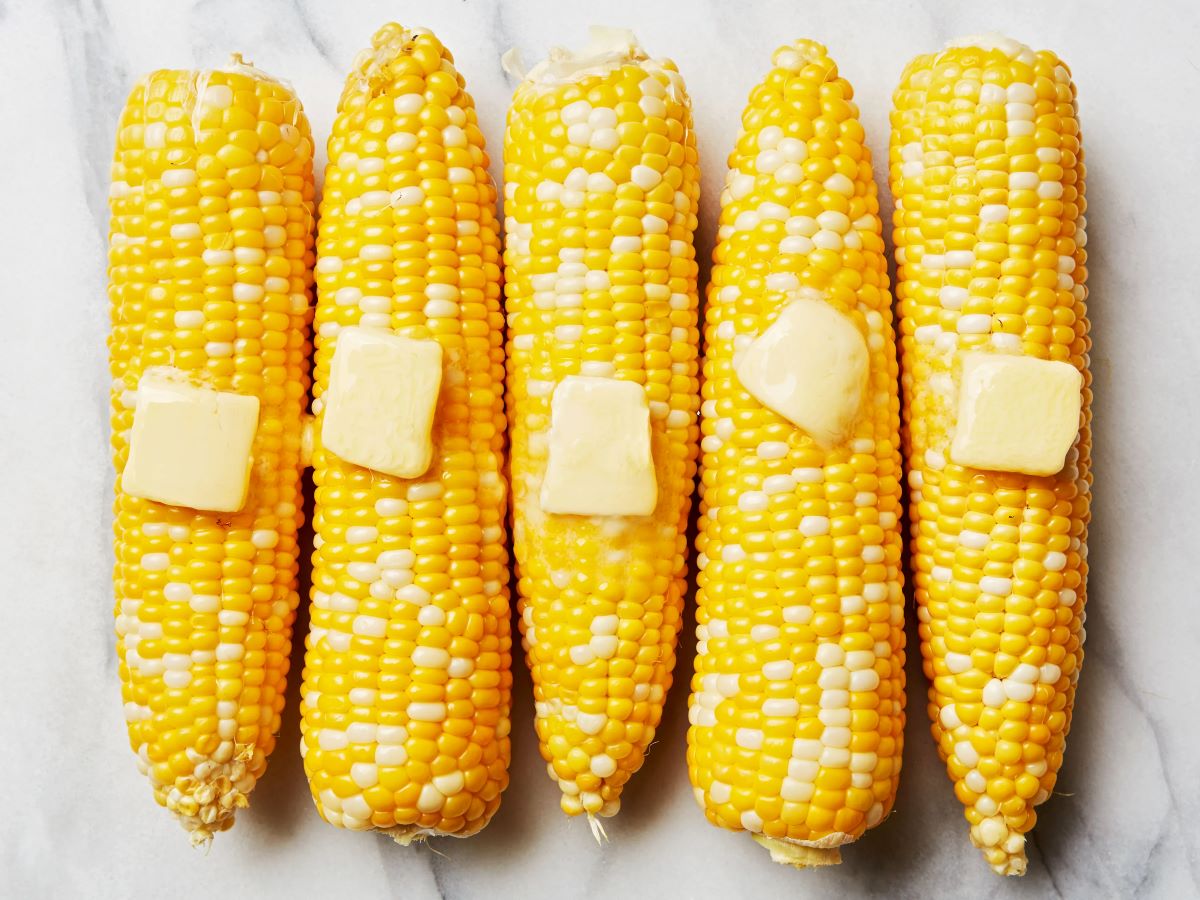
After boiling the corn on the cob, let it cool completely. Then, wrap each ear of corn tightly in plastic wrap and store them in the refrigerator for up to 3 days. This will help keep the corn fresh and prevent it from drying out.
Step 4: Storing the Corn in the Refrigerator
Storing boiled corn on the cob in the refrigerator is a great option if you plan on consuming it within a few days. By keeping it chilled, you can maintain its freshness and flavor. Here’s how you can store the corn in the refrigerator:
- Cooled and wrapped: If you have wrapped the corn in plastic bags or containers, simply place them in the refrigerator. Make sure to position them in a way that allows for proper air circulation and does not overcrowd the refrigerator shelves.
- Mason jars: If you have used mason jars for packaging the corn, simply place them in the refrigerator. The airtight seal of the jars will help preserve the corn’s freshness.
It’s important to note that storing corn in the refrigerator will only keep it fresh for a few days. To maintain its taste and quality for a longer period of time, freezing the corn is a better option. We’ll discuss how to freeze corn in the next step.
Now that your corn is safely stored in the refrigerator, let’s move on to the next step: freezing the corn for long-term storage.
Read more: How To Store Corn On Cob
Step 5: Freezing the Corn
Freezing boiled corn on the cob is an excellent way to preserve its flavor and texture for an extended period of time. By freezing the corn, you can enjoy its delicious taste even when it’s out of season. Here’s how you can freeze the corn:
- Blanching the corn: Before freezing, it’s important to blanch the corn to deactivate enzymes that can cause loss of flavor and texture. Bring a large pot of water to a boil and add the corn cobs. Boil them for about 4-5 minutes, then promptly transfer them to an ice bath to stop the cooking process. This blanching step will help the corn retain its vibrant color and flavor.
- Removing the kernels: Once the corn has been blanched and cooled, use a sharp knife to carefully remove the kernels from the cob, as mentioned in Step 2. Make sure to remove any excess moisture from the kernels by gently patting them dry.
- Pre-freezing: Spread the corn kernels in a single layer on a baking sheet or tray lined with parchment paper. This pre-freezing step will prevent the kernels from sticking together and allow for easy portioning later on. Place the tray in the freezer and let the corn kernels freeze for about 1-2 hours, or until they’re firm to the touch.
- Packaging for freezing: Once the corn kernels are pre-frozen, transfer them into freezer-safe bags or airtight containers. Remove any excess air from the packaging and seal it tightly. Don’t forget to label the bags or containers with the date of freezing.
By following these freezing steps, you can ensure that your corn stays fresh and flavorful for up to 9-12 months in the freezer. Now, let’s move on to the final step: thawing and cooking the frozen corn.
Step 6: Thawing and Cooking the Frozen Corn
Now that you have frozen the corn kernels, it’s time to learn how to properly thaw and cook them when you’re ready to enjoy their deliciousness. Here’s a step-by-step guide on thawing and cooking frozen corn:
- Thawing the corn: To thaw the frozen corn, remove the desired amount from the freezer and transfer it to the refrigerator. Allow the corn to thaw overnight or for about 8-12 hours. Thawing it slowly in the refrigerator helps retain the texture and flavor.
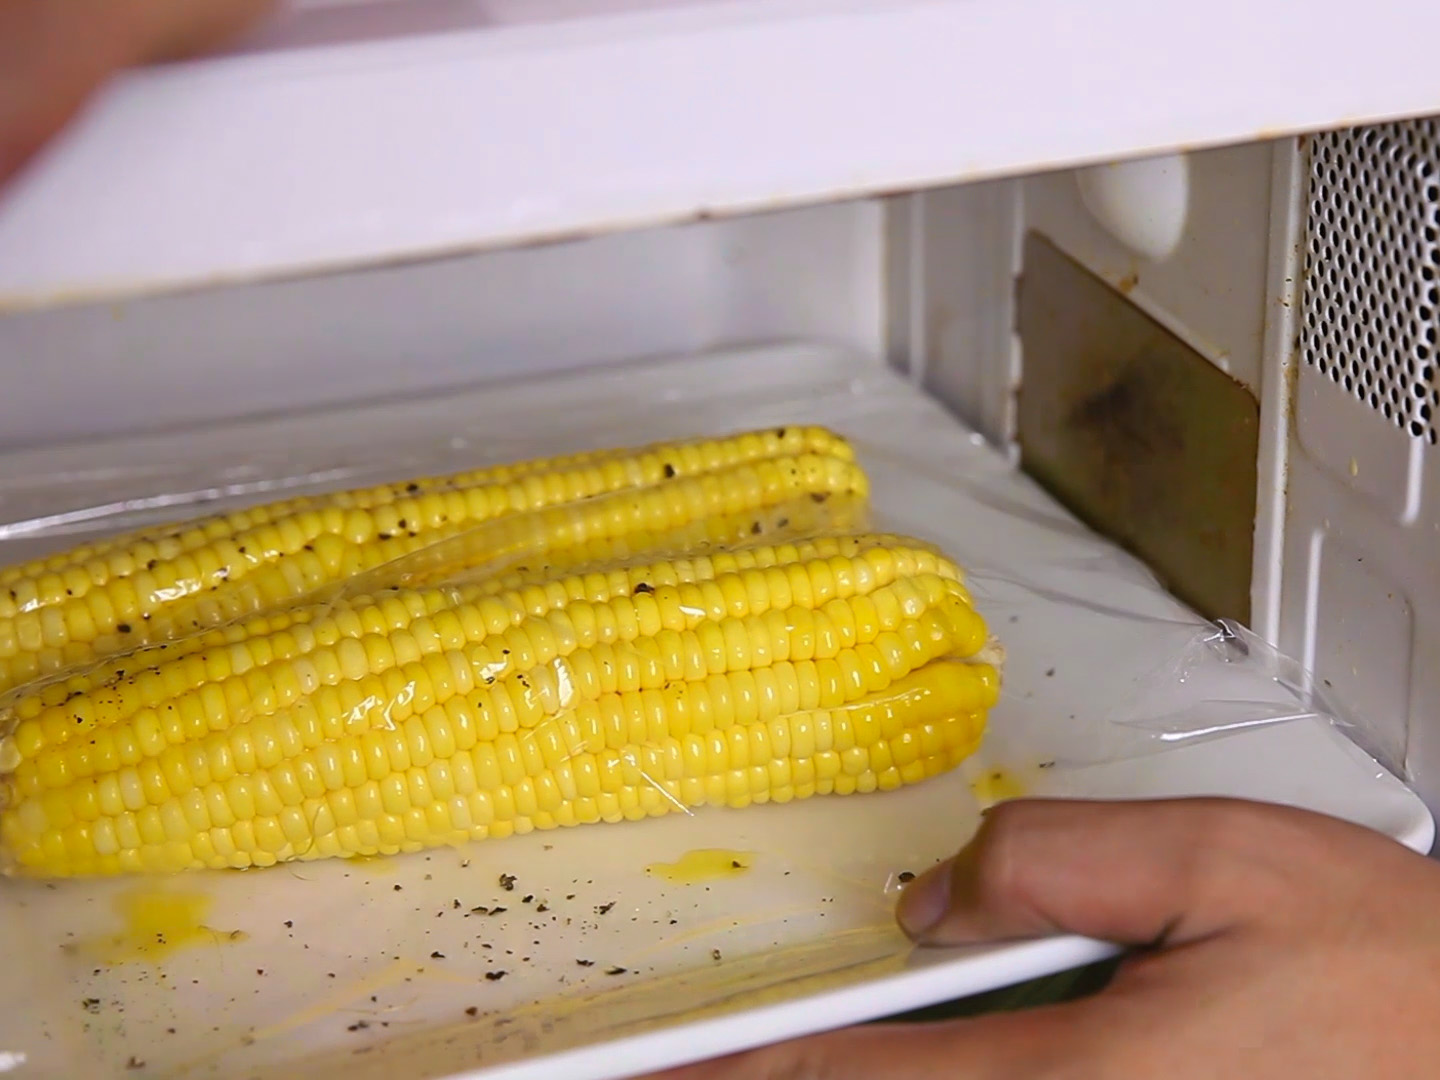
- Alternate thawing methods: If you’re short on time, you can also thaw the frozen corn by placing it in a microwave-safe bowl and heating it on the defrost setting in short intervals, stirring occasionally. Another option is to thaw the corn kernels in a sealed plastic bag placed in a bowl of cold water, changing the water every 30 minutes until the corn is thawed.
Once the corn is thawed, you can cook it using various methods depending on your preference:
- Boiling: Bring a pot of water to a boil and add the thawed corn kernels. Boil them for a few minutes until they are tender. Add seasoning or butter for extra flavor if desired.
- Microwaving: Place the thawed corn kernels in a microwave-safe dish and cover it with a microwavable lid or plastic wrap. Microwave on high for a few minutes, stirring occasionally, until the corn is heated through.
- Sautéing: Heat a skillet with butter or oil over medium heat. Add the thawed corn kernels and cook for a few minutes, stirring regularly, until the corn is heated and lightly browned.
Once the corn is cooked, you can season it according to your taste preferences and serve it as a side dish, add it to salads, or use it in various recipes. Enjoy the delicious taste of the freshly cooked corn!
With these steps, you can successfully thaw and cook your frozen corn to relish its amazing flavor and texture. Now, you can enjoy the taste of summer all year round!
Conclusion
Congratulations! You have learned the step-by-step process of storing boiled corn on the cob. By following these instructions, you can extend the shelf life of your corn and enjoy its delicious flavor even when it’s out of season. Whether you choose to refrigerate or freeze the corn, proper packaging and storage techniques are key to maintaining its freshness and taste.
Remember to cool the boiled corn before removing it from the cob, and carefully package it in plastic bags, containers, mason jars, or vacuum-sealed bags. Storing the corn in the refrigerator is ideal for short-term freshness, while freezing the corn allows you to enjoy it for up to a year.
When you’re ready to enjoy your frozen corn, simply thaw it in the refrigerator or use alternate thawing methods for a quicker option. Then, cook it to your preference by boiling, microwaving, or sautéing.
So, whether you’re craving a savory corn side dish, a delicious salad topping, or a flavorful ingredient in your favorite recipes, knowing how to store boiled corn on the cob gives you the flexibility to enjoy it at any time of the year.
From summer barbecues to cozy winter meals, boiled corn on the cob is a versatile and tasty treat. With proper storage techniques, you can ensure that the corn retains its natural sweetness, crunch, and vibrant taste. So go ahead, stock up on corn and make the most of its incredible flavors all year long!
Frequently Asked Questions about How To Store Boiled Corn On The Cob
Was this page helpful?
At Storables.com, we guarantee accurate and reliable information. Our content, validated by Expert Board Contributors, is crafted following stringent Editorial Policies. We're committed to providing you with well-researched, expert-backed insights for all your informational needs.


0 thoughts on “How To Store Boiled Corn On The Cob”