Articles
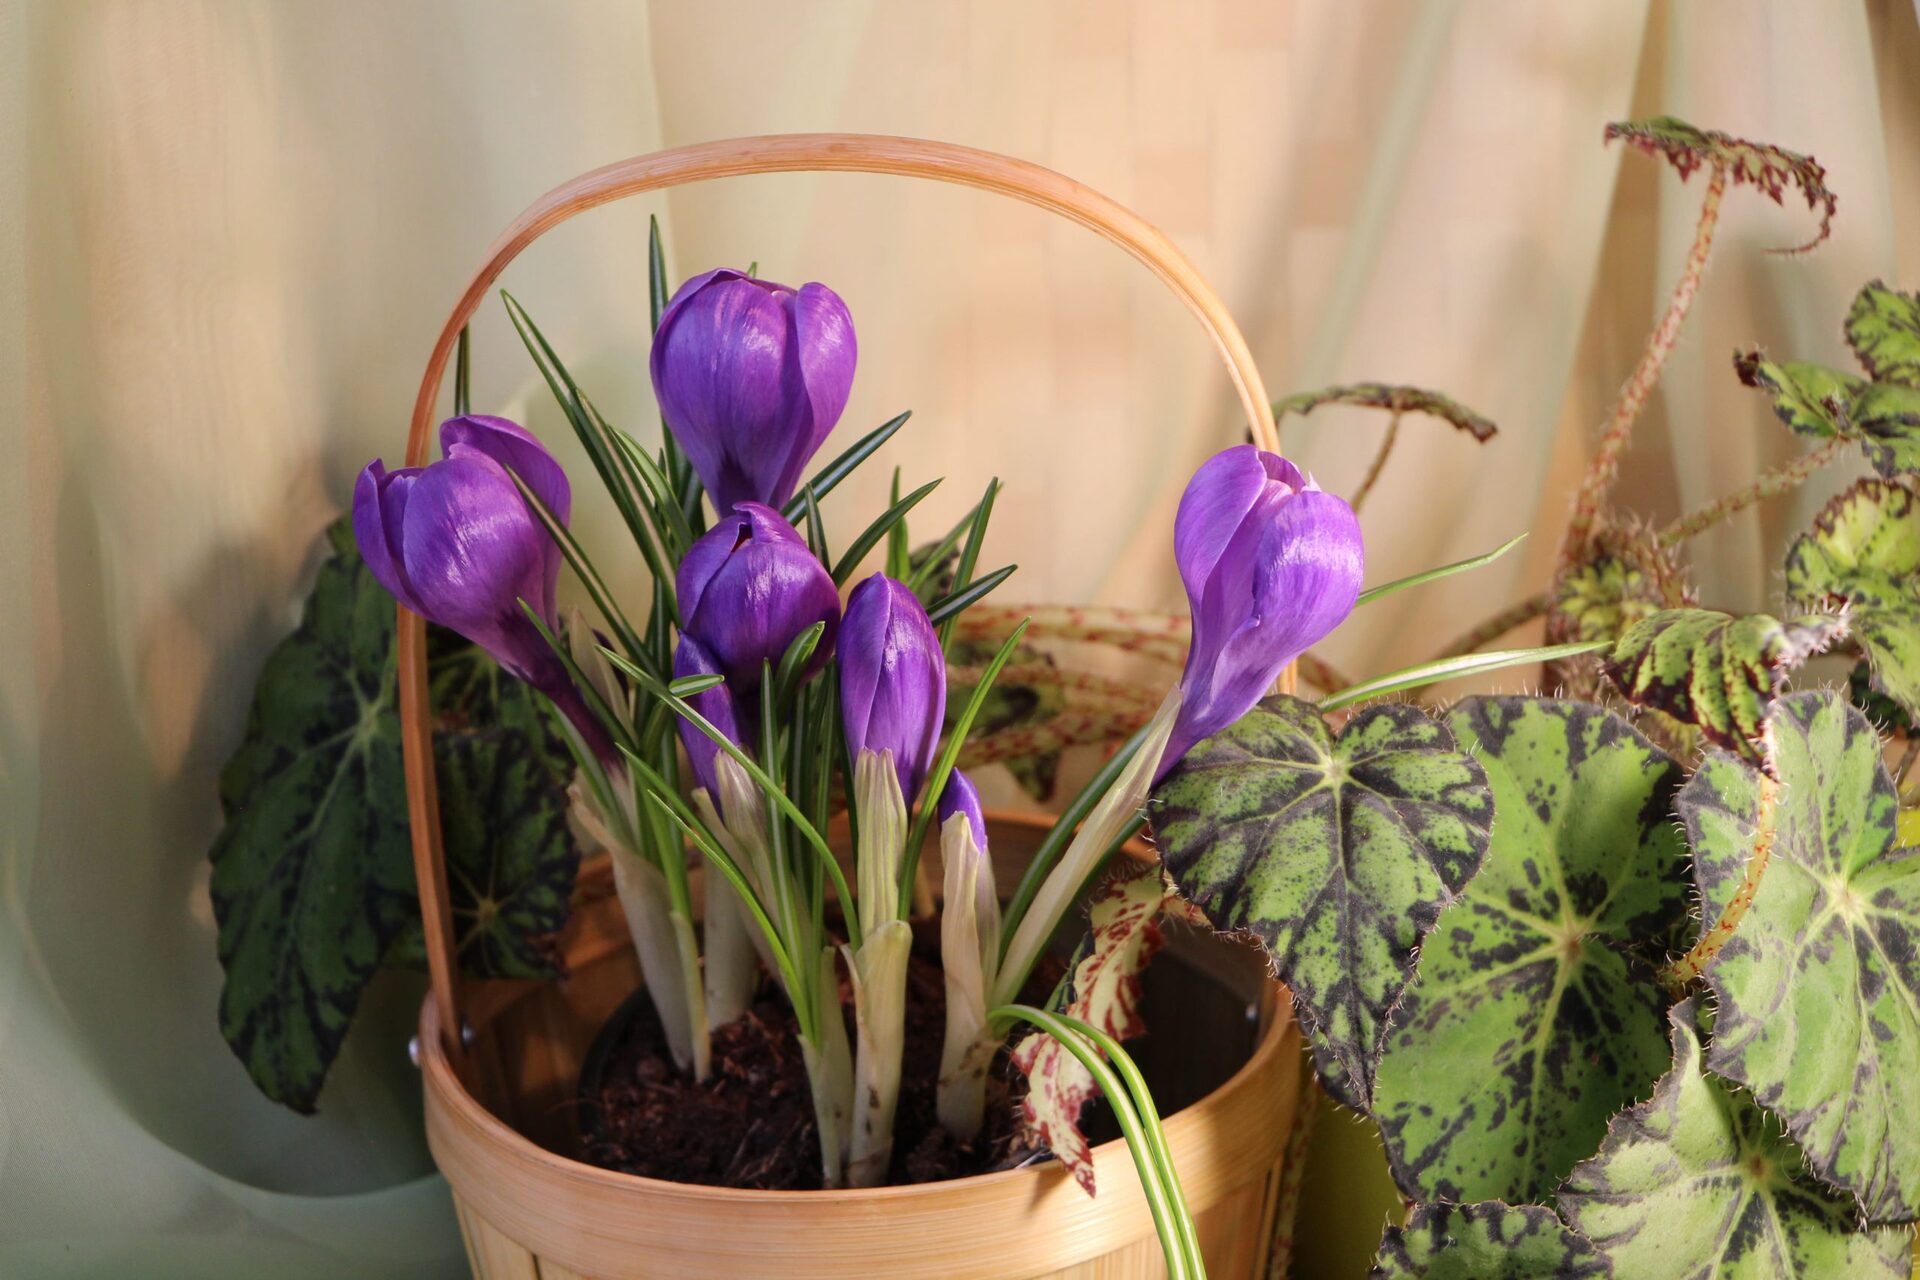
How To Store Crocus Bulbs
Modified: December 7, 2023
Learn the best way to store crocus bulbs and keep them healthy and ready for planting in our informative articles.
(Many of the links in this article redirect to a specific reviewed product. Your purchase of these products through affiliate links helps to generate commission for Storables.com, at no extra cost. Learn more)
Introduction
When it comes to storing crocus bulbs, proper care and attention are essential to ensuring their health and vitality during the dormant period. Crocus bulbs are known for their vibrant blooms and are a popular addition to gardens and landscapes. Whether you are storing them to replant in the coming seasons or to preserve them for future use, it is vital to follow the correct methods to keep them in the best possible condition.
In this article, we will delve into the process of storing crocus bulbs effectively. Starting from choosing the right bulbs to selecting an appropriate storage location, we will cover all the essential steps needed to maintain the health and viability of your crocus bulbs throughout their storage period.
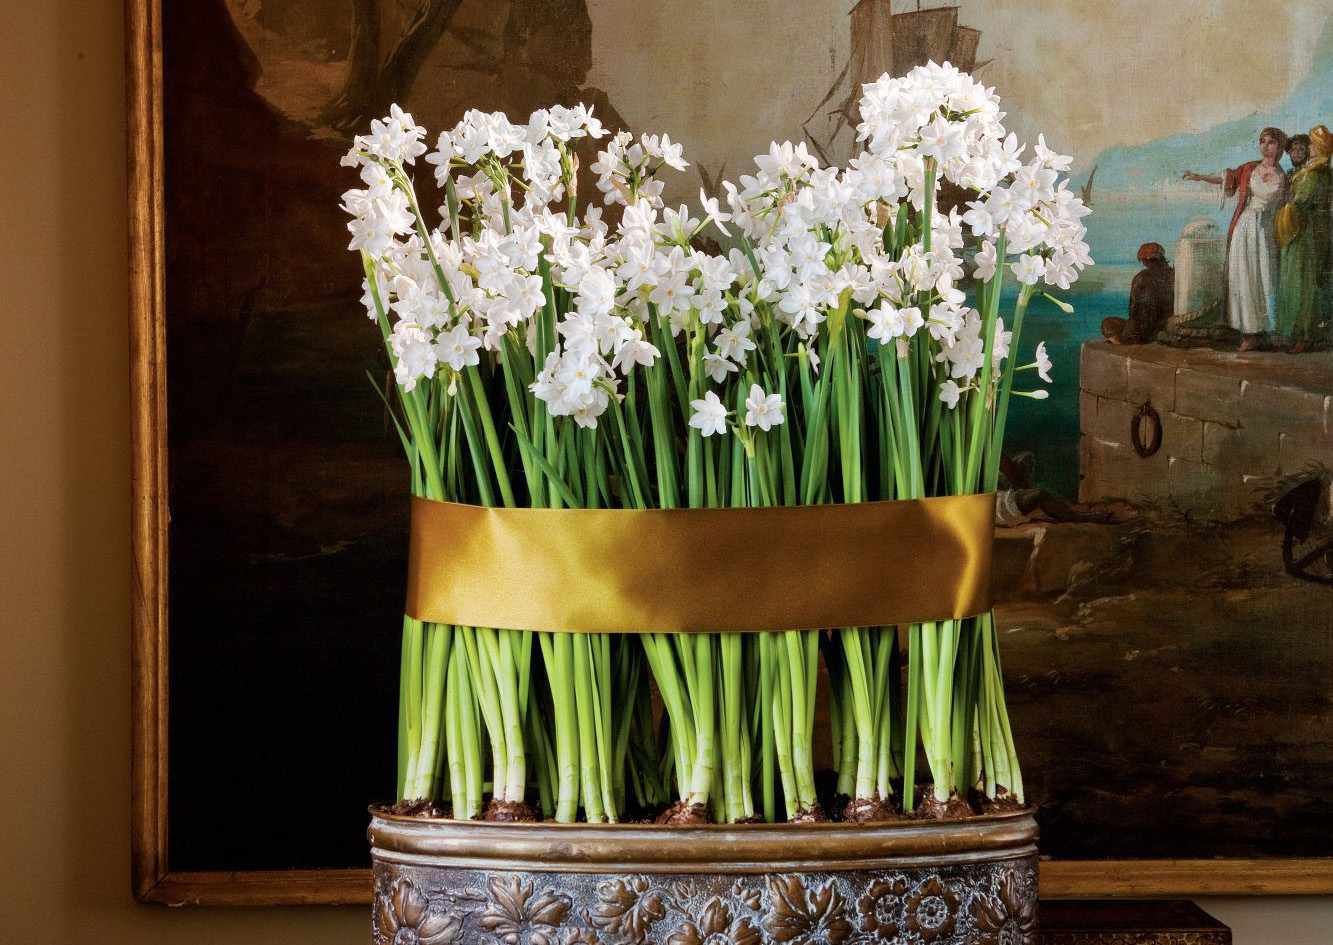
So, if you are keen on preserving the beauty of these spring-flowering bulbs or planning to have a successful crocus bulb garden in the future, read on to discover the tips and tricks for proper crocus bulb storage.
Key Takeaways:
- Choose high-quality, healthy crocus bulbs for successful storage and future growth. Look for firm, undamaged bulbs with ample energy reserves to ensure vibrant blooms in the next planting season.
- Maintain optimal storage conditions, including temperature, humidity, and air circulation, to preserve the health and vitality of stored crocus bulbs. Regularly monitor and adjust storage conditions for successful storage and future blooming.
Read more: How To Store Light Bulbs
Choosing the Right Bulbs
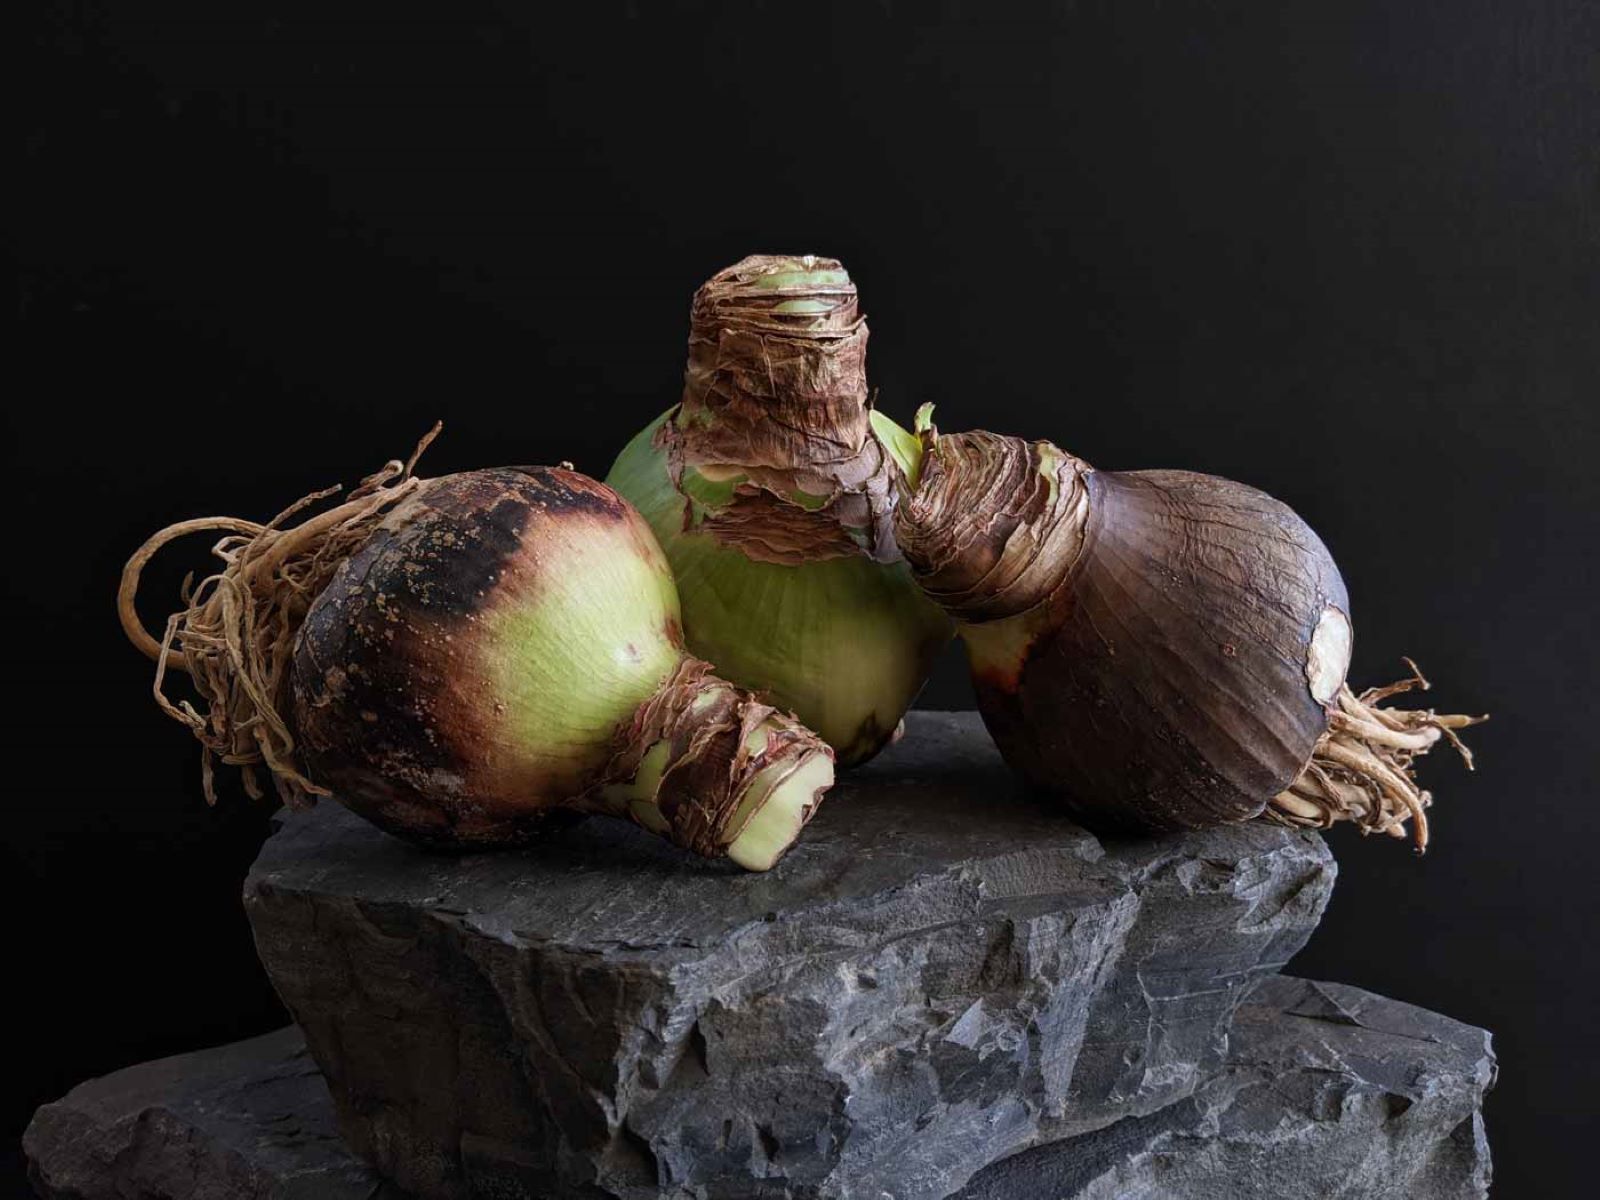
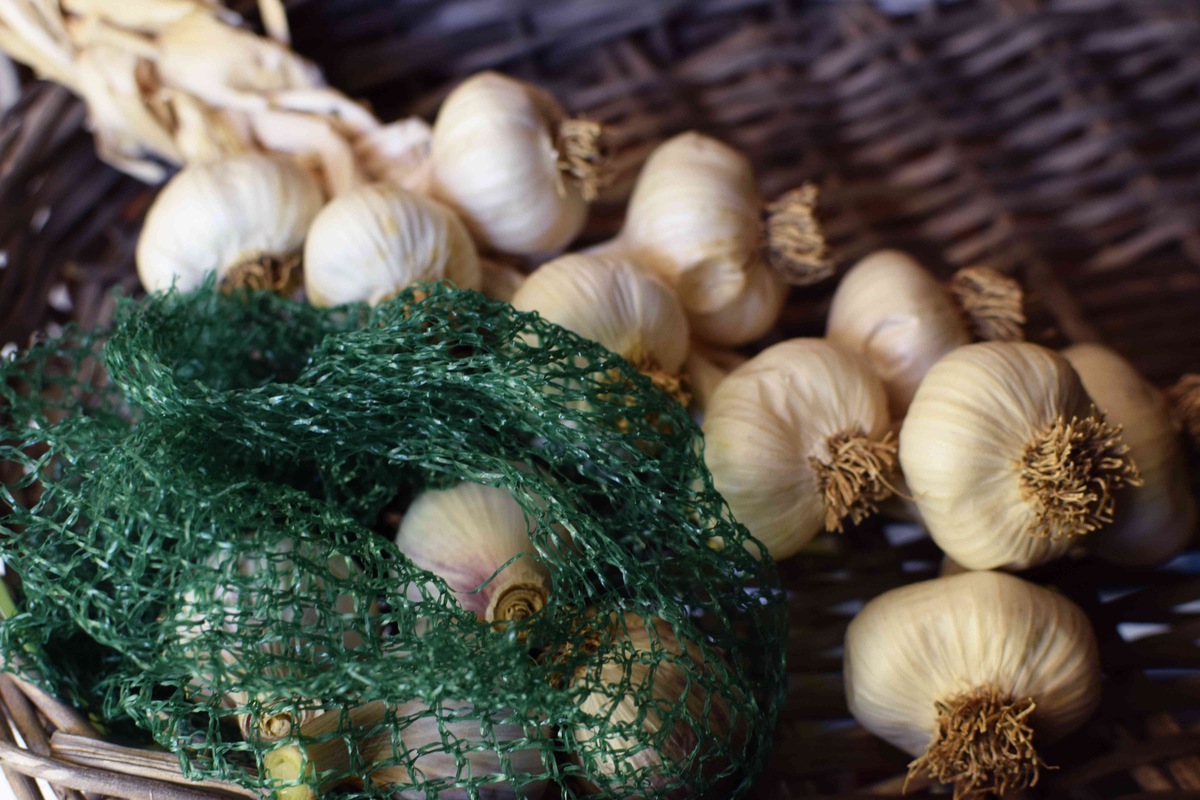
When it comes to storing crocus bulbs, it is crucial to start with high-quality bulbs. Choosing the right bulbs not only ensures a successful storage period but also sets the foundation for future growth and blooming. Here are some tips to keep in mind when selecting crocus bulbs for storage:
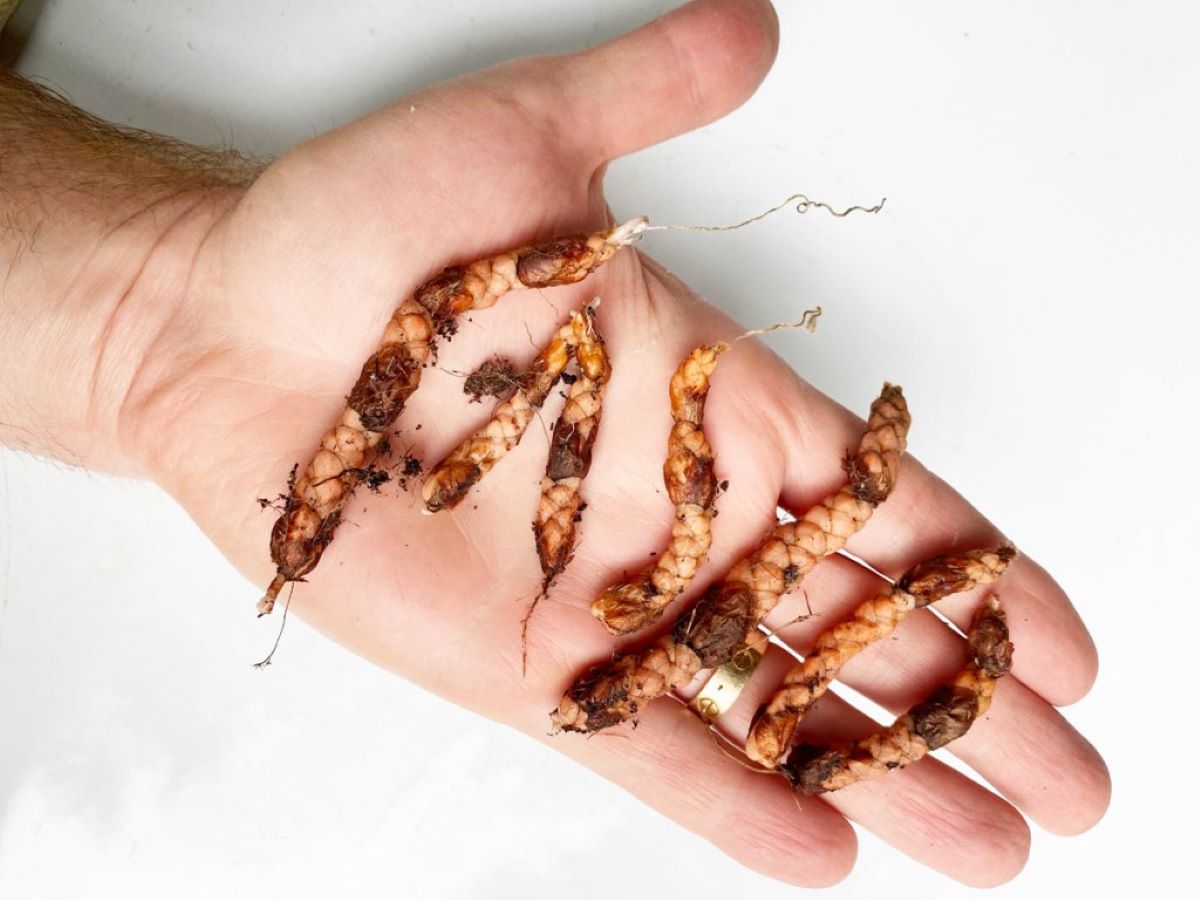
- Select healthy bulbs: Look for bulbs that are firm, free from bruising or blemishes, and have intact outer skins. Avoid bulbs that show signs of mold, rot, or damage.
- Choose large-sized bulbs: Larger bulbs tend to have more energy reserves stored within them, which helps them survive the storage period and produce robust blooms when planted.
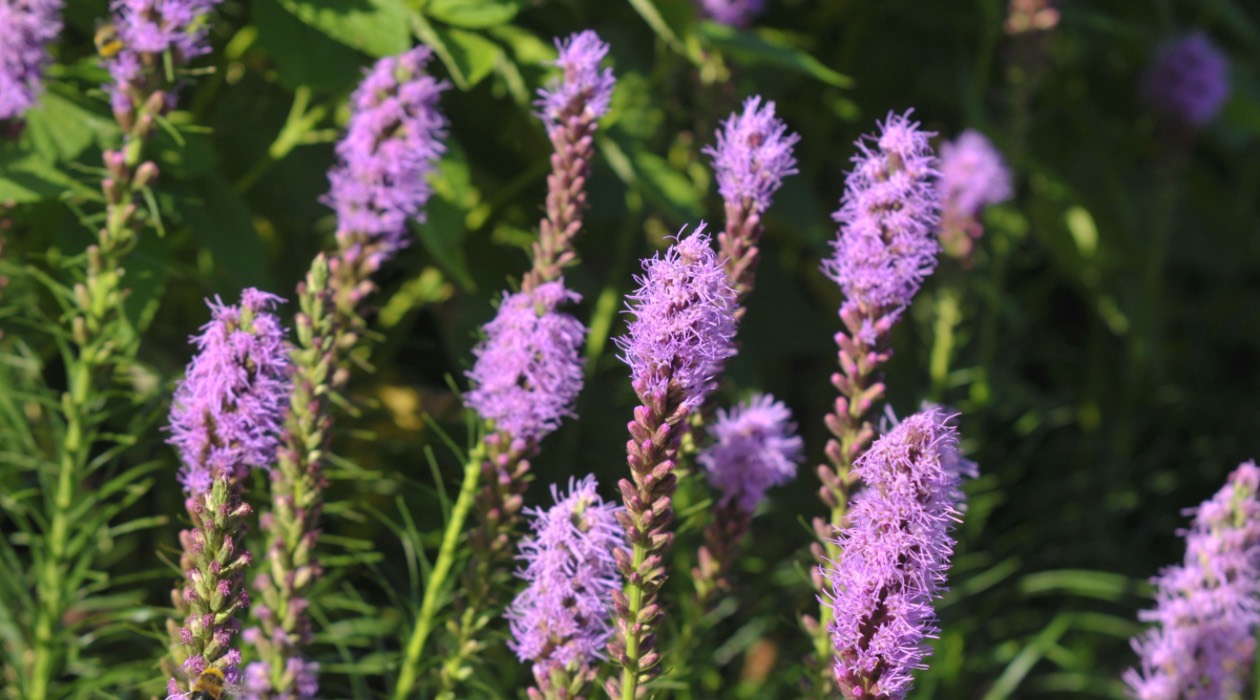
- Consider bulb variety: There are various types of crocus bulbs available, each with its own unique characteristics and bloom time. Choose the varieties that suit your preferences and climate conditions.
- Check for proper dormancy: It is essential to select bulbs that have gone through their natural dormant period. This ensures that they are ready for storage and will be ready to sprout when planted.
By carefully selecting the right bulbs, you set a solid foundation for successful crocus bulb storage and future growth. Remember, healthy bulbs yield beautiful blooms!
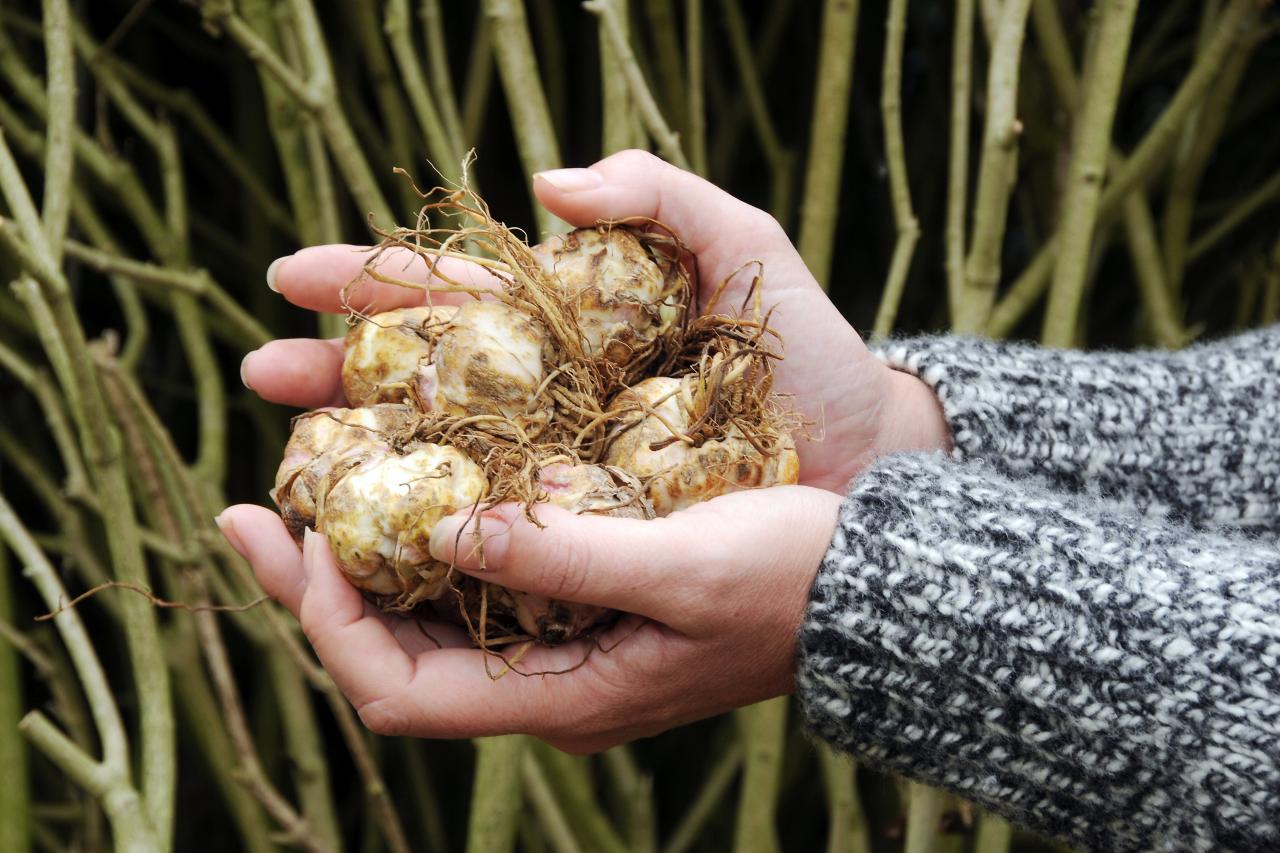
Preparing the Bulbs for Storage
Before storing crocus bulbs, it is crucial to prepare them properly to ensure their longevity and health during the dormant period. Follow these steps to prepare your bulbs for storage:
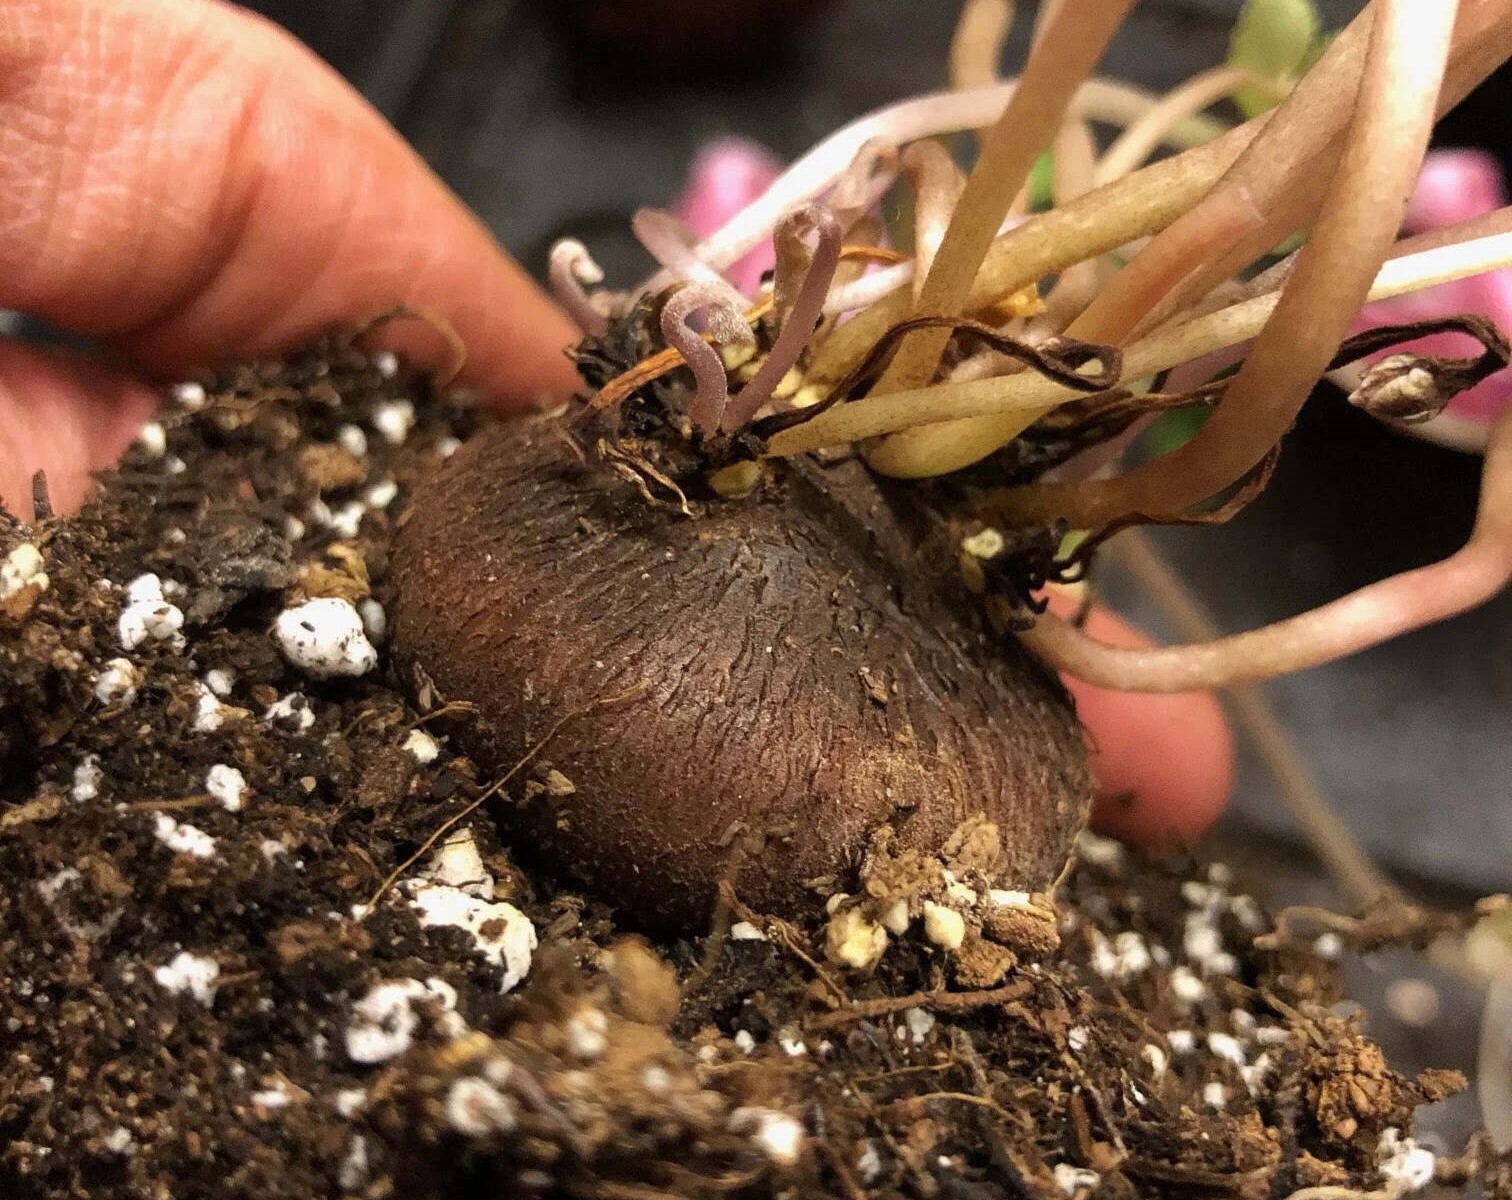
- Clean and dry: Start by gently brushing off any excess soil from the bulbs. Be careful not to remove the protective papery layer. Once clean, allow the bulbs to air-dry for a few days in a cool, well-ventilated area. Make sure they are completely dry before moving on to the next step.
- Remove foliage: Trim the foliage down to a couple of inches above the bulb, taking care not to damage the bulb itself. Removing the foliage helps the bulb conserve energy during the storage period.
- Inspect for damage: Examine each bulb carefully to ensure there are no signs of damage or disease. Discard any bulbs that appear rotten, moldy, or diseased to prevent the spread of problems to the rest of your stored bulbs.
- Treat for pests and diseases: To further protect your bulbs, you can dust them lightly with a bulb fungicide or an insecticide specifically designed for bulbs. This helps prevent potential pest infestations or fungal diseases during storage.
- Label and organize: Before storing, label each batch of bulbs with their variety or color using waterproof markers. This makes it easier to identify them when it’s time for planting. Additionally, organize the bulbs in separate containers or bags according to type or bloom time for more efficient storage.
By taking the time to properly prepare your crocus bulbs for storage, you significantly increase their chances of survival and successful growth in the future. Following these steps ensures that your bulbs are clean, free from damage, and ready to be stored until the next planting season.
Selecting the Storage Location
Choosing the right storage location for your crocus bulbs is crucial in maintaining their health and viability. The ideal storage conditions should mimic the bulbs’ natural dormant period. Here are some factors to consider when selecting a suitable storage location:
- Temperature: Crocus bulbs thrive when stored in cool temperatures ranging between 35°F (2°C) to 50°F (10°C). Avoid storing the bulbs in areas prone to extreme temperature fluctuations or freezing conditions.
- Humidity: High humidity can lead to bulb rot, while low humidity can cause excessive drying. Choose a location with moderate humidity levels, ideally around 50% to 60% RH (relative humidity).
- Air circulation: Good air circulation is essential to prevent mold or fungal growth. Avoid storing bulbs in airtight containers without ventilation. Instead, choose a storage area with some airflow to keep the bulbs dry and fresh.
- Light exposure: Crocus bulbs require darkness during the storage period to maintain their dormancy. Therefore, it is important to select a storage location where the bulbs are protected from direct sunlight or artificial light sources.
- Pest control: Consider the potential risk of pests, such as rodents or insects, in the storage area. Take precautionary measures like sealing containers tightly and using natural pest deterrents to prevent any damage to the stored bulbs.
Based on these factors, some ideal storage locations for crocus bulbs include a cool garage, a basement, or a well-ventilated shed. Ensure that the area is clean, dry, and meets the temperature and humidity requirements to provide the best conditions for your bulbs during their storage period.
Storing Crocus Bulbs in Containers
Storing crocus bulbs in containers is a popular method that allows for easy organization and accessibility. Follow these steps to store your crocus bulbs in containers:
- Select appropriate containers: Use clean, well-ventilated containers that are deep enough to accommodate the bulbs and provide some room for airflow. Plastic or wooden crates, mesh bags, or breathable fabric containers are ideal choices.
- Add a layer of storage medium: Place a layer of dry, well-draining storage medium at the bottom of the container, such as vermiculite, perlite, or peat moss. This helps maintain the right moisture balance and prevents the bulbs from sitting in damp conditions.
- Arrange the bulbs: Place the crocus bulbs on top of the storage medium, ensuring that they are not touching each other. Leave some space between the bulbs to prevent them from rotting or spreading diseases if one becomes infected.
- Layer with more storage medium: Gently cover the bulbs with another layer of the storage medium, making sure they are completely surrounded and covered. The layer should be enough to provide insulation and protection to the bulbs.
- Label and seal: Label the container with the variety and planting date for easy reference. Seal the container tightly to prevent moisture or pest entry.
- Store in the chosen location: Place the containers in the selected storage location that meets the temperature, humidity, and lighting requirements discussed earlier. Ensure the area allows for proper air circulation to keep the bulbs fresh.
Storing crocus bulbs in containers not only keeps them organized but also provides a controlled environment for their storage. By following these steps, you can maintain the bulbs’ quality and ensure that they stay healthy and ready for planting when the time comes.
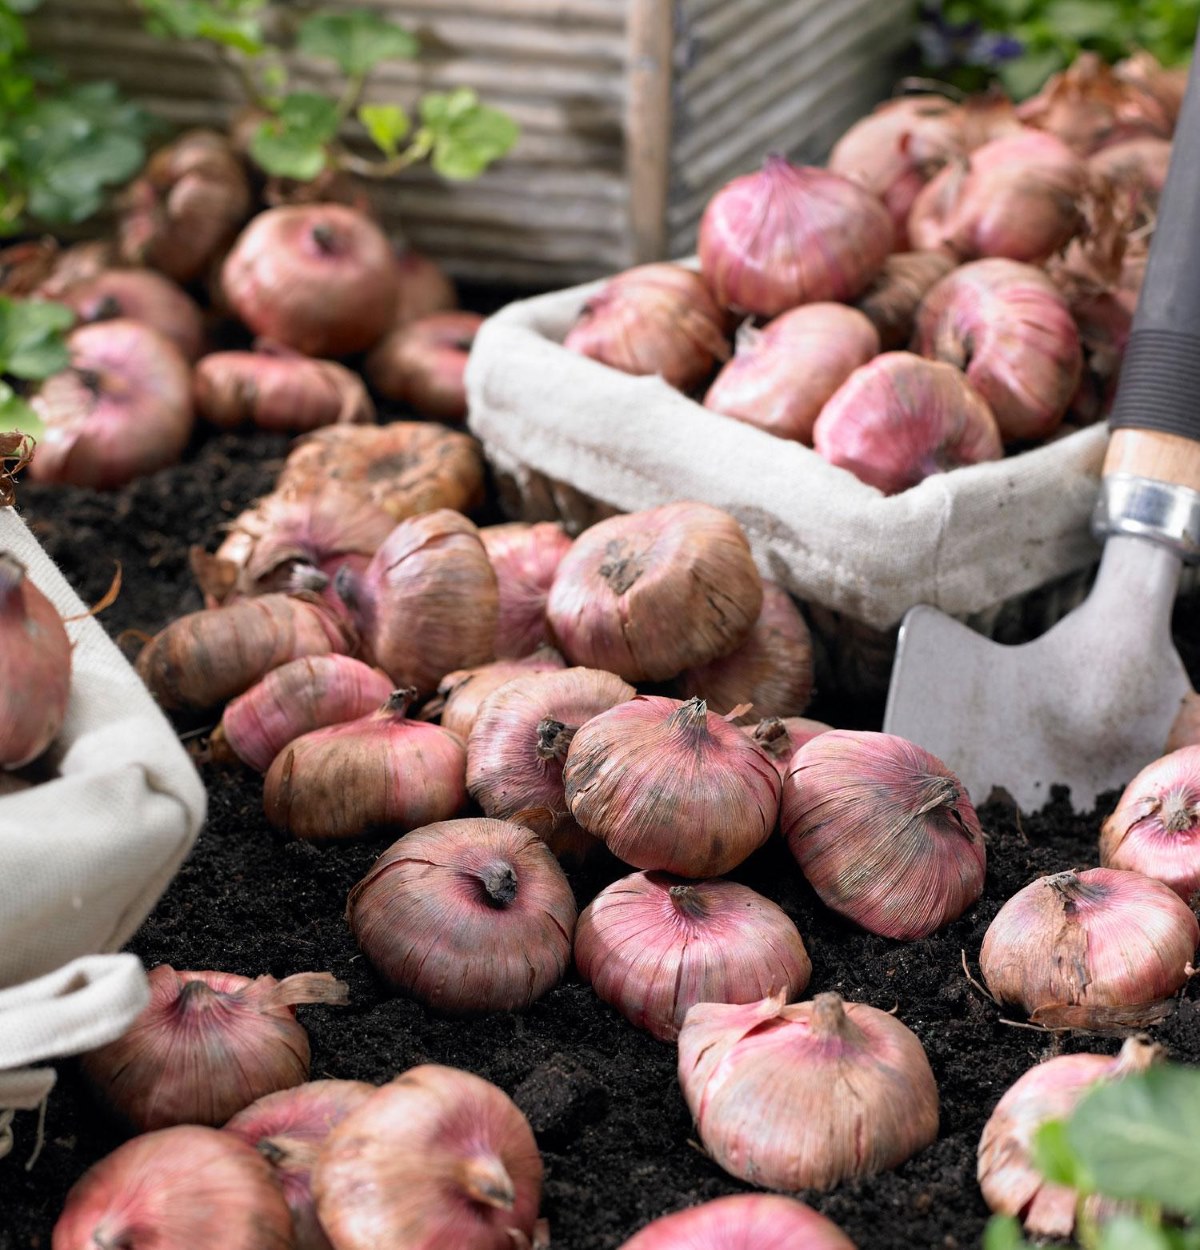
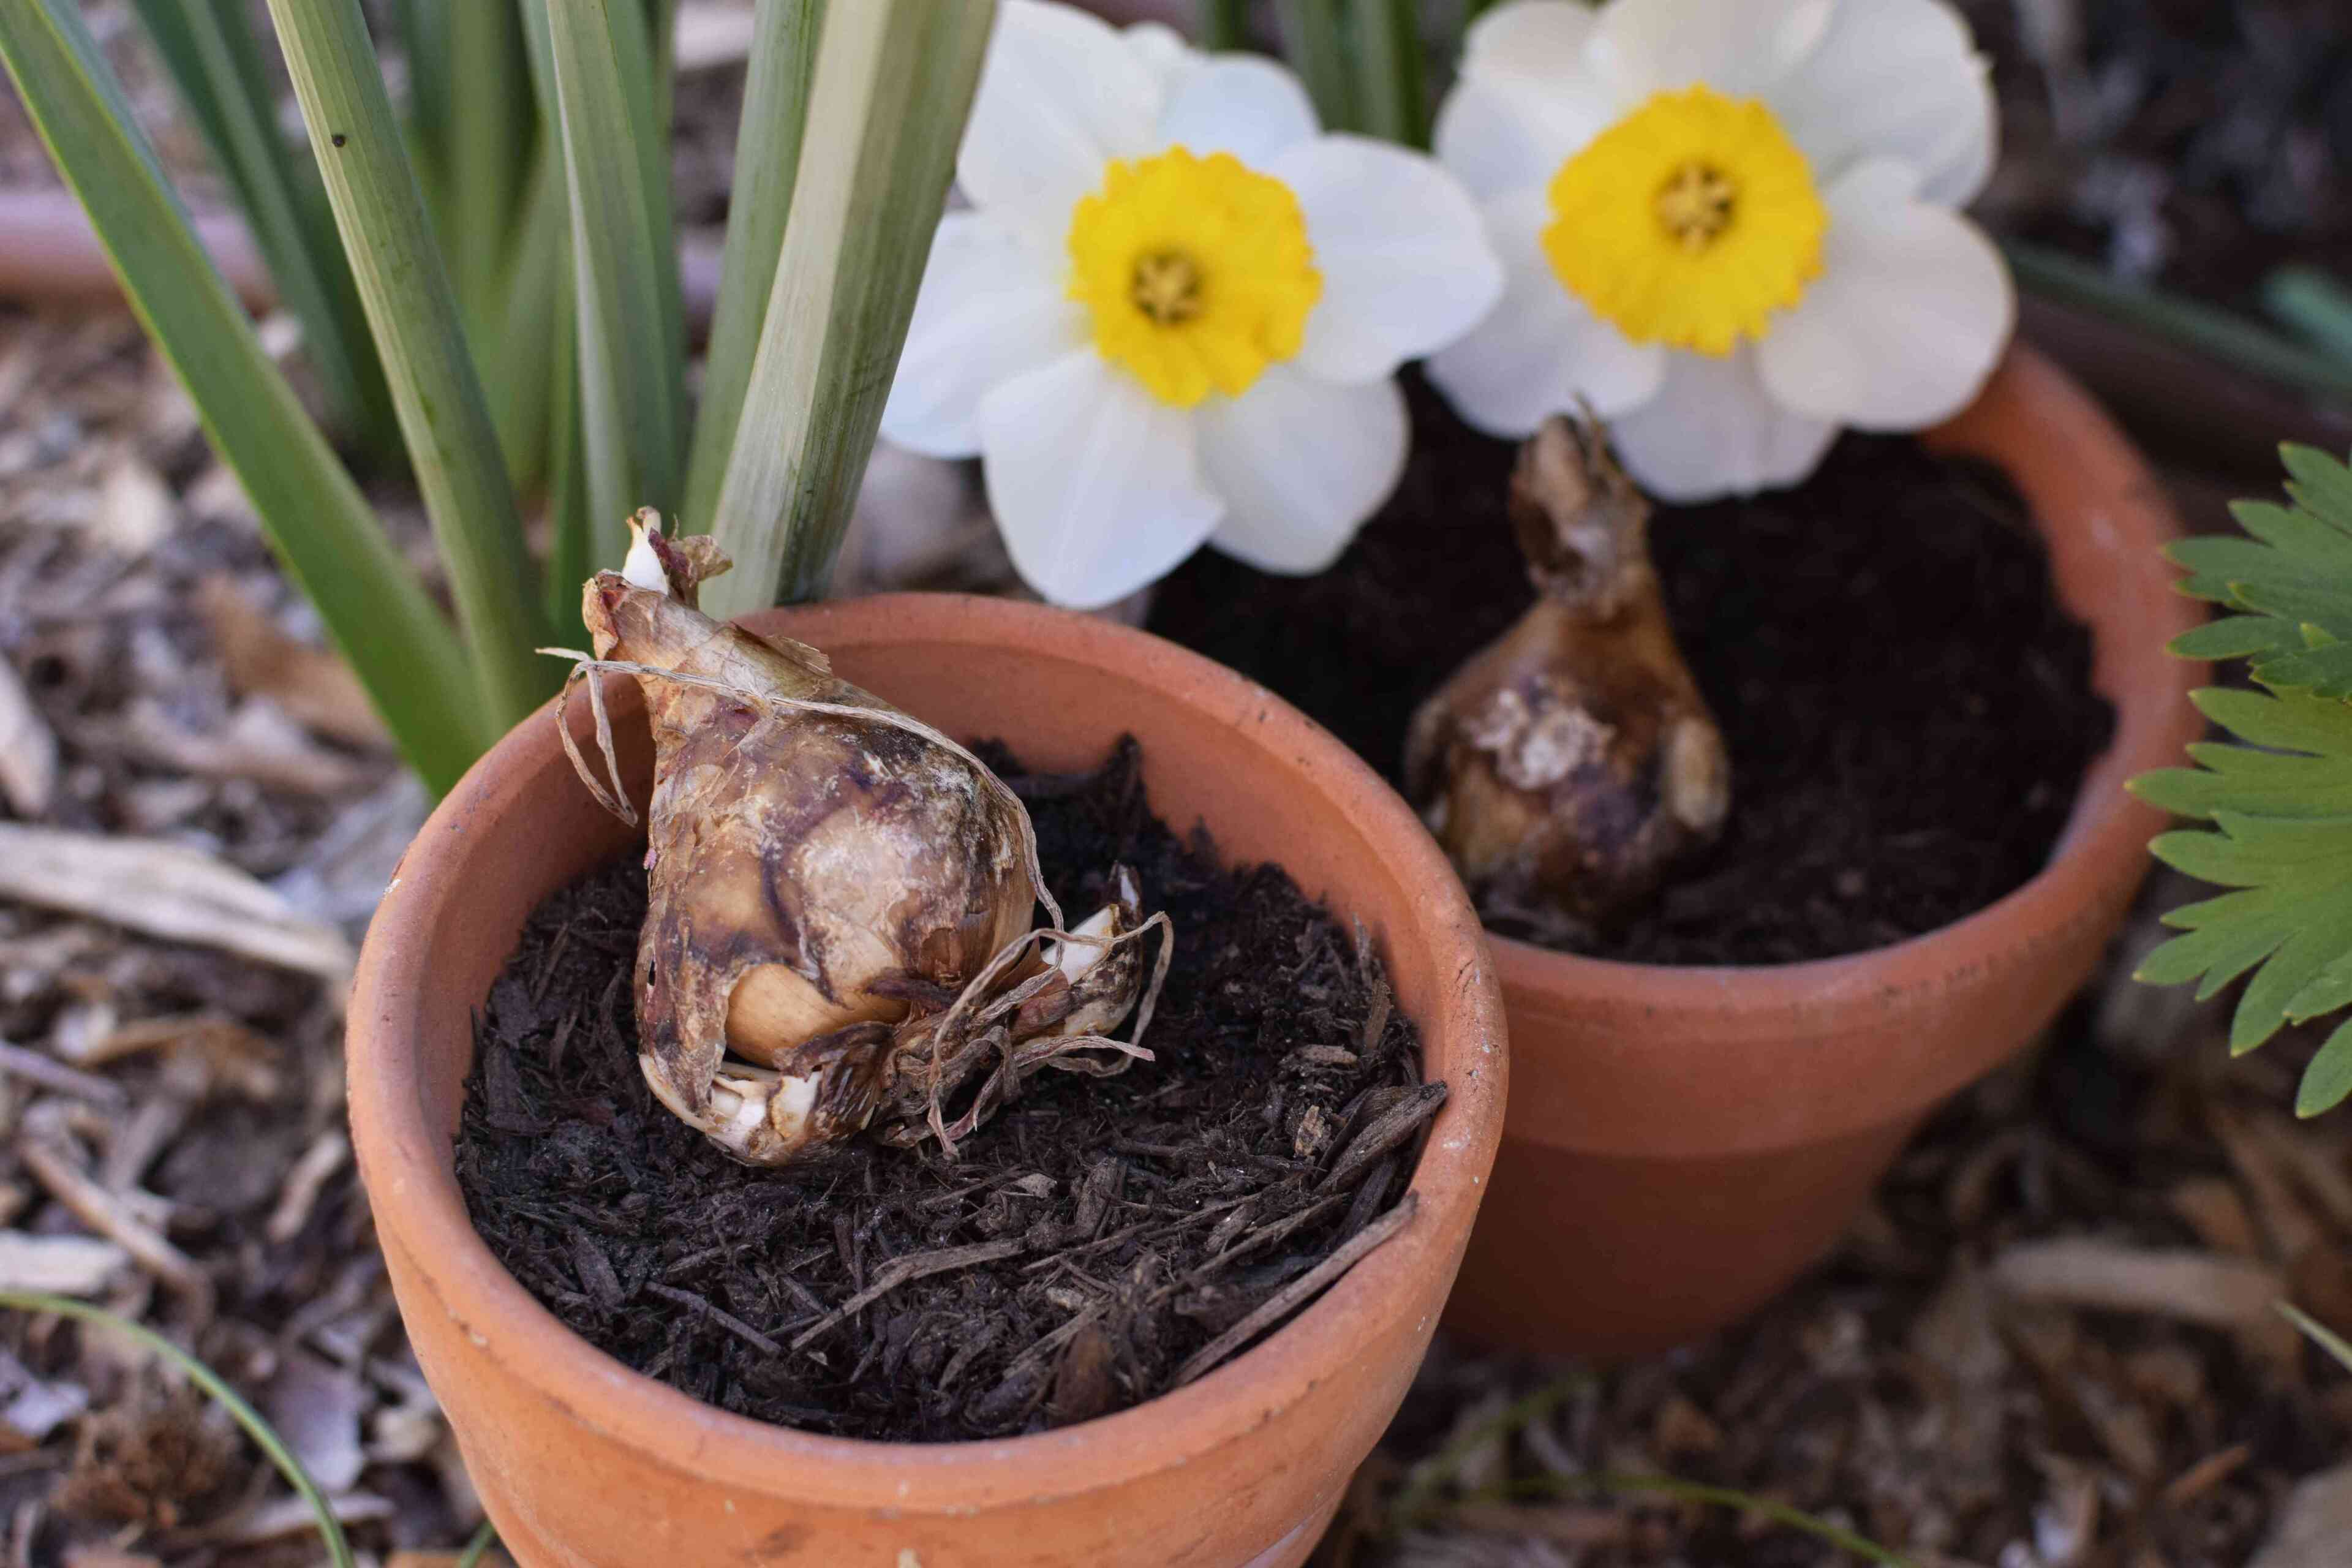
After the crocus bulbs have finished flowering, allow the foliage to die back naturally. Once the foliage has turned yellow and dried out, carefully dig up the bulbs and store them in a cool, dry place until the next planting season.
Read more: How To Store Iris Bulbs
Storing Crocus Bulbs in the Ground
Another method for storing crocus bulbs is by planting them directly in the ground. This technique is particularly useful if you have limited storage space or if you prefer to let nature take care of the bulbs during their dormancy period. Here’s how to store crocus bulbs in the ground:
- Choose a suitable location: Select a well-draining area in your garden that receives full or partial sunlight. Ensure that the soil is fertile and not prone to waterlogging, as excessive moisture can cause bulb rot.
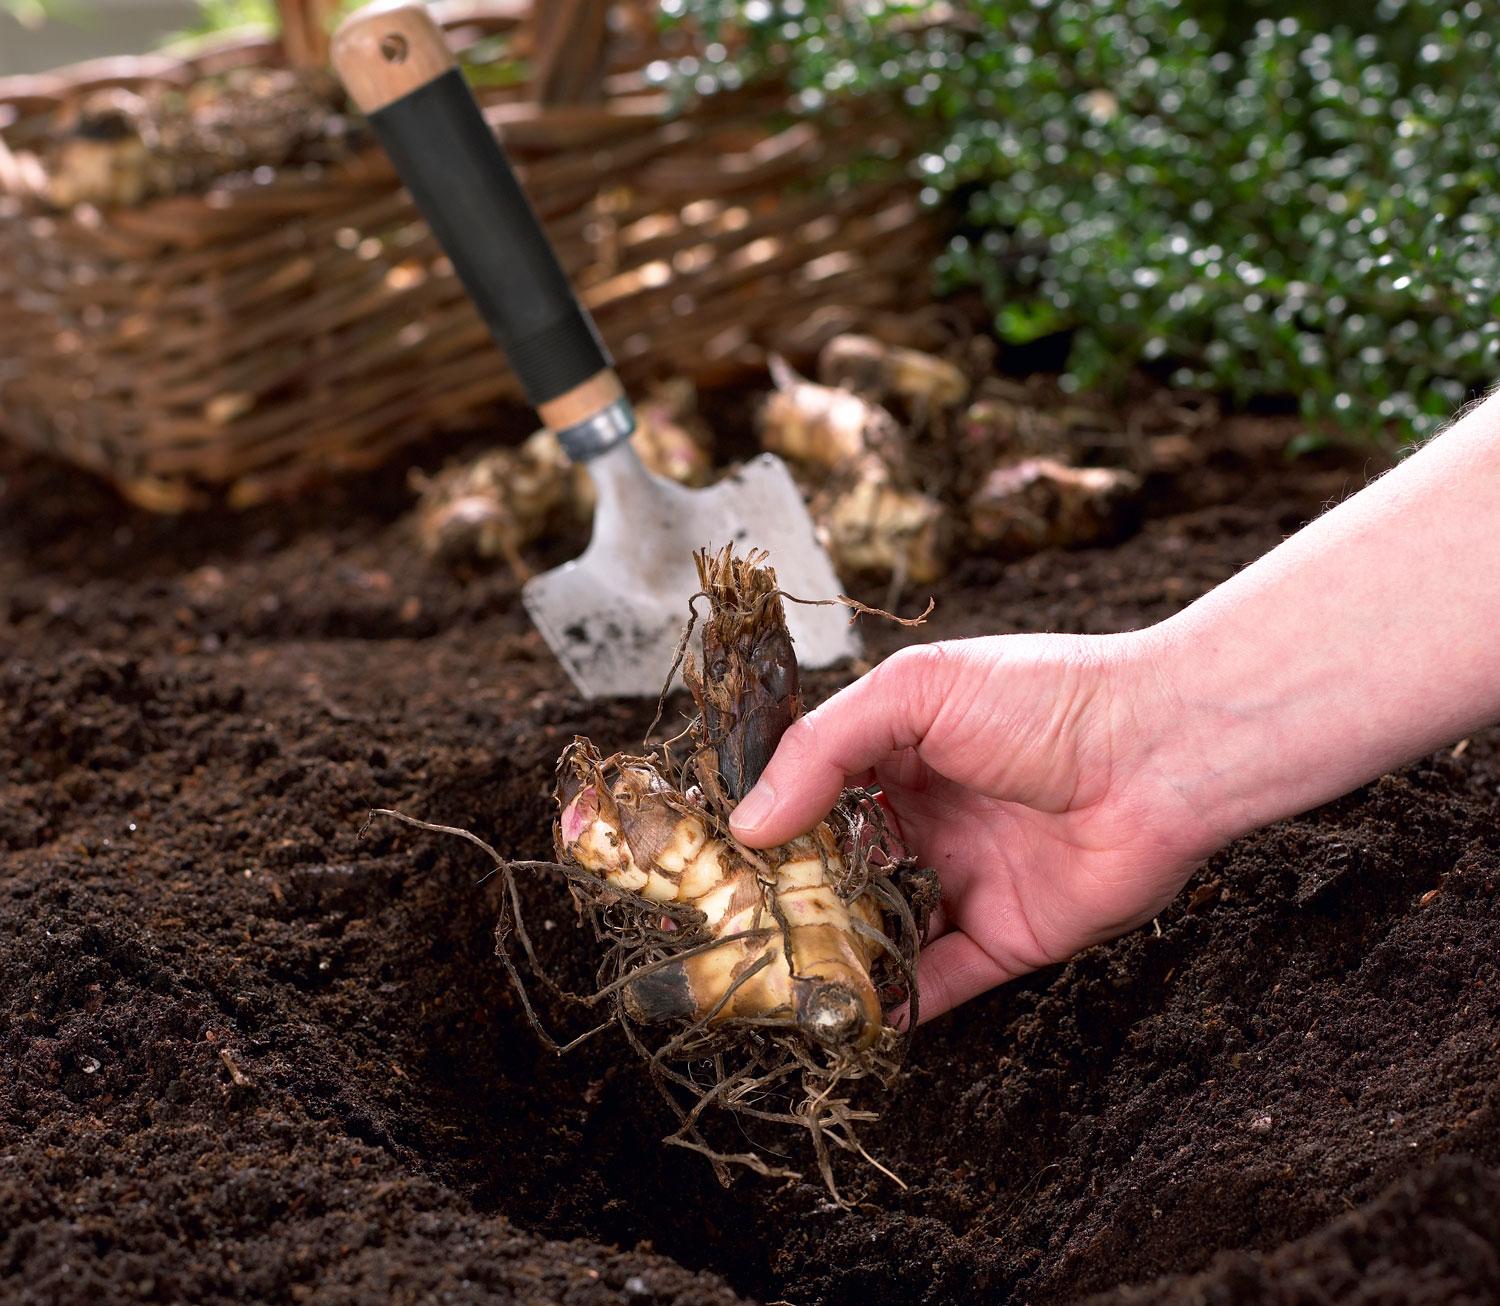
- Prepare the soil: Loosen the soil to a depth of about 6 to 8 inches (15 to 20 cm) using a garden fork or spade. Remove any weeds or debris from the area to create a clean planting space.
- Plant the bulbs: Dig small holes, about 2 to 3 inches (5 to 8 cm) deep, and place the crocus bulbs with their pointed ends facing up. Space the bulbs about 3 to 4 inches (7.5 to 10 cm) apart to give them room to grow.
- Cover and protect: Once the bulbs are planted, gently cover them with soil, ensuring that they are completely buried. Consider applying a layer of mulch, like straw or compost, to provide an added layer of protection against extreme temperature fluctuations.
- Mark the area: To keep track of the planted bulbs, mark the area with stakes or markers. This helps prevent accidentally digging in that area during other gardening tasks.
- Monitor and maintain: Throughout the storage period, periodically check the area to ensure that the soil is not overly saturated or excessively dry. Make adjustments as needed to maintain optimal moisture levels.
By storing crocus bulbs in the ground, you are harnessing the natural environment to provide the necessary conditions for their dormancy. This method can work well in regions with mild winters, where the bulbs are unlikely to be exposed to extreme cold temperatures.
Keep in mind that this method may not be suitable for areas with harsh winter conditions or where soil moisture fluctuates significantly. In such cases, it is better to choose an alternative storage method, like storing the bulbs in containers.
Tips for Maintaining Bulb Health During Storage
Proper storage is key to maintaining the health and vitality of your crocus bulbs during their storage period. Follow these tips to ensure your bulbs remain in optimal condition:
- Monitor humidity levels: Check the storage area regularly to ensure that humidity levels are neither too high nor too low. Excessive moisture can lead to bulb rot, while overly dry conditions can cause the bulbs to dry out. Aim for a moderate humidity level of around 50% to 60%.
- Avoid temperature extremes: Keep the storage area at a cool and consistent temperature. Avoid extreme temperature fluctuations or exposure to freezing temperatures, as this can damage the bulbs. Ideal temperatures range between 35°F (2°C) to 50°F (10°C).
- Prevent pest infestations: Monitor the storage area for any signs of pests, such as rodents or insects. Use natural pest deterrents or traps to prevent damage to the stored bulbs. Ensure containers are sealed tightly to prevent pest entry.
- Check for mold or rot: Regularly inspect your stored bulbs for any signs of mold, rot, or disease. If you spot any affected bulbs, remove them immediately to prevent the spread to other healthy bulbs.
- Avoid exposure to light: Crocus bulbs need a period of darkness during storage to maintain their dormancy. Ensure that the storage containers or area provide complete darkness to prevent premature sprouting or damage to the bulbs.
- Rotate storage containers: If you are storing bulbs in containers, periodically rotate the containers to ensure even air circulation and prevent any moisture buildup. This helps prevent the bulbs from sitting in damp conditions.
- Label and keep records: Keep track of the varieties, planting dates, and any other relevant information by labeling the storage containers or keeping a separate record. This will help you stay organized and ensure you can easily find and retrieve your bulbs when it’s time for planting.
By following these tips, you can ensure that your crocus bulbs remain healthy and in optimal condition during their storage period. Regular maintenance and attention to the storage environment are key to successful storage and future blooming.
Checking on Stored Bulbs
While crocus bulbs are in storage, it is essential to periodically check on their condition to ensure they remain healthy and viable. Here are some guidelines for checking on your stored bulbs:
- Inspect for signs of sprouting: Monitor the bulbs for any signs of early sprouting. If you notice shoots emerging from the bulbs, it may indicate that the storage conditions are not ideal. Adjust the temperature or lighting to prevent further sprouting.
- Check for mold or rot: Regularly inspect the stored bulbs for any signs of mold, rot, or disease. If you find any affected bulbs, remove them immediately to prevent the spread of problems to other healthy bulbs.
- Monitor moisture levels: Assess the moisture levels in the storage containers or area. If the storage medium appears excessively dry, you may need to add a small amount of moisture. Conversely, if it is too damp, adjust the ventilation and allow for better air circulation.
- Rotate the bulbs: If you are storing bulbs in containers, gently rotate the containers every few weeks. This helps ensure even exposure to air and prevents any flattening or distortion of the bulbs due to uneven pressure.
- Check for pest activity: Keep an eye out for any signs of pest activity, such as droppings or chewed leaves. If you spot any pests, take appropriate measures to eliminate them and prevent further damage to the stored bulbs.
- Record observations: Keep a record of the conditions and observations made during each check-up. This helps you track the progress and make any necessary adjustments to ensure the bulbs remain in optimal condition.
Regularly checking on your stored crocus bulbs allows you to catch any issues early on and make necessary adjustments to maintain their health. By staying proactive, you can ensure that your bulbs remain in excellent condition and are ready for a successful planting season.
Conclusion
Storing crocus bulbs properly is essential for preserving their health and ensuring successful growth in the future. By following the right steps and providing the optimal storage conditions, you can maintain the bulbs’ vitality and enhance their chances of producing beautiful blooms. Here’s a recap of the key points discussed in this article:
- Choose high-quality bulbs that are healthy and free from damage.
- Prepare the bulbs by cleaning, drying, and inspecting them for any issues.
- Select a suitable storage location with the right temperature, humidity, and air circulation.
- Store the bulbs in containers, using a well-draining storage medium, or in the ground if the climate permits.
- Maintain bulb health during storage by monitoring humidity levels, preventing temperature extremes, and checking for pests or diseases.
- Regularly check on the stored bulbs for sprouting, mold, rot, and adjust storage conditions as needed.
Remember, a successful storage period sets the stage for a flourishing crocus bulb garden in the future. By taking the time to store your bulbs properly, you ensure they have the best chance of thriving when the time for planting arrives.
Now that you have learned the essential steps and tips for storing crocus bulbs, you can confidently embark on preserving these beautiful spring-flowering bulbs. With proper care and attention, your stored crocus bulbs will reward you with stunning blossoms when the gardening season returns.
Frequently Asked Questions about How To Store Crocus Bulbs
Was this page helpful?
At Storables.com, we guarantee accurate and reliable information. Our content, validated by Expert Board Contributors, is crafted following stringent Editorial Policies. We're committed to providing you with well-researched, expert-backed insights for all your informational needs.

0 thoughts on “How To Store Crocus Bulbs”