Articles
How To Store Paperwhite Bulbs
Modified: October 20, 2024
Learn the best methods for storing paperwhite bulbs in this informative article. Ensure your bulbs remain healthy and ready for their next growing season.
(Many of the links in this article redirect to a specific reviewed product. Your purchase of these products through affiliate links helps to generate commission for Storables.com, at no extra cost. Learn more)
Introduction
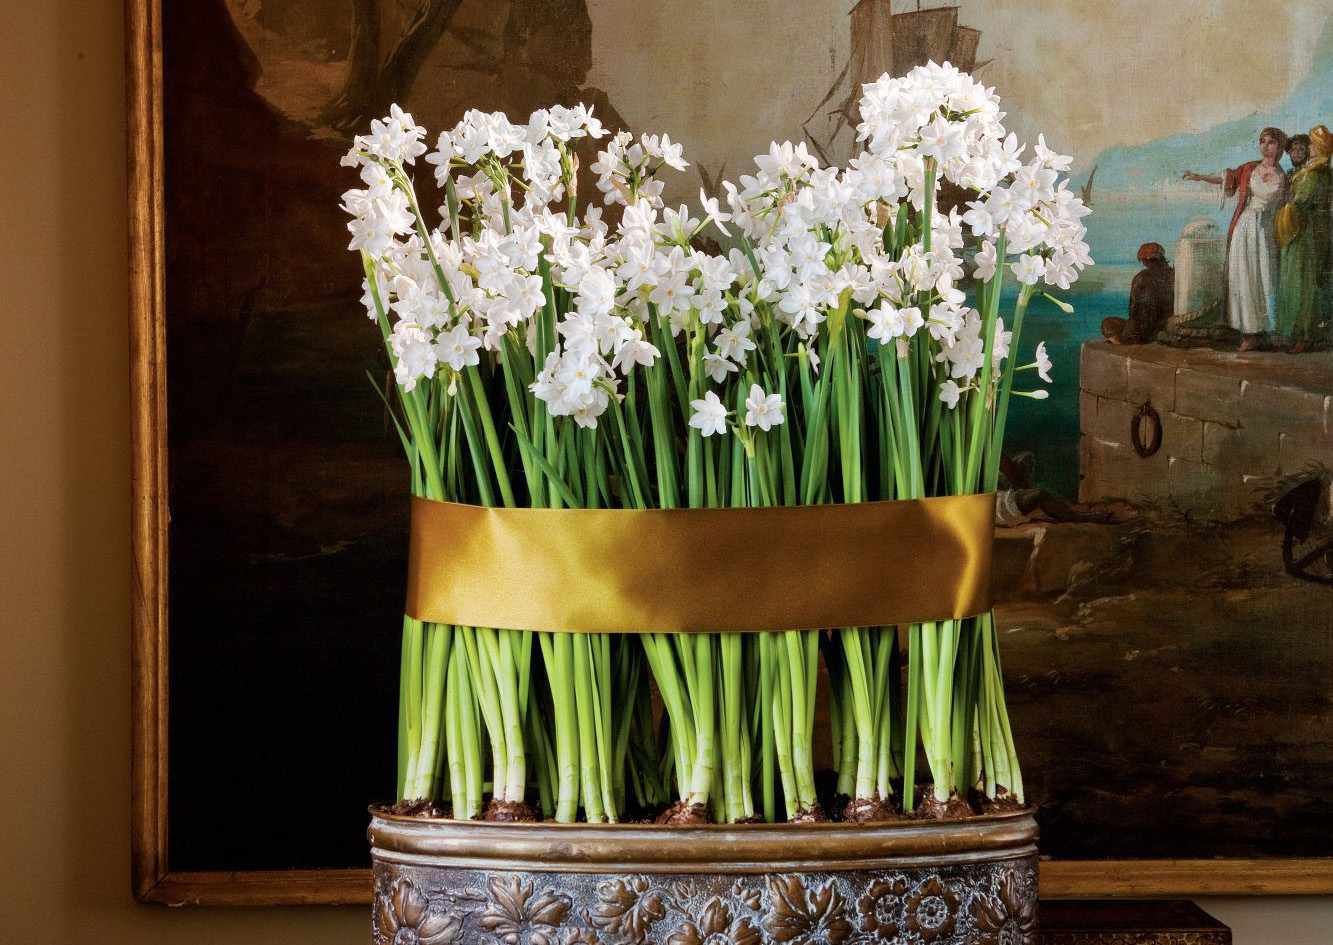
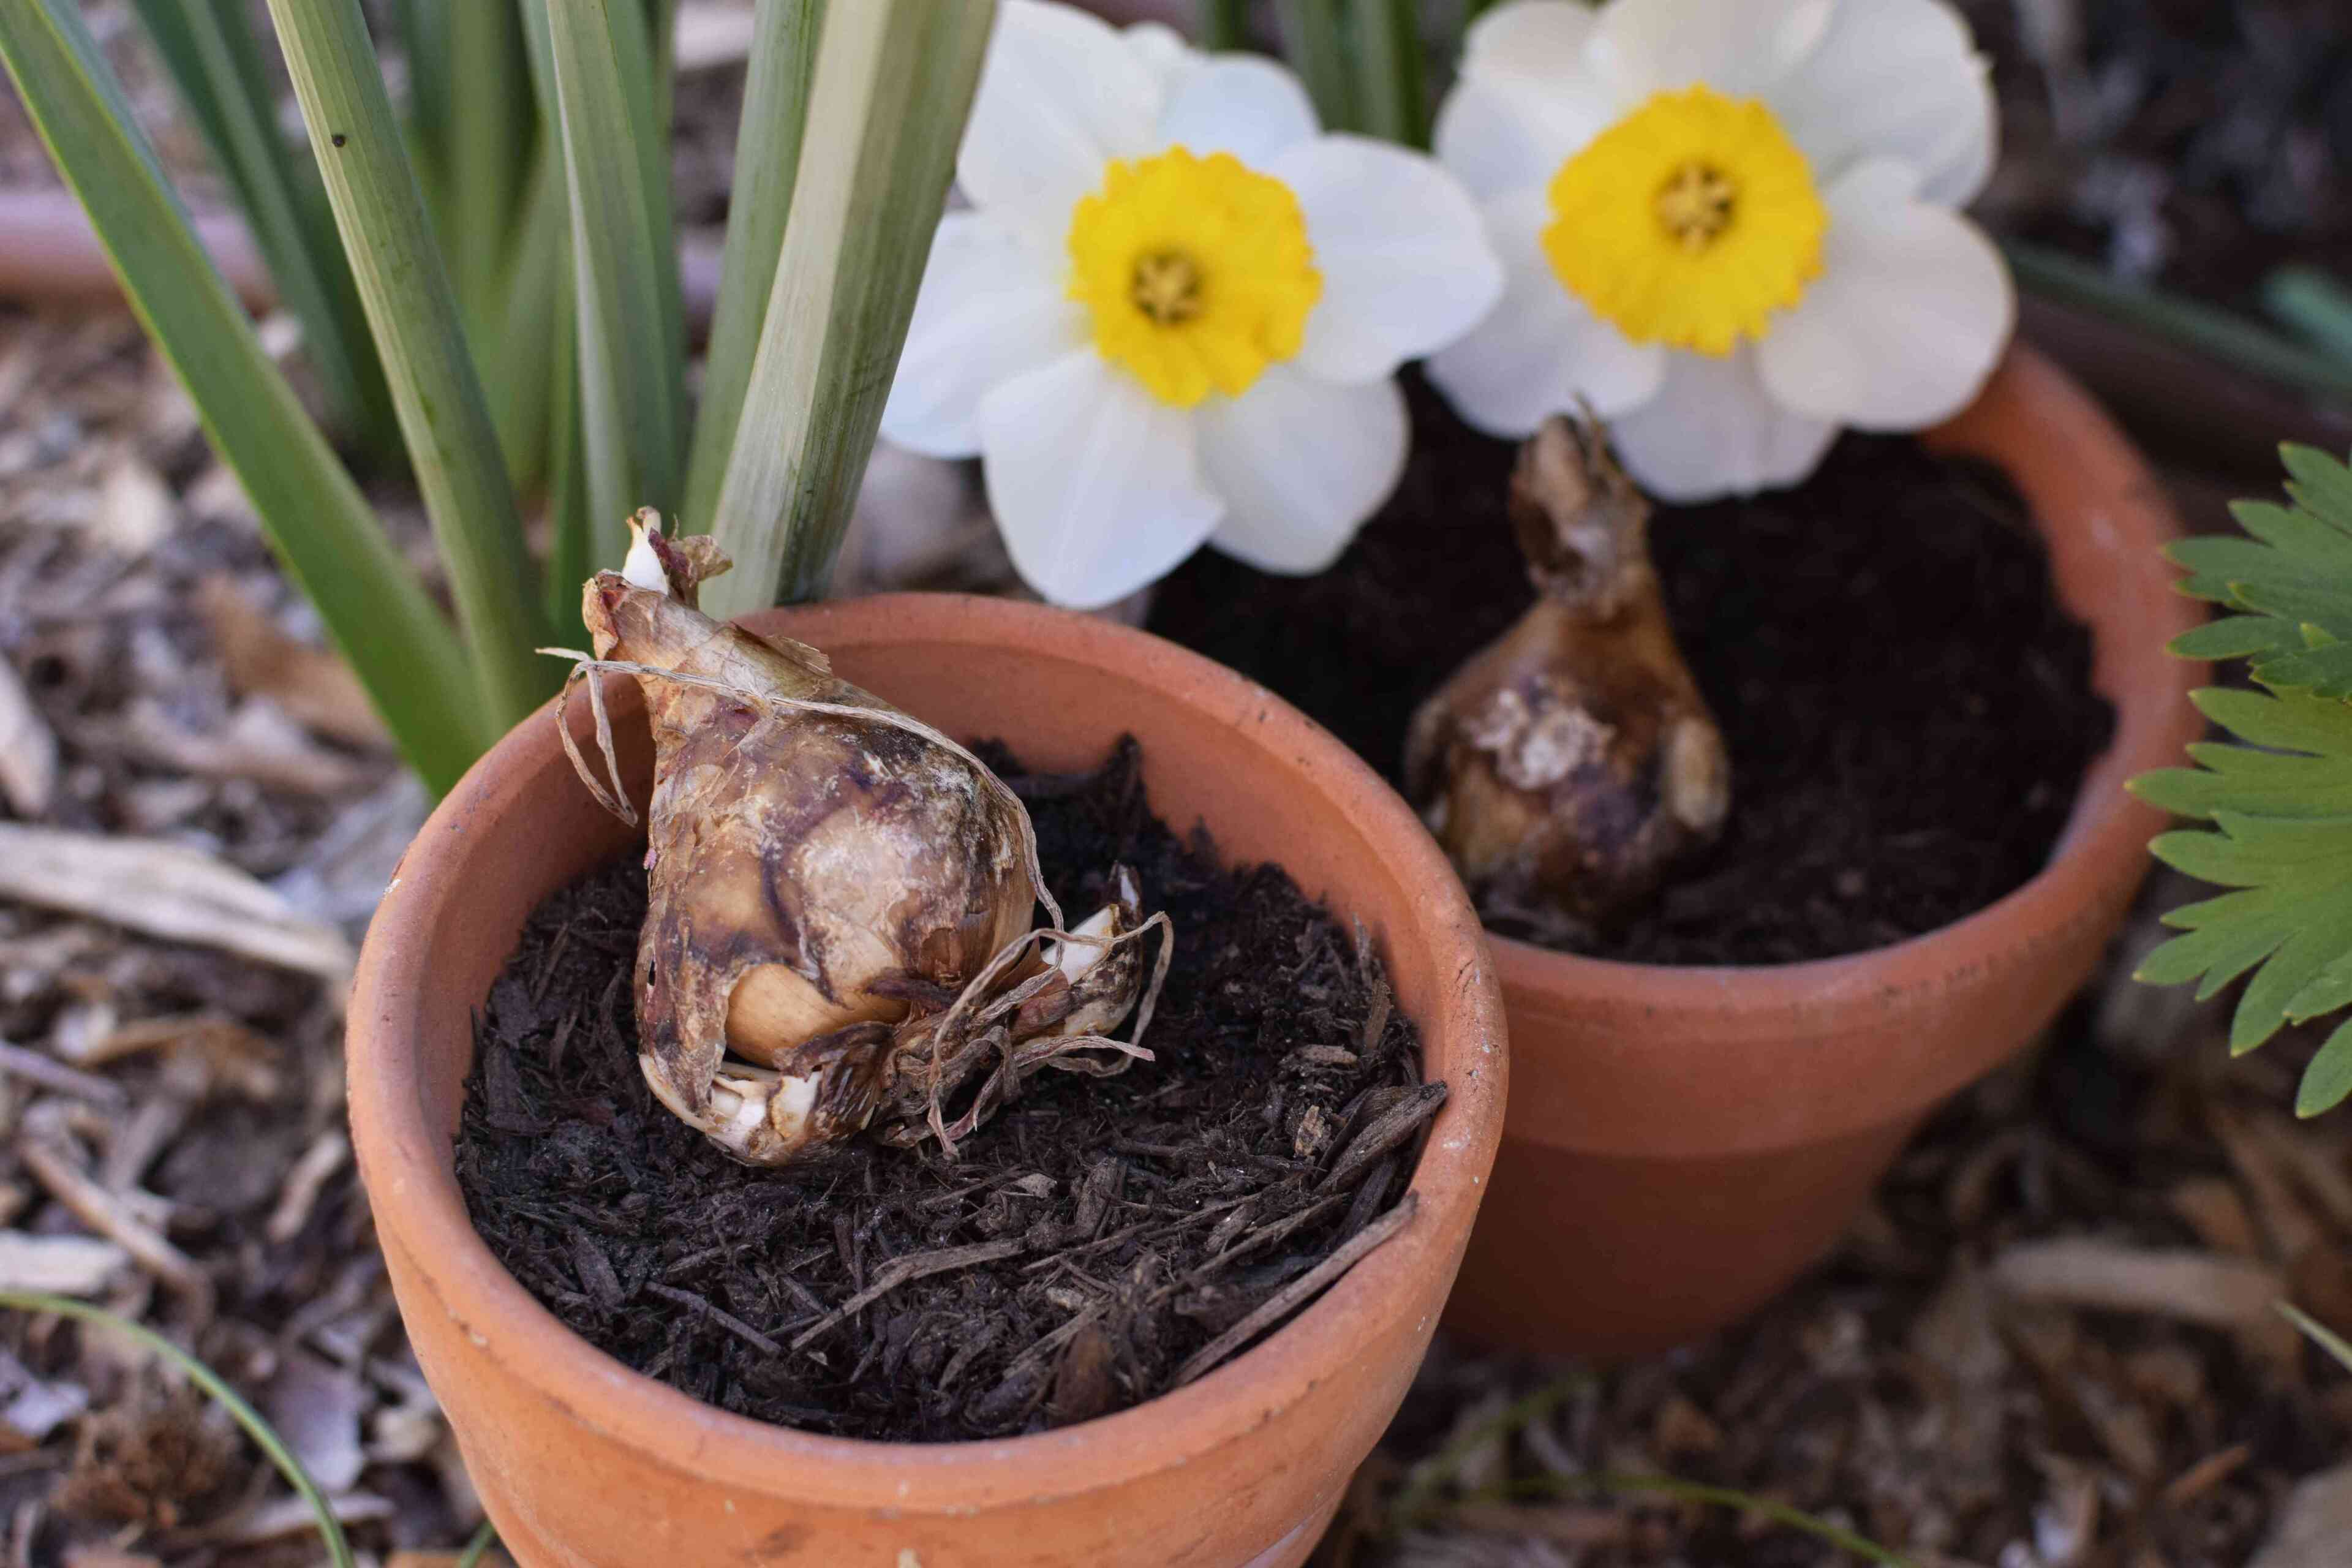
Storing paperwhite bulbs is essential for gardeners who want to enjoy their beautiful blooms year after year. These delicate flower bulbs, also known as Narcissus papyraceus, are a popular choice for indoor gardening due to their fragrant white flowers and easy-to-grow nature. Paperwhites are typically forced to bloom during the winter months, bringing a burst of color and fragrance to our homes during the colder seasons.
However, once the blooming season is over, it’s important to store the paperwhite bulbs properly to ensure their health and vitality for the following year. This article will guide you through the process of selecting, preparing, and storing paperwhite bulbs to maximize their long-term viability and blooming potential.
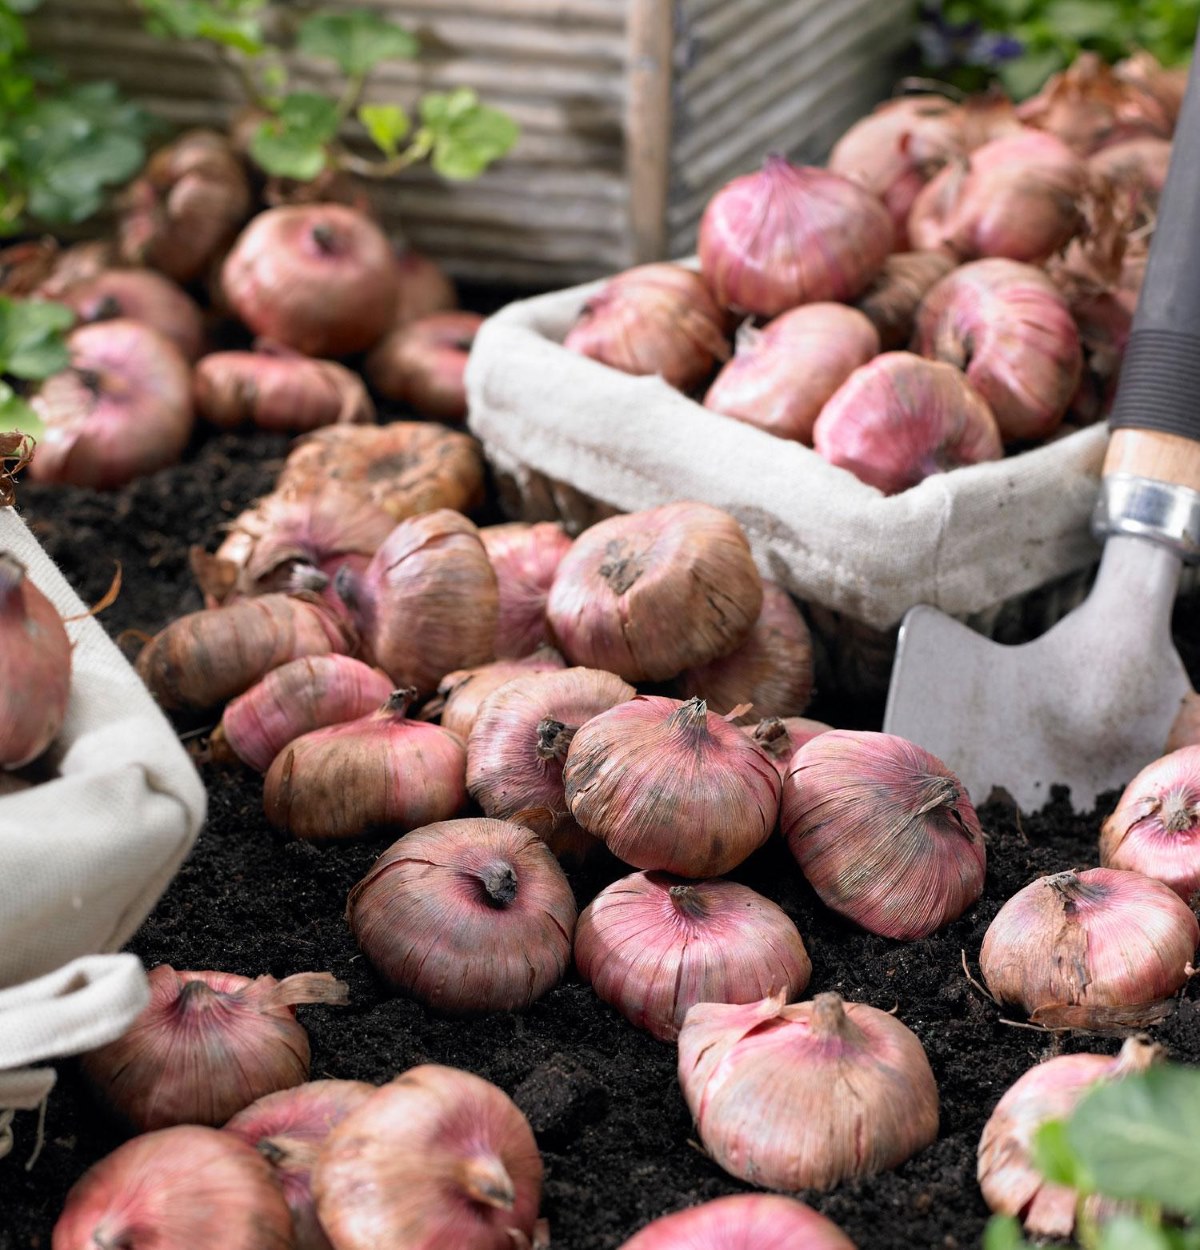
Selecting high-quality paperwhite bulbs is the first step in successful storage. Look for bulbs that are firm and plump, indicating their freshness. Avoid bulbs that are soft or show signs of damage, as they may not be viable for future growth. Choose bulbs of a decent size, as larger bulbs tend to produce more robust flowers.
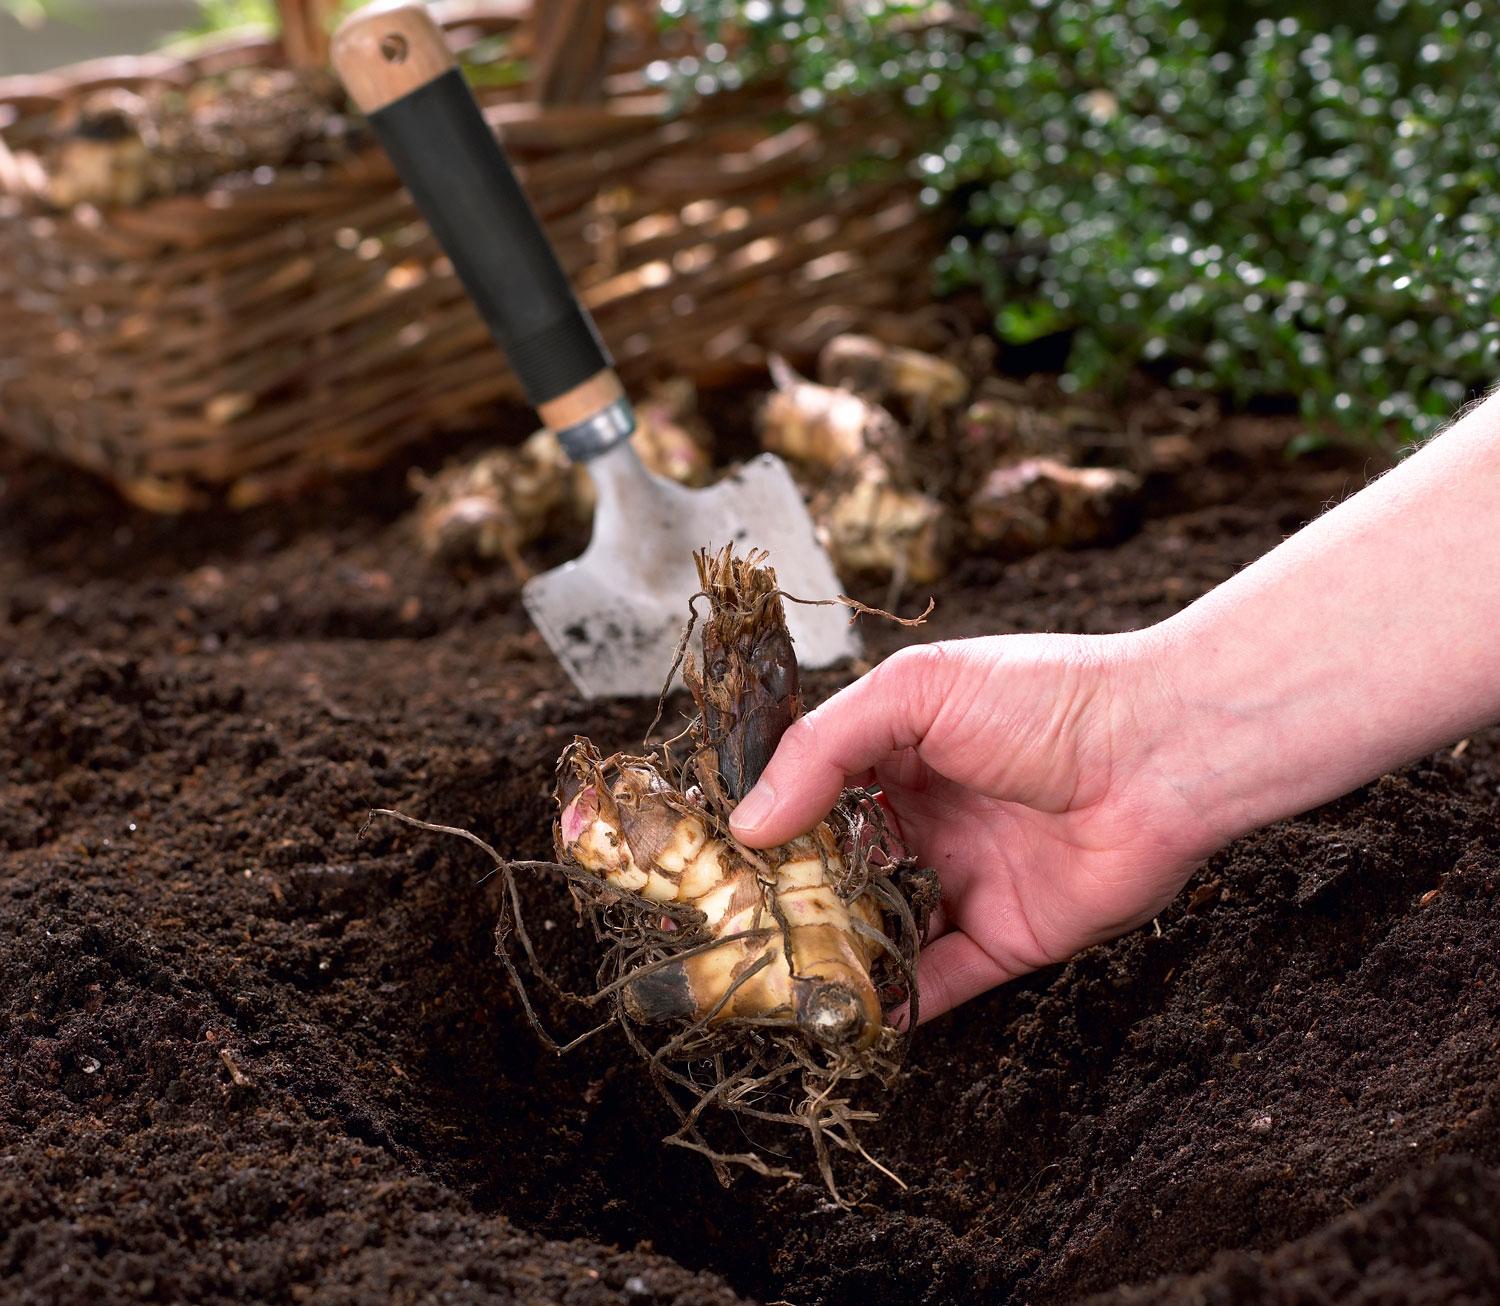
Once you have selected your paperwhite bulbs, it’s important to prepare them for storage. Start by gently removing any excess soil or debris from the bulbs. Be careful not to remove or damage the papery outer skin of the bulbs, as it helps to protect them during storage. You can lightly brush off any loose dirt or use a soft cloth to wipe them clean.
Now that your paperwhite bulbs are clean and ready, it’s time to choose an appropriate storage location. The ideal storage area for paperwhite bulbs is cool and dry, with a temperature range between 40 to 50 degrees Fahrenheit (4 to 10 degrees Celsius). A basement or an unheated garage can be suitable storage spaces, as long as they meet these conditions.
When it comes to storing paperwhite bulbs, it’s crucial to choose the right containers. Opt for breathable containers like paper bags or mesh bags, rather than sealed plastic bags or airtight containers. This allows for proper air circulation, preventing moisture buildup and potential rot. Alternatively, you can also use shallow trays or wooden crates lined with newspaper or paper towels.
Place the paperwhite bulbs in the chosen containers, ensuring that they are not touching each other. This helps prevent the spread of any potential diseases or rot. Label the containers with the bulb variety or date of storage for easy identification later on.
Key Takeaways:
- Proper storage of paperwhite bulbs is crucial for future blooms. Select high-quality bulbs, prepare them carefully, and store in a cool, dry environment to ensure their health and vitality.
- Prevent pest infestation, monitor humidity levels, and revive stored bulbs before planting to enjoy beautiful, fragrant blooms year after year.
Read more: How To Store Light Bulbs
Selecting Paperwhite Bulbs
Selecting high-quality paperwhite bulbs is crucial for successful storage and future blooms. When choosing paperwhite bulbs, there are a few key factors to consider.
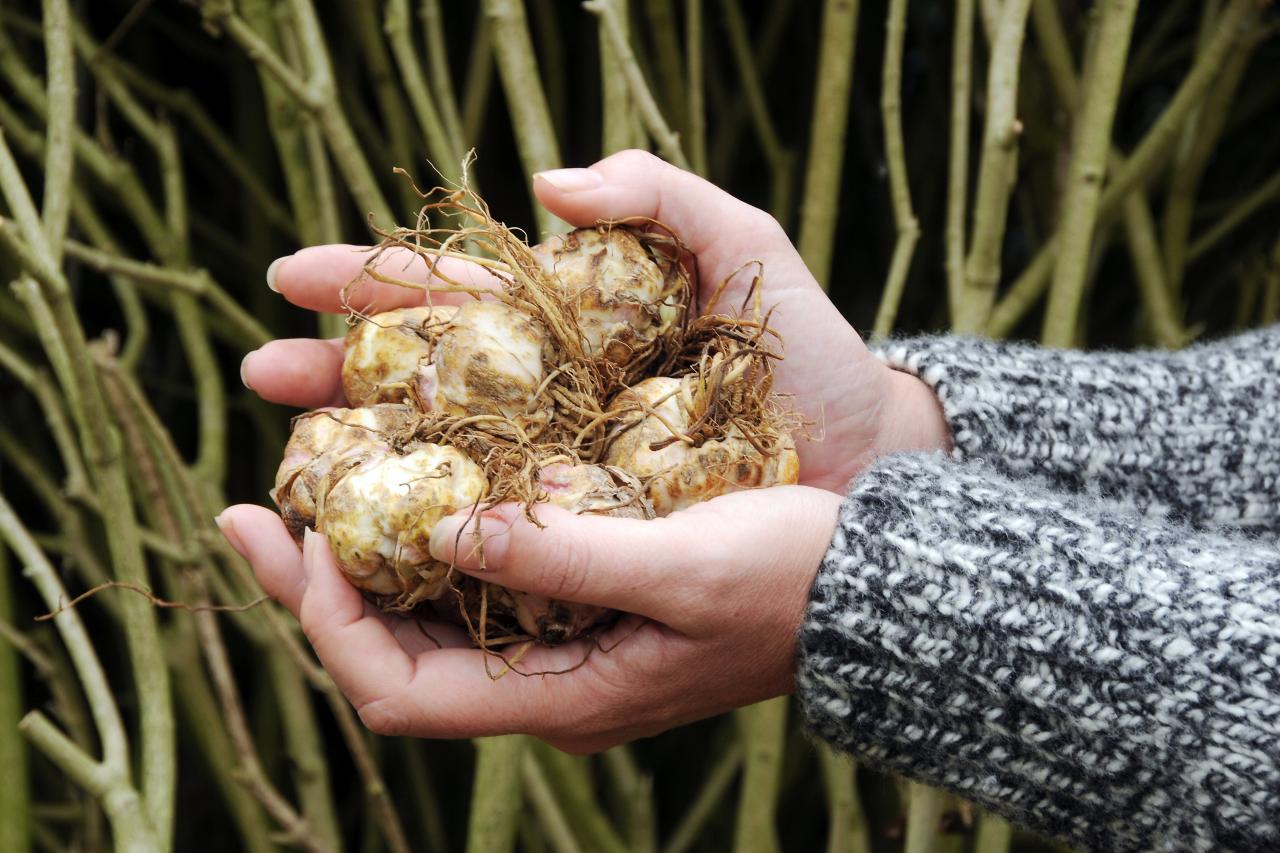
First and foremost, look for bulbs that are firm and plump. Squeeze the bulbs gently to ensure they are not soft or mushy, as this may indicate rot or disease. Bulbs should feel solid and have a healthy weight to them.
Size is another important factor to consider. Larger bulbs often produce more vigorous blooms, so opt for bulbs that are a decent size. However, keep in mind that the flowering stems of paperwhite bulbs can be top-heavy, so overly large bulbs may require extra support during the blooming period.
Aside from size and firmness, it’s also essential to check the condition of the bulb’s outer skin. Paperwhite bulbs have a papery outer layer that protects the inner layers from damage. Look for bulbs with intact, unblemished skin and avoid bulbs with any signs of damage or decay.
Additionally, consider the variety of paperwhite bulbs you are selecting. There are different varieties available, each with its unique characteristics, such as bloom color, fragrance, and growth habit. Choose a variety that appeals to your preferences and fits well with your indoor or outdoor gardening plans.
If possible, purchase paperwhite bulbs from a reputable supplier or nursery. This ensures that the bulbs have been handled properly and are of good quality. Buying bulbs in person also allows you to inspect them firsthand and select the best ones for storage.
Remember that paperwhite bulbs are living organisms, and their inherent vitality and health greatly influence their potential for successful storage and future blooms. By selecting high-quality bulbs, you set the stage for a thriving and beautiful paperwhite display in the seasons to come.
Preparing Paperwhite Bulbs for Storage
Before storing paperwhite bulbs, it is important to properly prepare them to ensure their health and viability during the storage period. These steps will help to protect the bulbs from disease and damage, increasing their chances of successfully regrowing and blooming in the future.
Start by gently removing any excess soil or debris from the bulbs. Use your hands or a soft brush to lightly brush off any loose dirt, taking care not to damage the delicate outer skin of the bulbs. Inspect each bulb for any signs of damage or decay, and discard any bulbs that appear soft, moldy, or shriveled.
Next, it can be beneficial to soak the paperwhite bulbs in a solution of 10% bleach and 90% water for approximately 10 minutes. This helps to disinfect the bulbs, minimizing the risk of disease or pests during storage. After the soaking period, rinse the bulbs thoroughly with clean water to remove any traces of bleach.
Once the bulbs are clean and disinfected, allow them to air dry for a few hours. Lay them out in a single layer on a clean, dry surface where they can dry completely. Avoid placing them in direct sunlight, as this can cause the bulbs to overheat and potentially become damaged.
While the bulbs are drying, take the opportunity to inspect them once again. Look for any signs of damage, rot, or disease. Remove any loose or damaged outer layers, being careful not to peel away healthy skin. This will help to eliminate potential sources of infection or decay before storing the bulbs.
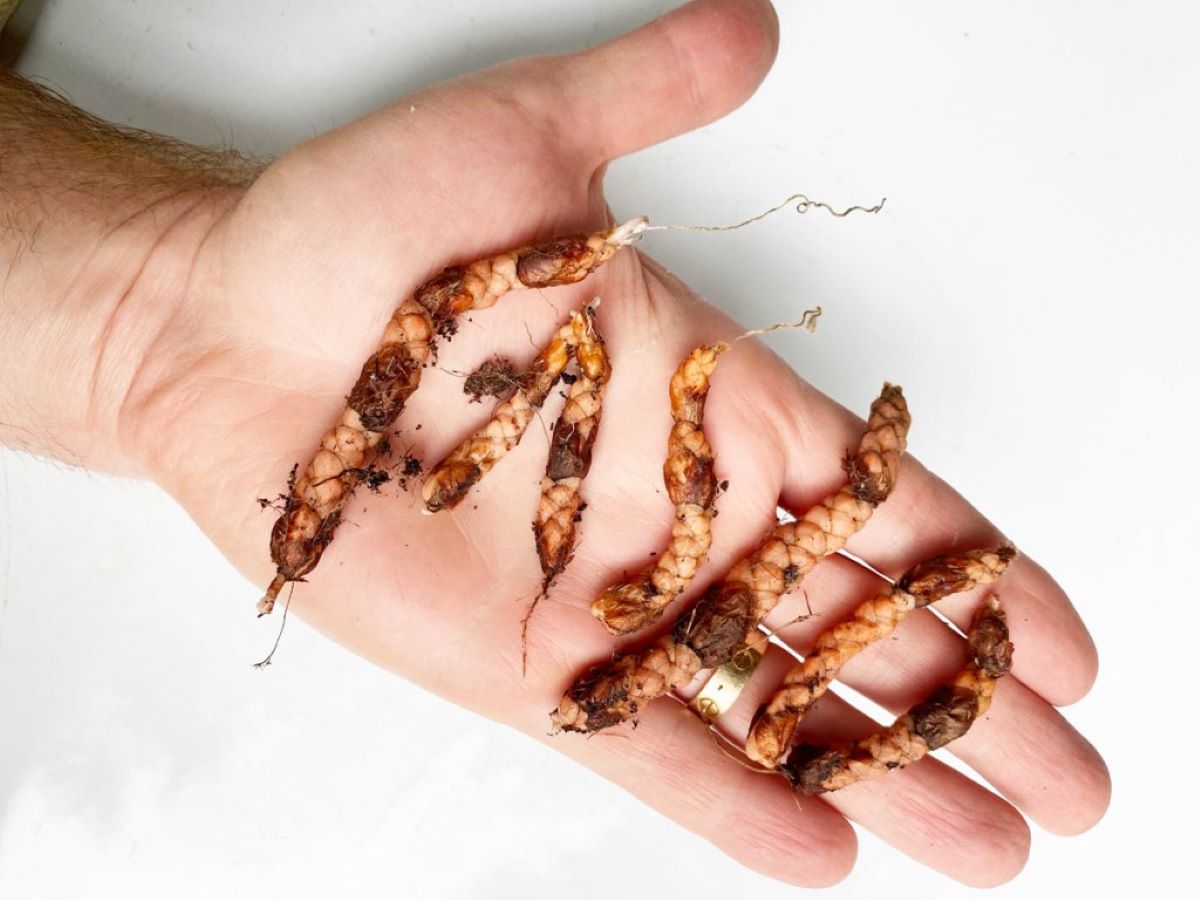
If you notice any bulbs with offsets or small bulblets attached, they can be gently separated from the main bulb. This will allow each individual bulb to grow and bloom independently during the next growing season. Be cautious during this process to avoid injuring the bulbs or damaging their roots.
Once the bulbs are dry and inspected, they are ready for storage. It is important to handle the bulbs with care during the storage process to prevent any damage. Place the bulbs in a container, making sure they are not touching each other. Label the container with the variety or date of storage for easy identification later on.
By properly preparing paperwhite bulbs for storage, you are setting them up for success in the seasons to come. These steps help to ensure the bulbs remain healthy and viable, providing you with beautiful blooms when the time comes to replant them.
Choosing the Right Storage Location
Selecting the right storage location for your paperwhite bulbs is crucial to maintaining their health and viability during the storage period. The storage environment plays a significant role in preventing bulb rot, disease, and premature sprouting, ensuring that the bulbs remain in their dormant state until they are ready to be planted.
The ideal storage location for paperwhite bulbs is cool and dry, with a consistent temperature range between 40 to 50 degrees Fahrenheit (4 to 10 degrees Celsius). This temperature range helps to keep the bulbs in a state of dormancy and prevents premature growth. Great storage options include basements, unheated garages, or crawl spaces, as long as they maintain the desired temperature range.
It is important to avoid storing the bulbs in areas that are prone to extreme temperature fluctuations, such as attics or areas near heating sources. These fluctuations can disrupt the bulbs’ natural dormancy cycle and may cause them to sprout prematurely or become damaged.
Furthermore, the storage location should also be dry, with low humidity levels. Excess moisture can lead to bulb rot and fungal growth, which can be detrimental to the health of the bulbs. Avoid storing the bulbs in areas that are prone to dampness or humidity, such as basements with water leaks or rooms with high moisture levels, like bathrooms.
If you live in an area with high humidity, you may want to consider using a dehumidifier in the storage space. This will help to control and reduce the moisture levels, creating an environment that is less conducive to fungal growth and bulb decay.
Additionally, it is crucial to protect the bulbs from exposure to direct sunlight. Sunlight can cause the bulbs to heat up, potentially leading to damage and early sprouting. Choose a storage location away from windows or areas with direct sunlight to ensure the bulbs remain cool and in their dormant state.
When selecting a storage location, keep in mind that air circulation is also important. Good ventilation helps to prevent the buildup of moisture and allows fresh air to circulate around the bulbs, maintaining their freshness and reducing the risk of rot.
By choosing the right storage location, you create an environment that promotes the long-term storage of paperwhite bulbs. The cool, dry, and well-ventilated space will help to preserve the bulbs and ensure their vitality when it’s time to plant them for their next glorious bloom.
Proper Storage Containers for Paperwhite Bulbs
Choosing the right storage containers for your paperwhite bulbs is essential to maintain their quality and viability during the storage period. The containers you select should provide adequate protection while allowing for proper air circulation, preventing moisture buildup and potential rot. Here are some options for suitable storage containers for your paperwhite bulbs.
1. Breathable Bags
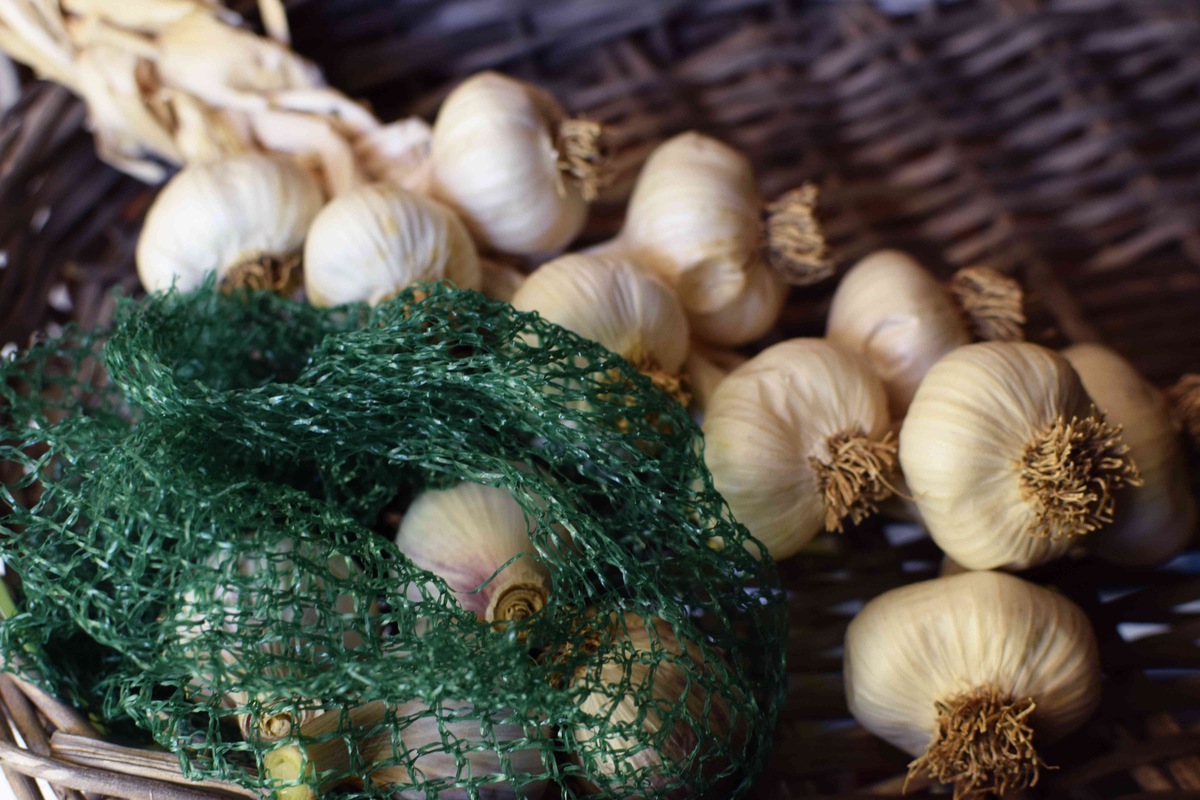
One of the best options for storing paperwhite bulbs is to use breathable bags made of materials like paper or mesh fabric. These bags allow for air circulation, which helps to prevent moisture buildup and keeps the bulbs dry. Paper bags are a cost-effective option, as they can often be found at home or in grocery stores. Mesh bags, on the other hand, provide better visibility and can be reused for multiple storage seasons.
2. Shallow Trays
Shallow trays are another suitable option for storing paperwhite bulbs. Choose trays that are wide enough to accommodate the bulbs without crowding them. Line the trays with newspaper or paper towels to provide a cushioning layer and absorb any excess moisture. Place the bulbs in a single layer, ensuring that they do not touch each other, to prevent the spread of any potential diseases or rot.
3. Wooden Crates
Wooden crates lined with newspaper or paper towels can also be used as storage containers for paperwhite bulbs. The natural material allows for better air circulation than plastic containers, reducing the risk of moisture buildup. Make sure to choose crates that are clean and dry, and label them for easy identification.
4. Perforated Plastic Containers
If you prefer using plastic containers, opt for those that are perforated or have ventilation holes. These containers allow for some airflow while still providing protection. Make sure to select containers that are clean and dry before storing the bulbs. Label the containers with the variety or date of storage for easy identification later on.
Regardless of the type of container you choose, it is important to ensure that it is clean and free of any dirt or debris. This helps to prevent the introduction of any potential pathogens or pests that can damage the bulbs during storage.
Remember to place an identification label on each container, indicating the variety or date of storage. This will help you keep track of your stored bulbs and make it easier to locate specific varieties when it’s time to plant them.
By using the proper storage containers, you can maintain the health and viability of your paperwhite bulbs, ensuring that they are in prime condition for their next blooming season.
Read more: How To Store Crocus Bulbs
Storing Paperwhite Bulbs in a Cool and Dry Environment
Providing a cool and dry environment is crucial when it comes to successfully storing paperwhite bulbs. By keeping the bulbs in optimal conditions, you can ensure their health and longevity, setting them up for future blooming success. Here are some key steps to follow when storing paperwhite bulbs in a cool and dry environment.
1. Temperature Control
Maintain a consistent storage temperature for your paperwhite bulbs between 40 to 50 degrees Fahrenheit (4 to 10 degrees Celsius). This cool temperature range helps to keep the bulbs in their dormant state and prevents premature sprouting. Choose a storage location with a regulated temperature, such as a basement, unheated garage, or cellar. Avoid areas prone to extreme temperature fluctuations, as this can disrupt the bulbs’ natural dormancy cycle.
2. Air Circulation
Ensuring proper air circulation is vital during the storage period. Good ventilation helps to prevent the buildup of moisture and helps keep the bulbs dry. Avoid sealing the bulbs in airtight containers or plastic bags, as this can trap moisture and lead to rot. Instead, opt for breathable storage containers like paper bags or mesh bags, which allow air to circulate around the bulbs.
3. Lighting Conditions
Keep the stored paperwhite bulbs away from direct sunlight. Exposure to sunlight can lead to bulblet heat and damage, causing premature sprouting. Place the storage containers in a dark or dimly lit area, such as a closet or storage cabinet. This will ensure that the bulbs remain in their dormant state and are protected from light-induced growth.
4. Humidity Control
Maintaining low humidity levels is essential for storing paperwhite bulbs. Excessive moisture can lead to bulb rot and fungal growth, which can be detrimental to their health. Choose a storage location that is dry and has low humidity, such as a basement or cellar with good airflow. If you live in a region with high humidity, consider using a dehumidifier in the storage area to regulate the moisture levels.
5. Regular Monitoring
Check on your stored paperwhite bulbs periodically to ensure their condition and make any necessary adjustments. Inspect the bulbs for signs of rot, mold, or disease. Remove any bulbs that show signs of damage or decay to prevent the spread of infection. If possible, gently turn the bulbs or shift their position to promote even air circulation and prevent any potential pressure points.
By storing paperwhite bulbs in a cool and dry environment, you provide the optimal conditions for their dormancy and long-term viability. These ideal storage conditions ensure that the bulbs stay healthy and are ready to produce beautiful blooms when the time comes to plant them.
Store paperwhite bulbs in a cool, dark, and well-ventilated place, such as a paper bag or mesh bag, to prevent them from sprouting prematurely. Keep them away from moisture and extreme temperatures.
Monitoring Humidity Levels During Storage
Proper humidity control is crucial when storing paperwhite bulbs to ensure their health and prevent issues like rot or mold growth. Monitoring and maintaining appropriate humidity levels will contribute to the longevity and success of your stored bulbs. Here are some steps to effectively monitor humidity levels during storage.
1. Use a Hygrometer
A hygrometer is an essential tool for measuring humidity levels in your storage area. Place a hygrometer near the bulbs or at a central point in the storage space to get an accurate reading of the humidity. This device will help you monitor and maintain the ideal humidity range for paperwhite bulbs, which should be around 50% relative humidity.
2. Keep an Eye on Condensation
Condensation on the surfaces of your storage containers or on the bulbs themselves can indicate excessive humidity levels. If you notice condensation forming, it is a sign that the humidity is too high, and you need to take steps to reduce it. Wipe away any condensation and consider adjusting the ventilation or using a dehumidifier to reduce humidity levels.
3. Ventilation and Air Circulation
Proper ventilation and air circulation play a vital role in controlling humidity levels. Ensure that your storage area has adequate airflow to prevent stagnant moisture from accumulating. Consider using fans or opening windows periodically to bring in fresh air and promote air circulation. This will help prevent high humidity and reduce the risk of mold or rot.
If your storage space tends to have high humidity levels, using a dehumidifier can be an effective solution. Dehumidifiers extract excess moisture from the air, helping to maintain a more suitable humidity level. Set the dehumidifier to the recommended range, usually around 50% relative humidity, and ensure that it is regularly maintained and emptied as needed.
5. Silica Gel Packets
Another option to control humidity levels is to use silica gel packets, commonly found in packaging for various items. These packets help absorb moisture and can be placed near the bulbs in the storage containers. However, be cautious when using silica gel packets to avoid direct contact with the bulbs, as they can cause drying out if in direct contact for an extended time.
6. Regular Monitoring
Regularly check and monitor the humidity levels in your storage area to ensure they remain within the optimal range. Make adjustments as necessary, such as increasing ventilation or using a dehumidifier, to maintain a suitable environment for the bulbs.
By actively monitoring and controlling the humidity levels during storage, you can prevent moisture-related issues and maintain the health of your paperwhite bulbs. This attention to humidity ensures that the bulbs remain in optimal condition for planting and allows for beautiful blooms when the time comes.
Preventing Pest Infestation During Storage
When storing paperwhite bulbs, it’s crucial to protect them from potential pest infestation. Insects, rodents, and other pests can cause significant damage to the bulbs during storage, jeopardizing their viability for future growth. Here are some effective measures to prevent pest infestation during the storage period.
1. Clean Storage Area
Before placing your paperwhite bulbs in storage, ensure that the storage area is clean and free from any potential food sources or debris that may attract pests. Remove any traces of spilled food, residues, or trash. Clean the storage space thoroughly to eliminate any existing pest populations or eggs.
2. Seal Entry Points
Inspect the storage area for any gaps, cracks, or openings that pests could use to enter. Seal any holes or crevices using caulk, weather stripping, or other appropriate materials. Pay close attention to areas around windows, doors, vents, and utility pipes. By sealing entry points, you can significantly reduce the chances of pests infiltrating the storage space.
3. Choose Pest-Resistant Containers
Selecting pest-resistant storage containers can provide an additional layer of protection for your paperwhite bulbs. Opt for containers made of durable and sturdy material, such as hard plastic or metal, that pests cannot easily chew through or access. Ensure that the containers have tight-fitting lids or covers to prevent pests from getting inside.
4. Use Natural Pest Deterrents
Consider using natural pest deterrents to discourage pests from approaching your stored bulbs. Some effective options include placing cedar chips or cedar balls near the containers, as pests tend to dislike the scent of cedar. Alternatively, you can use sachets filled with dried herbs known to repel pests, such as lavender, rosemary, or mint.
5. Regular Inspection
Regularly inspect your stored paperwhite bulbs for any signs of pest activity. Look for evidence such as droppings, chewed containers, or damaged bulbs. If you notice any signs of pests, take immediate action to address the issue. Remove and dispose of any infested bulbs and clean and disinfect the storage area to prevent further infestation.
6. Consider Chemical-Free Pest Control
If you prefer to avoid the use of chemicals, there are natural and chemical-free pest control options available. For example, you can use sticky traps or pheromone-based traps specific to the pests you are concerned about. These traps can help capture and control pests without posing a risk to your stored bulbs or the environment.
By taking these preventive measures, you can significantly reduce the risk of pest infestation during the storage of your paperwhite bulbs. Ensuring a pest-free storage environment will help keep your bulbs healthy and ready for planting when the time comes, yielding beautiful blooms for you to enjoy.
Checking Stored Paperwhite Bulbs for Viability
Checking the viability of stored paperwhite bulbs is an important step before planting them to ensure that they are healthy and capable of producing beautiful blooms. Here are some tips to help you assess the viability of your stored bulbs.
1. Bulb Firmness
One of the first signs to look for when checking the viability of paperwhite bulbs is their firmness. Gently squeeze the bulbs, and they should feel firm and solid. If a bulb feels soft, mushy, or gives in easily to pressure, it may indicate rot or decay, and it is unlikely to be viable for planting. Discard any bulbs that have lost their firmness.
2. Visible Damage
Inspect the bulbs for any signs of visible damage, such as mold, rot, or physical injuries. If you notice discoloration, darker spots, or areas that appear soft or mushy, it is an indication that the bulb is damaged or diseased. Remove any bulbs with visible damage to prevent the spread of infection to other healthy bulbs.
3. Shoot Emergence
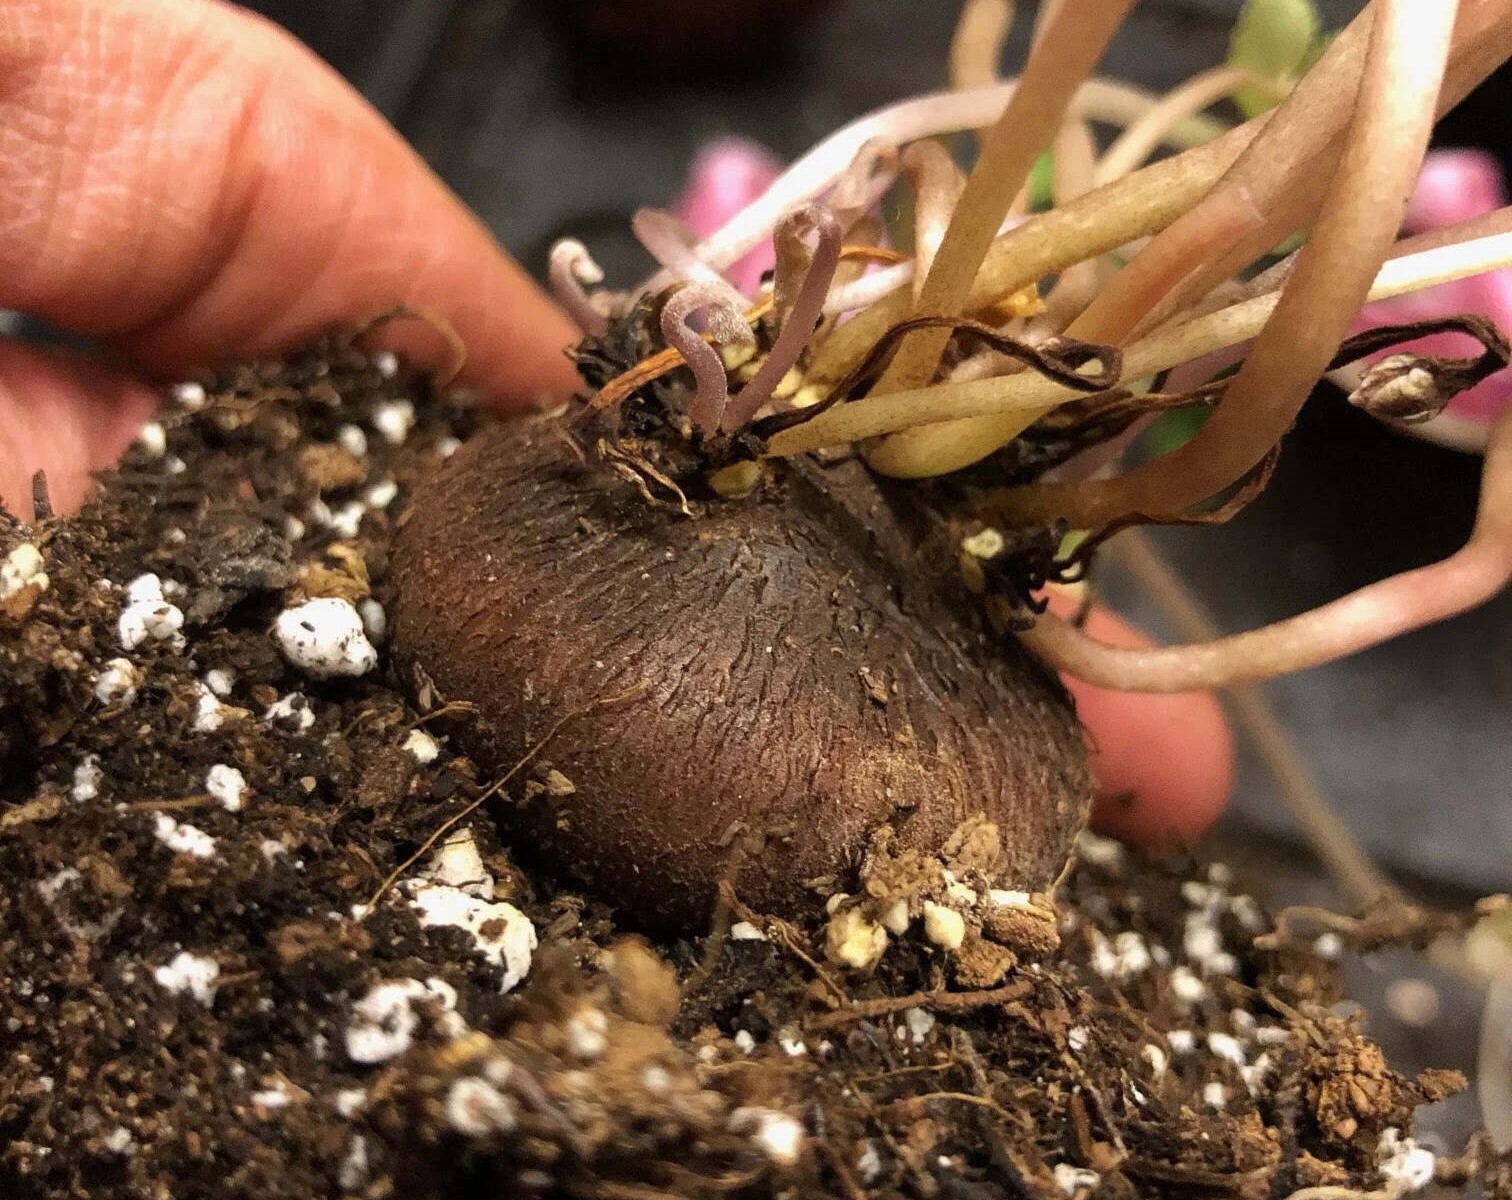
Check for any signs of shoots or green growth on the bulbs. Sprouting or emerging shoots indicate that the bulbs are breaking dormancy and starting to grow. If stored bulbs have started to sprout, they are viable and can be planted for future growth and blooming. However, be cautious when handling sprouted bulbs as their shoots are delicate.
4. Bulb Weight
Comparing the weight of stored bulbs can also offer insights into their viability. Healthy bulbs should feel relatively heavy for their size. If a bulb feels significantly lighter than it should, it may have shriveled or dried out, indicating poor health or viability. Opt for bulbs that still have a decent weight to ensure their potential for robust growth.
5. Inspecting Bulb Layers
Take a closer look at the layers or scales of the bulb. They should be intact, firmly attached, and not peeling or flaking off excessively. Bulbs with damaged, loose, or missing scales may struggle to grow properly and yield healthy blooms. Choose bulbs with well-preserved and tight layers.
6. Smell Test
Sometimes, a foul or unusual odor can indicate bulb decay or infection. Give the bulbs a gentle sniff and discard any that emit a strong, unpleasant smell. Healthy bulbs should not have a noticeable odor.
By following these steps and checking the stored paperwhite bulbs for viability, you can ensure that you only plant healthy and viable bulbs, maximizing your chances of a successful bloom. Removing any damaged or unhealthy bulbs before planting will help protect the other bulbs and promote the growth of vibrant and beautiful paperwhite flowers.
Read more: How To Store Iris Bulbs
Reviving Stored Paperwhite Bulbs for Planting
Reviving stored paperwhite bulbs is a crucial step before planting them to promote healthy growth and ensure optimal blooming. Here are some important steps to follow when preparing your stored bulbs for planting.
1. Hydration
Before planting, it’s important to rehydrate the stored paperwhite bulbs. Place the bulbs in a bowl or container filled with lukewarm water. Allow them to soak for about 4 to 6 hours, ensuring that the water covers the base of the bulbs. This rehydrates the bulbs and prepares them for the growth process.
2. Proper Drainage
After soaking, ensure that the bulbs are well-drained by allowing excess water to drain away. Use a colander or place the bulbs on a tray lined with paper towels to absorb any residual moisture. Proper drainage is important to prevent rot or fungal diseases.
3. Preparing Planting Medium
Select a well-draining planting medium for your paperwhite bulbs. A popular option is to use a mix of one part potting soil and one part sand or vermiculite. This blend provides good drainage while retaining the necessary moisture for root development.
4. Planting Depth and Spacing
Plant the paperwhite bulbs approximately 2 to 3 inches deep in the planting medium, with the pointed side facing upward. Ensure that there is enough spacing between bulbs, typically about 2 to 3 inches apart, to allow for proper root and shoot development. Crowded bulbs can compete for nutrients and lead to poor growth.
5. Watering and Care
After planting, water the bulbs thoroughly to settle the soil around them. Maintain consistent moisture in the soil without overwatering, as excessive moisture can lead to bulb rot. Water the bulbs whenever the top inch of soil feels dry to the touch, ensuring that the soil is evenly moist but not waterlogged.
6. Provide Adequate Light
Place the planted bulbs in a location that receives bright, indirect light. Avoid direct sunlight, as it can cause the bulbs to overheat. A sunny windowsill or a well-lit room is usually an ideal spot for paperwhite bulbs to thrive.
7. Support for Top-Heavy Blooms
As the paperwhite bulbs grow and produce blooms, they may become top-heavy and require support. Use stakes or decorative supports to keep the stems upright and prevent bending or breaking. This will ensure that the blooms are displayed to their full potential.
8. Watch for Growth and Blooming
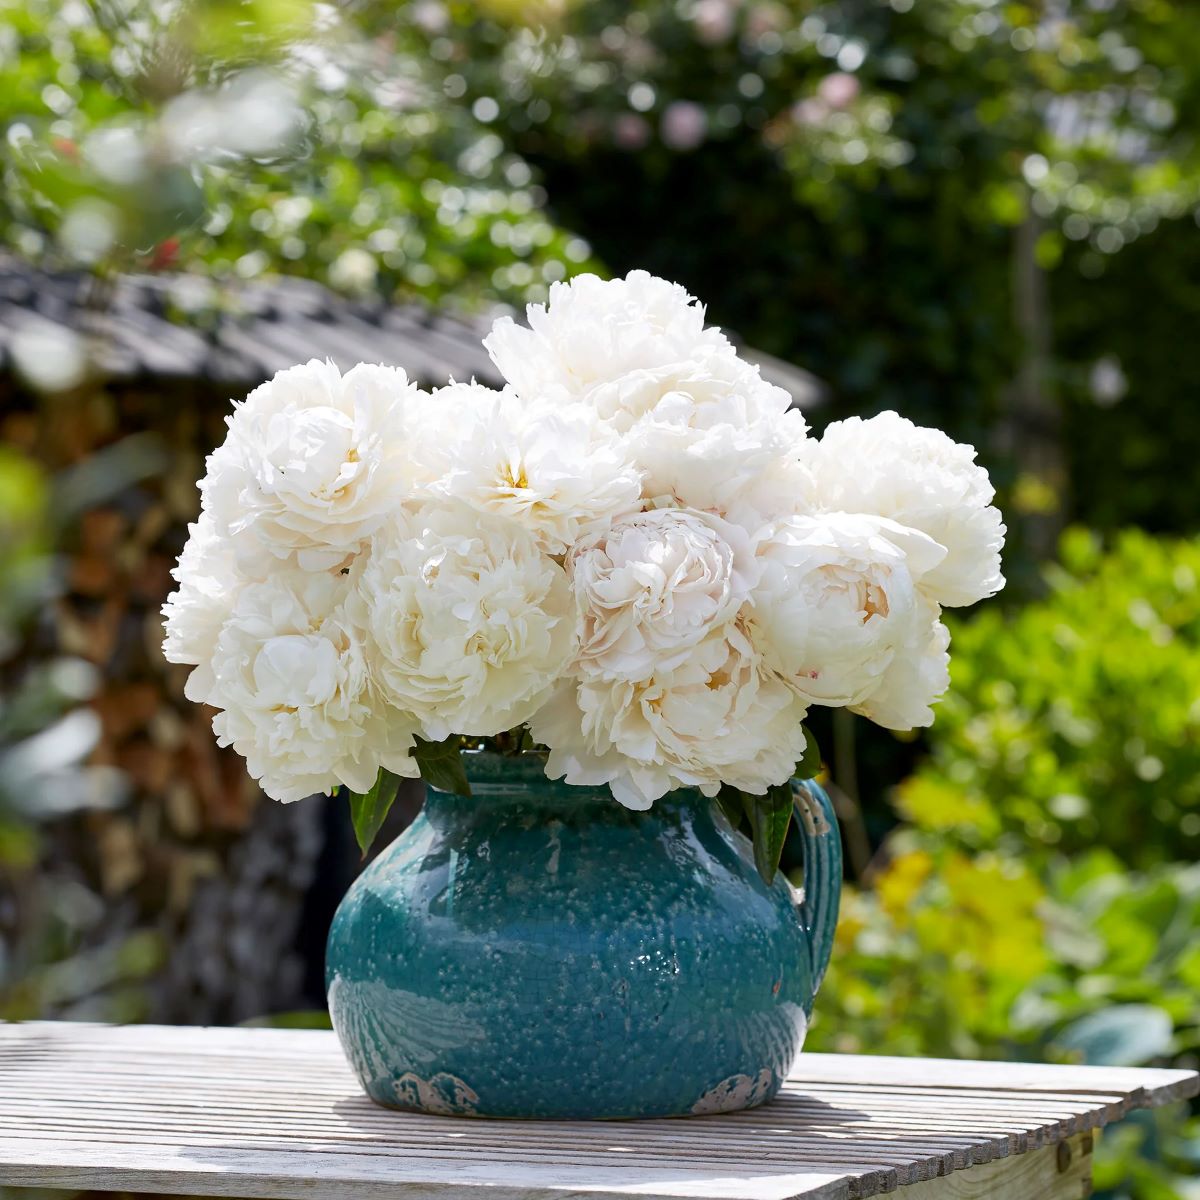
With proper care and attention, the revived paperwhite bulbs will gradually send up green shoots and flower buds. Keep an eye on their growth progress, and you will be rewarded with beautiful blooms within a few weeks. Enjoy the fragrant and vibrant display of your revived paperwhite bulbs!
By following these steps, you can successfully revive the stored paperwhite bulbs and set them up for healthy growth and abundant blooming. With proper care and the right growing conditions, your paperwhite bulbs will reward you with stunning flowers to brighten up your home or garden.
Conclusion
Storing paperwhite bulbs is an essential practice to ensure their health and vitality for future blooming seasons. By following the right steps and providing the optimal conditions, you can preserve the bulbs and set them up for success. From selecting high-quality bulbs to preparing them for storage, choosing the right storage location, and monitoring humidity levels, each step plays a vital role in maintaining the bulbs’ viability.
Proper storage containers, such as breathable bags or shallow trays, help protect the bulbs while allowing for adequate air circulation. Storing the bulbs in a cool and dry environment, with controlled temperature and humidity, prevents premature growth and protects them from rot or disease. Regular monitoring and inspection help detect any issues early on and address them promptly.
Preventing pest infestation is crucial during storage to safeguard the bulbs from damage. Keeping the storage area clean, sealing entry points, and using natural deterrents can effectively keep pests at bay. Checking the stored bulbs for viability, such as bulb firmness and shoot emergence, ensures that only healthy bulbs are planted.
Reviving stored paperwhite bulbs before planting involves rehydrating them, preparing the planting medium, and providing proper care and lighting conditions. Supporting the top-heavy blooms and observing their growth and blooming progress adds to the rewarding experience of nurturing these bulbs.
In conclusion, by following the guidelines for storing and reviving paperwhite bulbs, you can enjoy the pleasure of beautiful blooms year after year. With the right techniques and a little care, these delicate bulbs can bring fragrance and elegance to your homes and gardens during the winter months. So, take the time to properly store, revive, and nurture your paperwhite bulbs, and be rewarded with their stunning displays of nature’s beauty.
Frequently Asked Questions about How To Store Paperwhite Bulbs
Was this page helpful?
At Storables.com, we guarantee accurate and reliable information. Our content, validated by Expert Board Contributors, is crafted following stringent Editorial Policies. We're committed to providing you with well-researched, expert-backed insights for all your informational needs.


0 thoughts on “How To Store Paperwhite Bulbs”