Articles
How To Store Daylily Bulbs
Modified: May 6, 2024
Learn how to store daylily bulbs properly and ensure their long-term vitality with our informative articles.
(Many of the links in this article redirect to a specific reviewed product. Your purchase of these products through affiliate links helps to generate commission for Storables.com, at no extra cost. Learn more)
Introduction
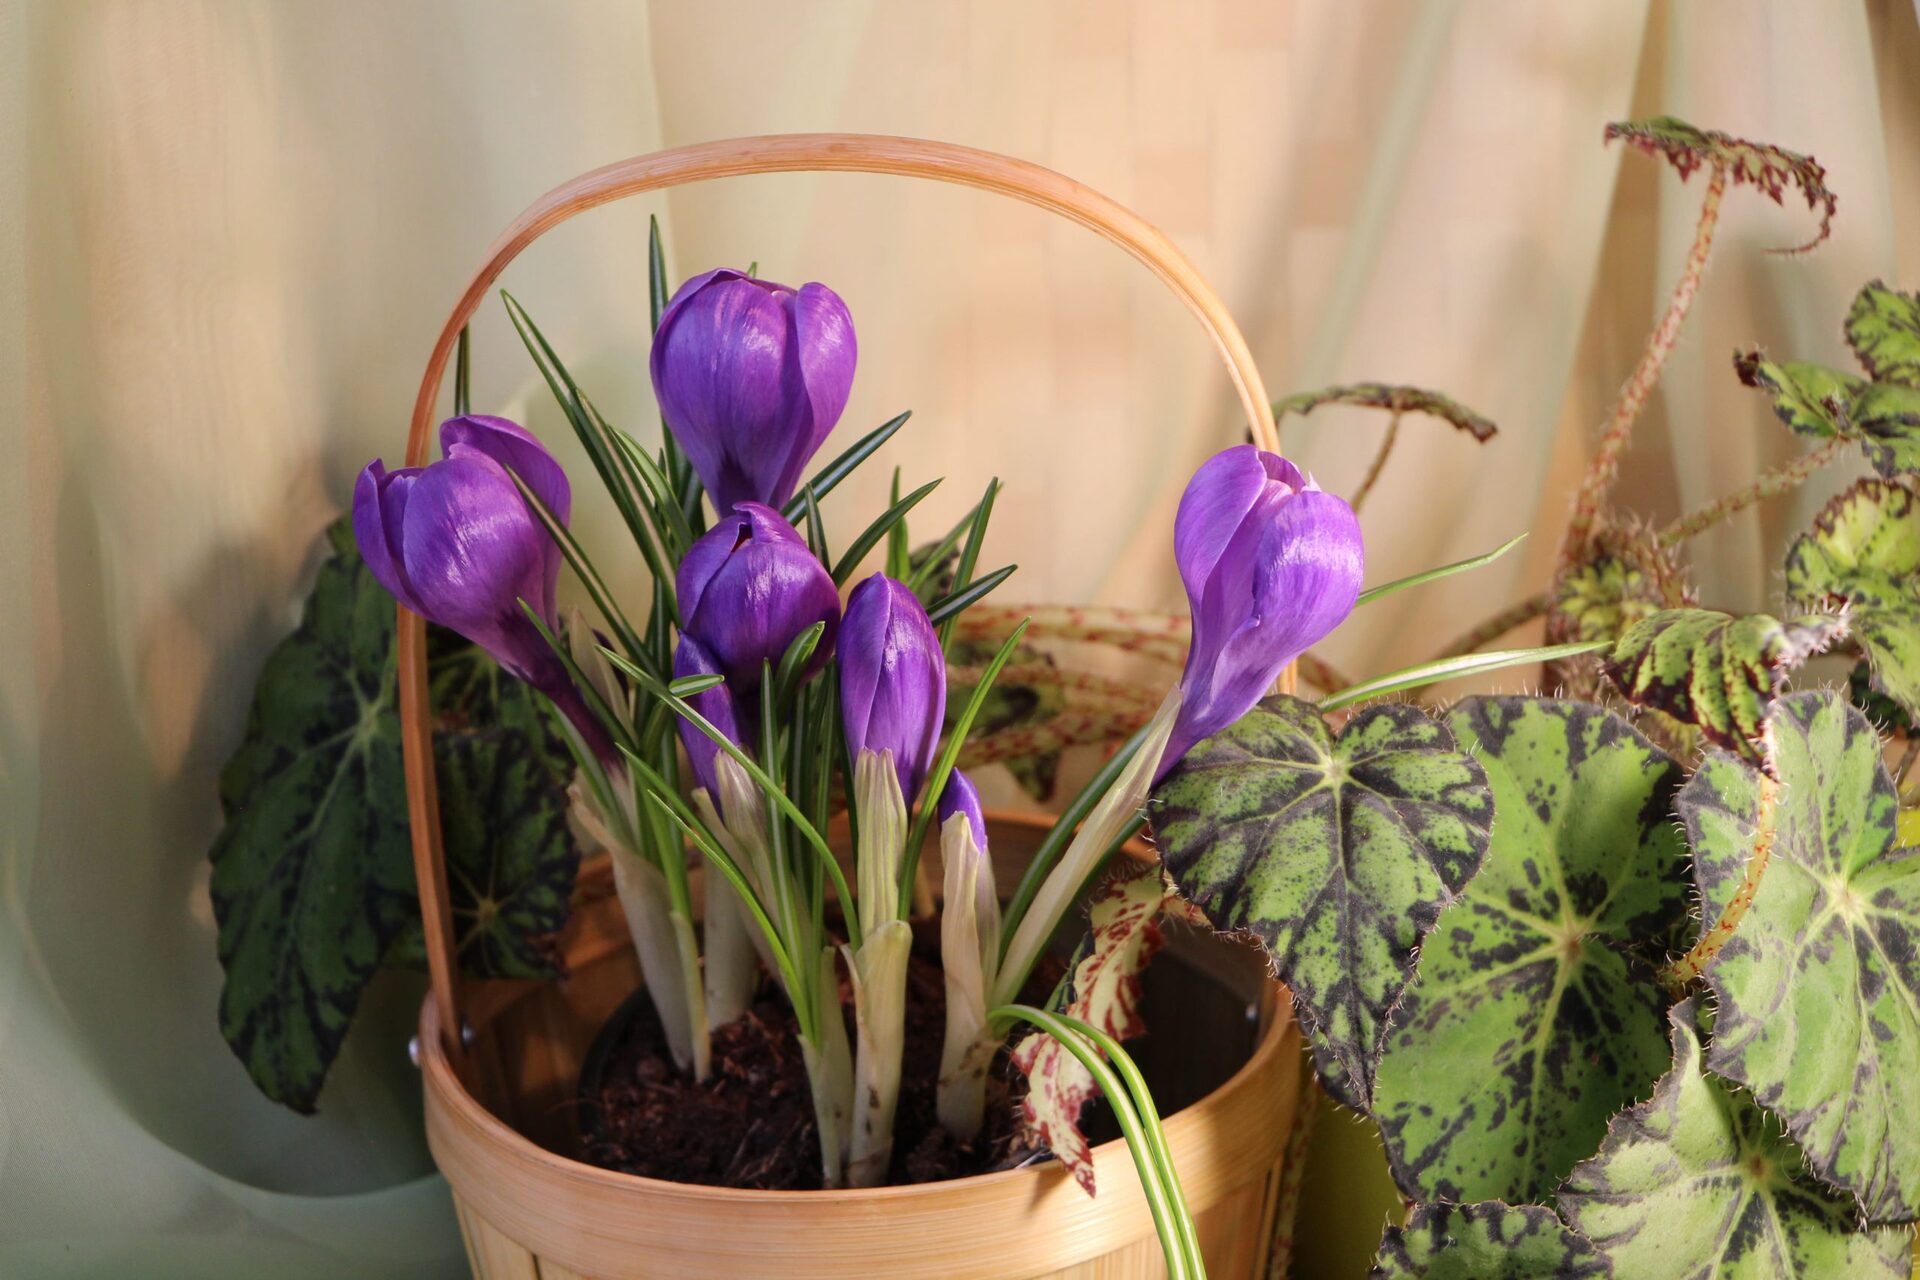
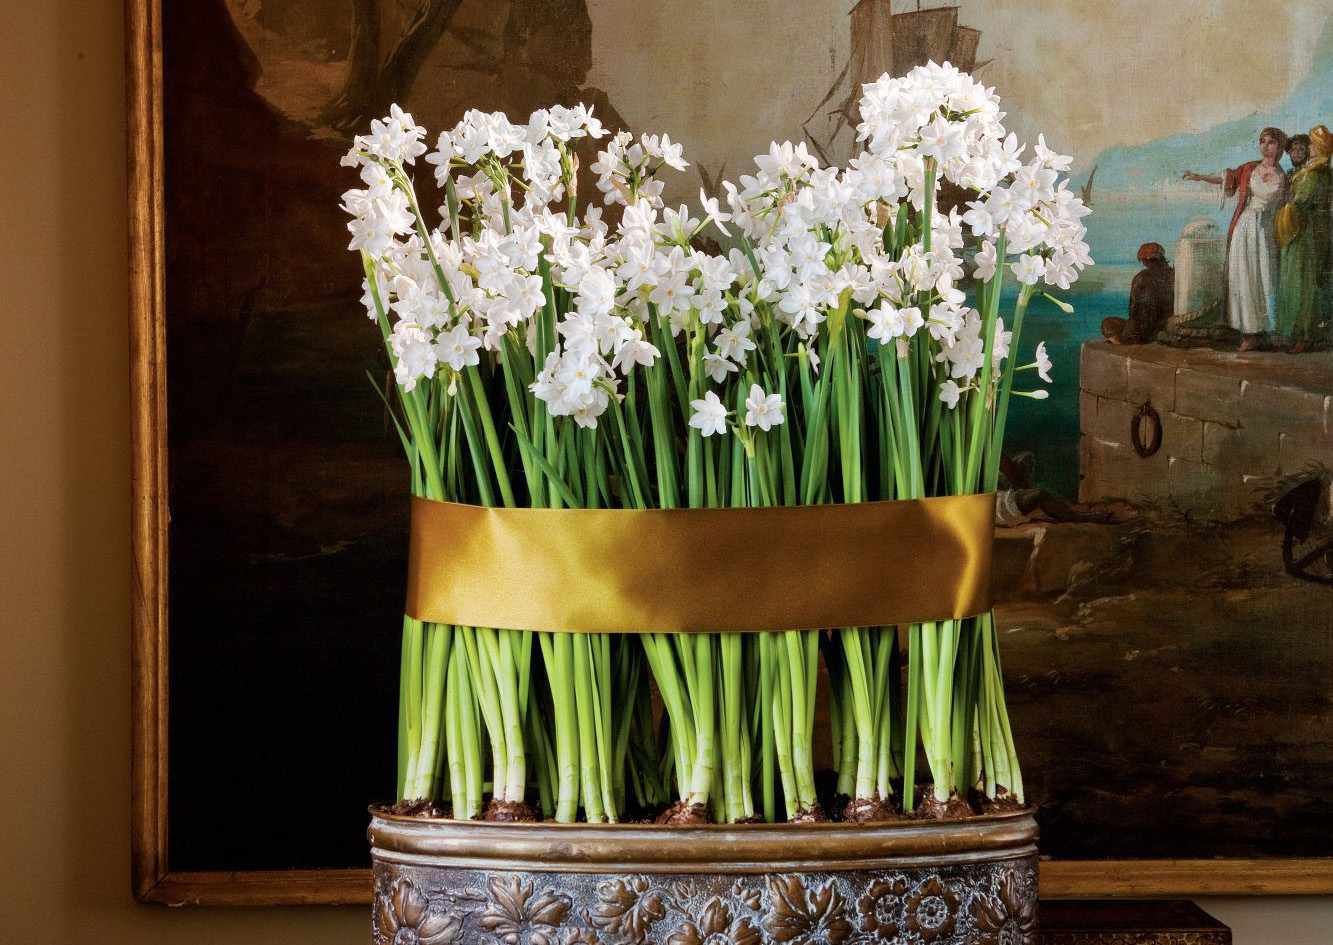
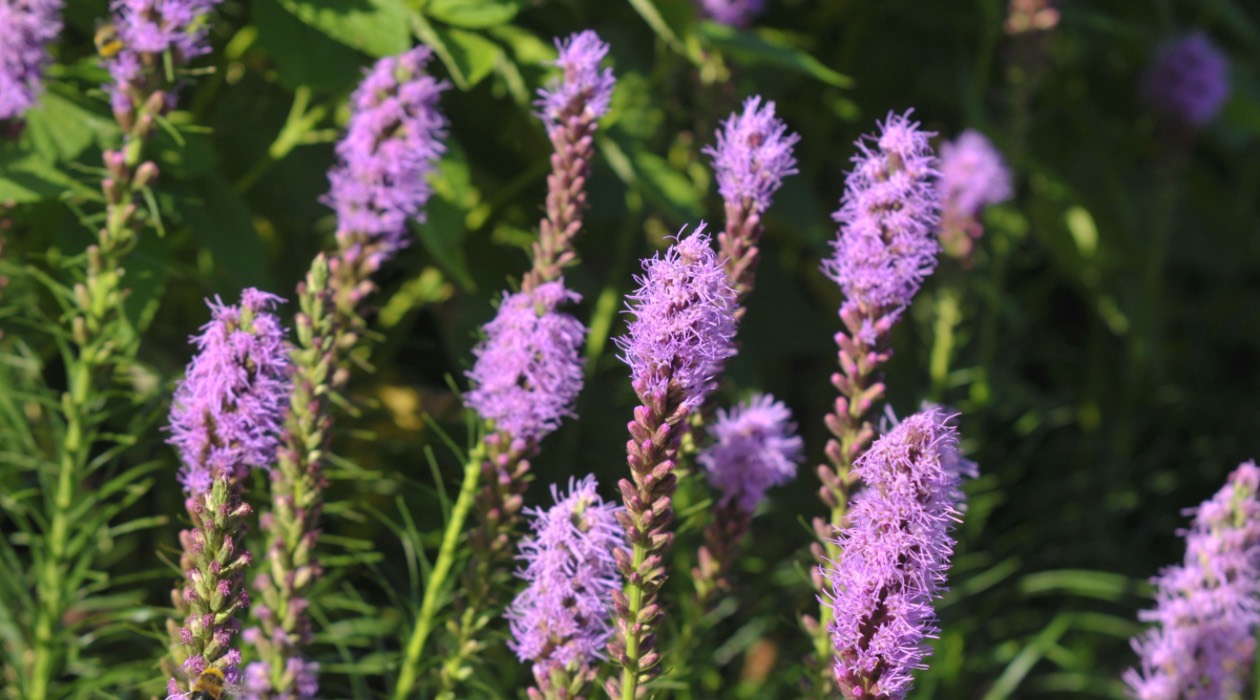
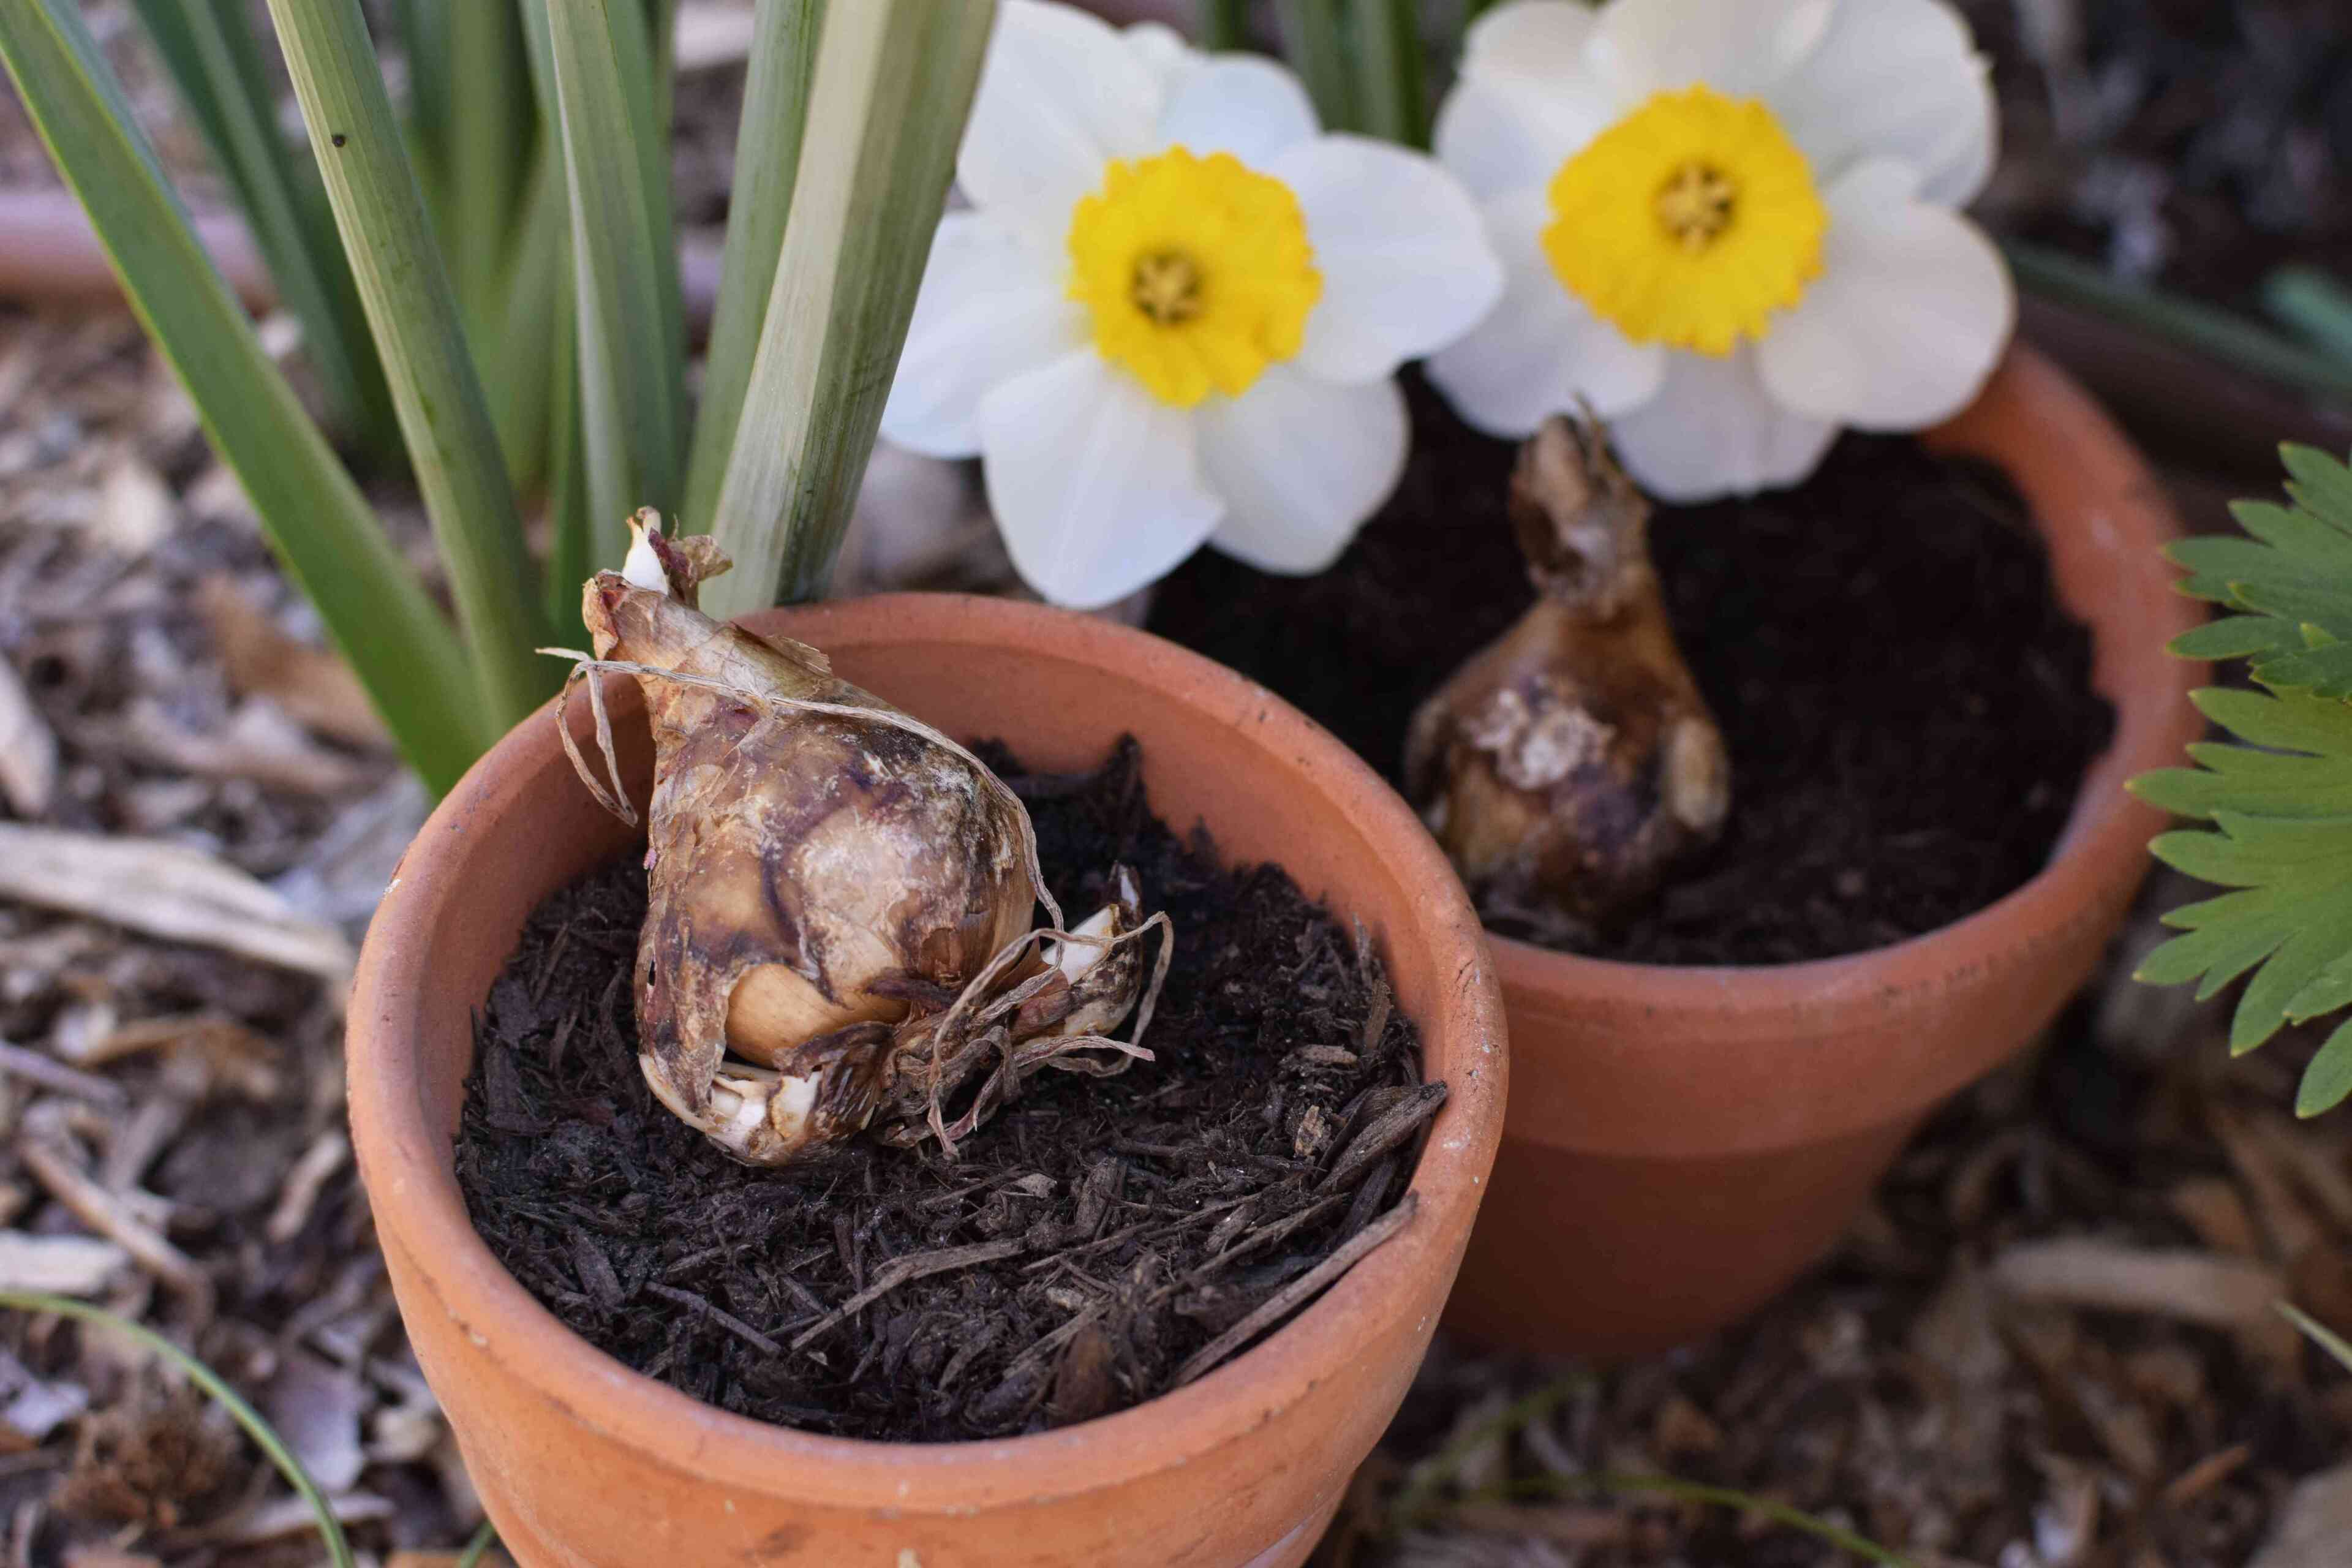
Daylilies are beautiful perennial flowers known for their vibrant colors and the ability to bloom for an extended period. While they are resilient and low-maintenance plants, it is essential to properly store daylily bulbs during the dormant season to ensure their health and vigor for the next growing season.
Storing daylily bulbs not only protects them from harsh weather conditions but also prevents diseases and pests from affecting their quality. By following the right techniques and providing suitable storage conditions, you can guarantee the successful reemergence of these stunning flowers when the growing season arrives.
In this article, we will guide you through the step-by-step process of storing daylily bulbs effectively. From harvesting the bulbs to providing the optimal storage environment, we will cover everything you need to know to preserve the vitality of your daylilies.
Key Takeaways:
- Preserve the Beauty: Properly storing daylily bulbs ensures their health and vitality for the next growing season. From harvesting to monitoring, follow the steps to nurture stunning daylilies year after year.
- Nurturing Passion: Storing daylily bulbs is more than preservation; it’s about nurturing your love for gardening. With the right care, enjoy the beauty and joy of daylilies season after season.
Read more: Where To Plant Ground Cover Daylilies
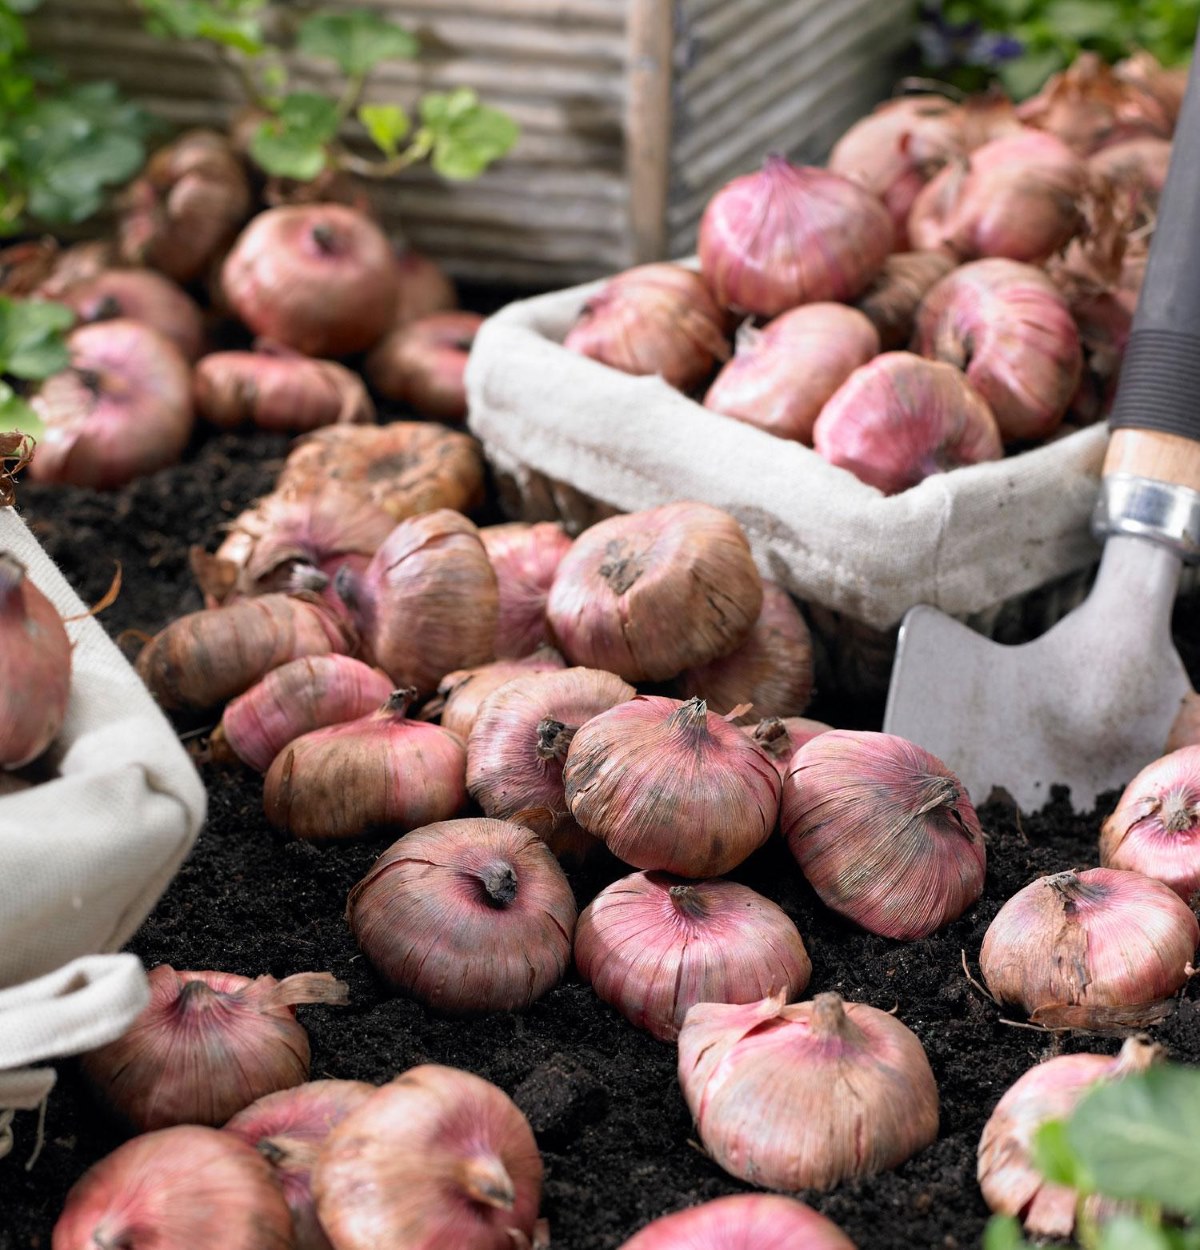
Step 1: Harvesting Daylily Bulbs
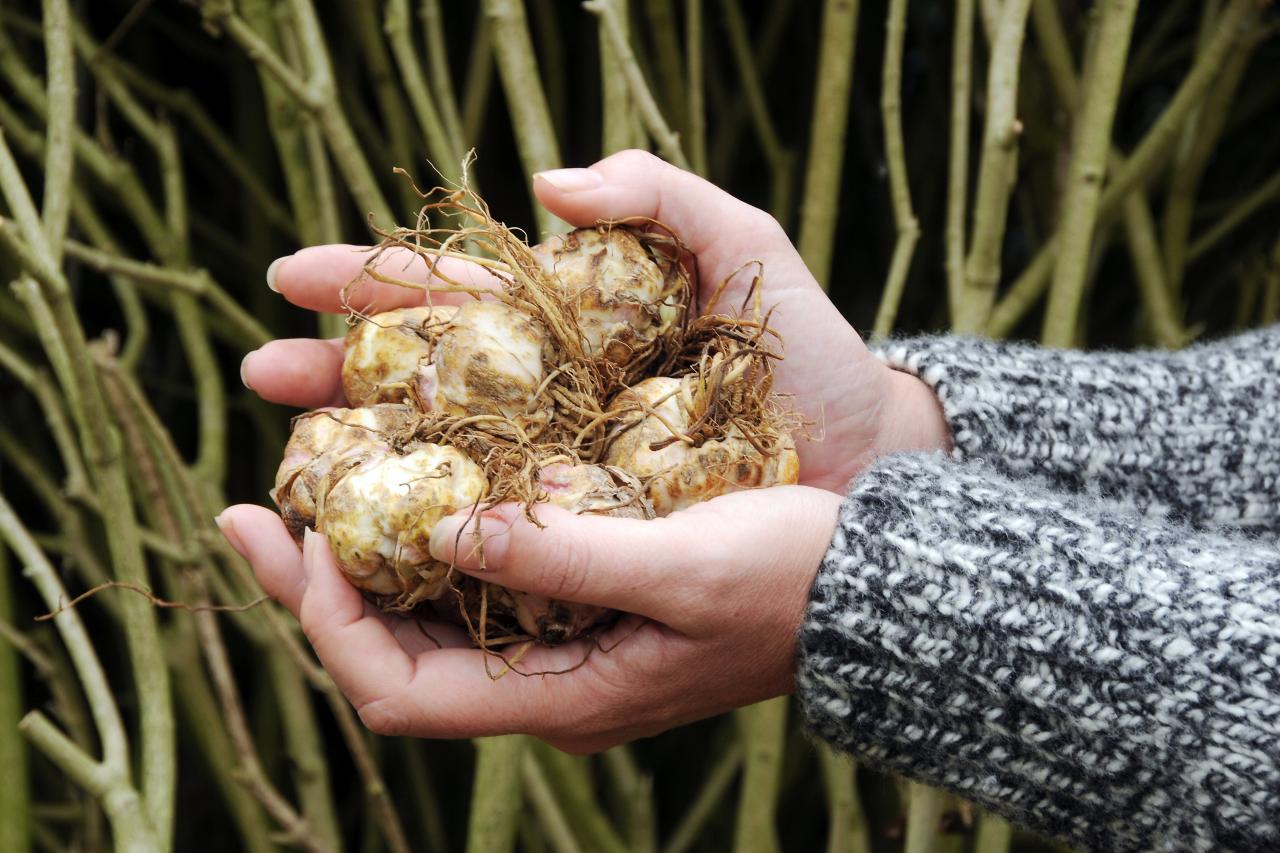
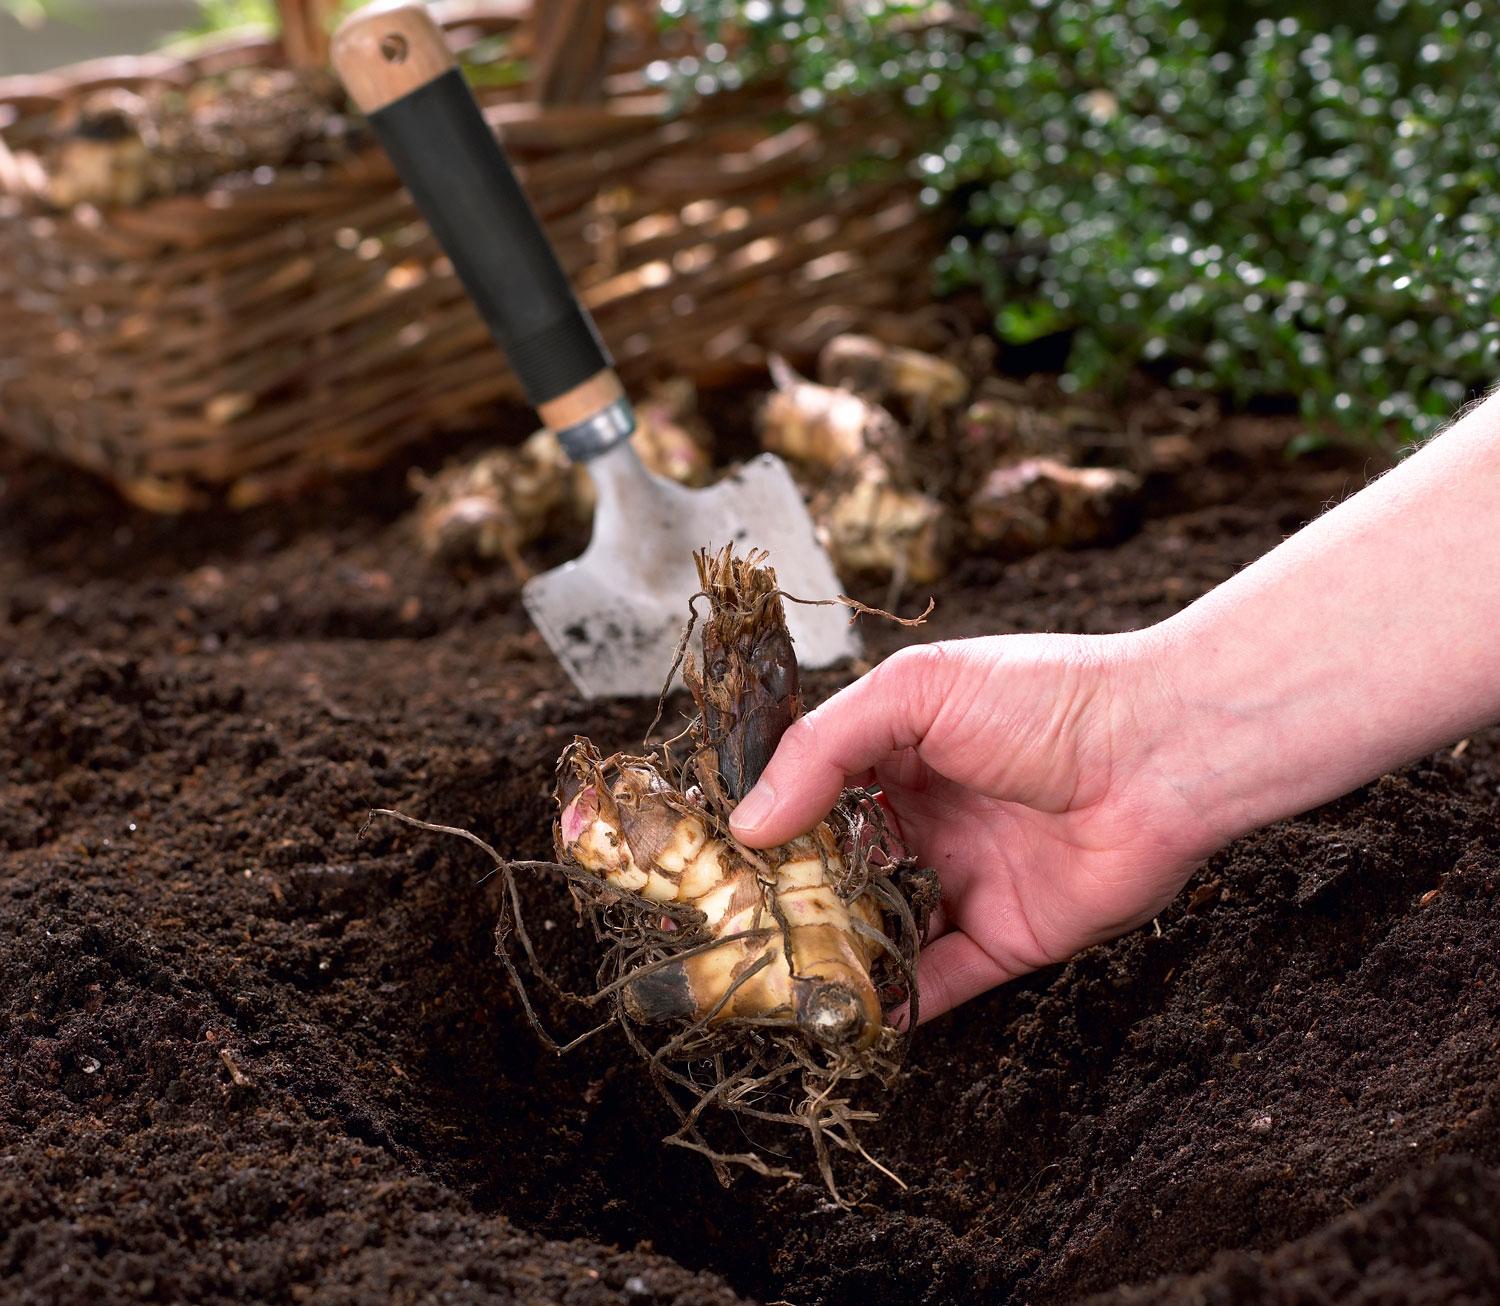
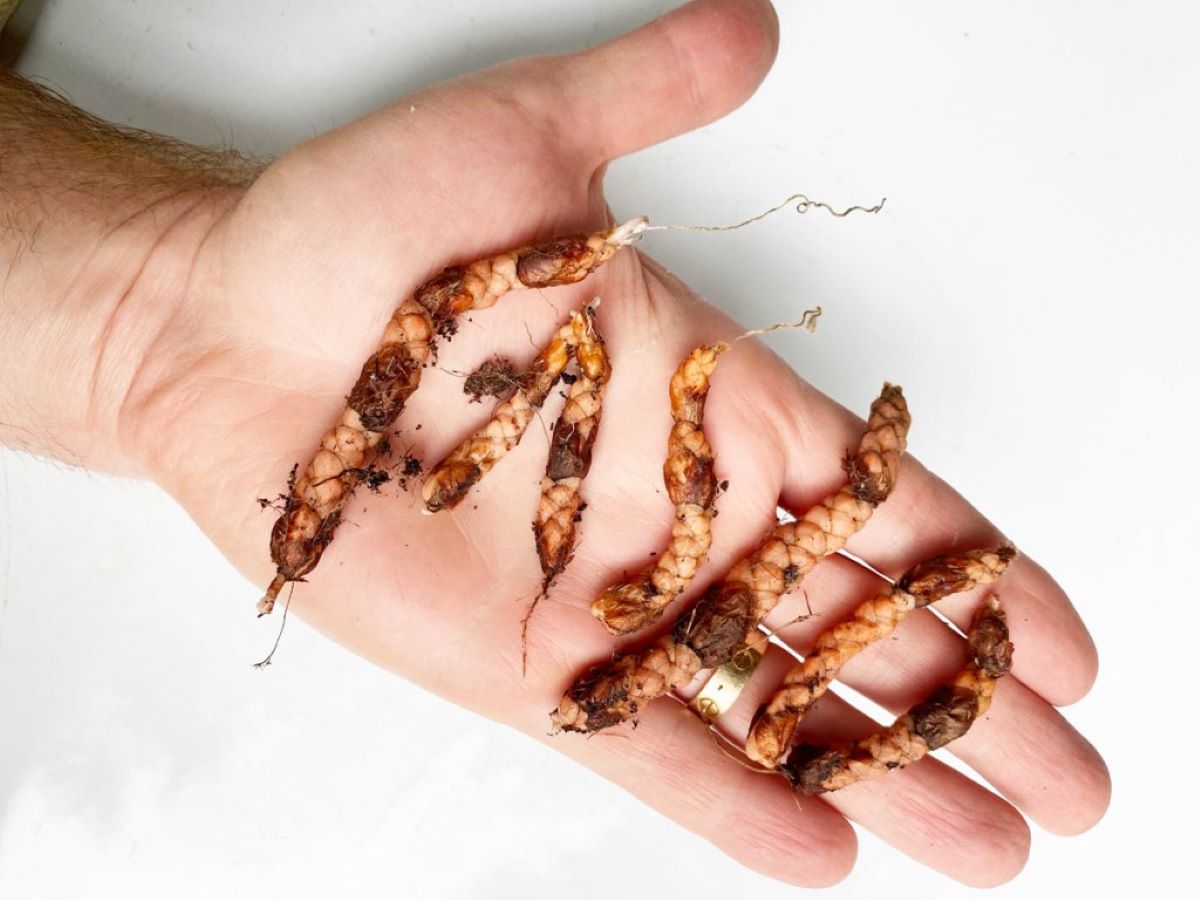
The first step in storing daylily bulbs is to harvest them at the right time. It’s best to wait until the foliage has turned yellow or brown and starts to dry out. This indicates that the plants have entered their dormant phase, and the bulbs are ready for harvesting.
To begin the harvesting process, carefully dig around the base of the daylily plant, using a garden fork or shovel. Gently lift the bulbs out of the soil, being cautious not to damage them. If the bulbs are clumped together, carefully separate them, ensuring that each bulb has its own space.
Once you have harvested the bulbs, you can remove any excess soil by gently shaking them or rinsing them with water. Be careful not to remove any scale or protective covering on the bulbs, as these are necessary for their survival.
After the bulbs have been cleaned, it’s essential to inspect them for any signs of damage or disease. Discard any bulbs that appear rotten, soft, or discolored, as they can spread infection to the healthy bulbs during storage.
Once you have completed these steps, you can move on to the next phase of the storage process: cleaning and drying the daylily bulbs.
Step 2: Cleaning and Drying Daylily Bulbs
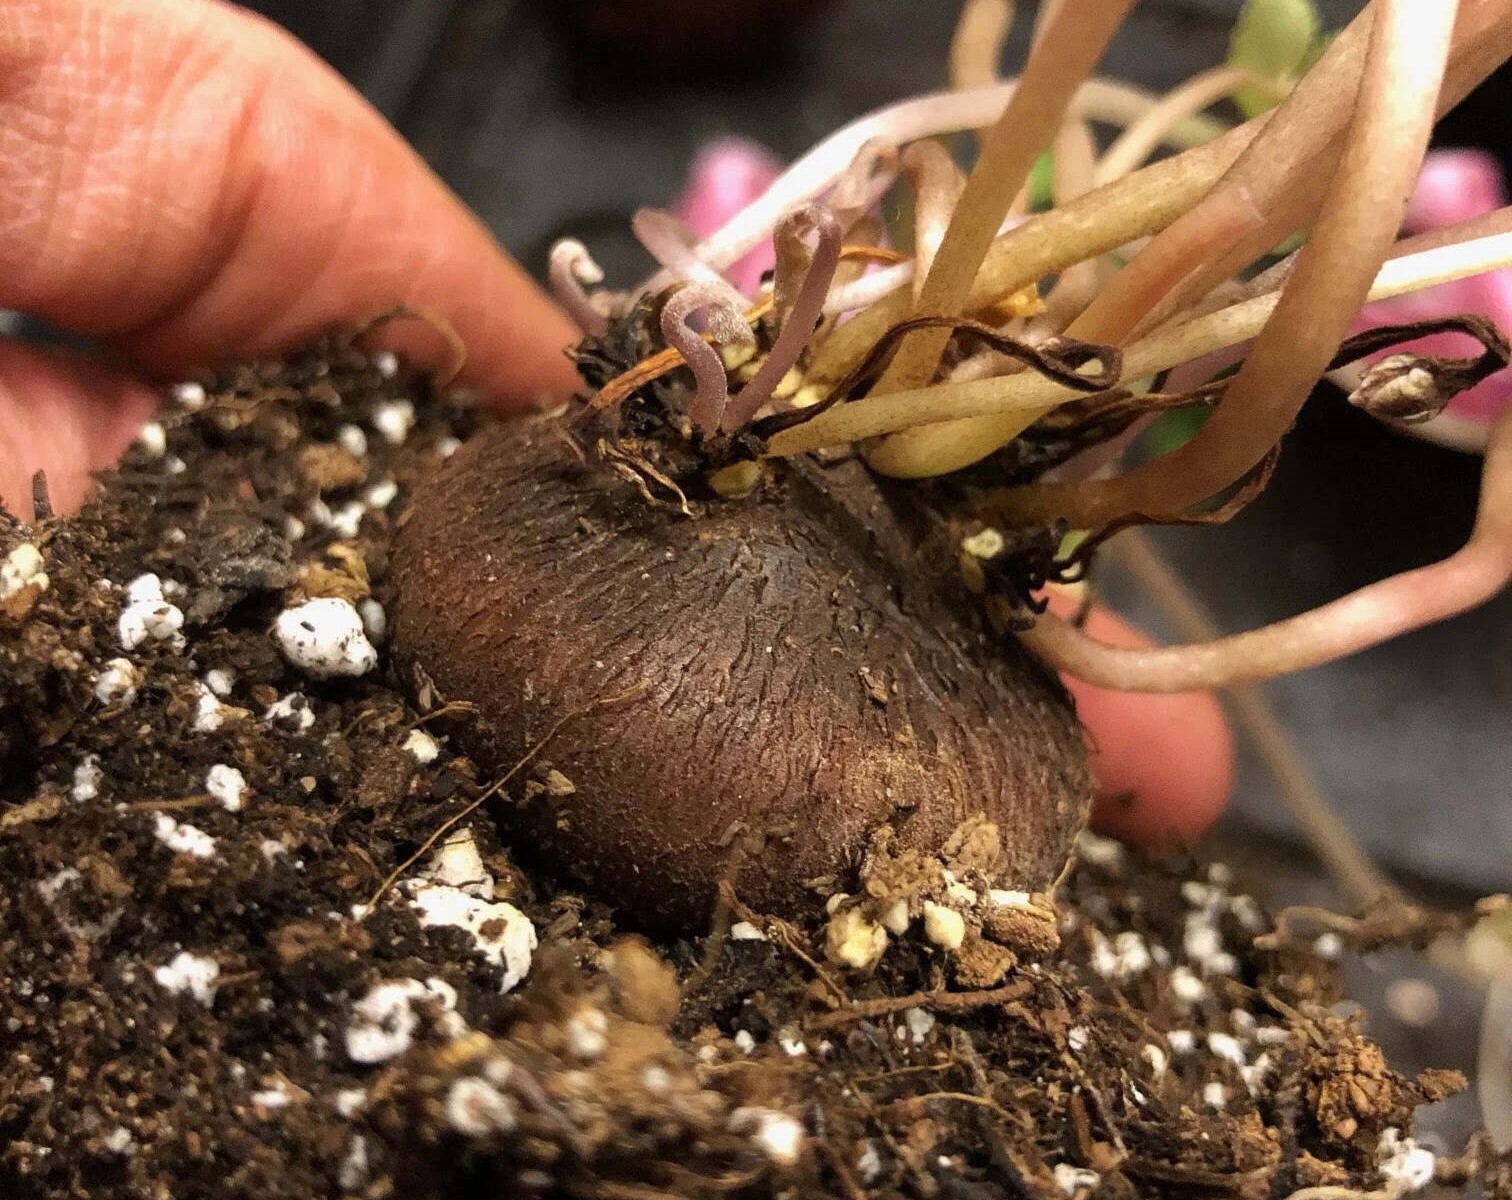
After harvesting the daylily bulbs, it’s crucial to clean and dry them thoroughly before storing. This helps remove any remaining dirt or debris and prevents the growth of mold or fungus during storage.
Start by gently brushing off any loose soil or debris from the bulbs. You can use a soft-bristled brush or your fingers to remove the dirt. Be careful not to damage the fragile scales on the bulbs.
Next, you can rinse the bulbs under running water to remove any stubborn dirt. Avoid using harsh chemicals or detergents, as these can damage the bulbs. Use a gentle stream of water and lightly rub the bulbs with your fingers to ensure thorough cleaning.
Once cleaned, place the daylily bulbs in a well-ventilated area to dry. A shady spot with good airflow is ideal for drying the bulbs. Avoid direct sunlight or excessively humid areas, as these can hinder the drying process.
It’s important to ensure that the bulbs are completely dry before moving on to the next step. Damp bulbs are prone to rot and fungal infections, which can jeopardize their storage and future growth.
Allow the bulbs to dry for at least a day or two, or until they feel firm and the outer scales are no longer moist. Once dry, the bulbs are ready for the next stage: preparing storage containers.
Step 3: Preparing Storage Containers
Proper storage containers play a crucial role in maintaining the health and viability of daylily bulbs during their dormant period. It’s important to choose containers that provide adequate airflow while protecting the bulbs from excessive moisture and temperature fluctuations.
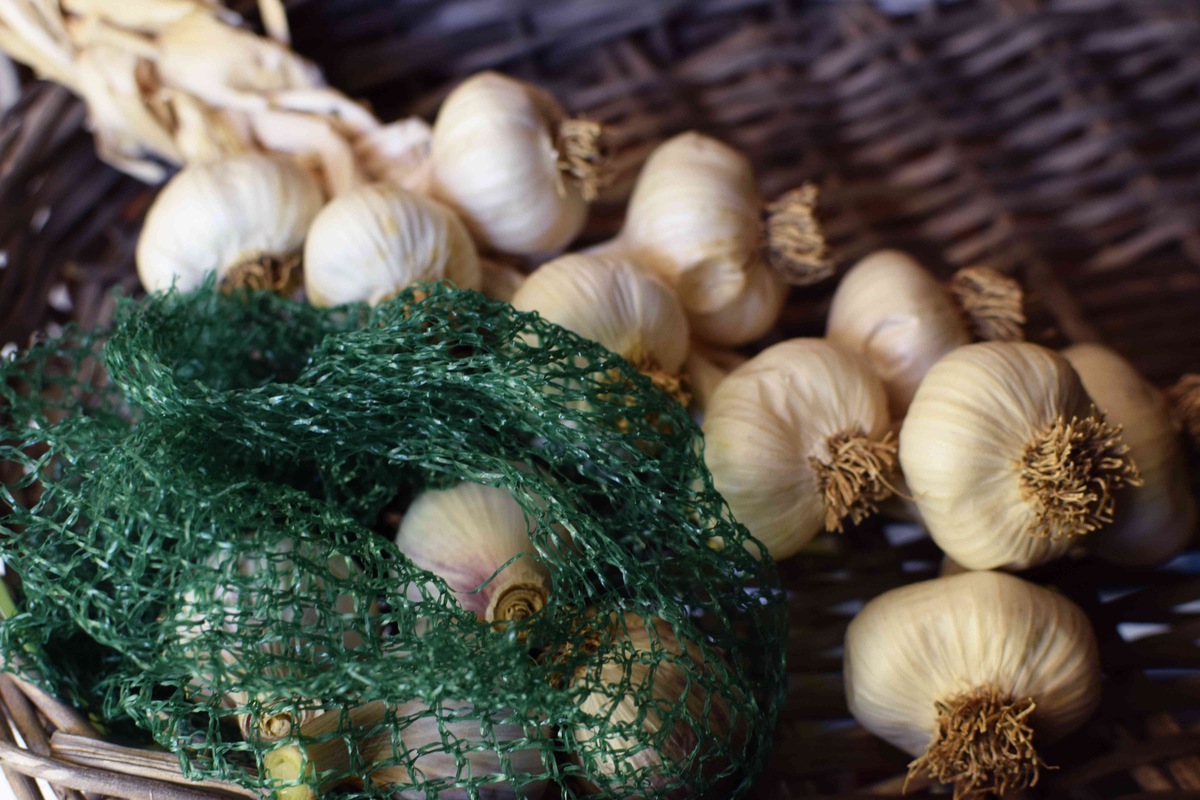
Start by selecting containers that are clean, dry, and have enough space to accommodate the bulbs without overcrowding. You can use various options such as paper bags, mesh bags, or wooden crates. Avoid using plastic bags or airtight containers, as these can trap moisture and lead to rotting.
Before placing the bulbs in the storage containers, you can add a layer of substrate at the bottom. A mixture of peat moss and vermiculite or perlite works well as it provides insulation and helps regulate moisture levels. Spread a thin layer of the substrate in the container.
Place the cleaned and dried daylily bulbs on top of the substrate, making sure they are not touching each other. This allows proper airflow around each bulb and reduces the chances of them rotting or molding during storage.
Once the bulbs are arranged, you can sprinkle another layer of the substrate over them, ensuring that all the bulbs are covered. This layer helps maintain a balanced level of moisture and provides an added protective barrier.
Finally, seal the storage containers or loosely close the bags to minimize contact with air and moisture, while still allowing some ventilation. Label each container with the name and variety of the daylily bulbs stored, as well as the date of storage. This will help you keep track of the bulbs and their storage duration.
With the storage containers prepared, you are now ready to move on to the next step: storing the daylily bulbs in the right conditions.
After digging up daylily bulbs, store them in a cool, dry place with good air circulation. Use a paper bag or cardboard box to prevent moisture buildup. Check bulbs regularly for any signs of rot.
Step 4: Storing Daylily Bulbs
Proper storage conditions are essential for preserving the vitality of daylily bulbs during their dormant phase. By providing the right environment, you can ensure their health and readiness for the next growing season.
Find a cool and dark location for storing the daylily bulbs. A dry basement, garage, or shed is ideal, as long as the temperature remains consistently cool and does not fluctuate drastically. Avoid areas that are prone to extreme heat or cold, as well as direct exposure to sunlight.
Place the prepared storage containers in the chosen location. It’s important to keep the containers off the ground by placing them on shelves or elevated surfaces. This helps prevent moisture absorption from the floor, which can lead to rotting or fungal growth.
Maintain a consistent temperature within the storage area. Daylily bulbs are ideally stored at temperatures between 35 to 45 degrees Fahrenheit (2 to 7 degrees Celsius). Fluctuations in temperature can trigger premature sprouting or encourage mold growth.
Regularly check the stored bulbs for any signs of decay, rot, or pests. Remove any affected bulbs immediately to prevent the spread of diseases. Inspect the containers for any condensation or excessive moisture and address the issue promptly, adjusting the ventilation if necessary.
It’s important to note that different daylily varieties may have specific storage requirements. Some rare or delicate varieties may benefit from additional protection, such as wrapping the bulbs in newspaper or storing them in perforated plastic bags. Always research the specific needs of the daylily variety you are storing.
With the daylily bulbs safely stored in the optimal conditions, you can now move on to the final step: monitoring and maintaining the bulbs during storage.
Read more: How To Store Light Bulbs
Step 5: Monitoring and Maintaining Bulbs During Storage
Once daylily bulbs are stored, it’s important to regularly monitor and maintain them to ensure their well-being throughout the dormant season. By taking the necessary precautions, you can maximize their chances of successfully regrowing in the next growing season.
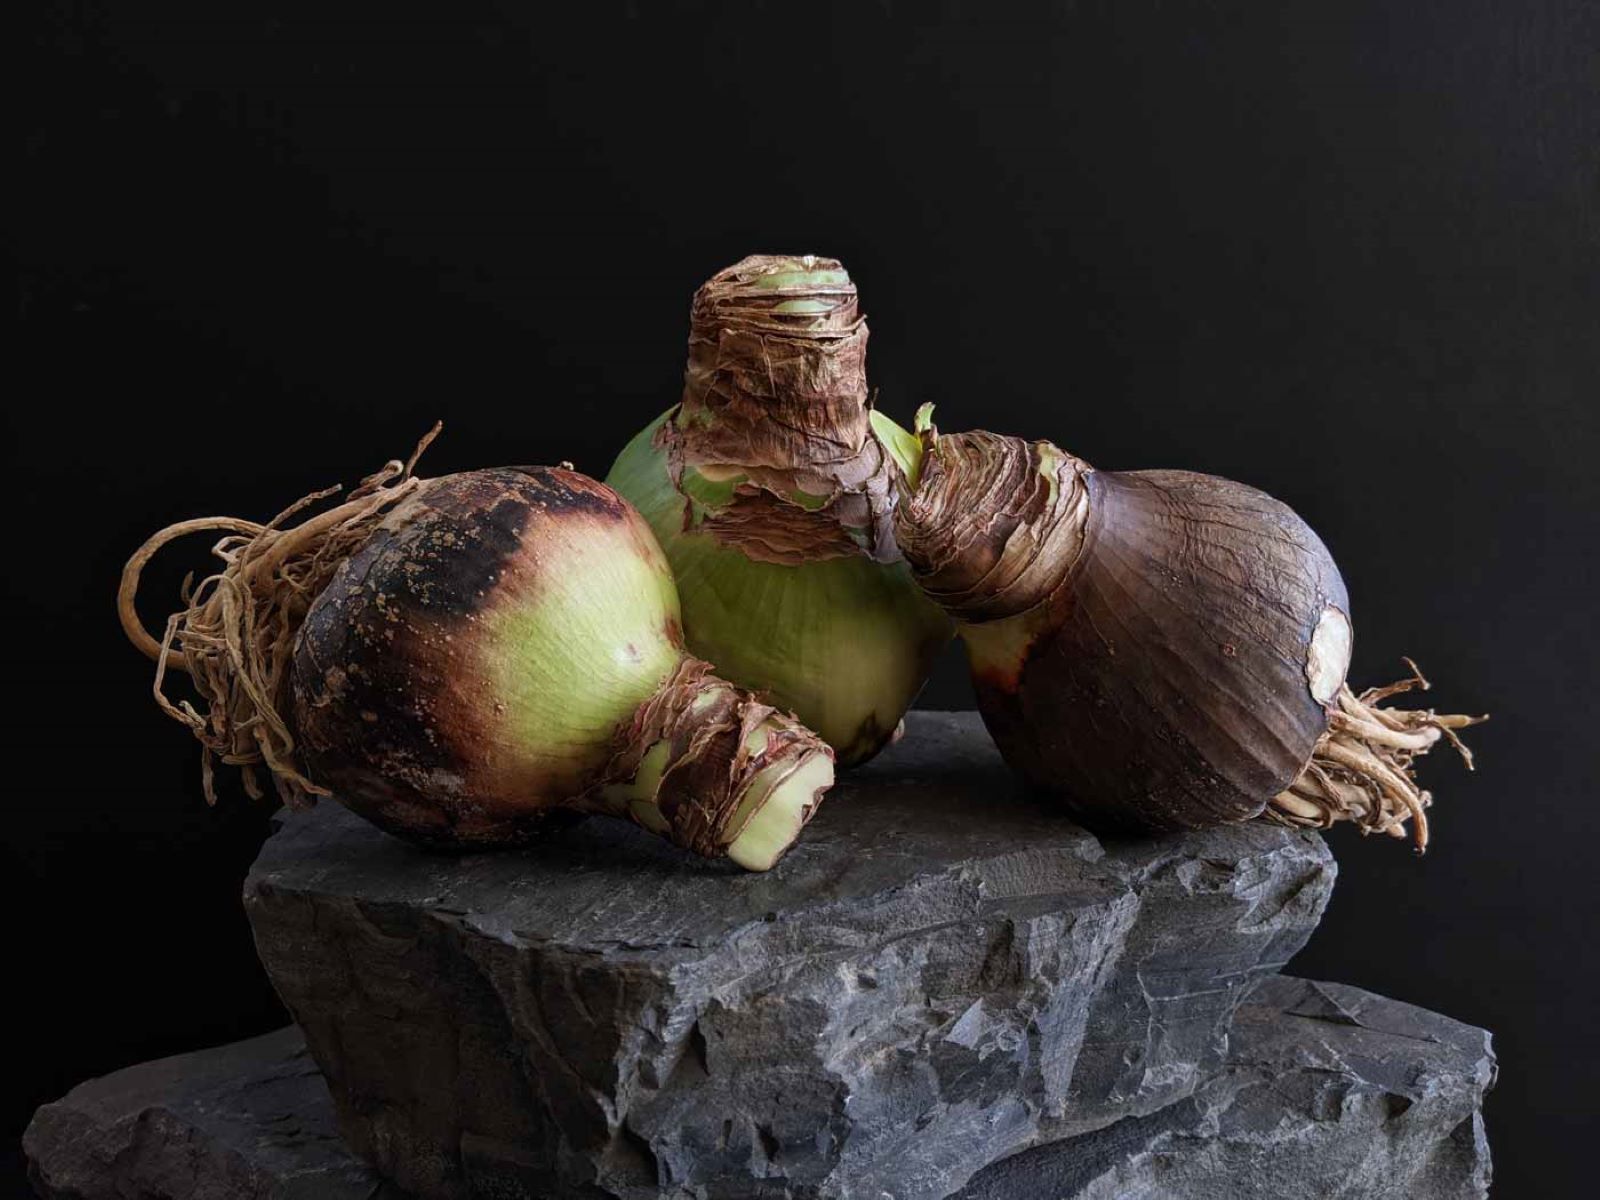
Periodically check the stored bulbs for any signs of moisture buildup or decay. Inspect each bulb individually, looking for mold, soft spots, or unusual discoloration. If any bulbs show signs of damage or disease, remove them from the storage containers immediately to prevent further contamination.
Additionally, ensure that the storage area remains cool, dry, and well-ventilated. Check the containers for any condensation or excess moisture, as this can indicate improper ventilation or high humidity levels. If necessary, adjust the ventilation by partially opening the bags or containers.
It’s also crucial to prevent pests from infesting the stored bulbs. Inspect the storage area regularly for any signs of pests, such as insects or rodents. If pests are identified, take appropriate measures to eliminate them and protect the bulbs from damage.
As the dormant season comes to an end and the new growing season approaches, start preparing for the transplanting of the daylily bulbs. Several weeks before the anticipated planting time, remove the bulbs from storage and gradually reintroduce them to warmer temperatures and increased light exposure. This acclimation process helps the bulbs adjust and prepares them for successful growth.
Finally, remember to keep track of the storage duration and label the containers accordingly. Discard any stored daylily bulbs that have been in storage for too long, as their viability may decline over time. It’s generally recommended to replant daylily bulbs every 3 to 5 years to ensure vigorous growth and optimal blooming.
By following these monitoring and maintenance practices, you can ensure the health and vitality of your stored daylily bulbs and look forward to a beautiful and successful growing season.
Conclusion
Storing daylily bulbs properly is essential for preserving their health and vitality during the dormant season. By following the step-by-step process outlined in this article, you can ensure the successful reemergence of these beautiful flowers when the next growing season arrives.
From harvesting the bulbs at the right time to cleaning and drying them thoroughly, each step plays a crucial role in maintaining their quality. Preparing the storage containers with adequate ventilation and insulation helps create the optimal storage environment, while monitoring and maintaining the bulbs during storage ensures their well-being.
Remember to choose the right storage location, maintain a consistent temperature, and regularly inspect the bulbs for any signs of damage or pests. Proper care and attention throughout the dormant period will increase the chances of a successful regrowth and a stunning display of daylilies in your garden.
Keep in mind that different daylily varieties may have specific storage requirements, so it’s crucial to research and address their specific needs. By understanding their unique characteristics, you can provide the best conditions for their growth and ensure their longevity.
Storing daylily bulbs is not only about preserving their physical health but also about nurturing your love and passion for gardening. By taking the time and effort to store your daylilies properly, you can enjoy the beauty and joy they bring year after year.
So, go ahead and follow these steps to store your daylily bulbs with care. With the right techniques and a little bit of attention, you can ensure the continued success of your daylilies and create a beautiful garden that will be the envy of all.
Now that you've mastered storing daylily bulbs, why not spruce up your garden's boundaries? Our guide on creative garden fence ideas offers a plethora of stylish options to enhance any outdoor space. From classic wood designs to modern metal frames, find inspiration to transform your garden into a private paradise.
Frequently Asked Questions about How To Store Daylily Bulbs
Was this page helpful?
At Storables.com, we guarantee accurate and reliable information. Our content, validated by Expert Board Contributors, is crafted following stringent Editorial Policies. We're committed to providing you with well-researched, expert-backed insights for all your informational needs.


The day Lily storage was extremely helpful thank you so much