Articles
How To Store Cured Meat
Modified: January 6, 2024
Learn the best methods for storing cured meat and keeping it fresh for longer with our informative articles.
(Many of the links in this article redirect to a specific reviewed product. Your purchase of these products through affiliate links helps to generate commission for Storables.com, at no extra cost. Learn more)
Introduction
When it comes to preserving and enjoying meat, curing is a time-honored technique that has been passed down through generations. Cured meats not only have a longer shelf life but also develop complex flavors that can elevate any dish. Whether you’re a seasoned chef or a home cook looking to experiment, properly storing your cured meat is essential to maintain its quality and ensure its safe consumption.
In this article, we will guide you through the process of storing cured meat, from choosing the right cuts to understanding the curing process, and providing helpful tips and tricks along the way. So, let’s dive in and discover how to store your cured meat properly.
Key Takeaways:
- Choose the freshest cuts of meat and prepare them with care to lay the foundation for successful and delicious cured meat.
- Properly control temperature and humidity, invest in suitable storage containers, and explore flavor-enhancing techniques to preserve and savor your cured meat for an extended period.
Read more: How Long For Candles To Cure
Choosing the Right Cuts of Meat: Selecting the Freshest Cuts, Identifying the Best Curing Cuts
When it comes to curing meat, the quality and type of meat you choose play a crucial role in the final result. Here are some important factors to consider when selecting the right cuts for curing.
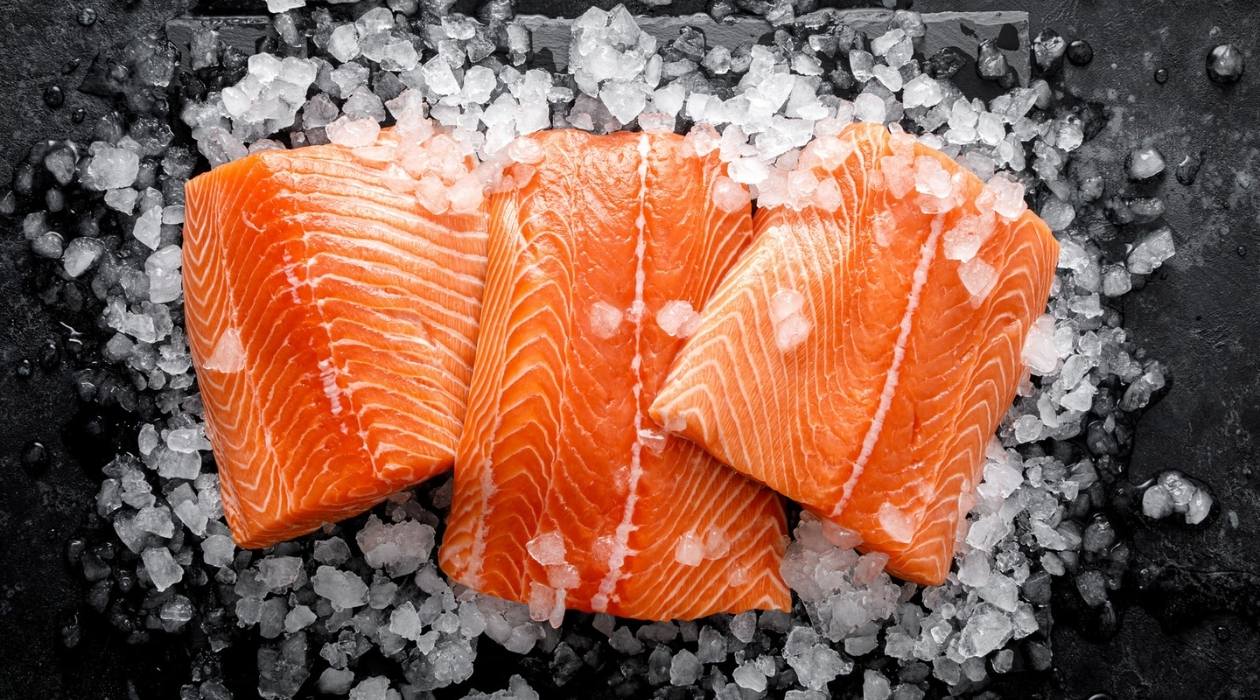
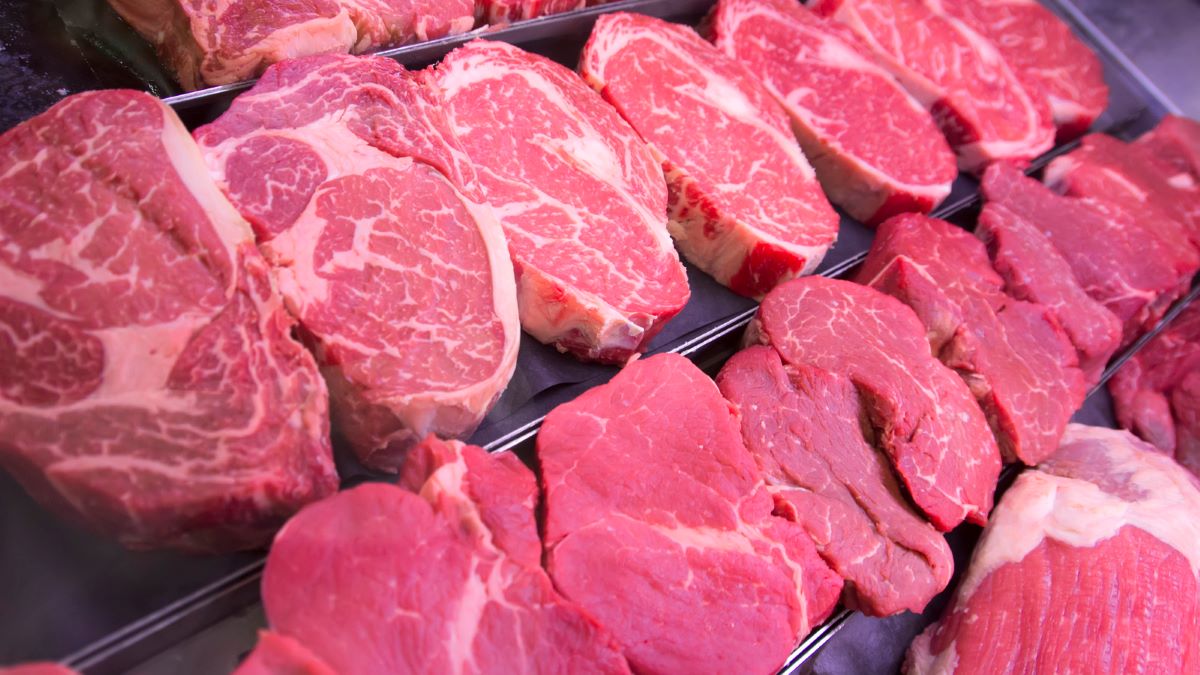
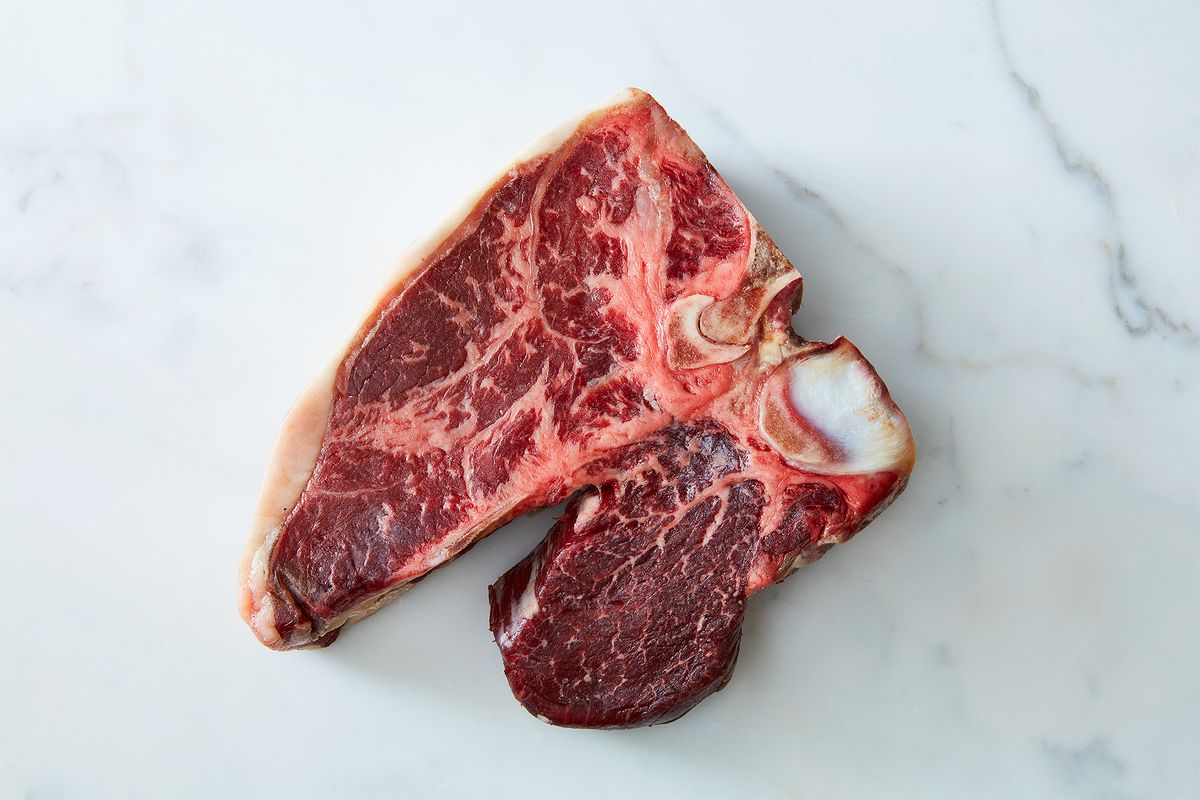
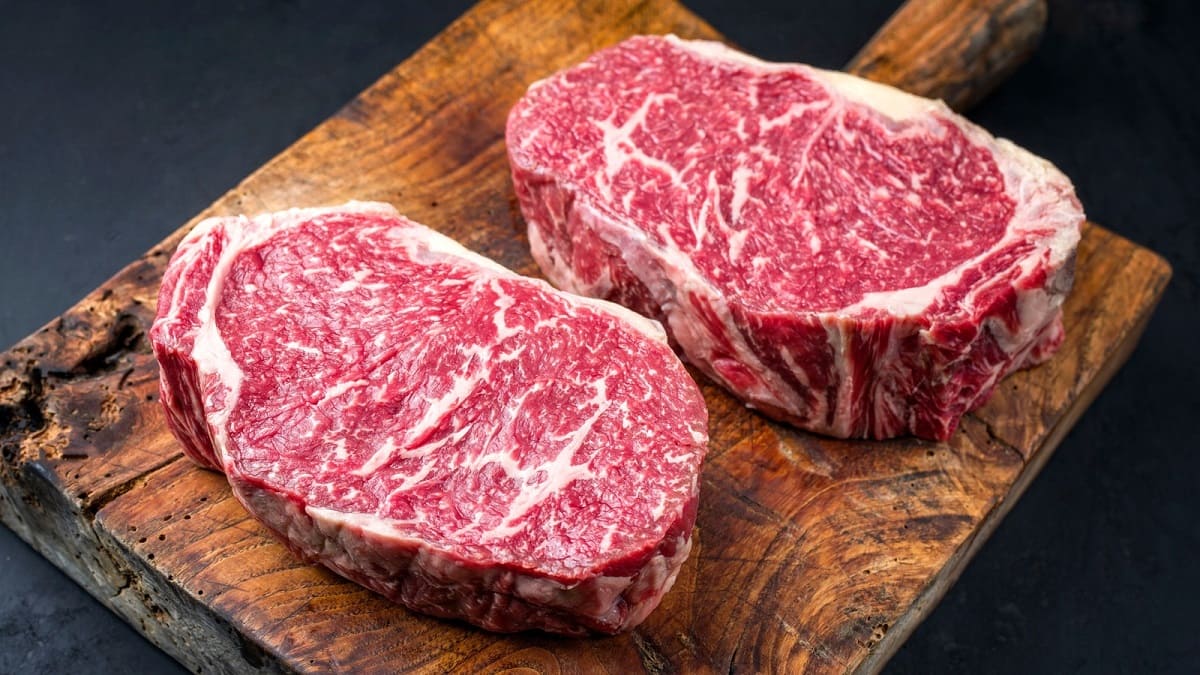
Selecting the Freshest Cuts: It’s essential to start with fresh, high-quality meat. Look for cuts that are bright red in color, with a firm texture and minimal fat marbling. Avoid meat that appears discolored or has a strong odor, as these are signs of spoilage.
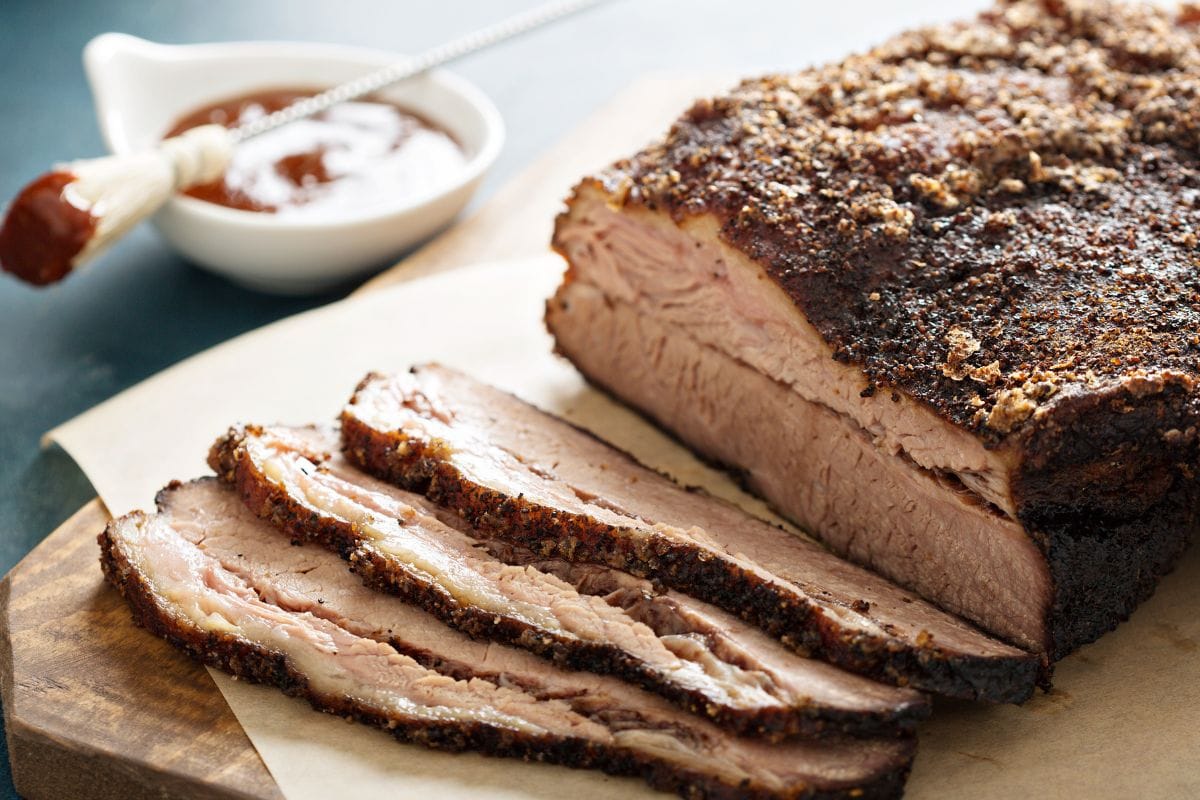
Identifying the Best Curing Cuts: Not all cuts of meat are suitable for curing. Certain cuts work better due to their texture, fat content, and flavor profile. For dry curing, lean cuts like pork loin, beef eye round, or duck breast are excellent choices. For wet curing or brining, cuts with more fat, such as pork belly or beef brisket, can provide a richer flavor and juiciness.
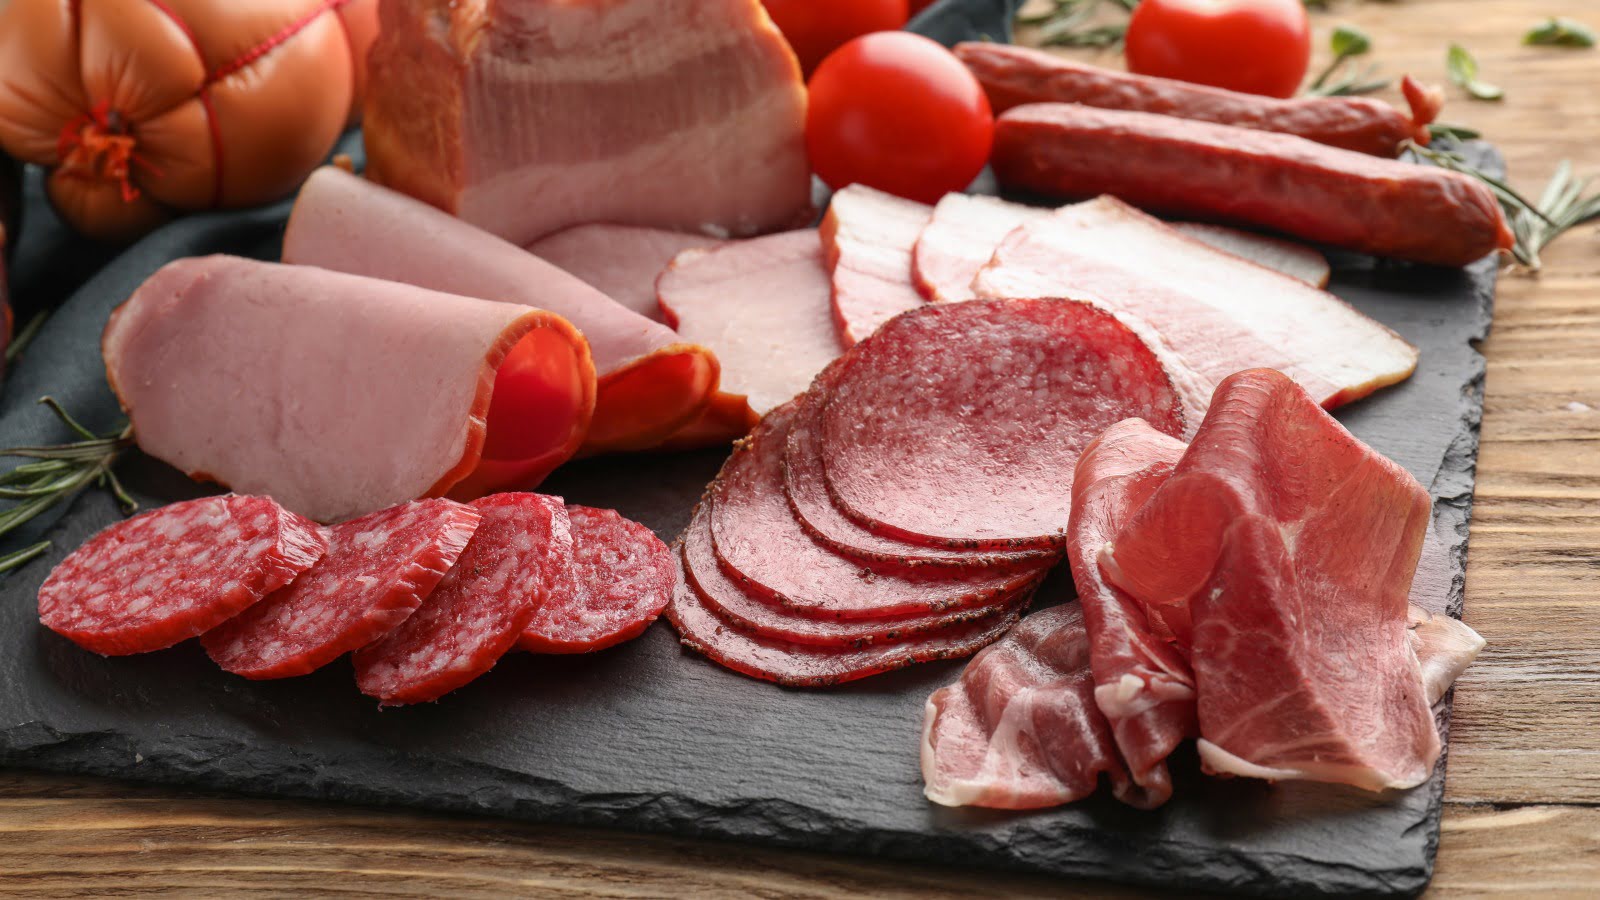
It’s worth noting that different types of cured meats, such as bacon, prosciutto, or salami, require specific cuts for optimal results. Research and familiarize yourself with the traditional cuts used for the specific cured meat you intend to create.
By choosing the freshest cuts of meat and selecting the ideal cuts for curing, you lay the foundation for a successful and delicious end product.
Preparing the Meat for Curing: Trimming Excess Fat, Seasoning and Flavoring Options
Properly preparing the meat before curing is an important step to ensure the best possible results. Here are two key aspects to consider when preparing your meat for curing.
Trimming Excess Fat: While fat adds flavor and moisture to cured meats, excessive fat can lead to rancidity and can affect the overall quality and texture. Trim any excessive external fat, but be sure to leave a thin layer intact to enhance the flavor and succulence of the final product. Take care not to remove too much fat, as it plays a role in the curing process.
Seasoning and Flavoring Options: Curing is not only about preserving meat but also about infusing it with flavor. The choice of seasonings and flavorings is a personal preference, and there are endless possibilities to explore. Traditional curing ingredients include salt, sugar, herbs, spices, and even wine or spirits. Experiment with different combinations to create your signature flavor profile.
When applying seasonings, ensure the meat is evenly coated and the flavors penetrate deep into the muscle. A curing mix or rub can be gently massaged onto the meat, covering all surfaces. Allow the seasoned meat to rest and absorb the flavors before proceeding to the next step.
By trimming excess fat and carefully selecting and applying seasonings, you set the stage for a well-prepared meat ready for the curing process.
The Curing Process: Dry Curing vs. Wet Curing, Essential Ingredients for Curing, Applying the Cure Mix
Once your meat is prepared, it’s time to move on to the curing process itself. There are two main methods of curing meat: dry curing and wet curing. Let’s explore these methods and the essential ingredients involved:
Dry Curing vs. Wet Curing: Dry curing involves applying a dry cure mixture directly to the meat’s surface. This method requires controlled temperature and humidity, and it results in the removal of moisture from the meat to create a concentrated flavor and a firm texture. Wet curing, on the other hand, involves submerging the meat in a liquid brine solution. This method helps to both flavor and preserve the meat while retaining more moisture. Both methods have their advantages and are suitable for different types of cured meat.
Essential Ingredients for Curing: Regardless of the method chosen, certain ingredients are essential for a successful curing process. The primary ingredient is salt, which acts as a preservative and aids in drawing out moisture from the meat. Sugar is often added to balance the flavors and contribute to the curing process. Additional ingredients such as nitrates or nitrites help prevent the growth of bacteria and preserve the meat’s color. However, it’s important to use curing salts in the appropriate amount, as they can be harmful if misused.
Applying the Cure Mix: For dry curing, the cure mix is typically a combination of salt, sugar, and desired seasonings. It is evenly spread over the surface of the meat, ensuring complete coverage. The meat can then be placed in a curing chamber or hung for a specified period, allowing the cure to work its magic. In wet curing, the meat is submerged in a brine solution consisting of salt, sugar, seasonings, and water. The brine is carefully prepared, maintaining the appropriate salt-to-water ratio, and the meat is fully immersed in the solution.
Remember to follow proper guidelines and recipes when using curing mixtures to ensure food safety and achieve the desired flavor and preservation.
Now that you understand the differences between dry curing and wet curing, as well as the essential ingredients and the application of the cure mix, you are ready to embark on the curing journey!
Temperature and Humidity Control: Importance of Temperature and Humidity, Recommended Storage Conditions
Temperature and humidity control are crucial factors when it comes to storing cured meat. Properly managing these conditions ensures the longevity and quality of the cured meat. Let’s delve into the importance of temperature and humidity, as well as the recommended storage conditions:
Importance of Temperature and Humidity: Temperature and humidity directly impact the curing process and the overall preservation of the meat. When temperatures are too high, it can lead to spoilage and the growth of harmful bacteria. On the other hand, extremely low temperatures can cause the meat to freeze or affect the texture and flavor. Humidity levels also play a key role. If the humidity is too high, it can promote the growth of mold, while very low humidity can cause the meat to dry out excessively.
Recommended Storage Conditions: For dry-cured meats, maintaining a temperature between 50-60°F (10-15°C) and a humidity level around 60-70% is ideal. This allows for a slow, controlled drying process while preventing the growth of unwanted microorganisms. For wet-cured meats, such as brine-soaked hams, storing them in a refrigerator at 36-40°F (2-4°C) is recommended to ensure they remain safe and of high quality.
It’s important to invest in a temperature and humidity-controlled environment, such as a dedicated curing chamber or a refrigerator with adjustable settings. This ensures that you have precise control over the storage conditions and can consistently maintain the optimal temperature and humidity levels for your cured meat.
By understanding the significance of temperature and humidity control and following the recommended storage conditions, you can preserve the flavor, texture, and safety of your cured meat.
Store cured meat in a cool, dry place with good air circulation. Wrap it in parchment paper or cheesecloth, then place it in a breathable container like a paper bag or a wooden box. Keep it away from direct sunlight and moisture to prevent spoilage.
Read more: How To Cure Painted Glass
Storing Cured Meat: Proper Packaging Techniques, Suitable Storage Containers, Duration and Shelf Life
Once your meat has been cured and prepared, it’s essential to store it properly to maintain its quality and prolong its shelf life. Let’s explore some key aspects of storing cured meat:
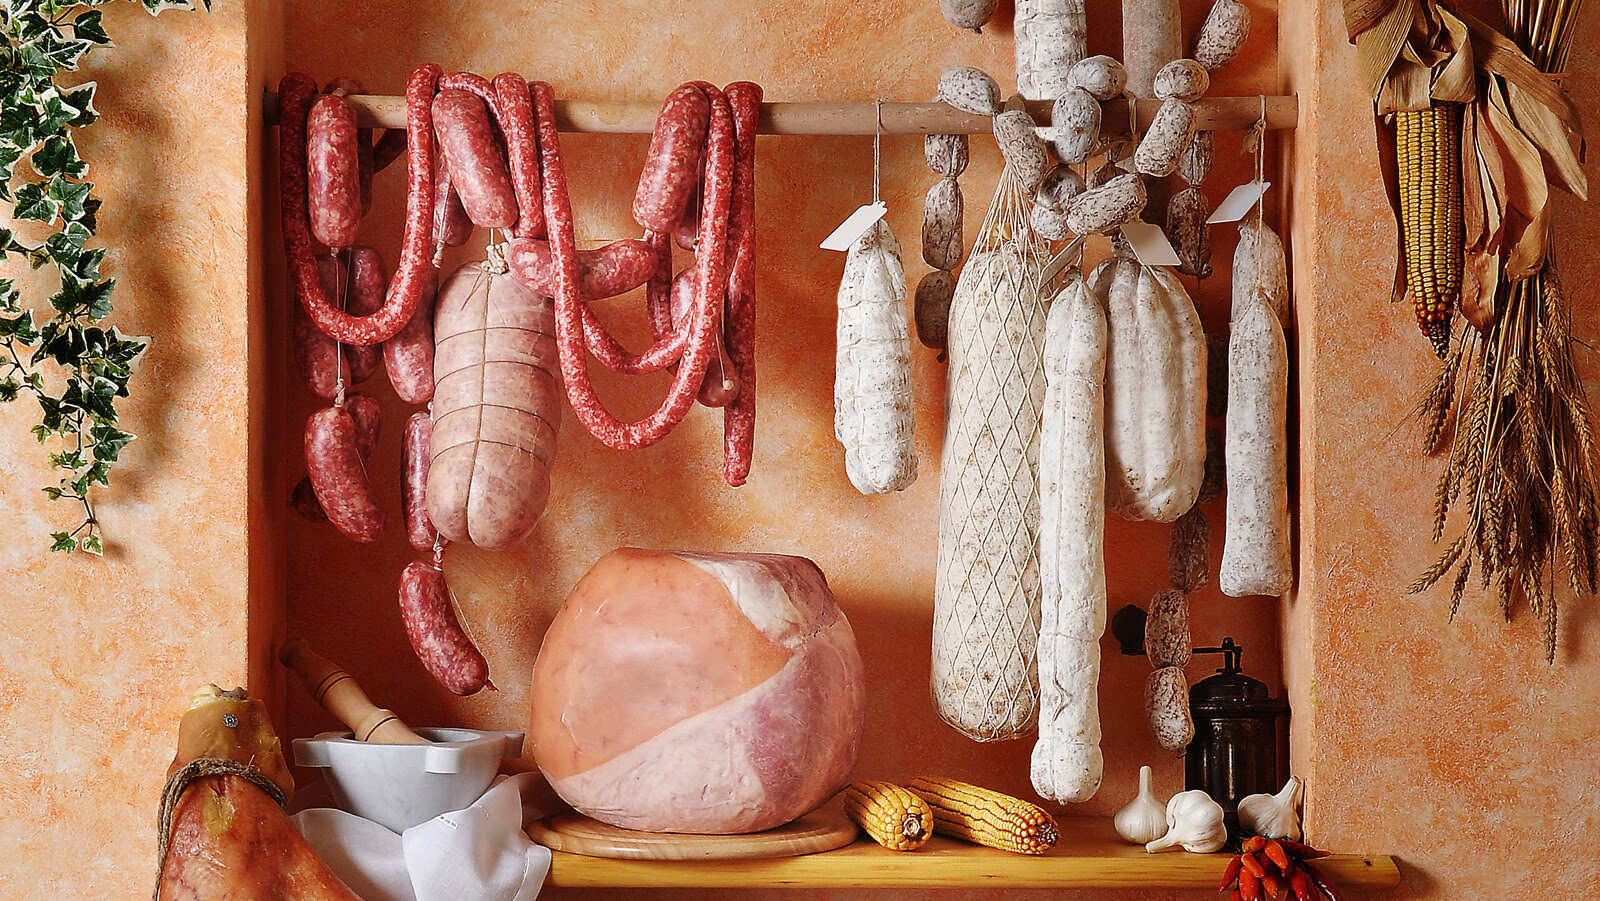
Proper Packaging Techniques: The first step in storing cured meat is to ensure it is properly packaged. For dry-cured meats, such as salami or air-dried ham, wrapping them tightly in butcher paper or muslin cloth allows for airflow while protecting them from external contaminants. This helps maintain the desired texture and prevents the growth of mold. For wet-cured meats, like bacon or brined hams, vacuum-sealing provides an airtight barrier that prevents moisture loss and extends the shelf life.
Suitable Storage Containers: Choosing the right storage container is essential for preserving the quality of the cured meat. For dry-cured meats, hanging them in a cool and dry environment, such as a dedicated curing chamber or a well-ventilated cellar, is often ideal. If you prefer to store them in a container, ensure it allows for proper air circulation. For wet-cured meats, it is recommended to store them in a refrigerator in a sealed container or vacuum-sealed bag to maintain freshness and prevent the absorption of other odors.
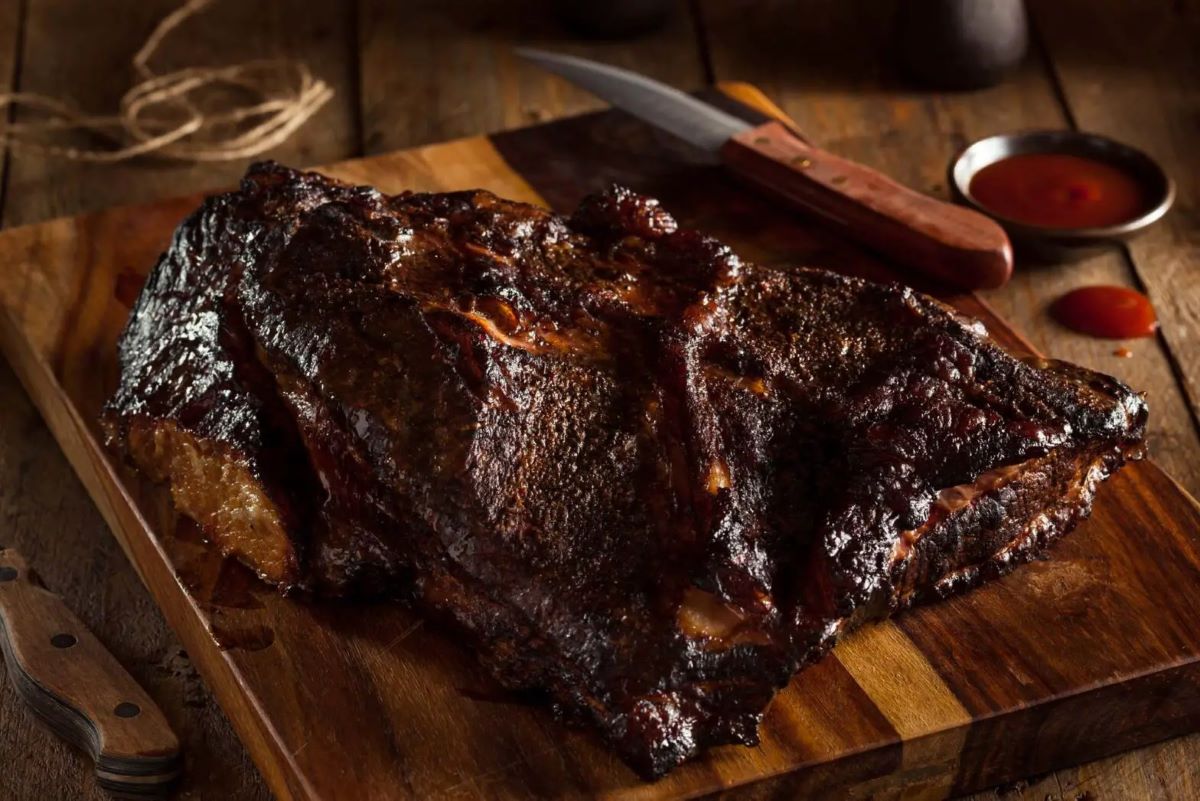
Duration and Shelf Life: The duration and shelf life of cured meat can vary depending on the type of curing, storage conditions, and specific factors like fat content and additional preservatives. Generally, dry-cured meats can last for several weeks to several months when stored properly. Wet-cured meats can last for a few weeks to a few months in the refrigerator. However, always pay attention to signs of spoilage such as discoloration, unpleasant smells, or sliminess, and discard any meat that shows these indications.
It’s worth noting that certain aged and fermented cured meats, such as dry-aged beef or aged salami, can develop complex flavors and improve with time. Monitoring the taste and texture of these meats during storage can allow you to achieve your desired level of aging.
By employing proper packaging techniques, using suitable storage containers, and being aware of the duration and shelf life, you can ensure that your cured meat remains fresh, flavorful, and safe to consume.
Tips and Tricks for Cured Meat Storage: Using Vacuum Sealing, Enhancing Flavor with Aging
When it comes to storing cured meat, there are a few tips and tricks that can help you maintain its quality and enhance its flavor. Let’s explore two key techniques: using vacuum sealing and enhancing flavor through aging:
Using Vacuum Sealing: Vacuum sealing is a fantastic method for prolonging the shelf life of cured meat. By removing the air and creating an airtight environment, vacuum-sealed bags prevent the growth of bacteria and oxidation, preserving the meat’s freshness. This method is particularly useful for wet-cured meats or any cured meat that you plan to store for an extended period. Make sure to follow the manufacturer’s instructions for proper vacuum sealing to ensure an effective seal.
Enhancing Flavor with Aging: Some cured meats, especially those that have been dry-cured, can benefit from additional aging. Aging allows flavors to mellow and intensify while the texture becomes more refined. Consider setting aside a portion of your cured meat for further aging if you enjoy a stronger, more complex flavor profile. Hanging the meat in a cool, well-ventilated environment, such as a cellar or dedicated aging chamber, allows it to develop over time. Regularly monitor the meat and take note of any changes in taste, texture, or appearance to determine the optimal aging duration.
In addition to these techniques, it’s important to rotate your cured meat during storage to ensure even airflow and prevent any areas from becoming damp or developing mold. It’s also crucial to keep your storage area clean and free from pests, as they can contaminate the meat or cause damage.
By using vacuum sealing to extend shelf life and exploring the flavor-enhancing potential of aging, you can further enhance your cured meat storage experience and delight your taste buds with exceptional flavors.
Common Mistakes to Avoid: Improper Storage Conditions, Over or Under-Curing
While storing cured meat may seem straightforward, there are a few common mistakes that can affect the quality and safety of your final product. By being aware of these mistakes, you can ensure that your efforts in curing and storing meat yield the best results. Let’s explore two common mistakes and how to avoid them: improper storage conditions and over or under-curing.
Improper Storage Conditions: One of the most crucial aspects of storing cured meat is maintaining the proper storage conditions, including temperature and humidity. Failure to do so can result in spoilage, mold growth, or the development of off flavors. Avoid storing cured meat in areas that are too warm or humid, as this can accelerate spoilage and promote the growth of harmful bacteria. Conversely, storing cured meat in overly cold temperatures can cause freezing and negatively impact the texture and taste. Invest in proper storage equipment, such as a curing chamber or a refrigerator with adjustable settings, to ensure you can maintain the ideal conditions for your cured meat.
Over or Under-Curing: Achieving the perfect balance of curing can be challenging, but it’s important to avoid over or under-curing your meat. Over-curing can result in overly salty or tough meat, making it unpleasant to consume. Under-curing, on the other hand, may lead to microbial growth and food safety concerns. Follow the recommended curing times and guidelines specific to the type of cured meat you are preparing, and resist the temptation to rush the process. Regularly monitor the texture, color, and aroma of the meat during the curing process to ensure it is progressing as desired. When in doubt, it’s better to err on the side of caution and extend the curing time rather than risk consuming improperly cured meat.
By understanding and avoiding these common mistakes, you can ensure that your cured meat is properly stored, safe to consume, and boasts the desired flavor and texture.
Conclusion
Storing cured meat properly is essential to maintain its quality, flavor, and safety. By following the right techniques and avoiding common mistakes, you can enjoy the fruits of your curing efforts for an extended period. Remember these key takeaways when it comes to storing cured meat:
First, choose the freshest cuts of meat suitable for the type of curing you plan to do. This sets the foundation for a successful end product. Next, properly prepare the meat by trimming excess fat and applying the desired seasonings and flavorings.
Understanding the differences between dry curing and wet curing, and using the essential ingredients for curing, are important steps in the process. Properly controlling temperature and humidity is crucial for ensuring the longevity and safety of the cured meat. Invest in appropriate storage containers and techniques, such as vacuum sealing or hanging in a controlled environment, to optimize shelf life and preservation.
Explore additional techniques like aging to enhance the flavor of your cured meat. Be mindful of common mistakes, such as improper storage conditions and over or under-curing, and strive to avoid them.
By embracing these tips and tricks, you can savor the delicious flavors of your cured meat for an extended period, impressing your taste buds and those of your family and friends.
Remember, storing cured meat is as much an art as it is a science. With practice, patience, and attention to detail, you can master the art of storing cured meat and enjoy the rewards of your culinary craftsmanship.
Frequently Asked Questions about How To Store Cured Meat
Was this page helpful?
At Storables.com, we guarantee accurate and reliable information. Our content, validated by Expert Board Contributors, is crafted following stringent Editorial Policies. We're committed to providing you with well-researched, expert-backed insights for all your informational needs.


0 thoughts on “How To Store Cured Meat”