Home>Furniture & Design>Interior Design Trends>How To Cure Painted Glass
Interior Design Trends
How To Cure Painted Glass
Modified: August 16, 2024
Discover the latest interior design trends for painted glass and learn how to cure it effectively. Enhance your space with these innovative techniques.
(Many of the links in this article redirect to a specific reviewed product. Your purchase of these products through affiliate links helps to generate commission for Storables.com, at no extra cost. Learn more)
Introduction
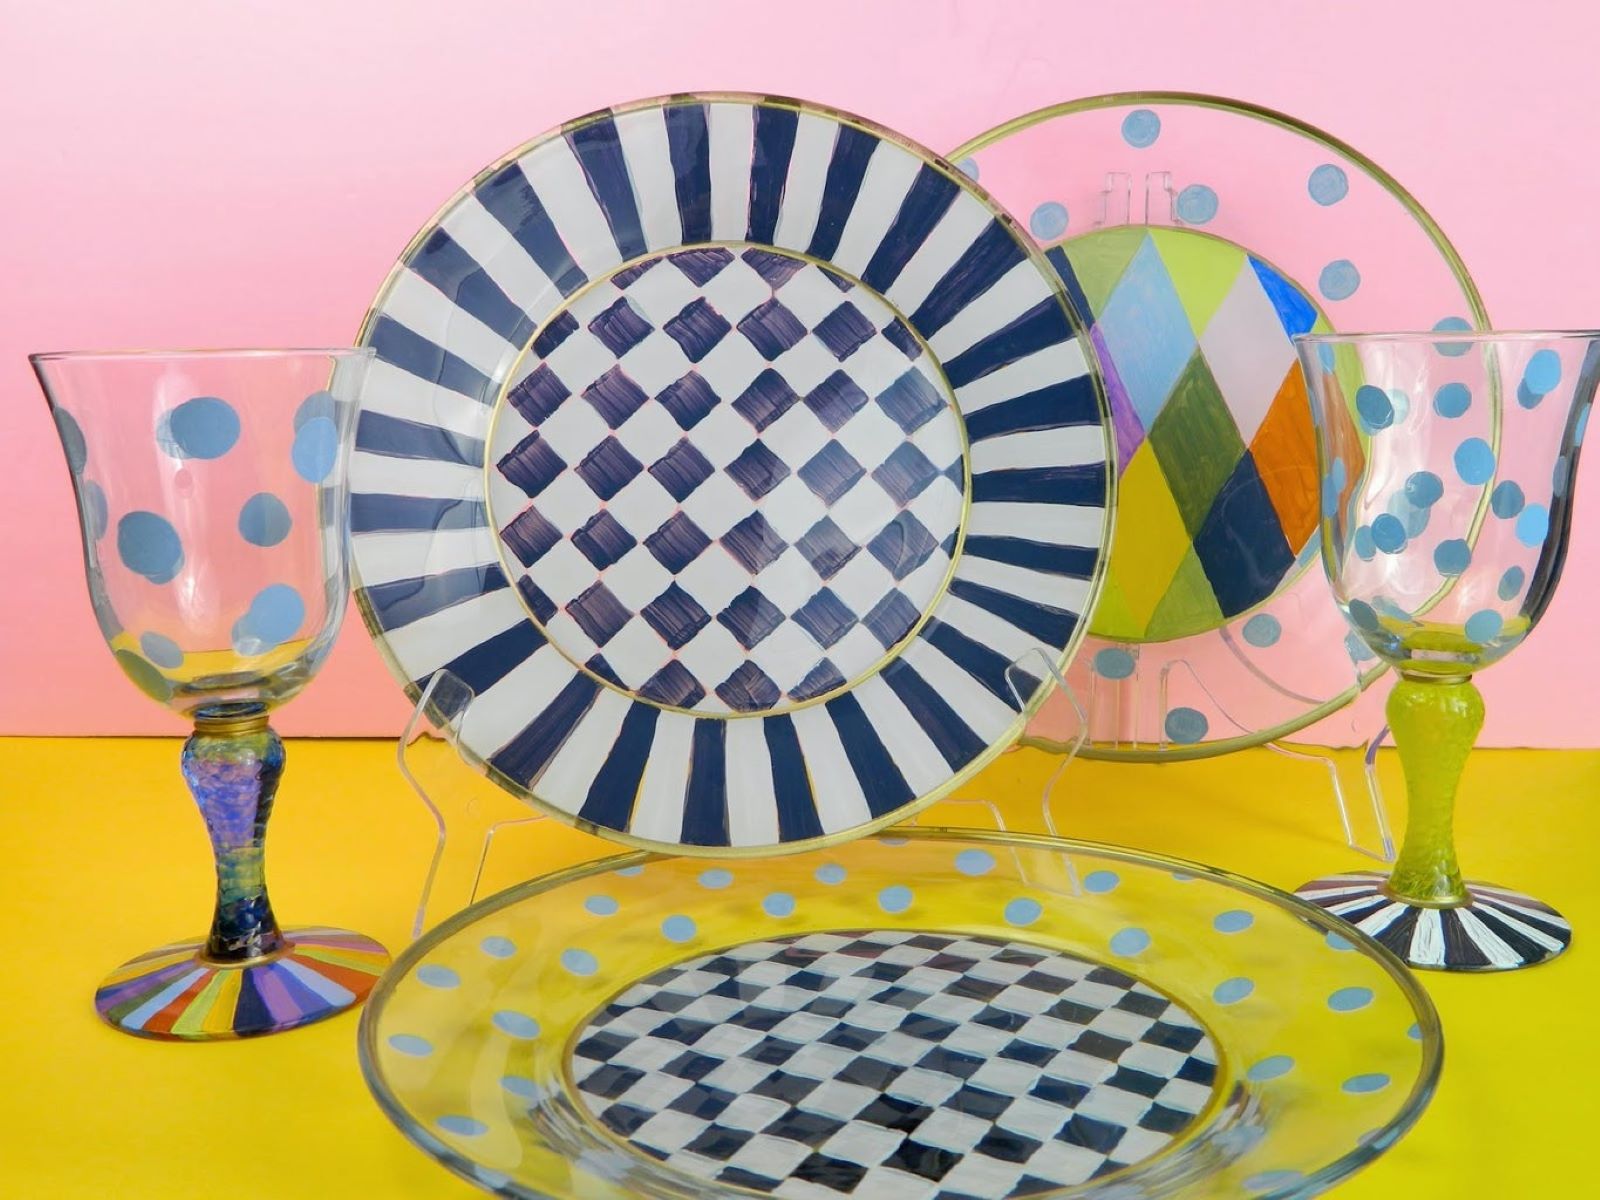
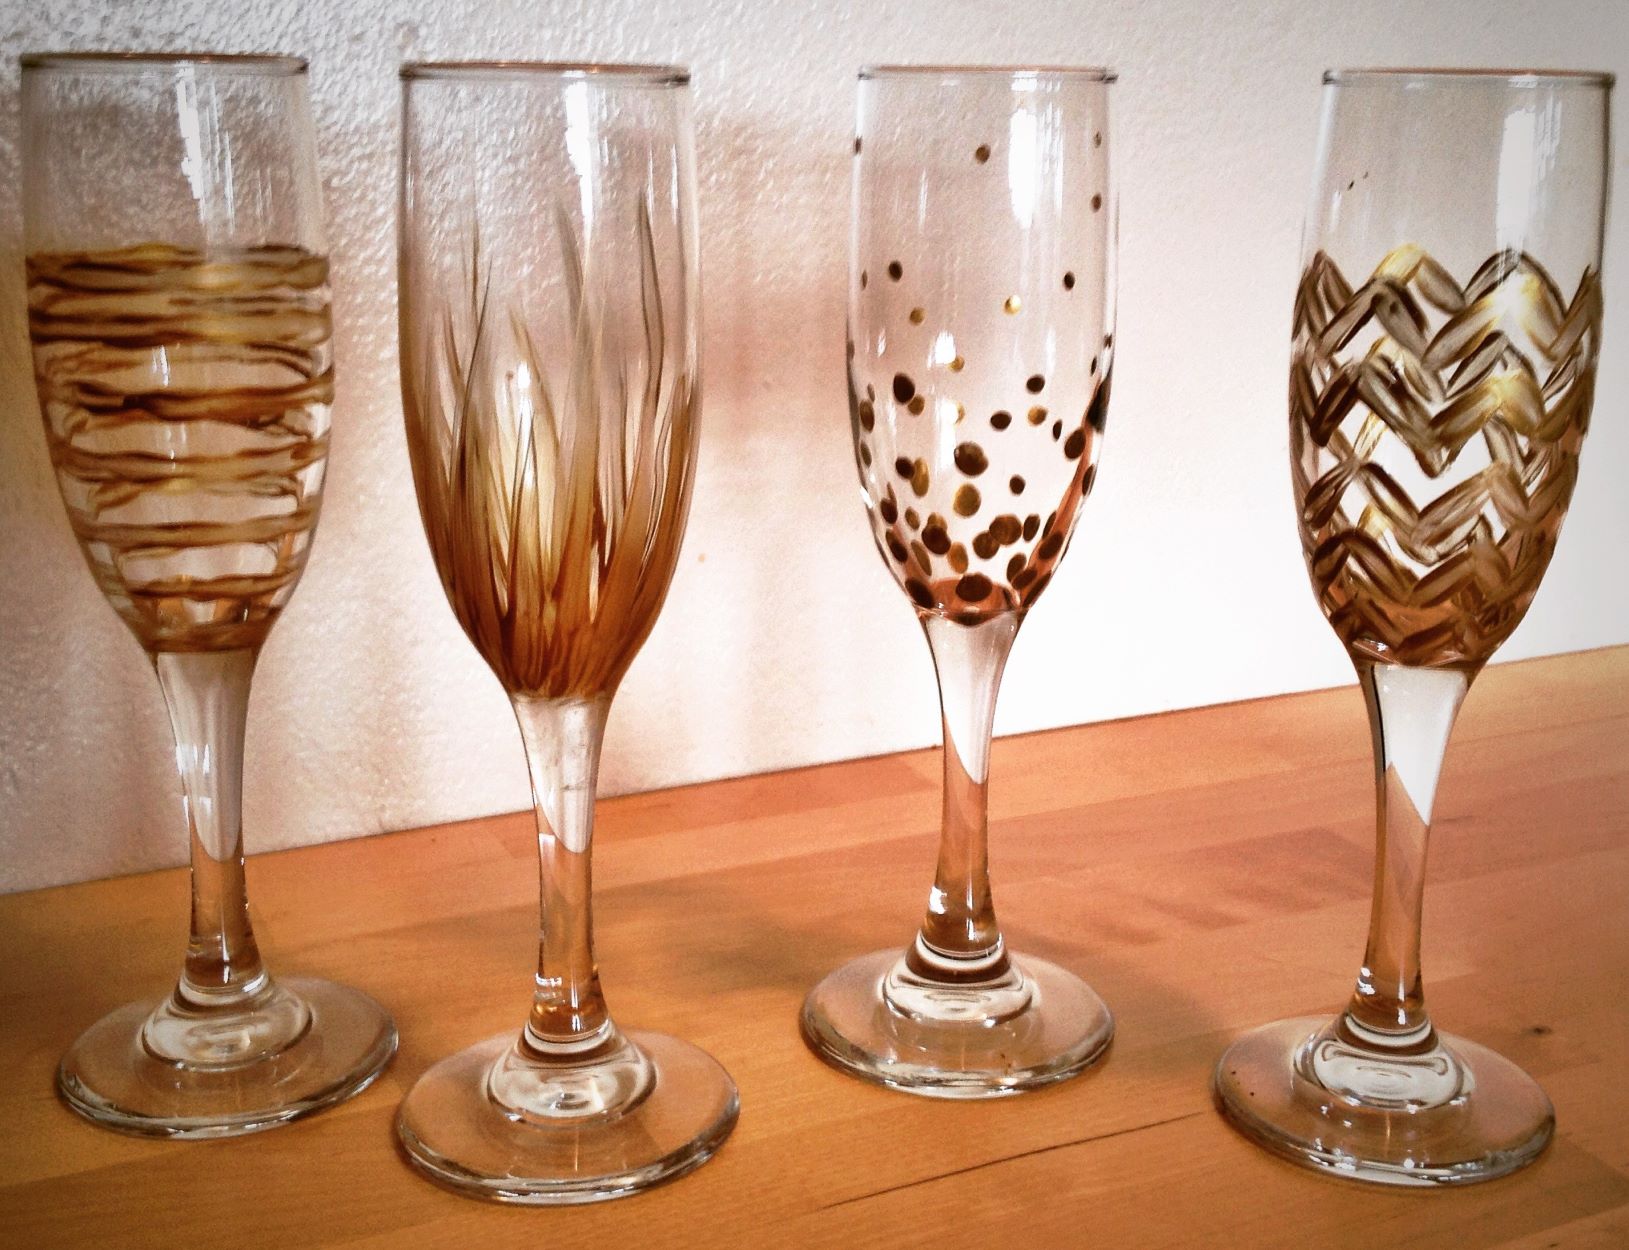
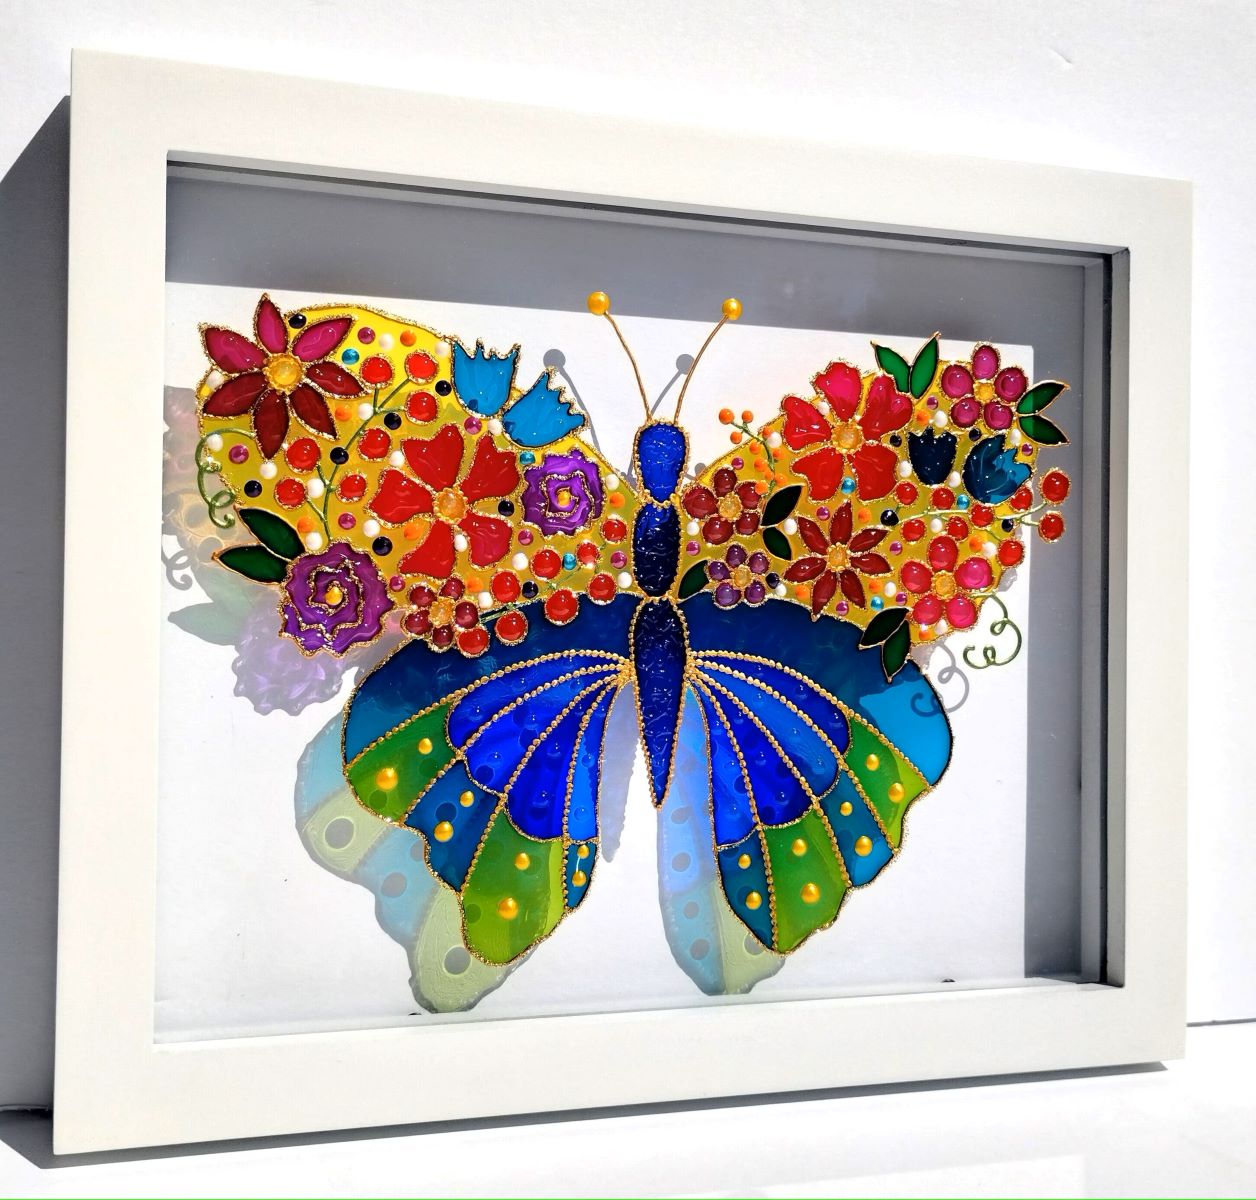
Painted glass can add a touch of elegance and personality to any space, whether it's a decorative vase, a stylish mirror, or a unique piece of art. However, achieving a flawless and durable finish requires more than just a steady hand and the right paint. One crucial step that is often overlooked is the curing process, which is essential for ensuring the longevity and resilience of the painted surface.
In this comprehensive guide, we will delve into the art of curing painted glass, providing you with the knowledge and techniques needed to achieve professional-quality results. From preparing the glass surface to applying the paint and executing the curing process, each step plays a vital role in creating a stunning and long-lasting finish.
By understanding the intricacies of curing painted glass, you can elevate your DIY projects or professional endeavors to new heights. So, let's embark on this journey together and unlock the secrets to mastering the art of curing painted glass.
Key Takeaways:
- To cure painted glass, start with a clean surface, gently sand it, apply primer, and then paint. Finally, cure the glass in an oven to ensure a durable and long-lasting finish.
- Curing painted glass involves controlled heat to bond the paint with the glass surface, creating enduring art that withstands wear and enhances the beauty of any space.
Read more: How Long For Candles To Cure
Materials Needed
Before embarking on the process of curing painted glass, it's essential to gather the necessary materials to ensure a smooth and successful undertaking. Here's a comprehensive list of the items you'll need:
-
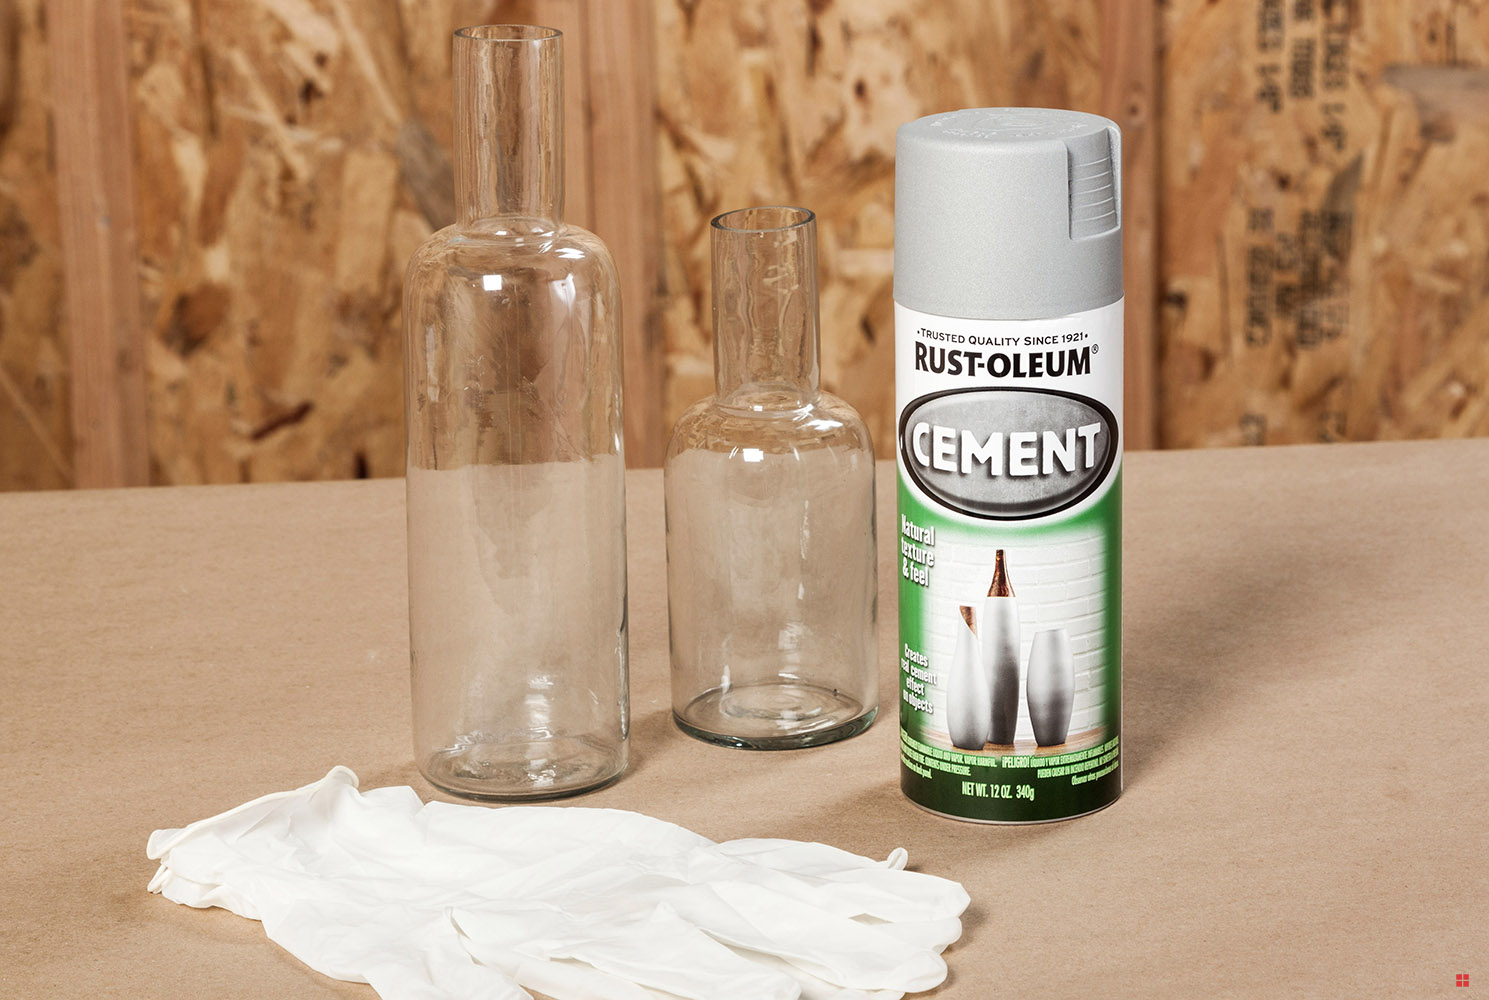
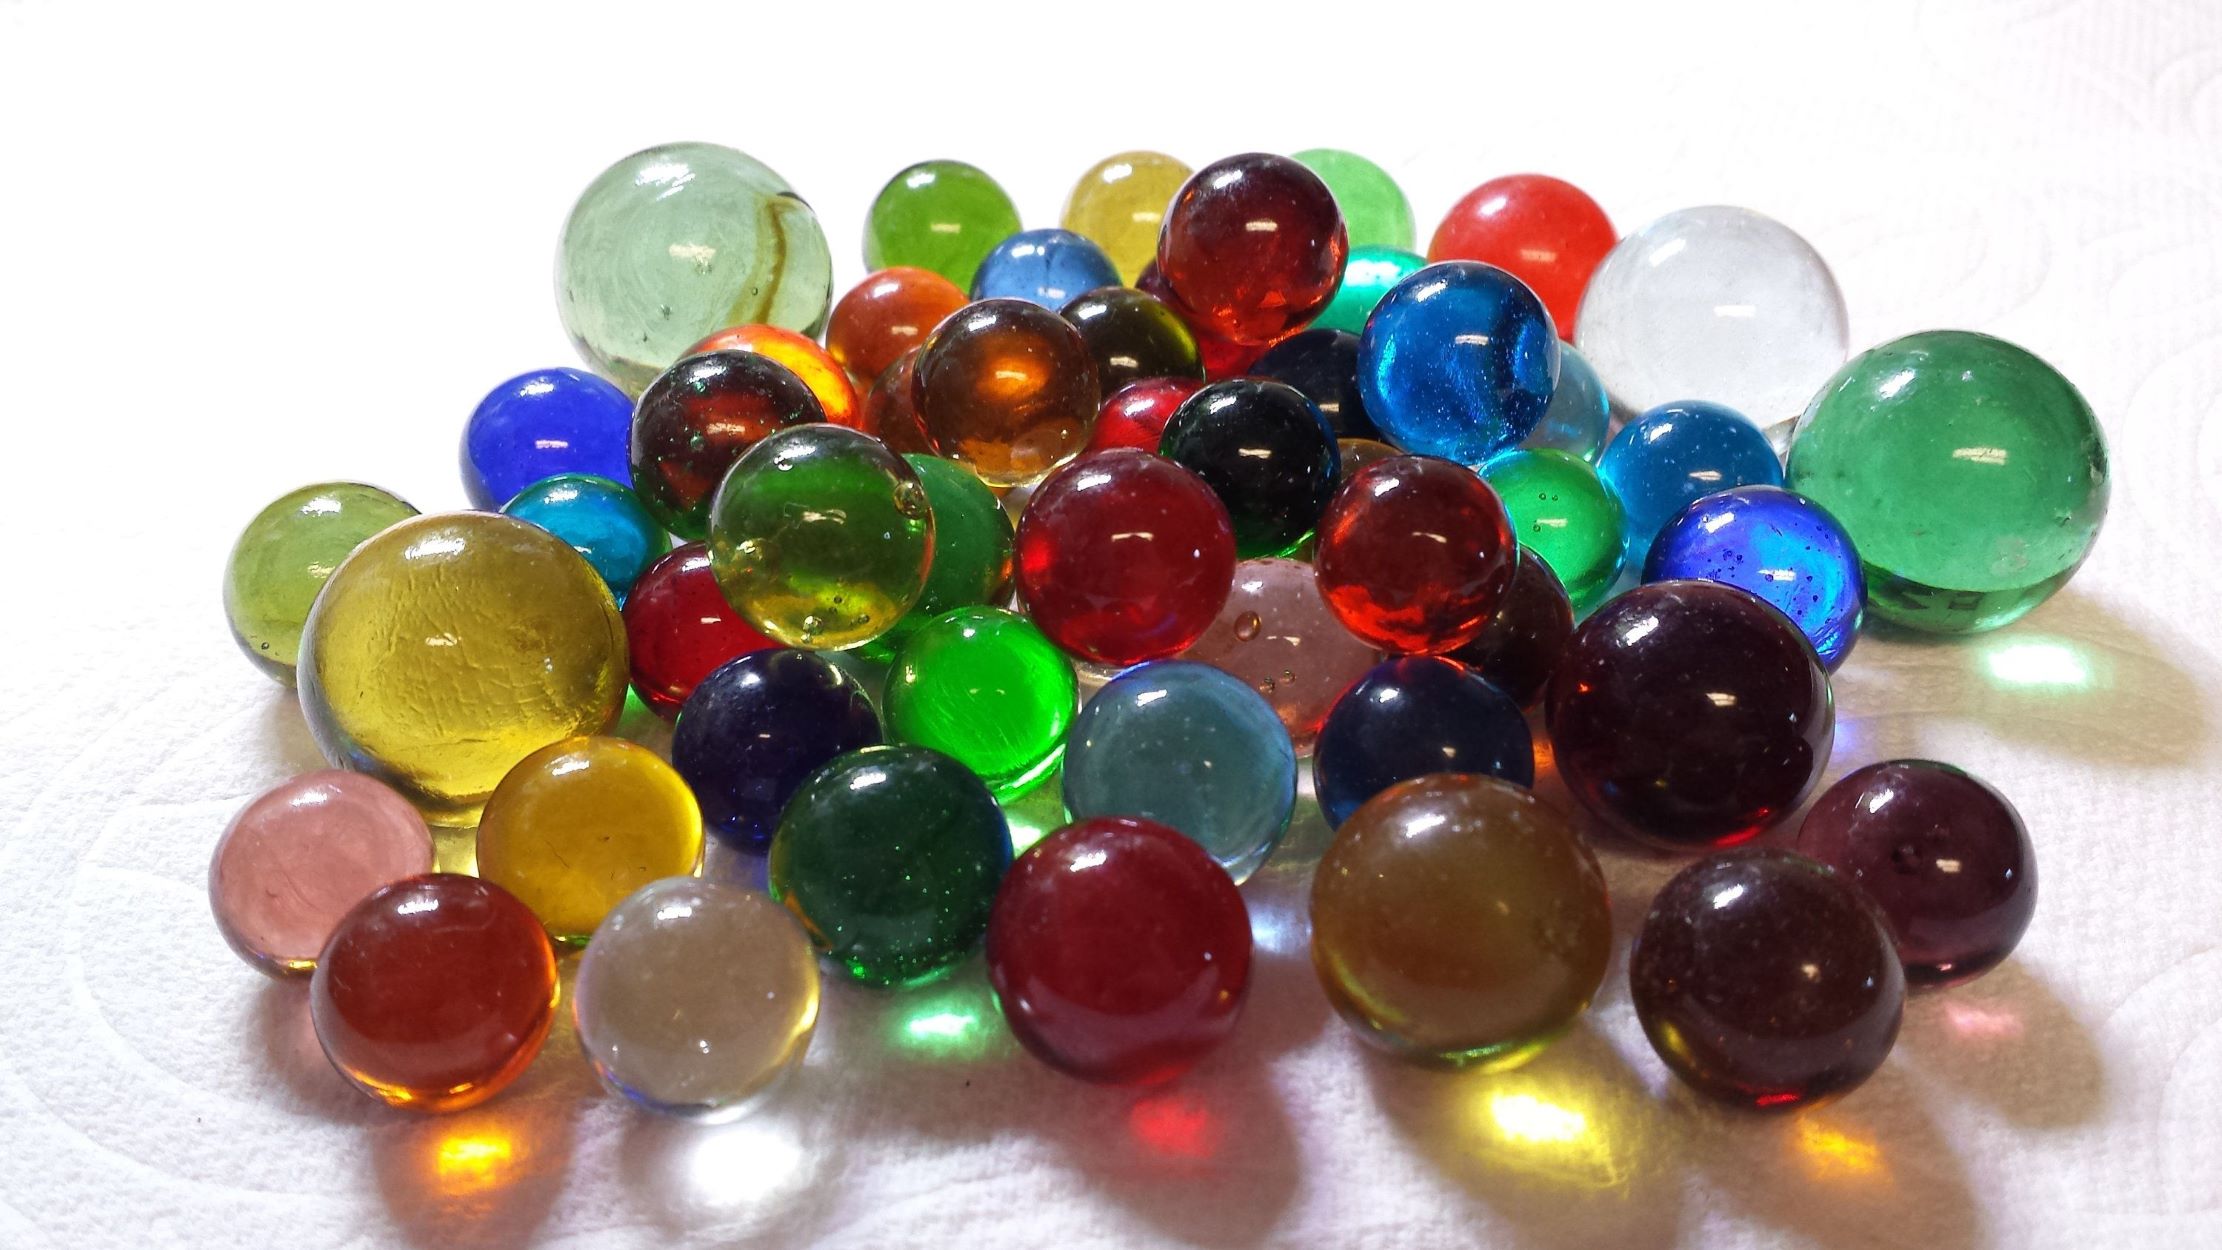
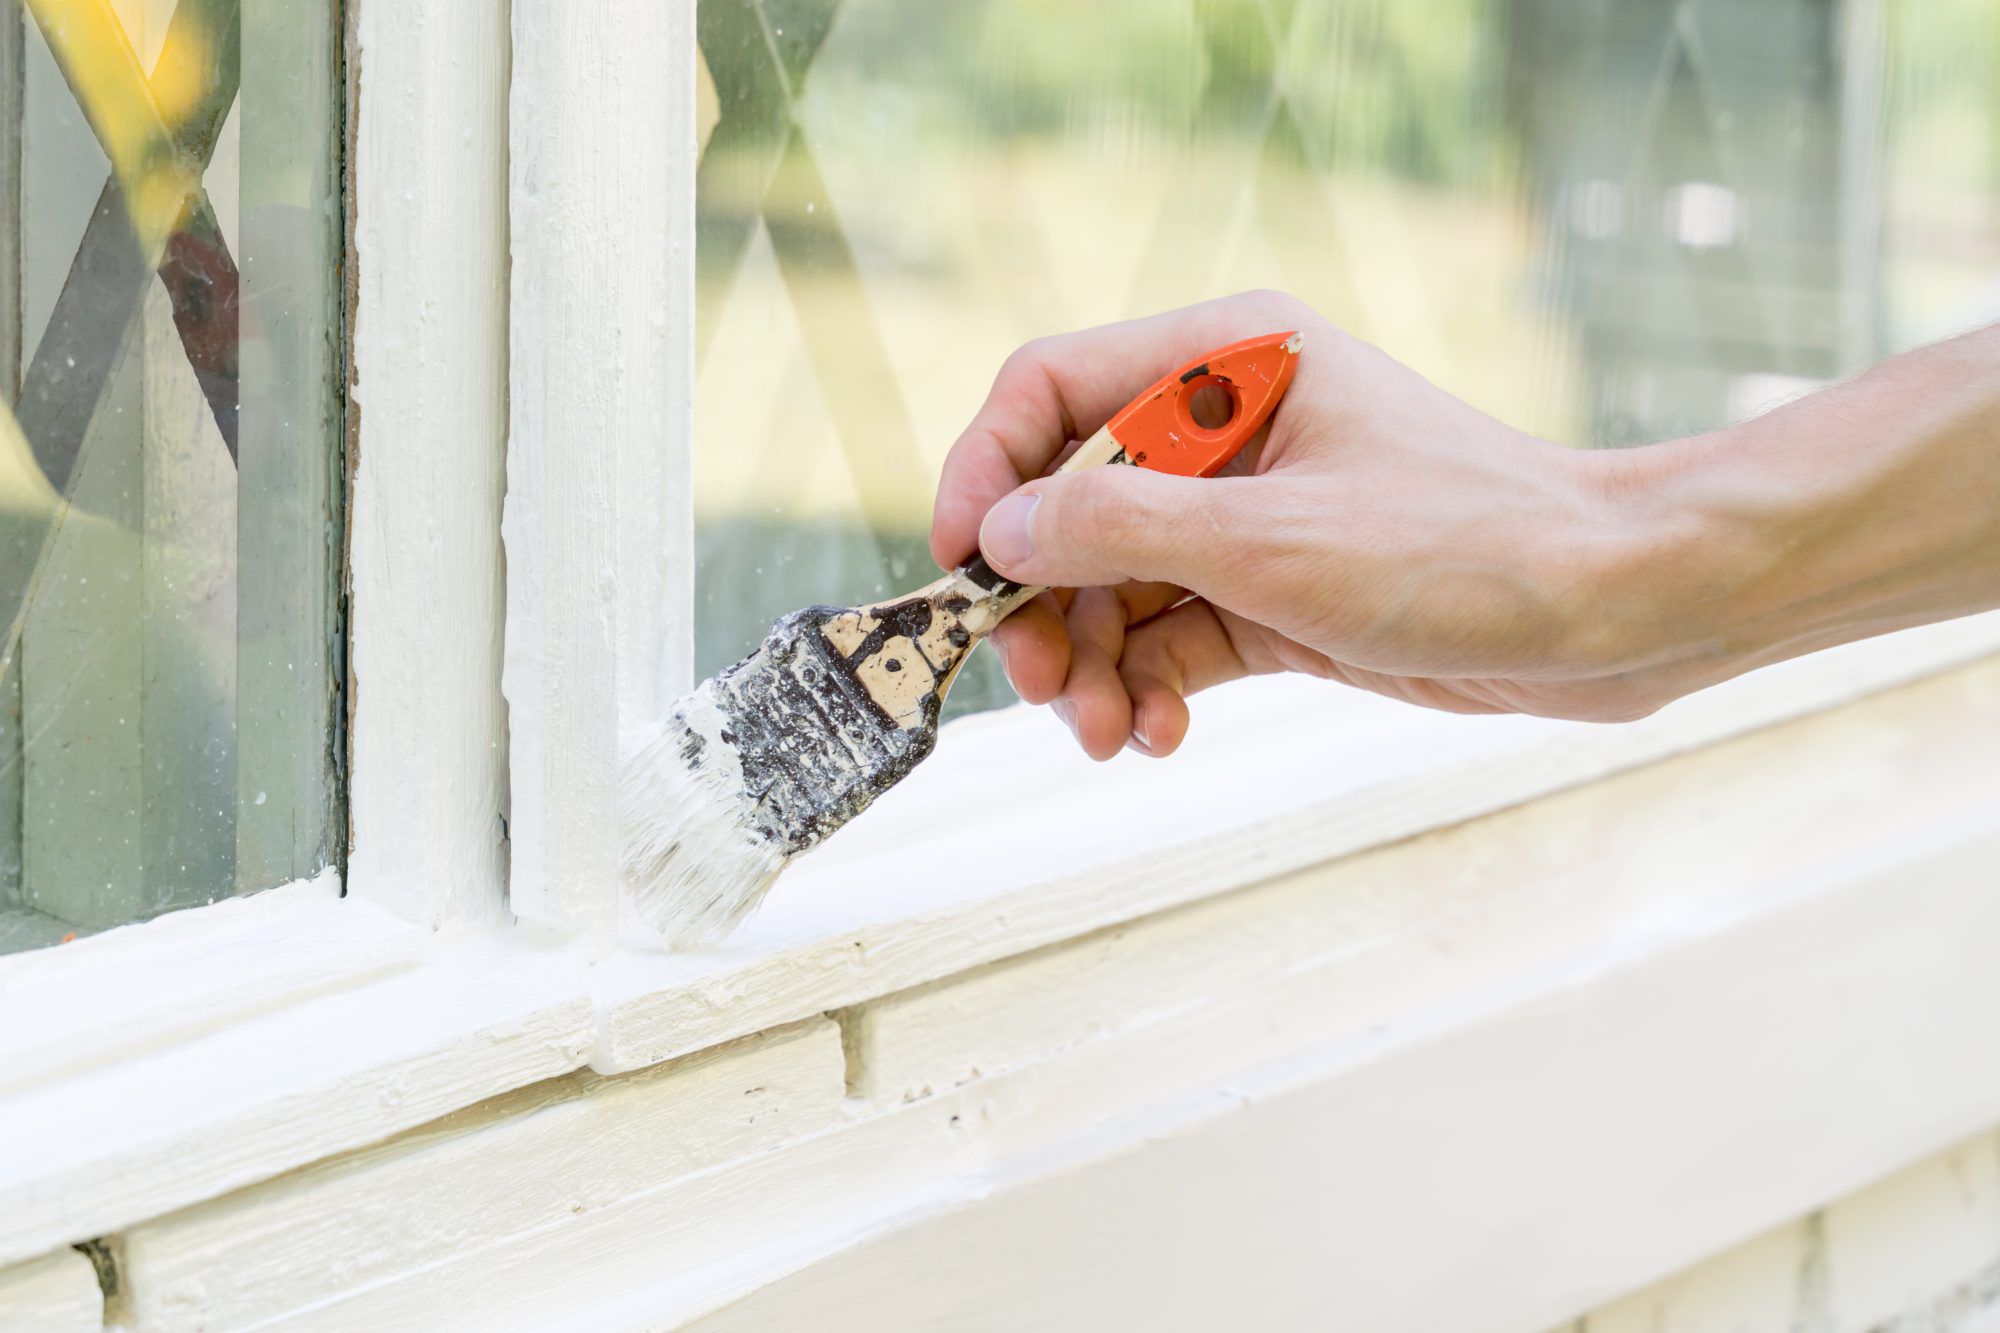
Glass Surface: Select the glass object or surface that you intend to paint and cure. This could be a vase, mirror, window, or any other glass item that you wish to transform with a fresh coat of paint.
-
Glass Cleaner: Use a high-quality glass cleaner to thoroughly clean the glass surface before painting. This will help remove any dirt, dust, or residue that could affect the adhesion of the paint.
-
Fine-Grit Sandpaper: Opt for fine-grit sandpaper to gently roughen the surface of the glass. This step is crucial for promoting paint adhesion and ensuring a long-lasting finish.
-
Primer: Choose a high-quality primer specifically designed for glass surfaces. The primer will create a suitable base for the paint to adhere to and enhance its durability.
-
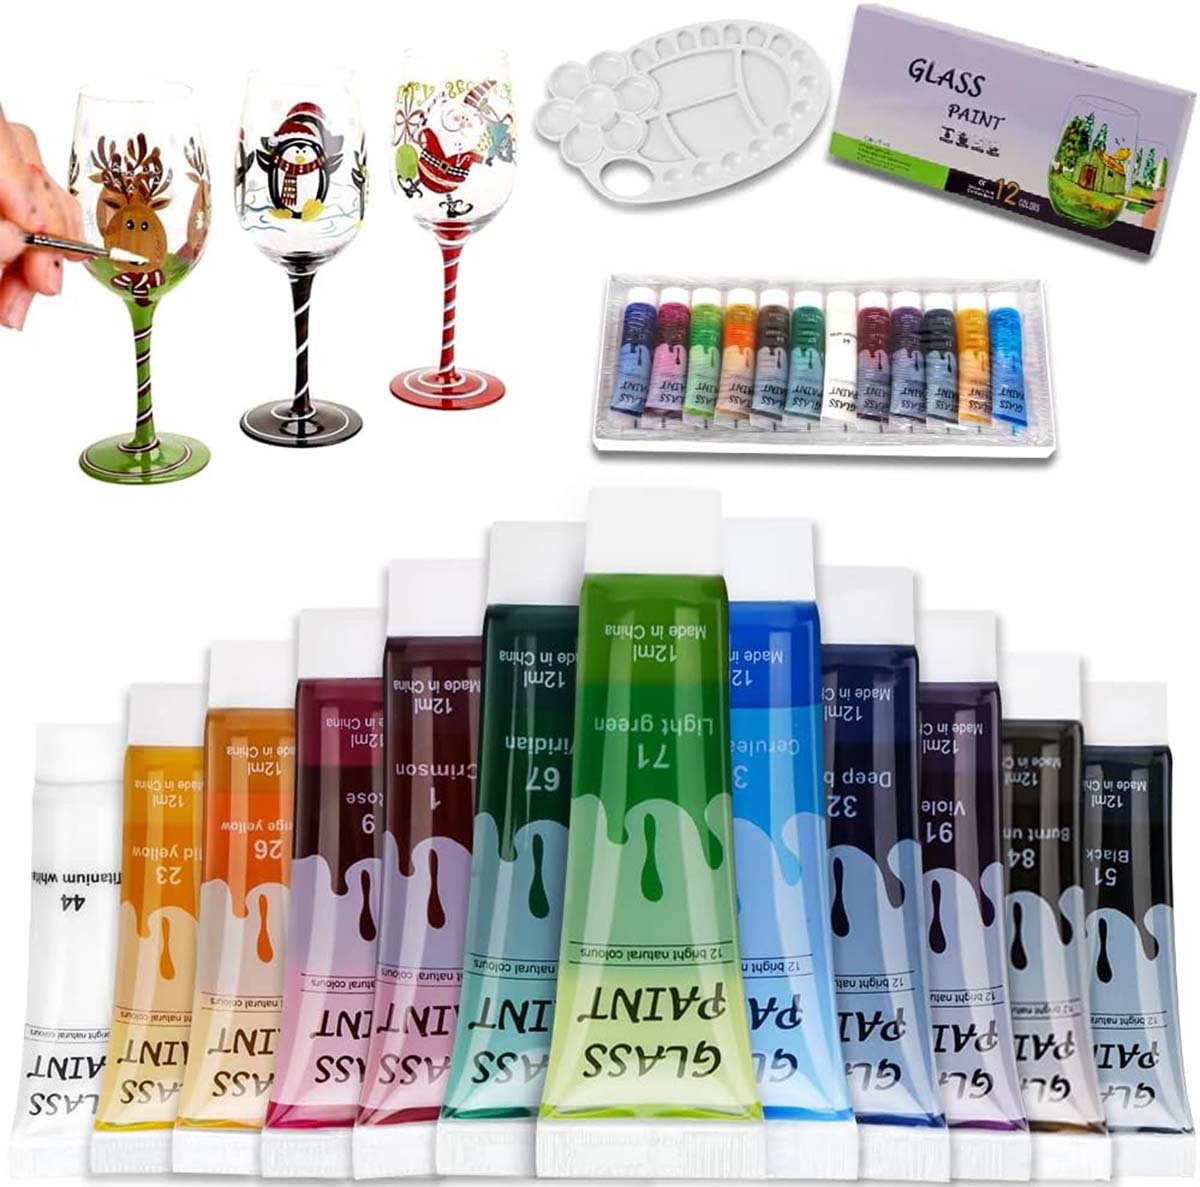
Paint: Select a paint that is formulated for use on glass surfaces. There are various types of glass paints available, including translucent, opaque, and specialty finishes. Ensure that the paint is compatible with the curing process to achieve optimal results.
-
Paintbrushes or Spray Gun: Depending on your preference and the size of the project, gather suitable paintbrushes or a spray gun for applying the primer and paint onto the glass surface.
-
Oven or Heat Source: To cure the painted glass, you will need access to an oven or another heat source capable of reaching the required curing temperature.
-
Oven Thermometer: An oven thermometer is essential for accurately monitoring the curing temperature, ensuring that the glass is heated to the recommended level for the specified duration.
-
Protective Gear: It's important to prioritize safety when working with paints and curing processes. Gather protective gear such as gloves, goggles, and a mask to shield yourself from potential hazards.
-
Clean Cloth: Have a clean, lint-free cloth on hand for wiping the glass surface and ensuring that it is free from any particles before applying the paint and during the curing process.
By assembling these essential materials, you'll be well-prepared to embark on the journey of curing painted glass and achieving professional-quality results. Each item plays a crucial role in the process, contributing to the overall success and durability of the finished product.
Step 1: Clean the Glass
Before diving into the exciting process of painting and curing glass, it's crucial to start with a clean and pristine surface. Cleaning the glass effectively sets the foundation for a flawless finish and ensures that the paint adheres properly, leading to a durable and professional-looking result.
To begin, gather a high-quality glass cleaner and a clean, lint-free cloth. Spray the glass cleaner onto the cloth rather than directly onto the glass surface to prevent excess liquid from seeping into edges or seams. Wipe the entire surface of the glass, ensuring that all dirt, dust, and grime are thoroughly removed. Pay close attention to any stubborn spots or residue, as these can hinder the adhesion of the paint.
Once the initial cleaning is complete, inspect the glass surface under adequate lighting to identify any remaining imperfections. If you notice any lingering marks or smudges, repeat the cleaning process until the glass is entirely free from blemishes.
After the initial cleaning, it's beneficial to use a glass-specific degreaser to eliminate any oily residues or fingerprints that may not have been fully removed during the initial cleaning. Apply the degreaser as directed and wipe the glass surface thoroughly to ensure that it is entirely free from any contaminants that could compromise the paint adhesion.
In addition to the external surface, it's essential to clean the edges and any intricate details of the glass object. Utilize cotton swabs or a soft-bristled brush to reach into crevices and corners, ensuring that every part of the glass surface is impeccably clean and ready for the next steps in the painting and curing process.
By dedicating time and attention to thoroughly cleaning the glass, you are setting the stage for a successful painting and curing experience. The effort invested in this initial step will contribute to the overall quality and longevity of the finished product, ensuring that the paint adheres flawlessly and the curing process yields optimal results.
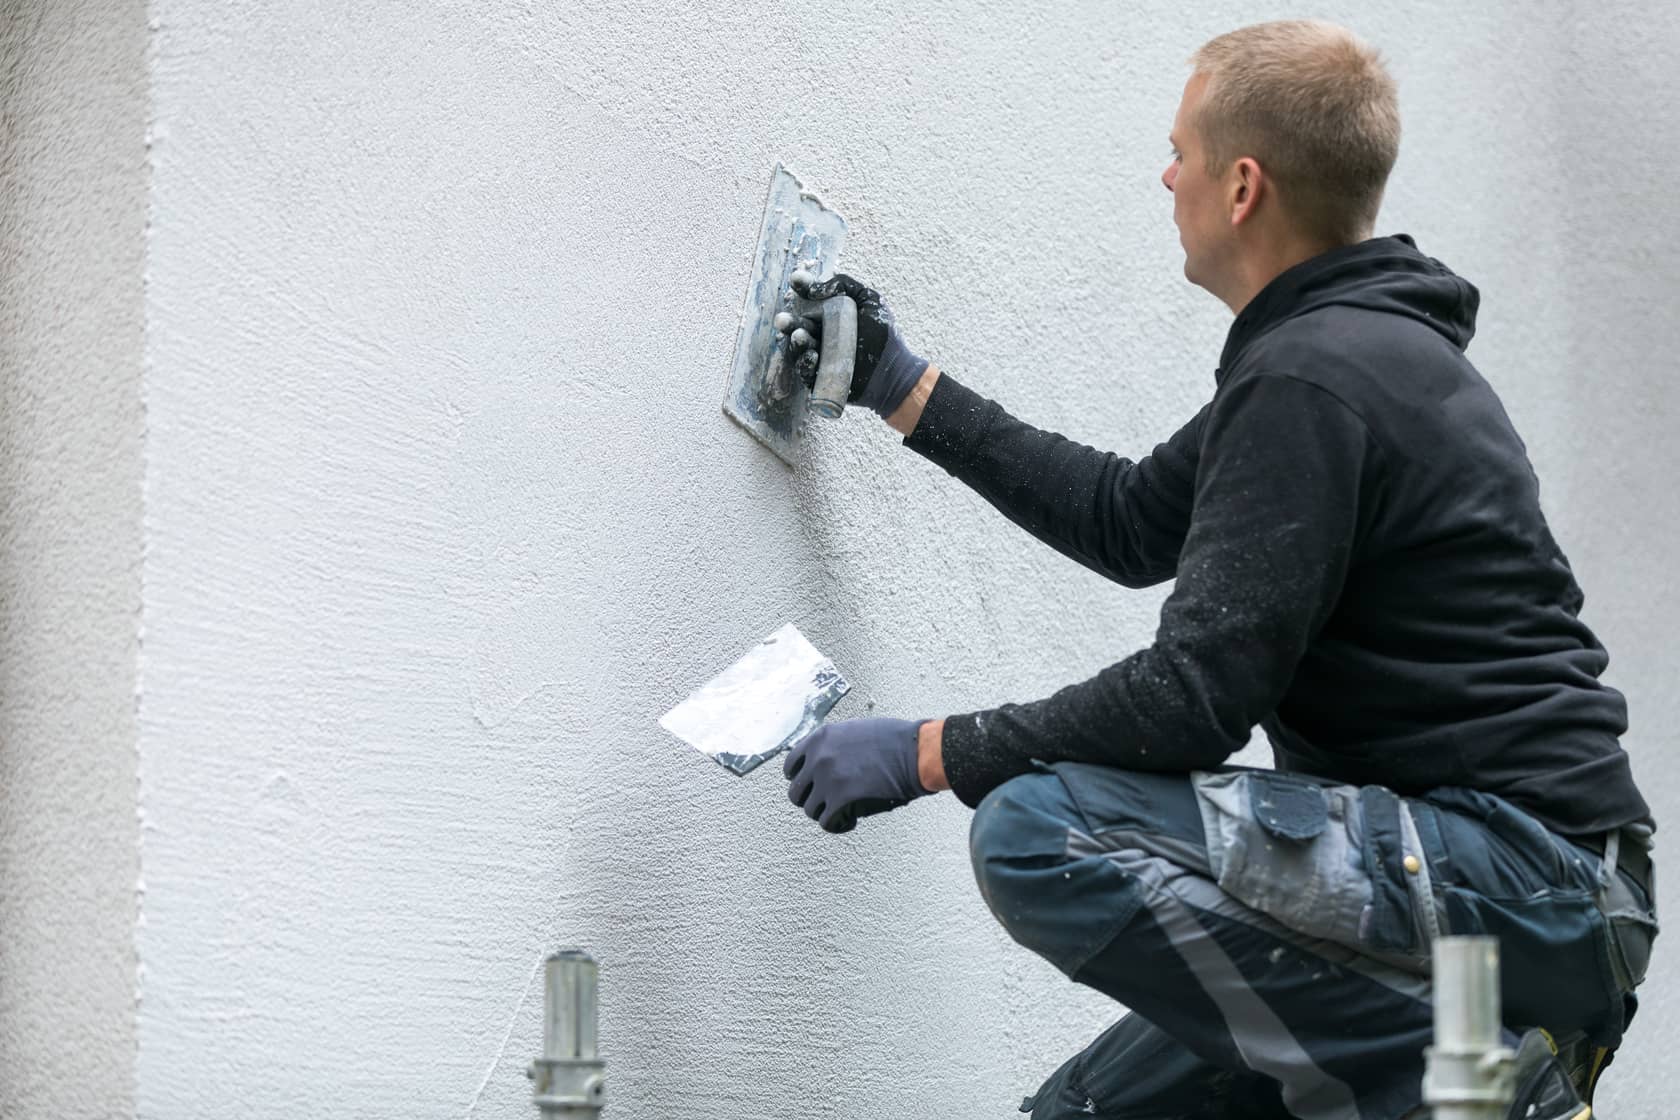
Step 2: Sand the Glass
Once the glass surface is impeccably clean, the next crucial step in preparing for the painting and curing process is to sand the glass. While glass is inherently smooth, its non-porous nature can pose a challenge for paint adhesion. By gently sanding the surface, you create a slightly roughened texture that provides the ideal foundation for the primer and paint to adhere to, ensuring a durable and long-lasting finish.
Begin by selecting a fine-grit sandpaper, preferably in the range of 180 to 220 grit. This finer grit helps avoid deep scratches while still effectively roughening the glass surface. It's important to note that the goal of sanding is not to drastically alter the appearance of the glass, but rather to create a microscopically textured surface that promotes paint adhesion.
Using light pressure, gently sand the entire glass surface in a circular motion. It's essential to maintain a consistent level of pressure to achieve uniform roughening across the entire area. Pay particular attention to any areas that will receive heavy wear or come into frequent contact, as these spots require extra adherence for long-term durability.
After sanding, thoroughly clean the glass once again to remove any residual dust or particles resulting from the sanding process. A lint-free cloth and a high-quality glass cleaner are ideal for this purpose. Ensuring that the glass is entirely free from debris is crucial for the subsequent application of the primer and paint.
By incorporating the step of sanding the glass into your painting and curing process, you are proactively addressing the challenge of paint adhesion on non-porous surfaces. This meticulous preparation sets the stage for a successful and enduring finish, ensuring that your painted glass creation maintains its beauty and integrity over time.
The process of sanding the glass may seem subtle, but its impact on the overall quality and longevity of the painted finish is significant. By investing time and attention into this essential step, you are laying the groundwork for a stunning and enduring transformation of the glass surface.
To cure painted glass, allow the paint to dry for at least 24 hours, then bake the glass in the oven at 350°F for 30 minutes to set the paint. Let it cool before handling.
Step 3: Apply Primer
With the glass surface meticulously cleaned and gently sanded to promote optimal paint adhesion, the next critical step in the process of curing painted glass is the application of primer. The primer serves as a foundational layer that not only enhances the bond between the glass and the paint but also contributes to the overall durability and longevity of the finished product.
Select a high-quality primer specifically formulated for use on glass surfaces. It's essential to choose a primer designed to create a strong bond with both the glass and the type of paint you intend to use. This ensures compatibility and maximizes the effectiveness of the primer in promoting adhesion and durability.
Before applying the primer, ensure that the glass surface is entirely free from any dust, debris, or residue resulting from the sanding process. A clean, lint-free cloth and a high-quality glass cleaner are invaluable for this purpose. Thoroughly inspect the glass surface under adequate lighting to confirm that it is pristine and ready for the application of the primer.
Depending on the size and intricacy of the glass object, you can opt to apply the primer using a high-quality paintbrush or a spray gun. Both methods can yield excellent results, so choose the application technique that best suits your project and personal preference.
Apply the primer evenly and consistently across the entire glass surface, ensuring that no areas are overlooked. The goal is to create a smooth and uniform layer of primer that fully covers the glass, preparing it for the subsequent application of paint. Follow the manufacturer's instructions regarding the recommended drying time for the primer, allowing it to cure fully before proceeding to the next step.
The application of primer is a crucial preparatory step that significantly influences the adhesion and durability of the painted finish. By investing time and attention into this phase of the process, you are laying a solid foundation for a flawless and enduring transformation of the glass surface.
The primer not only facilitates the adhesion of the paint but also enhances the overall resilience of the finished product, ensuring that your painted glass creation maintains its beauty and integrity over time. With the primer applied, the stage is set for the exciting next phase: the application of paint onto the prepared glass surface.
Read more: How To Cure A Pizza Oven
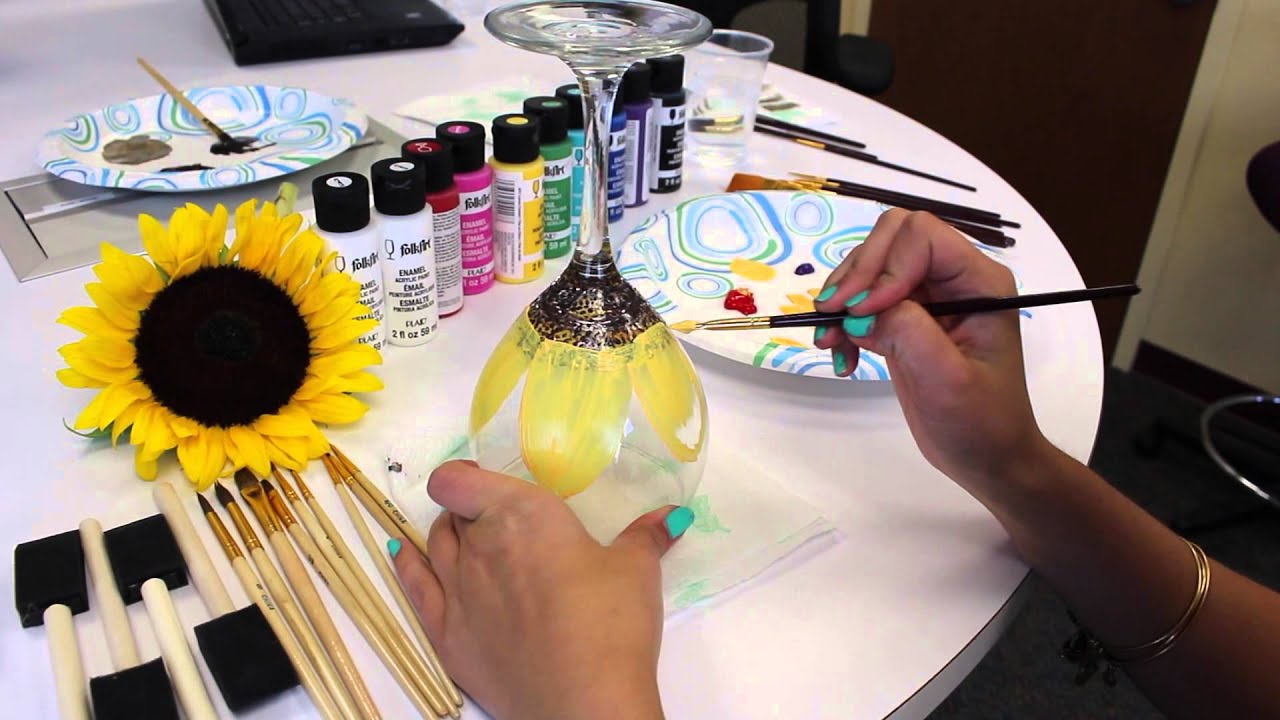
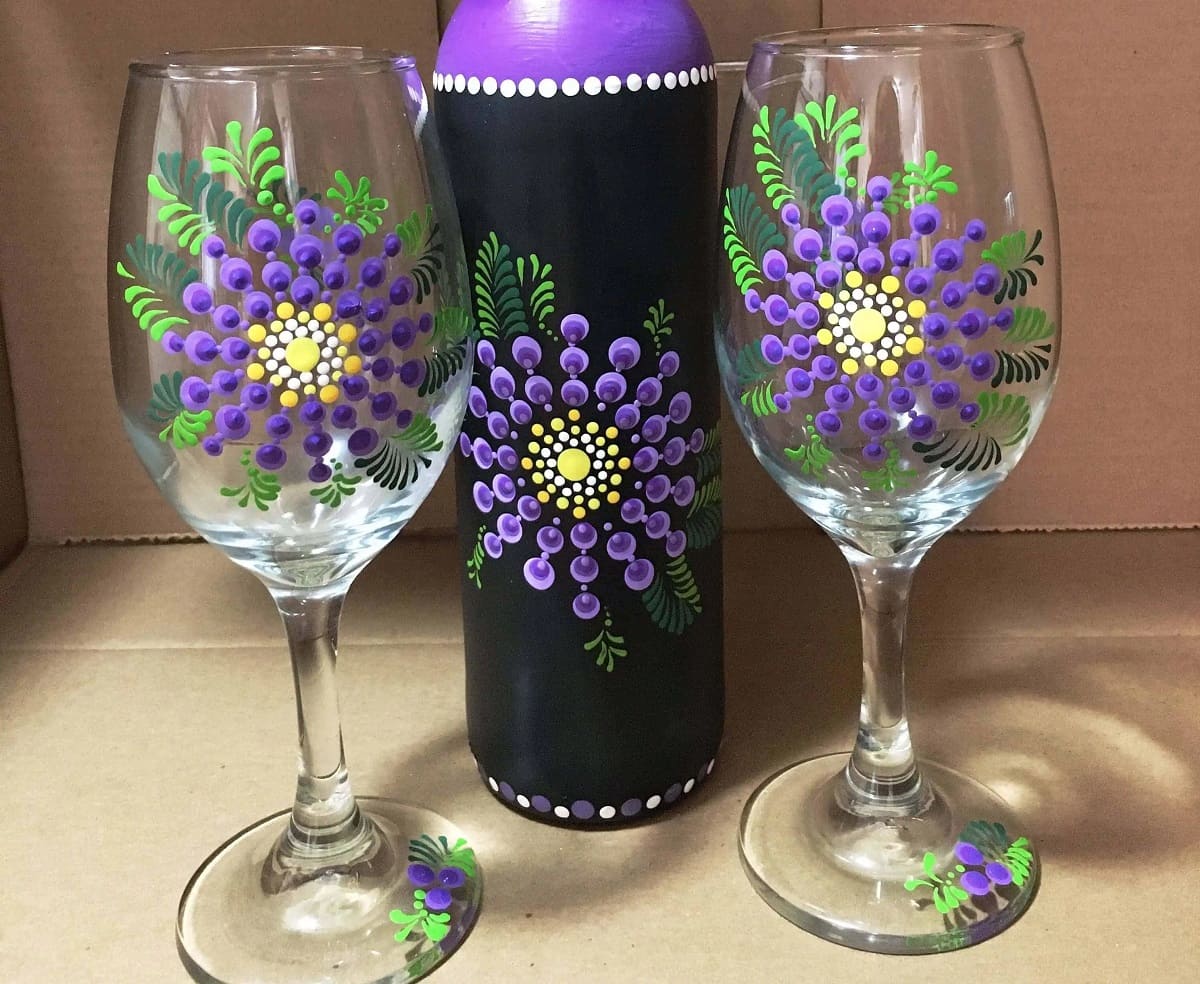
Step 4: Apply Paint
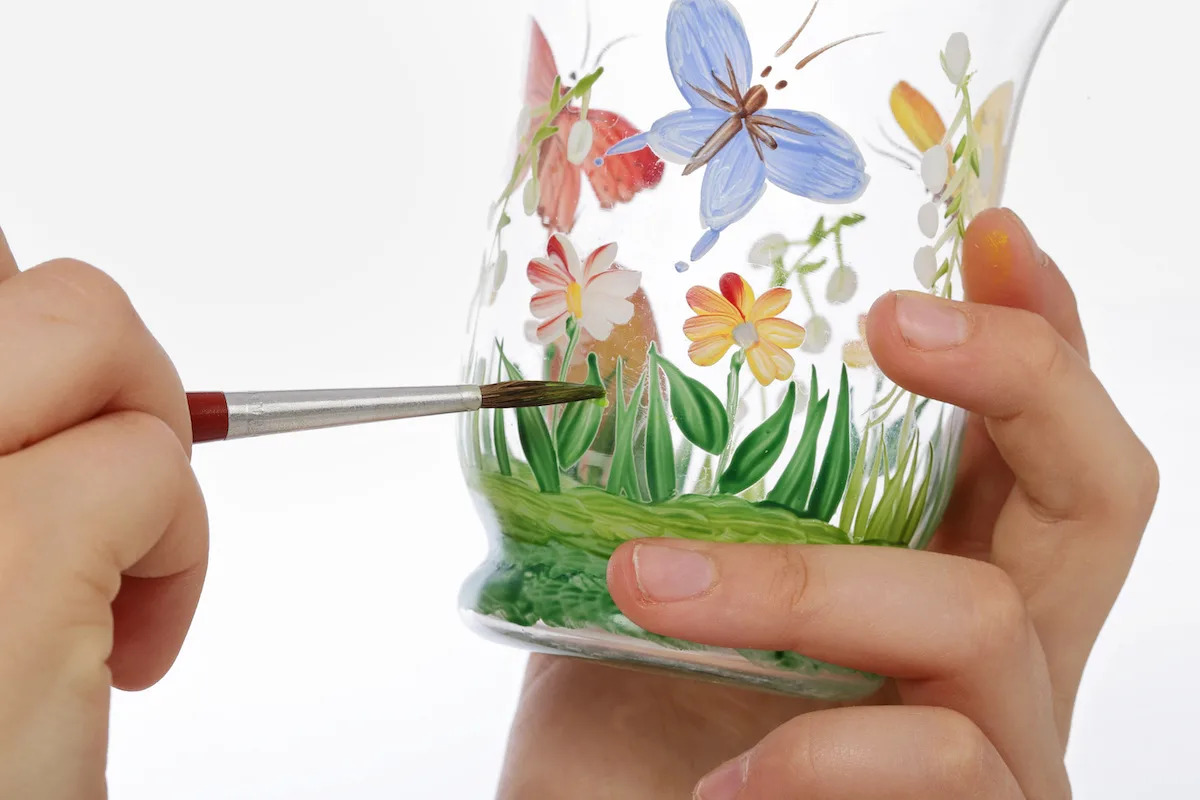
With the glass surface meticulously cleaned, gently sanded, and primed to perfection, the stage is set for the transformative and creative step of applying paint. This pivotal phase allows you to infuse the glass with color, personality, and style, bringing your artistic vision to life in a tangible and visually captivating form.
When selecting the paint for your glass project, it's essential to choose a high-quality paint specifically formulated for use on glass surfaces. Consider the desired finish, whether translucent, opaque, or specialty effects, and ensure that the chosen paint is compatible with the curing process. Additionally, explore a diverse palette of colors to unleash your creativity and achieve the desired aesthetic impact.
Whether you opt for a paintbrush or a spray gun, the application technique plays a crucial role in achieving a flawless and uniform finish. Apply the paint evenly and consistently across the primed glass surface, ensuring comprehensive coverage and smooth, flowing strokes. Depending on your artistic vision, you may choose to apply multiple coats of paint, allowing each layer to dry thoroughly before adding the next.
As you immerse yourself in the process of applying paint to the glass, embrace the opportunity to express your creativity and bring your artistic vision to fruition. Whether you're embellishing a vase with intricate designs, adding a pop of color to a mirror, or crafting a personalized glass art piece, the application of paint is where your imagination takes center stage.
Once the paint has been applied to your satisfaction, allow it to dry completely according to the manufacturer's recommendations. This crucial drying period sets the stage for the final and essential phase of the process: curing the painted glass to ensure a durable, long-lasting, and professional-quality finish.
By investing care and attention into the application of paint, you are infusing the glass with your artistic expression and setting the stage for the culmination of the curing process. As the paint dries, the glass surface undergoes a stunning transformation, ready to be elevated to new heights through the art of curing.
Step 5: Cure the Paint
Curing the painted glass is the pivotal final step that elevates the finish from beautiful to enduring, ensuring that your artistic creation maintains its brilliance and resilience over time. The curing process involves subjecting the painted glass to controlled heat, allowing the paint to bond firmly with the glass surface and achieve maximum durability.
To initiate the curing process, carefully transfer the painted glass to a preheated oven. It's crucial to place the glass on a stable and heat-resistant surface within the oven to prevent any potential damage or accidents. The recommended curing temperature and duration may vary depending on the type of paint used, so it's essential to refer to the paint manufacturer's instructions for precise guidelines.
As the painted glass undergoes the curing process, it's advisable to monitor the oven temperature closely using an oven thermometer. This ensures that the glass reaches and maintains the specified curing temperature, allowing the paint to bond effectively with the glass surface. The duration of the curing process is equally important, as it allows the paint to undergo the necessary chemical changes and achieve optimal adhesion and durability.
Once the prescribed curing duration has elapsed, carefully remove the painted glass from the oven using heat-resistant gloves or mitts. Place the glass on a heat-safe surface and allow it to cool gradually to room temperature. Avoid subjecting the glass to sudden temperature changes, as this can compromise the integrity of the cured paint.
Upon completion of the curing process, the painted glass undergoes a remarkable transformation, emerging with a resilient and enduring finish that withstands the test of time. The paint becomes firmly bonded to the glass surface, exhibiting enhanced durability and resistance to wear, ensuring that your artistic creation maintains its beauty and integrity for years to come.
By embracing the art of curing painted glass, you elevate your creative endeavors to new heights, infusing your projects with enduring quality and longevity. The meticulous attention invested in each step of the process culminates in a stunning and resilient finish, allowing your painted glass creations to captivate and endure, enriching your space with enduring beauty and artistic expression.
Conclusion
In conclusion, the art of curing painted glass encompasses a meticulous and transformative process that elevates artistic creations to new heights of durability and enduring beauty. From the initial steps of cleaning and sanding the glass surface to the application of primer and paint, each phase plays a crucial role in preparing the glass for the final and essential step of curing.
By embracing the art of curing painted glass, individuals and artisans alike can infuse their creative projects with a level of resilience and longevity that transcends conventional painted surfaces. The curing process, achieved through controlled heat application, allows the paint to bond firmly with the glass, resulting in a finish that withstands the test of time.
The journey of curing painted glass is a testament to the fusion of artistry and craftsmanship, where meticulous preparation and attention to detail culminate in enduring and visually captivating results. Whether it's adorning glass vases with intricate designs, adding a touch of color to mirrors, or crafting personalized glass art pieces, the art of curing painted glass empowers creators to transform ordinary glass surfaces into enduring works of art.
As the painted glass emerges from the curing process, it embodies a remarkable transformation, characterized by enhanced durability, resistance to wear, and a captivating visual allure. The enduring finish achieved through the art of curing painted glass ensures that artistic creations maintain their brilliance and integrity, enriching living spaces with enduring beauty and personal expression.
In essence, the art of curing painted glass transcends traditional painting techniques, offering a pathway to infuse glass surfaces with enduring artistry and resilience. By mastering the intricacies of the curing process, creators can breathe new life into glass objects, elevating them from mere surfaces to enduring works of art that captivate and endure for years to come.
Frequently Asked Questions about How To Cure Painted Glass
Was this page helpful?
At Storables.com, we guarantee accurate and reliable information. Our content, validated by Expert Board Contributors, is crafted following stringent Editorial Policies. We're committed to providing you with well-researched, expert-backed insights for all your informational needs.
0 thoughts on “How To Cure Painted Glass”