Articles
Maytag Washer How To Remove Agitator
Modified: October 19, 2024
Learn how to easily remove the agitator from your Maytag washer with step-by-step articles. Discover expert tips and tricks for a smooth DIY experience.
(Many of the links in this article redirect to a specific reviewed product. Your purchase of these products through affiliate links helps to generate commission for Storables.com, at no extra cost. Learn more)
Introduction
Welcome to this step-by-step guide on how to remove the agitator from your Maytag washer. The agitator is an essential component that helps to rid your clothes of dirt and stains by creating a swirling motion during the wash cycle. Over time, it’s not uncommon for the agitator to get clogged or worn out, affecting its performance.
Removing the agitator from your Maytag washer might seem like a daunting task, but with the right tools and a bit of patience, it can be done easily. By following the instructions provided in this guide, you’ll be able to safely remove the agitator and either clean or replace it—restoring your washer’s effectiveness.
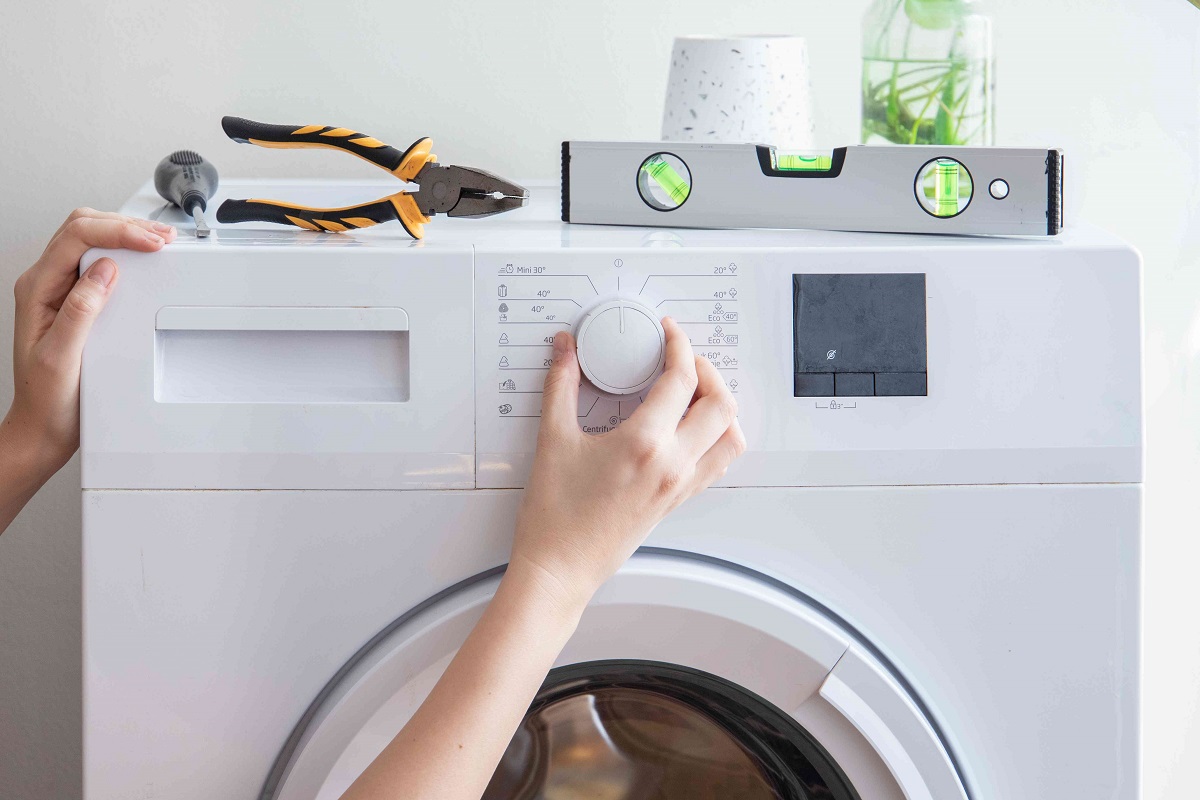
Before we begin, it’s important to note that the steps outlined here are specifically tailored for Maytag washers. It’s recommended to consult your user manual or manufacturer’s instructions for model-specific guidance. Additionally, ensure that you have unplugged the washer from the power source before attempting any maintenance or repairs.
Now, let’s gather the necessary tools to get started on removing the agitator from your Maytag washer.
Key Takeaways:
- Easily remove, clean, or replace the agitator in your Maytag washer with basic tools and step-by-step instructions, ensuring optimal laundry performance and longevity.
- Prioritize safety, preparation, and attention to detail when removing the agitator, and consult the user manual for model-specific guidance to maintain your Maytag washer effectively.
Read more: How To Remove Agitator From Ge Washer
Step 1: Gather the necessary tools
Before jumping into the process of removing the agitator, it’s important to gather all the necessary tools. Having everything on hand will make the process smooth and efficient. Here are the tools you’ll need:
- Screwdriver: You’ll need a screwdriver to remove any screws or fasteners that may be securing the agitator in place. Make sure you have the appropriate size and type of screwdriver for your Maytag washer model.
- Adjustable wrench: An adjustable wrench will come in handy for loosening and tightening any bolts or nuts that need to be removed or reattached during the process.
- Protective gloves: It’s always a good idea to wear protective gloves to safeguard your hands from any sharp edges or potential injuries while working on the washer.
- Cleaning brush: If you’re planning to clean the agitator instead of replacing it, a cleaning brush will be useful for removing any built-up grime or debris.
- Replacement agitator (optional): If you’ve determined that your agitator is damaged beyond repair, you may need to have a replacement agitator ready to install. Make sure you have the correct model and size for your Maytag washer.
Having these tools at your disposal will ensure that you’re prepared and equipped for the next steps. Now that you have everything ready, let’s move on to preparing the washer for agitator removal.
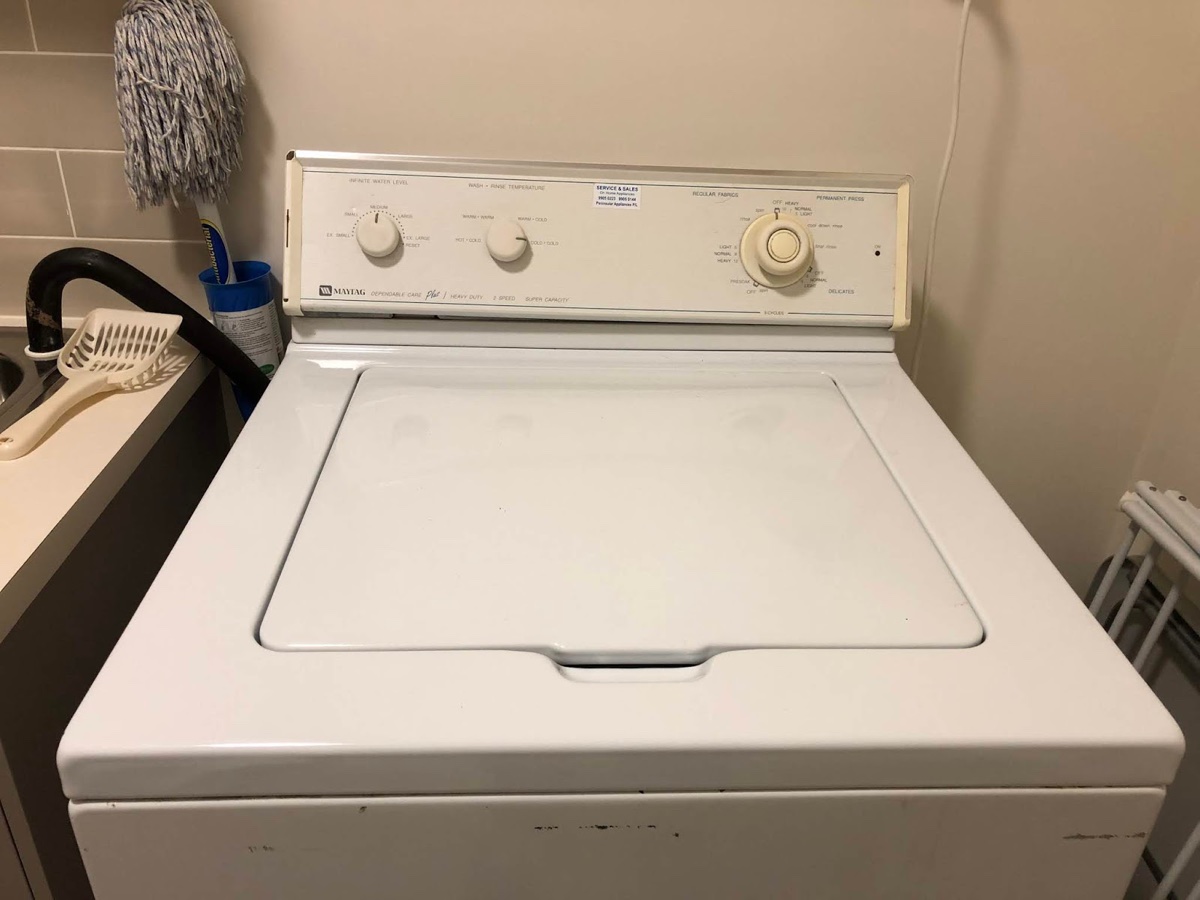
Step 2: Prepare the washer
Before you can remove the agitator from your Maytag washer, it’s important to properly prepare the washer. This will ensure a safe and efficient process. Follow these steps:
- Disconnect the power: First and foremost, unplug your Maytag washer from the power source. This is crucial for your safety and to avoid any electrical mishaps while working on the appliance.
- Empty the washer: Make sure there are no clothes or any other items in the washer drum. This will allow you to access the agitator more easily and avoid any potential damage to your clothes.
- Remove the top panel (if applicable): Depending on your Maytag washer model, you may need to remove the top panel to gain access to the agitator. Consult your user manual or manufacturer’s instructions for guidance on how to remove the top panel if necessary.
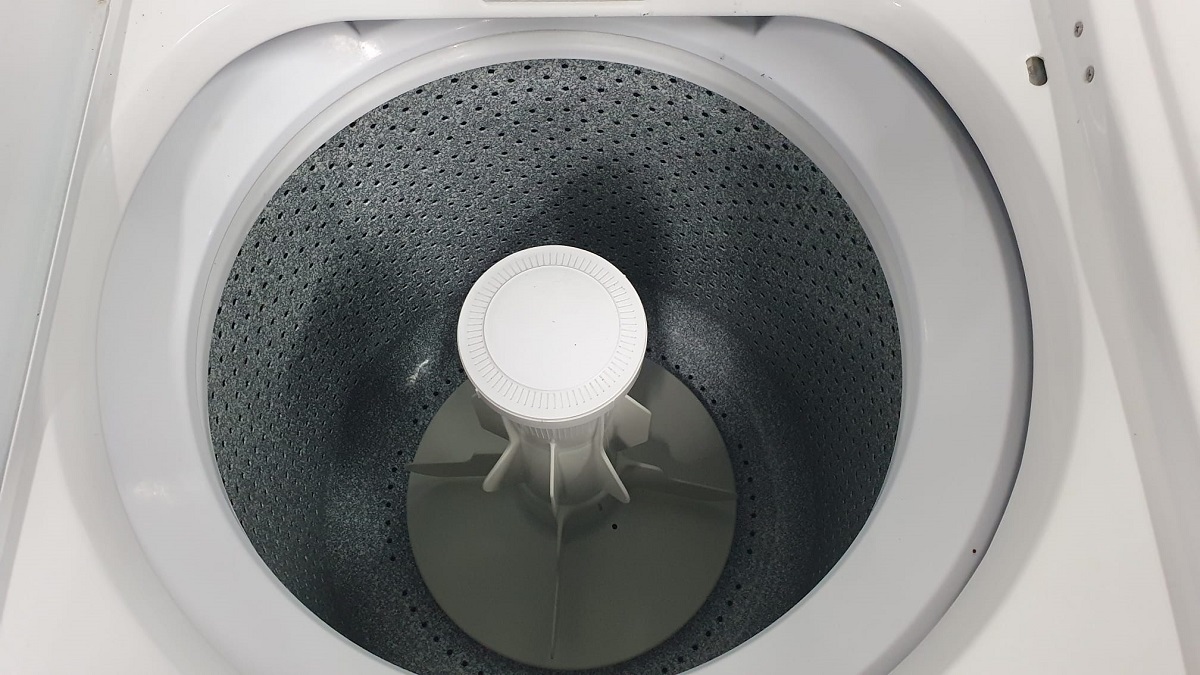
- Inspect the agitator: Take a moment to inspect the agitator for any visible damage or wear. This will help you determine whether it needs to be cleaned or replaced. If you notice any cracks, broken pieces, or excessive wear, it’s a sign that a replacement may be needed.
By following these preparation steps, you’ll ensure that your Maytag washer is ready for agitator removal. Now that you’ve prepared the washer, let’s move on to the next step of actually removing the agitator.
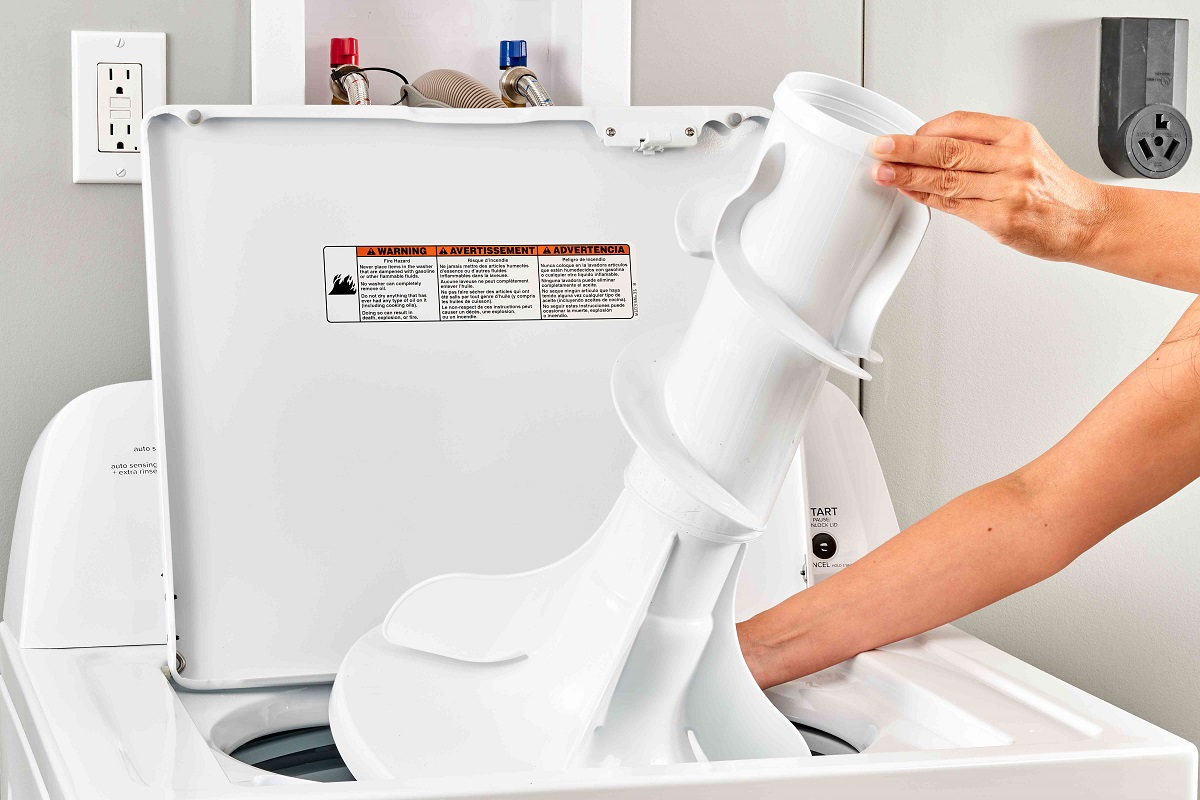
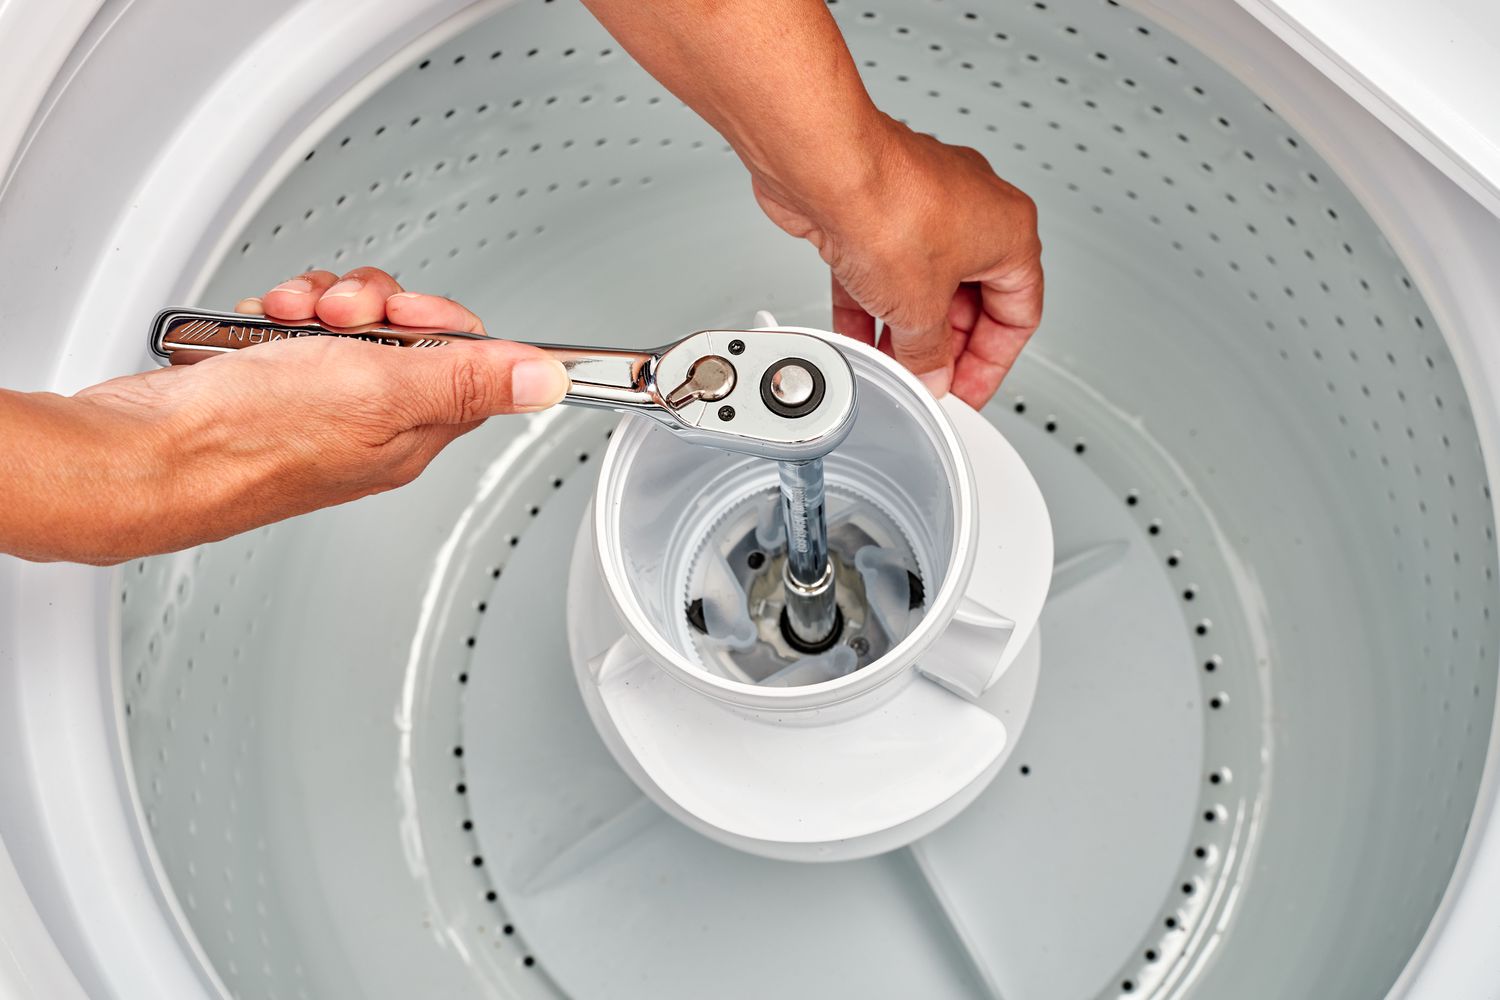
Step 3: Remove the agitator
Now that the washer is prepared, it’s time to remove the agitator from your Maytag washer. Follow these steps:
- Locate the agitator cap: On top of the agitator, you’ll find a cap or fabric softener dispenser. Gently pry off the cap using your hands or a flathead screwdriver. Some models may have a bolt securing the cap in place, so if you encounter resistance, check for a hidden screw or bolt.
- Remove any additional components: Underneath the agitator cap, there may be additional components such as a plastic cover or a second cap. Remove any components as necessary to fully expose the agitator assembly.
- Unscrew or release the agitator: Depending on your Maytag washer model, you’ll either find a bolt or a locking mechanism securing the agitator in place. Use an appropriate tool, such as a wrench or pliers, to unscrew the bolt or release the locking mechanism. Typically, this will involve turning counterclockwise to loosen and remove the agitator.
- Wiggle and lift the agitator: Once the bolt or locking mechanism is removed, gently wiggle and lift the agitator to disconnect it from the shaft. Be careful not to use excessive force, as you don’t want to damage any internal components or the washing machine itself.
Once you have successfully removed the agitator, you can move on to the next step—cleaning or replacing the agitator, depending on its condition. This will be covered in the following step.
To remove the agitator from a Maytag washer, first, remove the fabric softener dispenser or cap. Then, locate the bolt or nut at the center of the agitator and use a socket wrench to loosen and remove it. Finally, lift the agitator out of the washer.
Step 4: Clean or replace the agitator
Now that you have removed the agitator from your Maytag washer, you have the option to either clean it or replace it, depending on its condition. Follow these steps:
Cleaning the agitator:
- Inspect the agitator: Take a close look at the agitator to identify any areas with built-up dirt, grime, or residue.
- Use a cleaning solution: Prepare a mixture of warm water and mild detergent or an appropriate cleaning solution.
- Scrub the agitator: Dip a cleaning brush or sponge into the cleaning solution and scrub the surface of the agitator thoroughly. Pay attention to any crevices or hard-to-reach areas.
- Rinse the agitator: Once you’ve thoroughly cleaned the agitator, rinse it under running water to remove any soap residue or cleaning solution.
- Allow the agitator to dry: Set the agitator aside and let it air dry completely before reinserting it into the washer.
Replacing the agitator:
- Prepare the replacement agitator: If you have a replacement agitator, ensure that it is the correct model and size for your Maytag washer.
- Align the new agitator: Position the replacement agitator over the agitator shaft, ensuring that it is aligned properly.
- Secure the agitator: Reverse the process of removing the agitator by screwing in the bolt or engaging the locking mechanism to secure the new agitator in place.
Whether you choose to clean or replace the agitator, once you have completed the necessary steps, you’re ready to move on to the final step—reinstalling the agitator.
Step 5: Reinstall the agitator
After cleaning or replacing the agitator in your Maytag washer, it’s time to reinstall it. Follow these steps to ensure a proper reinstallation:
- Position the agitator: Carefully lower the cleaned or replacement agitator onto the agitator shaft, ensuring it aligns with the grooves or tabs.
- Secure the agitator: If your agitator has a bolt, use a wrench to tighten it clockwise until it is firmly secured. If your agitator locks into place, engage the locking mechanism until it clicks or snaps into position.
- Reattach any additional components: If you removed any additional components during the agitator removal process, such as a plastic cover or a second cap, make sure to reattach them securely.
Once you have successfully reinstalled the agitator and any additional components, give it a gentle tug to ensure it is properly seated and secured. It should not move or come loose easily.
With the agitator reinstalled, you can now close the washer’s top panel, if applicable, and plug the machine back into the power source.
That’s it! You’ve successfully removed, cleaned or replaced, and reinstalled the agitator in your Maytag washer. Now you can enjoy a refreshed agitator that will help keep your clothes clean and fresh during the wash cycles.
If you have any concerns or difficulties during the process, it’s always recommended to consult your user manual or seek assistance from a professional technician to ensure the safe and proper functioning of your Maytag washer.
Remember to regularly clean and maintain your washer to ensure its longevity and optimal performance.
Wishing you happy and successful laundry days with your freshly maintained Maytag washer!
Conclusion
Removing the agitator from your Maytag washer may seem like a complex task, but with the right tools and step-by-step guidance, it can be easily accomplished. By following the steps outlined in this guide and taking the necessary precautions, you can successfully remove, clean or replace, and reinstall the agitator, restoring your washer’s effectiveness.
Remember to always consult your user manual or manufacturer’s instructions for specific guidance that may be applicable to your Maytag washer model. Additionally, make sure to unplug the washer from the power source and take necessary safety precautions before attempting any maintenance or repairs.
Regular maintenance and care for your washer, including cleaning or replacing the agitator when necessary, will help prolong its lifespan and ensure optimal performance. A clean and functioning agitator is key to getting your clothes thoroughly cleaned and looking their best.
If you encounter any difficulties or concerns during the agitator removal process, it is recommended to seek assistance from a professional technician or contact Maytag customer support for further guidance.
We hope that this step-by-step guide has been helpful in guiding you through the process of removing and maintaining the agitator in your Maytag washer. With a little bit of effort and attention to detail, you can keep your washer running smoothly and keep your clothes looking fresh and clean.
Thank you for taking the time to read this guide, and we wish you success and satisfaction with your Maytag washer!
Frequently Asked Questions about Maytag Washer How To Remove Agitator
Was this page helpful?
At Storables.com, we guarantee accurate and reliable information. Our content, validated by Expert Board Contributors, is crafted following stringent Editorial Policies. We're committed to providing you with well-researched, expert-backed insights for all your informational needs.


0 thoughts on “Maytag Washer How To Remove Agitator”