Articles
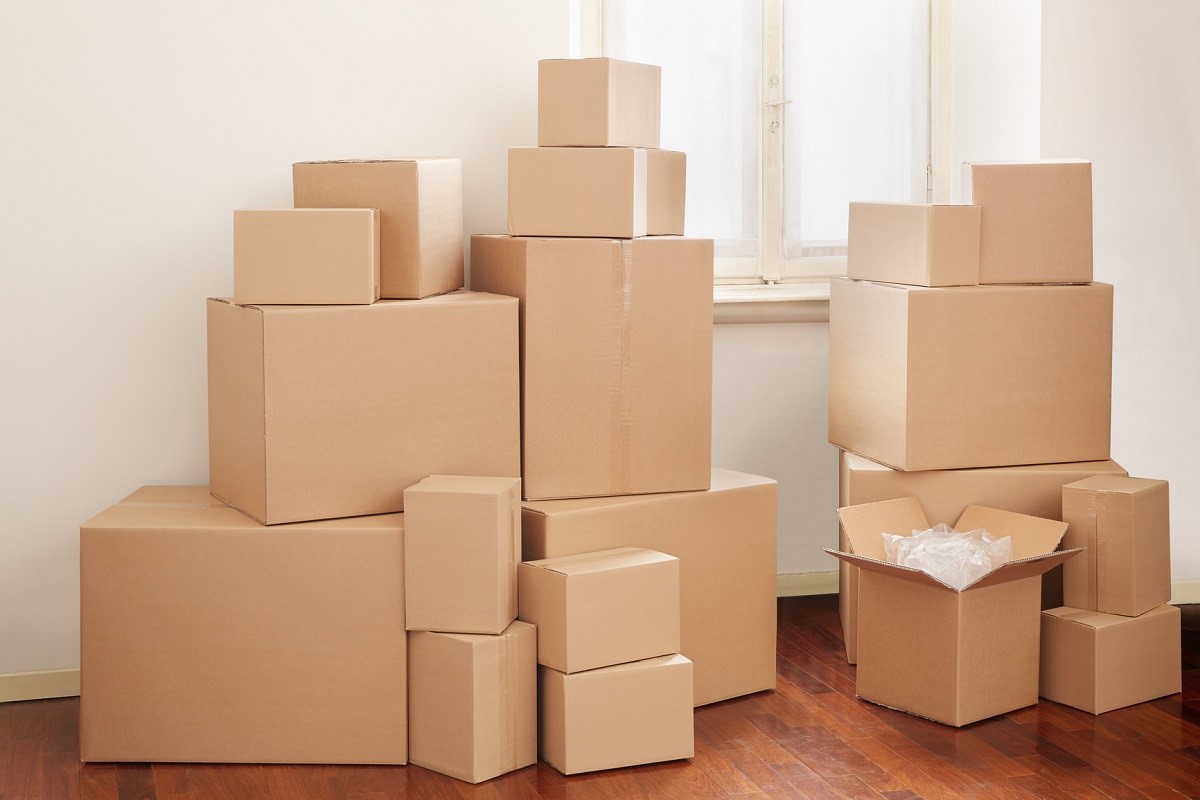
How To Store Empty Boxes
Modified: January 6, 2024
Learn the best way to store empty boxes and keep your space organized with these helpful articles on box storage tips and tricks.
(Many of the links in this article redirect to a specific reviewed product. Your purchase of these products through affiliate links helps to generate commission for Storables.com, at no extra cost. Learn more)
Introduction
Empty boxes may seem like a trivial item, but properly storing them can save you time, space, and money in the long run. Whether you are moving, decluttering, or just needing to keep them for future use, the right storage techniques can ensure that your empty boxes remain in good condition and are easily accessible when you need them. This article will provide you with step-by-step instructions and insights on how to store empty boxes effectively.
Why is it important to store empty boxes properly? Firstly, it helps to optimize your storage space. By organizing and compactly storing your boxes, you can free up much-needed space in your home or storage area for other items. Additionally, storing boxes properly can prevent damage and wear, keeping them in good condition for longer use. Lastly, when you need to retrieve a specific box, having an organized storage system will save you the hassle of searching through a pile of disorganized boxes.
Now that we understand the importance of proper storage, let’s dive into the step-by-step process of storing empty boxes.
Key Takeaways:
- Properly storing empty boxes can optimize space, protect boxes from damage, and save money in the long run. Consolidate, clean, organize, and store boxes strategically for easy access and longevity.
- Organize, label, and store empty boxes systematically to optimize space, protect boxes, and make retrieval hassle-free. Regular maintenance ensures boxes remain in good condition for future use.
Read more: How To Store Empty Plastic Containers
The Importance of Properly Storing Empty Boxes
Properly storing empty boxes may not be at the top of your to-do list, but it is a crucial task that can have several benefits. Let’s explore why it is important to store empty boxes properly.
Optimizing Storage Space: Storing empty boxes in an organized manner helps to maximize the available space. By consolidating and sorting the boxes, you can stack them neatly and efficiently, allowing you to utilize your storage area more effectively. This is especially important if you have limited storage space or are planning to move soon.
Protecting the Boxes: Storing empty boxes properly helps to protect them from damage. If boxes are left scattered or piled haphazardly, they can easily become squashed, torn, or damaged by moisture or pests. By implementing proper storage techniques, you can ensure that your boxes remain in good condition and are ready for use when needed.
Ease of Access: Imagine needing to retrieve a specific box from a disorganized pile. It can be a frustrating and time-consuming task. By organizing and labeling your boxes, you can easily locate the one you need without having to rummage through a mess. This saves you valuable time and effort, especially during a move or when searching for holiday decorations.
Cost Savings: Properly storing empty boxes can also save you money in the long run. When boxes are damaged due to improper storage, you may need to spend additional money on purchasing new ones. By taking the time to store them properly, you can extend their lifespan and avoid unnecessary expenses.
Overall, properly storing empty boxes is not just about neatness; it is a practical strategy that can save you space, protect your boxes, make retrieval easier, and ultimately save you money. Now that we understand the importance, let’s move on to the step-by-step process of storing empty boxes.
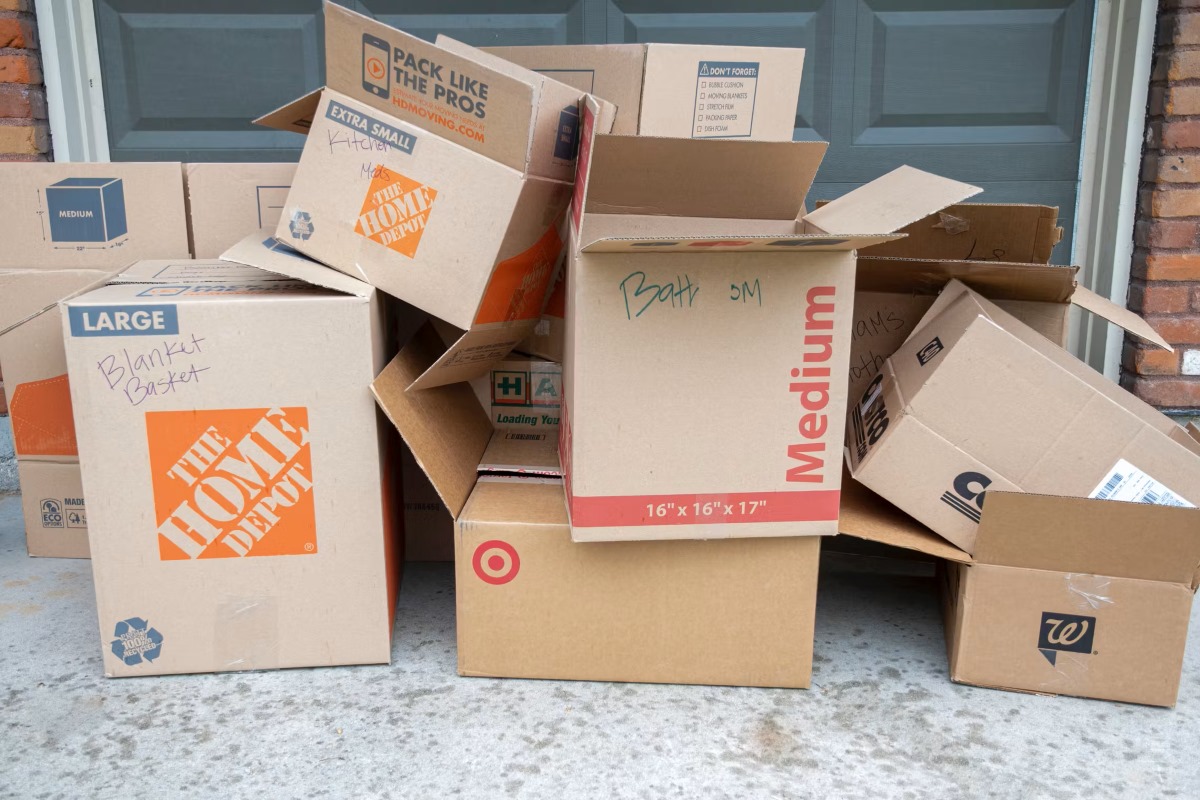
Step 1: Consolidating and Sorting
The first step in properly storing empty boxes is to consolidate and sort them. This process helps you identify which boxes are worth keeping and ensures that you are maximizing your storage space.
1. Take an inventory: Begin by taking an inventory of all the empty boxes you have. This includes any boxes from previous moves, online deliveries, or packaging materials. Having a clear overview of the quantity and sizes of your boxes will help you determine how many you actually need to keep.
2. Assess the condition: Evaluate the condition of each box. Discard any boxes that are damaged, torn, or no longer usable. Holding onto damaged boxes will only take up precious storage space and can compromise the integrity of your stored items in the future.
3. Sort by size and type: Once you have identified the boxes you want to keep, sort them by size and type. Stack boxes of the same size together, which will make it easier to store and retrieve them later. You can also consider separating boxes by type, such as small shipping boxes, medium-sized moving boxes, or specialty boxes for fragile items.
4. Consider collapsible or nesting boxes: If you have limited storage space, consider using collapsible or nesting boxes. These types of boxes can be folded or nested together when not in use, saving you valuable space.
5. Label the boxes: As you sort the boxes, label them accordingly. This will help you easily identify the contents of each box and make it simpler to locate specific items when needed. Labeling can be done with adhesive labels, markers, or even color-coded stickers.
6. Keep essential boxes within reach: If you anticipate needing certain boxes more frequently, such as for seasonal decorations or ongoing storage, keep them within convenient reach. Place them near the front of the storage area or in a designated accessible section.
By consolidating and sorting your empty boxes, you not only declutter your storage space but also set the groundwork for an organized storage system. With this step complete, we can proceed to the next step: cleaning and drying the boxes.
Step 2: Cleaning and Drying
After consolidating and sorting your empty boxes, it’s time to ensure they are clean and dry before storing them. Cleaning and drying the boxes will prevent any dirt, dust, or moisture from damaging your stored items and keep the boxes in good condition for future use.
1. Remove any contents: Before cleaning the boxes, make sure they are completely empty. Remove any remaining items or debris inside the boxes, including packing materials or labels.
2. Dust off the boxes: Start by dusting off any dirt or dust from the surface of the boxes. Use a soft brush or a clean cloth to gently remove any loose particles on the inside and outside of the boxes.
3. Wipe with a damp cloth: Next, dampen a cloth or sponge with mild soap and water. Wipe down the entire surface of each box, both inside and outside, to remove any stains or dirt that may have accumulated over time. Be gentle to avoid damaging the boxes.
4. Rinse and dry: After wiping the boxes with a damp cloth, rinse them off with clean water to remove any remaining soap residue. Once rinsed, allow the boxes to air dry completely before moving on to the next step. Placing the boxes in direct sunlight or using a fan can speed up the drying process.
5. Inspect for mold or mildew: While cleaning, keep an eye out for any signs of mold or mildew. If you spot any, it is important to address the issue before storing the boxes. Clean the affected area with a mixture of water and vinegar or a mildew-specific cleaner, and ensure the boxes are completely dry before proceeding.
6. Consider using moisture absorbers: To further prevent moisture and mold growth, especially if you live in a humid climate, you can place moisture absorbers such as silica gel packets or dehumidifier boxes inside the stored boxes.
By cleaning and drying your empty boxes, you create a clean and safe storage environment for your belongings. With this step complete, we can move on to the next step: disassembling and flattening the boxes.
When storing empty boxes, make sure to flatten them to save space. You can also label them with the contents they originally held for easy identification when needed.
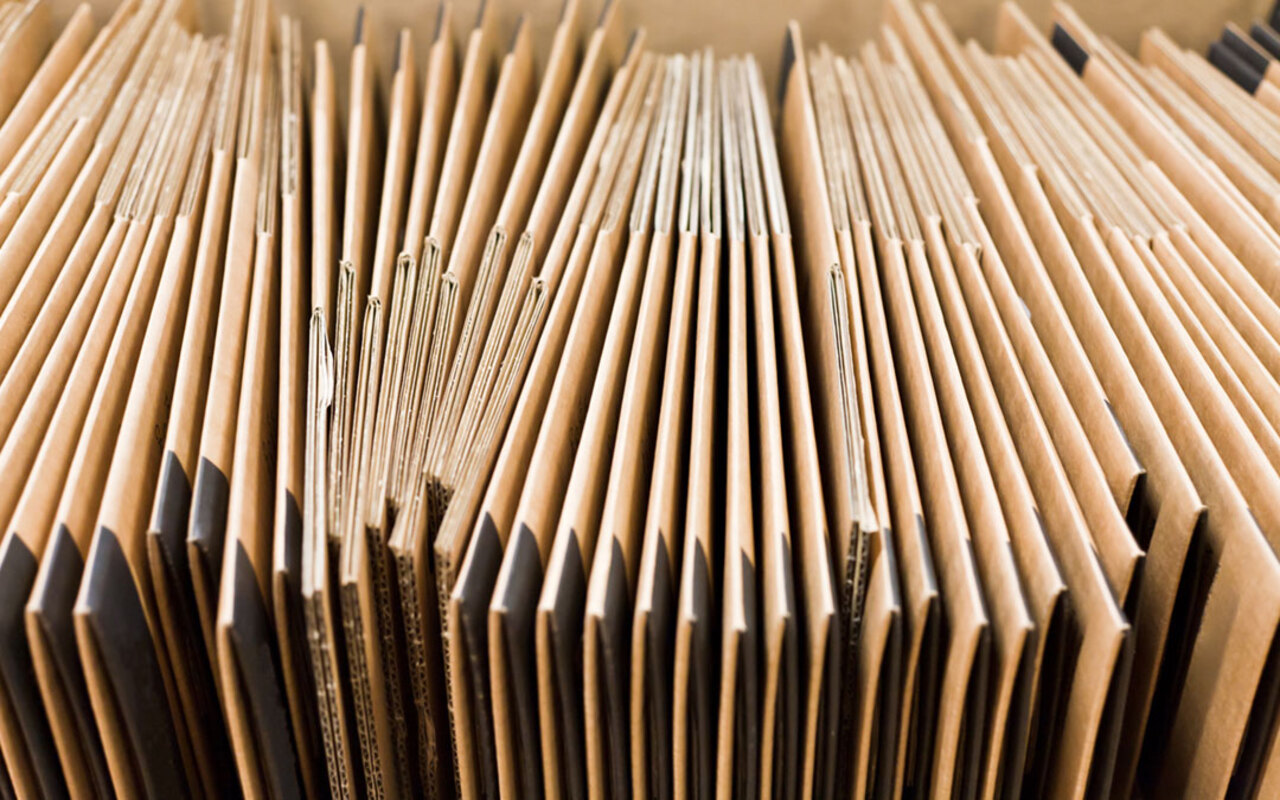
Step 3: Disassembling and Flattening
Disassembling and flattening your empty boxes is an efficient way to save space and make storage easier. By following this step, you can optimize your storage area and ensure that the boxes are ready for future use.
1. Unseal the boxes: If any of your boxes are sealed shut, carefully cut and remove the tape or adhesive. Ensure that all flaps are open and ready to be disassembled.
2. Flatten the boxes: Starting with the larger boxes, flatten them by pushing in the sides and folding the flaps inward. Work your way through each box, taking care not to damage the corners or edges. Use your hands or a flat surface to help flatten and smooth out the boxes. Repeat the process for all the boxes you have.
3. Consider removing unnecessary flaps: Some boxes may have excess flaps that are not essential for their structure. If you find such flaps that are only adding bulk to the flattened box, you can carefully cut them off. This will help in saving even more space when storing the boxes.
4. Stack and organize: Once the boxes are flattened, stack them neatly in the storage area. Start with the larger boxes as the base and place smaller boxes on top. This helps to maximize the use of vertical space and creates a more stable stack.
5. Use dividers or inserts: To keep the flattened boxes organized and prevent shifting, consider using dividers or inserts between the layers. You can use cardboard dividers, foam sheets, or even repurposed items like old towels or blankets to stabilize the stack.
6. Secure the stack: To keep the stack of flattened boxes from toppling over, use straps, bungee cords, or sturdy ropes to secure them together. This will add an extra layer of stability and prevent any accidents when accessing or moving the stack.
By disassembling and flattening your empty boxes, you save valuable space and make it easier to store and retrieve them as needed. With this step complete, we can move on to the next step: organizing and labeling the boxes.
Read more: How To Store Empty Canning Jars
Step 4: Organizing and Labeling
Organizing and labeling your stored boxes is essential for easy retrieval and efficient use of your storage space. By implementing an organized system, you can quickly locate specific items and maintain order within your storage area. Let’s explore how to organize and label your boxes effectively.
1. Categorize your items: Before organizing, categorize your items based on their type, usage, or any other relevant criteria. This will help you group related items together, making it easier to find what you need in the future.
2. Assign box numbers: Assign a unique number to each box to create a systematic inventory system. You can use stickers or labels with numbers, or even write the numbers directly on the boxes with a marker. Keep a corresponding list or spreadsheet to track the contents of each numbered box.
3. Create an inventory list: Develop an inventory list that details the contents of each box. Include a brief description of the items stored, such as “kitchen utensils” or “winter clothes.” This list will guide you when you need to locate specific items without having to go through each box.
4. Use color-coded labels: To further enhance organization, consider using color-coded labels. Assign a specific color to each category or room, and use corresponding colored labels on the boxes. This visual cue makes it easier to identify the relevant boxes at a glance.
5. Utilize clear plastic bins or labels: For added convenience, opt for transparent plastic bins or boxes. These allow you to see the contents without having to open each box. Alternatively, attach labels with a detailed description of the contents on the front of each box for easy reference.
6. Maintain an aisle or walkway: As you stack and organize the boxes, leave a clear aisle or walkway that allows you to access the boxes easily. This prevents the need to move multiple boxes when searching for a specific item and helps maintain the overall organization of the storage space.
By organizing and labeling your boxes, you create a systematic and efficient storage system. With this step complete, we can move on to the final step: storing and protecting the boxes.
Step 5: Storing and Protecting
Now that you have consolidated, cleaned, disassembled, and organized your empty boxes, it’s time to store them in a way that protects them from damage and ensures easy access when needed. Proper storage and protection will extend the lifespan of your boxes and preserve their integrity. Let’s explore how to store and protect your empty boxes effectively.
1. Choose a suitable storage area: Select a dry and clean area for storing your boxes. This can be a closet, garage, attic, or a dedicated storage room. Ensure that the area is free from moisture, direct sunlight, extreme temperatures, and pests.
2. Elevate the boxes: If possible, avoid storing the boxes directly on the floor. Elevating them on pallets or shelves can provide added protection against moisture and pests. It also makes it easier to access the boxes without having to lift them from the ground.
3. Use protective covers: For long-term storage or in situations where added protection is necessary, consider using protective covers. Plastic covers or large plastic bags can shield the boxes from dust, moisture, and potential water damage.
4. Be mindful of weight: When stacking boxes, ensure that you distribute weight evenly. Heavy boxes should be placed at the bottom, with lighter ones on top. Avoid overloading boxes, as this can weaken the structural integrity and potentially cause them to collapse.
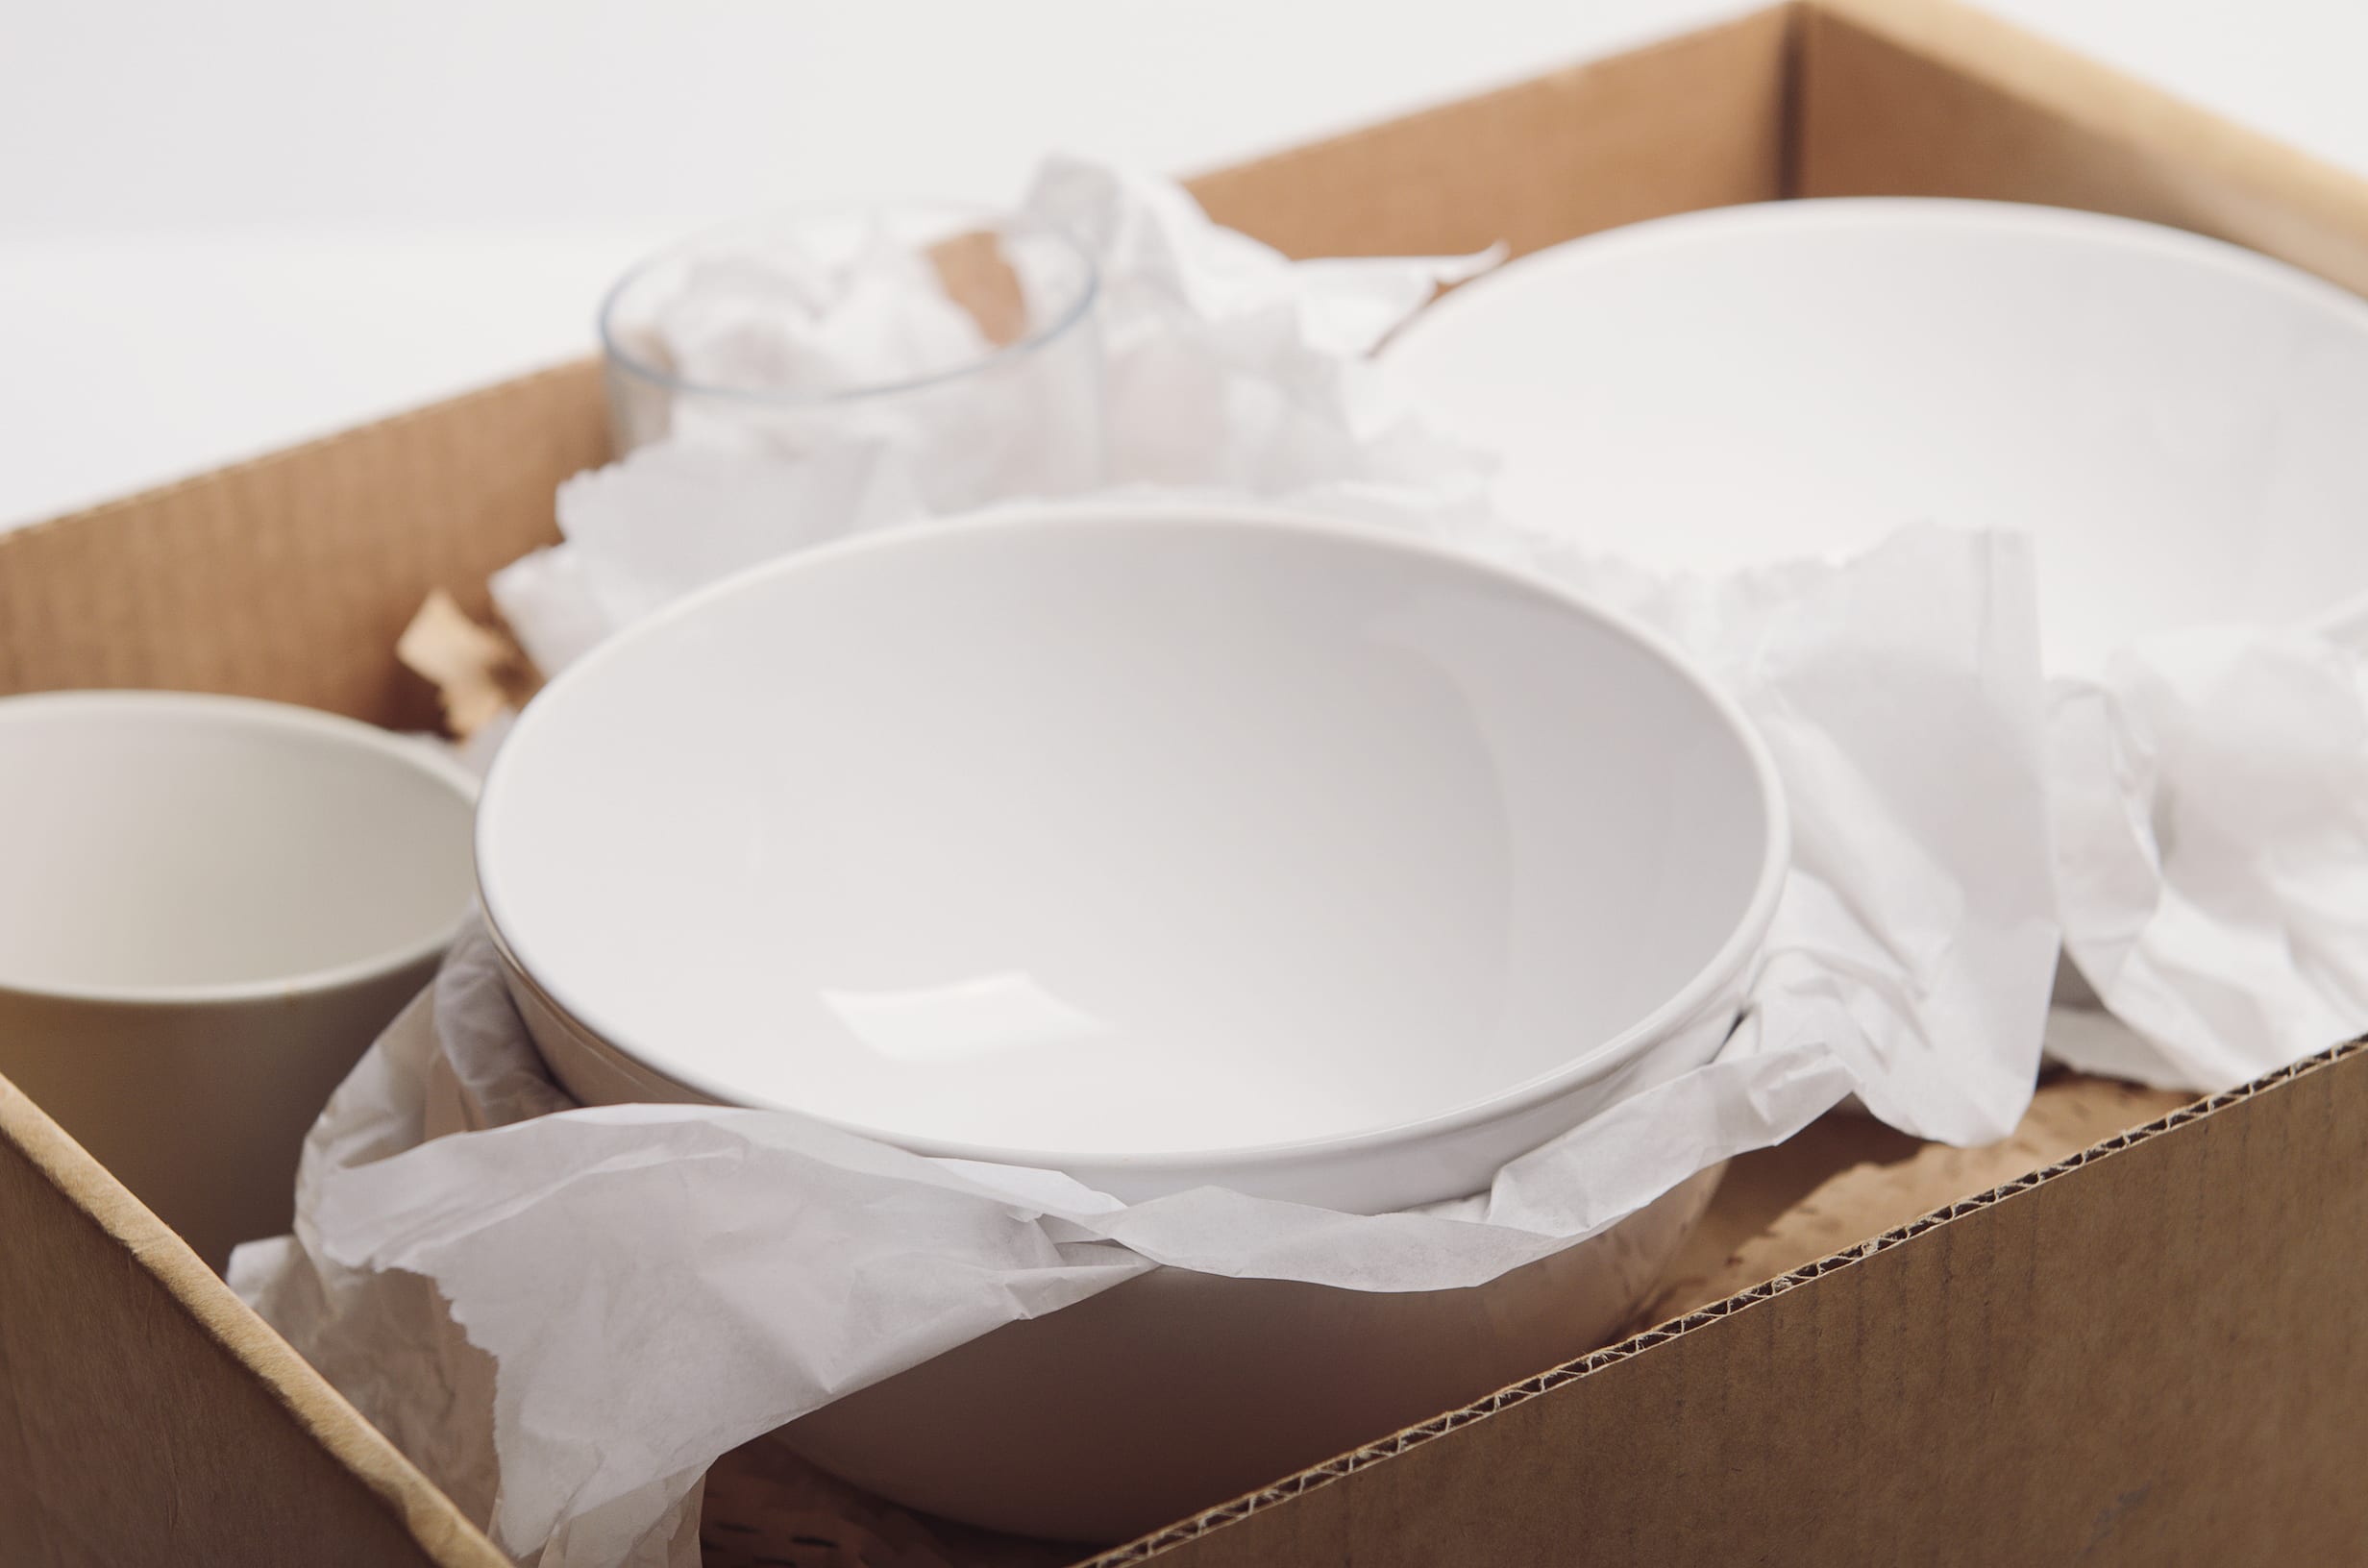
5. Provide cushioning: If you are storing fragile or delicate items within the boxes, use cushioning materials such as bubble wrap or foam peanuts to protect them. Place these materials between layers or within the boxes to absorb any impacts and prevent damage.
6. Regularly inspect and maintain: Make it a habit to periodically inspect your stored boxes. Check for signs of moisture, pests, or any deterioration. If you notice any issues, address them immediately to prevent further damage.
7. Maintain a storage inventory: Keep an updated inventory list of the contents and location of each box. This will save you time and effort when you need to locate specific items. Use the box numbers assigned in the organizing step to track and update your inventory.
By storing and protecting your empty boxes properly, you ensure their longevity and maintain the integrity of your stored items. With this step complete, you have successfully stored your empty boxes. Now you can enjoy a well-organized storage space and easy access to your belongings when needed.
Conclusion
Properly storing empty boxes may seem like a small task, but it can have a significant impact on your storage space, organization, and overall convenience. By following the steps outlined in this article, you can ensure that your empty boxes remain in good condition, are easily accessible, and don’t take up unnecessary space. Let’s recap the steps we covered:
- Consolidate and sort your boxes, discarding any damaged ones and grouping them by size and type
- Clean and dry the boxes thoroughly, removing any dirt, dust, or moisture
- Disassemble and flatten the boxes to save space and make storage easier
- Organize and label the boxes, categorizing them and assigning box numbers for easy retrieval
- Store and protect the boxes in a suitable area, using covers, elevating them, and maintaining an inventory
By following these steps, you optimize your storage space, protect your boxes, and make it easier to find specific items when needed. Properly stored empty boxes can save you time, money, and frustration.
Remember, organization is key. Take the time to consolidate and label your boxes, create an inventory, and maintain a well-structured storage system. Regularly inspect and maintain your boxes, ensuring they remain in good condition for future use.
So, the next time you need an empty box for moving, shipping, or storage, you’ll know exactly where to find it, and it will be in excellent condition, ready for use.
Happy storing!
Frequently Asked Questions about How To Store Empty Boxes
Was this page helpful?
At Storables.com, we guarantee accurate and reliable information. Our content, validated by Expert Board Contributors, is crafted following stringent Editorial Policies. We're committed to providing you with well-researched, expert-backed insights for all your informational needs.


0 thoughts on “How To Store Empty Boxes”